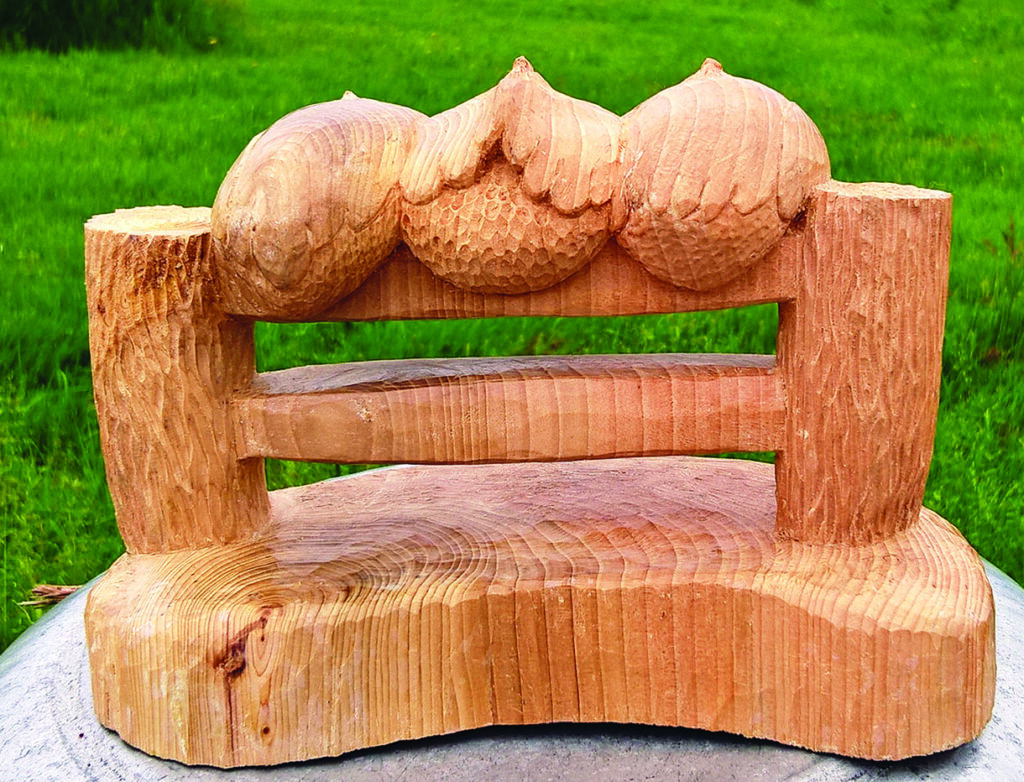
Zoë Gertner shows how to have some fun by carving a delightful trio of hens

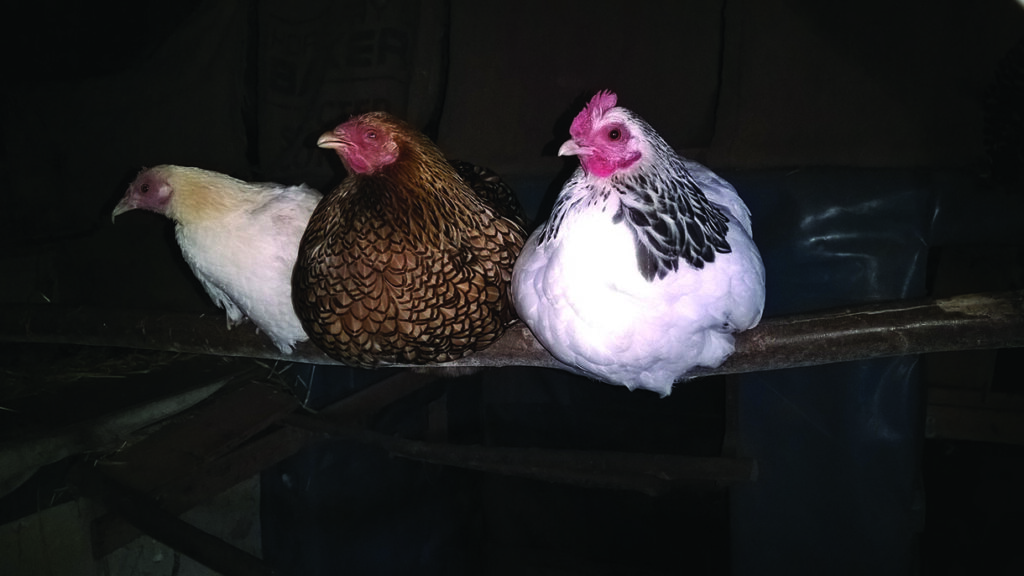
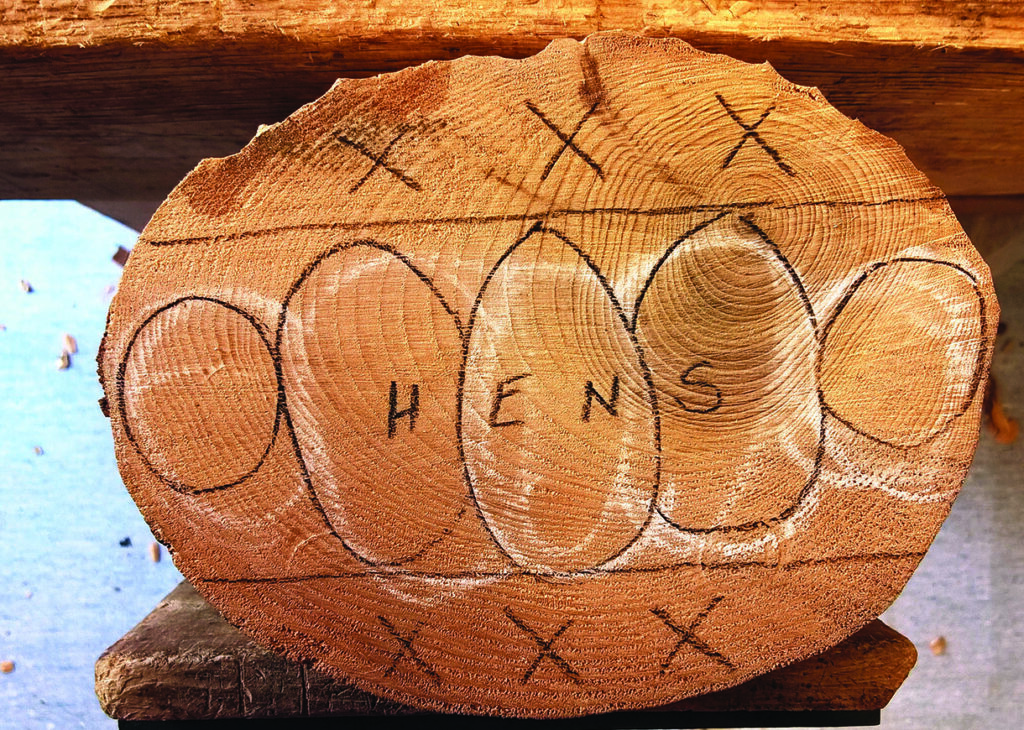
The inspiration for this carving came from my bantam hens. My hens are free-range and are very happy during the daytime, busily occupying themselves picking and scuffing the ground whilst hunting for ‘hen delicacies’. As dusk falls they will make their way into their hen house and with some shuffling around, they arrange themselves, fluff themselves up and sit tightly together on the perch for the night. When settled in place, heads are put under wings, sleep commences, and I close them up for the night in case of any predators.
Things you will need
Tools:
• Personal and respiratory protective equipment
• No.9, 10 or 11, 3mm
• No.9, 6, 10, 12 and 13mm
• No.5, 6, 10 and 13mm
• No.3, 3, 6, 10, 13 and 25mm
• No.1, 6mm
• 3mm and 6mm V-tool
• 6mm skew chisel
• Mallet
• Small microplanes/files/rifflers
• Hand drill
• 6mm drill bit
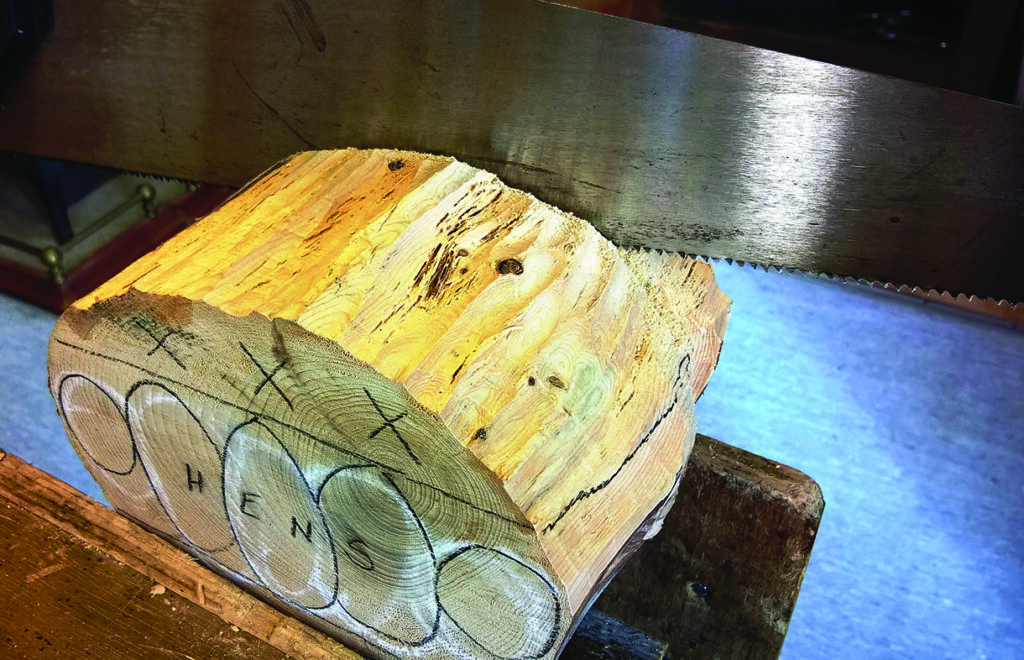
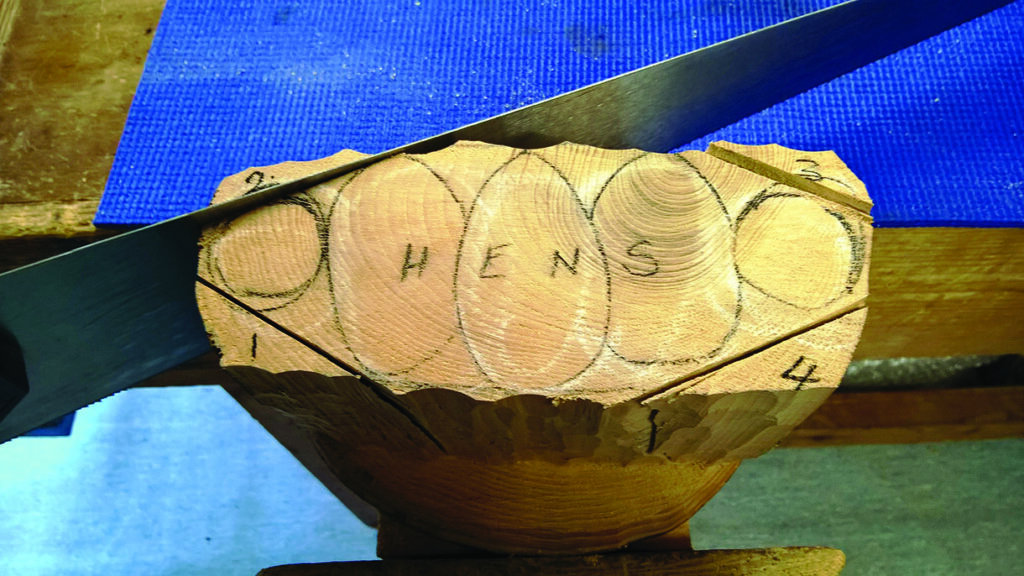
• Handsaw and keyhole saw
• Nail punch
• Hammer
Materials:
• Timber of your choice to suit the size of project you intent to create
• Wax polish or finish of your choice
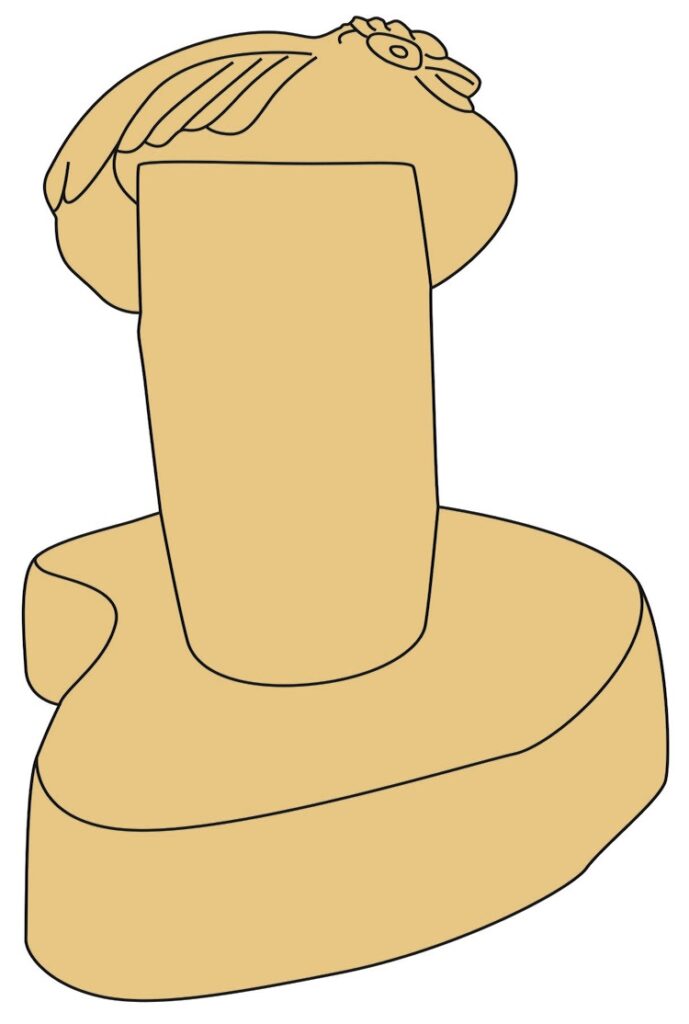
Drawings
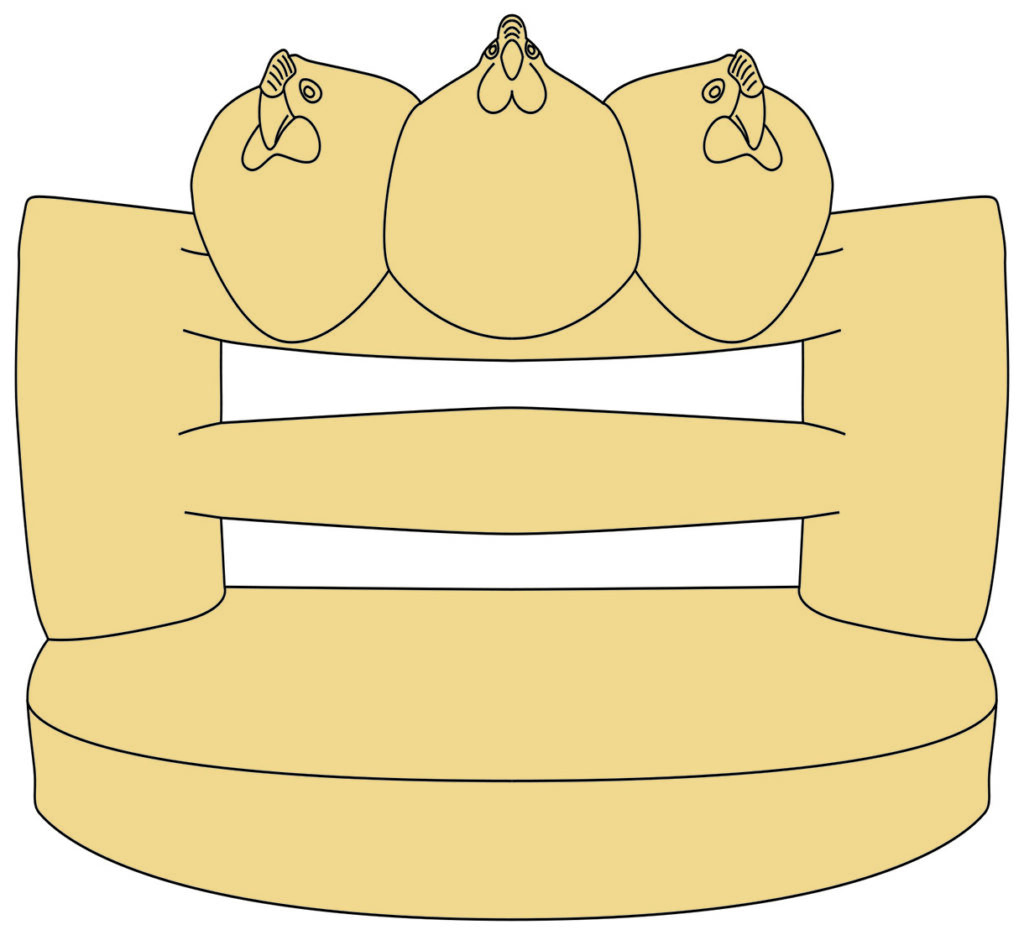

Preparation
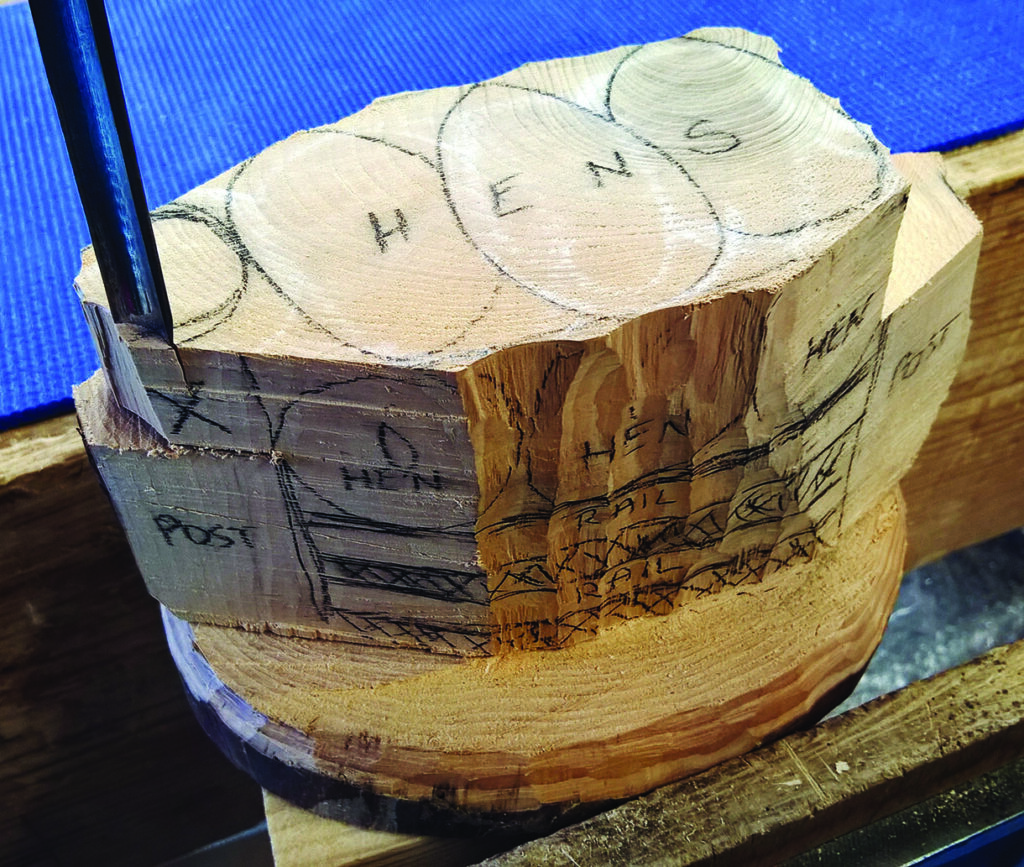
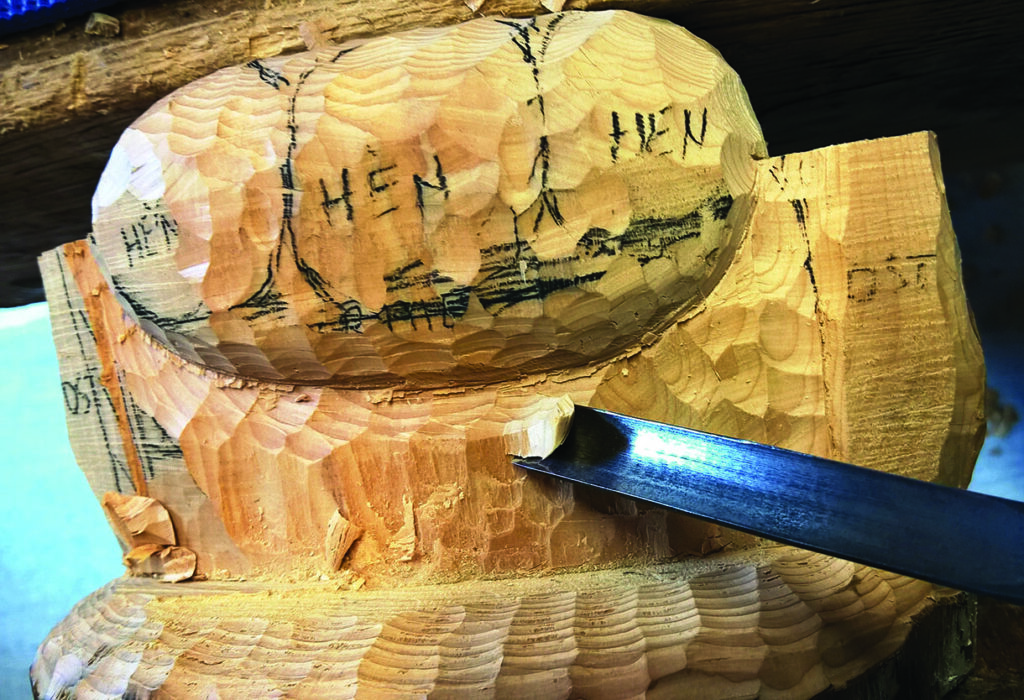
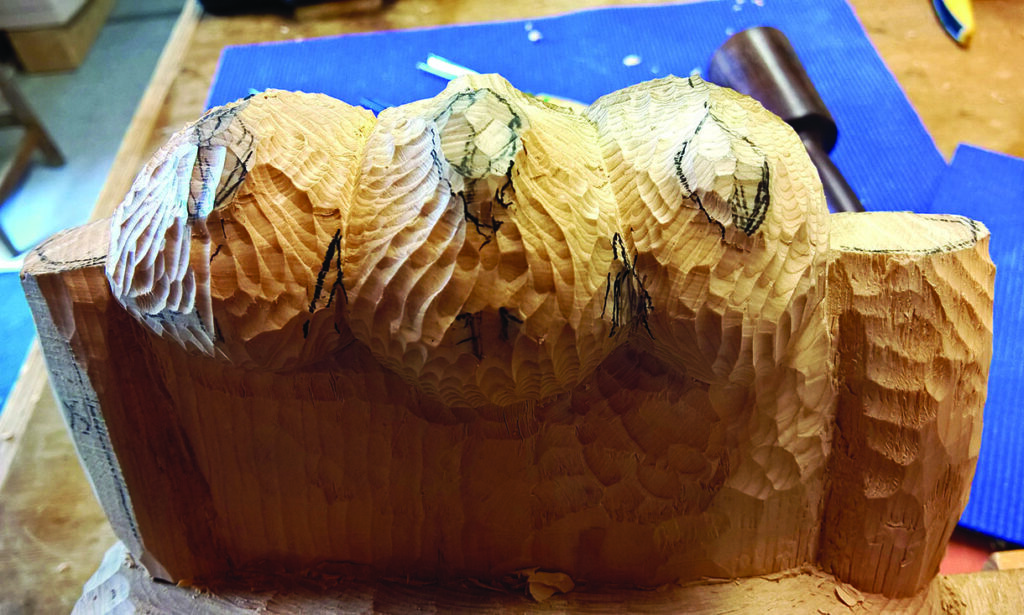
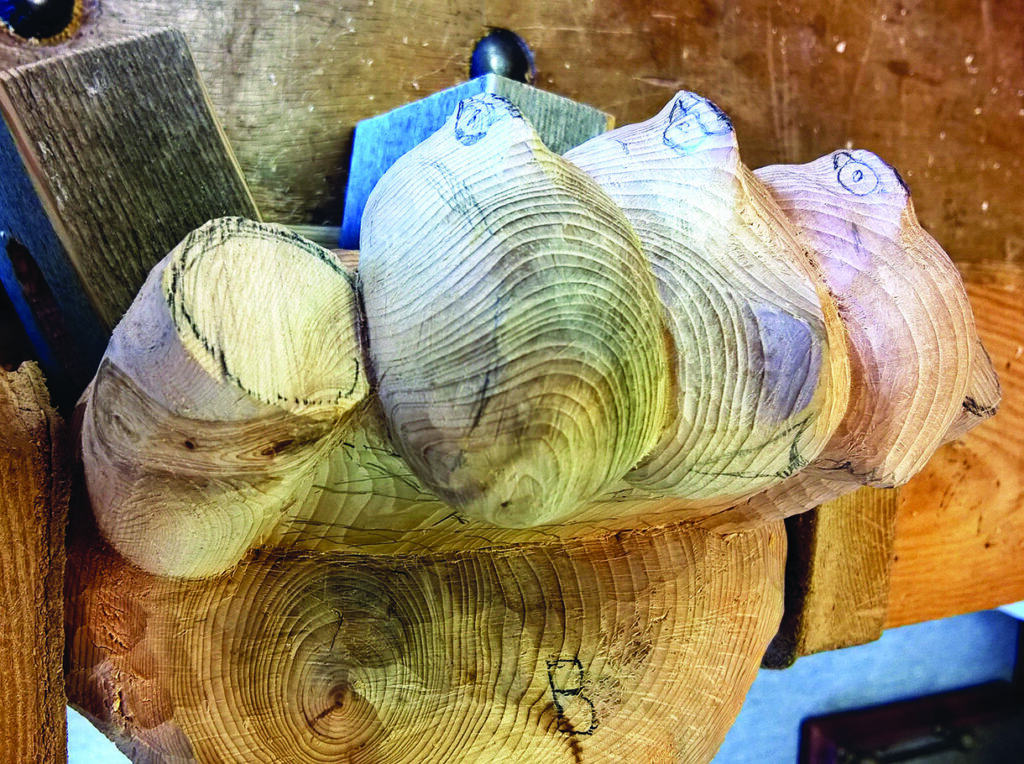
Starting carving the hens

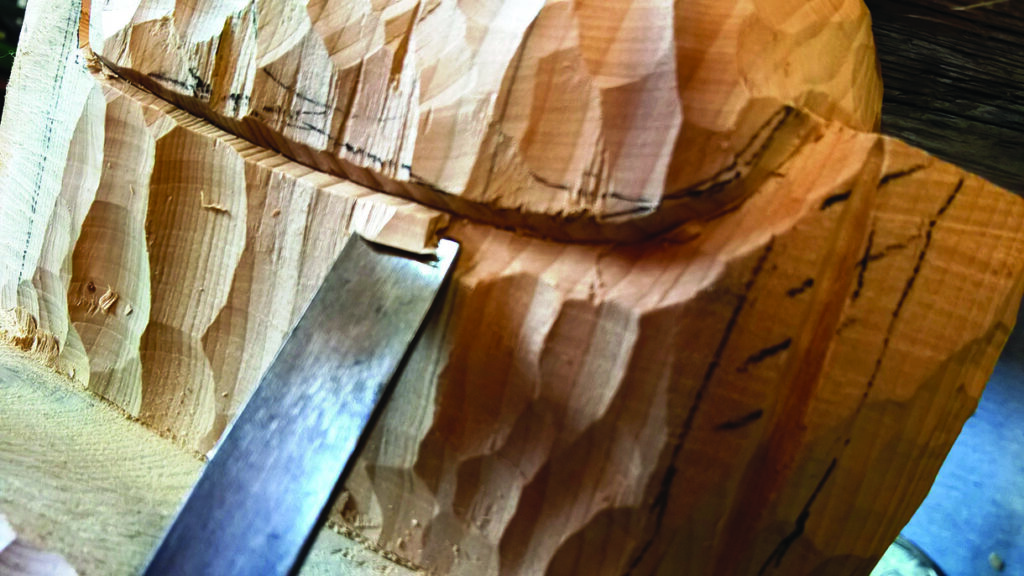
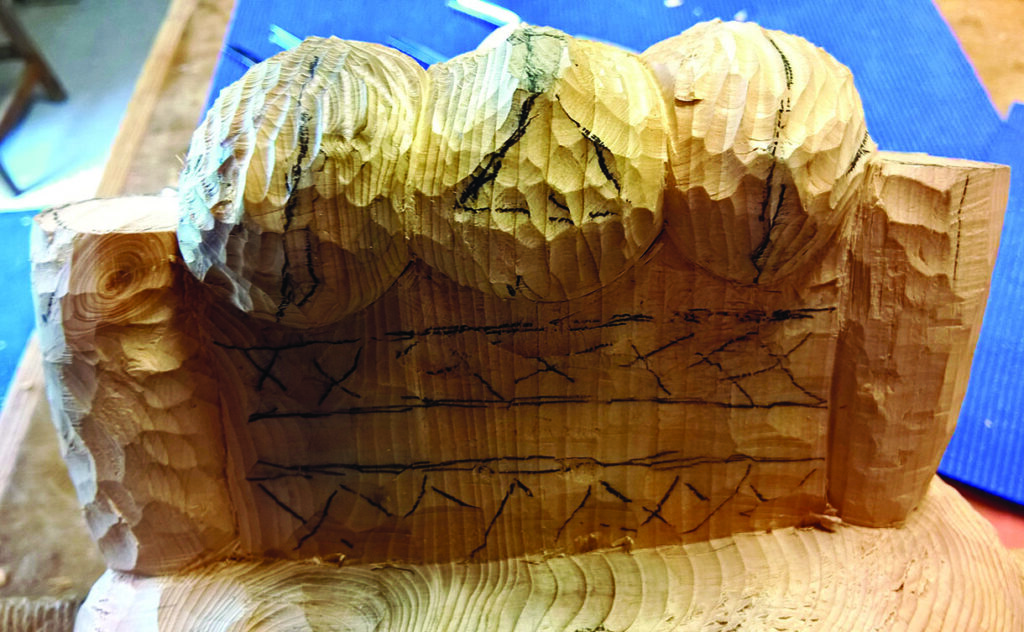
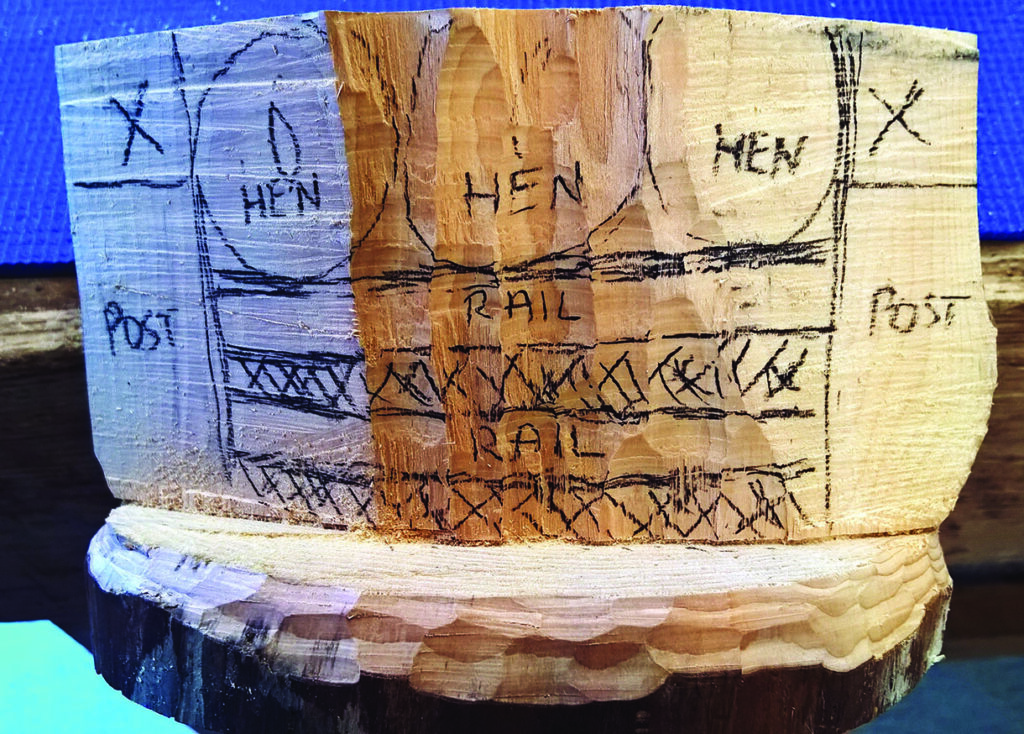
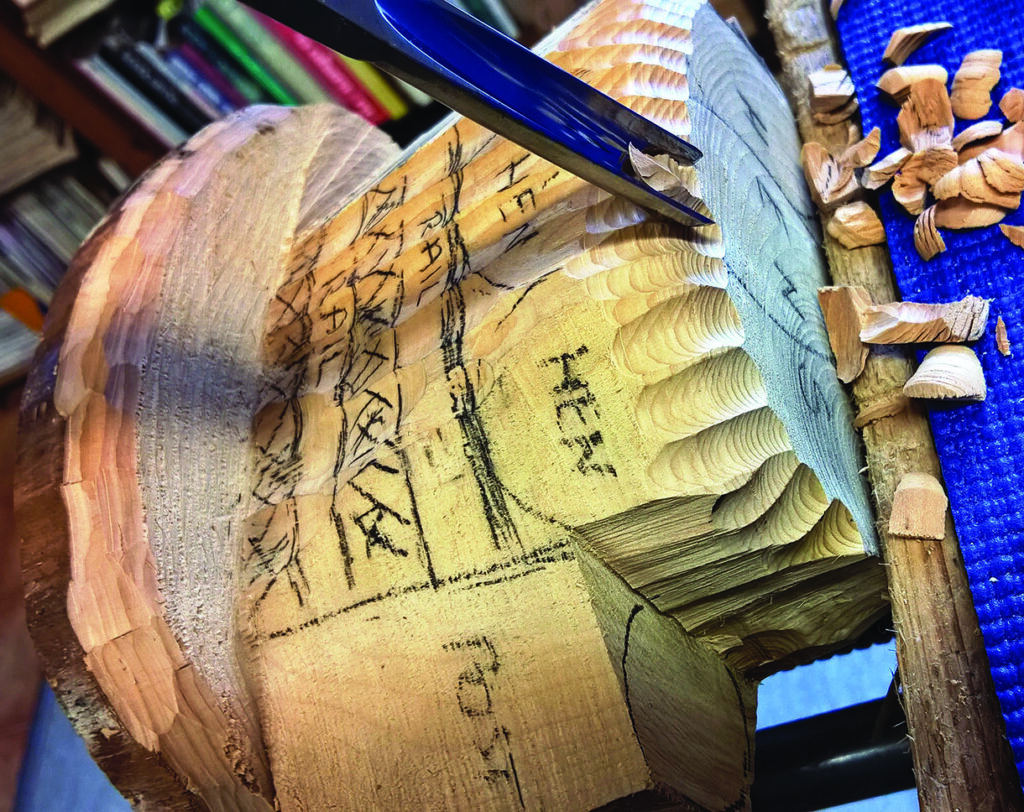
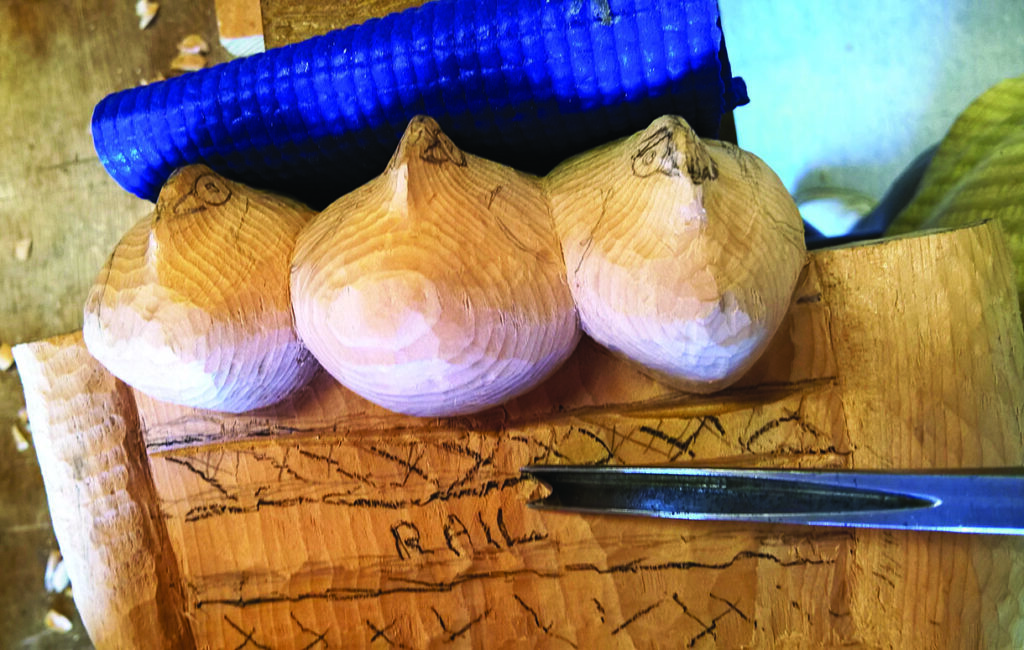
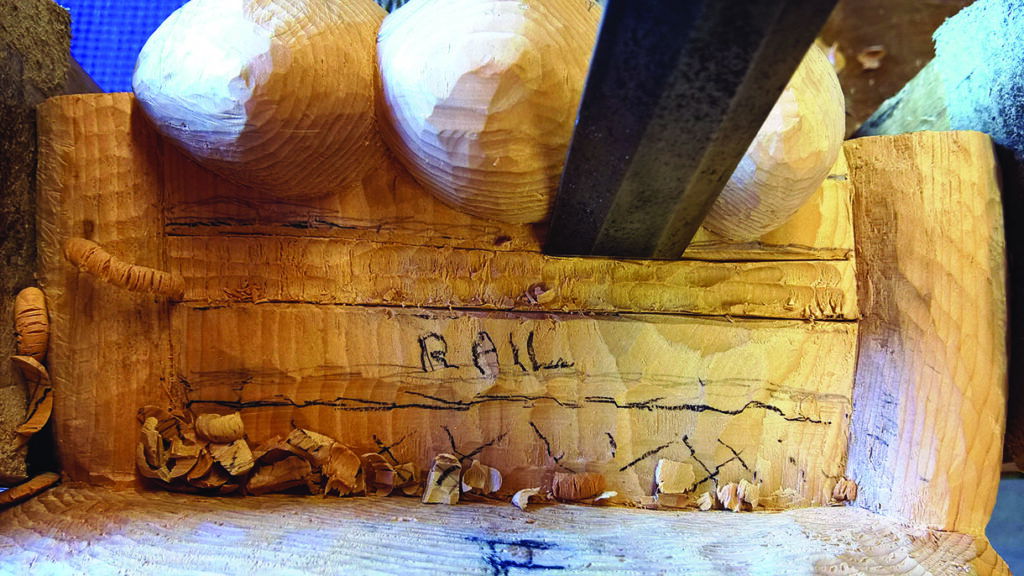
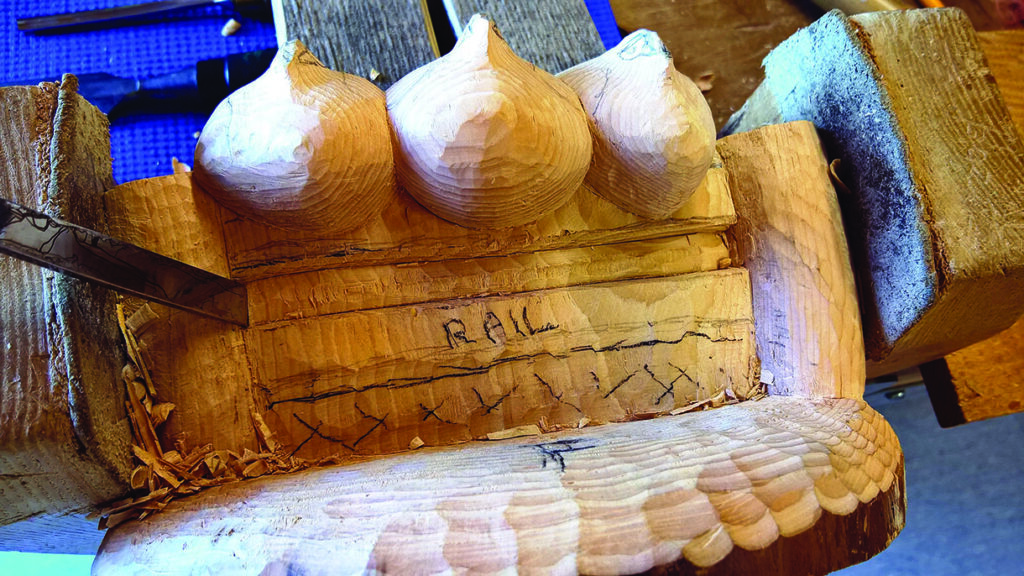
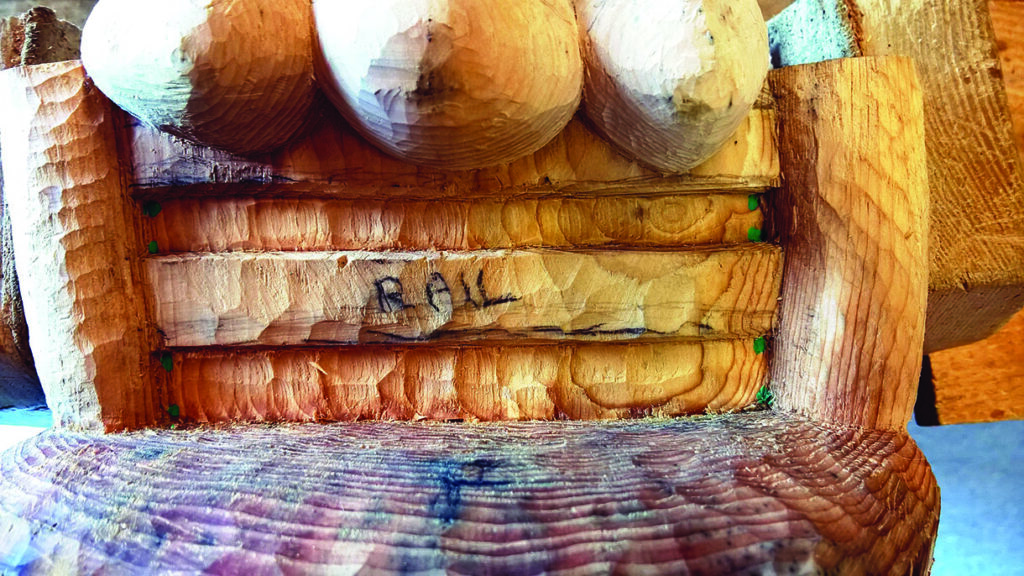
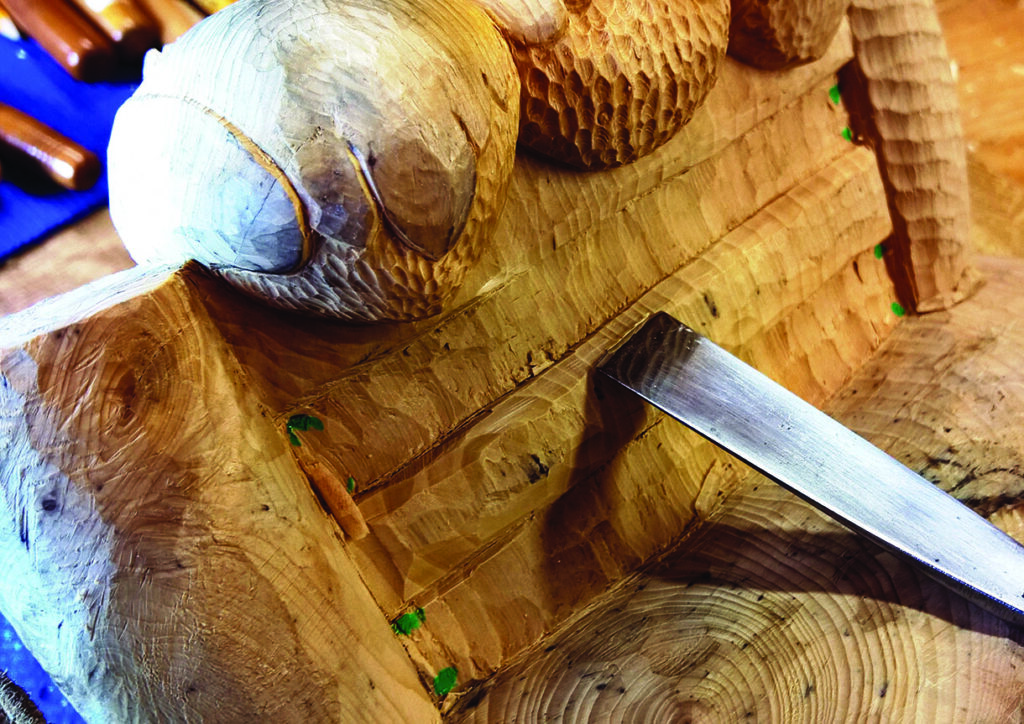
The rails
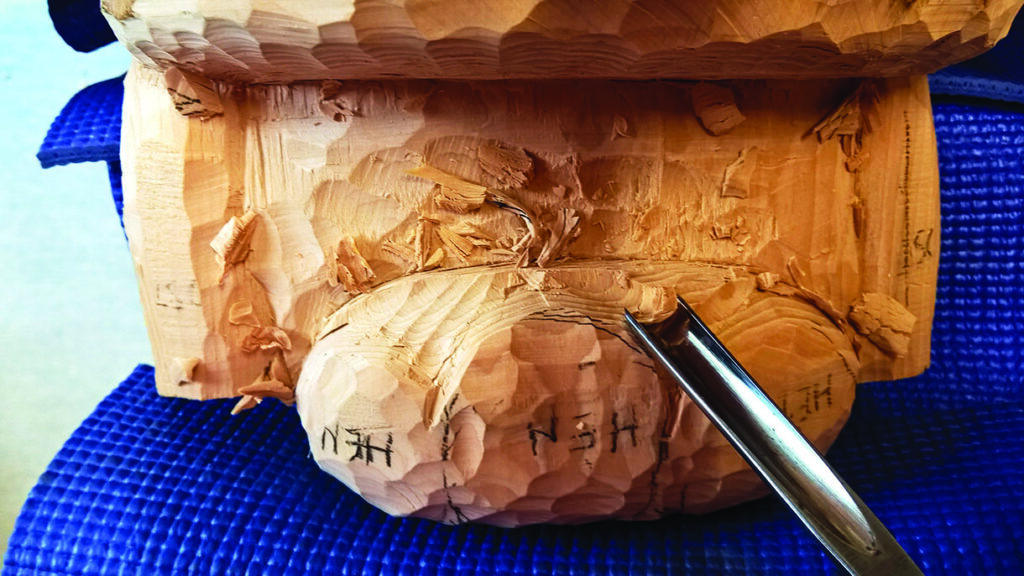
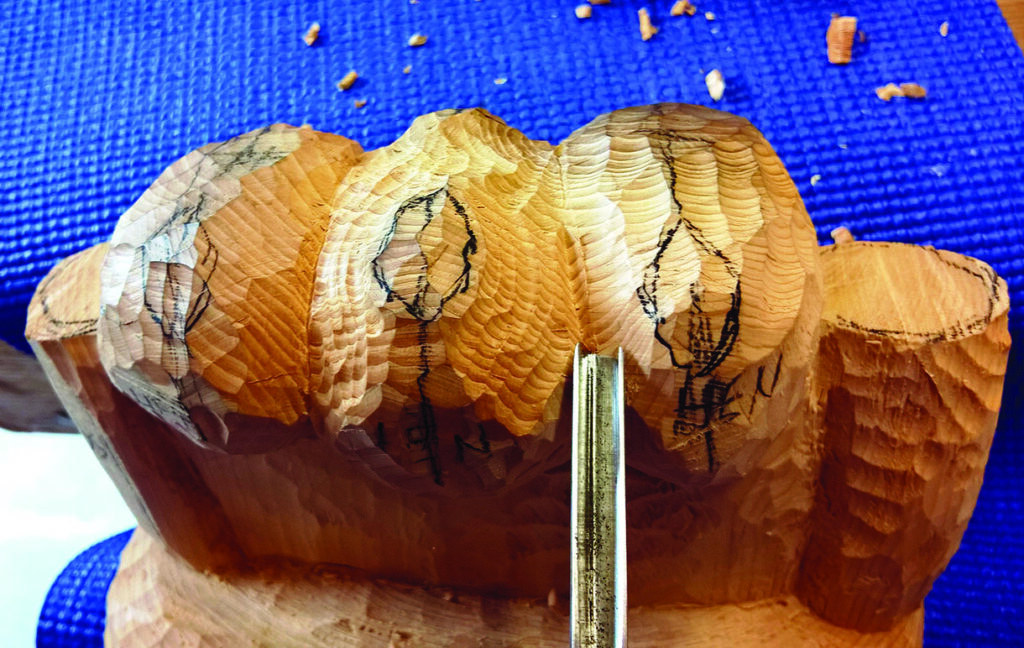
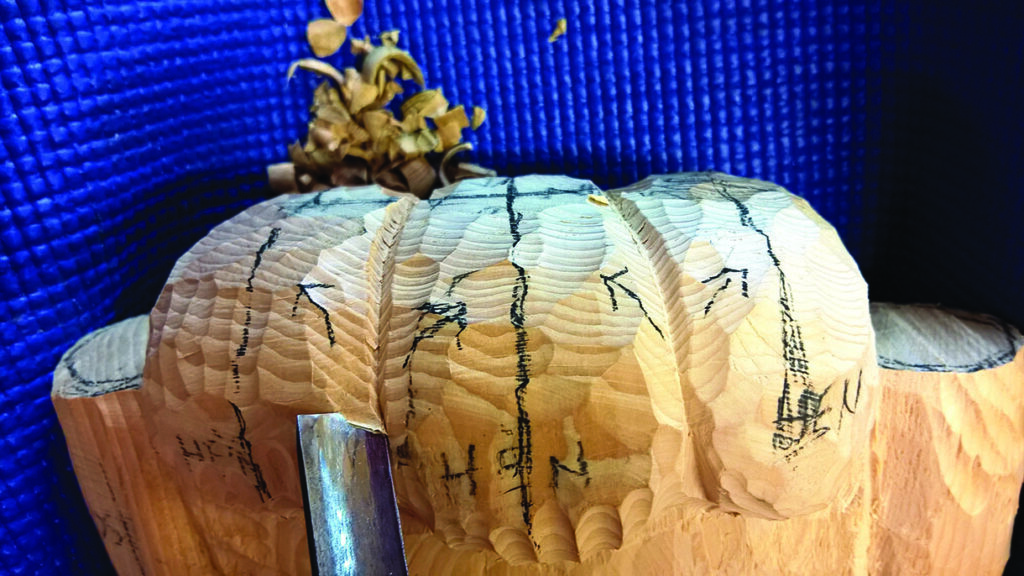
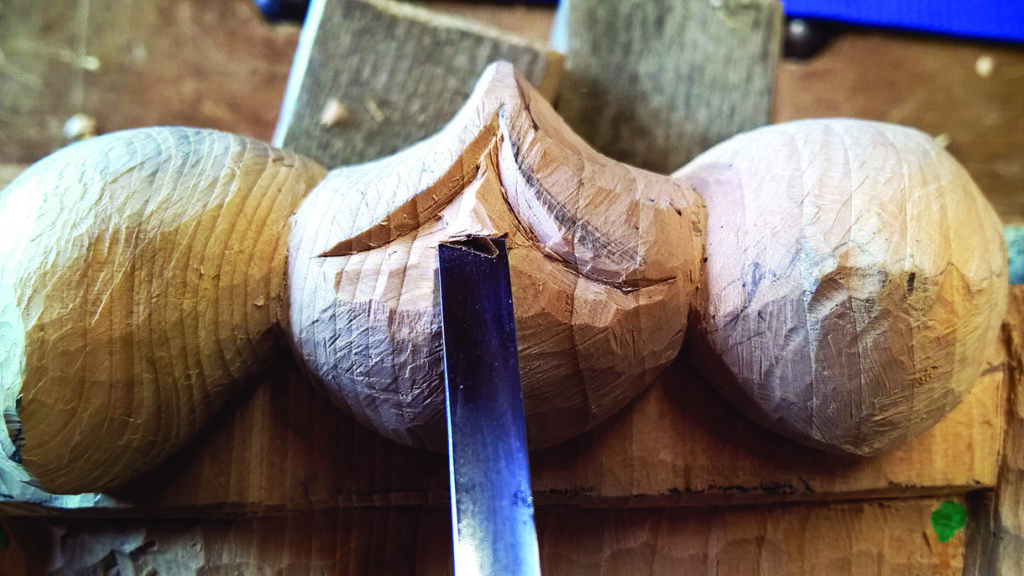
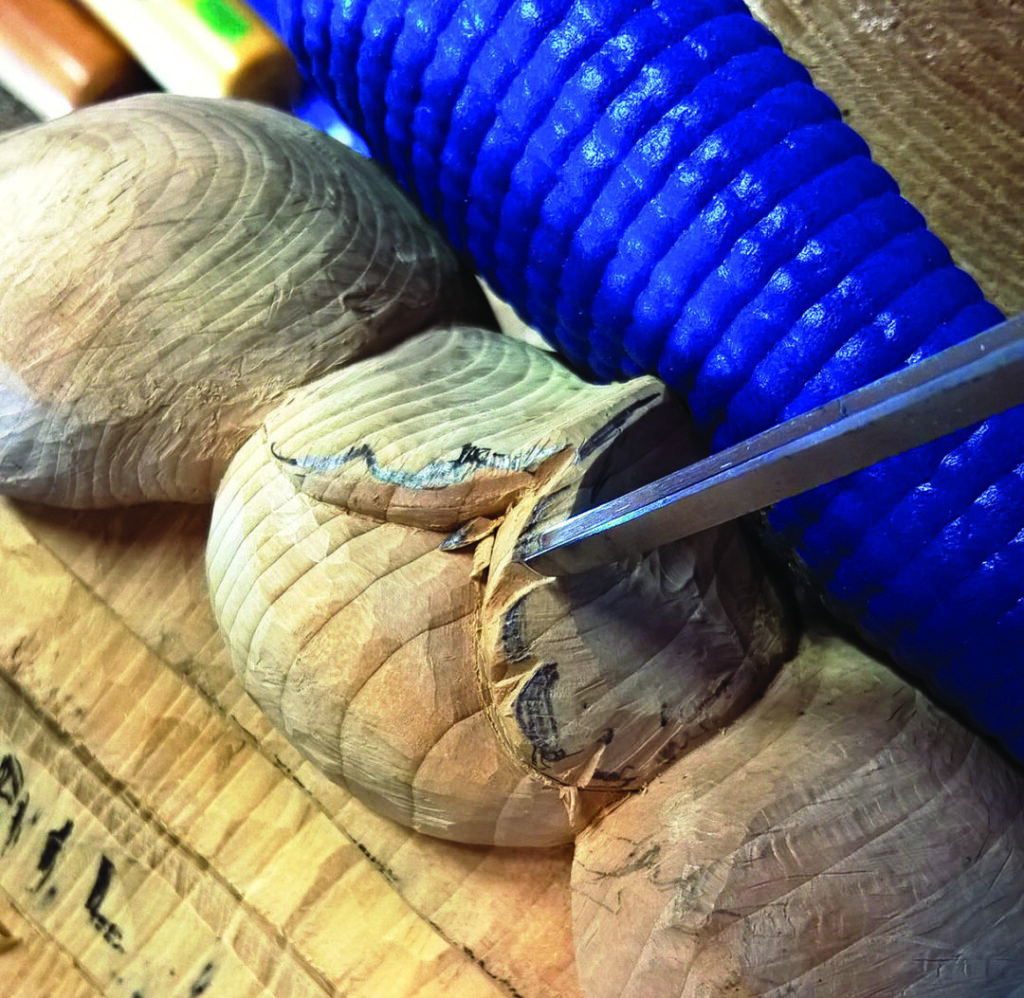
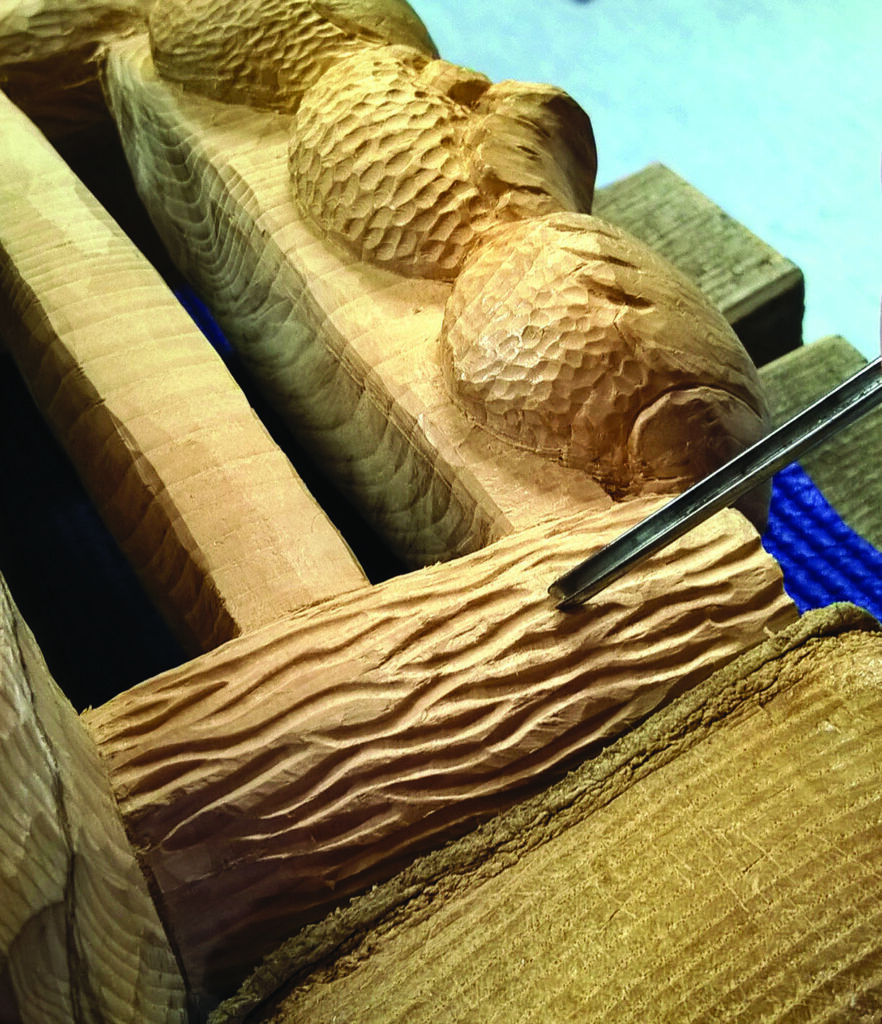
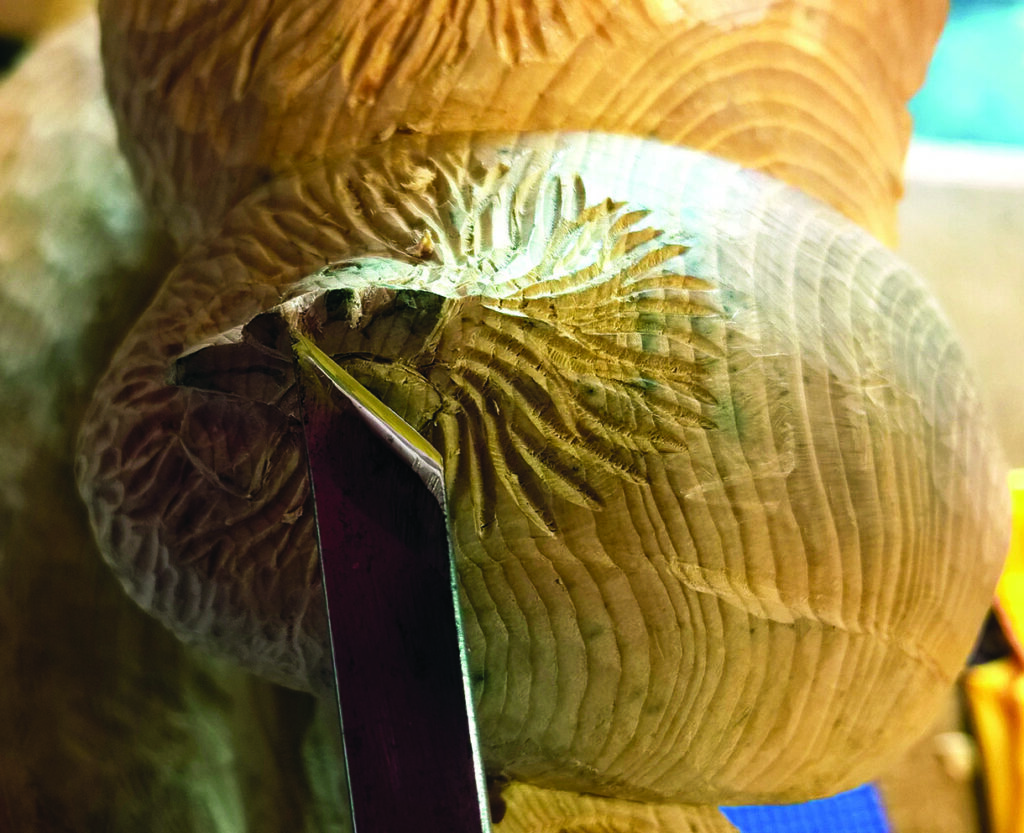
The tails and rear ends

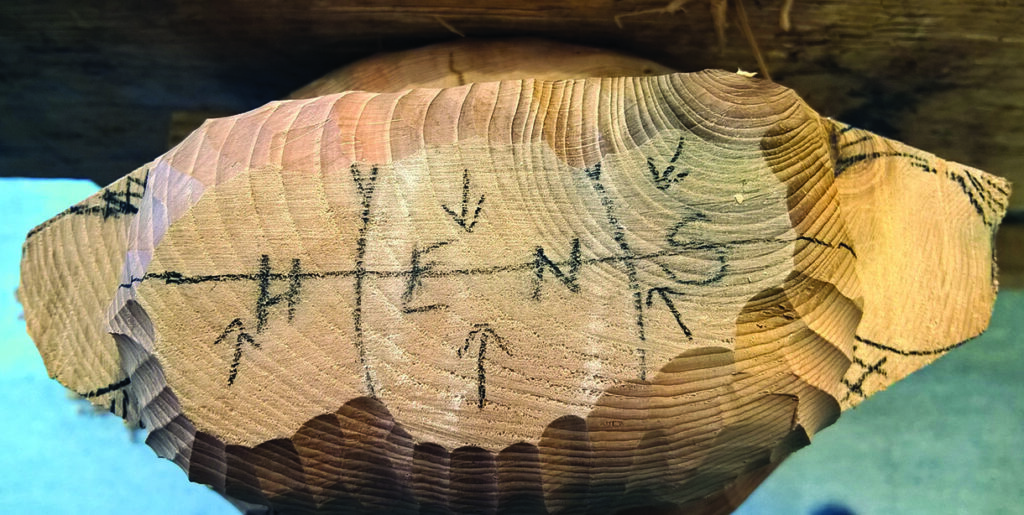
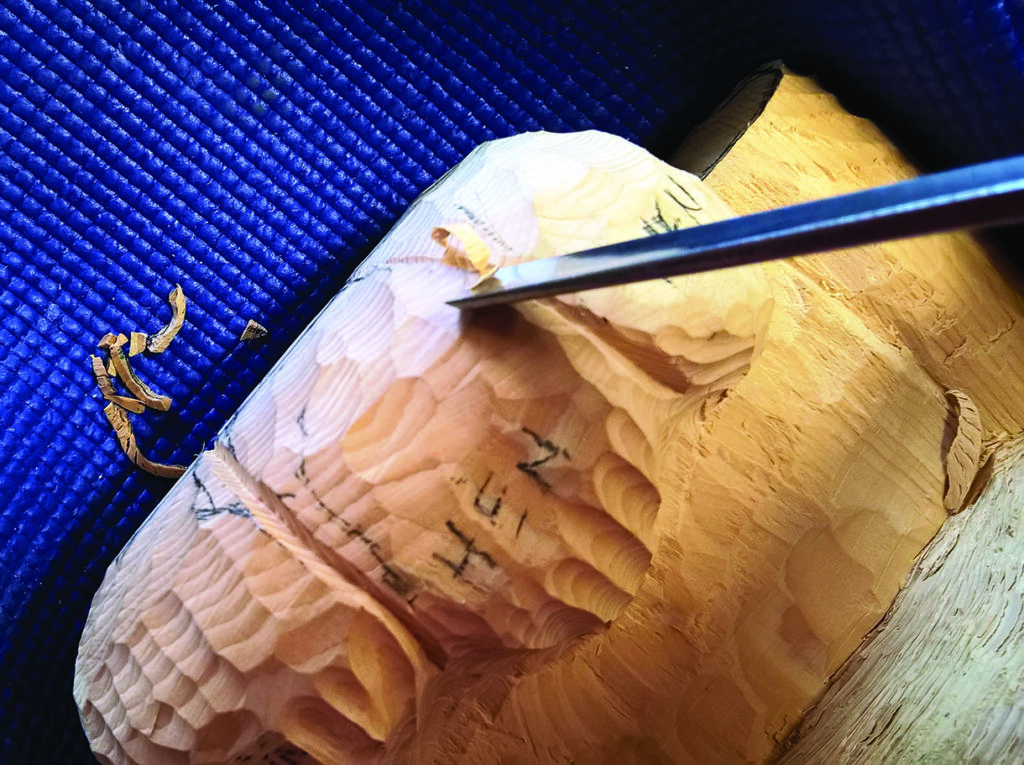
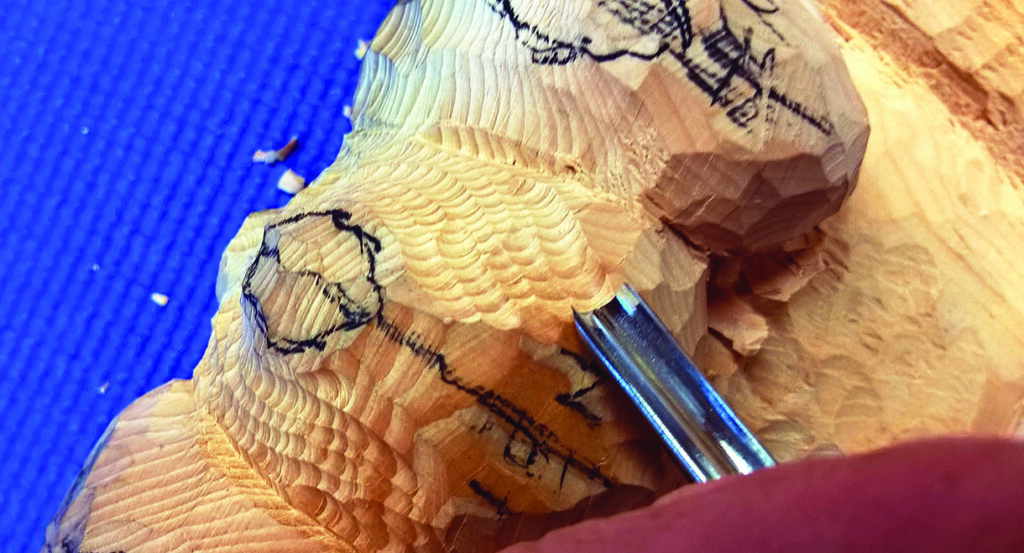
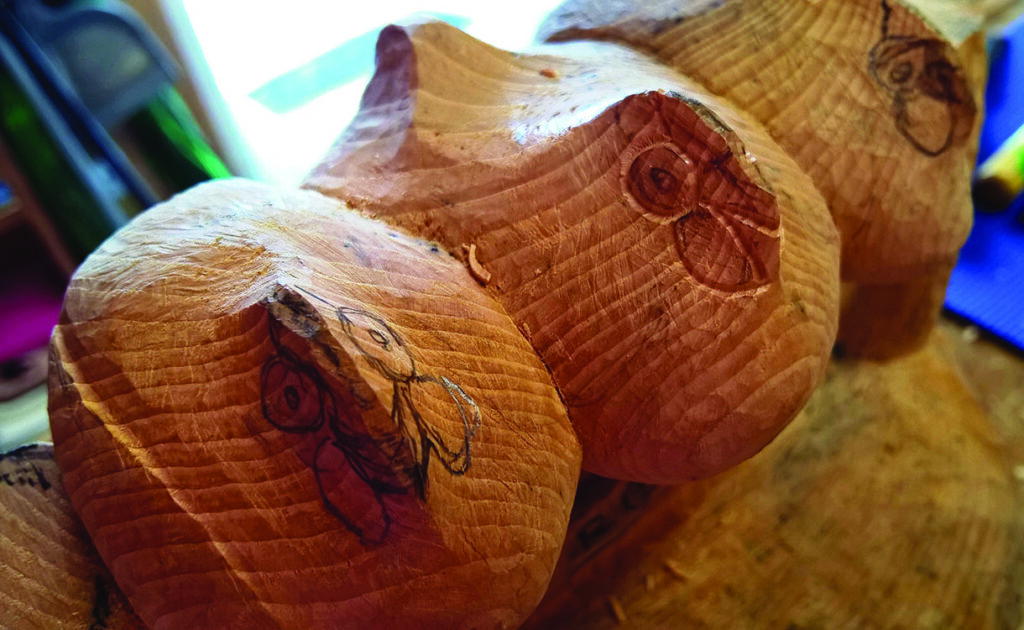
The heads

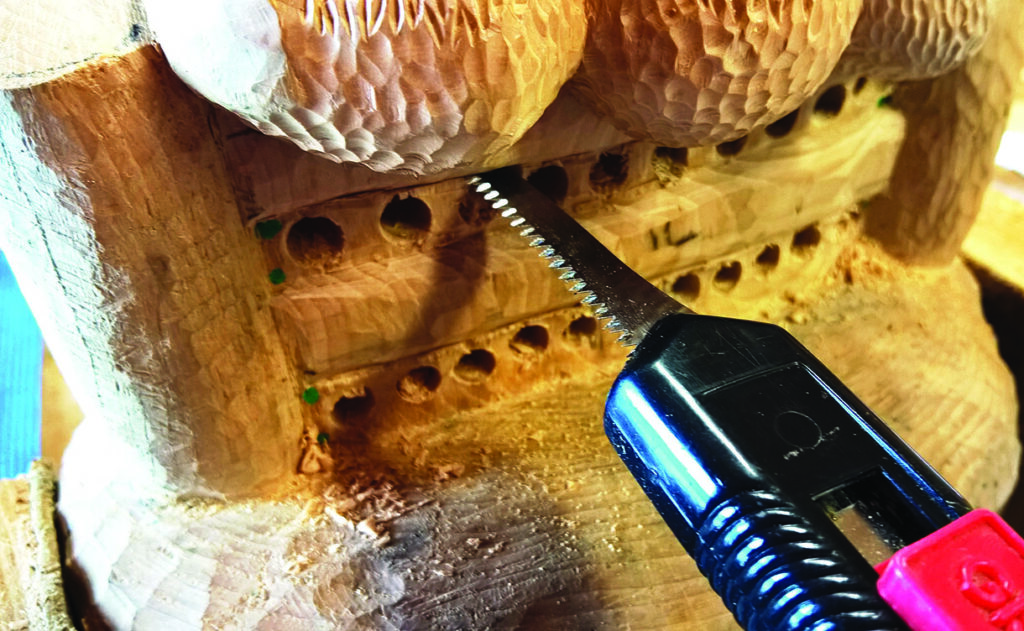

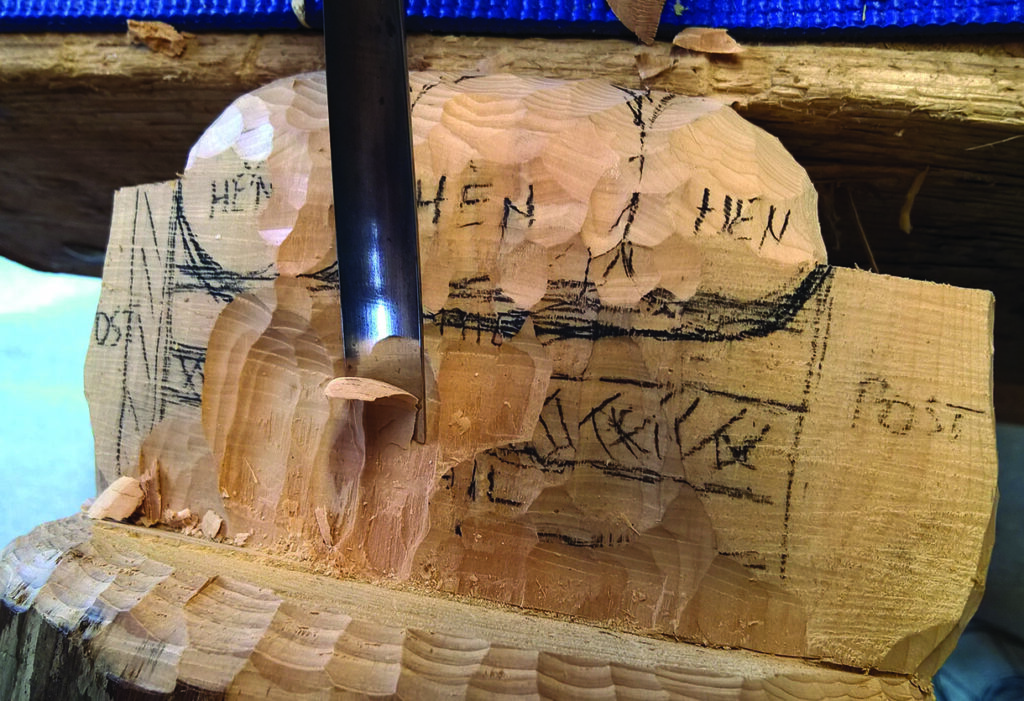
two posts
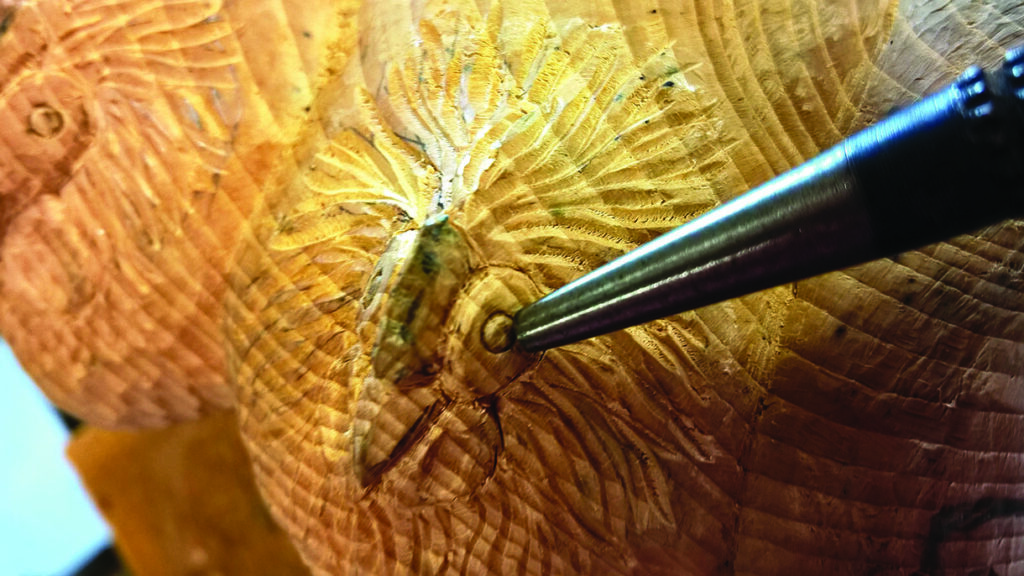
Finishing the heads
Applying a finish