Murray Taylor gives you a brief history of the origins of the Celtic alphabet; plus carving the letters and project ideas
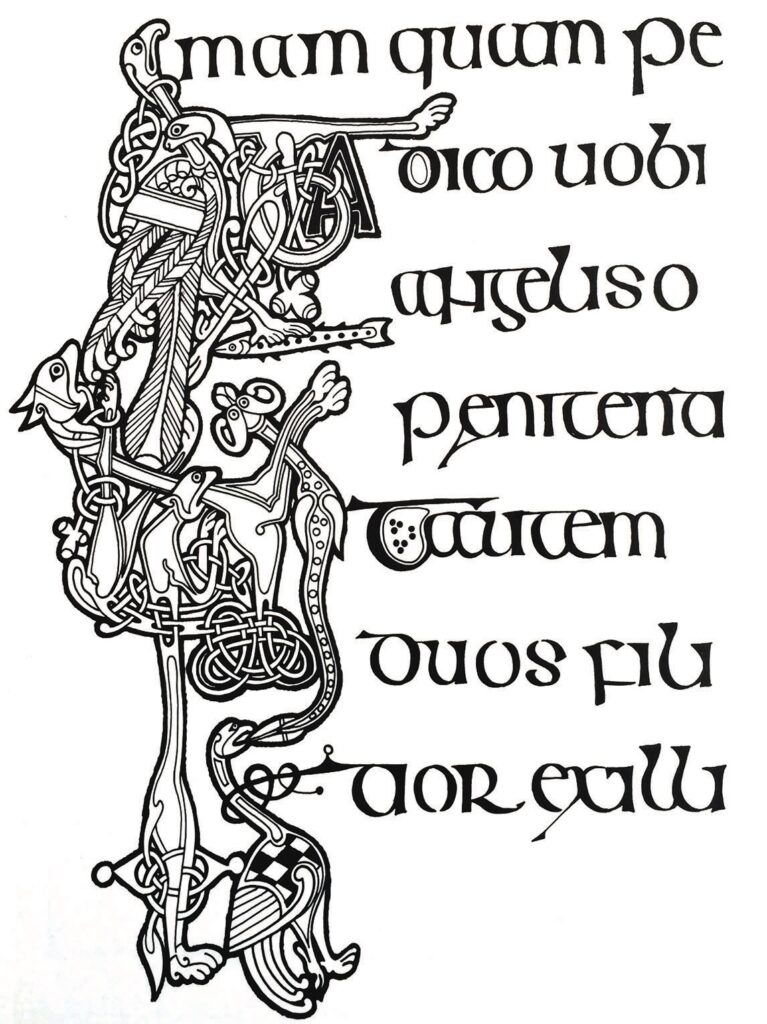
The origins of what we now describe as the Celtic alphabet go back into the mists of time and was generally associated with the origins of Celtic manuscript art. St. Columba, who was born in Ireland around ad520, was possibly the most influential person in the history of Celtic art.
It would appear that following a dispute with the king of Ireland in ad563 regarding a copyright dispute he went to Iona off the west coast of Scotland where he set up a monastery. It is from here that his work spread far and wide.
During the period between the 6th and 8th centuries various manuscripts were produced, namely The Book of Kells and The Book of Durrow, both now held in Trinity College, Dublin, and the Lindisfarne Gospels held by the British Library in London, these manuscripts provide us with remarkable images of Celtic calligraphy and many excellent images of these works can be viewed on-line.
As the Roman Empire grew, so it influenced the cultural art of areas that it dominated. However in certain areas where the Romans did not rule completely, they managed to retain a lot of their original art. In Wales, Scotland, Ireland, the Isle of Man, Cornwall and Brittany, for example, they managed to keep their old traditions and continued to develop their art.


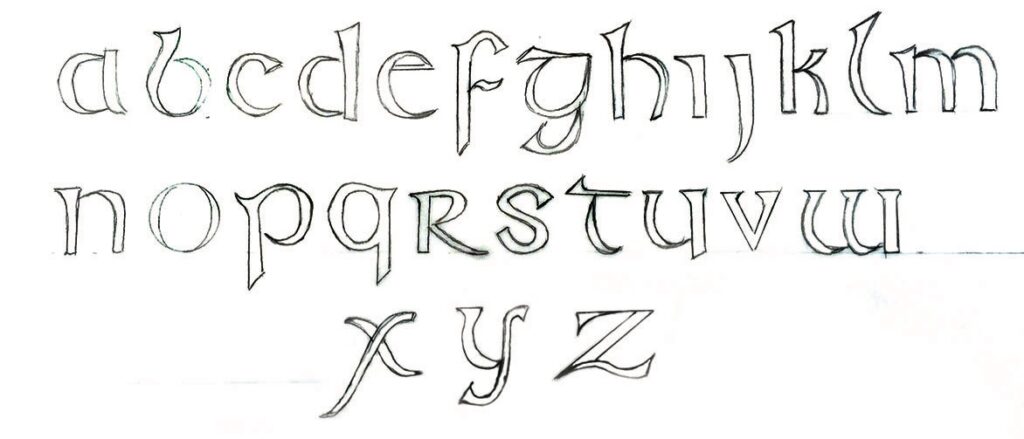
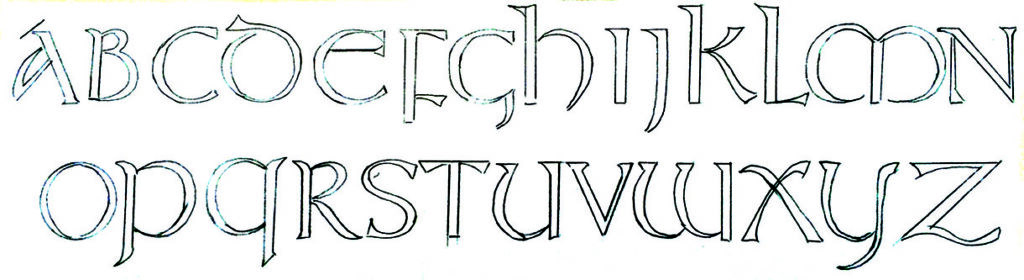
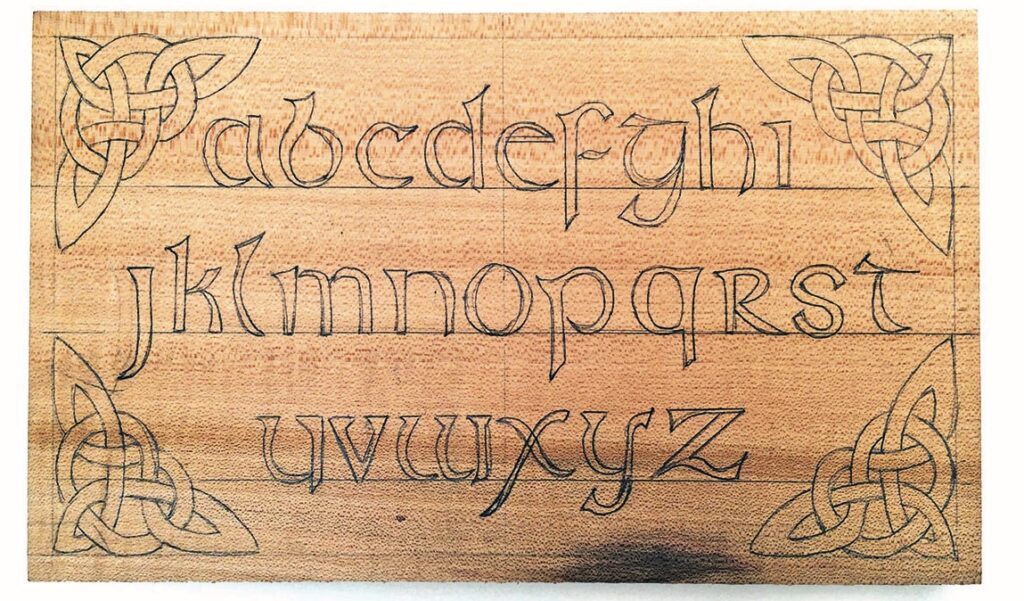
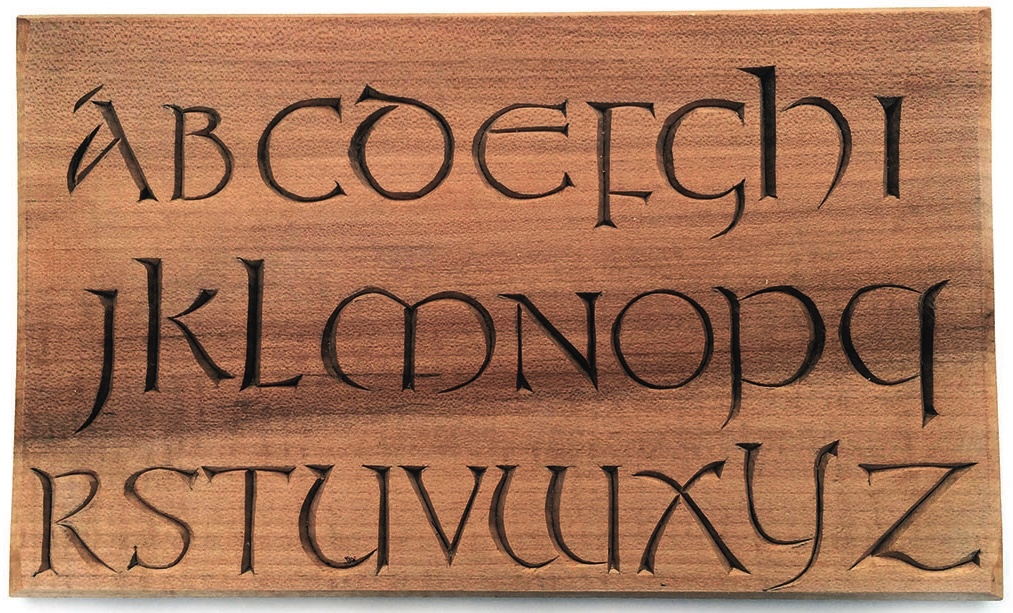
The Celtic alphabet
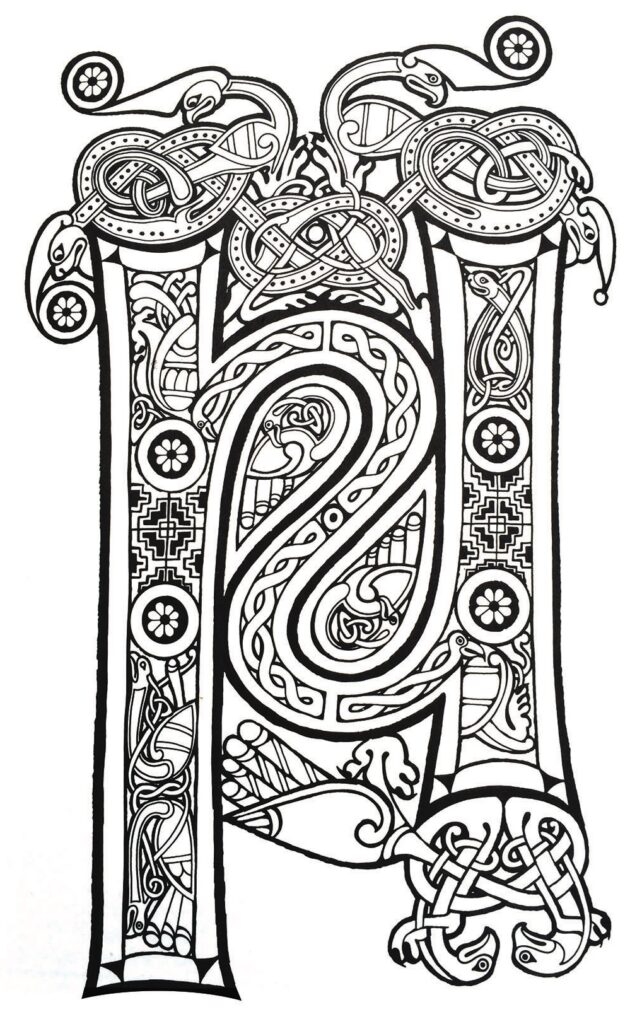
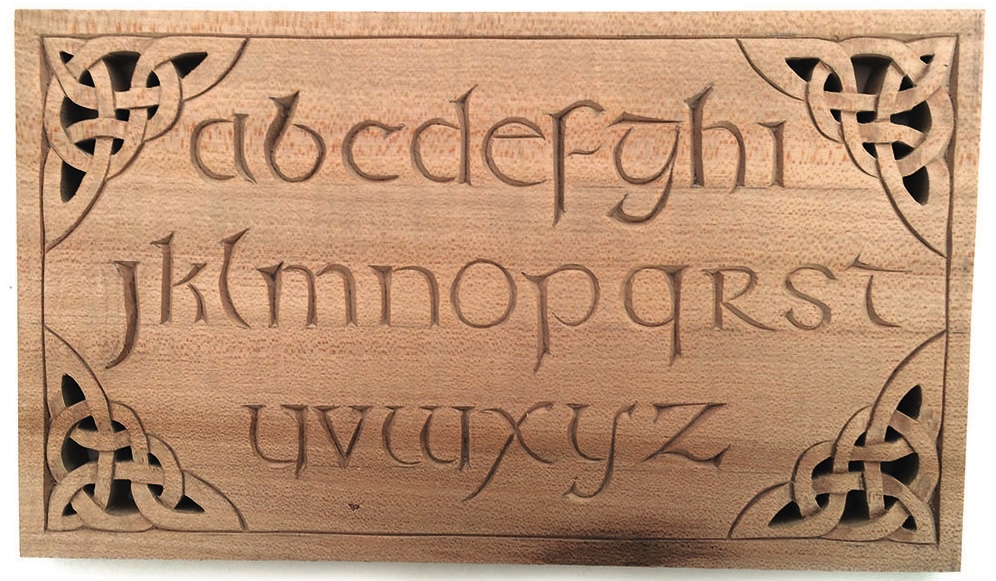
The original Celtic alphabet was in lower case with upper-case letters being highly decorated and presented in an illuminated form. As the alphabet spread into what are known as the Celtic countries, it developed to suit the needs of each. In the Welsh language, for example, the letters J, K, Q, V, X and Z do not exist, but the modern Celtic alphabet is adapted to cover the generally accepted 26 letters in both upper and lower case. If you examine the form of the letters in the upper and lower case it will be seen that in general they fall into two groups; those formed of circular shapes with straight elements and those that are almost completely circular.
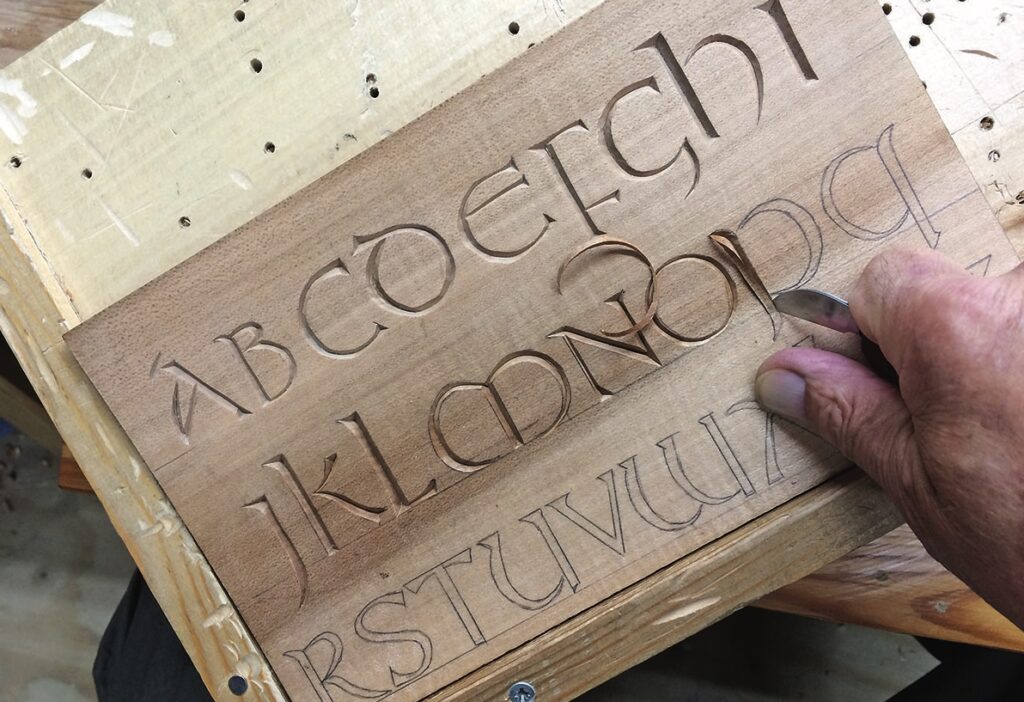
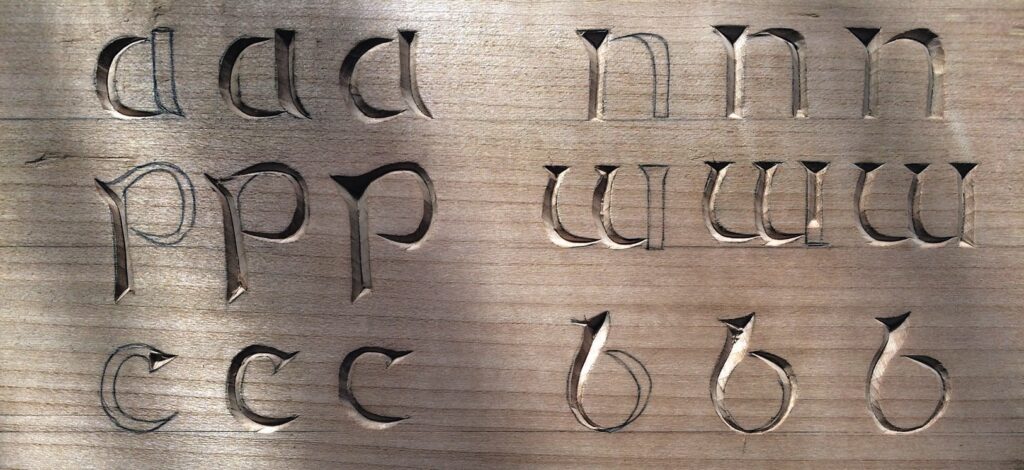
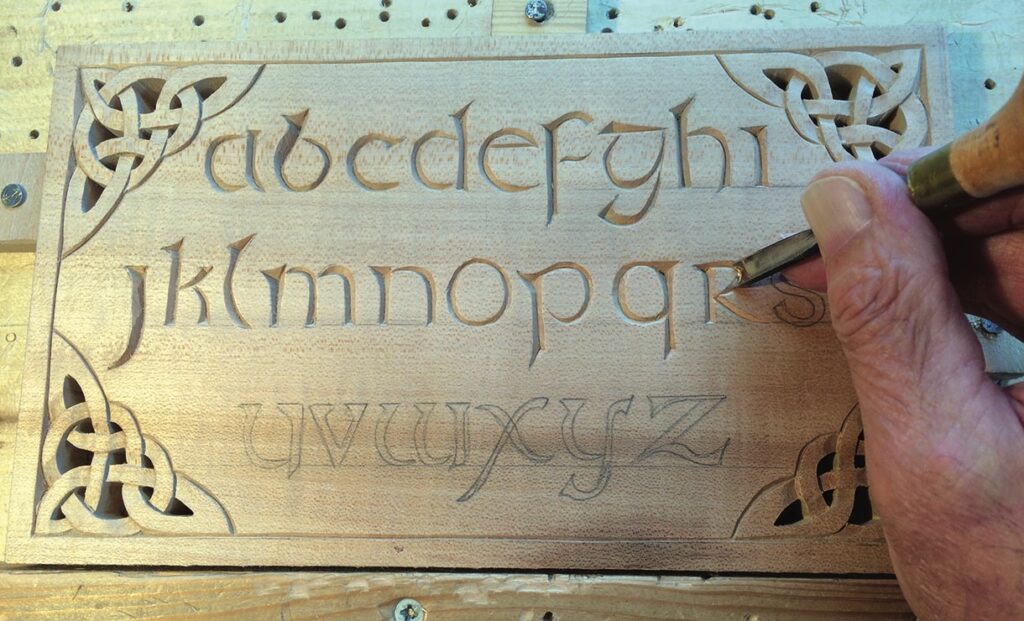
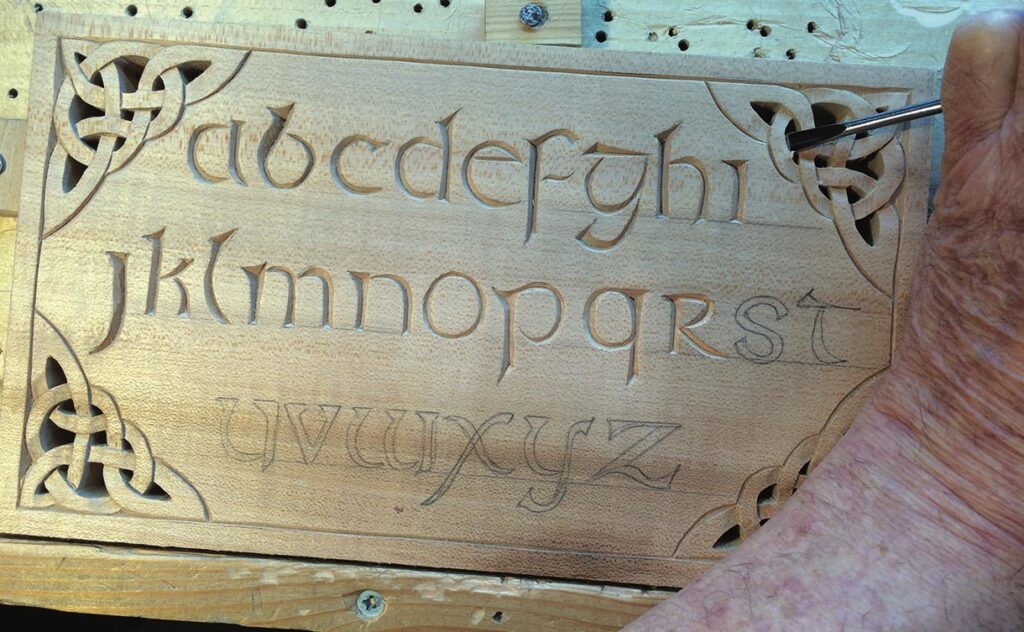
The stages of carving the letters are completed using the basic chip-carving knives and small gouges to clean up the curved sections. Unlike the carving of other fonts, I find it easier to carve the Celtic font by working each individual letter from left to right.
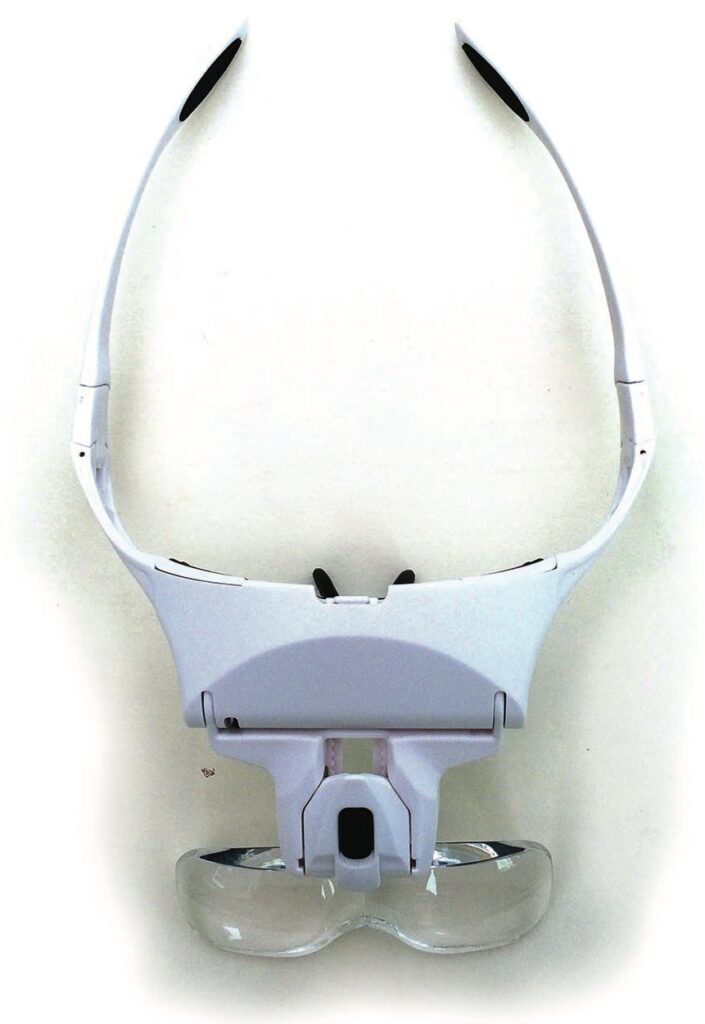
CARVER’S NOTE: If you find it difficult to carve the letters neatly you could try a pair of magnifying glasses. The ones shown here have the additional refinement of an LED light. Glasses like these can easily be found online.
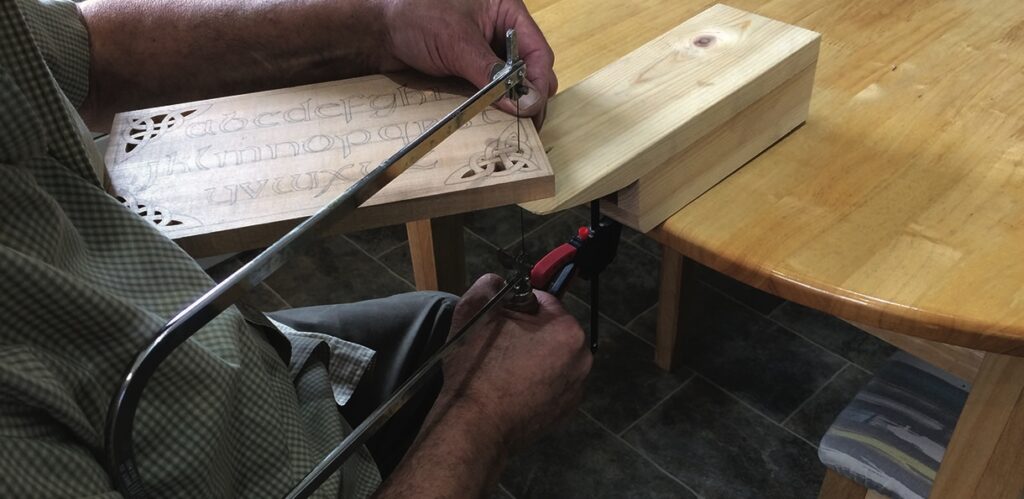
Sampler board
As in all my articles, I do not give specific instructions for projects but rather put forward ideas that could be a project. In this case it is going to be the carving of the lower-case Celtic font as a sampler with a Celtic style border.
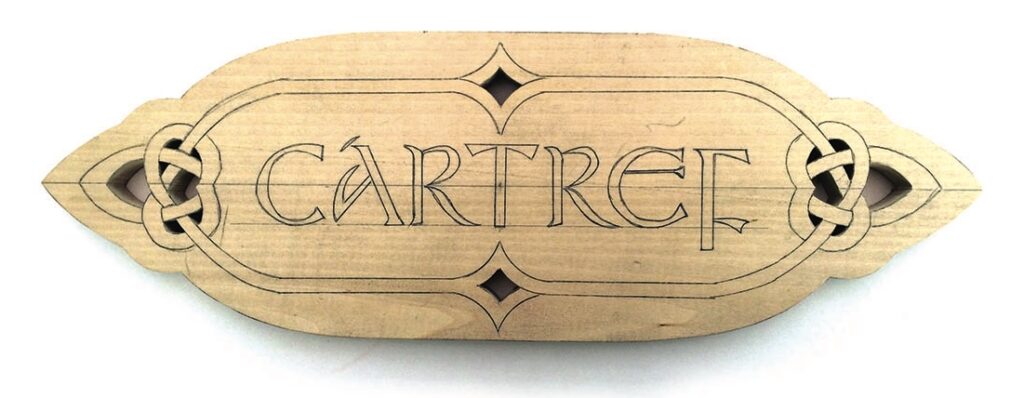
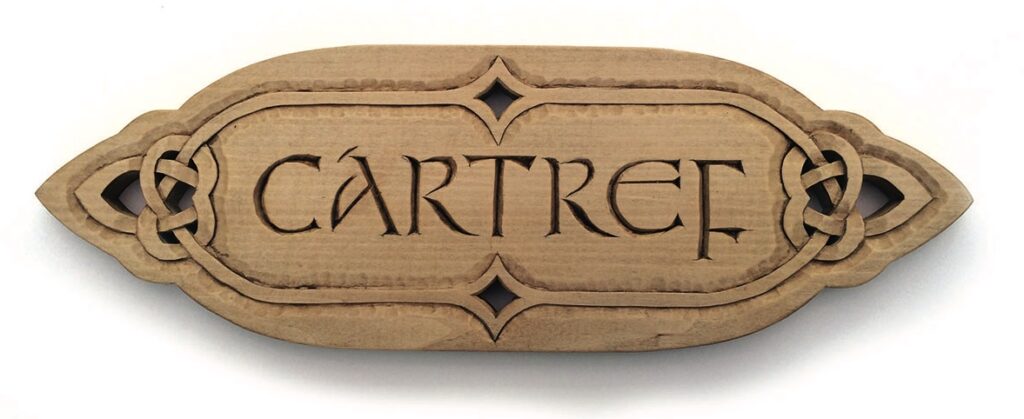
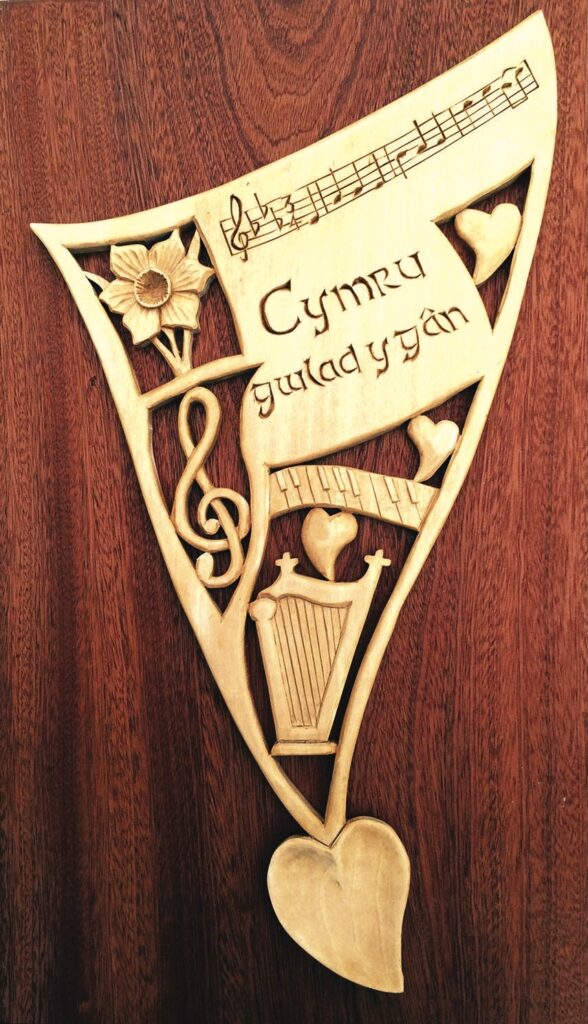
Carving a house sign
The next idea for a project is a house sign. In this case it is a commonly seen sign in Wales, it is the word ‘cartref’, which means ‘home’, but you could of course choose any house name or make it a room sign, a welcome sign or anything that takes your fancy.
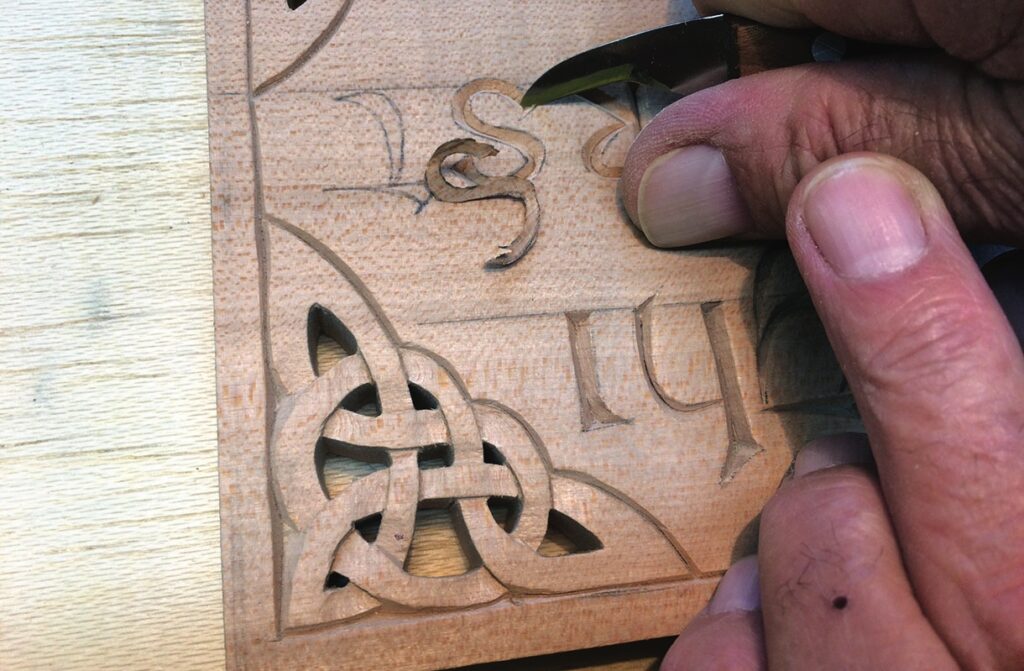
You may have noticed in the third picture of carving the lower-case sampler that the ‘S’ has been carved releasing just one chip. This is achieved by first cutting the two stop-cuts and then running the knife each side of the letter whilst swivelling the holding board.
I must admit that it does take a lot of practice, but the result is a really smooth letter which makes all the difference to the appearance of your work.
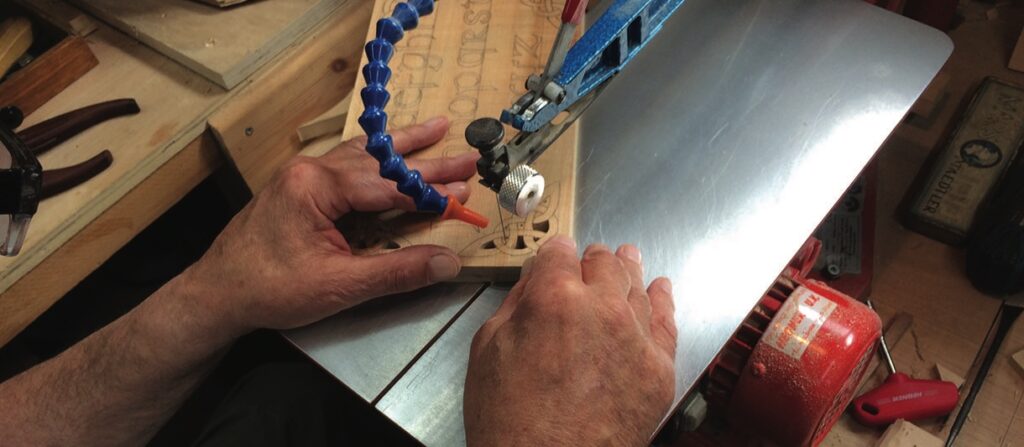
CARVER’S NOTE: If you are having trouble holding your work
you might try a simple swivel board, holding your piece of
work with stops and wedges
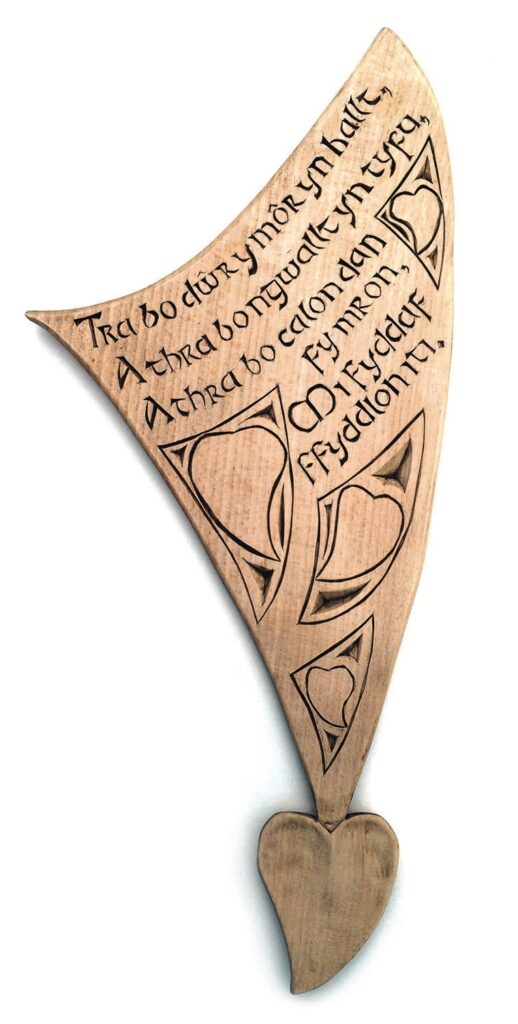
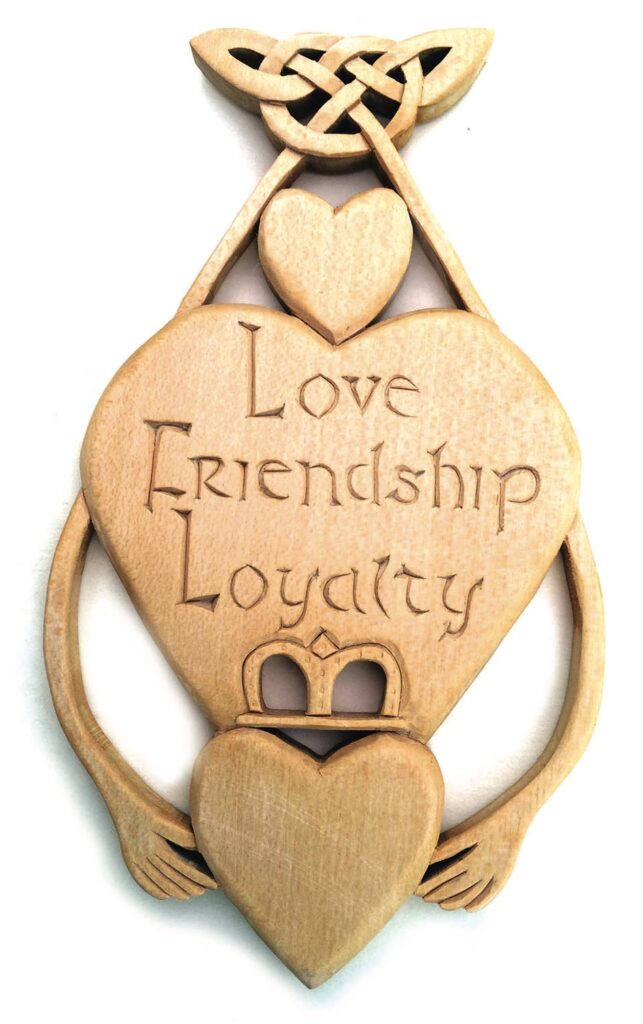
As I live in Wales I have concentrated so far on designs of a Welsh nature, so now let’s look at a design idea from another Celtic country. In this idea for a project I am going incorporate the lettering into a Claddagh design. In the design the heart represents love, the hands friendship and the crown loyalty. The original design is said to have originated in a small fishing village called Claddagh in Galway.
As a jeweller I was called upon many times to make Claddagh rings and pendants, but in this example, it is a wall plaque. The hands of the Claddagh extend to join up in the knot and support the central heart. I have kept the carving down to a minimum so that it is a good exercise for beginners, but this could easily be changed to suit different skill levels
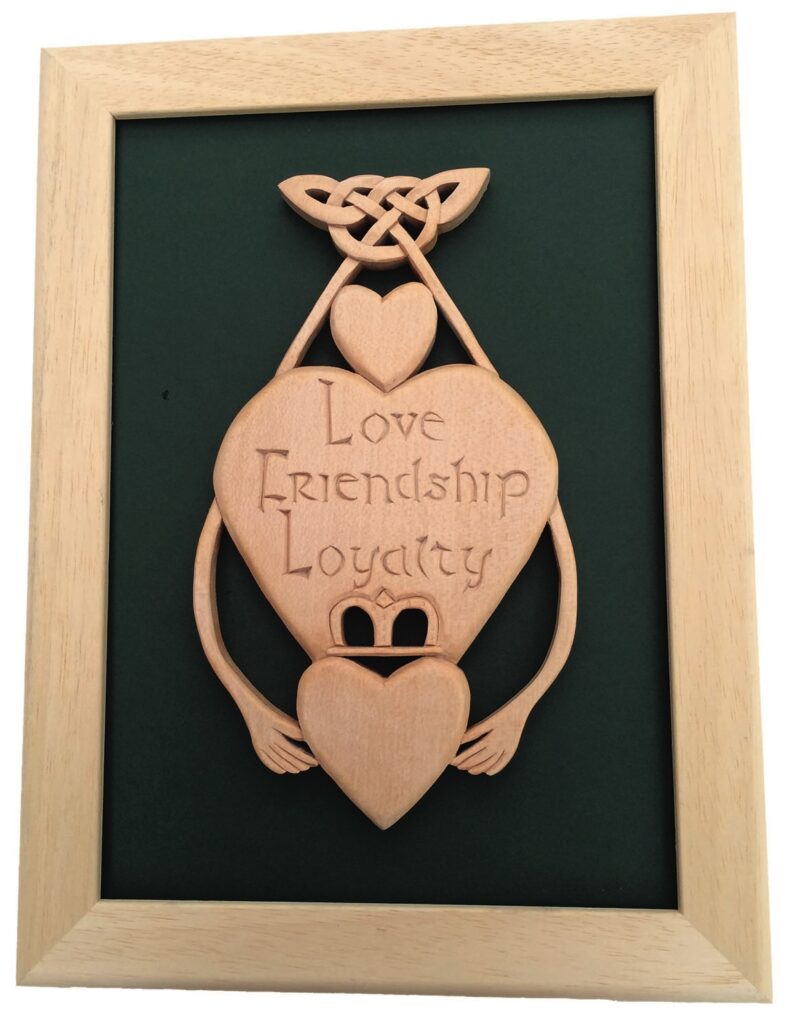
My project ideas are open ended and designed to give food for thought upon which you can develop your own ideas and designs, for example, the simple wall plaque could be elevated by simply putting it on a backing board and framing.
Some cup hooks at the bottom of the frame would give you a key-hanger or you could suspend a notepad. It is easy to see how these simple ideas can lead you onto more ambitious projects. So, I hope this article will serve to activate your creativity.
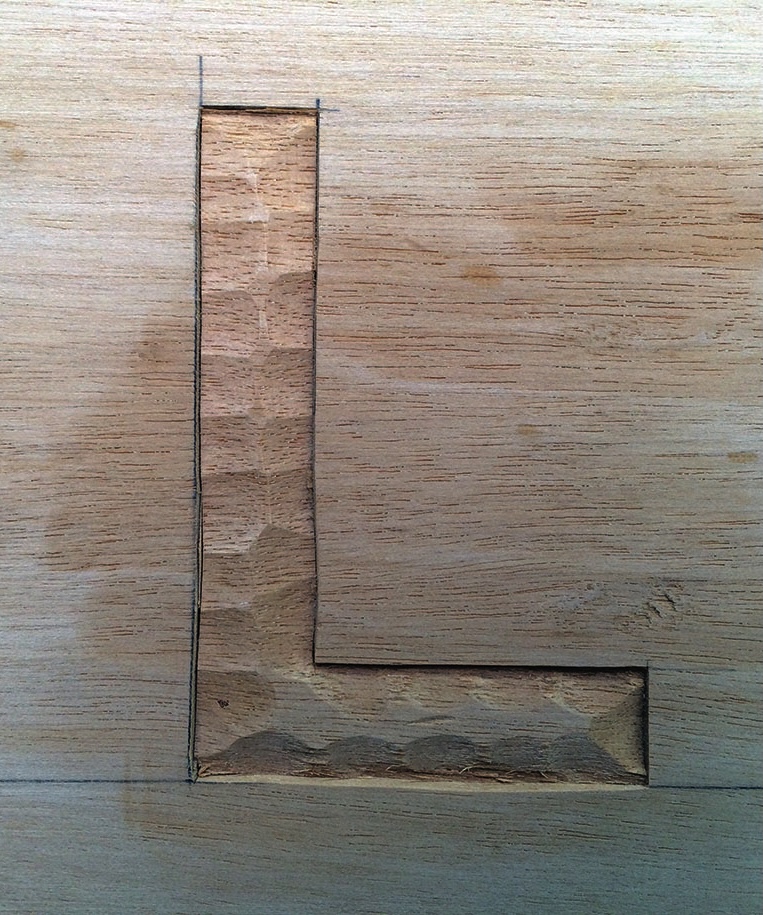
It is time take a look at carving below the surface of the wood. This is known as ‘intaglio’ work and it opens up a new dimension to our lettering. First, the letters are drawn onto the wood as shown.
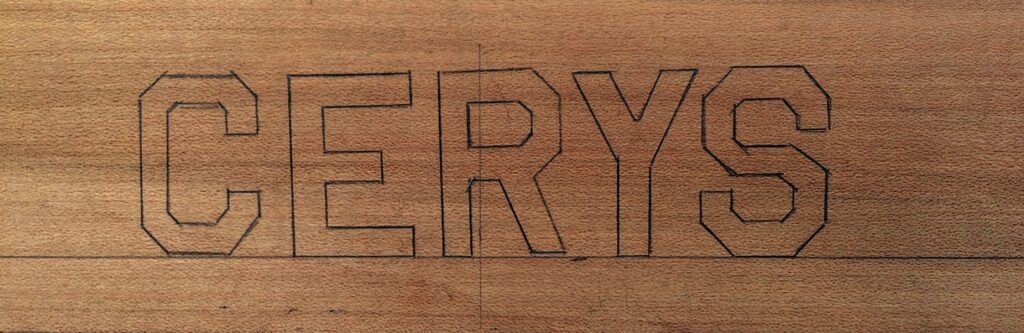
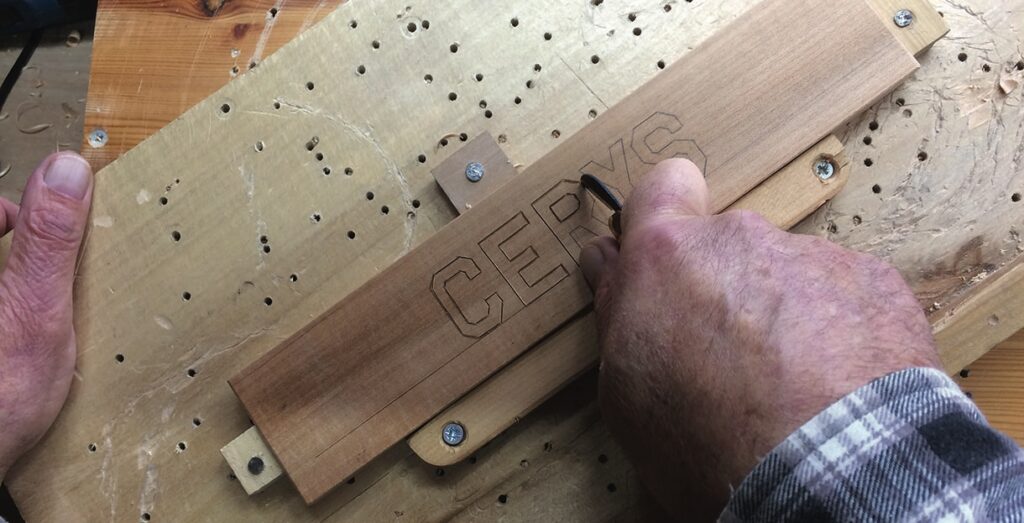

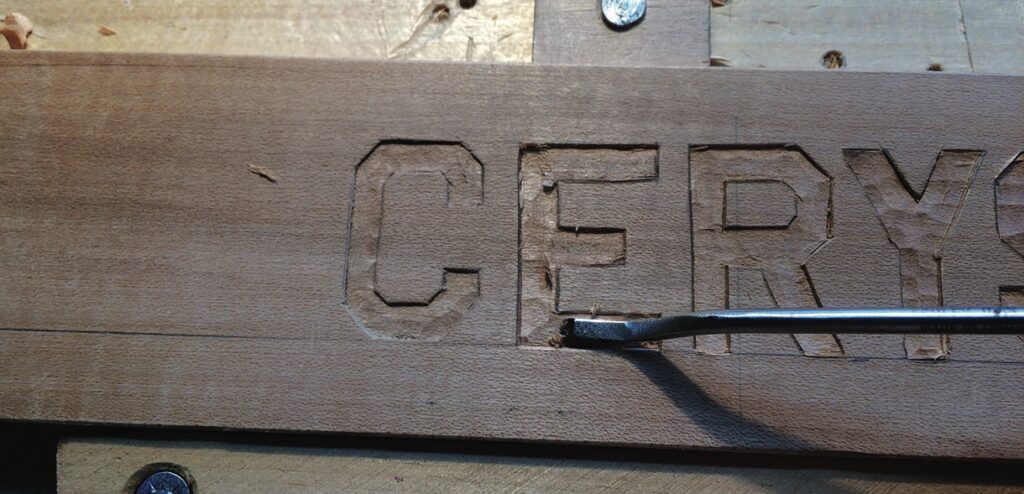
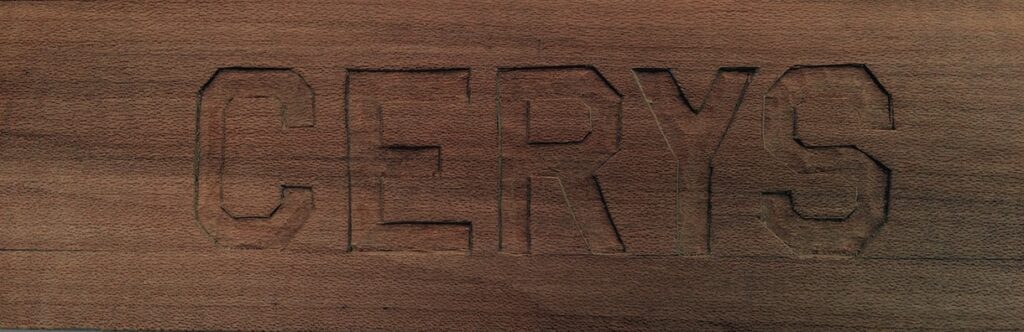
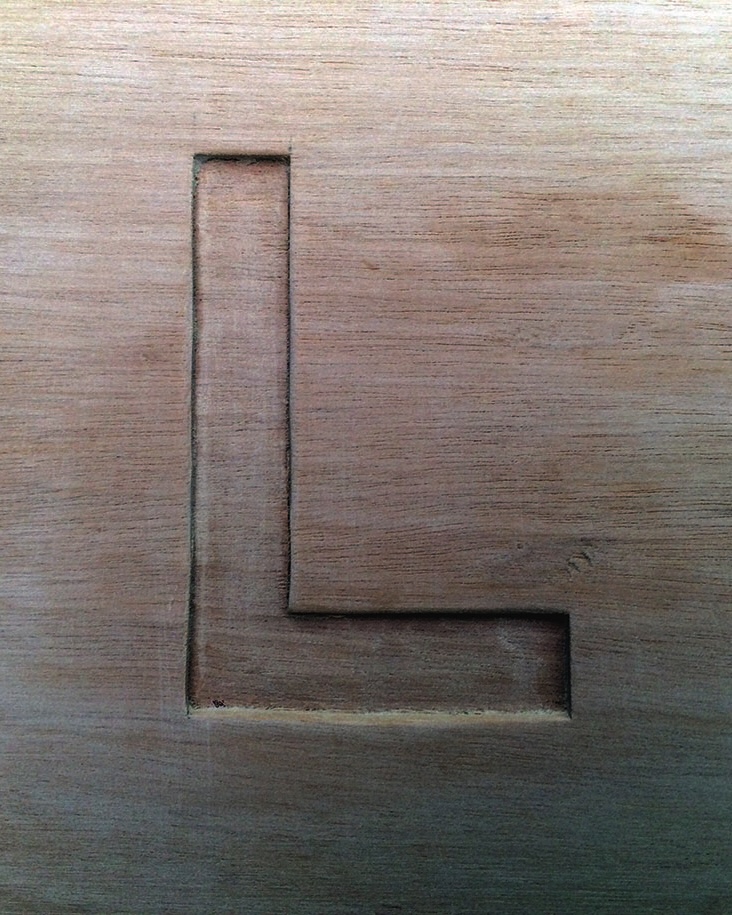
The outline of each letter is cut down to near the lower level, taking care not to over-cut into what will eventually be the surface level. When this has been done around the whole letter you can start to carve down with a shallow gouge of suitable width, being careful not to chip the surface level. When nearly at the required depth go around the outline with a knife once more. Then finish the ‘bottom’ of the letter with a dog-leg chisel, but be careful not to let the corners of the chisel dig in. In this example I have carved the Welsh name ‘Cerys’, which could be used as a name plate for a door, on a trinket-box lid or on a slide for a pencil box.
The letters I have carved in this example are 30mm high but you could of course, use this method for much larger work. If you do decide to carve larger letters, and especially if you want to use harder woods, you will need to cut down with a chisel and mallet as shown.
The rest of the process is just the same as with the smaller letters, but using gouges of a suitable size. You could enhance this style of lettering by texturing the lower level with a punch or perhaps painting.
Try to develop your own ideas and techniques and remember not to carve when you are tired. Keep your tools sharp and ‘practice, practice, practice’.