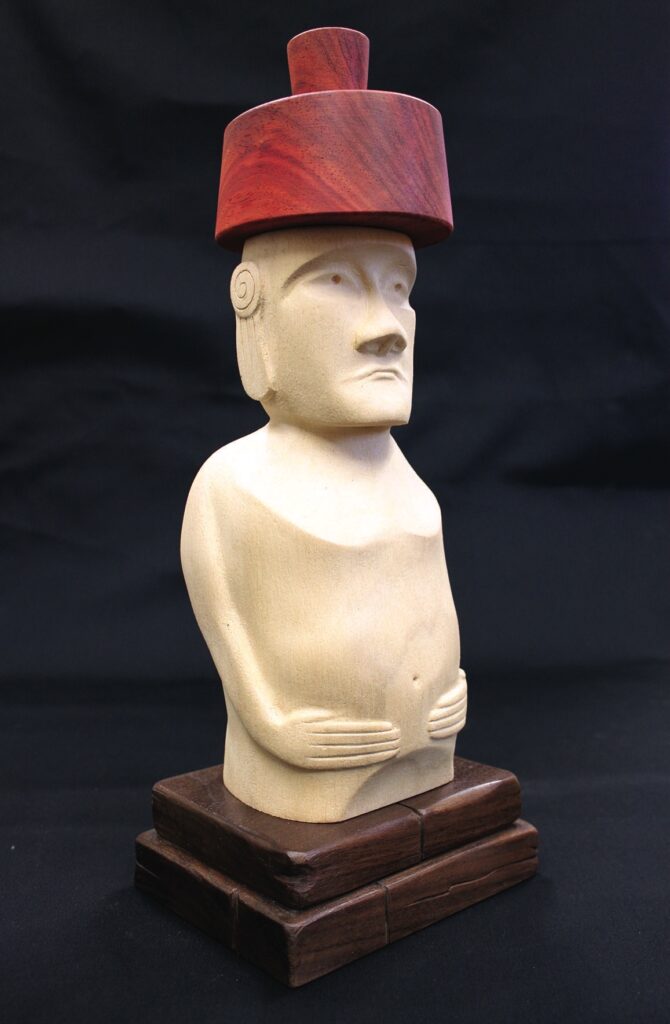
Mark Gough carves this unusual statue

The statues of Easter Island, or Moai, have fascinated people for centuries – in particular with regard to how they were created and erected. It is now understood that they were hewn from quarries of volcanic rock then detached and transported to their final resting place with ropes and rollers. For this project I have chosen to do my representation of a Moai.
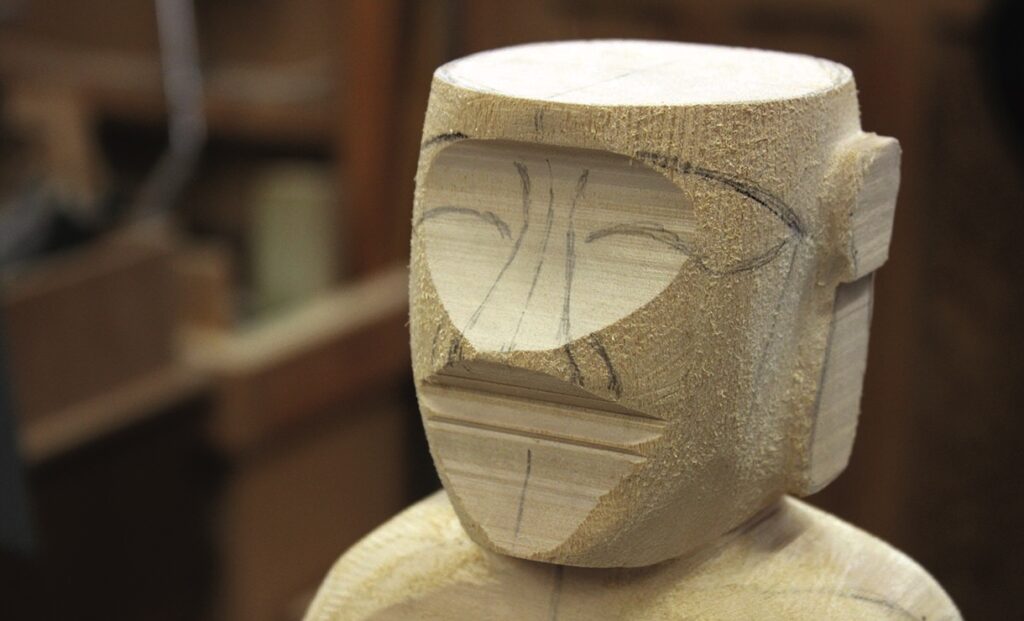
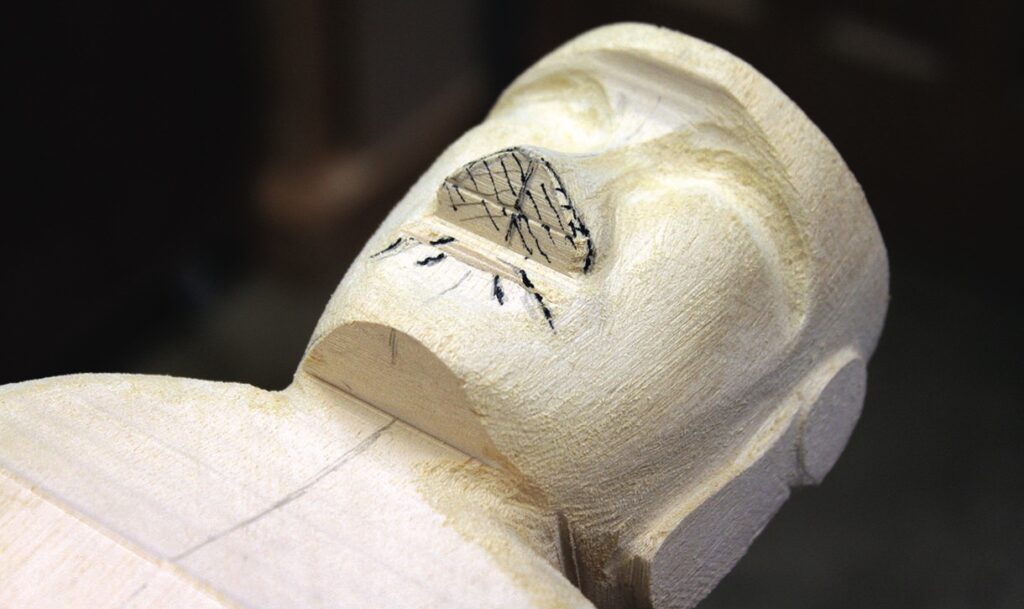
None of the statues are identical as each one is said to represent a deceased chief or person of importance and my inspiration has been drawn from a number of different ones, rather than making a copy which may be disrespectful to the Rapa Nui culture. This is also a way of paying homage to the original craftspeople themselves.
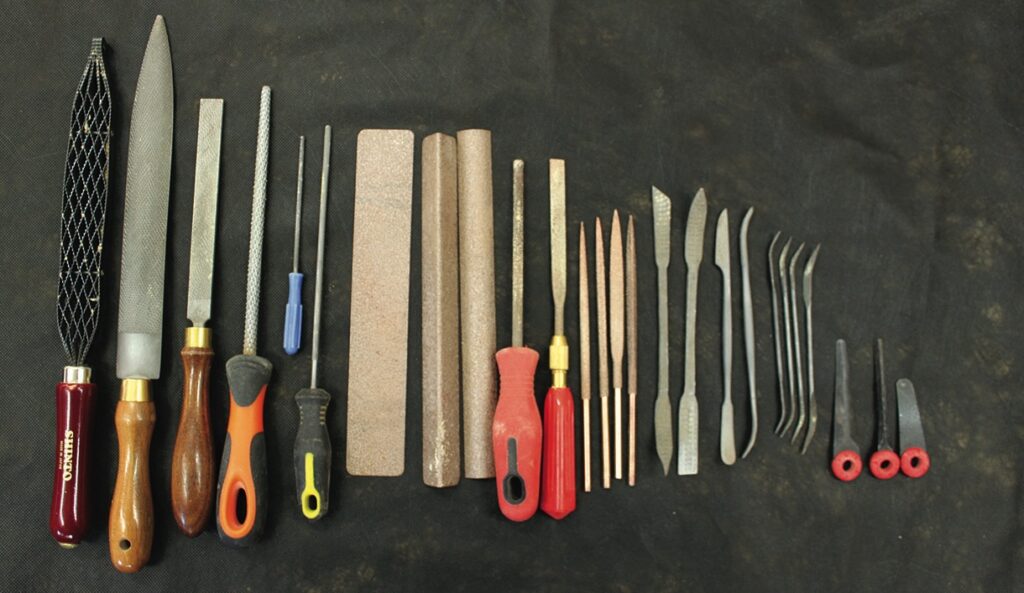
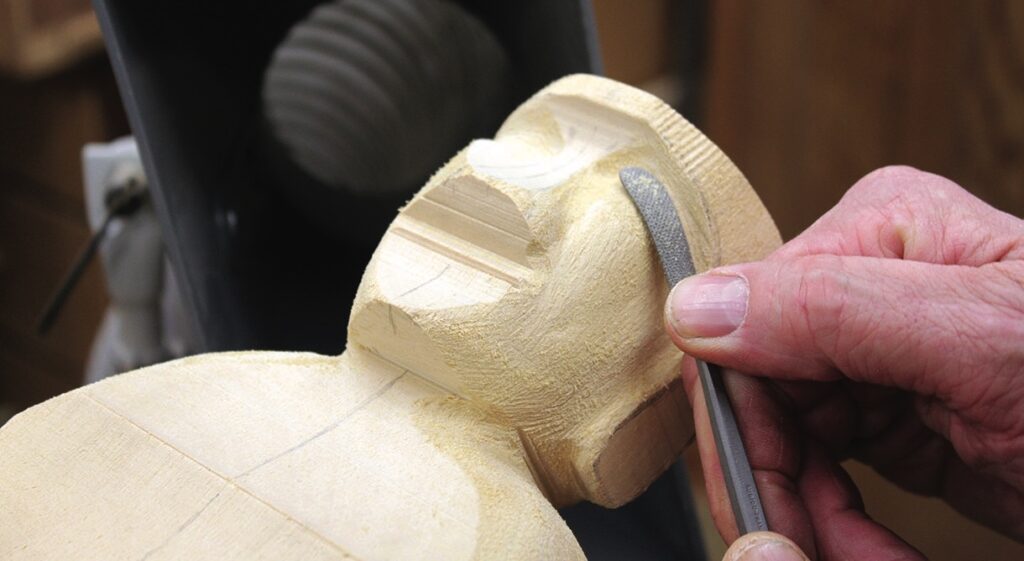
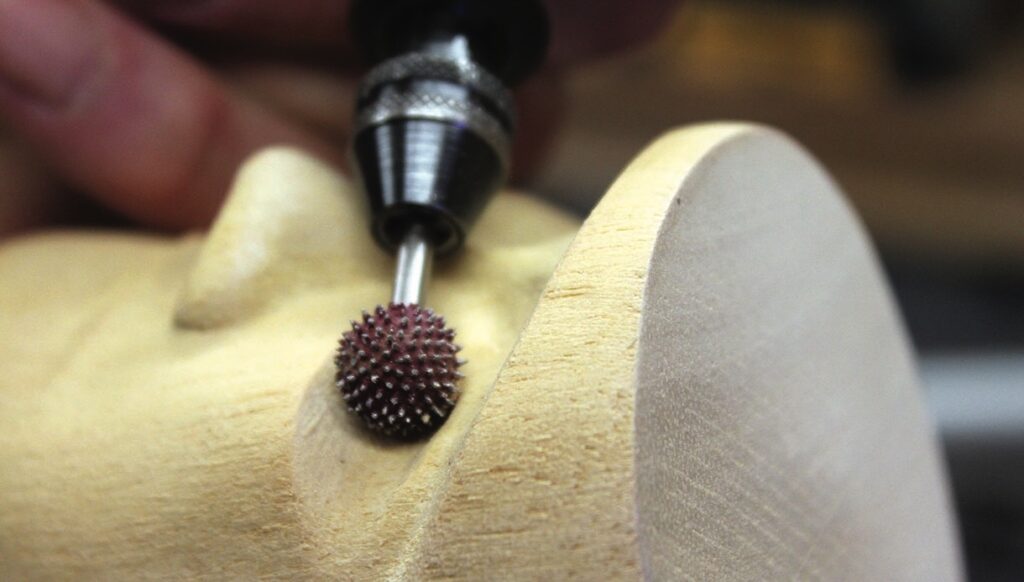
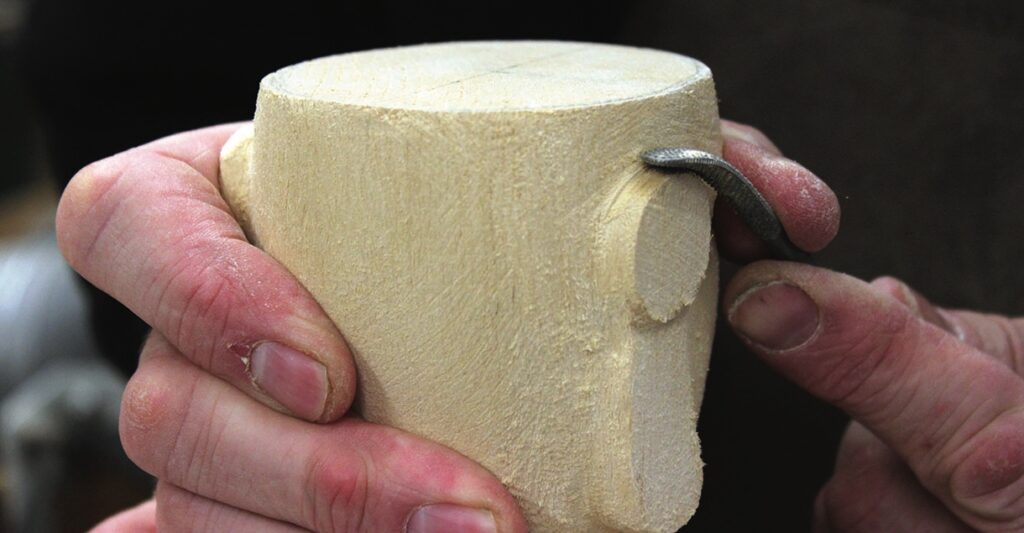
To make it interesting I have chosen to use rasps, files and rifflers, along with a few selected rotary burrs and some other types of file to create the figure, but you can, of course, use carving chisels. It is an excellent project for the beginner to experience carving in the round without the outlay on lots of gouges, although some rasps can be quite expensive. It is also a different discipline allowing the master carver to let loose and be creative. I have chosen jelutong (Dyera costulata) for the main body because of the more or less nondescript grain pattern which lends itself to the original stone texture – and the fact that it is a very easy wood to work with. The hat has been fashioned from padauk (Pterocarpus soyauxii) and the plinth, known as an ‘ahu’, from American black walnut (Juglans nigra). Try to add your own representation of the figure – for example, try eyes closed or a thicker or thinner mouth or flared nostrils. You could add some surface decoration to the hat for instance. Experiment and have fun.
Things you will need
Tools:
• Personal and respiratory protective equipment (PPE & RPE)
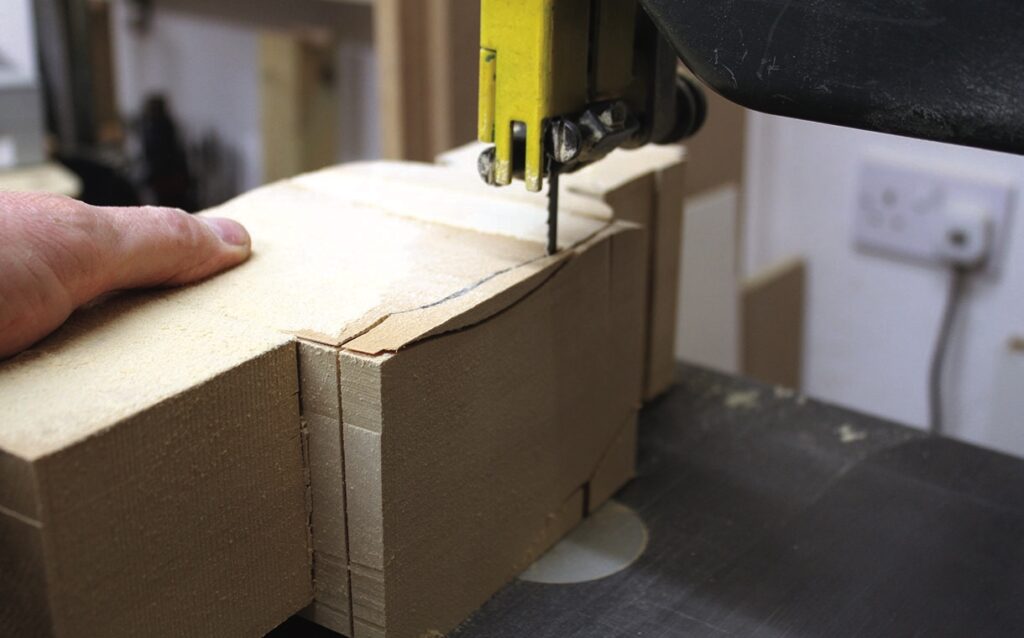
• Bandsaw
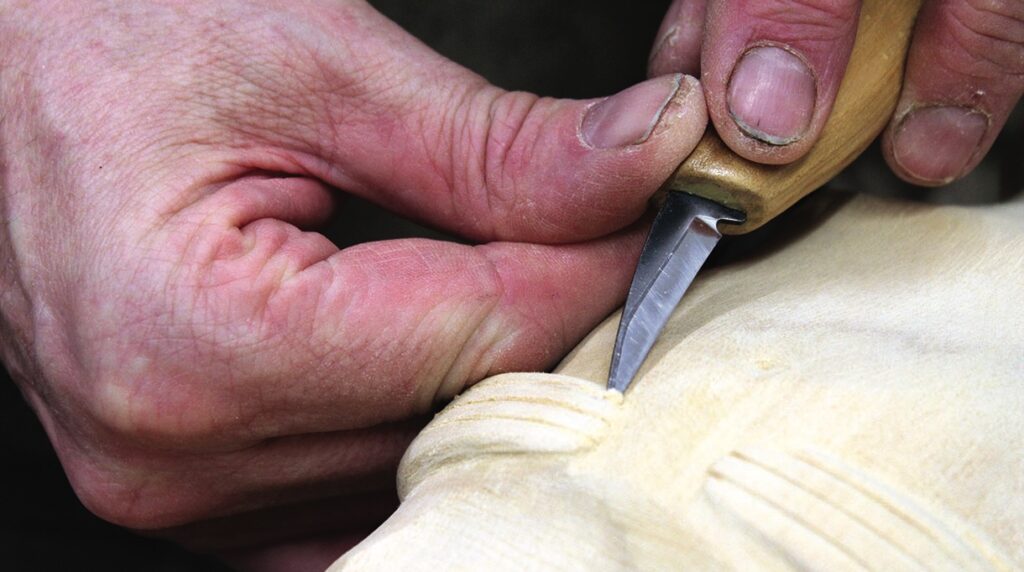
• Knife
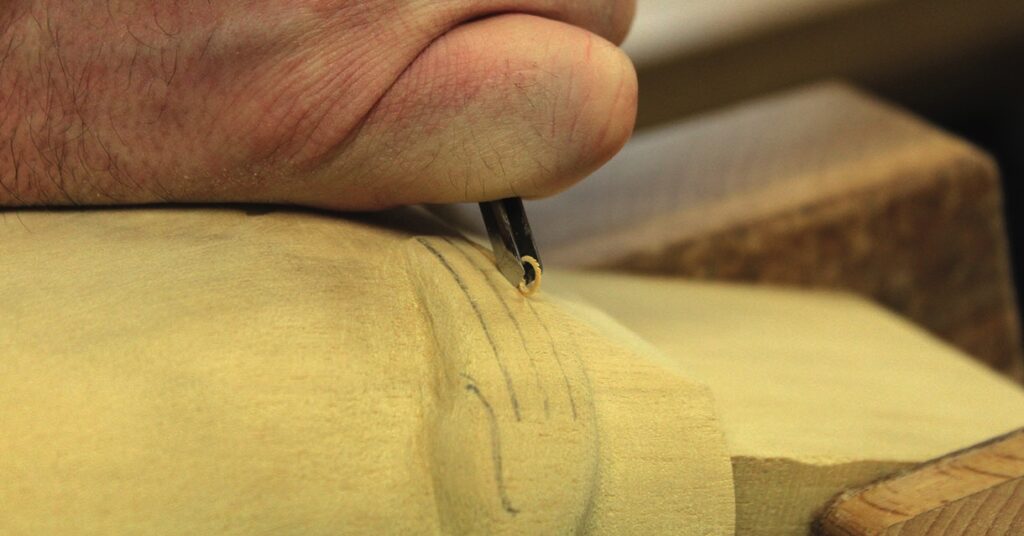
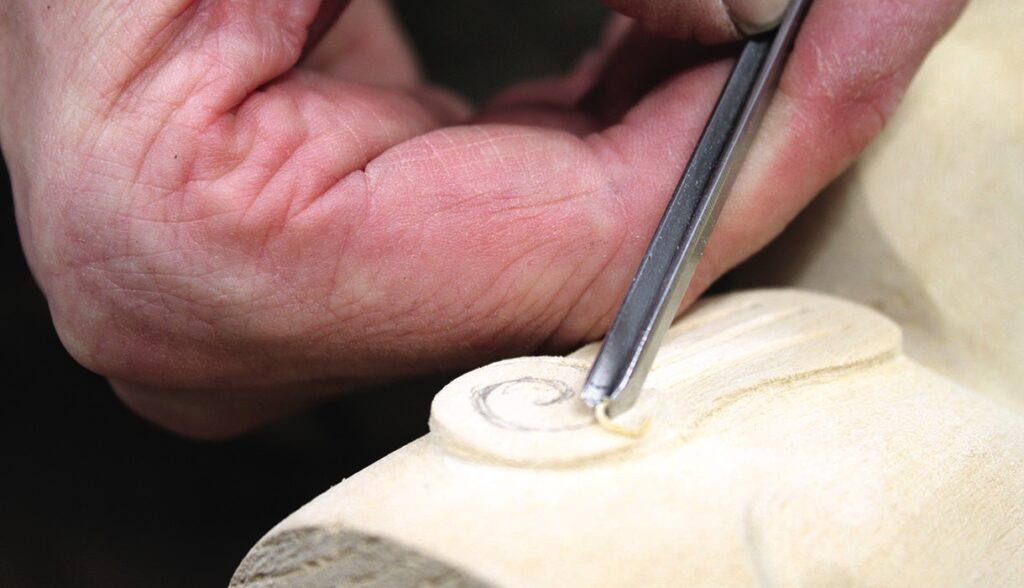
• V-tool
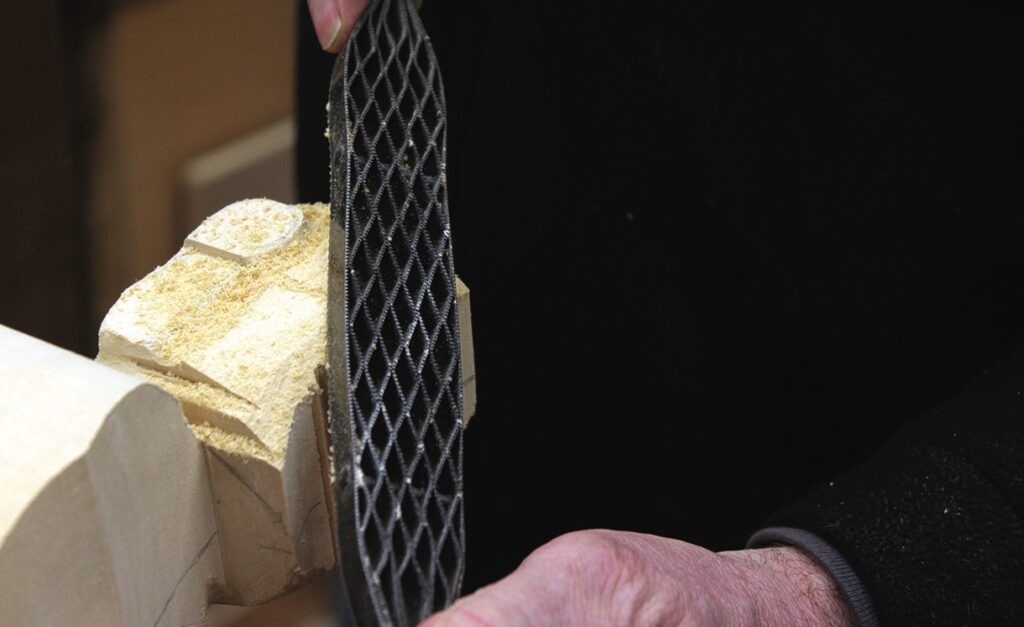
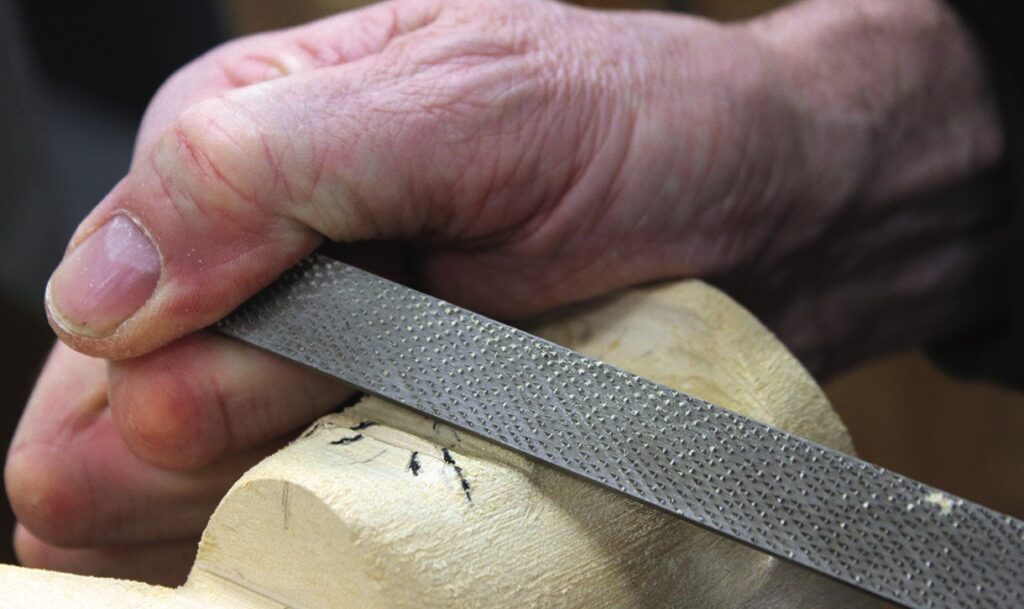
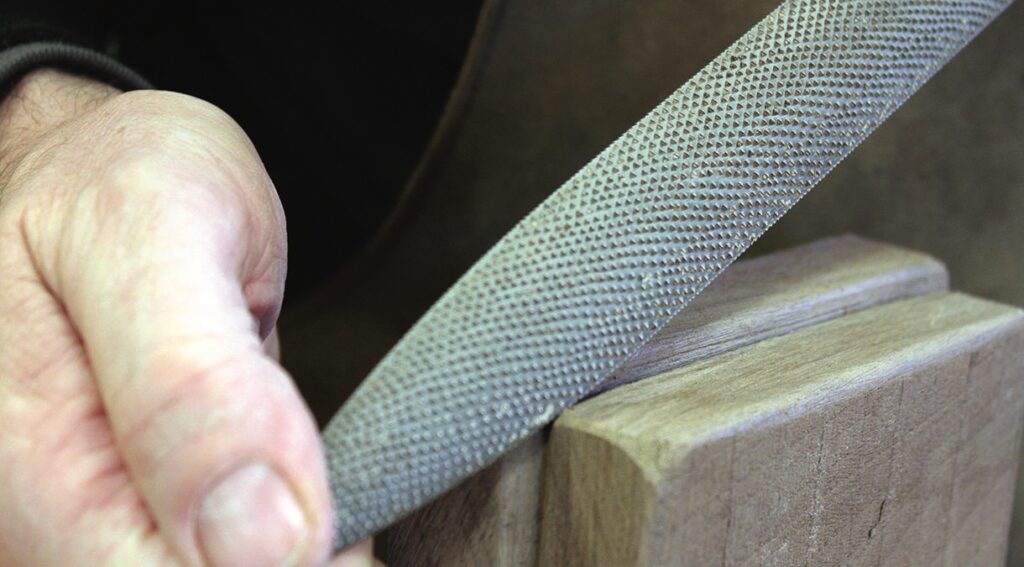
• Japanese saw rasp
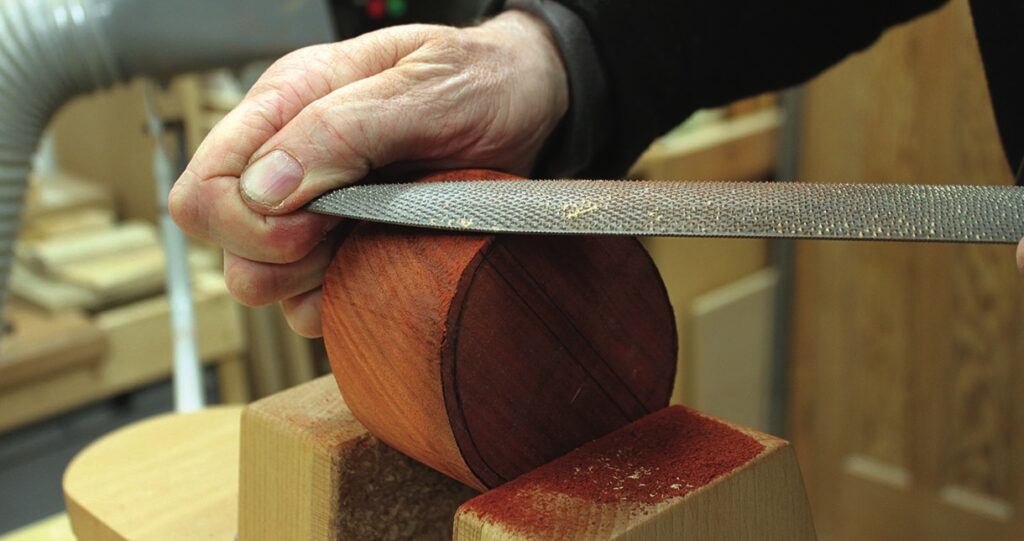
• Half round, flat & round rasp
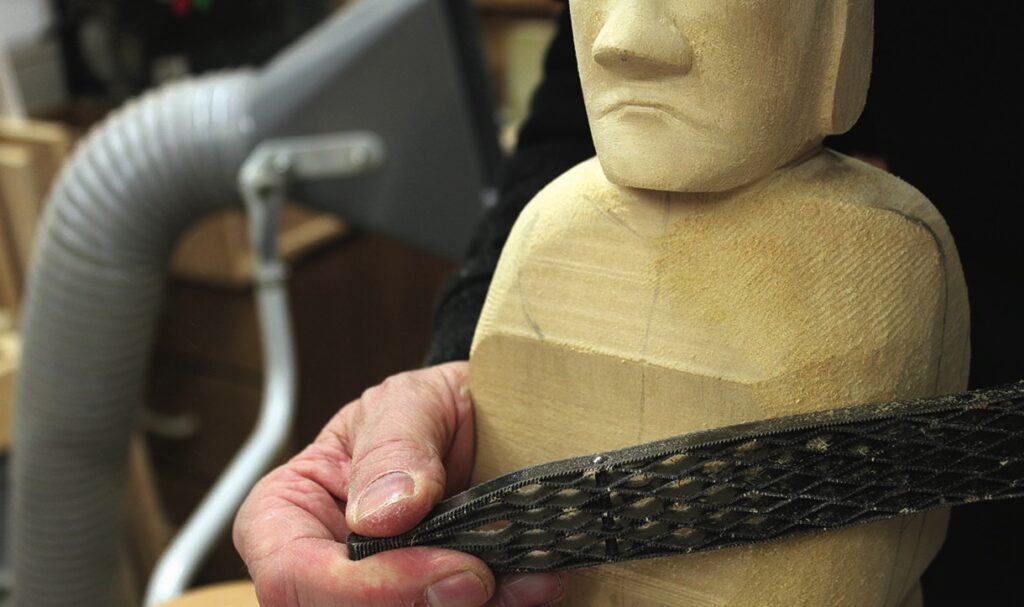
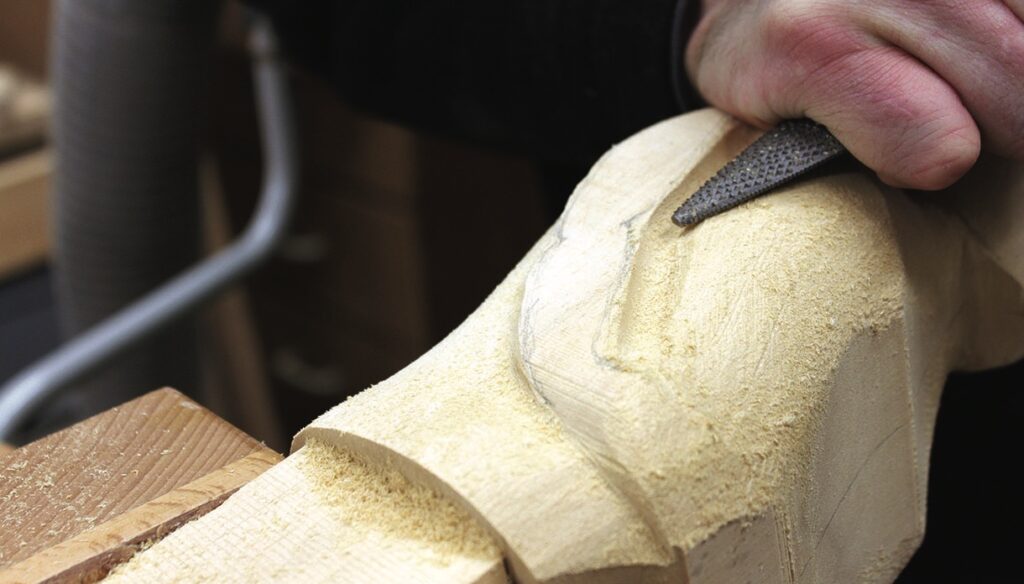
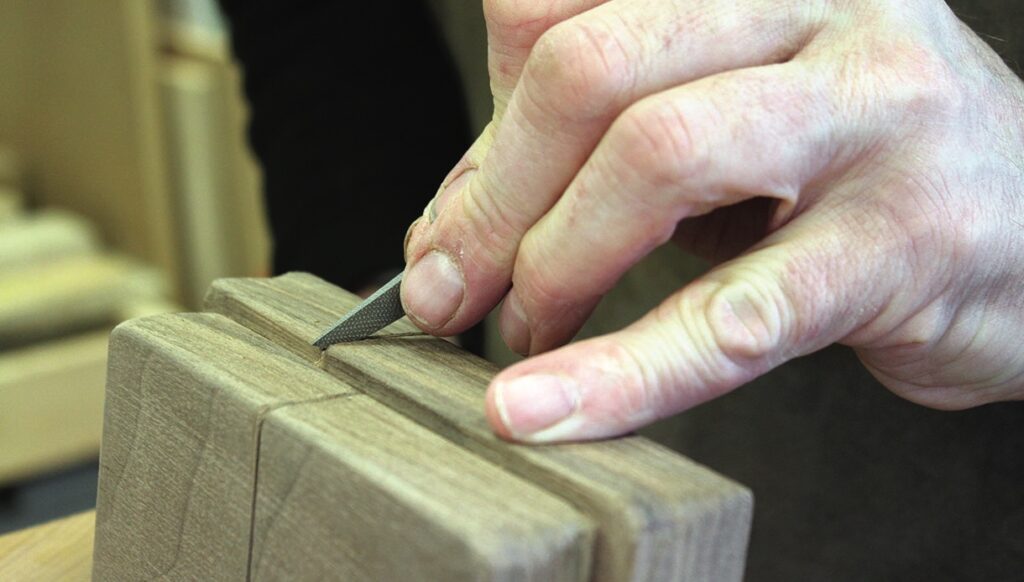
• Selection of coarse & fine rifflers
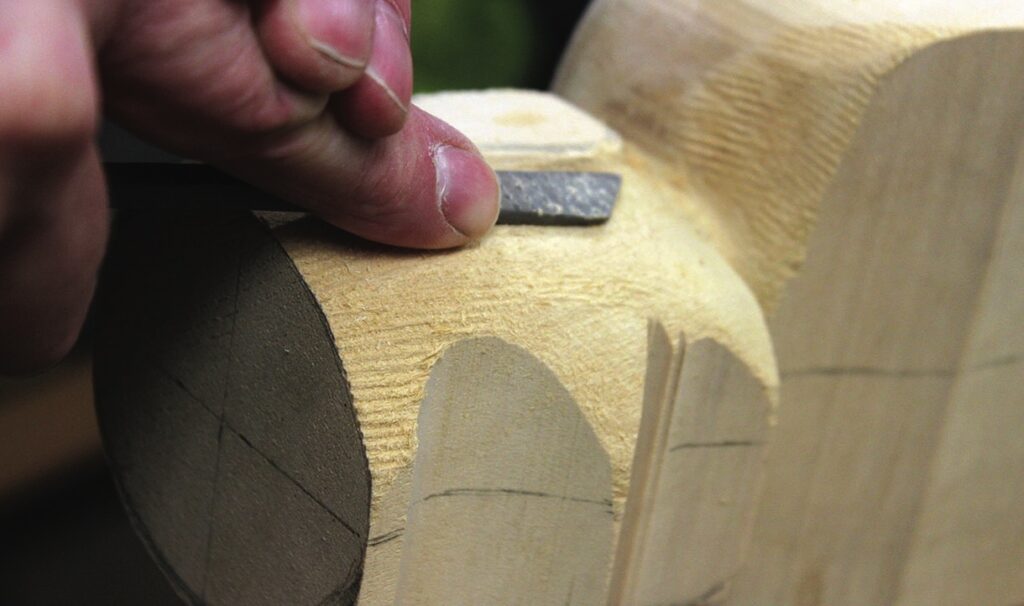
• Selection of needle files
• Tungsten carbide coated files
• Japanese finger files
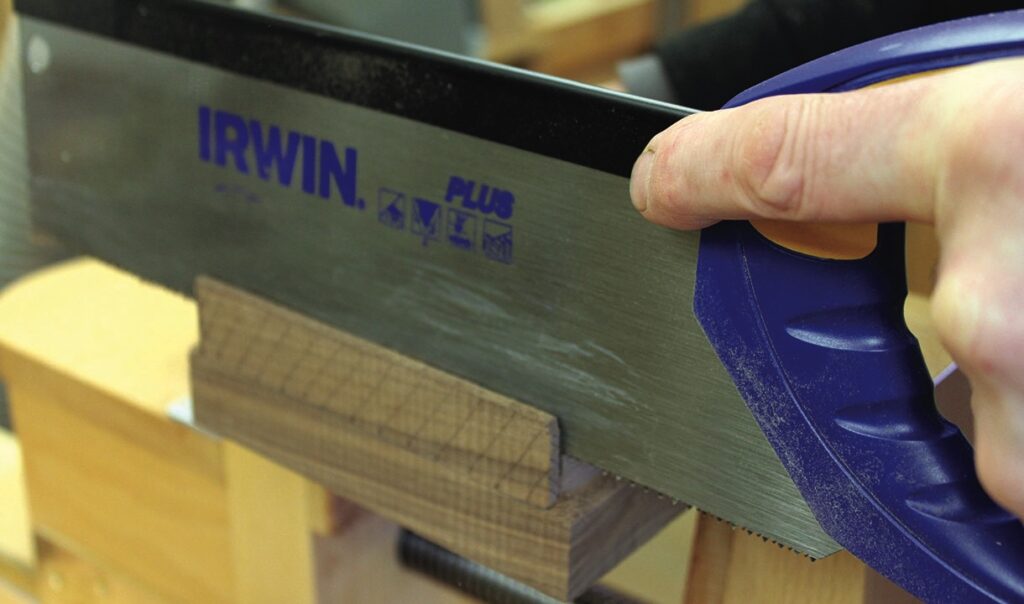
• Handsaw
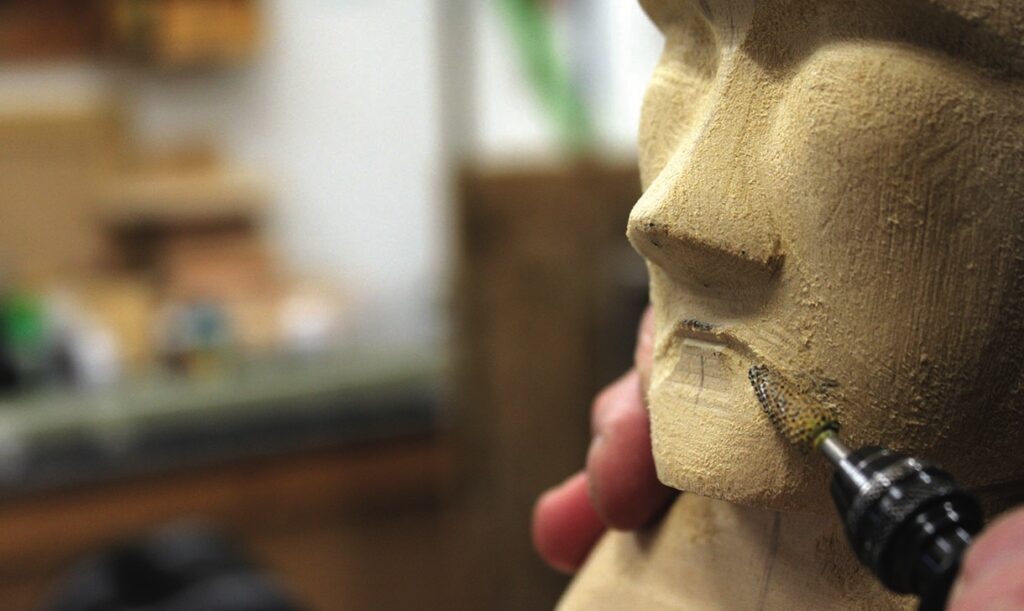
• Rotary carving unit tool
• Bullnose, flame & spherical rotary burrs
Materials:
• Body: Jelutong 140mm x 120mm x 325mm
• Hat: Padauk 100m x 160mm x 50mm
• Plinth: American black walnut (150mm x 125mm x 50mm
• 40-240 grit abrasive cloth or paper
• Steel wool
• Dead flat acrylic varnish
• Dark paste wax
• Epoxy adhesive
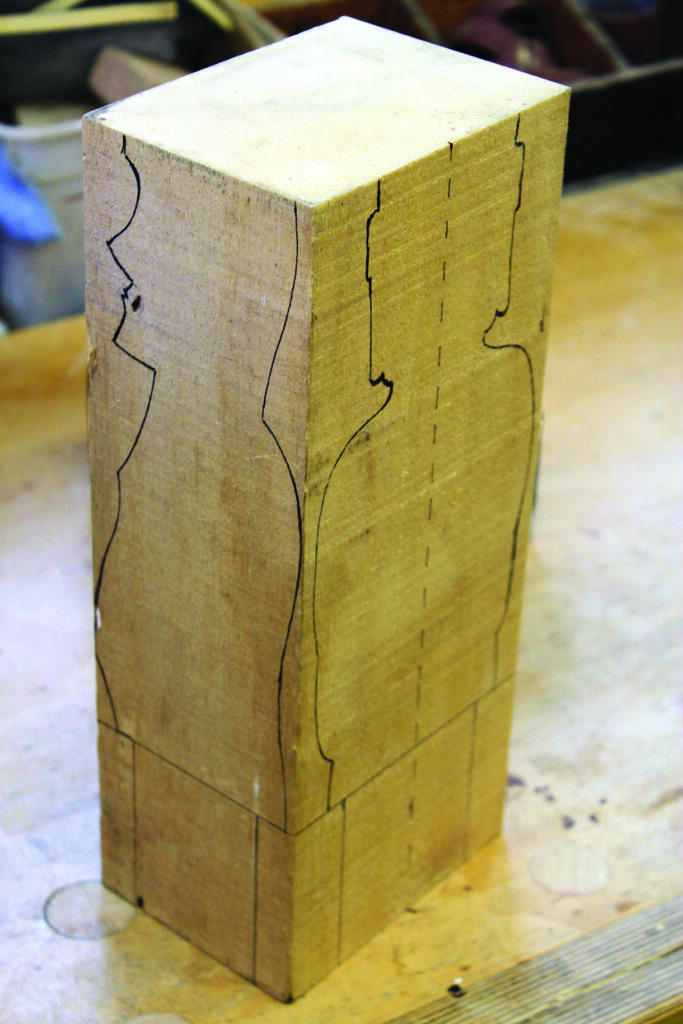
Drawings


Selection of tools
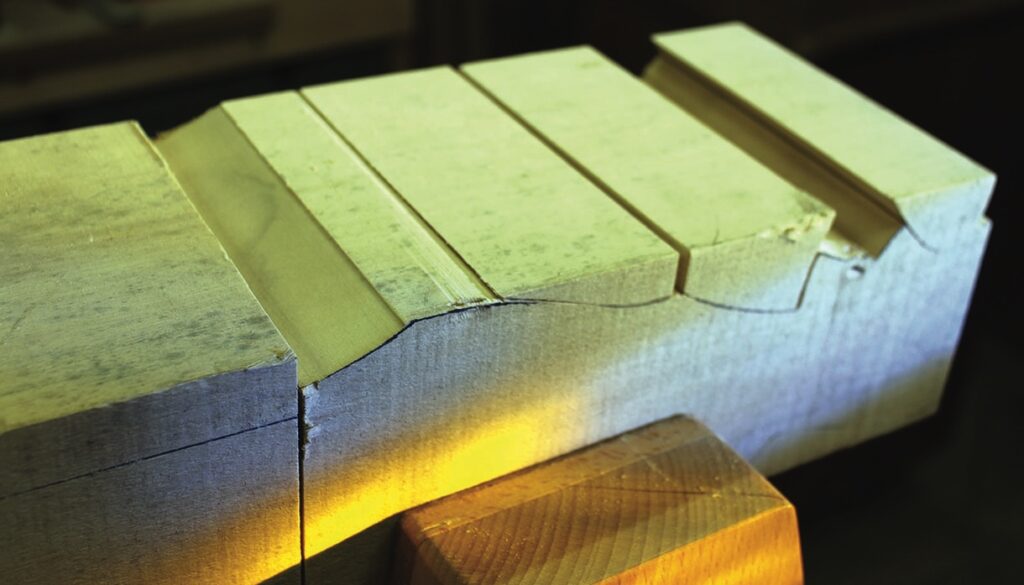
Cutting out

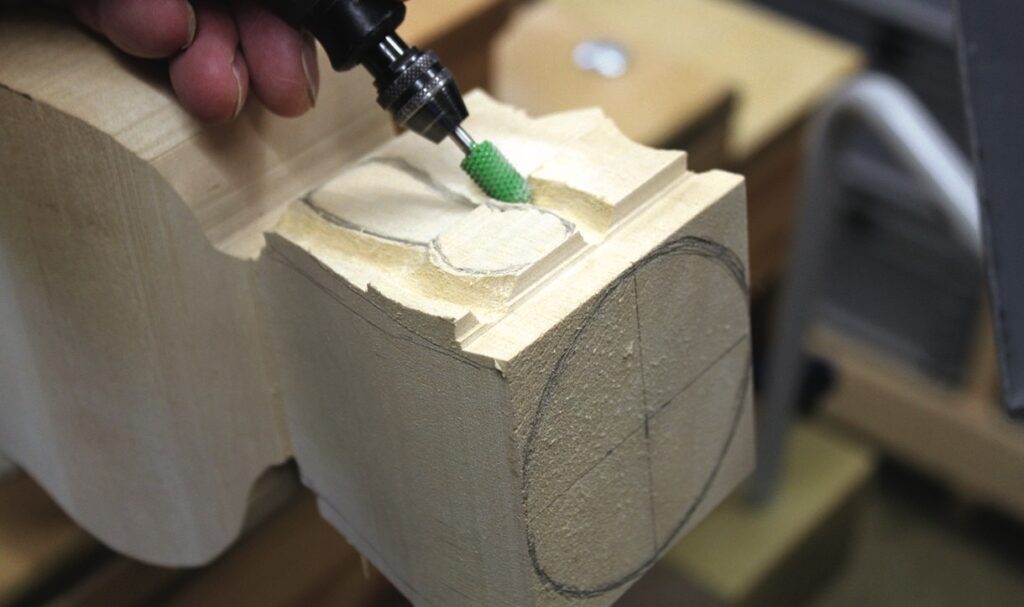
Warning When using rotary carving units with burrs and other cutters always wear suitable eye/face protection and suitably rated dust masks. There is a risk of chips of timber flying towards you and dust is a hazard so it is advisable when power carving to have dust extraction too. Also, make sure you work securely and keep your fingers and body parts out of the line of the burr should it skid.


The hat & plinth
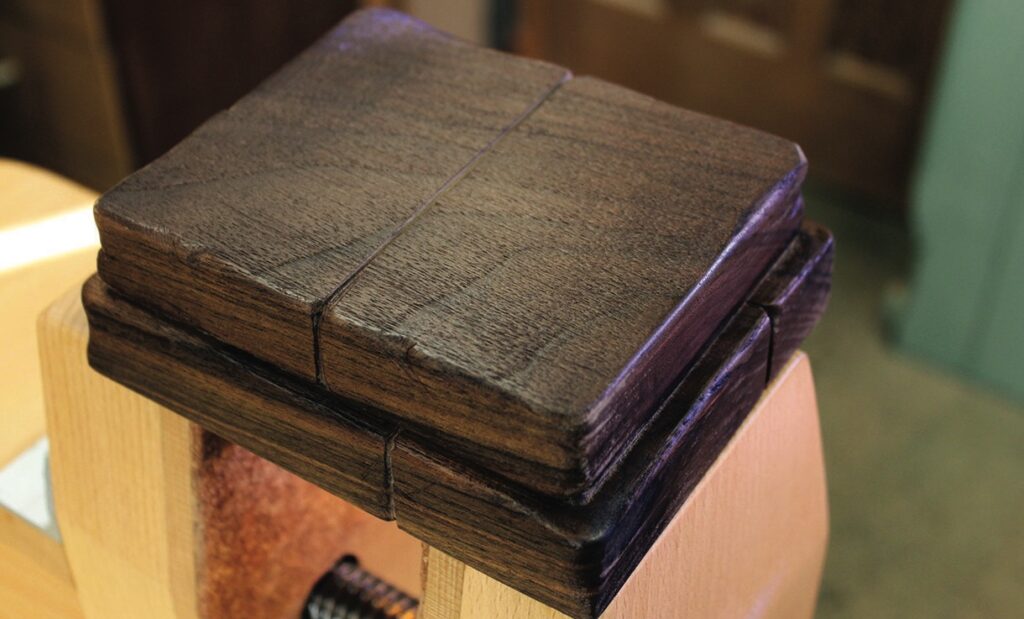
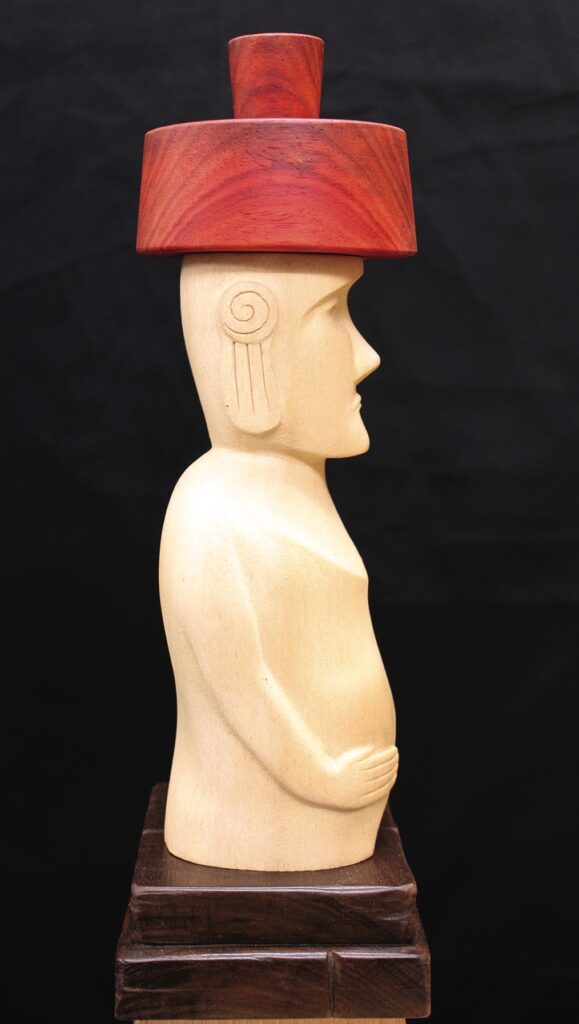
22-24. Stick the parts together with epoxy adhesive. The hat should sit slightly forward of centre on the head