Peter Benson shares some invaluable carving advice
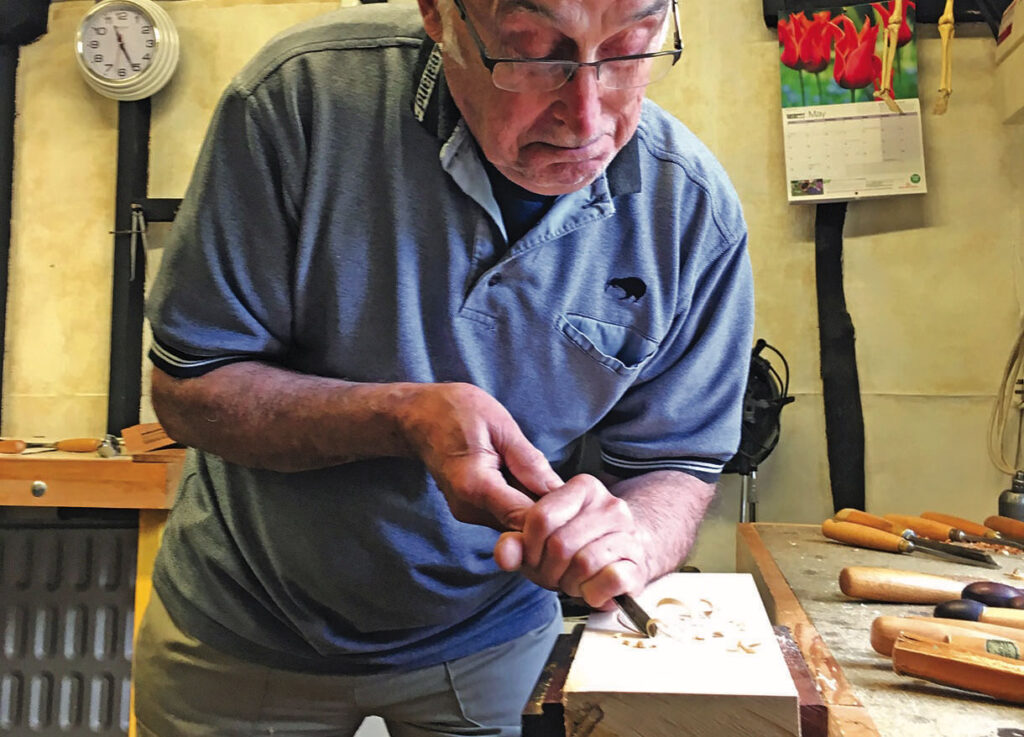
These tips are what, in my opinion, are some of the most important points to consider if you wish to make woodcarving an enjoyable and rewarding hobby.
They are in no particular order of importance but are simply written down as they have come to mind. Others will, no doubt, have different ideas of their own and it is only by experience or listening to more experienced carvers that you will be able to make your own lists. Here goes…
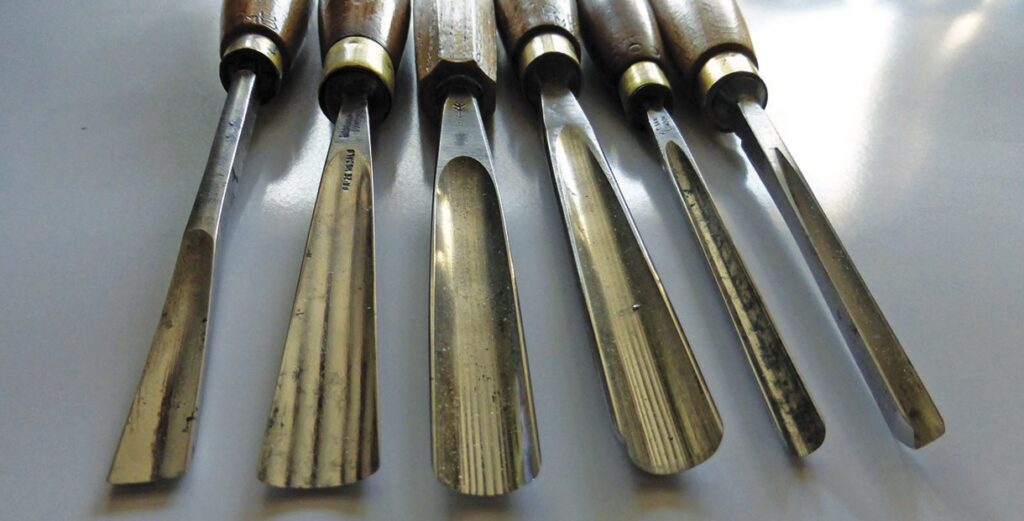
Tip 1: Tool selection
Choose your tools carefully and don’t be swayed by the price. Most quality tools will be around the same price and standard, so choice will probably be based on availability and personal preference. Avoid cheap tools as they will probably not hold a good edge and will not last. The best tools usually will have an unconditional lifetime guarantee. Most carvers work with comparatively few tools on any one carving, so only buy ones you feel comfortable using. Don’t buy sets to start with as you will invariably end up with several tools that you will never use. Also, be aware that not all new tools come honed and ready for use – they may just be ground and will need some attention before you can carve with them. I would suggest that your first few tools should include the following sweeps. The individual sizes can vary according to your preference No.9, No.3, No.5, No.7, No.10 or 11, No.39 (V-tool). If you vary the width on these you should have enough to get started.
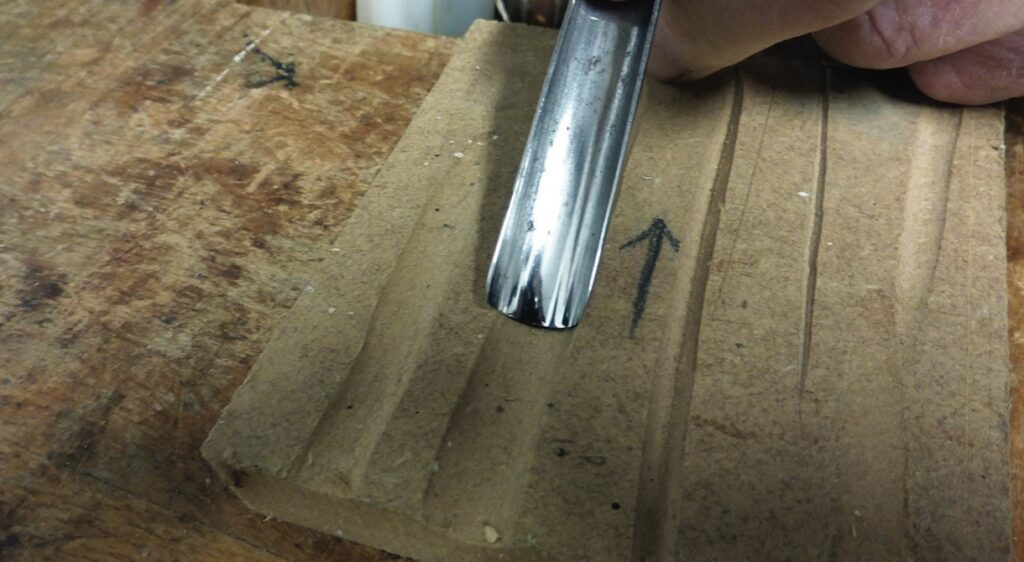
Tip 2: Maintain a sharp cutting edge
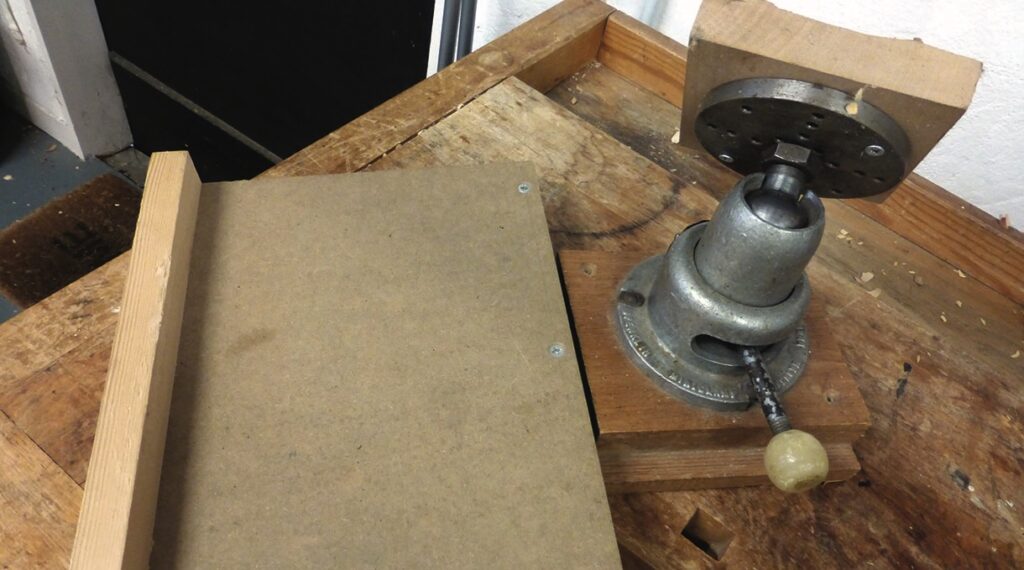
Learn how to keep your tools sharp – don’t rely on others to do this for you. As most carvers will hone their tools around every half an hour of use to maintain the quality of cut necessary, it is important you are confident enough to do this as you carve. There are many methods of sharpening and honing tools and you will need to try as many as you can before deciding which method suits you. Some carvers like to do the honing with power and others by hand. All methods work and just need practice to get right. The inability to get a good edge is generally not the fault of the method used, it is more that you are not yet doing it right. Keep trying. A sharp tool should give you a clean cut with little effort, even in the hardest of woods, leaving a smooth, shiny finish with no tracking marks of any kind. A poor surface when you have made a cut is seldom anything to do with your ability as a carver, it is almost certainly due to a blunt tool. One of the simplest, easiest and cheapest way to hone all the tools in your toolbox is to use an offcut of MDF (medium density fibreboard). Wood yards will often give you a small offcut at no charge and all you need to do is make a groove in the surface with the tool you wish to hone and then drag the tool towards you with the bevel flat in the groove. The abrasive quality of the MDF is sufficient to produce a good edge. When it glazes over with time, you simply cut another groove. This is particularly useful for small tools and V-tools as you maintain the correct profile throughout.
Tip 3: Work holding
If you are working on a carving that is too big to hold in the hand or that needs full-sized tools, you will need some sort of holding device. These can be very expensive if bought commercially but I would advise that part of your basic equipment should be some form of woodworker’s vice and a bench. By screwing or gluing a piece of scrap wood to the underside of your carving you will have a simple holding device to start with. Once you gain more experience and have decided what sort of carving you prefer, you can purchase an appropriate clamp. If you want to carve reliefs you would be better off with a large bench hook or inclined platform.
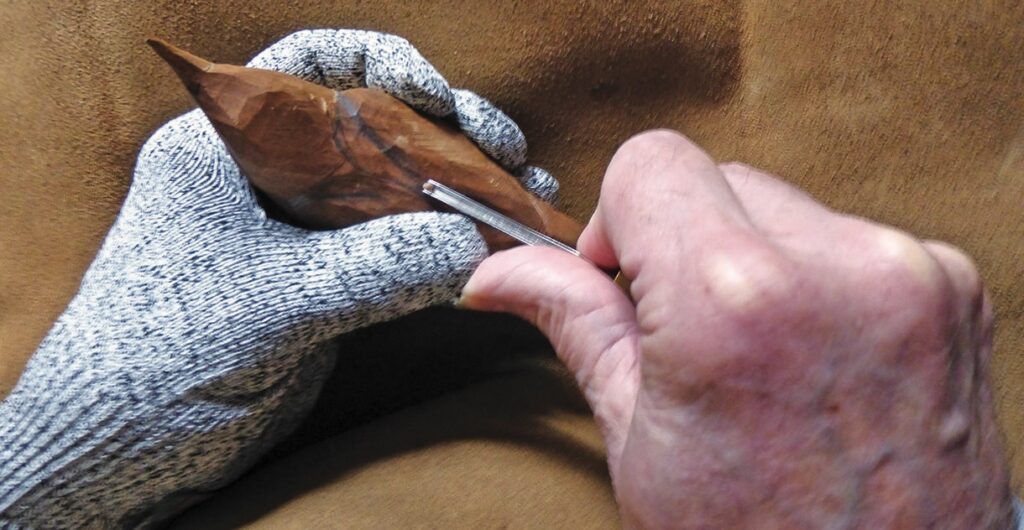
Tip 4: Knife carving
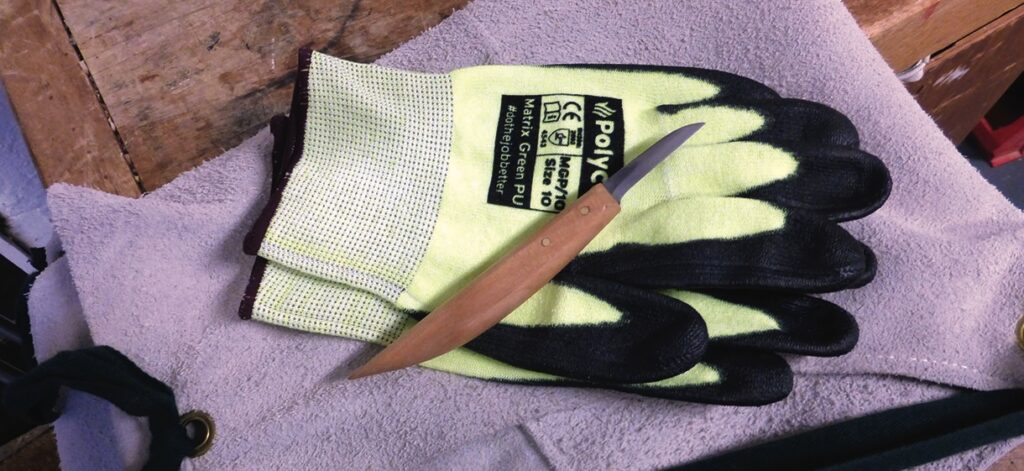
If you have a limited budget and perhaps no designated space in which to carve, you might like to try knife carving. For less than the cost of two woodcarving gouges you can buy a suitable knife, a leather strop for honing and a pair of safety gloves. These gloves are now available from many sources and you need to look at the cut level in particular. Always go for cut level 5 if you can – this is the maximum. A leather apron is a must if you intend carving sitting down with your carving in your lap. One word of warning here – don’t ever try to hone a knife on a rotary power machine running at speed. If the back of the knife catches the wheel the results can be disastrous.
There are many different knives advertised with fancy designs and handles – this doesn’t mean that they are the best for you. Try any knife before you buy it if possible. It should feel right, make good, clean cuts with little effort and be easy to keep sharp. If you belong to a carving group, try knives belonging to other members and choose the one you like best. Remember that all the different blade patterns have different functions that may not be what you want. A simple slim, straight blade in a comfortable handle will probably be the best choice.
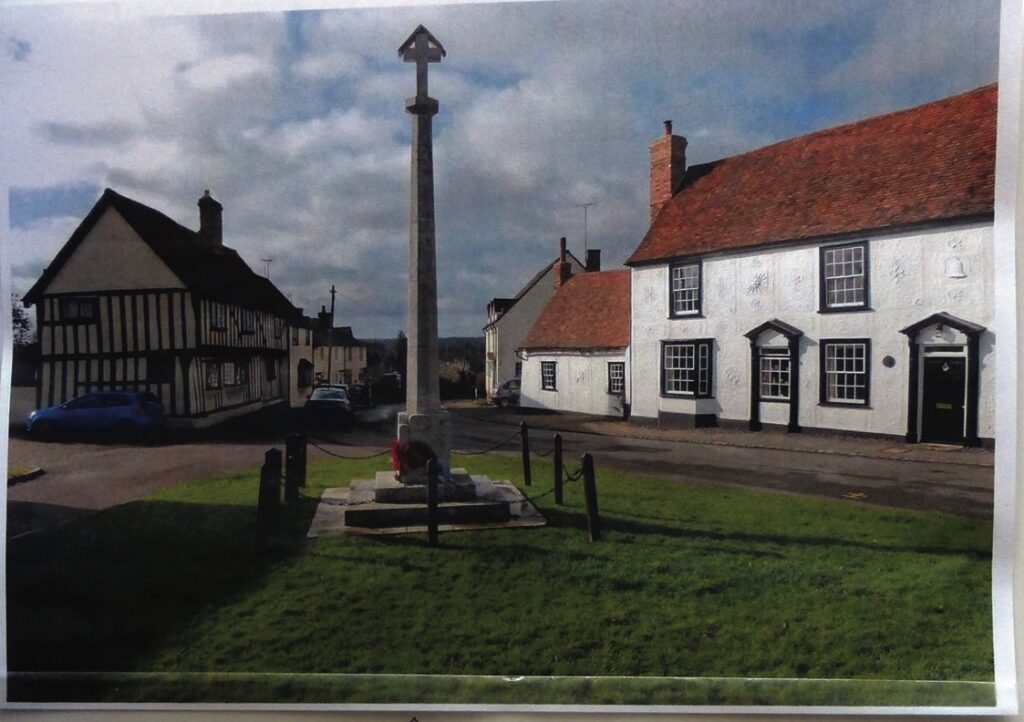
Tip 5: Subject knowledge is key
Learn as much about the subject you wish to carve as you possibly can. Obviously, if you are carving abstracts this doesn’t apply but you still need to have a clear understanding of what shapes and curves work together.
Remember, in a painting you can hide details of which you are not certain but this can be difficult in a carving. You need to have a sound knowledge of animal or human anatomy when using them as subjects, as well as movement patterns and balance. When carving faces you need a thorough appreciation of all the proportions before you even start or they will never look right.
You don’t need all the finer detail before you start but you do need a good understanding of the overall shape. More research can be carried out as you go along and the detail added once you have got the form correct. It is important to understand that, unless the form is accurate, no amount of detail will improve the overall effect.

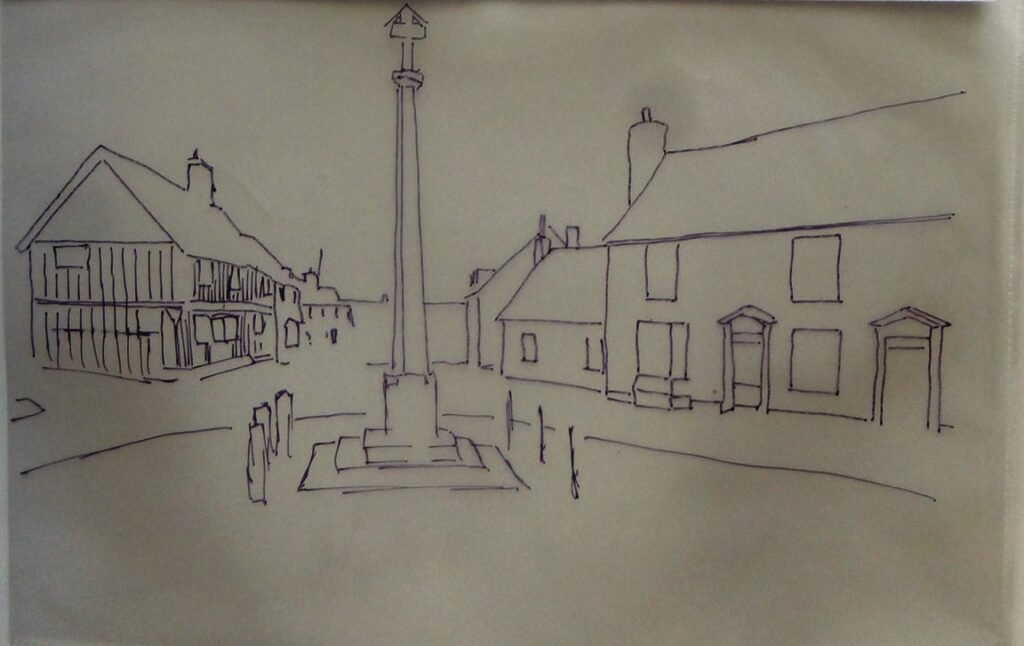
Tip 6: Relief carving template
When carving in relief, make a clear acetate tracing of your proposed design, making location marks on both the tracing and the wood in order to get it exactly in the right place when you need it. You then only need to draw a rough outline of your design in order to remove the background before establishing all the necessary angles. Many carvers will draw the whole design on to the wood and then remove everything once they start carving. Alternatively, they try to maintain all the lines, making the whole process fraught with difficulty and never really getting any depth to the finished piece, as all the detail will tend to be around where the lines have been drawn. Once the background has been removed, concentrate on getting all the angles and perspective right before even thinking about adding any detail. In effect you will be allocating wood where it is needed, starting from the background and working forward towards the front, checking where everything will be using your acetate. This way you will use all the wood available and get the maximum effect of depth possible. Remember, with relief carving you are creating an illusion, not carving what is actually there. You will not have enough wood for the correct depth – it just has to look as though you have.
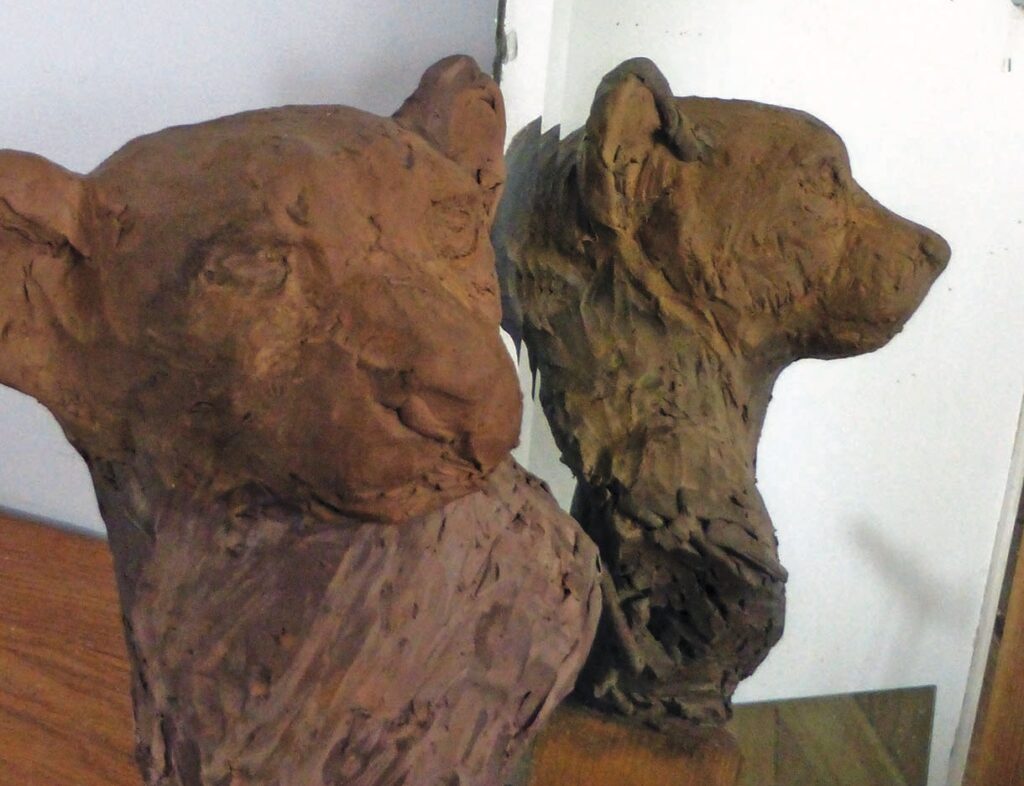
Tip 7: Maquettes
When carving animals or figures I would recommend that you make yourself a maquette (a small version of your intended carving) in clay, Plasticine or soft wood. This doesn’t need to be highly detailed, just enough to appreciate the basic shape and form of the subject. It should give you an idea of what the finished piece will look like and can be sufficient for you to cut out a basic shape to start carving. This should be a working maquette that can be practised on and modified as you proceed with the carving itself. Never practise on your carving – always use either the maquette or a piece of waste wood. Remember that, if you use clay or Plasticine, you can always add more material if needed to get the shape right – you cannot do this with your carving.

Tip 8: Viewing work
Don’t always look at your carving from the same viewpoint. Turn it around, upside down, look at it in a mirror, from a distance, from the back and so on. Your left brain will overlook all sorts of errors as long as it recognises what the subject is. It will switch off when it doesn’t recognise the subject and your right brain will notice things that are not right. Don’t be afraid to ask others for their opinion, even if they know nothing about woodcarving or the subject. They will invariably have something to offer (not always welcome but usually somewhere near right). You might find that, when looking at a subject for your research, the same method will apply. Looking at the component parts of a subject rather than the whole can give a great deal of information. Even asking why something is the shape it is rather than simply accepting it can be a help. For instance, why do predators have eyes facing forwards with protruding brows and prey have them on the sides of their heads? ( How many times have you seen this wrong in carvings?)
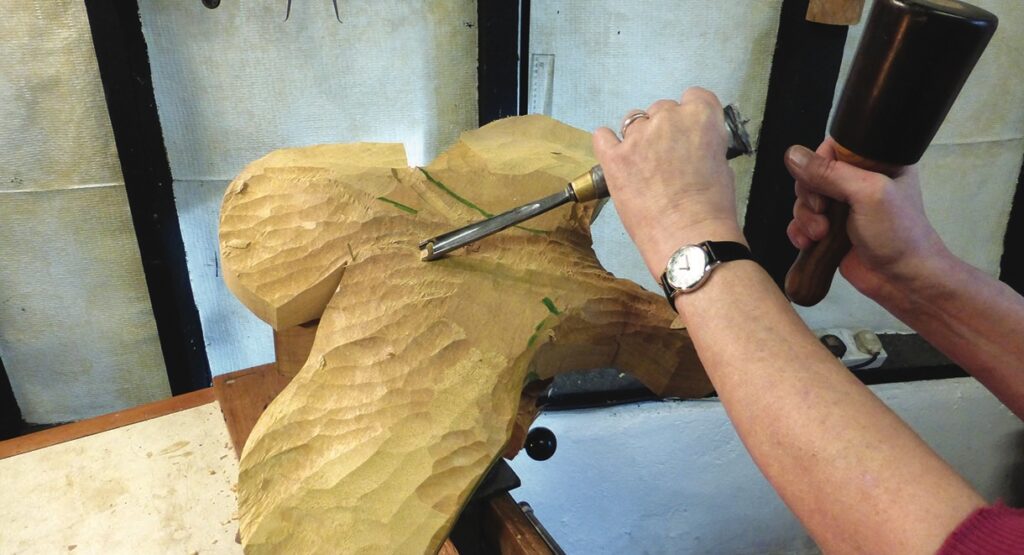
Tip 9: No rush
Try not to take off too much wood at a time. If you have a need to remove waste quickly use a large tool and a mallet. A general rule of thumb is that you should always use the largest tool you can handle. If you have weak hands, use a small tool. You are doing this for pleasure so there should be no rush to get it finished. Just because you see your instructor or other carvers taking off wood at an alarming rate, it doesn’t mean you can do the same. Experienced carvers develop very strong hands over time, even if it is not always noticeable.
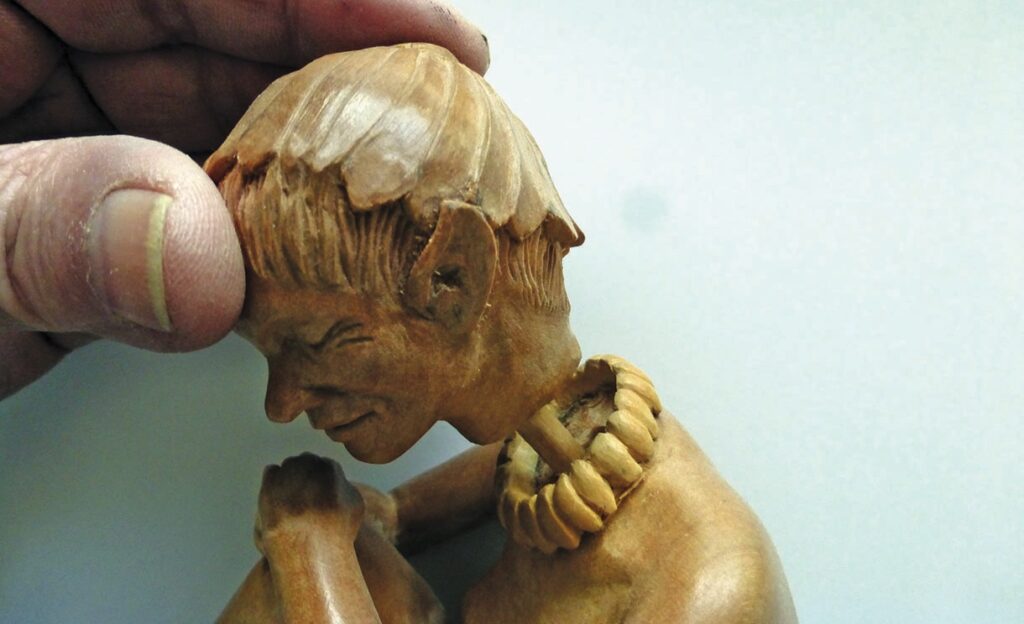
Tip 10: Remove more wood
Finally, there is one solution to nearly all woodcarving problems. That is to take off more wood. You certainly won’t be able to put back what you have already removed. Many carvers worry for ages about whether they have done something wrong or have taken off too much. There is no remedy for either of these so stop worrying. Your only problem is to identify where you need to take off more wood so concentrate on that. If one side of a figure looks too thin you will have to make the other side match. You can’t improve the thin side. If one arm is shorter than the other, you only have one solution – shorten the other one. There are obviously other ways of putting right mistakes. You can always add hands, heads or feet if needed, as long as the subject is clothed, but these are specific problems that I won’t deal with here.
Summary
To sum up, safety at all times should be your priority. Keep both hands behind the cutting edge of your tools whenever you carve. If using palm gouges with the wood held in the hand, use a safety glove and don’t carve directly towards the holding hand. Keeping the thumbs in contact with each other as you carve can generally prevent the tool from slipping. If you drop a tool don’t try to catch it or put out your foot to stop it. Let it fall. A damaged tool is easier to repair than damage to your person. You might like to have a non-slip mat or tool holder on your bench to prevent tools from rolling off.
Most of all have fun. You will make mistakes, as we all do, but that is how you learn.