Terry Nokes carves a baby rabbit

This rabbit project was inspired by Easter, has minimal detail and can be achieved with just a single woodcarving/whittling knife. For this reason jelutong (Dyera costulata) was selected as it’s one of the softest timbers for knife carving. Jelutong is fast-growing and native to Asia. Other than balsa wood it is one of the softest woods available. It’s also the source for white latex, which was used in chewing gum until the 1960s. The latex duct channels can be present and look like elongated oval holes. This timber can be quite brittle so very sharp tools are essential. Jelutong can also be purchased in boards up to 100mm thick in the UK.
If you have no access to jelutong, try Lime (Tilia Europaea), basswood (Tilia Americana) or American tulipwood (Liriodendron tulipifera). All carve well, but being plain in appearance they’re ideal for finishing with colourful stains/paints. A pyrography machine could also burn a desirable textured finish. For an oiled/waxed finish
perhaps experiment with one of the many mahogany species.
Walnut (Juglans spp.) looks lovely but can be very hard to work by hand. Each will respond slightly differently to carving, so do experiment on waste wood before starting on the main project.
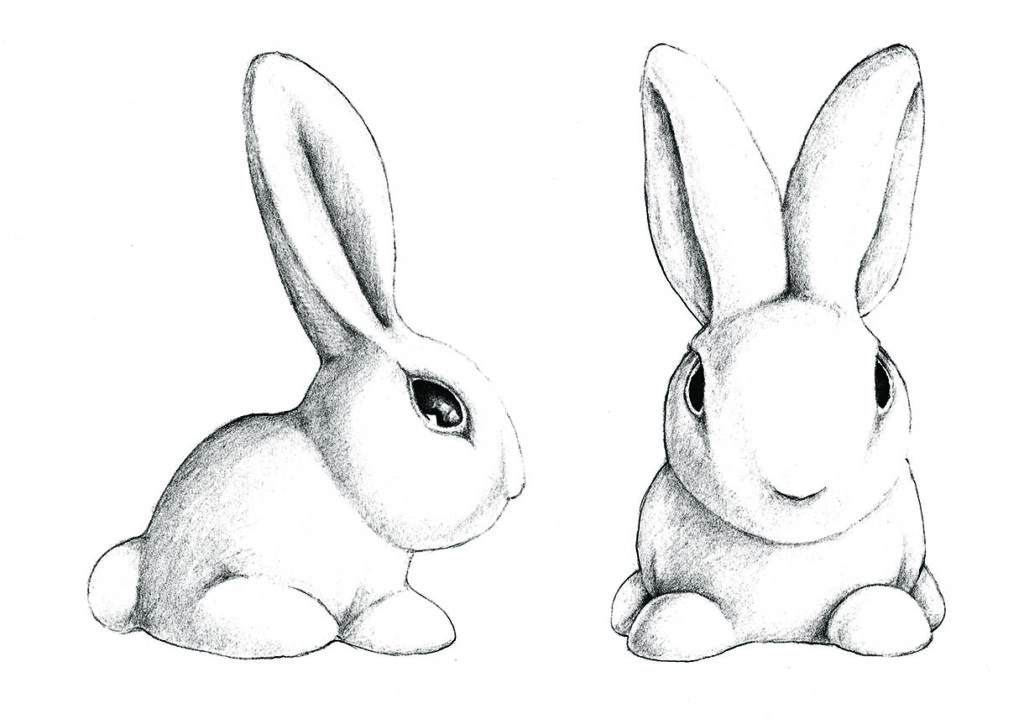
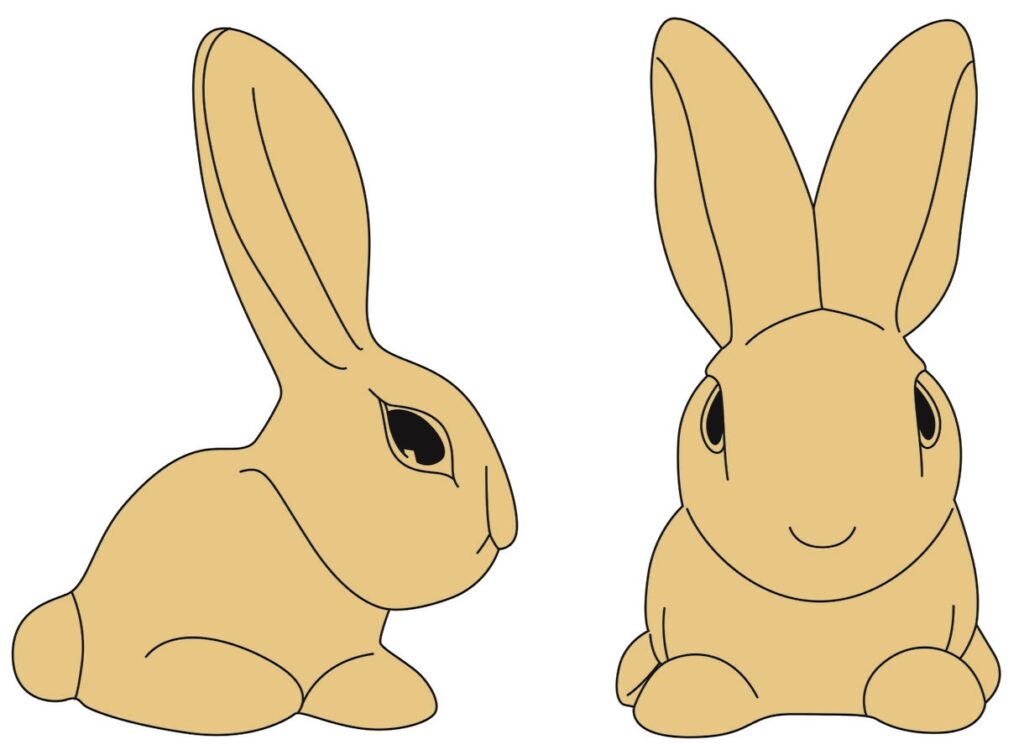
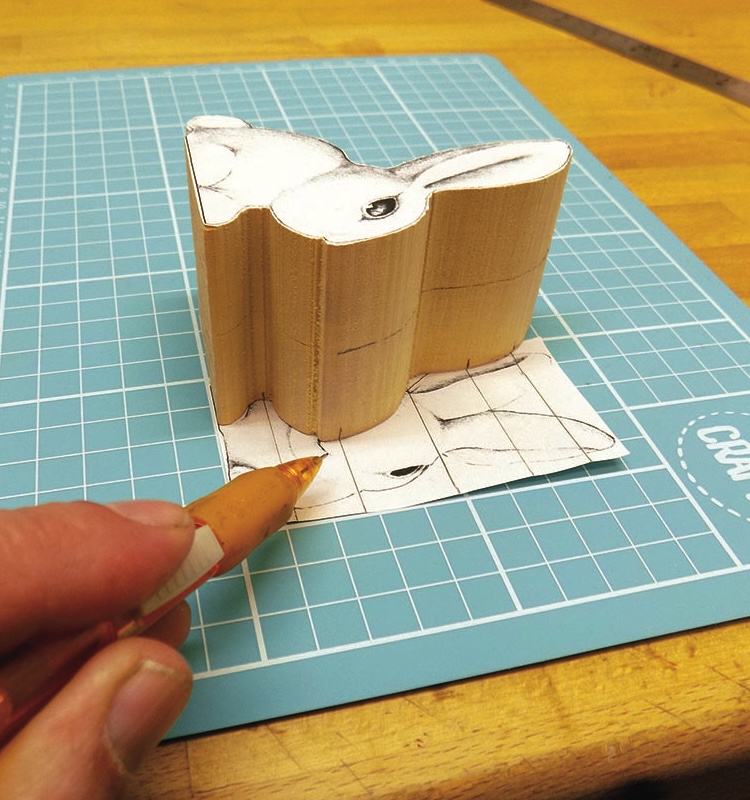
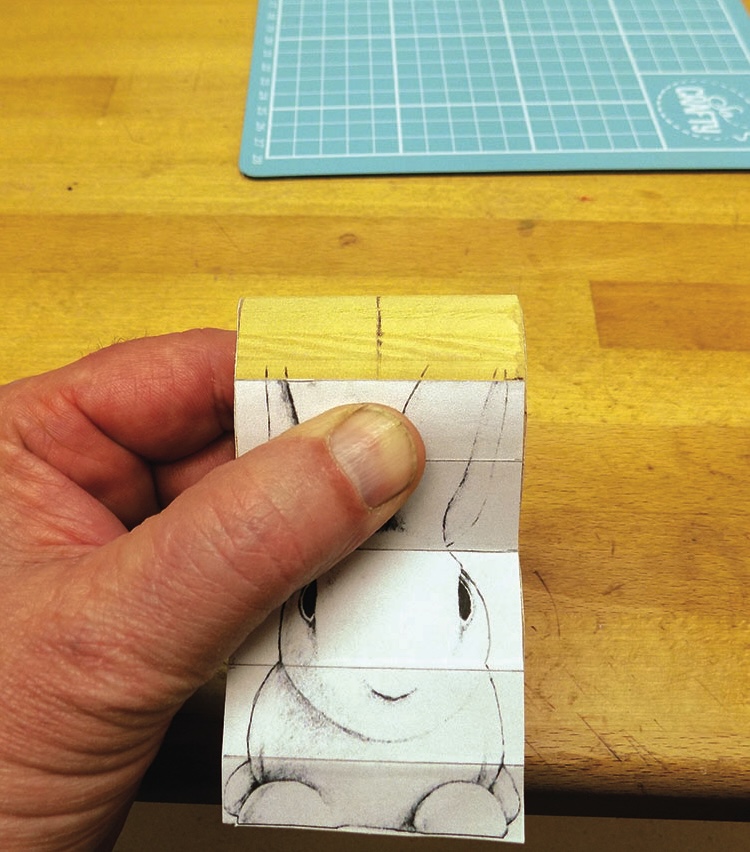
The artwork for this carving project was kindly supplied by my talented artist friend and work colleague Clive Hooley. Clive’s original drawing was in pencil and this has proved to be a fun project.
Things you will need
Tools:
• Dust mask
• Bandsaw
• Carving knife
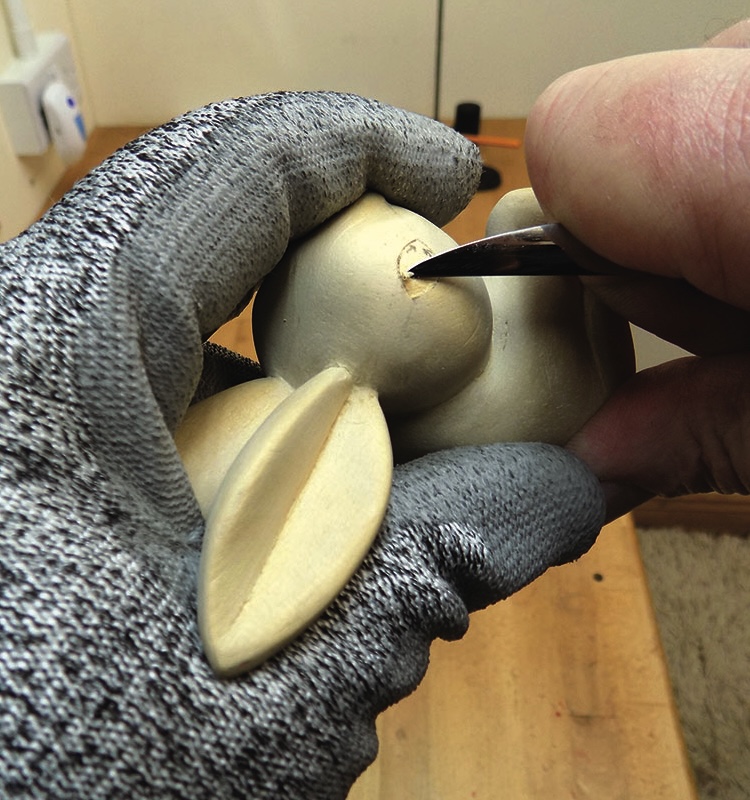
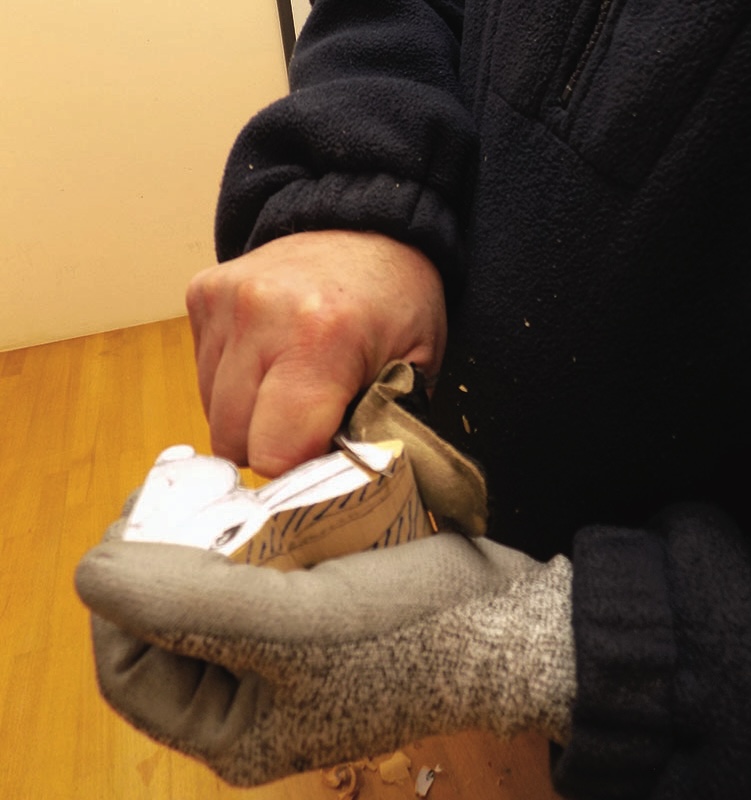
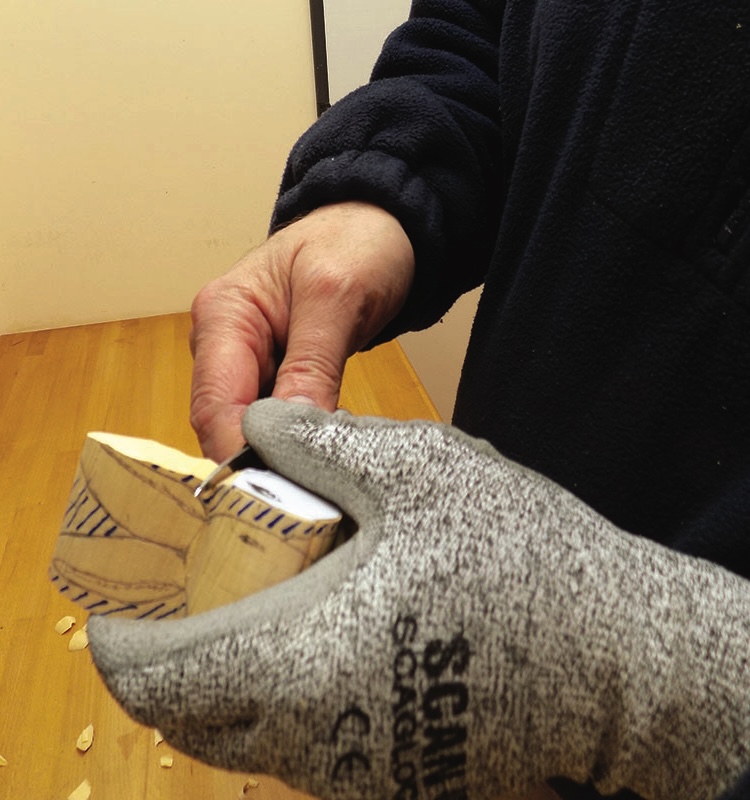
• Safety gloves
• Thumb guard
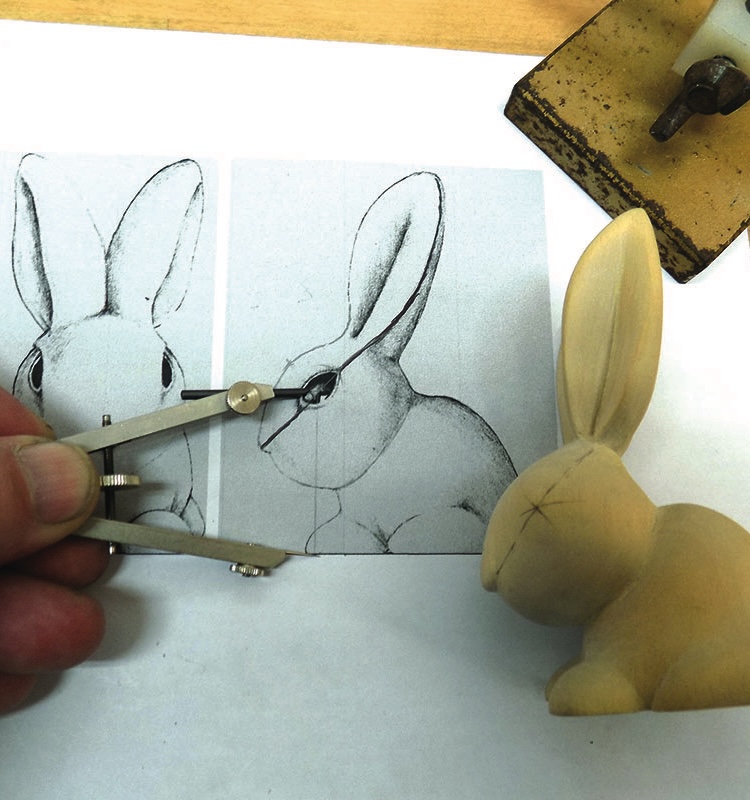
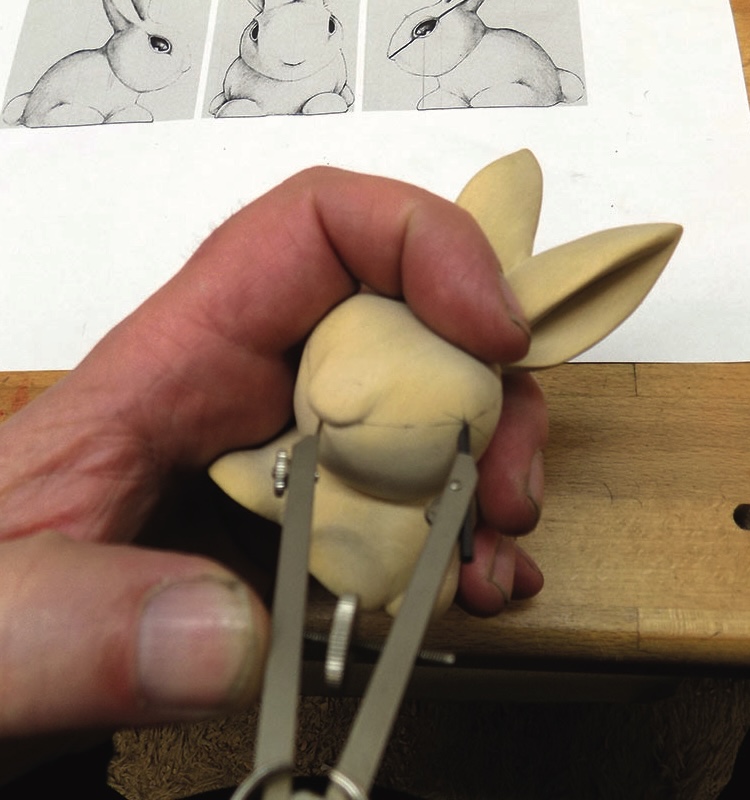
• Pair of compasses
Materials:
• Jelutong (Dyera costulata) 90 x 60 x 50mm
• Glue stick
• Loop abrasives
• Hook-faced sanding block
• Brush
• Black acrylic paint
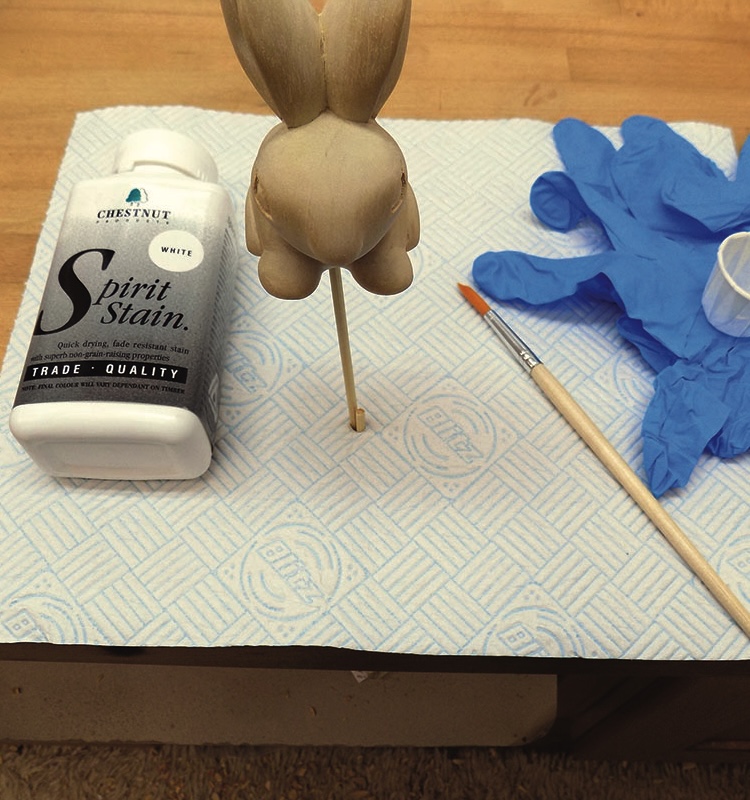
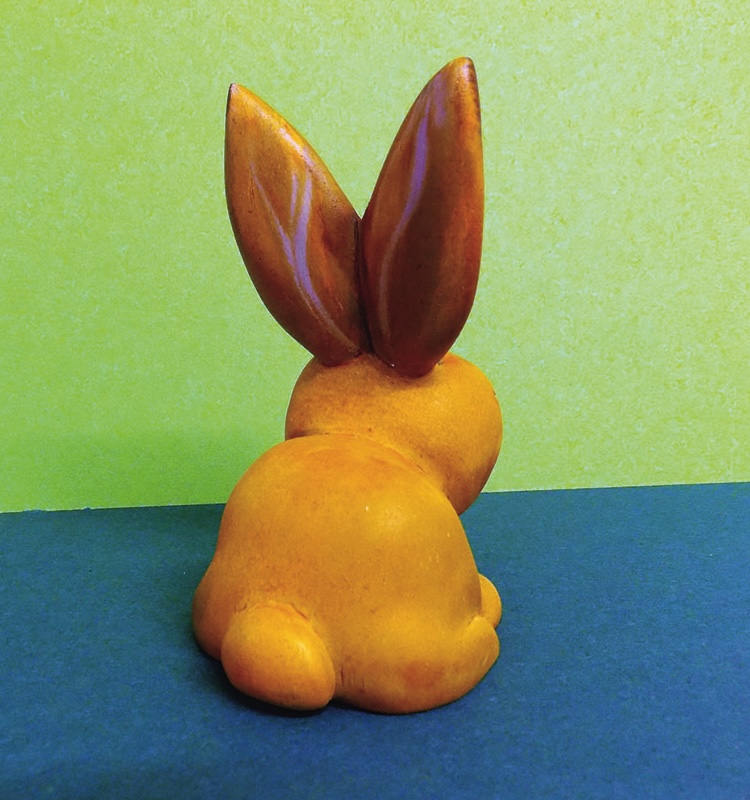
• Spirit stains – white, purple and yellow
• Polyurethane satin spray
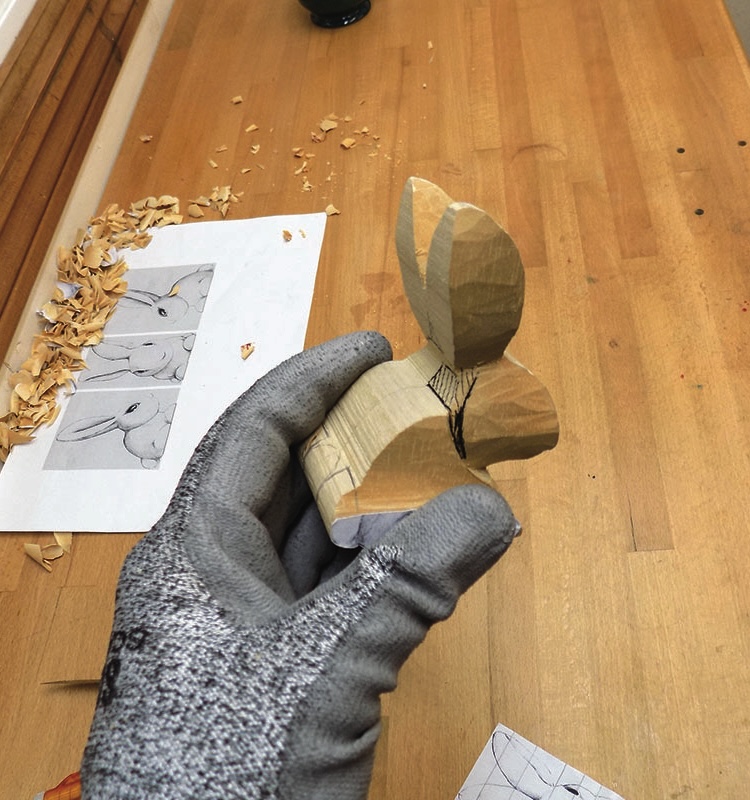
Rough shaping


Top tip:
When possible and it is good practice – try locking together in position both your blade and thumb at a set distance apart, and then again move the workpiece through its cutting edge with your other hand. Notice where your thumb/guard and the workpiece make contact. This is now the pivot point.
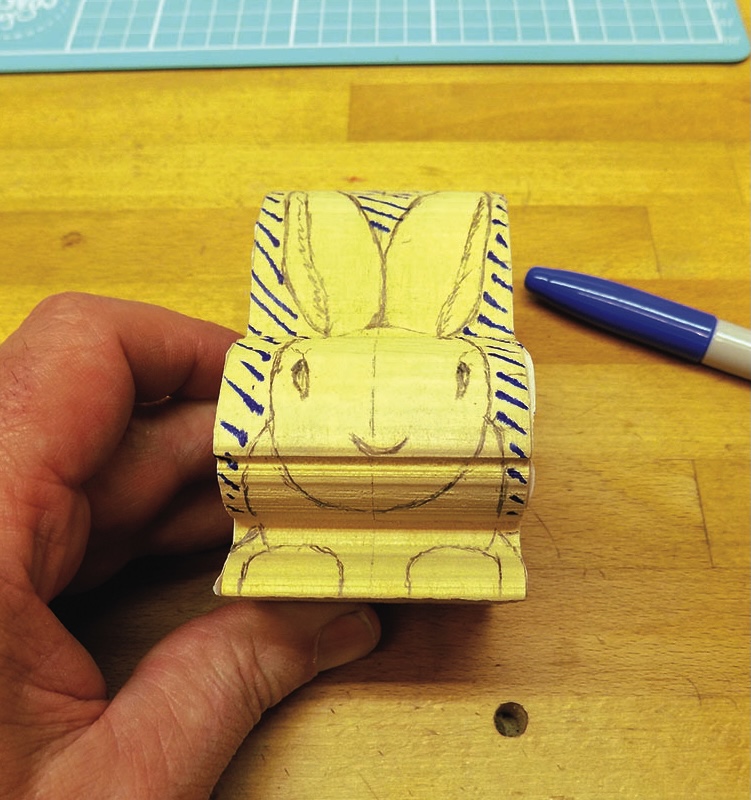
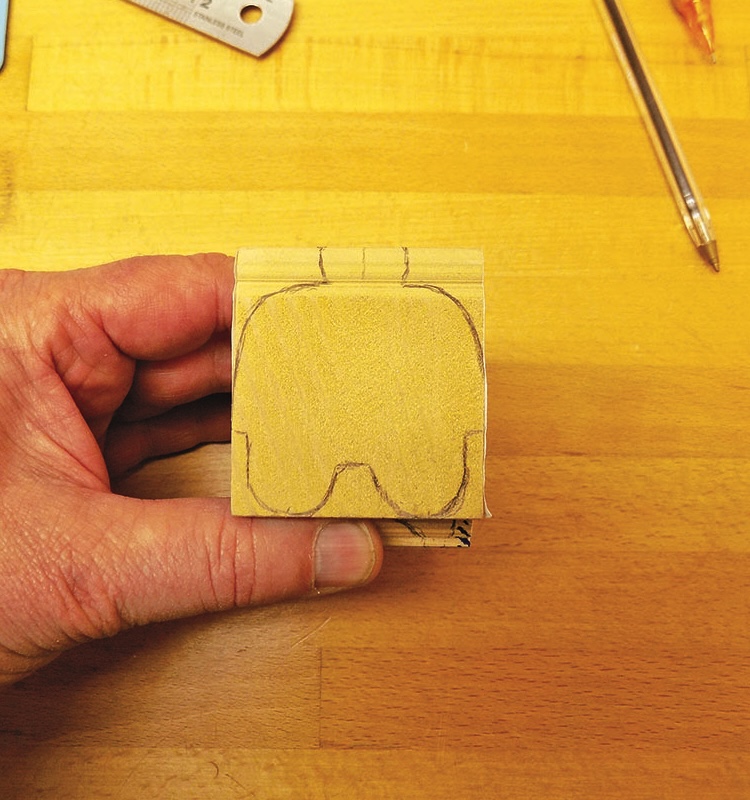
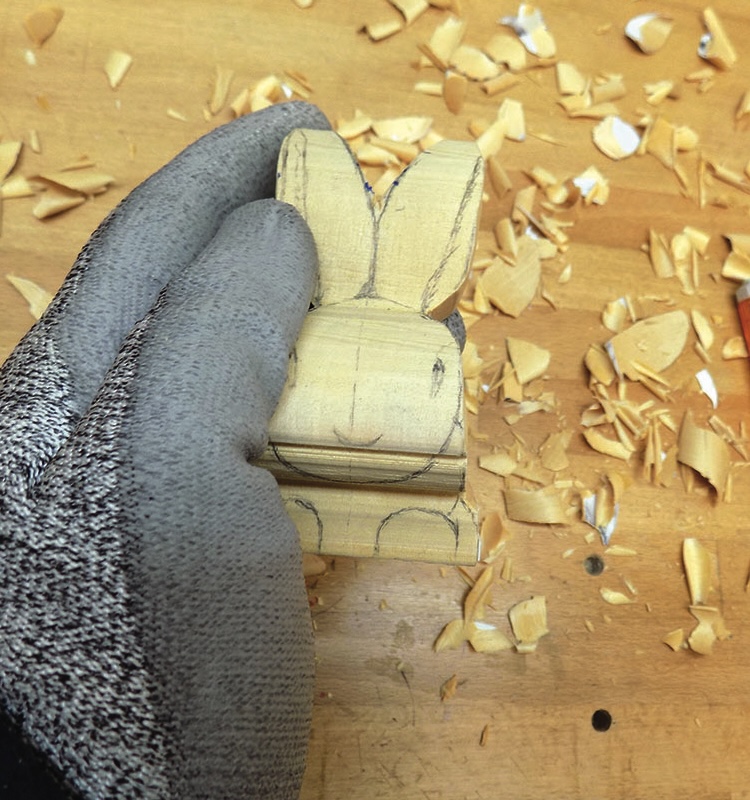
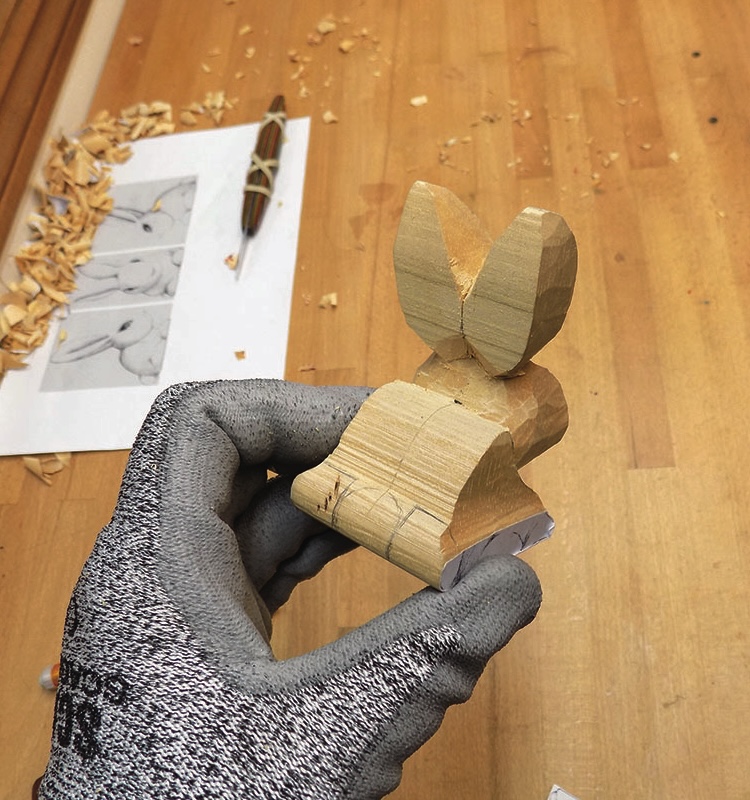
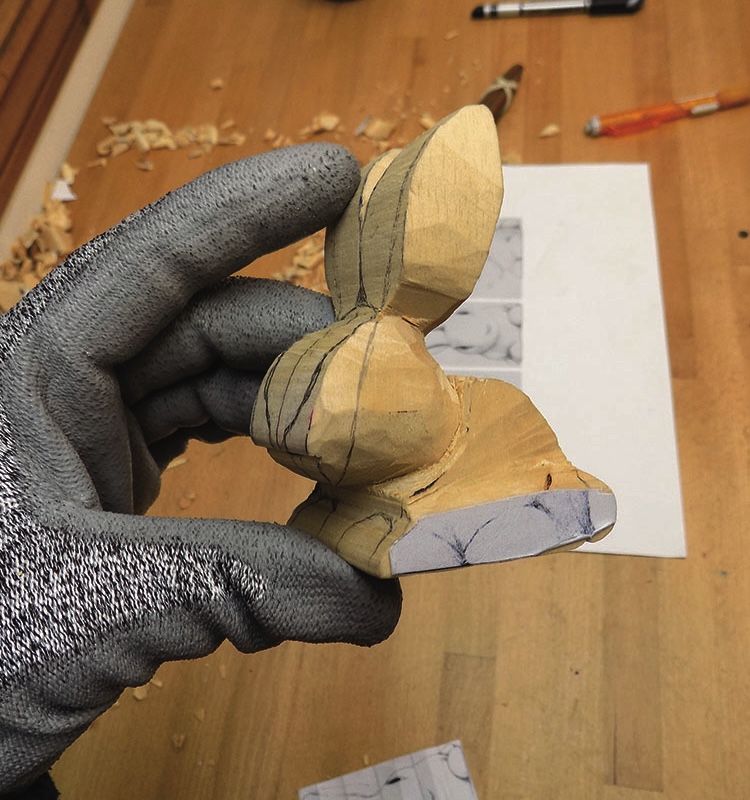
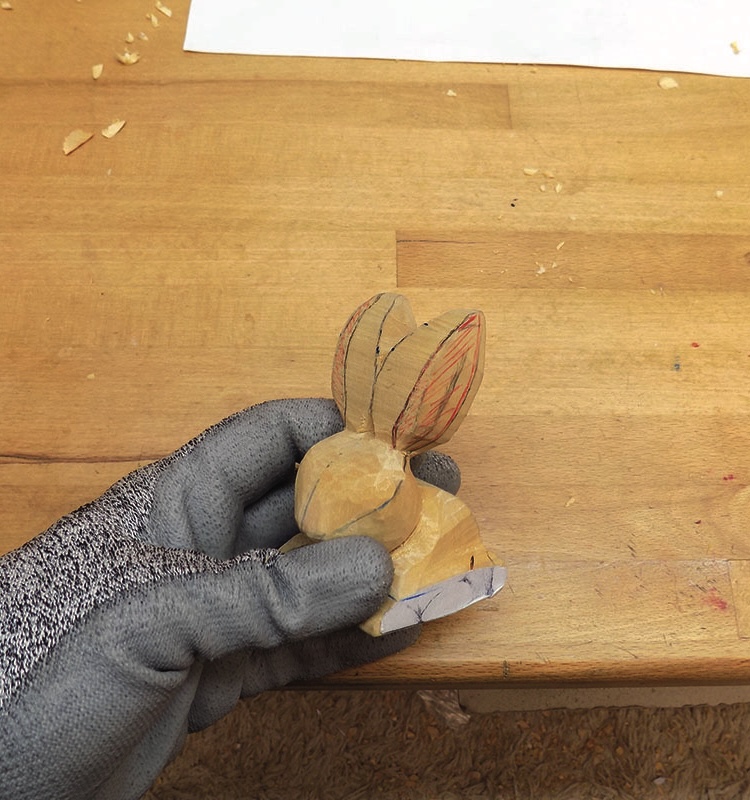
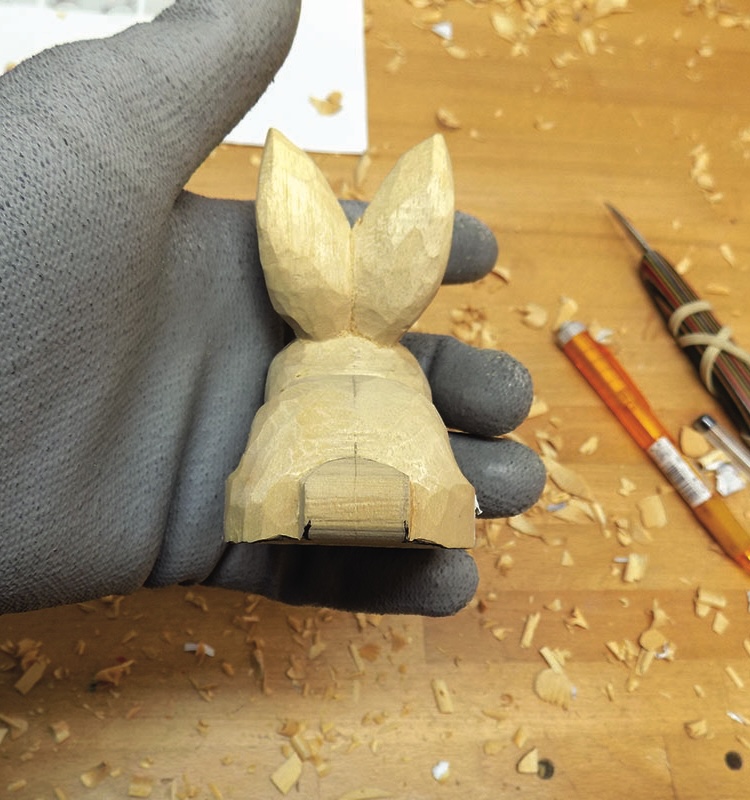
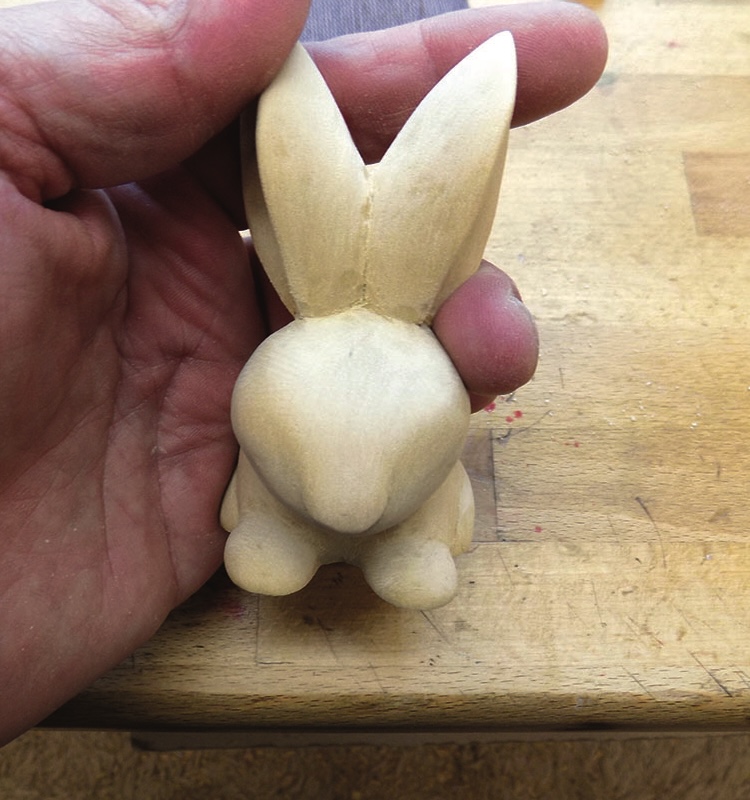
The ears, tail and nose

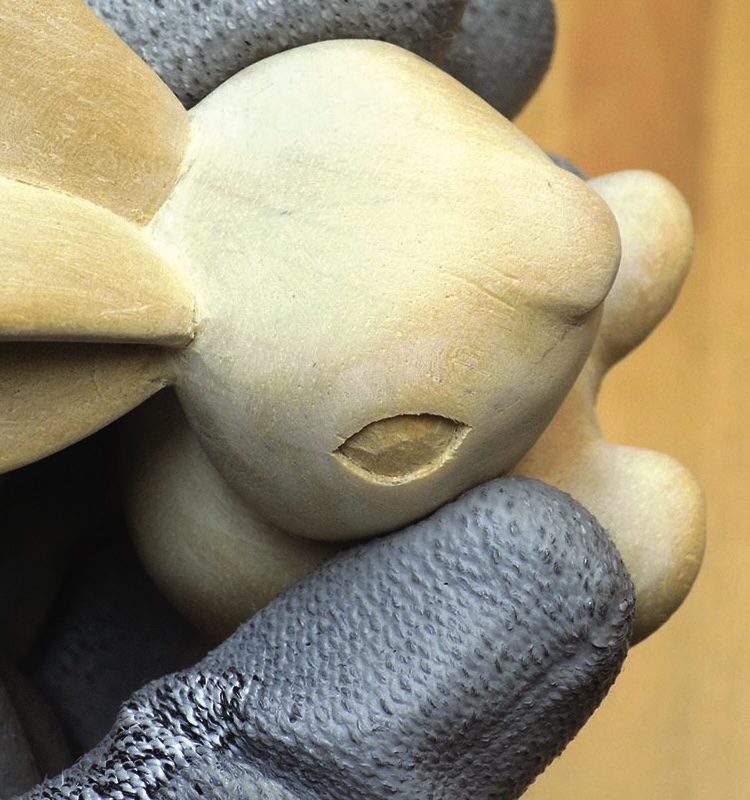
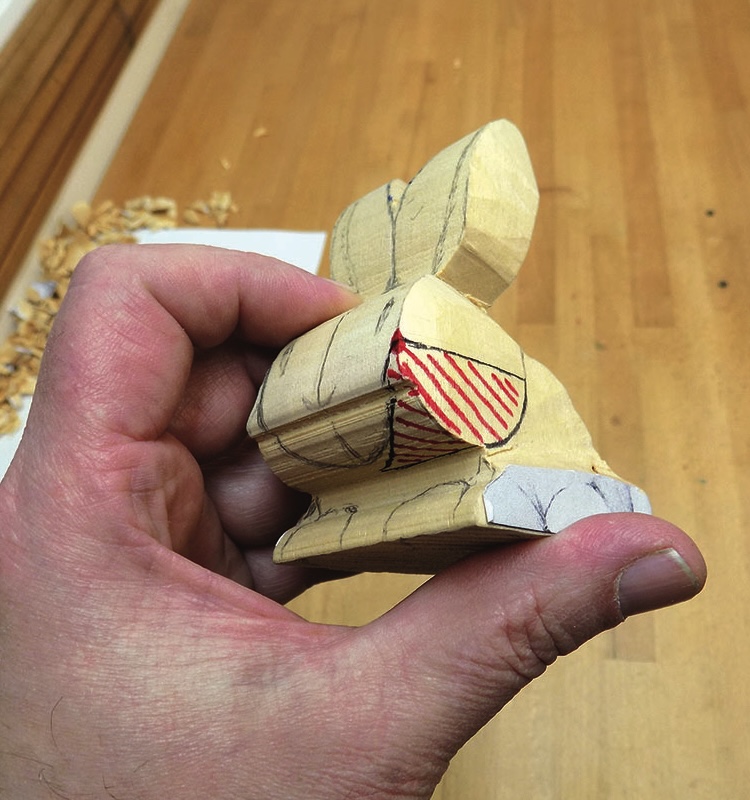
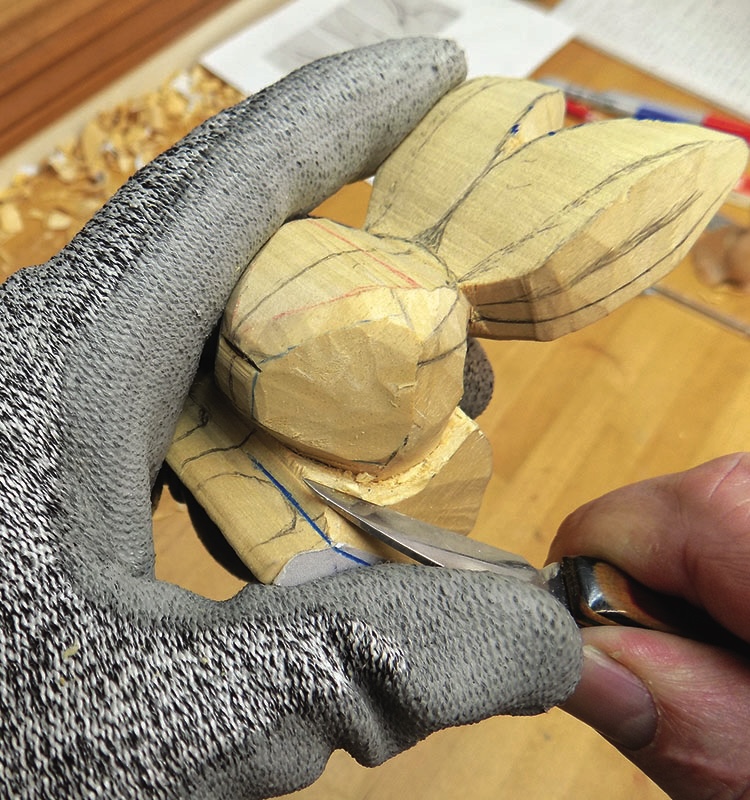
The eyes