Molly Winton explores embellishing a turned project with home-made brands using nichrome wire

Designs can be imprinted into the surface of the wood by stamping a heated shape into the wood fibres, just as branding is done to mark ownership of cattle. Brands can be made using nichrome wire, copper rivets/nails, copper tubing, and/or brass tubing. When copper and brass are used, ensure they are solid copper or brass, not plated. Copper conducts heat better than brass, however brass does work. Nichrome wire can be bent and configured by hand, or through the use of a variety of pliers or wire-bending tools prior to heating the wire. Once the wire has been heated (annealed), the metal hardens and will no longer be flexible. Attempting to bend and manipulate annealed wire will result in breakage. This article will explore the use of nichrome wire brands only.
Analysis of interchangeable tip pens
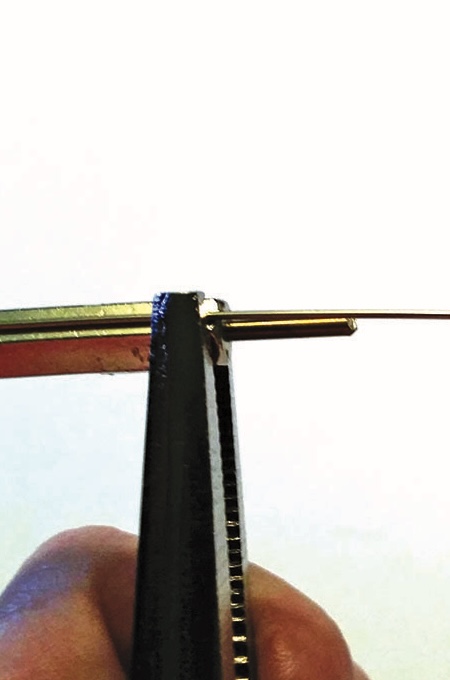
In order to be used, the home-made brands must be attached to a power source to heat the tips/brands you intend to use. An interchangeable tip pen that is capable of securing the legs of the tip/brand to the pen body must be used. Pens with set screws are necessary to ensure the electrical current travels up one leg, through the body of the brand, and then back down through the second leg. If electrical conductivity is broken, or not secure, the brand will not heat.
There are numerous machines available. Some are perfect for pyrography – which typically uses low heat – but branding requires a high-heat output using potentially quite thick tips and some units cannot deliver the heat output to brand well. Also, some of the handles can become hot when used with high-heat output, which makes them uncomfortable to use. You also need to find a holder that feels right, does not get hot, can deliver the heat output required and can be used with a variety of wire thicknesses to create the effects you want. Best advice is to talk to people already doing this type of work and ask what they are using. Talk to retailers and it is also worth trying before you buy.
Making the basket weave brand

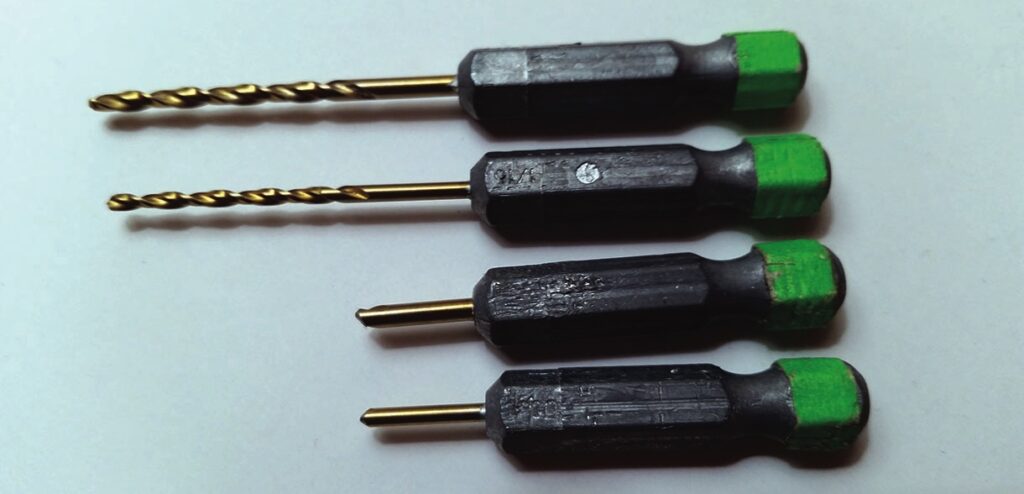
Make your own mandrel
Make your own inexpensive mandrels by purchasing hex-ended drill bits and removing the fluted portion of the drill. I found this two-piece set that works great for my standard size, and small size brands – 1.5mm and 2mm.


Basket weave pattern
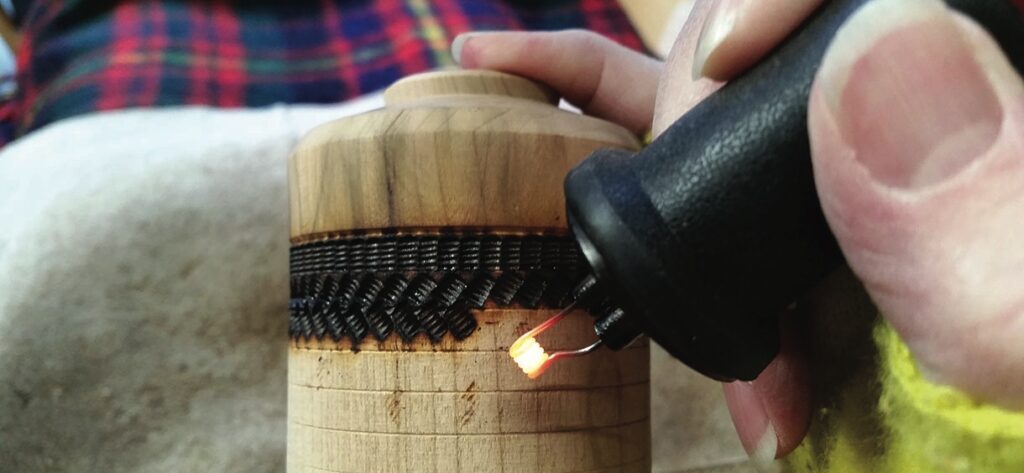
To get a nice even pattern you need to view the work as if ithe surface is gridded out with squares or rectangles to match the shape of and size of your brand. Draw in a grid if you want. Keep your brand in line with the starting position and gently place the brand onto the surface. Maintain an even pressure until you get the shading and depth you want. Now make another brand in the same orientation. next to your previous one. Now rotate your brand 90° to the previous ones and create two new brands side by side. Then repeat the process until you have finished.

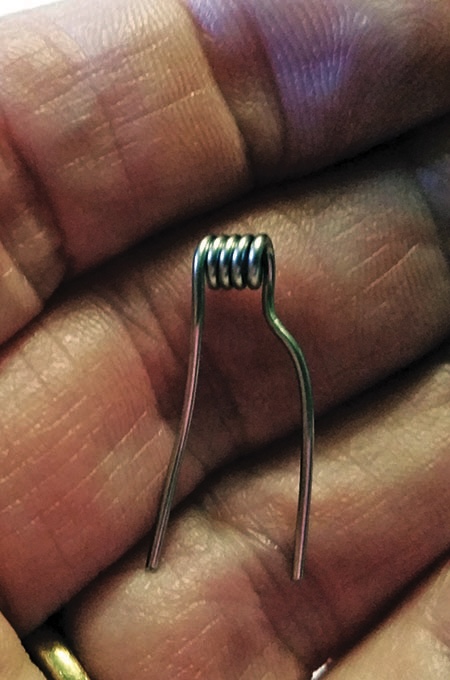
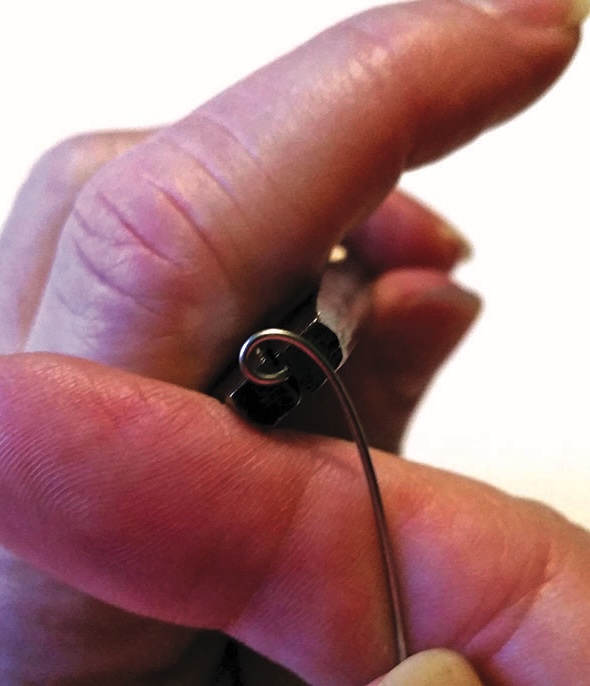
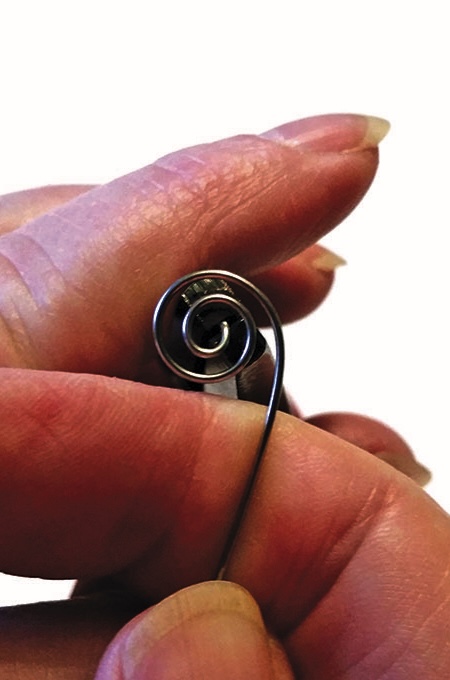
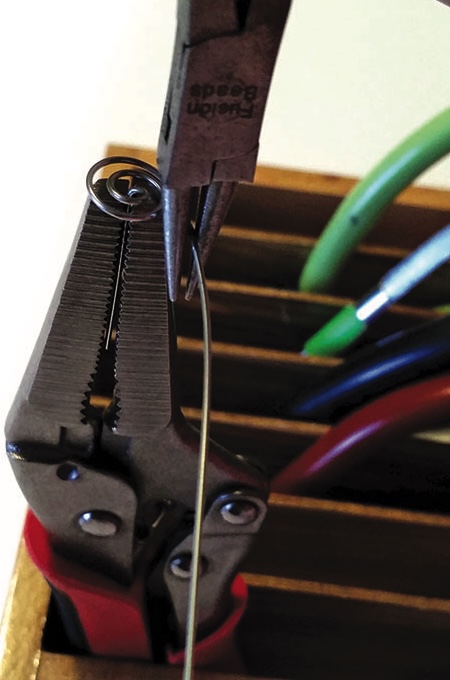
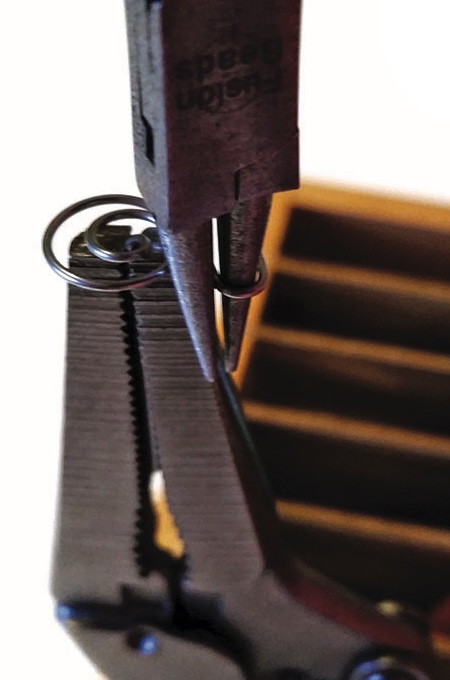
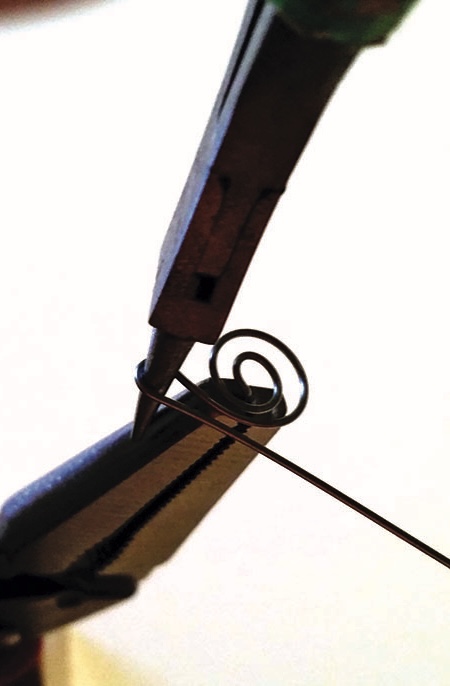
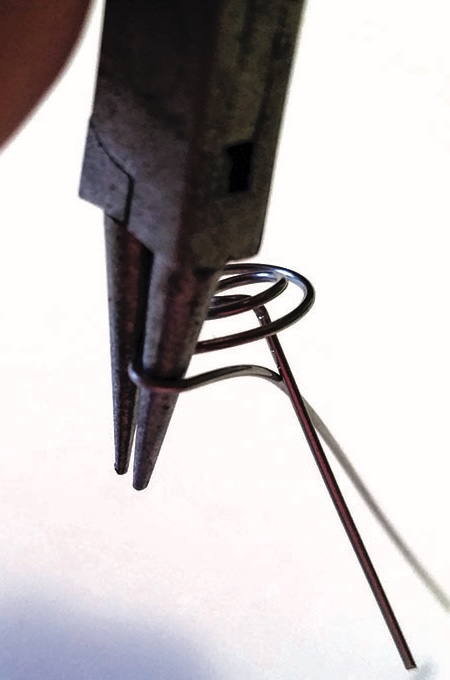
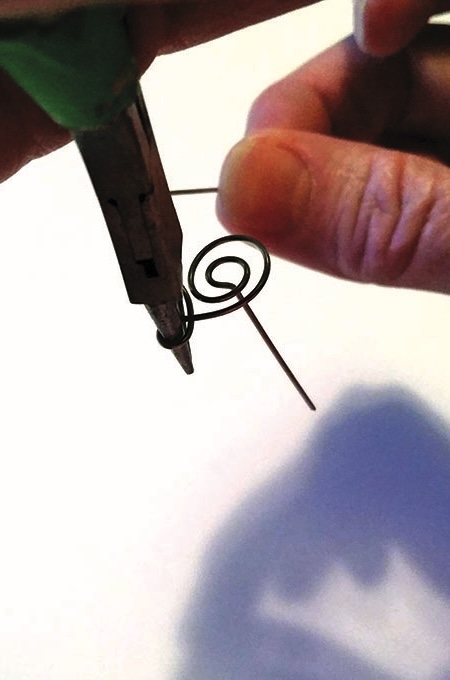
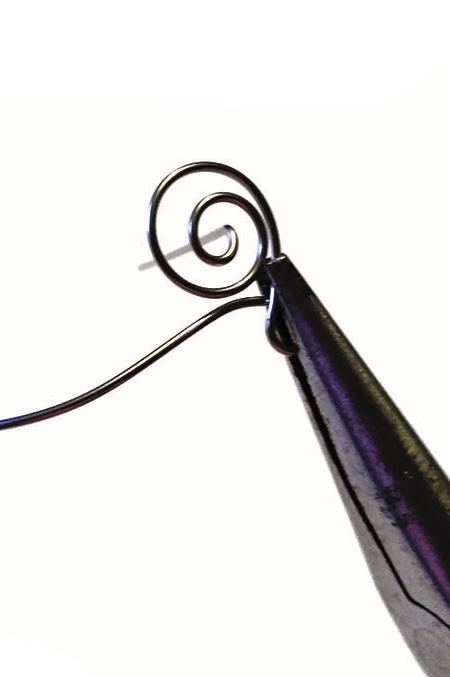
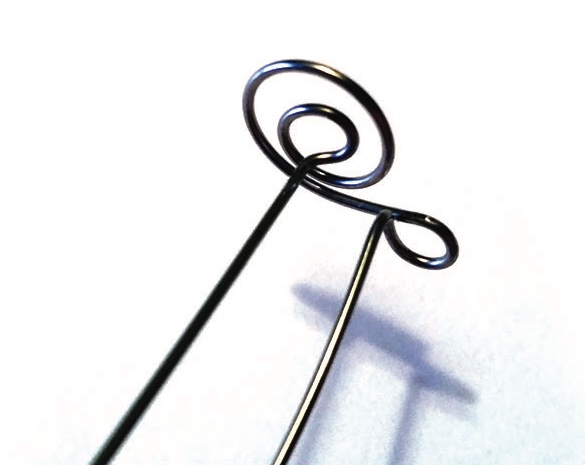
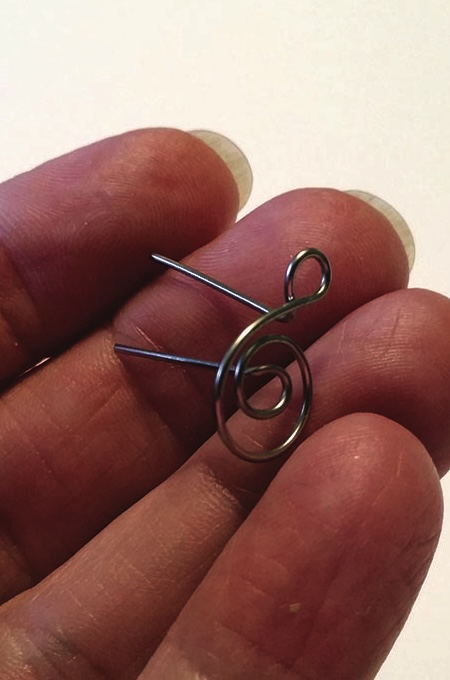
Making the S spiral brand
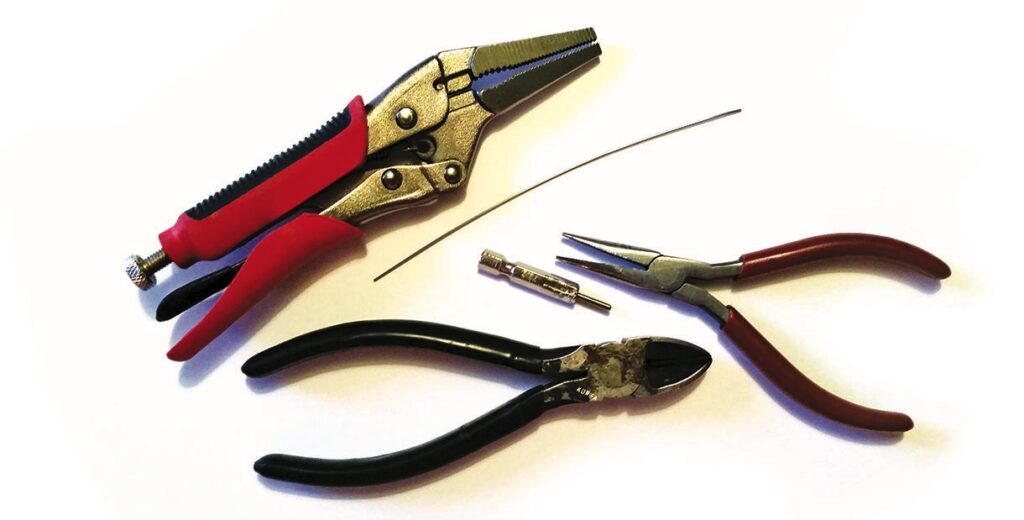
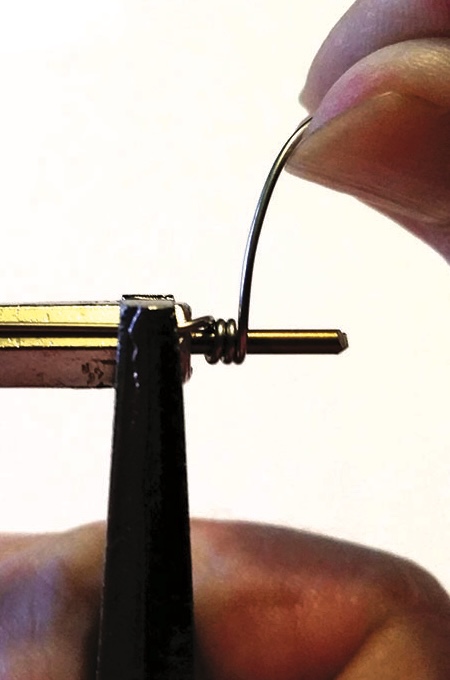
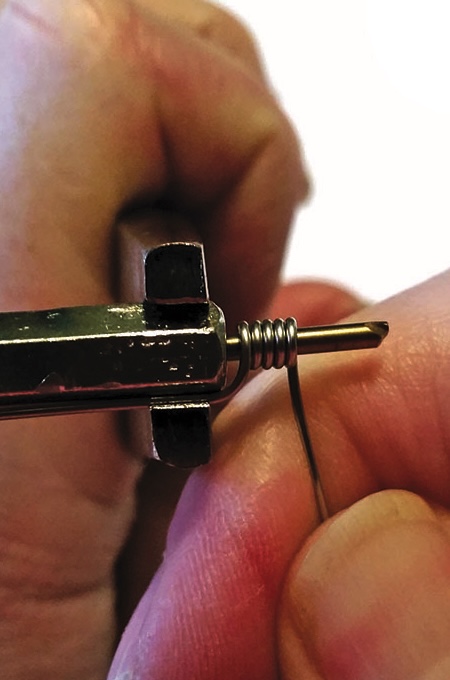
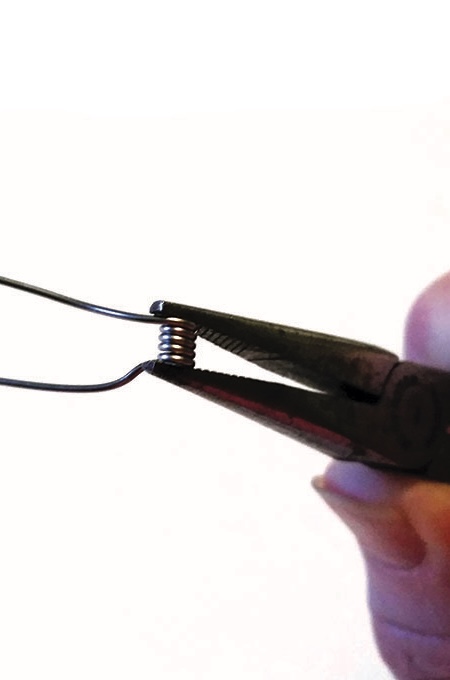
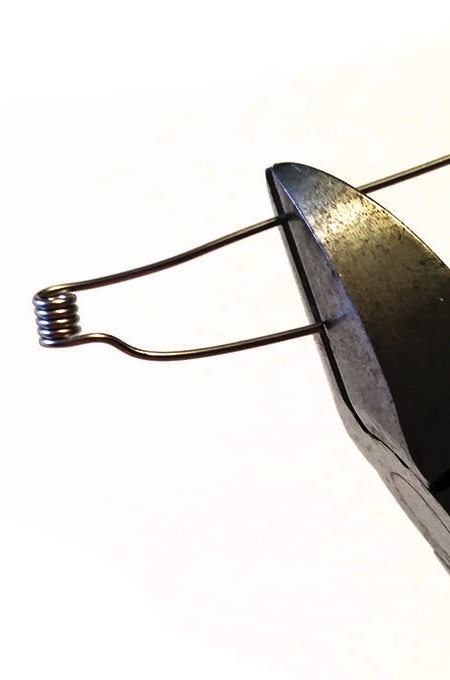
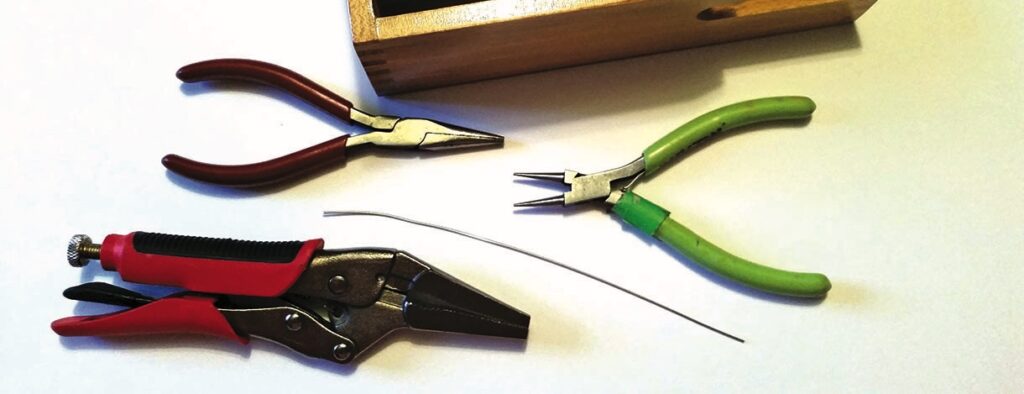
The equipment used to make the S spiral brand includes locking vice grips, needle-nose pliers, dual round cone pliers, something to hold the vice grips (you can use a bench vice) and an approximate 150mm length of 20 gauge nichrome wire. The types of pliers and clamps shown will help make most brands so you are set to go with making many more brands to suit your requirements. All you need in additions is a selction of nichrome wire in various gauges.


Application of the brands to your project
When turning the project I placed shallow score lines within the area designated for the herringbone pattern, in the hope this would assist with the calculation of the number of lines to be burned and ensure an even layout. As I burned each line it became obvious they were not helping. Since they were shallow, they did not present a problem, because the brand burned them away.
to the left. Each subsequent line was alternated back and forth to achieve the herringbone pattern
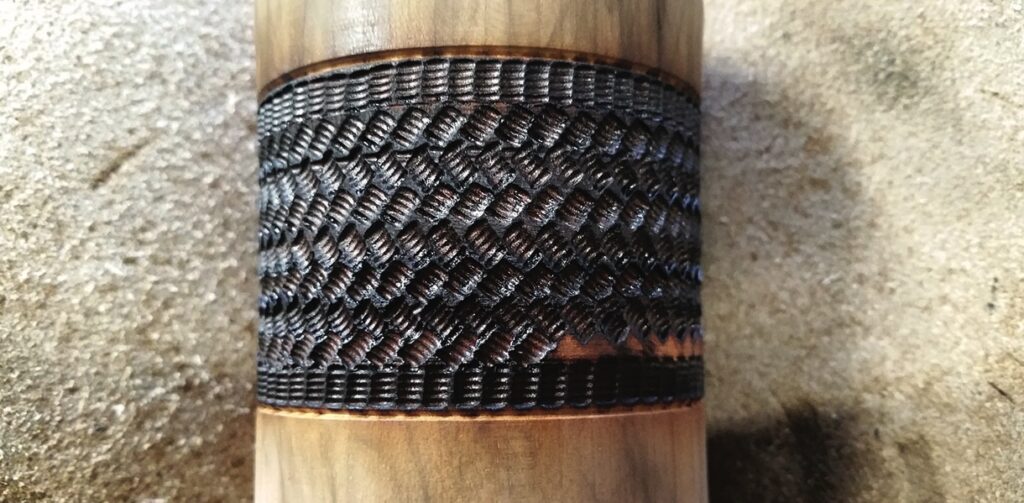
to match the top border. This allowed me to blend the final herringbone line into the border row

For more variety
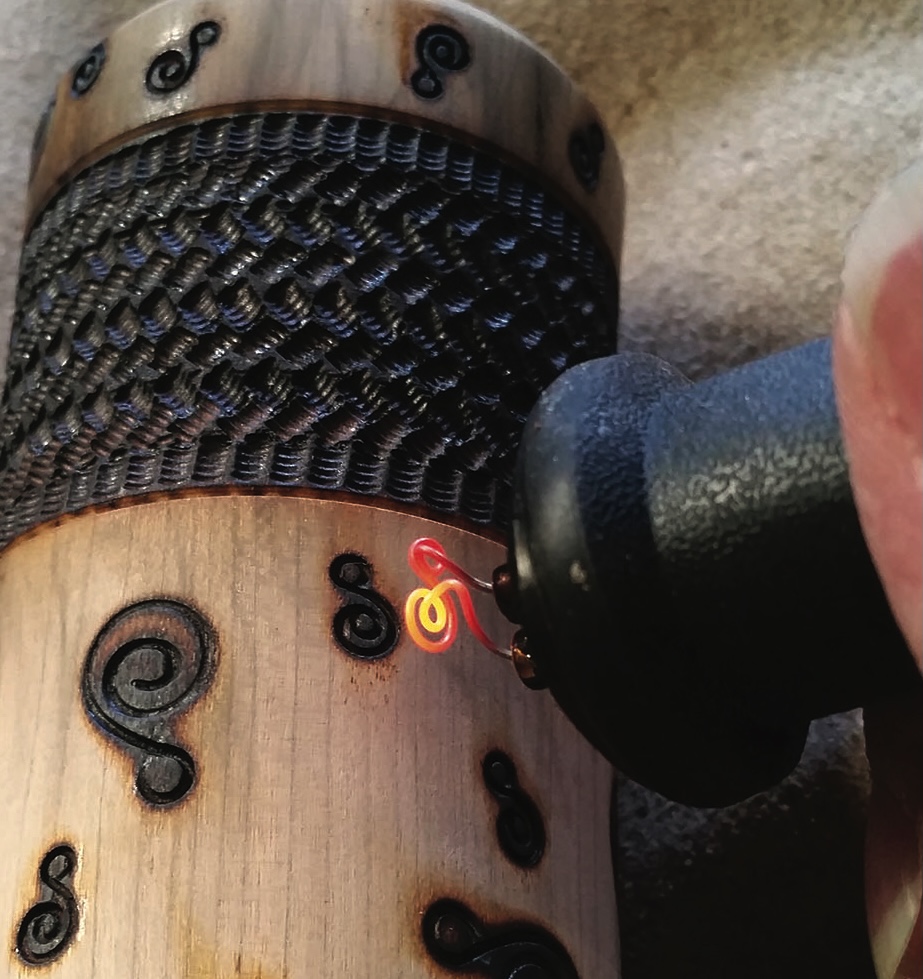
To add a little variety to the project I made a second S spiral brand using 22 gauge nichrome wire,
to scale the size of the brand down. It was made exactly the same as the larger S spiral, just smaller.
Application of finish
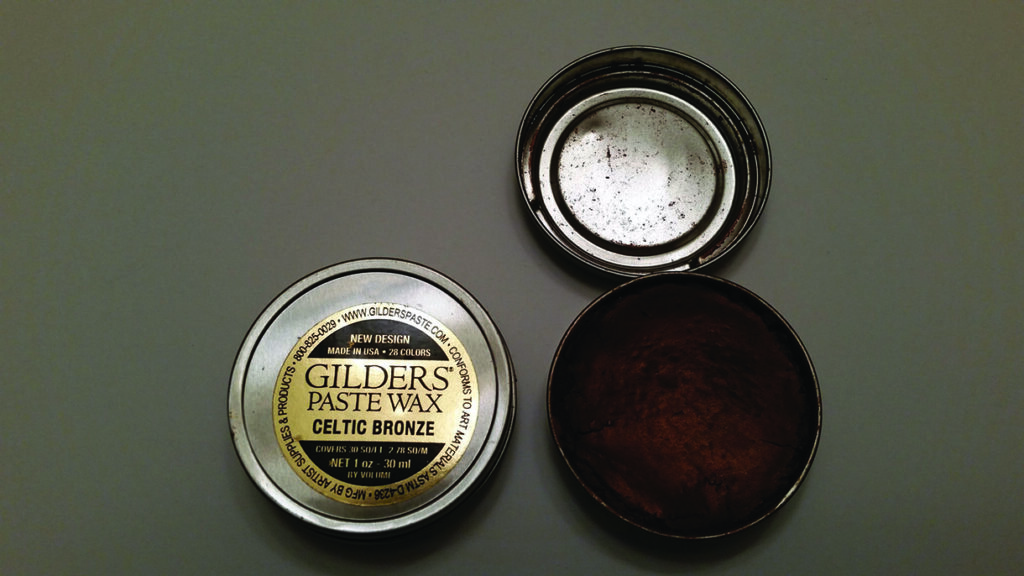
The finishing technique I have decided to apply is a combination of black acrylic paint (semi-gloss), followed by application of a product called Gilders Paste. I painted the entire vessel inside and out with the paint. Apply the paint sparingly to avoid filling the branded portions with the paint. Once dry, I taped off the herringbone portion so as not to accidentally colour it with the paste. Application of the Gilders Paste can be done using a cotton cloth or other applicator, but I prefer using the pad of my index finger. I have better control of where the paste goes, and the quantity applied. Copper in the primary coat and Celtic Bronze was used to highlight the small S brands to provide some visual depth.
Gilders paste
Gilders Paste is a mineral spirit-based finish with a consistency similar to shoe polish. It comes in 28 colours, 12 of which are metallic. They can be found in some art and craft supply stores, but frequently the entire 28 colours are not available. To see and purchase from the entire stock, visit the website at gilderspaste.com.