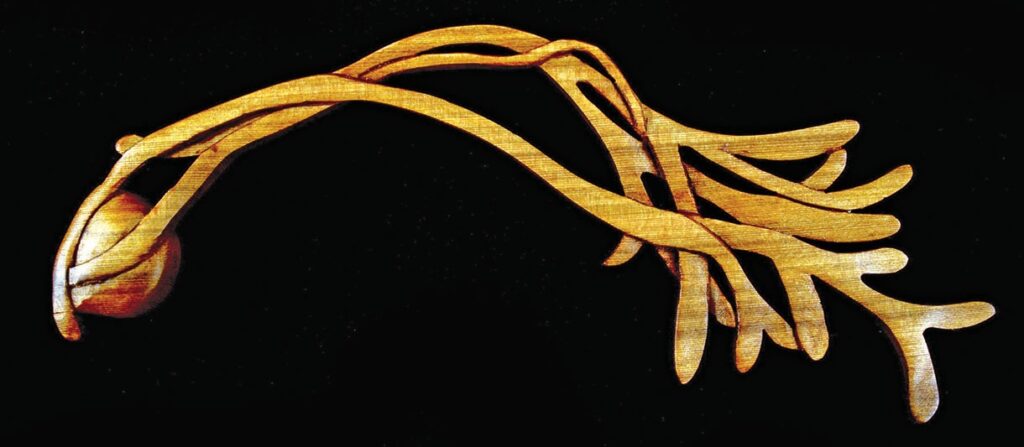
Dave Western learned some useful lessons when carving this seaweed

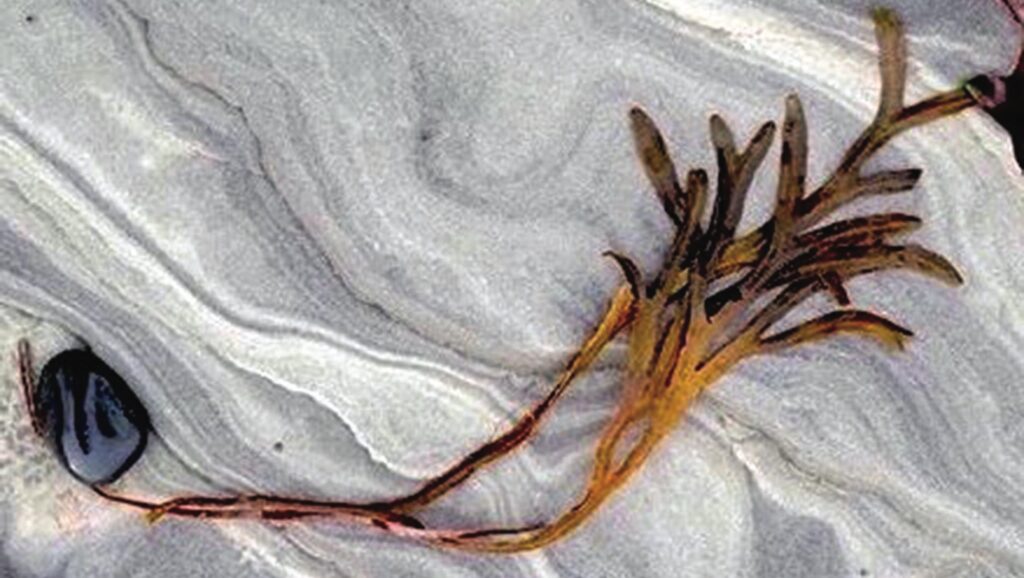
Inspiration for woodcarvings can come from the most unexpected sources. Recently, I was looking at some lovely nature photographs taken by Rachelle Chinnery (her website details are: https://rachellechinnery.com). Although she is renowned for her award-winning ceramics, her eye for photographic detail is vastly keener than mine and I enjoy absorbing as many lessons as I can from viewing her work. One day, a tiny (unfortunately low-resolution) photo of a small frond of kelp on her Facebook feed caught my attention and I thought it would make a fabulous subject for a carving.
Being a lovespoon carver, I fully intended to create a lovespoon design inspired by it. To
that end, I sought permission from Rachelle to do so, which she kindly granted me, and set about carving my piece. Once underway, I decided it was best to leave it as nature had made it. The resulting carving was hugely enjoyable as I fought with design errors of my own making and learned just how far I was capable of pushing my material. Although it might be a somewhat unusual subject for a carving, it offers myriad challenges and opportunities.
Table of contents
Initial attempts
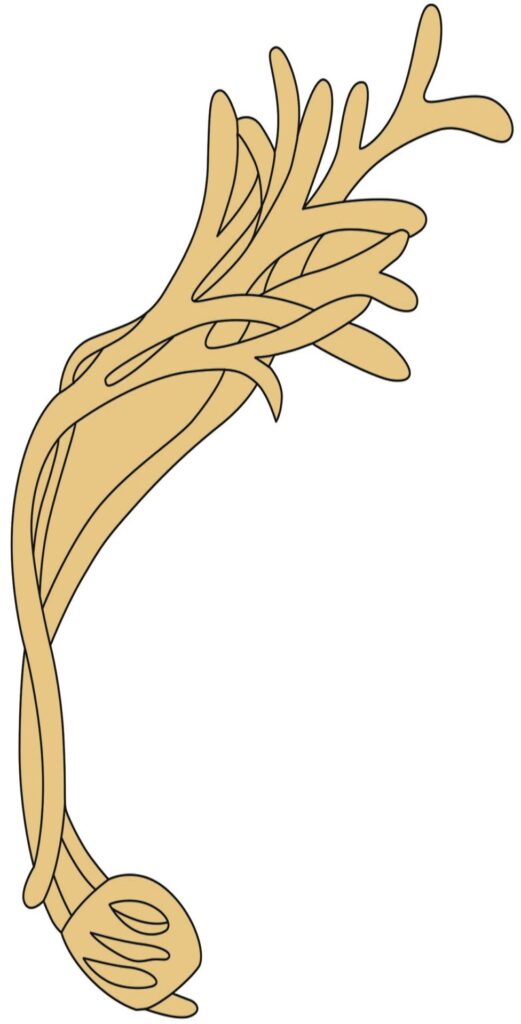
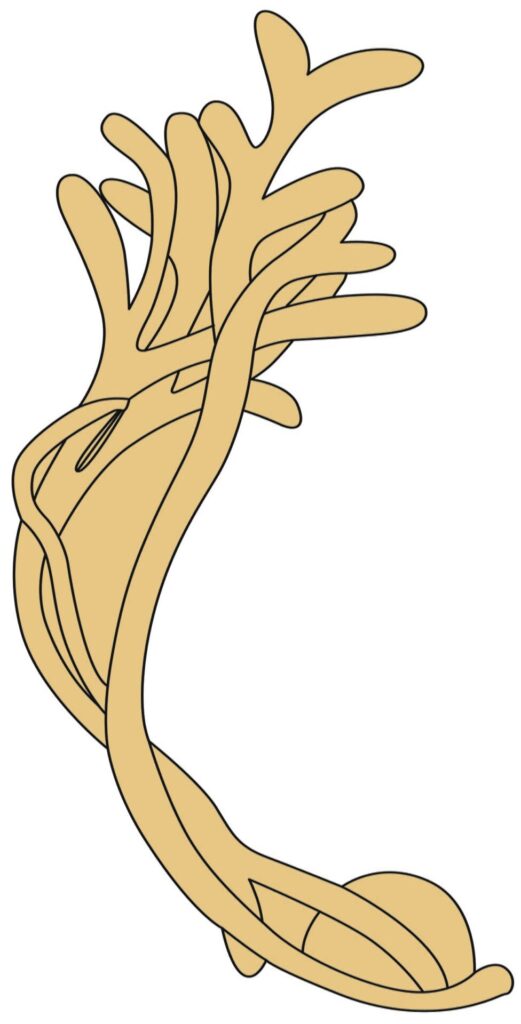
My initial design followed the photograph as closely as I could manage and this proved to be a costly error. There were too many unsupported cross-grain sections and areas of structural weakness and I broke several attempts before deciding to redraw it and add a few supports. You’ll notice that two strands rather than one, as in the photo, now join the bottom section. You’ll thank me for that when you start carving. If you are braver than me, you can eliminate that second strand, but that is work for a lighter, steadier hand than mine.
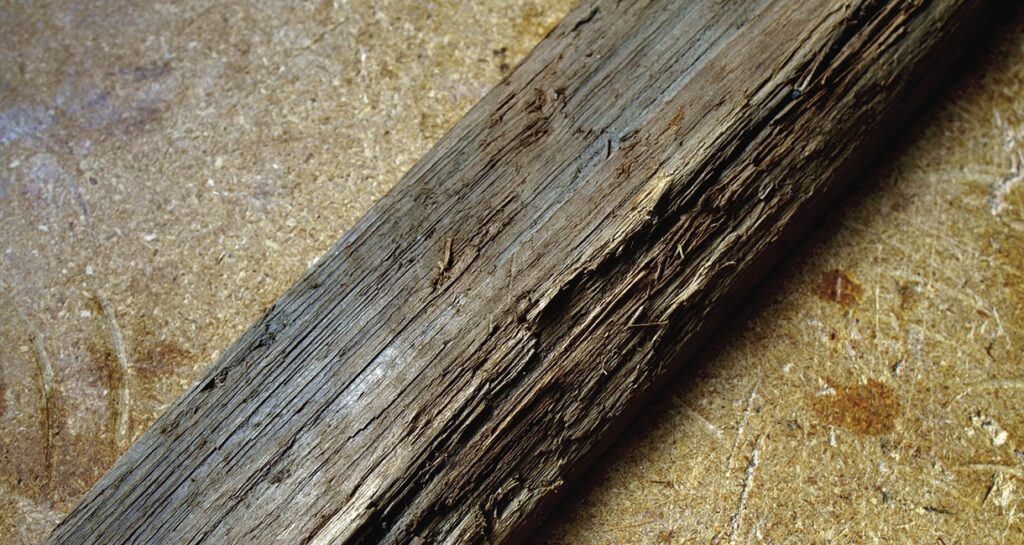
Another lesson I learned from trial and error (mostly error) was that harder woods, such as cherry (Prunus spp.) or walnut (Juglans spp.)aren’t great for this design. I wound up using a lovely piece of straight-grained old-growth red cedar (Thuja plicata) driftwood that had washed up on the beach near my house. It seemed both a romantic and suitable choice of wood for this carving, although I would probably suggest something such as birch or lime were I to do it again.
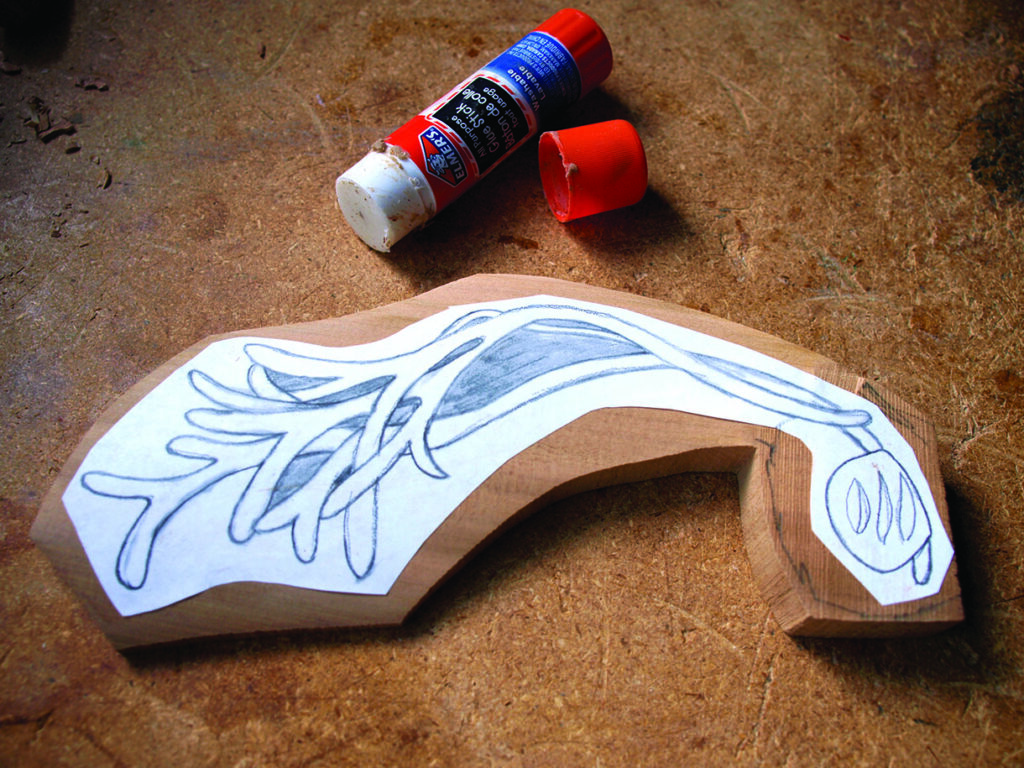
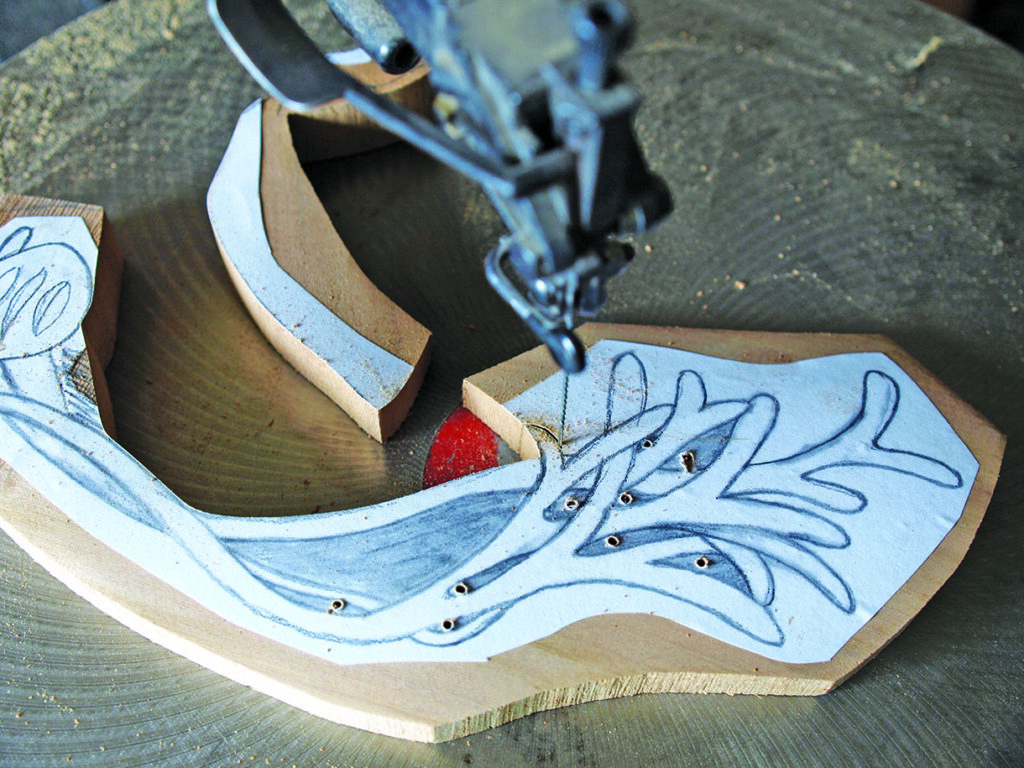
Marking and cutting out
Before I began carving, I took some time to dome the bulk of the workpiece, leaving the area where the ‘stone’ would be carved. Because I wanted the fronds of the kelp to appear with as much movement as possible, curving the main body of the design and doming it from side to side helped give the finished carving lots of life. If you lack the tools or patience for all that, you can simply carve it all on the flat.
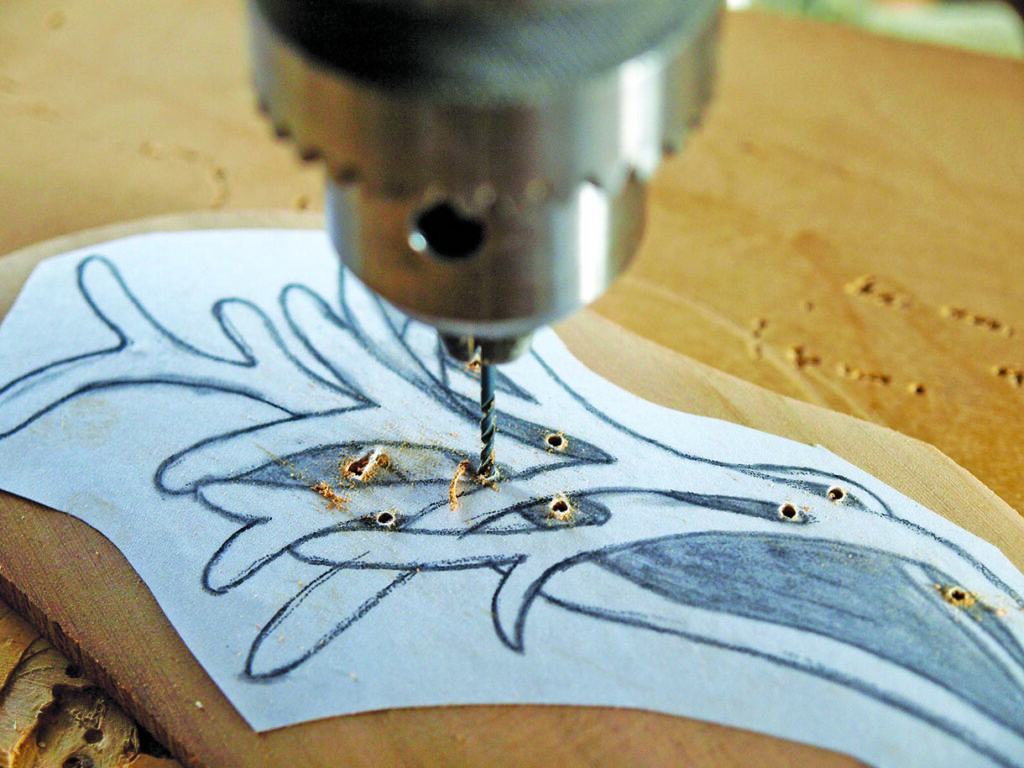
As you can see from the photo, after my earlier miscues, I decided to bolster the strength of the area around the stone by adding a second strand. I’ve made sure the pattern included here has that revision in it. I then drilled holes through the central cut-away sections of the carving before making my second mistake, which was to scrollsaw the outer edges first. With this design, it is a much more prudent order of business to cut away all the middle sections and keep the strength of the wood intact as long as possible.
The next hard lesson I learned was to leave a bit of material to support that top section of the kelp fronds as it is a structurally compromised section of the carving. I did catch myself in the nick of time and left some supporting wood, which I cut away at the end of the carving process when I was confident that I would not have to stress the piece at all.
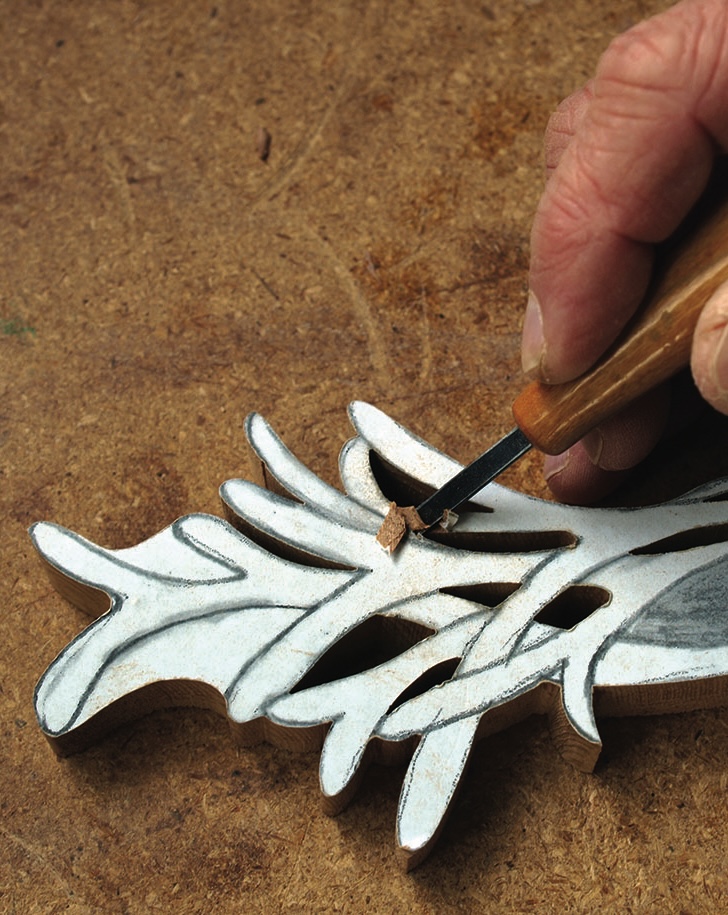
Starting to carve
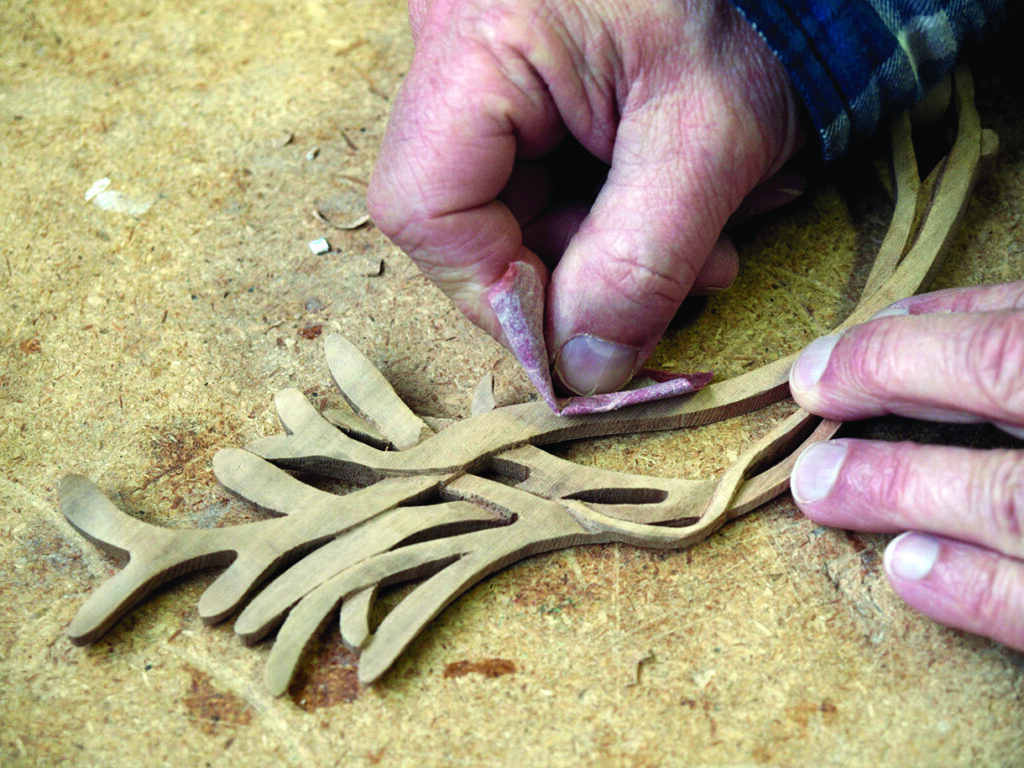
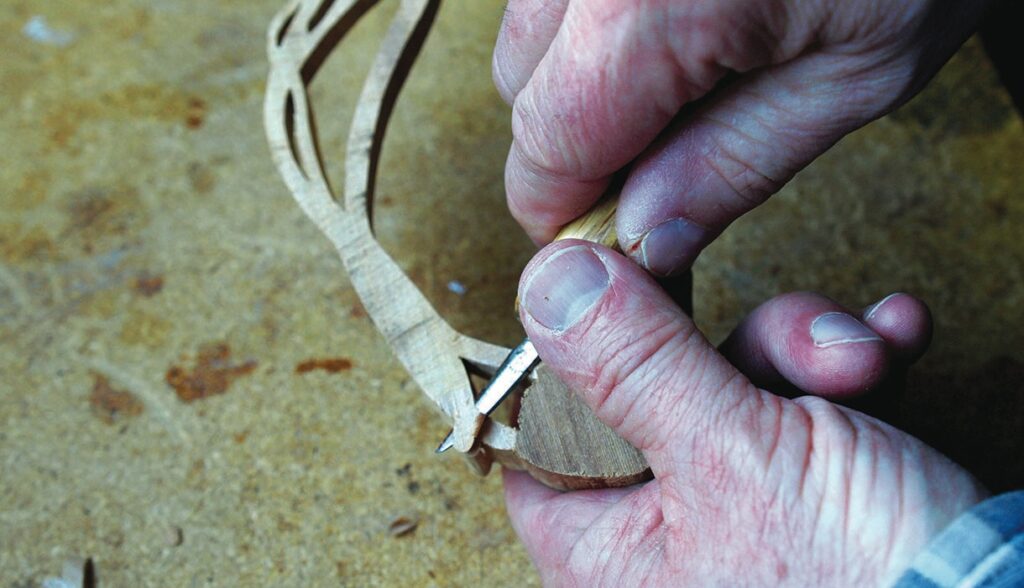
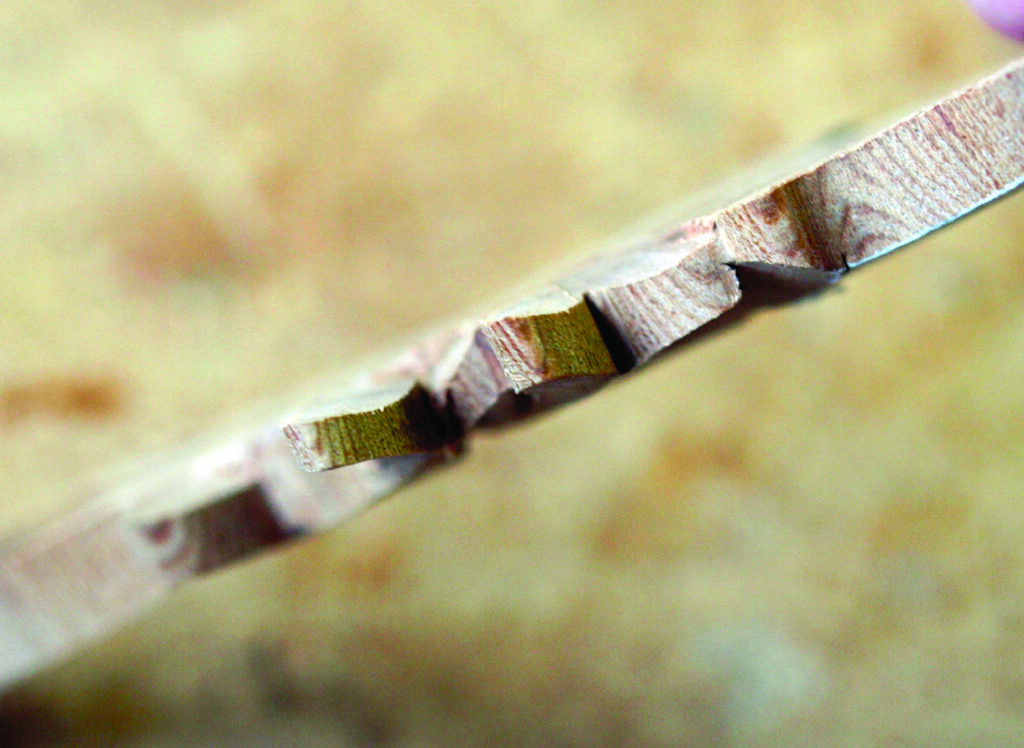
With material cleared and the bulk of sawing done, I began the carving process by marking any areas which crossed over/under each other. I was careful to only cut about 1.5mm deep at this point just in case I made a mistake. Once I was certain that all the intersections were correct, I began to deep the cuts and shape the individual fronds. Most I took down to around 4mm deep.
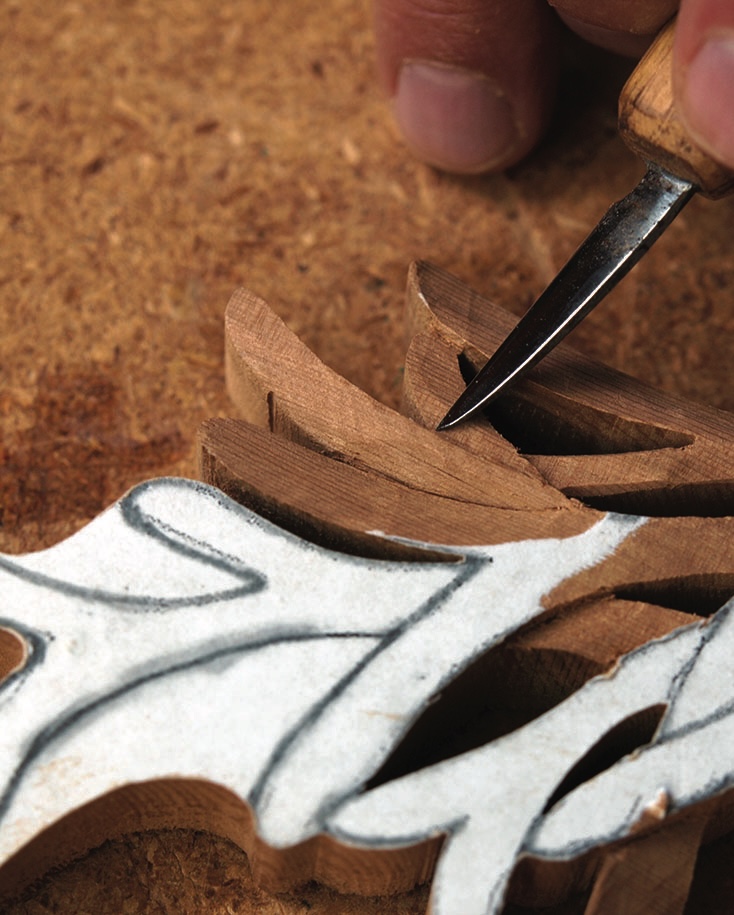
When I was satisfied the fronds were clearly delineated, I began shaping some curve into them to mimic the natural movement of the fronds in the photo. Some I curved outwards, some inwards and some I domed. I tried to be conscious of how they would drape over one another in reality and wherever possible tried to follow that natural flow.
After the disasters of my first couple of attempts at this design, I decided to leave the very top section of the kelp fronds until the majority of the carving was completed and there was less likelihood of my snapping it off. One of the big lessons I learned carving this design was that I had to be very careful how I supported the carving and how much pressure I put on it. This top section is inherently weak and likely to snap, so I exercised a great deal of caution both in the sawing and the carving.
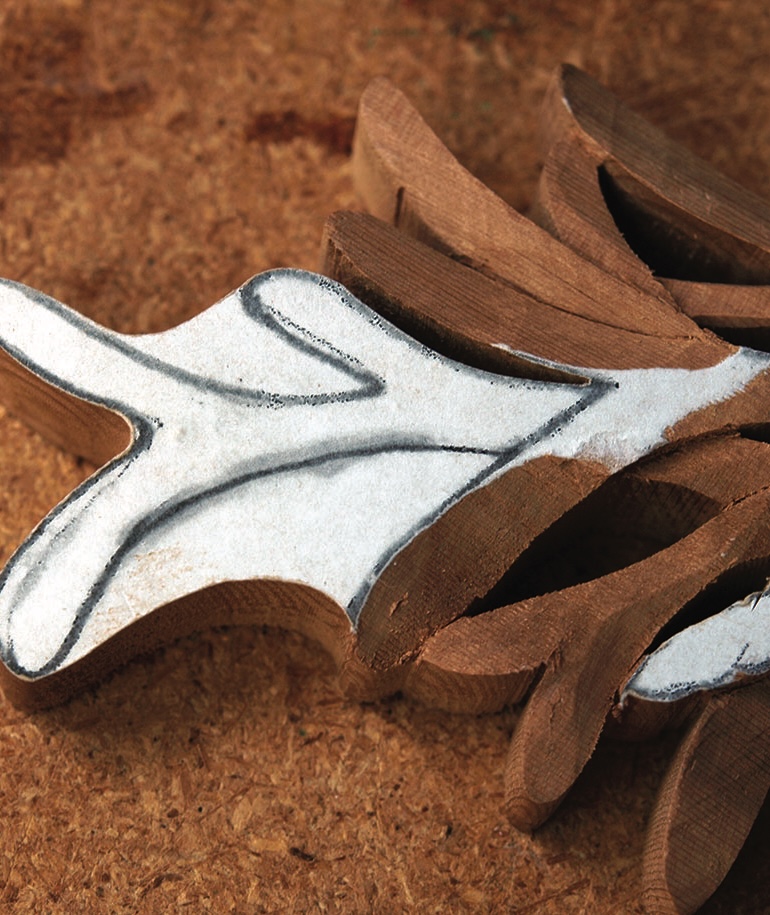
Carving the back
Once I was satisfied the bulk of carving was completed on the front face, I moved around to the back face. I used a bandsaw with a support fence and side guide to stabilise and secure everything in place to remove a sizeable amount of stock and then carved the back to create a nice curve. Do not cut such a piece on a bandsaw unless you have the piece fully and correctly supported. The same outcome can be achieved by carving the back to the shape you require. However, whatever method you use, remember: the thinner the piece becomes, the greater the danger of snapping the fronds becomes and the more conscious you will have to be of stressing things.
If you are using a knife to hog away the back material be aware of the stresses it creates and try to support it from behind as much as possible. This need for support continues even when you get to the fine detailing. I utilised nests of carpet or Styrofoam to support the work when I had it on the bench and made sure to handle it very carefully when I was carving in hand.
Final adjustments
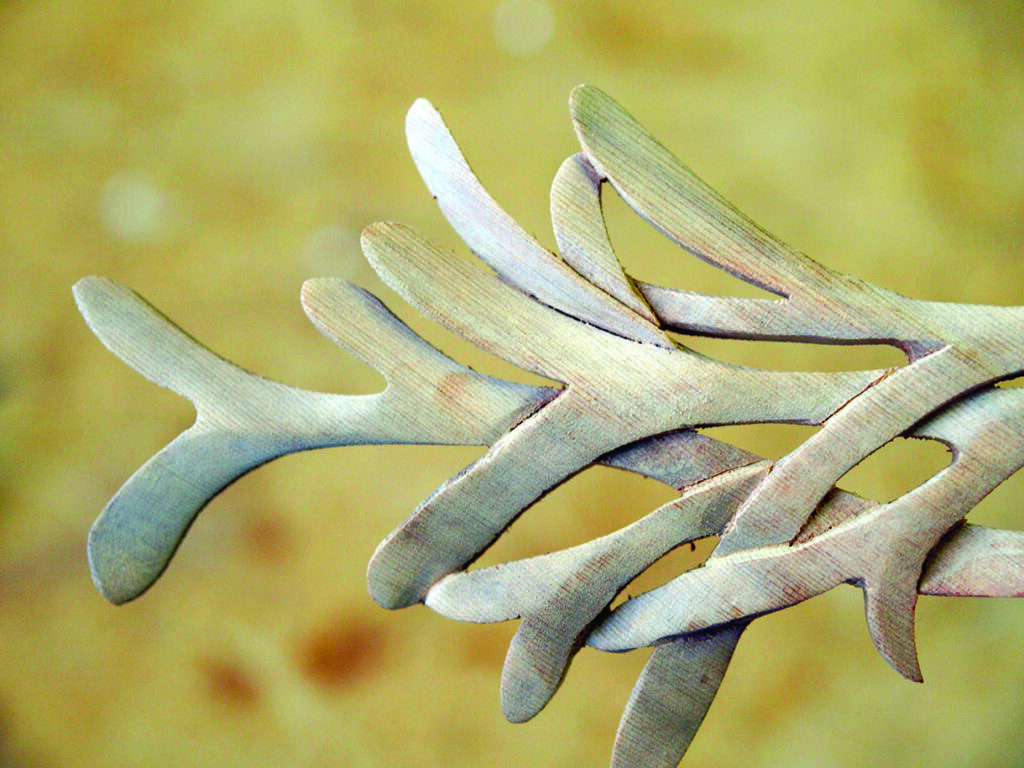
I made a conscious effort to remain aware of the angles carved on to the top fronds and to reverse them on the rear ones. Sometimes this is not easy to remember, but the nice thing is you can’t look at both sides at once. Nevertheless, reversing the slopes makes the carving appear more natural. Be aware though, that as the wood becomes thinner and more realistic, it also gets considerably more fragile and likely to break. With the cedar, I felt that a compromise was in order and left things a bit thicker than I might have with lime or birch.
While leaving a carving straight from the knife often keeps the surfaces looking brighter and more visually stimulating than sanded ones, I decided to sand this piece to try to mimic the smoothness of the wet kelp in the photograph. Once I was committed, it became a long and tedious process to reach every nook and cranny and render a uniform and consistent surface. If you opt to sand, be prepared for a workout.
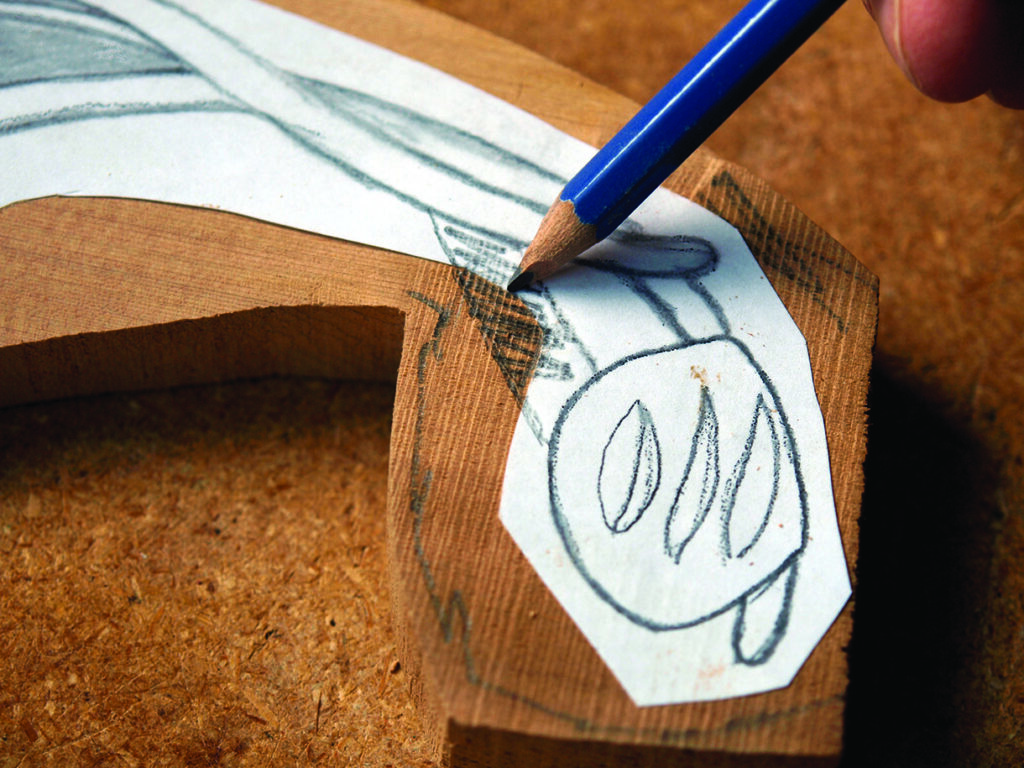
Finishing touches
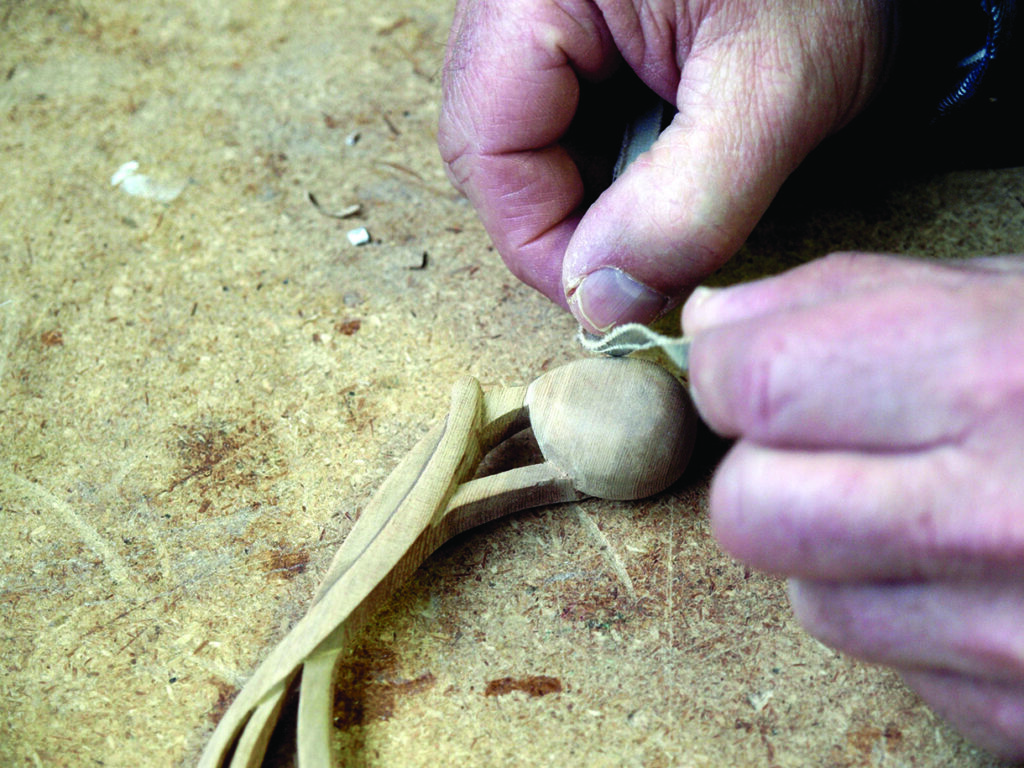
Kelp fastens itself to a rock anchor and this tiny piece was no different. Originally, I had intended to transform the ‘rock’ into a spoon bowl, but decided to stay as close to the original photo as I could. This meant a lot of shaping and of sanding to keep the stone’s wonderful smooth appearance. I also made sure to drape the two strands of kelp across its back.
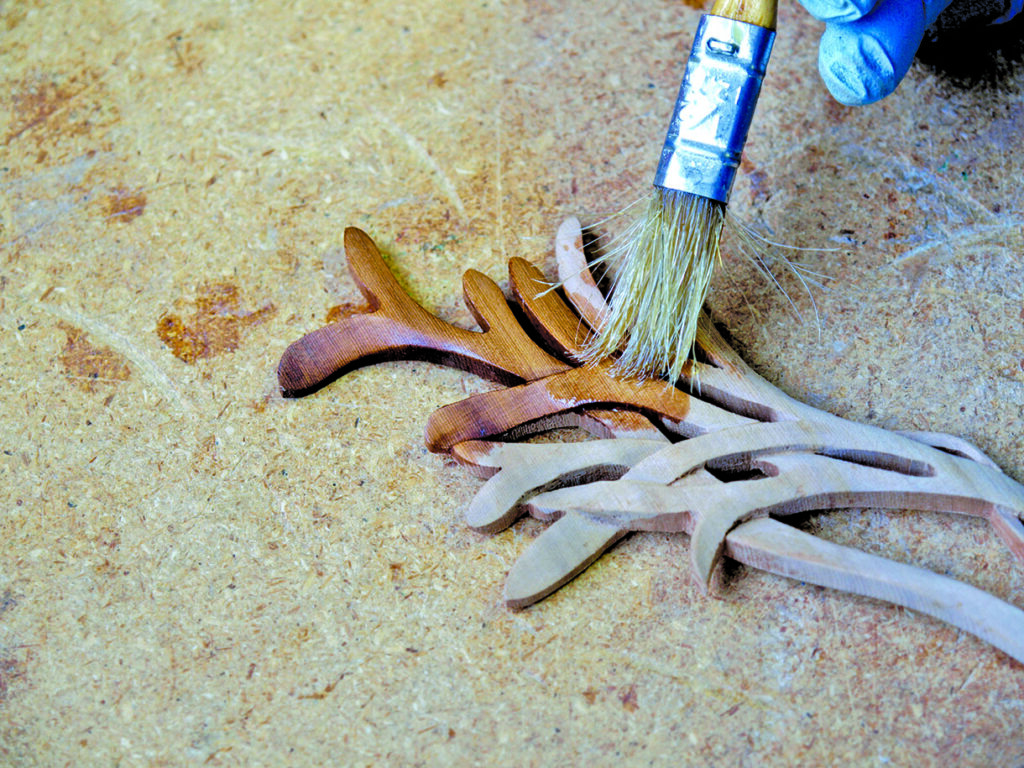
Once I was satisfied that both front and back were mostly carved, I cleared that risky top section of the fronds and sanded them up to match the rest of the piece. Although I opted for an oil and beeswax finish, this design could represent one of those rare occasions when a glossy varnish or surface finish might actually work to mimic the wet look of the kelp in the photo. I just wasn’t brave enough to try it in case it didn’t work.
Braver and steadier carvers than me might want to take the challenge of thinning the fronds down further than I managed and I have no doubt it would result in a very exciting carving. With the red cedar I used, this was about as far as I dared push it, but I must admit I am tempted to try some lime and see if I can go a bit further.