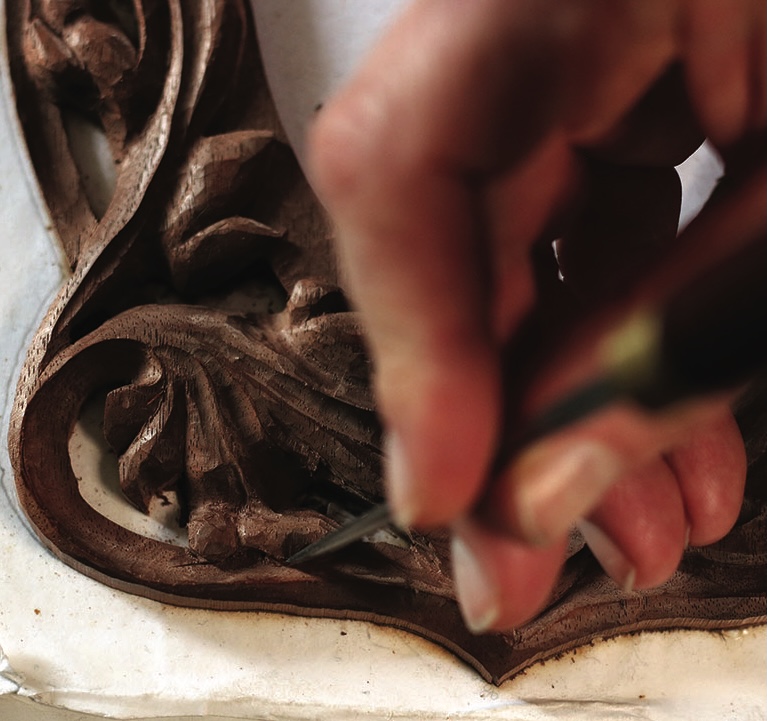
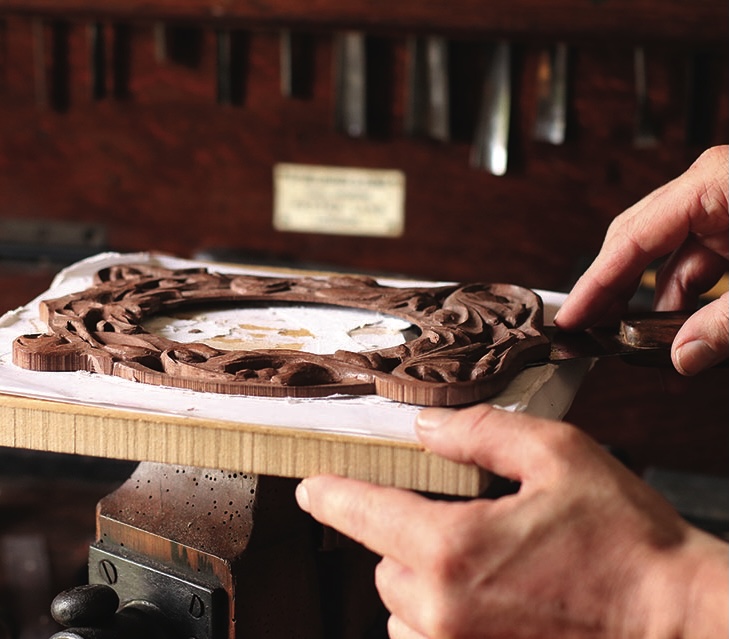
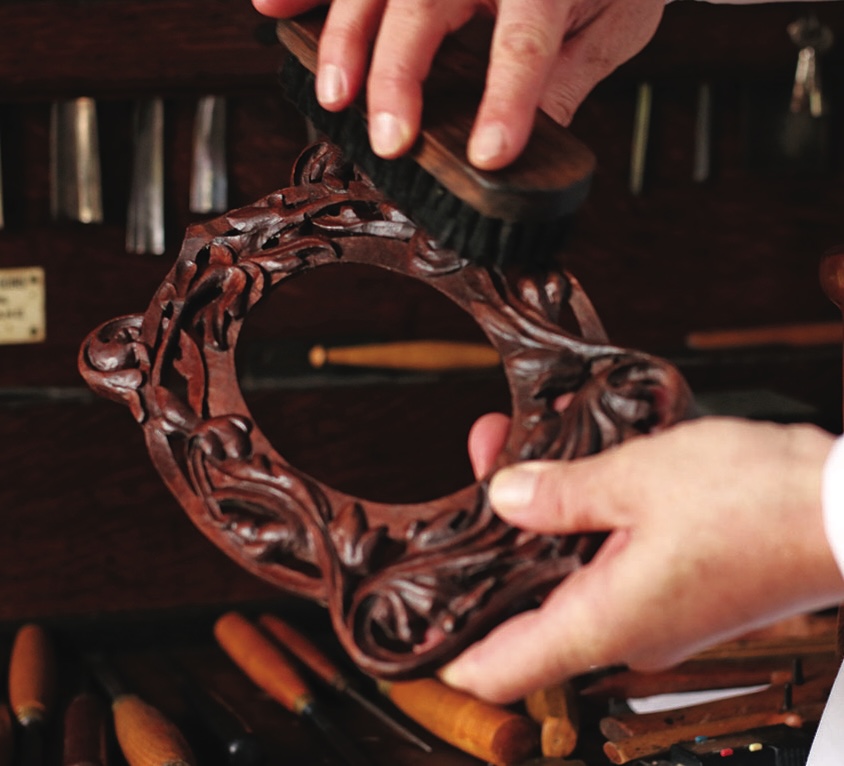
Mark Ivan Fortune carves a pierced rosewood picture frame in the Art Nouveau style

This Art Nouveau pierced rosewood frame, characterised by its intricate linear design and sinuous flowing scrolled acanthus leaves, is an ideal subject study for the student woodcarver. This project presents some challenging elements on which to hone your carving skills.
Regarding the design and execution, the more complex the form the more you must vary the symmetry, the word ‘symmetry’ referring here not to mirrored reflection but to the balance of mass. You must strive to evoke contrast both in variation of width in line, which is expressed within the confines of the design, and variation in depth in the execution of the design. This may be achieved by taking full advantage of the depth of the blank, visualising where the leaves and stems dip and rise and making the cuts accordingly. It is of the utmost importance that the ground of the inner frame is not truly flat, but a representation of a flat surface, with subtle facets created by the flat gouge giving a quality of life and vibrancy. Arguably the most challenging phase of the carving is in the modelling, as in modelling we must rely not only on good technique and well-prepared tools but, most importantly, on an artistic sensibility. The mere application of technique will inevitably result in a stiff mechanical outcome.
Things you will need
Tools:
• No.1, 10mm
• No.2, 10mm skew chisel
• No.3, 14mm fishtail gouge
• No.4, 8mm
• No.5, 3mm
• No. 7, 6 & 11mm
• No.8, 10mm
• No.39, 17mm V-tool
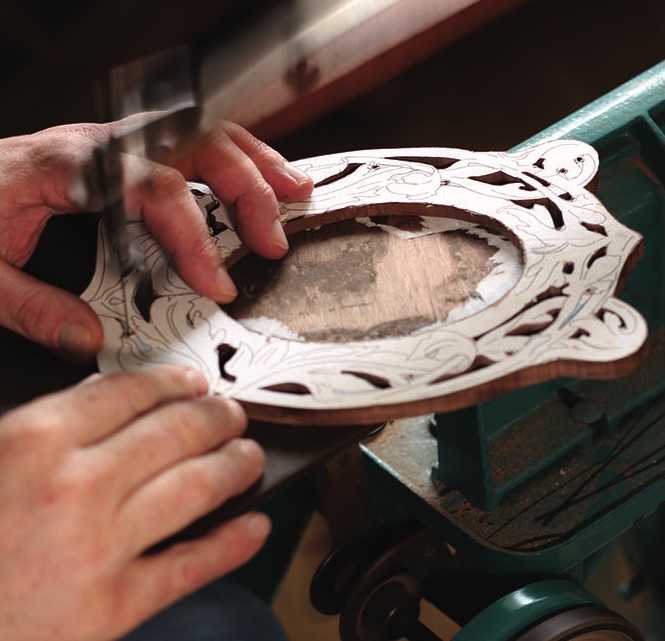
• Fretsaw
• Padsaw
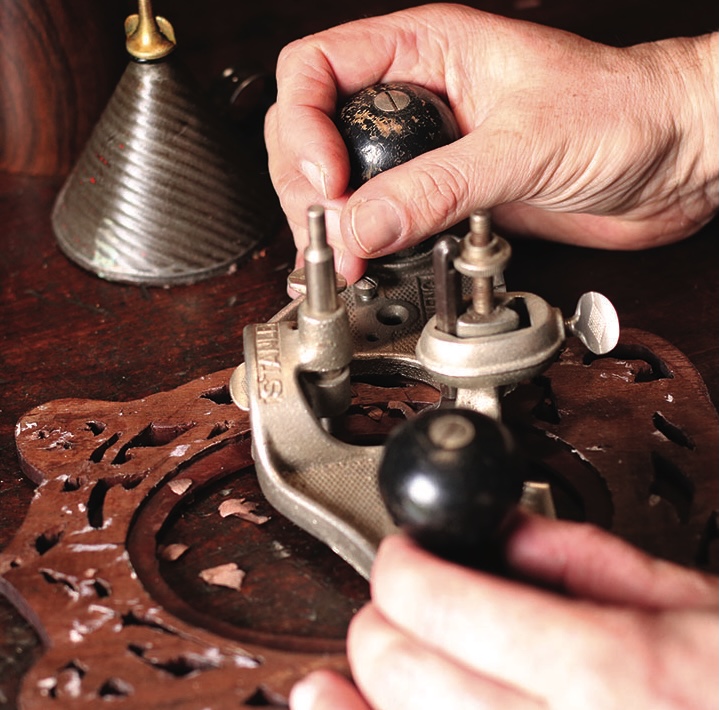
• Router
• Marking gauge
• Marking knife
• Paint scraper
Materials:
• Rosewood or mahogany blank: 235 x 165 x 10mm
• Rosewood or mahogany backing 143 x 110 x 1.5mm
• PVA glue (for gluing to MDF backing board)
• MDF backing board
• Raw linseed oil
• Beeswax polish
Drawing

Creating the frame
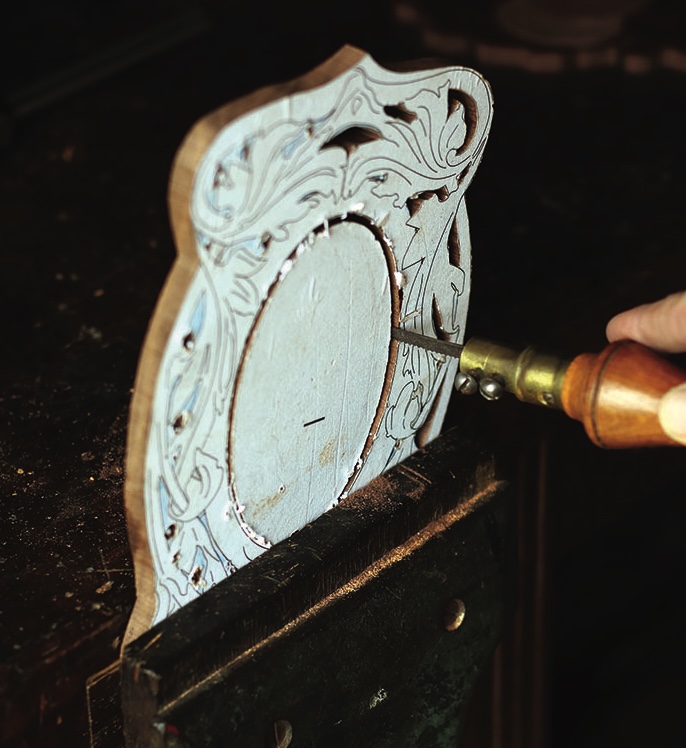
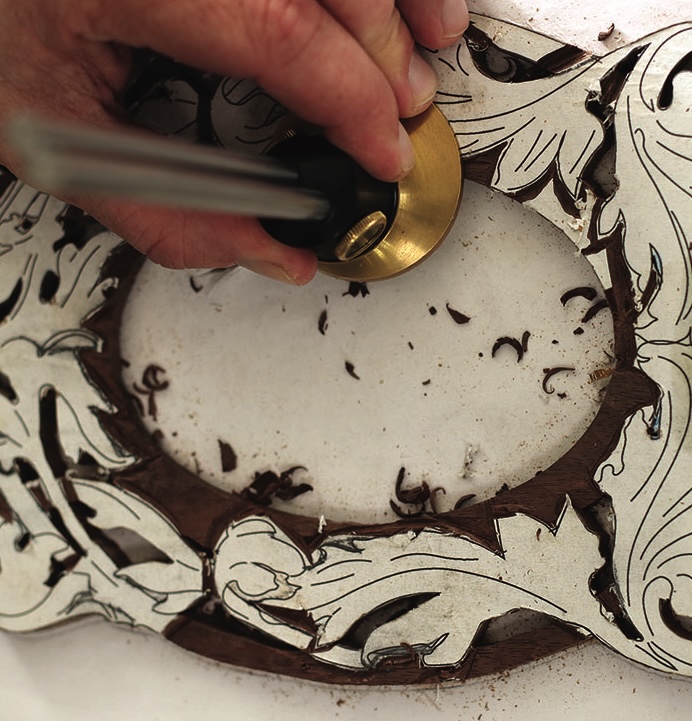
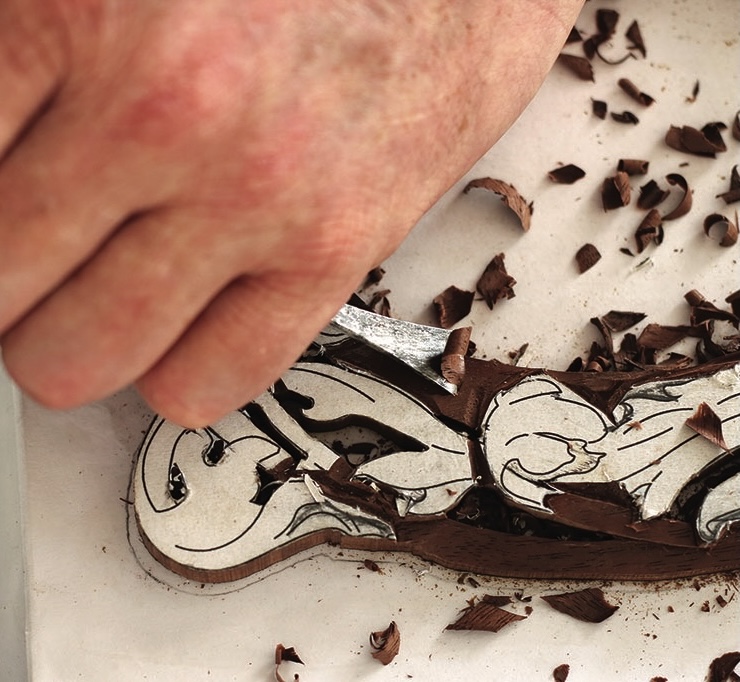
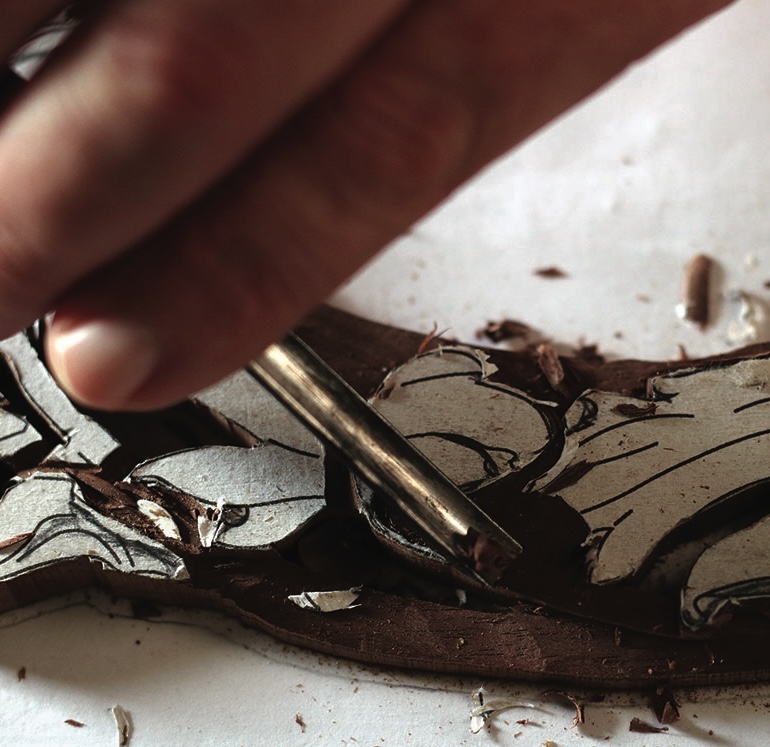
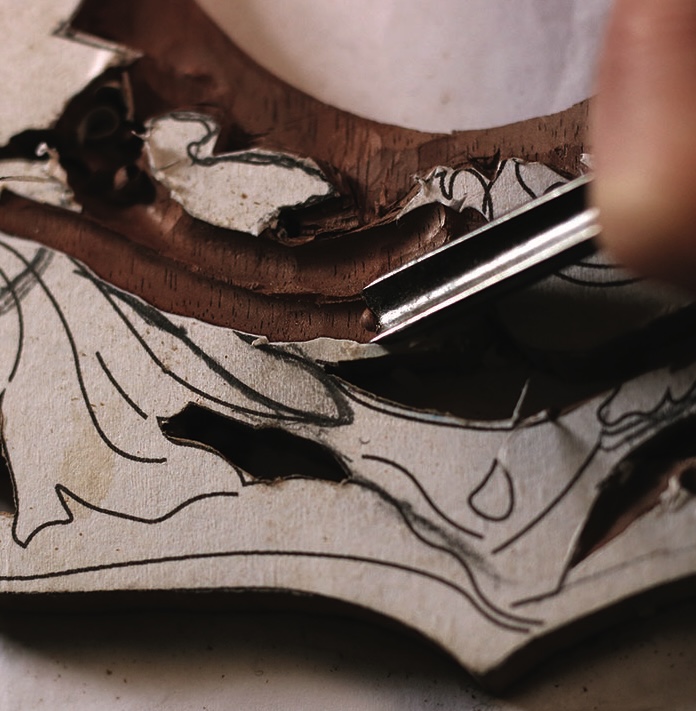
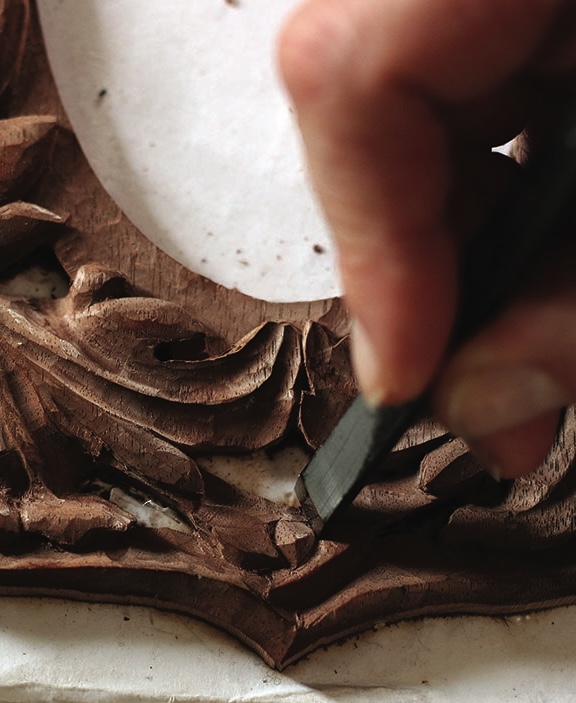
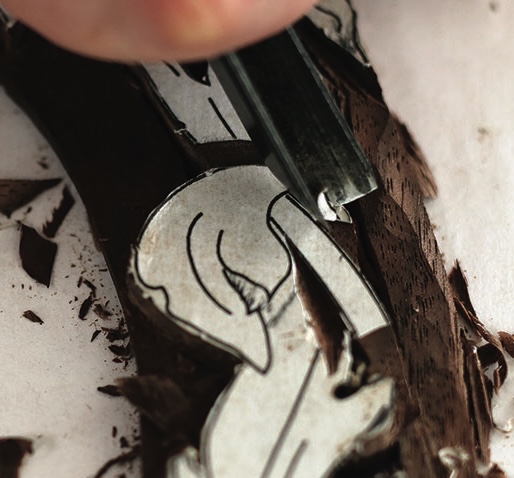
8. Avoid using any stab cuts running with the grain here as there is little weight to buttress the cleaving forces. Rather establish the outline of the sloping forked sections with the V-tool rotated to cut at 90°, and merely pare the sidewall with a flat No.3 gouge to define its form
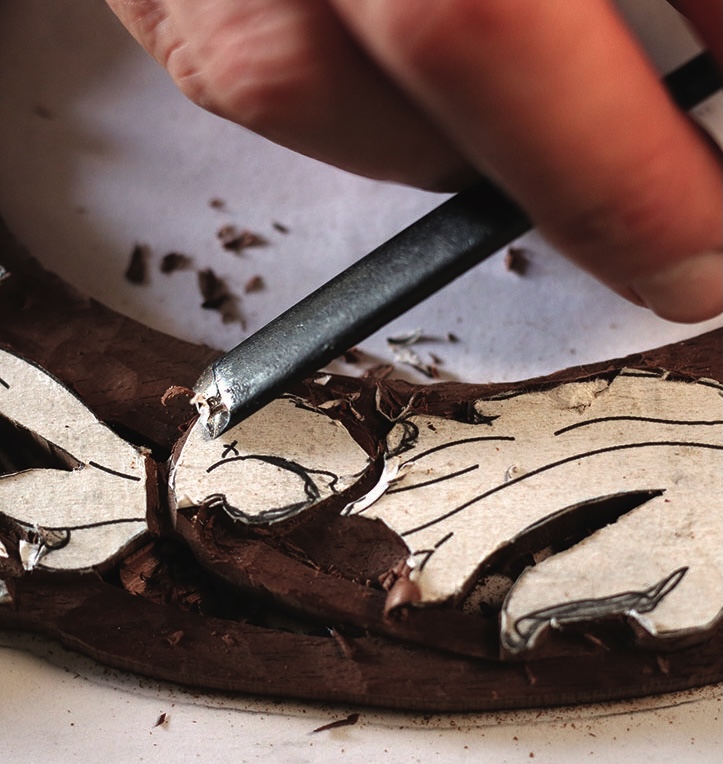
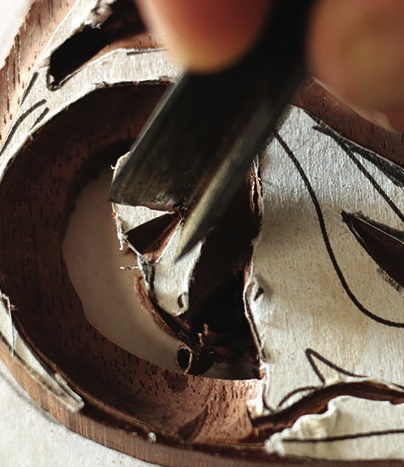
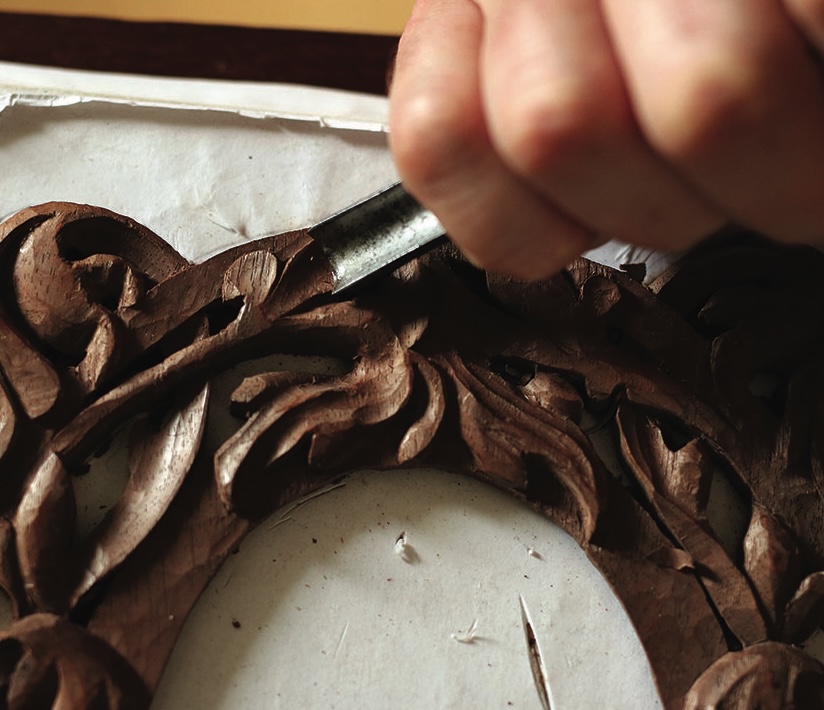
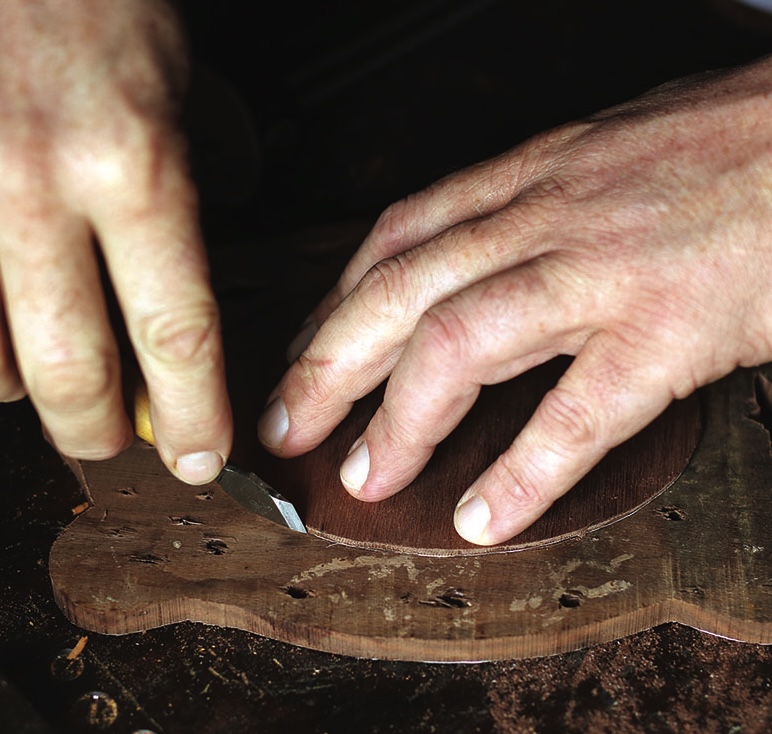
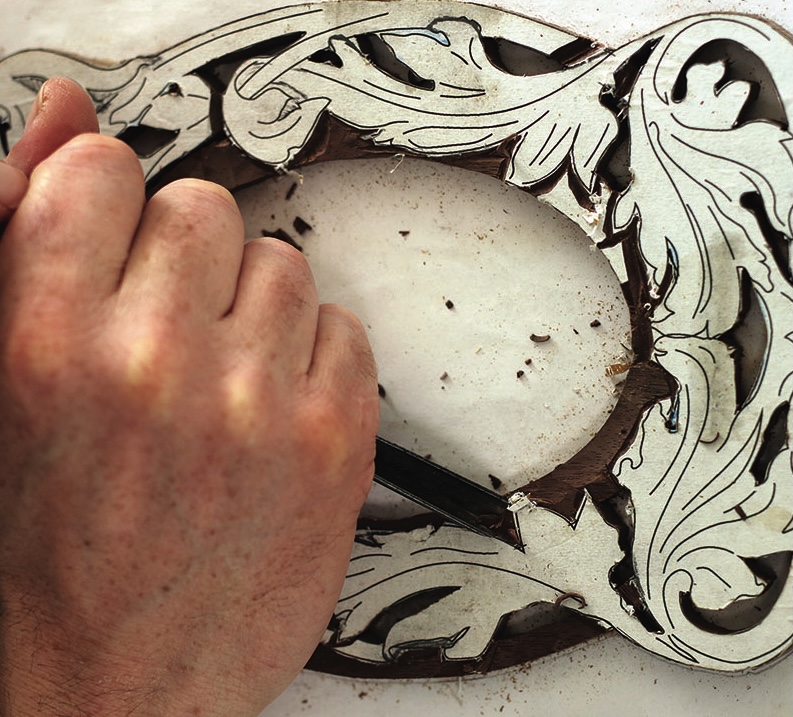
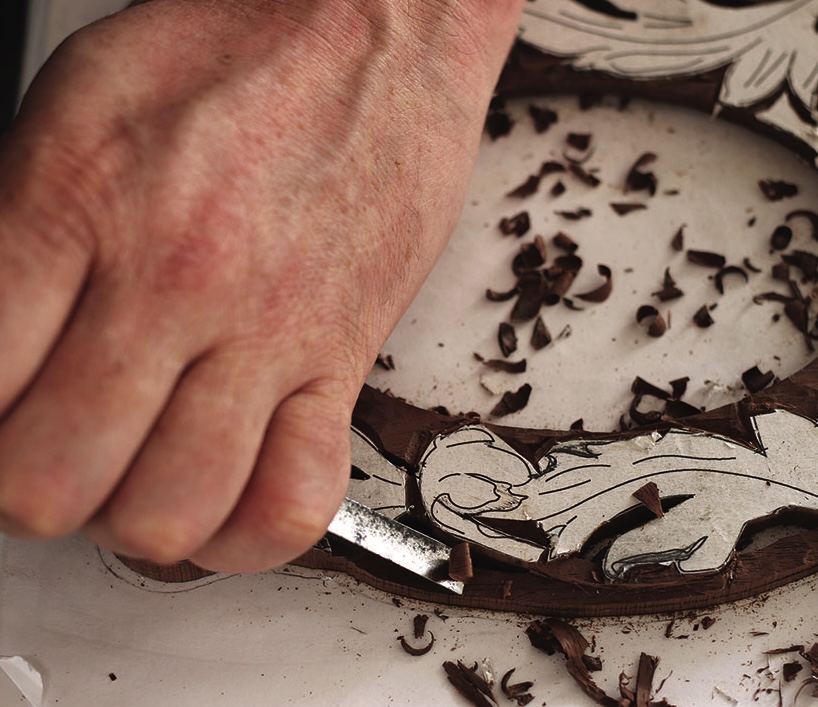
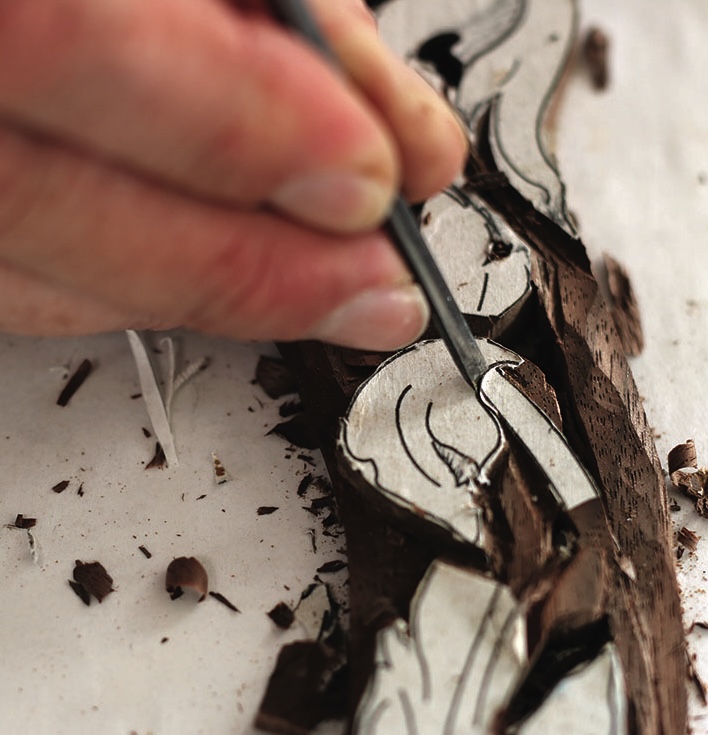
9. Carefully make two shallow cuts with a V-tool, separating the rolling leaf and entangled stem which passes through the leaf head. Rotate the tool so it cuts at 90° on the stem side
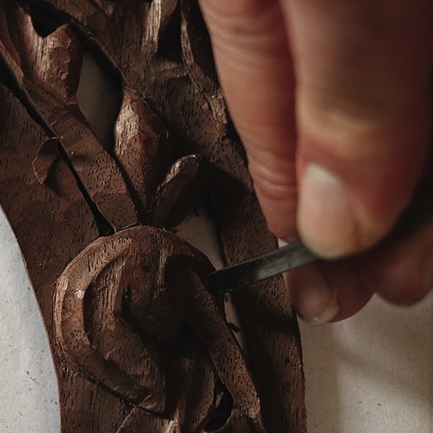
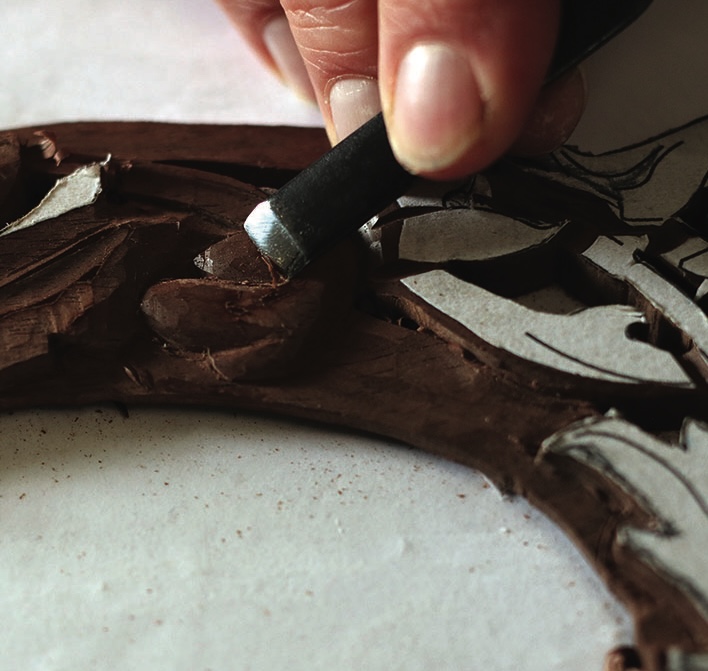
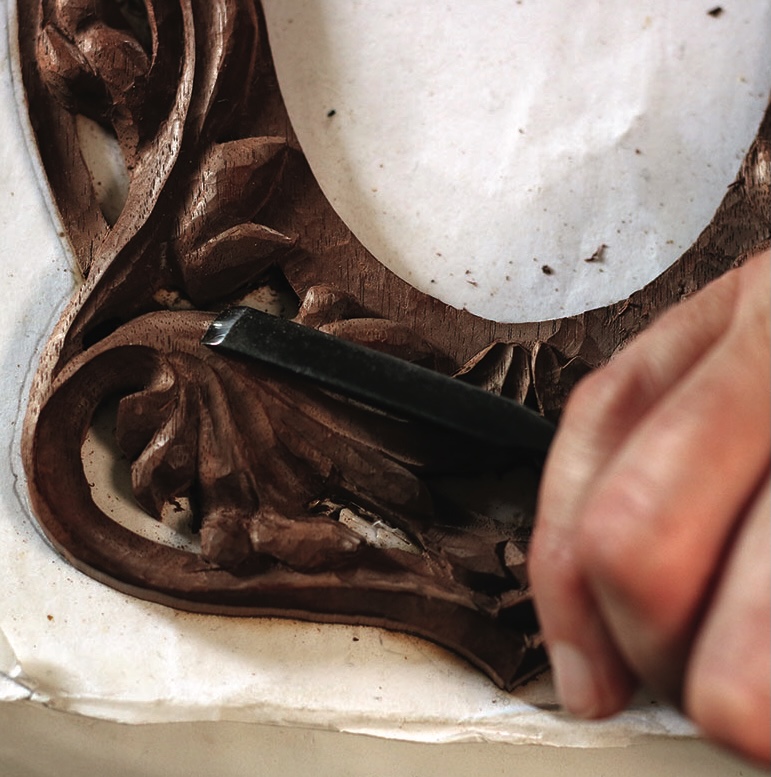
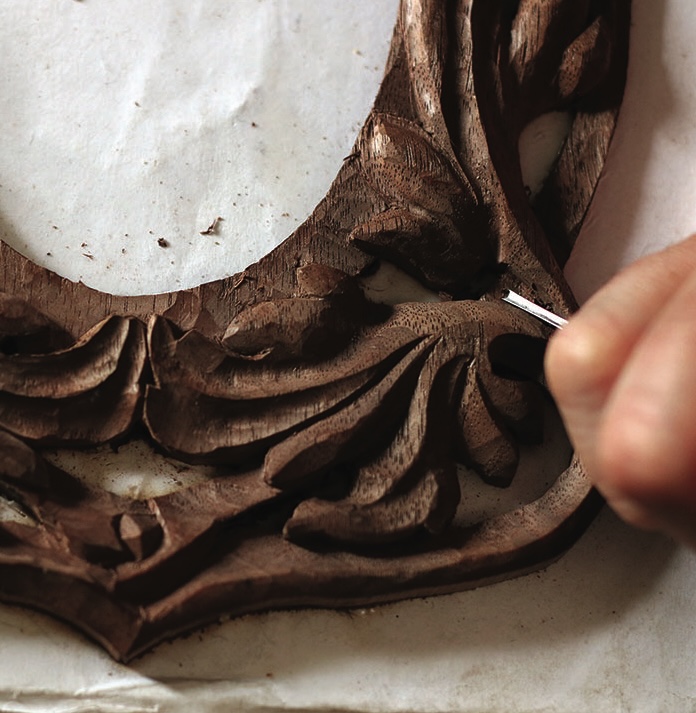
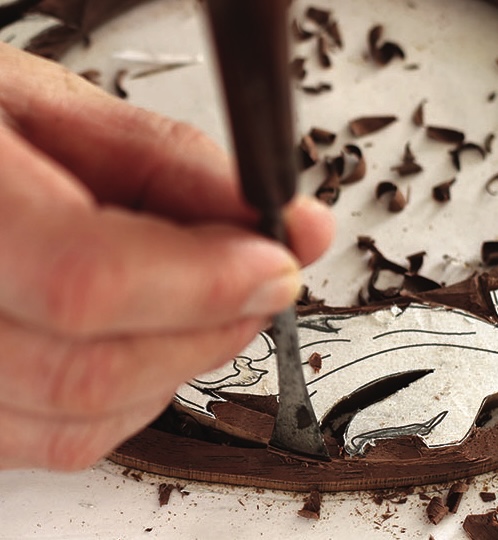
10. With a No.5, 3mm stab the junction of the stem and leaf head using a vertical slicing cut. Clean the outer section to a crisp V at the root
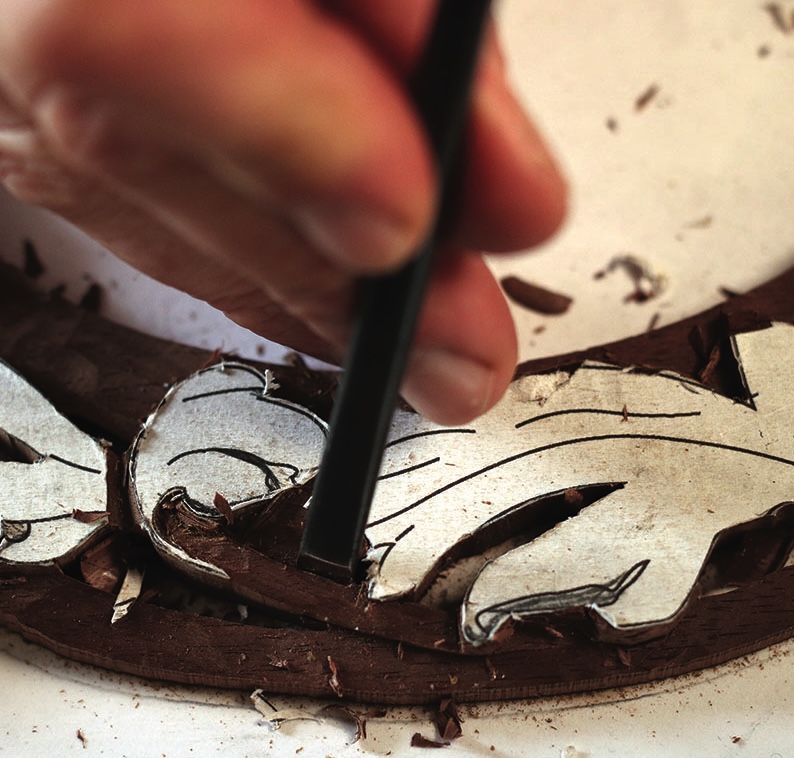
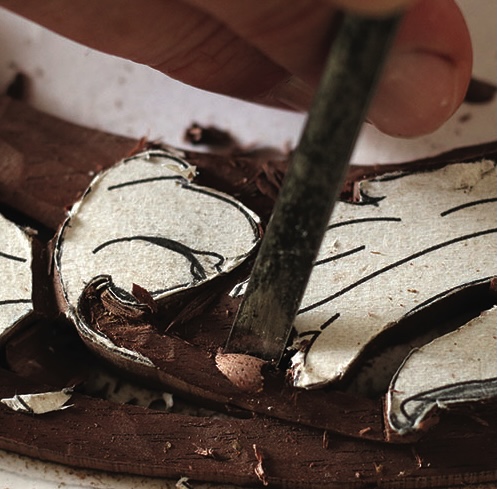
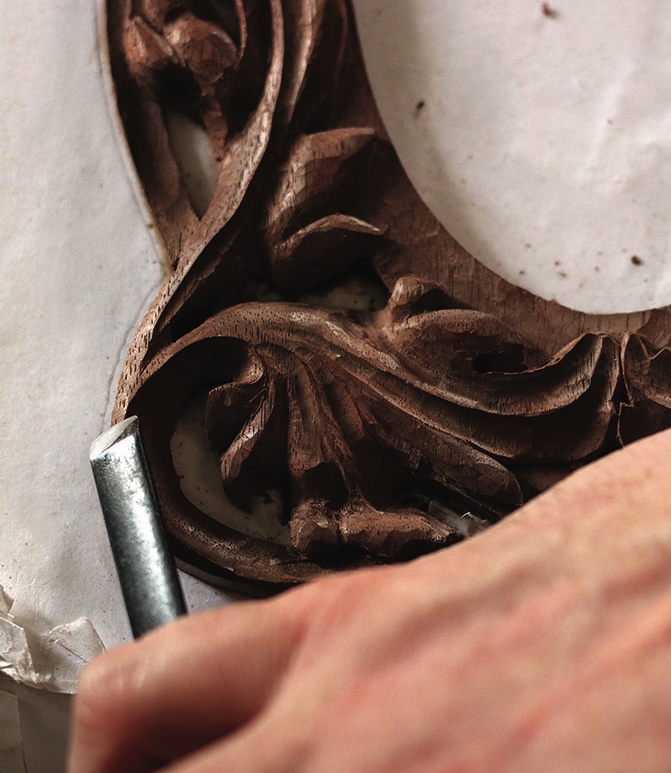
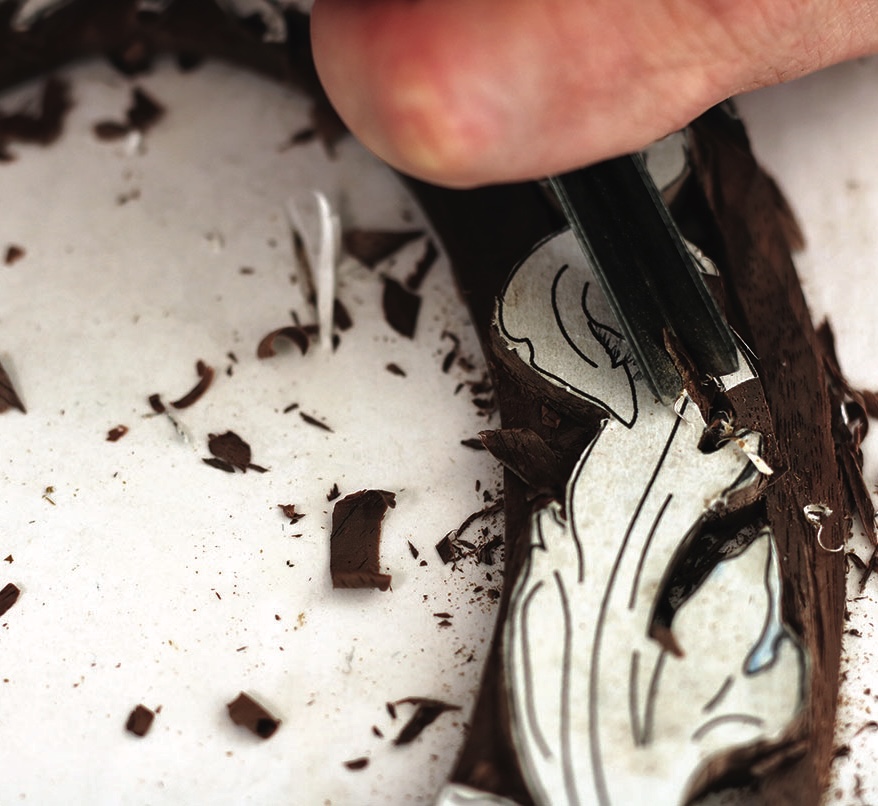
11. With a No.4, 8mm stab and lower the leaf so it appears to dip under the stem. Modelling is a gradual process as we have a lot of interdependent elements. Take it slowly before you commit to depth. You will probably find yourself going back and forth between these steps until you reach the desired forms