Sue Harker shows how to make a create a textured bowl using a long-neck grinder, and colour it
Bowl turning can be very enjoyable and even therapeutic, but after you’ve turned dozens or even hundreds of bowls of varying shape, size and design, it’s difficult to stay away from adding decoration and/or colour of some kind.
There are, of course, the purist woodturners who do not like or agree with adding anything to the surface of timber, preferring the natural grain pattern to speak for itself. I agree with that, to some degree, when you are turning a highly figured piece of timber. For timber showing very little grain pattern, the addition of decoration
such as texture and colour can enhance the piece. I prefer to use plainer grained sycamore or lime for this type of work.
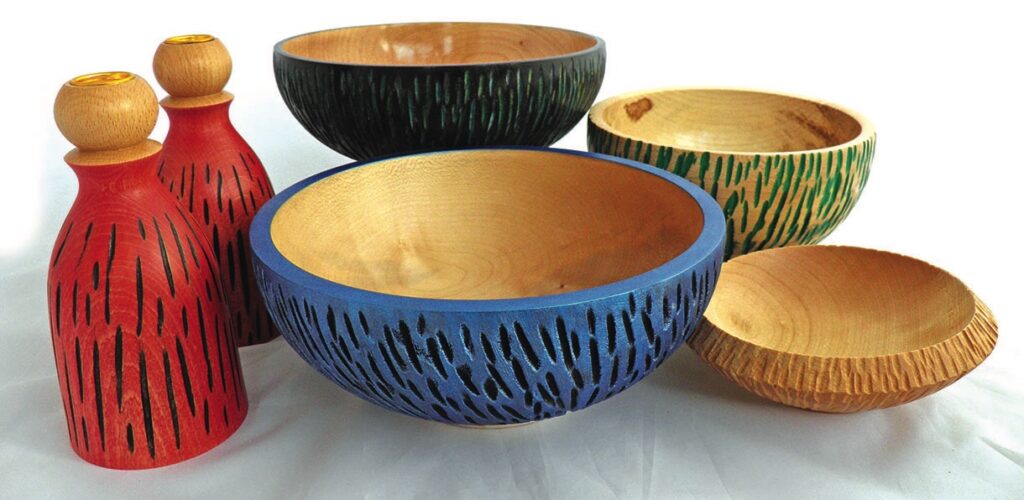
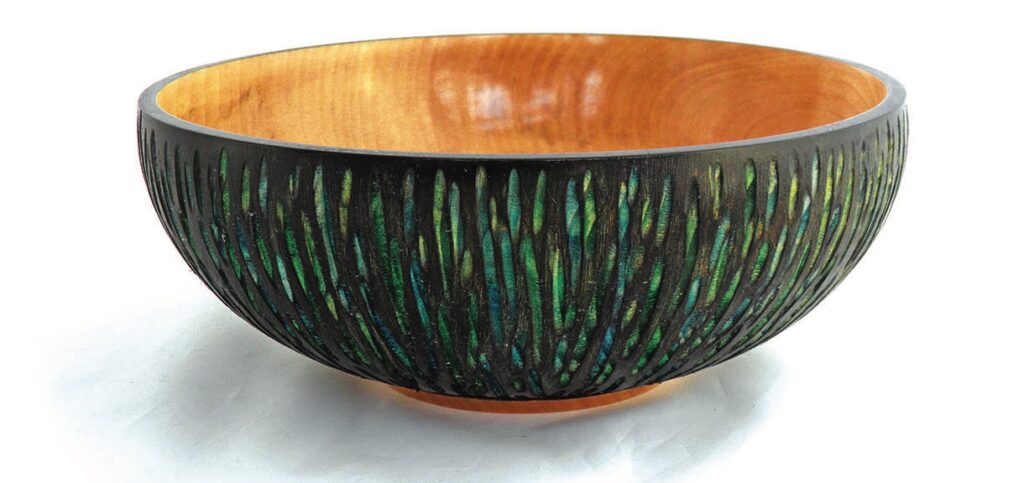
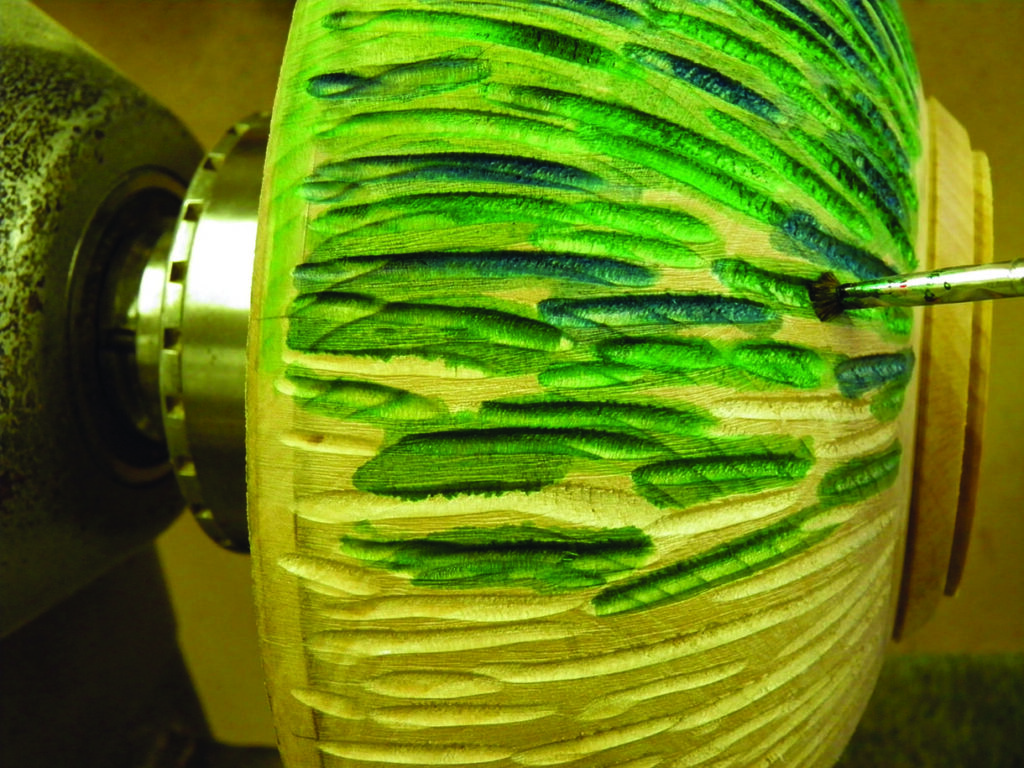
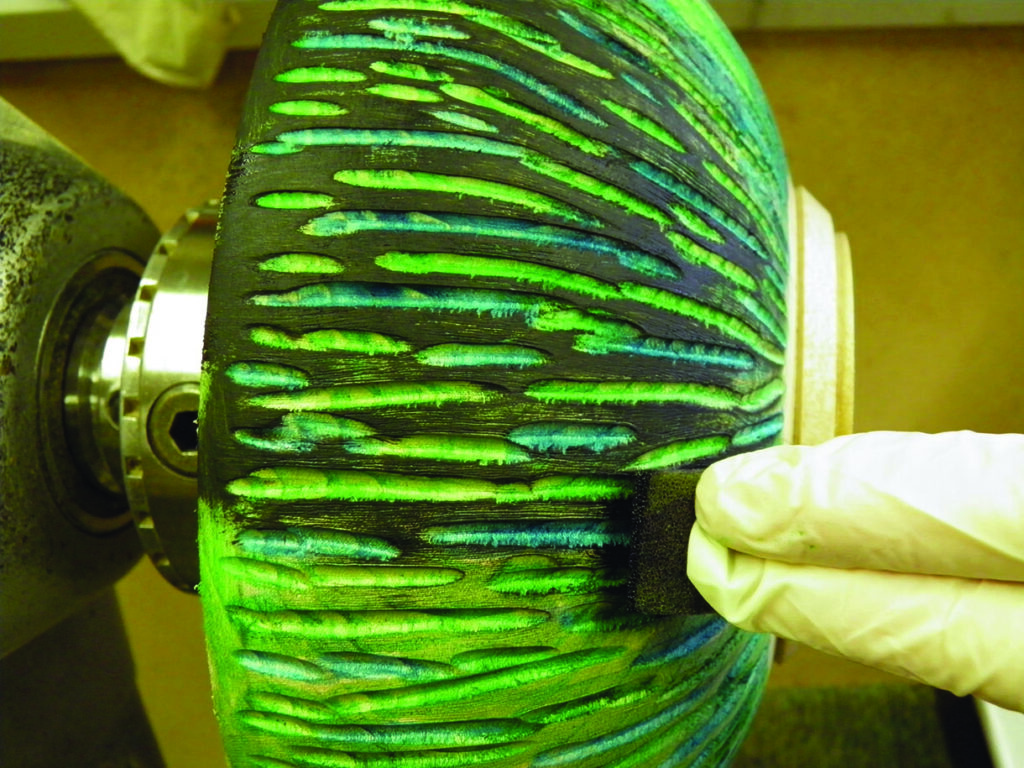
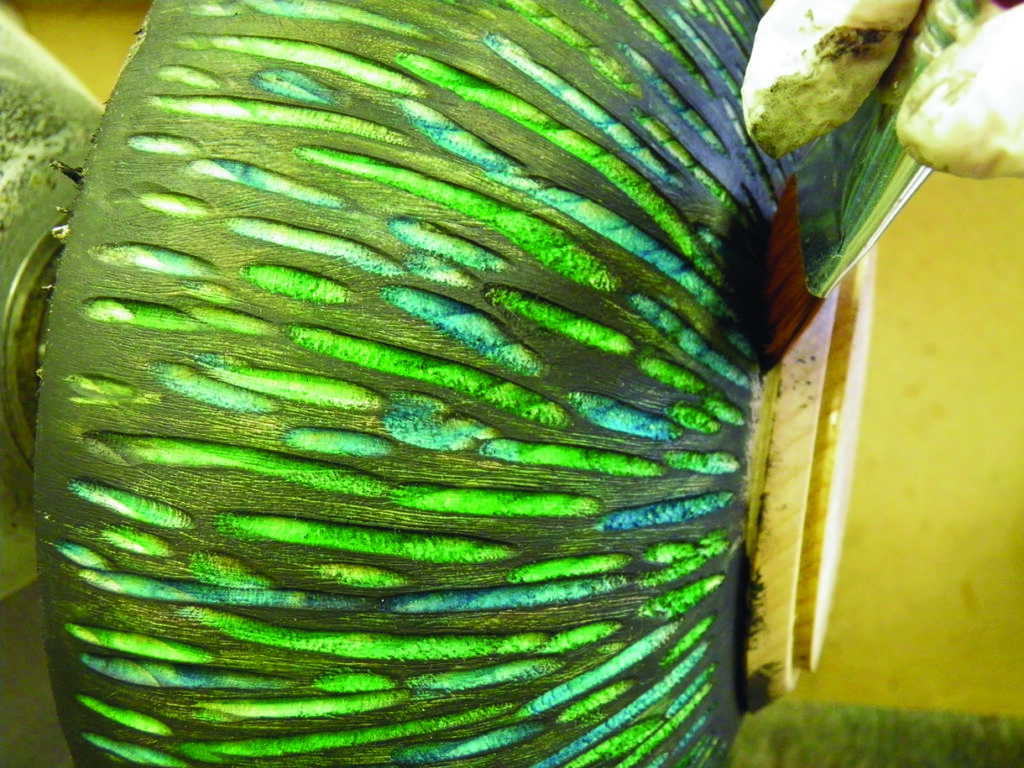
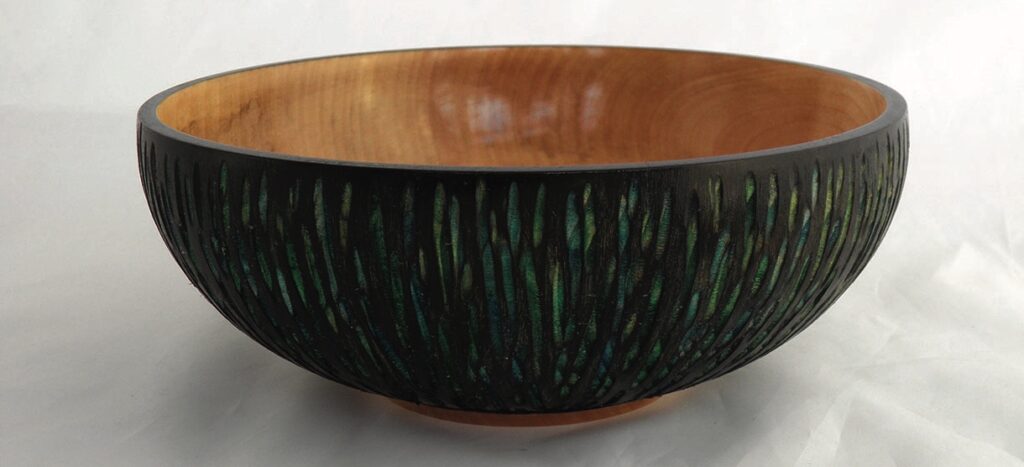
For this particular project, spirit stains and acrylic paint have been used to enhance the sycamore bowl blank. I also show alternative methods of applying the carved and coloured texture to your turning. For example, texturing the surface then applying ebonising lacquer or acrylic paint which, when dry, can be sanded back so only the carved-out sections remain coloured. You can either leave the bowl like that or apply stain to the raised surface.
EQUIPMENT AND MATERIALS
Tools
• PPE – faceshield and RPE – dust mask/respirator and at source extraction
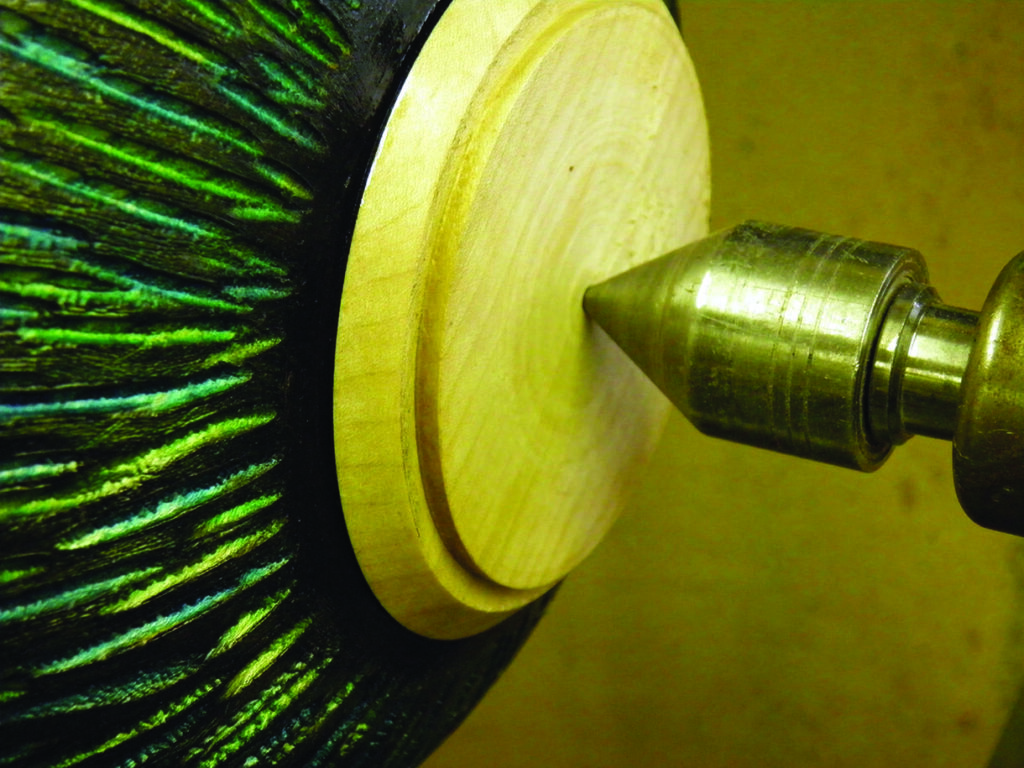
• Four-jaw chuck
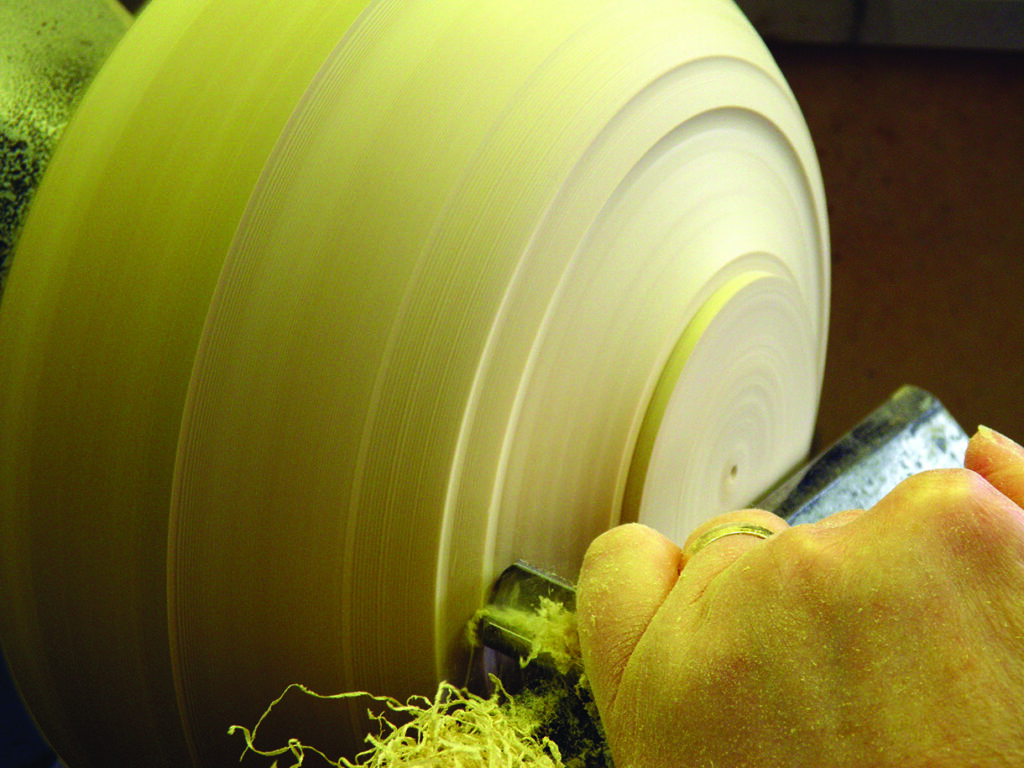
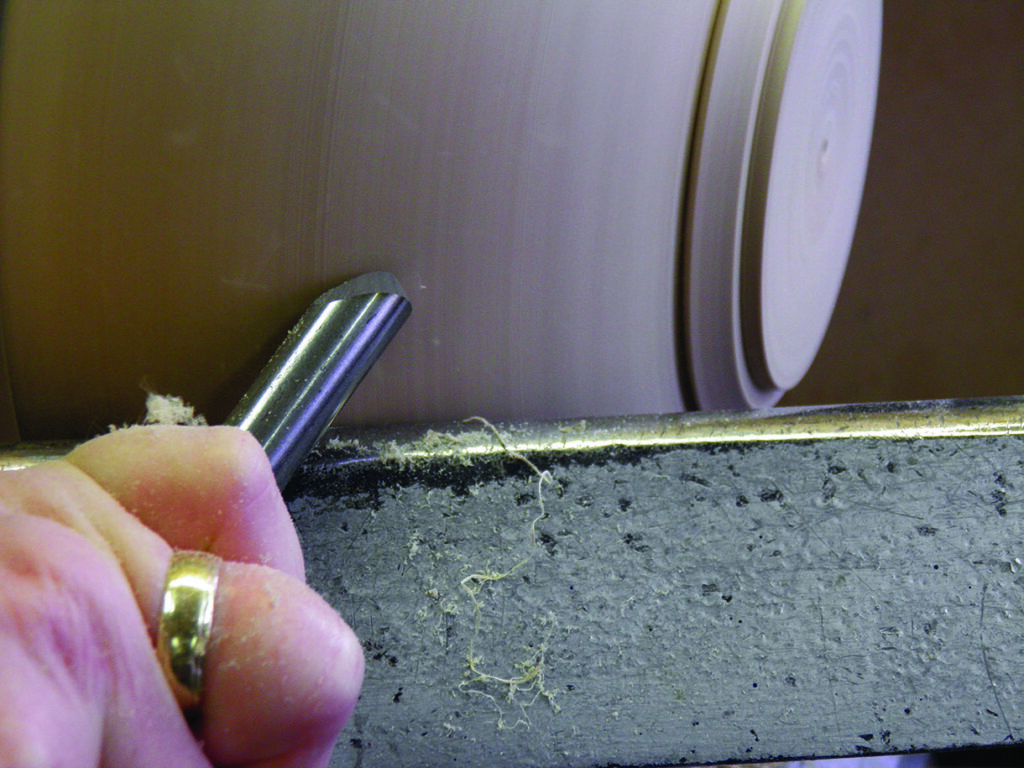
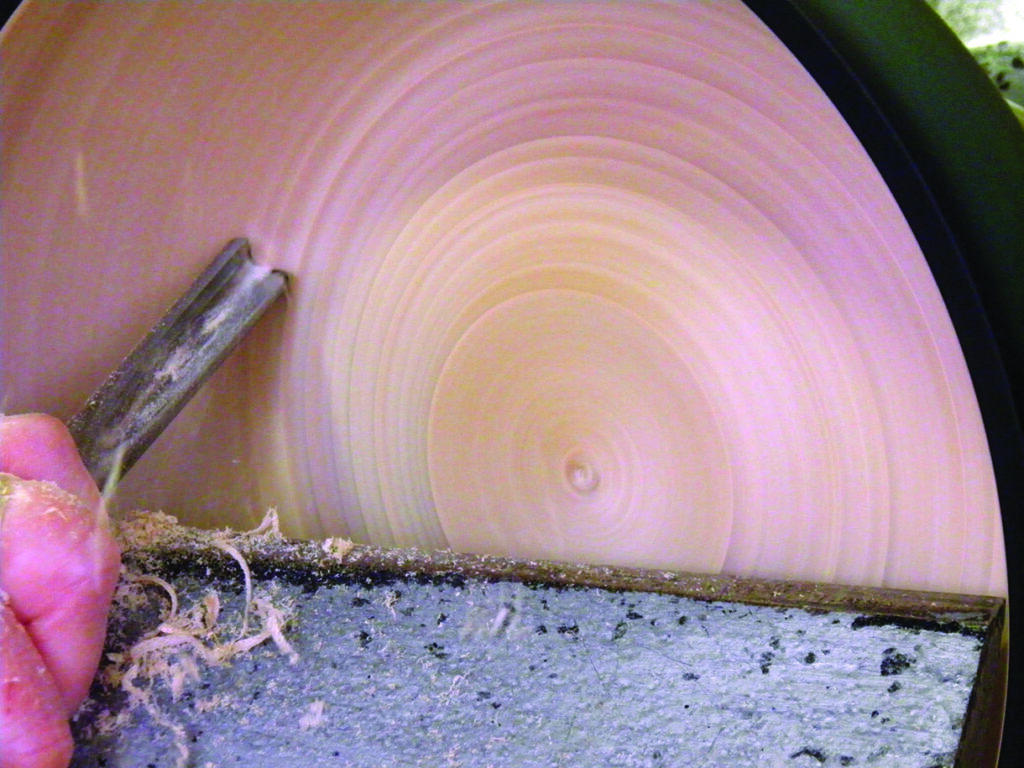
• 10mm standard grind bowl gouge
• 10mm long-grind bowl gouge
• 6mm standard grind bowl gouge
• 3mm parting tool
• 13mm flat skew chisel
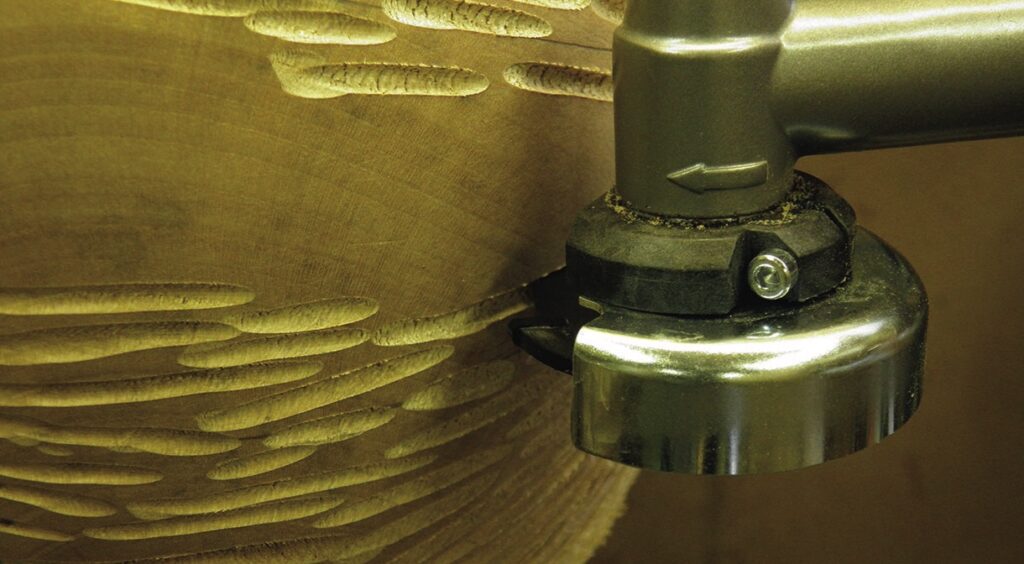
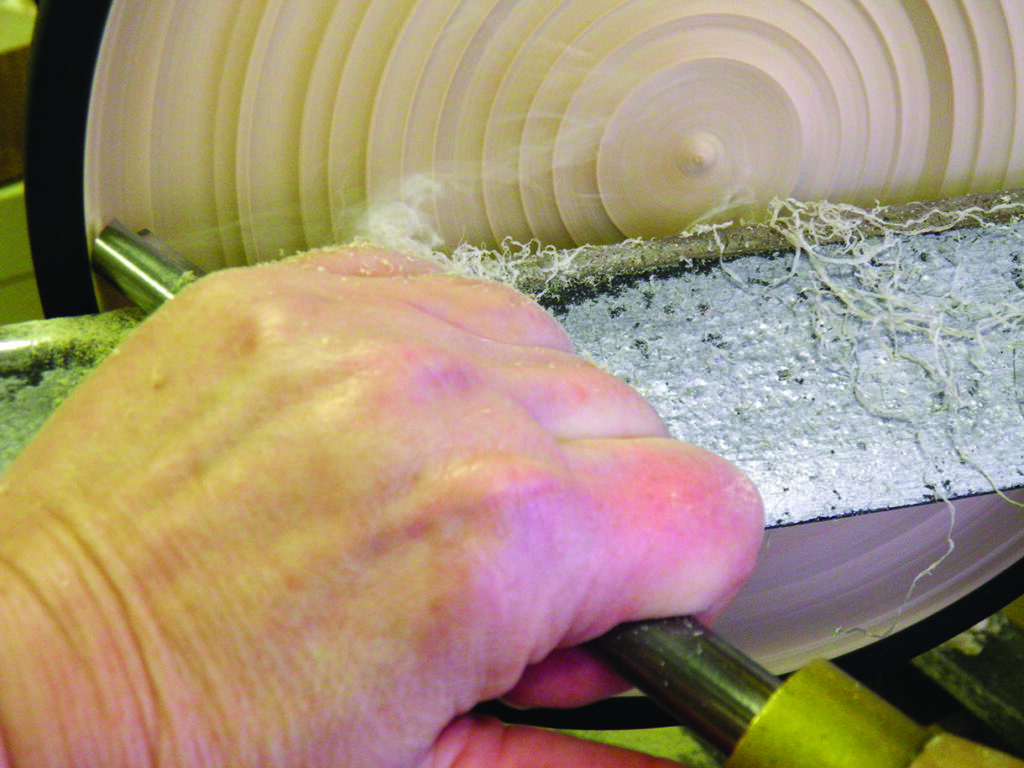
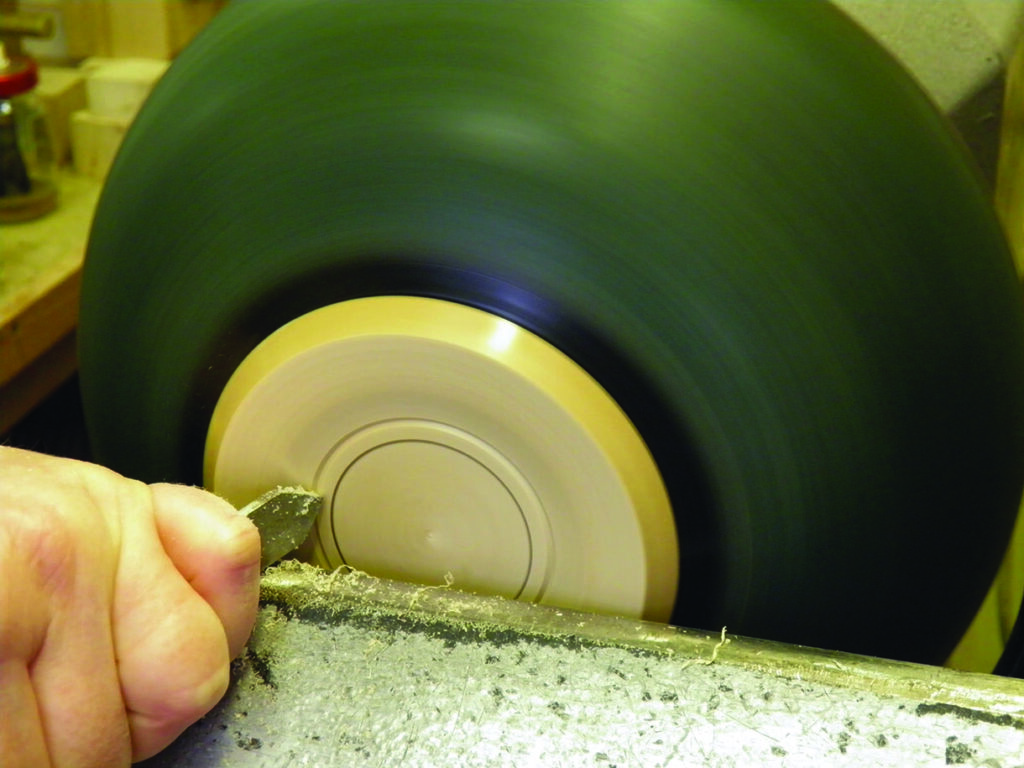
• Proxxon long-neck grinder
• Arbortec cutting blade
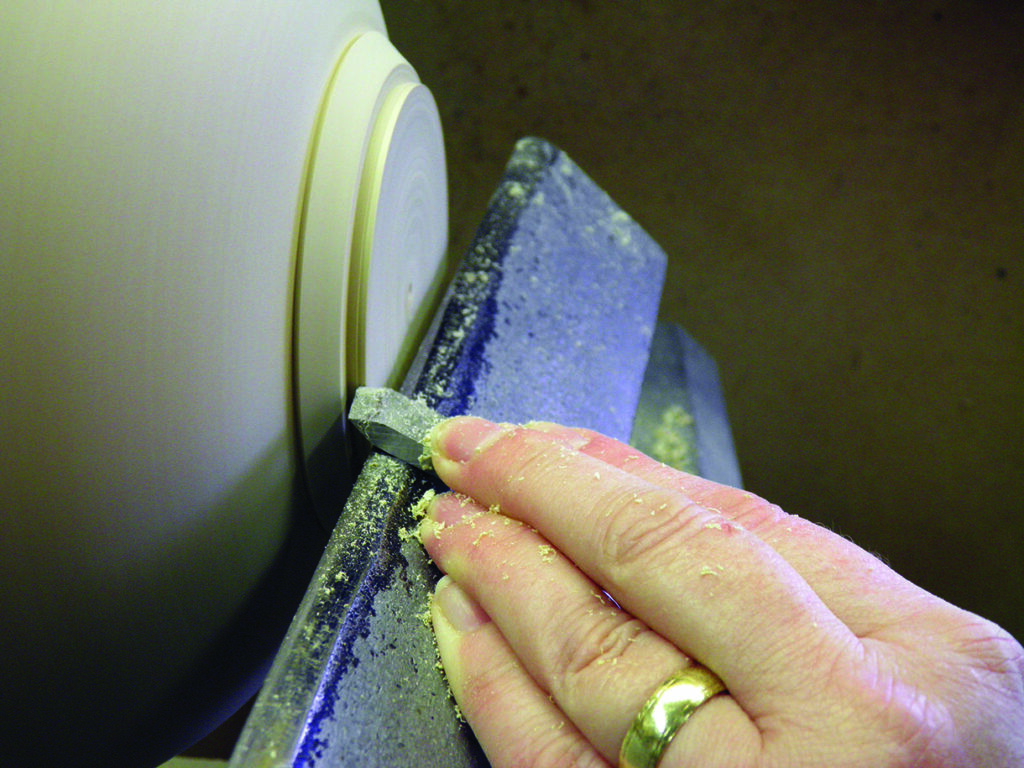
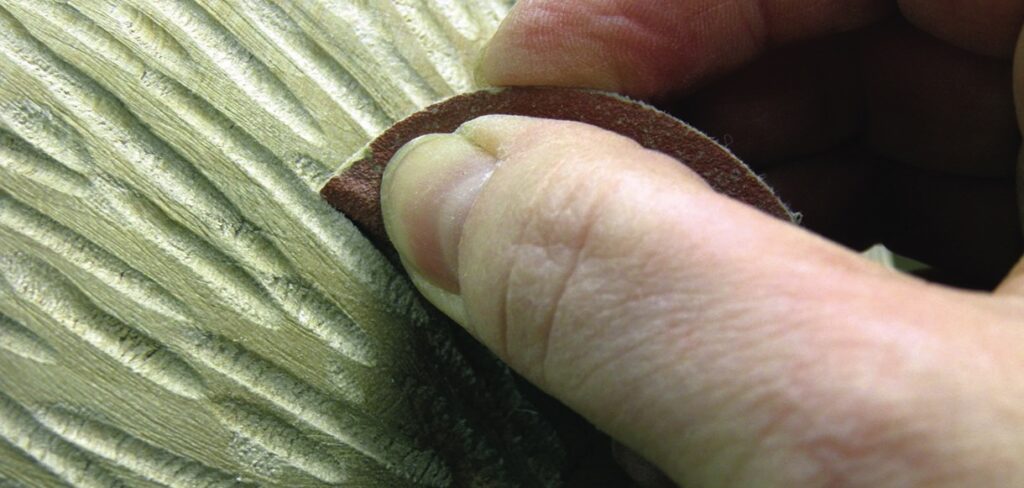
• Abrasive discs – 120-400 grit
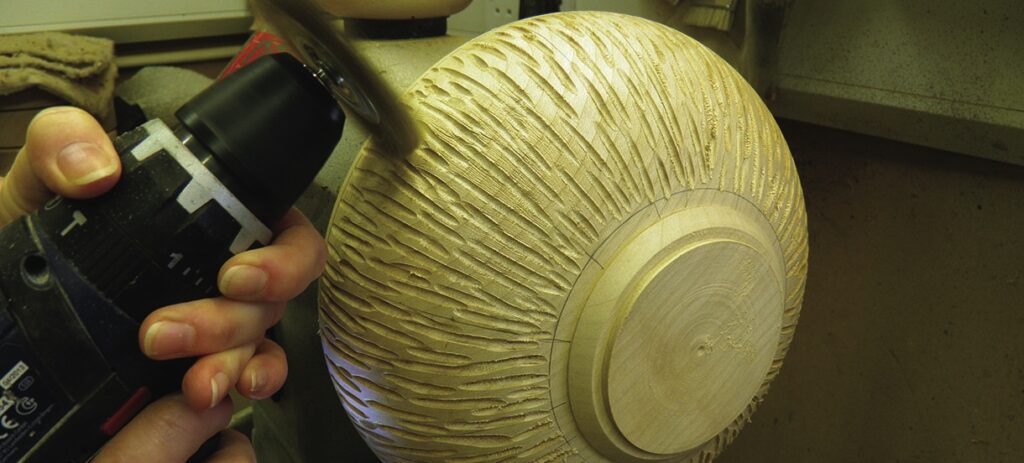
• Battery drill
• Rotary sander
Materials
• Sycamore (Acer pseudoplatanus) bowl blank 240mm x 100mm
• Mylands spirit stains
• Acrylic paint
• Finishing oil
Health and safety
When using electrical equipment, such as the long-neck grinder, always follow the manufacturer’s instructions. As an extra precaution turn the lathe off and use an indexer to secure the timber in place while grinding. Always stop the grinder and wait for the cutter to stop revolving before repositioning the bowl for the next section of grinding. Hold the tool away from you to restart the grinder.
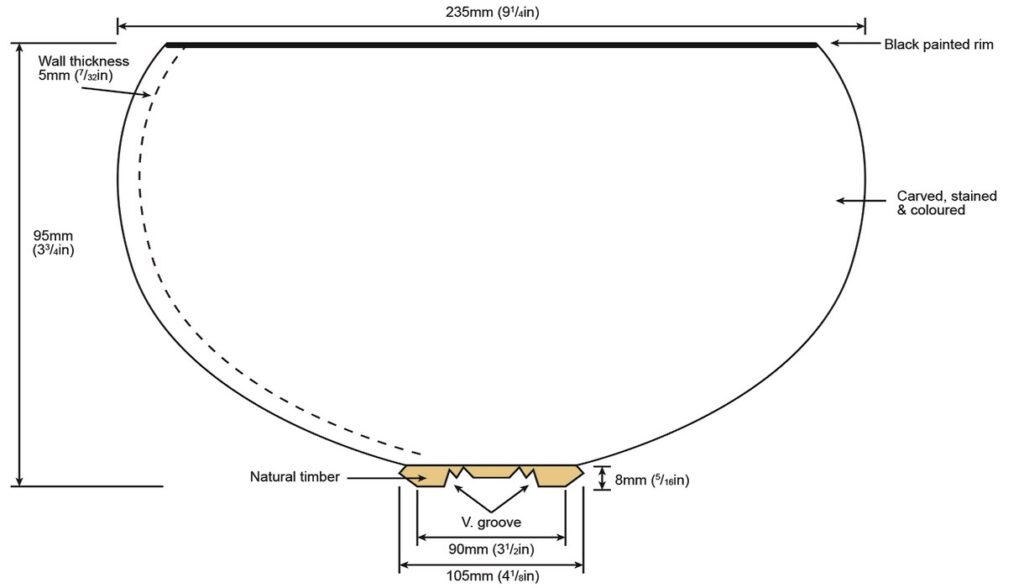
Plans
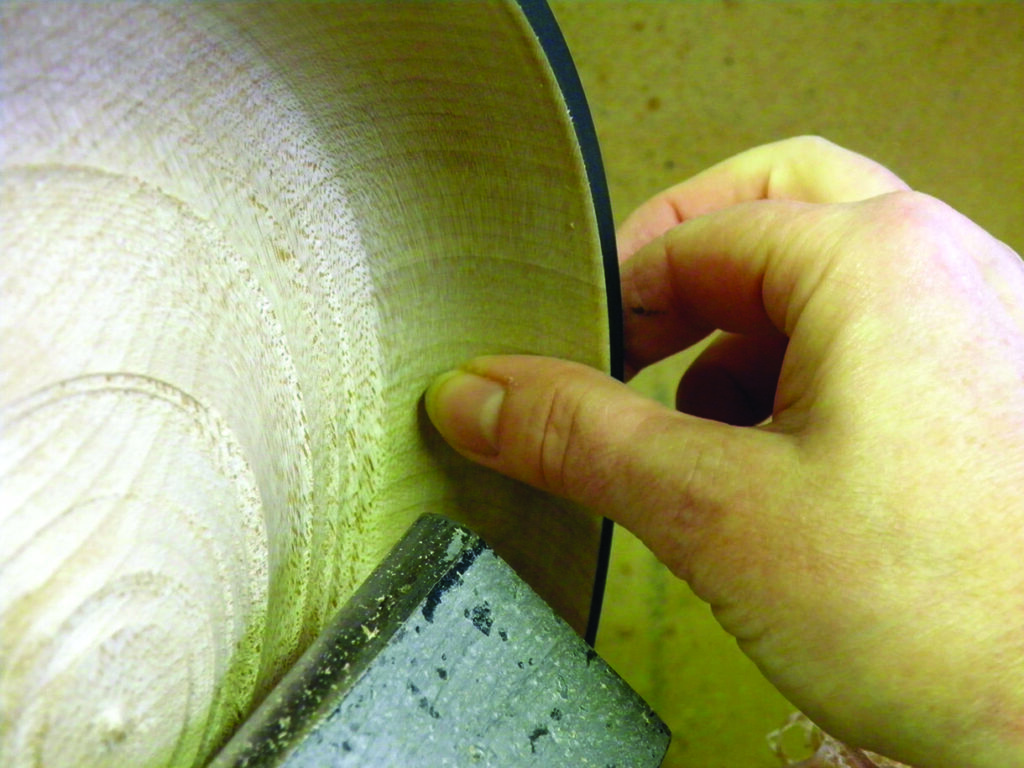
Turning the bowl
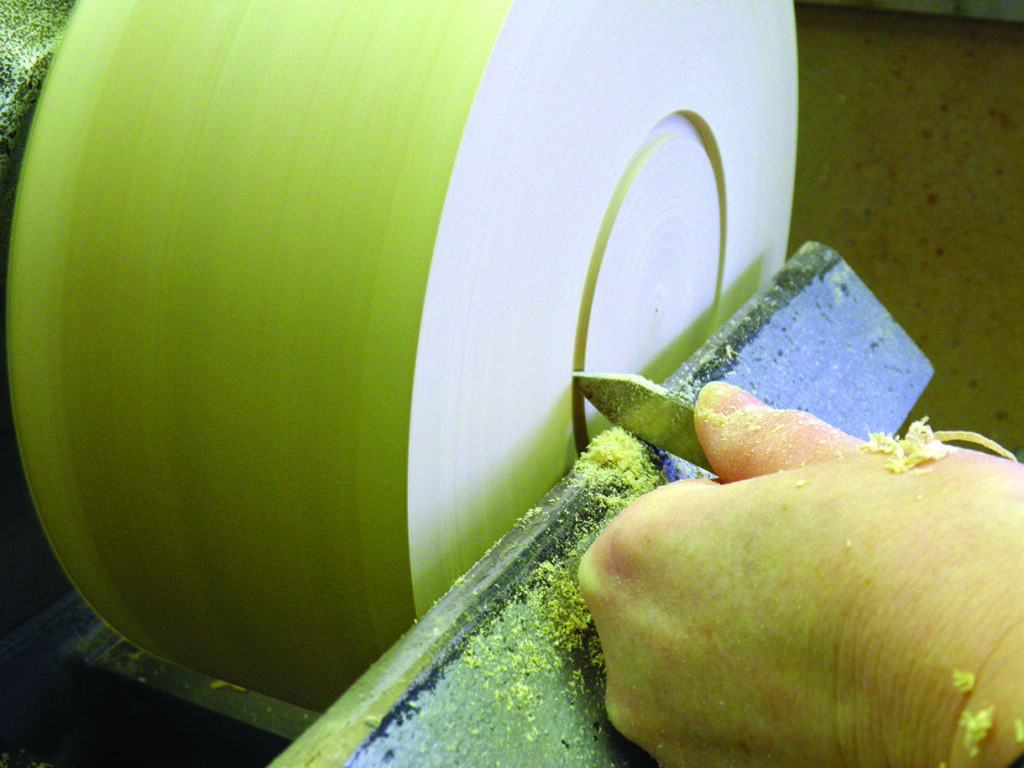

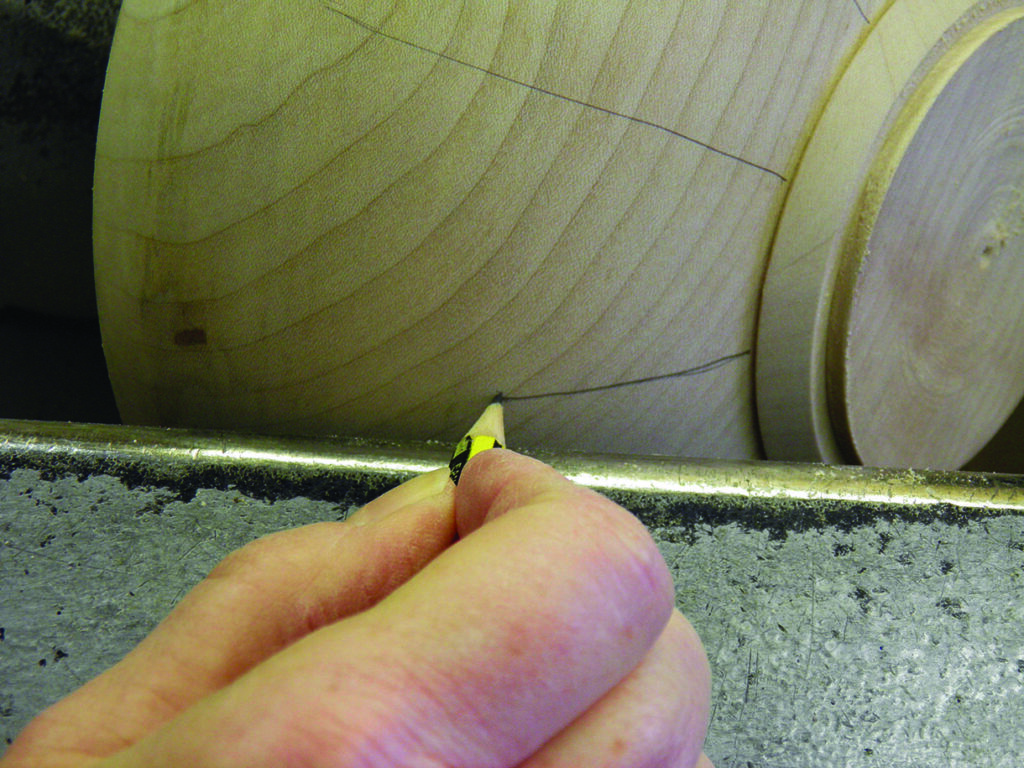
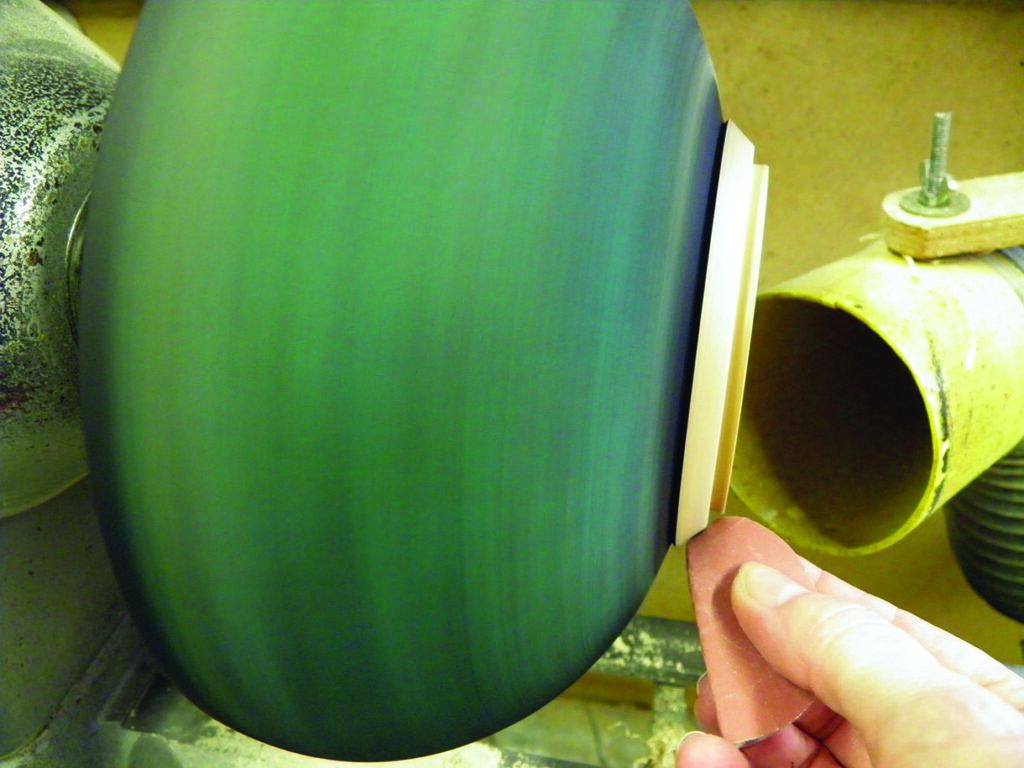
Creating texture
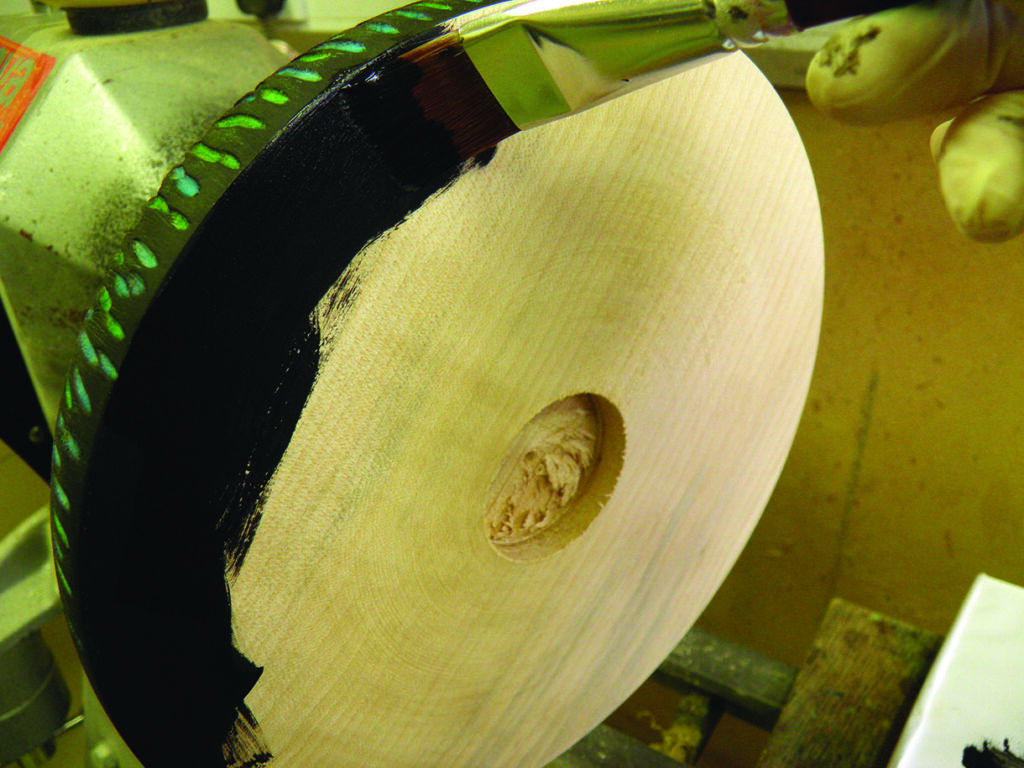
Colouring the outside
Inside of the bowl
Alternative decorative effects
Changing the colours used, or indeed not applying colour at all, can have a dramatic effect on this type of carved pattern. A long-neck grinder and cutter set up used or fitted with other blade options opens up the possibility of even more texturing and sculpting options, but that is a another story altogether.