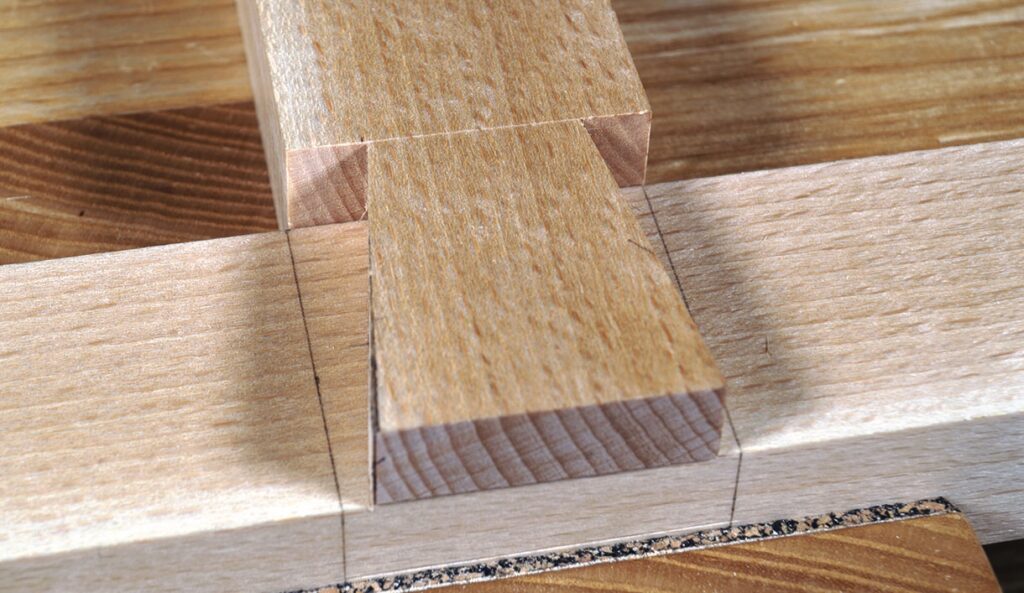
Matt Estlea continues his practice frame series by cutting the lap joints
In a previous article I showed you how to accurately mark up a frame to ensure it’s square and also how to lay out the four joints we will be cutting. This time I’ll be focusing on cutting the two lap joints. It’s a simple joint
at first glance, but reasonably difficult to get right if not done carefully.
The half laps
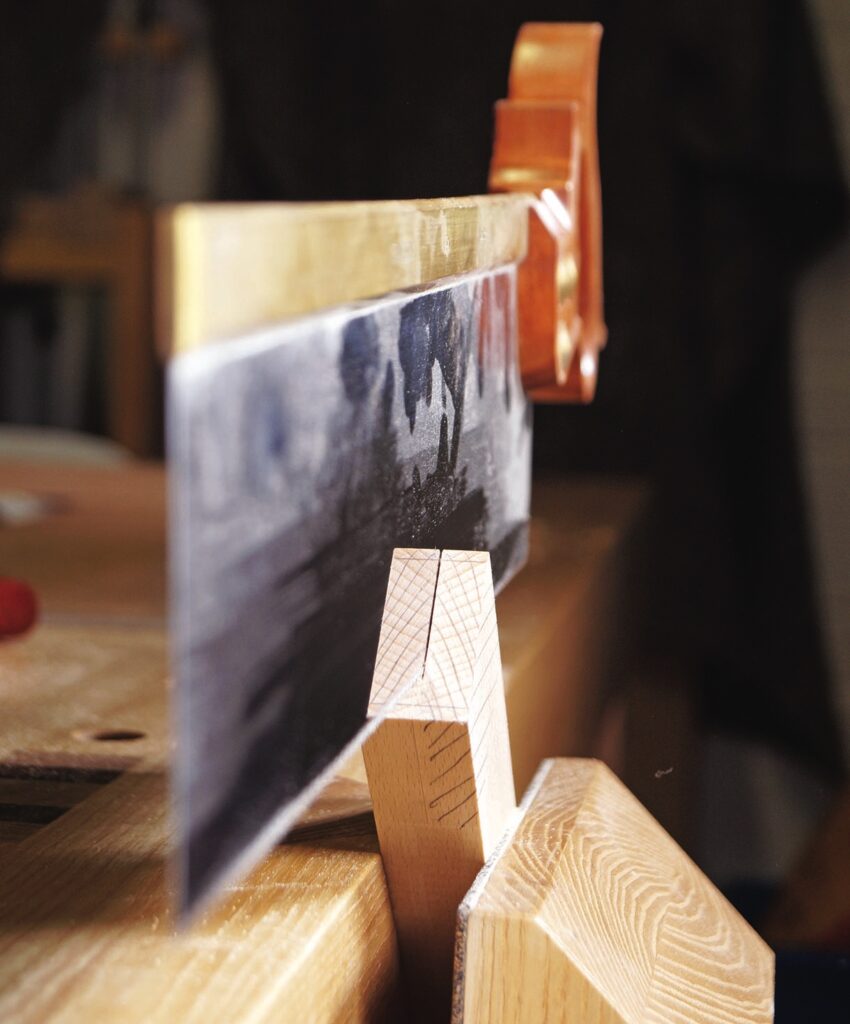
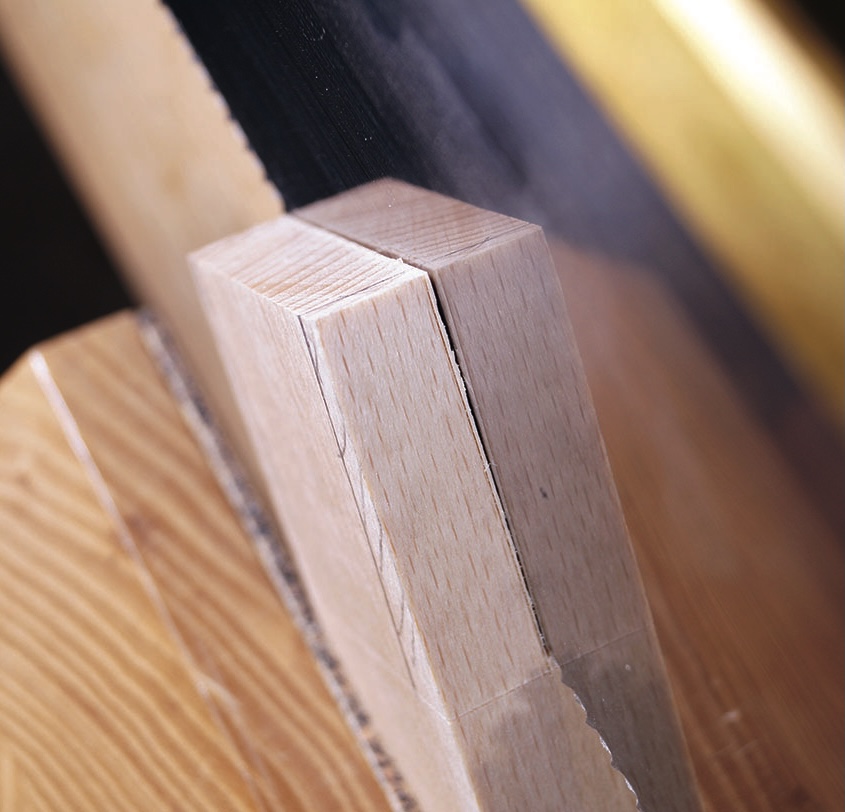
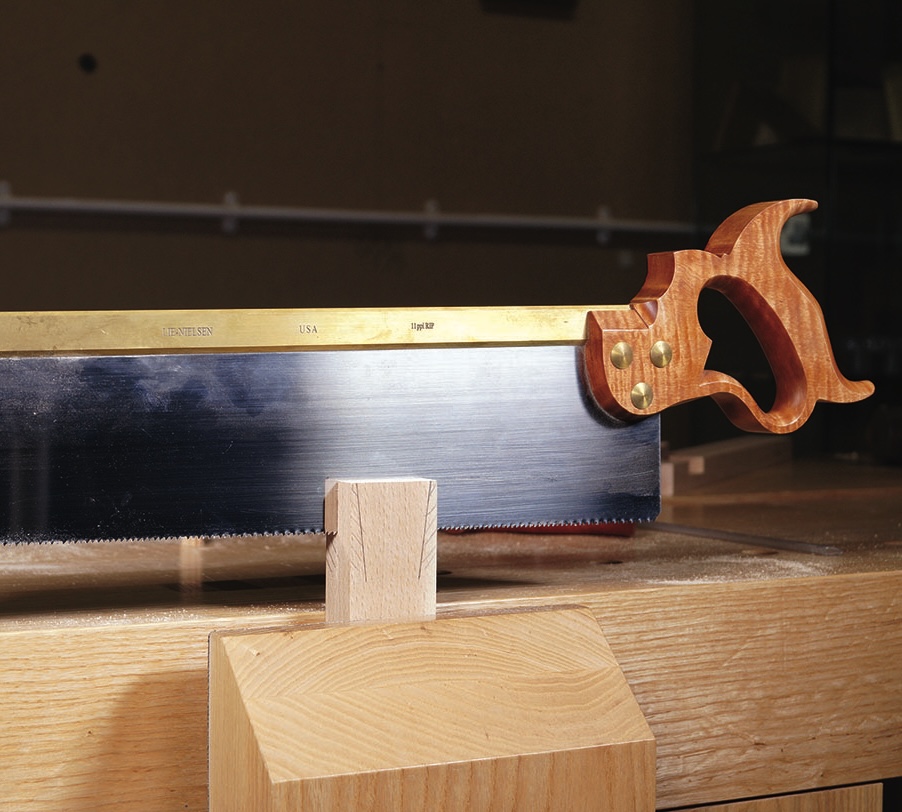
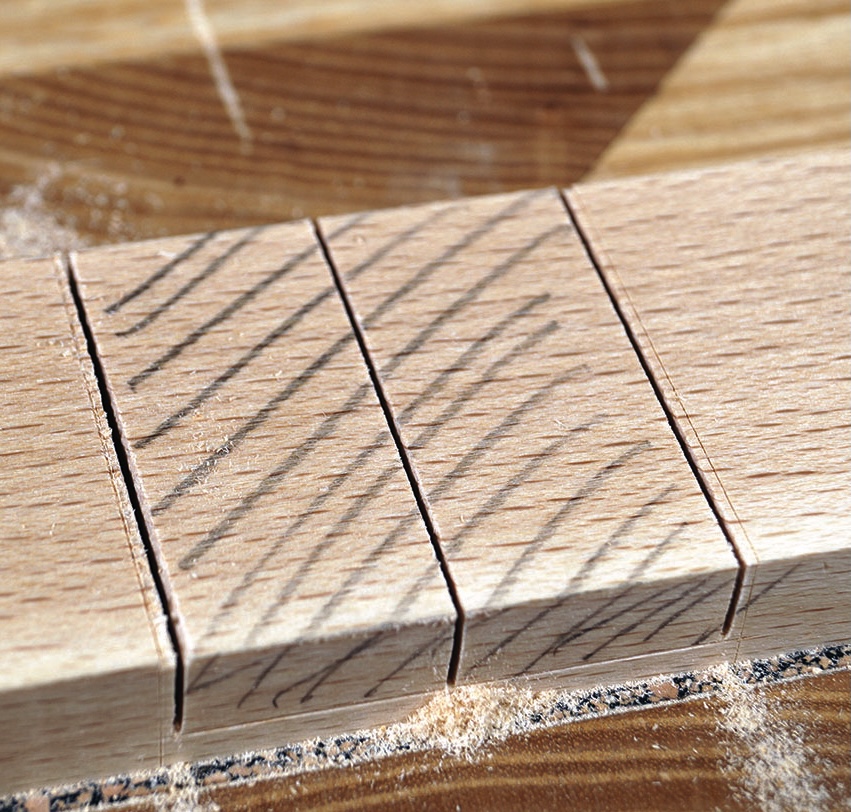
To start with, we’re going to cut the half laps into the ends of the shorter components. A method to make this easier is to tilt the component 45° in the vice. That way when we saw down the marking gauge lines, we only have to focus on following two of the three lines at a time. When sawing down the lines, make sure you are cutting in the waste side of the joint. I prefer to leave roughly 1mm of material between the saw cut and marking gauge line to chisel back to later. That way I can reduce the risk of ruining a component by having an ‘off’ day sawing. Also the crisp edge left by a chisel tends to give a better fit than a fluffy edge left by a saw. Saw in from both sides at 45°, then clamp the component upright in the vice and remove the pyramid in the middle that has been left over. Then crosscut the waste leaving no more than 1mm between the saw cut and shoulder line.
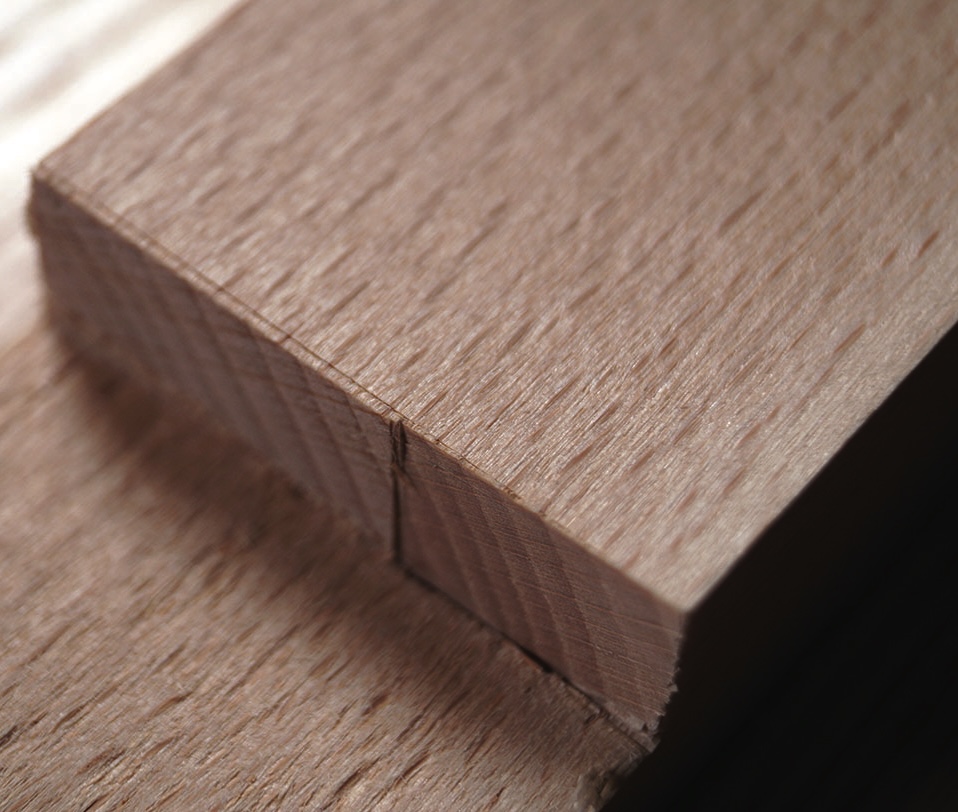
There are various methods to clean up the faces of a lap joint. My preferred method is to establish the marking gauge lines around the edge first, and then remove the lump of material left over in the middle. To do this, I clamp the material in the vice and chisel down 3mm into the marking gauge line on all three sides. If you have 1mm of material left over after sawing, it’s best to chisel back to 0.5mm from the marking line before committing to putting your chisel directly in it. This reduces the risk of splitting the timber in the wrong direction due to removing too much material at once.
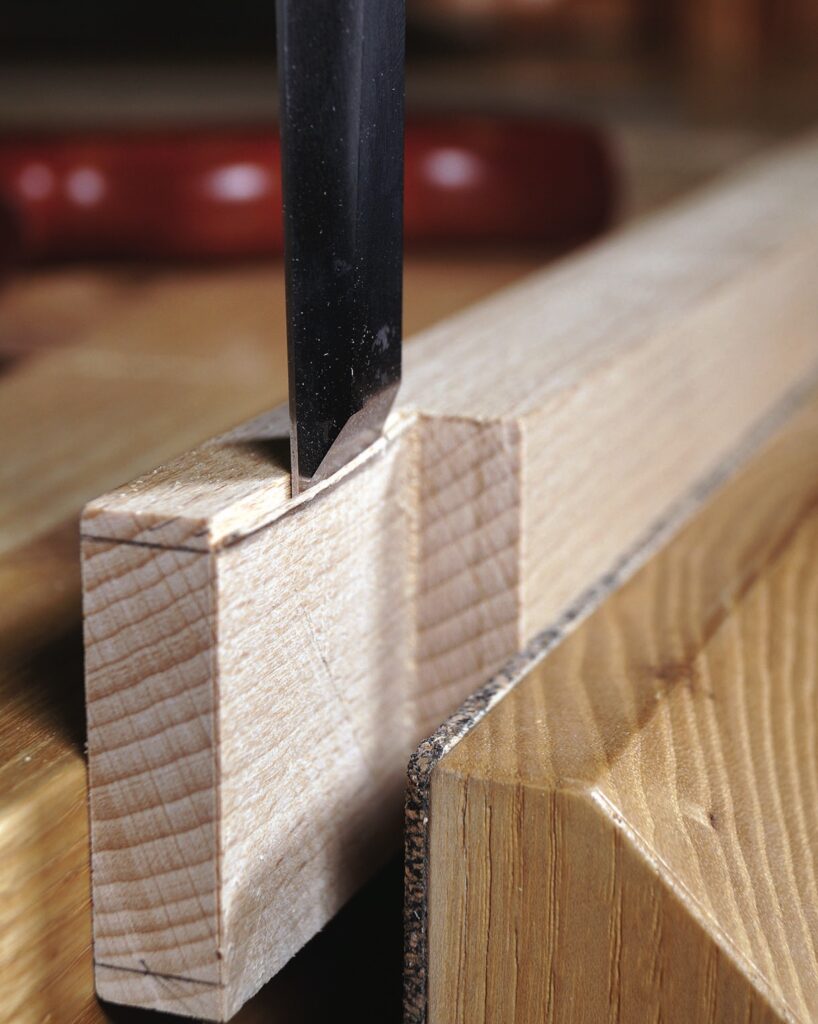
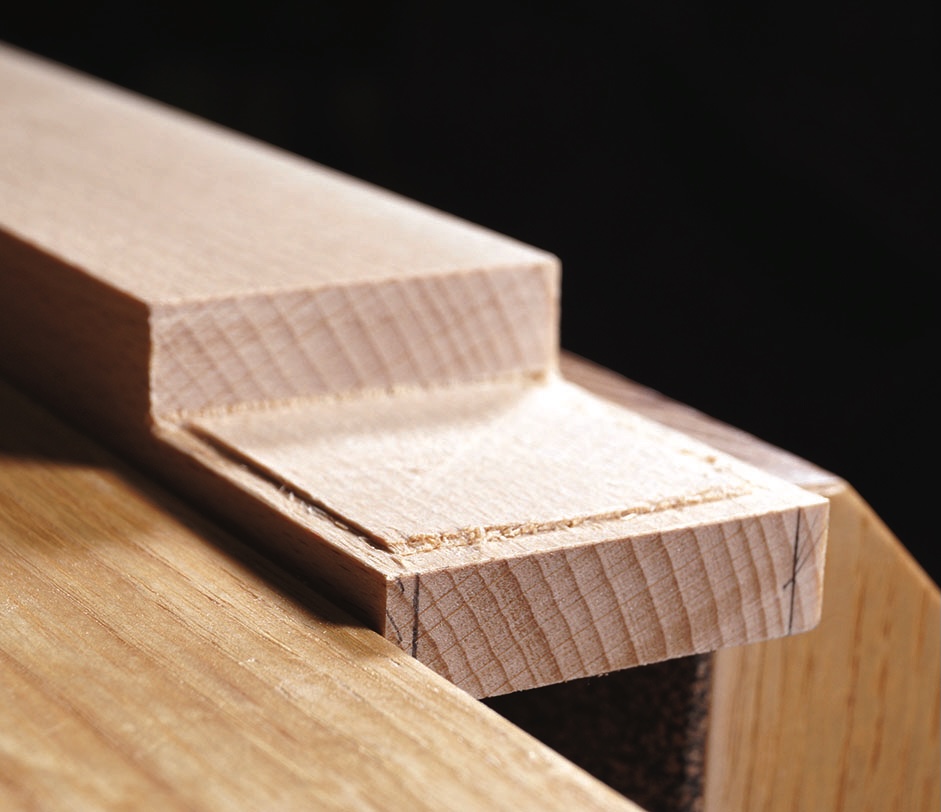
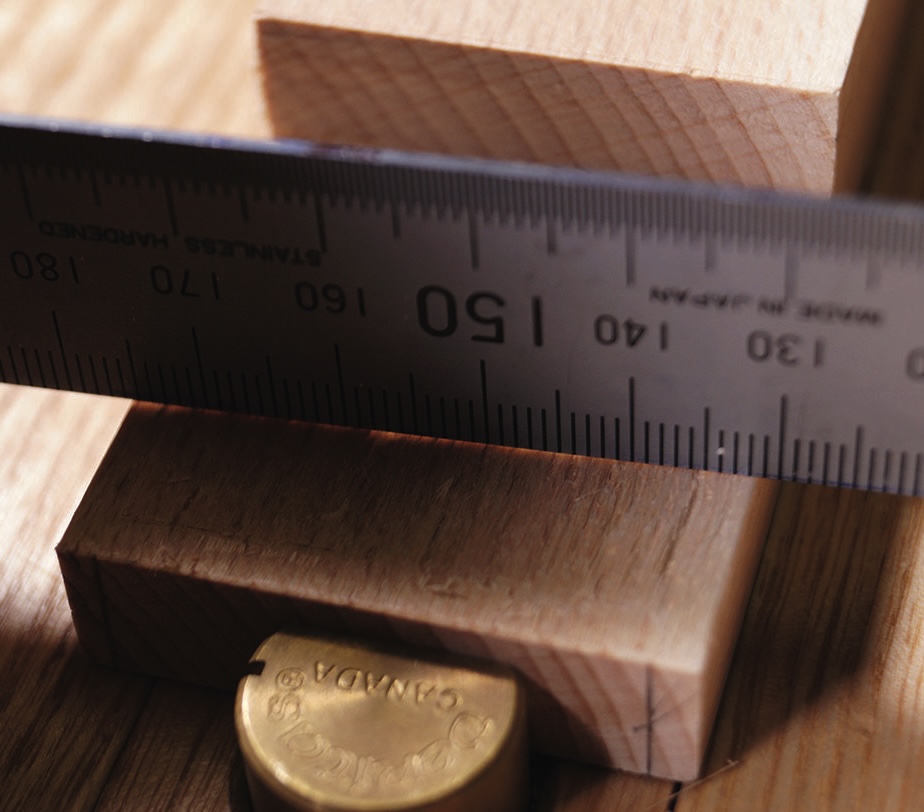
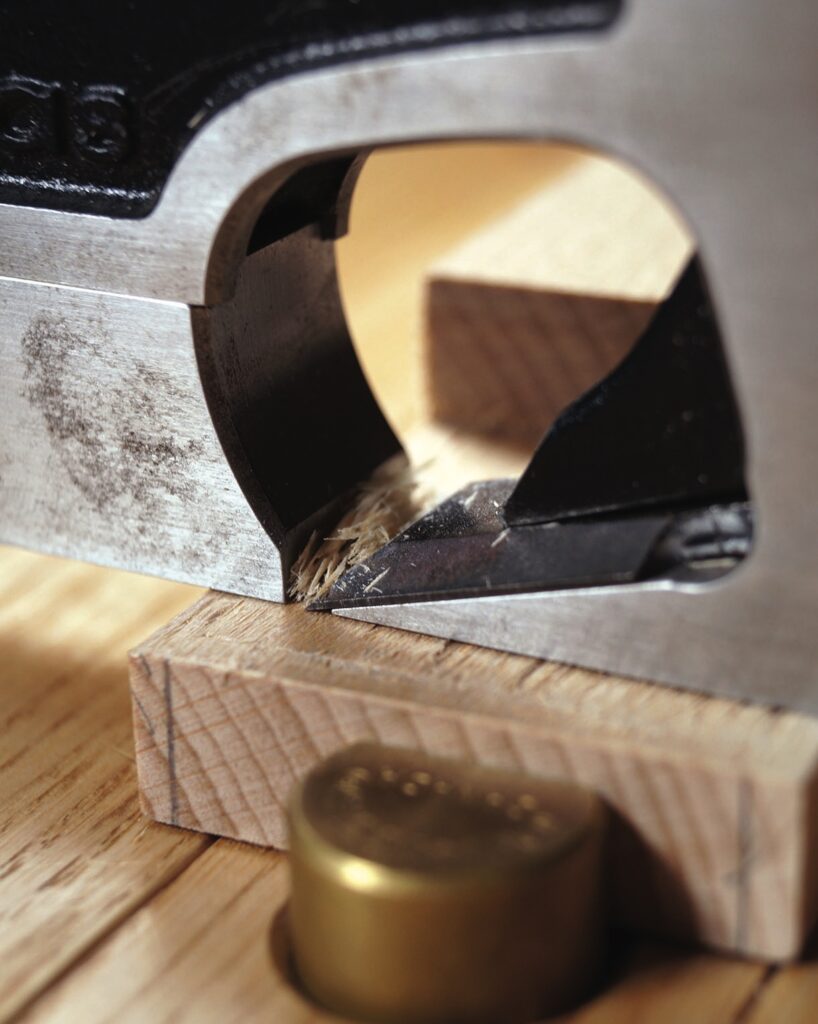
After this is done, all you have to do is remove the little bump left over in the middle while being careful not to hit those outside edges. My preferred method when doing this is to get a very sharp chisel and pare in from both sides. Every now and then, check the face with a ruler to ensure there are no bumps. You’re aiming for the ruler to touch both outer edges. These bumps can be removed with a chisel or a very finely set shoulder plane.
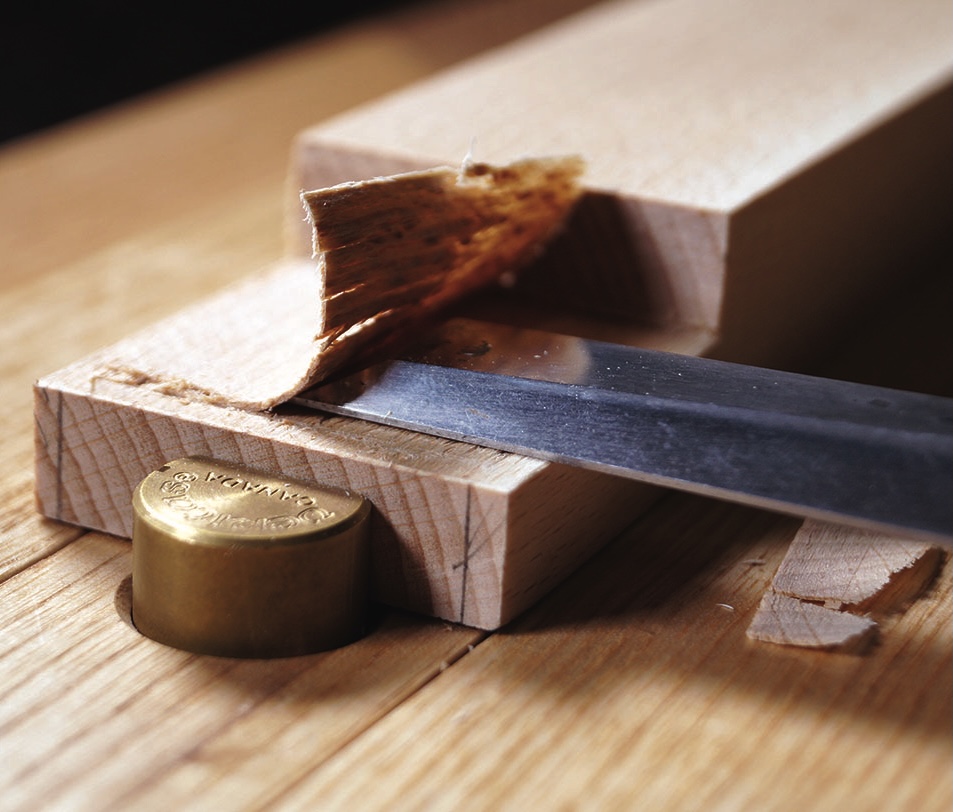
Now all we have to do is chisel down to the shoulder line. Again, if you have 1mm of material left over, it’s best to remove half of that first, and then commit to chopping directly into the shoulder line. If you try to remove too much material here, the chisel will be pushed back below the shoulder line and give you a horrible gap.
Dovetails
With this process completed on both components, you can now focus on marking and cutting the dovetail component. Mark 3mm in from both edges of the end grain and square it across with a sharp pencil, then mark the dovetail down the face of the component using a sliding bevel. Personally I’m not too fussy about dovetail ratios, I think you should do what you think looks nice. I prefer to stick between 1:8 and 1:6. Saw down the dovetail following the line all the way to the shoulder line and crosscut the waste off the edges. Again, I prefer to leave 0.5mm to clean up with a chisel. Simply clamp the component horizontally in the vice, put the chisel into the shoulder line and lightly tap it down while following the shoulder line on the front of the component.
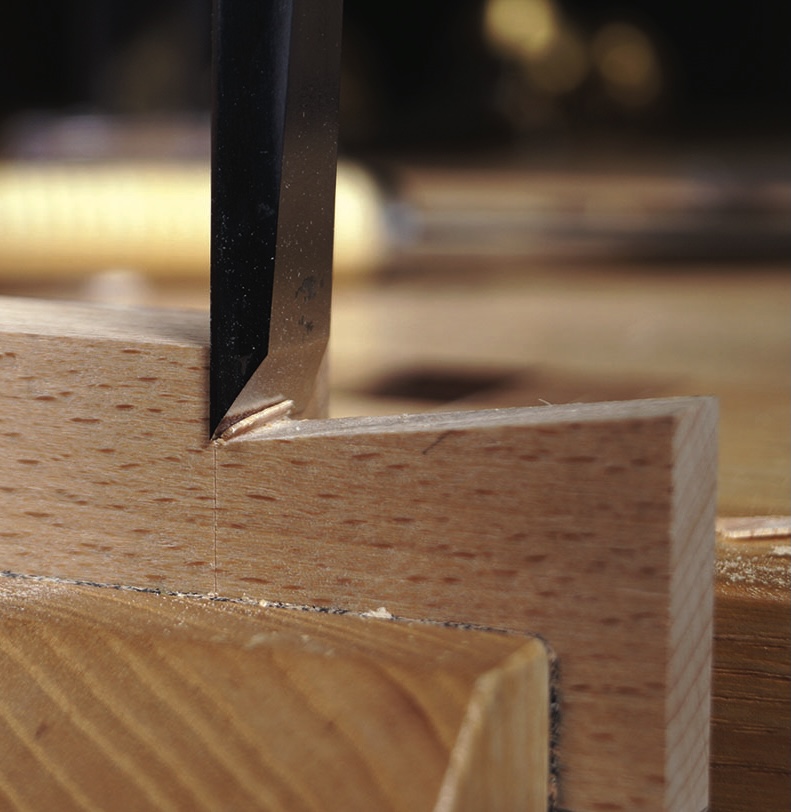
Now the male parts of the joints are ready to go, we can focus on removing the material on the corresponding female components. For the simple lap joint, I crosscut through the waste leaving 1mm of material between the saw cut and marking line, and I also put a saw cut in the middle to weaken the material. Then I can clamp this in the vice and split off the material by chiselling into the side of the component. A word of warning: this is quite a satisfying thing to do and thus it’s easy to get carried away with it. The important thing to remember is don’t be a barbarian and try to split it all off at once. I would split half the material off, then half of that, then half of that, and so on until you get to 0.5mm of the marking line. Then put your chisel in the line, establish the edges by tapping down 3mm, remove the bump of material in the middle and check it with a ruler. Finally, chisel down the end grain walls in the same way as before, and by this point you should be left with a very snug-fitting lap joint!
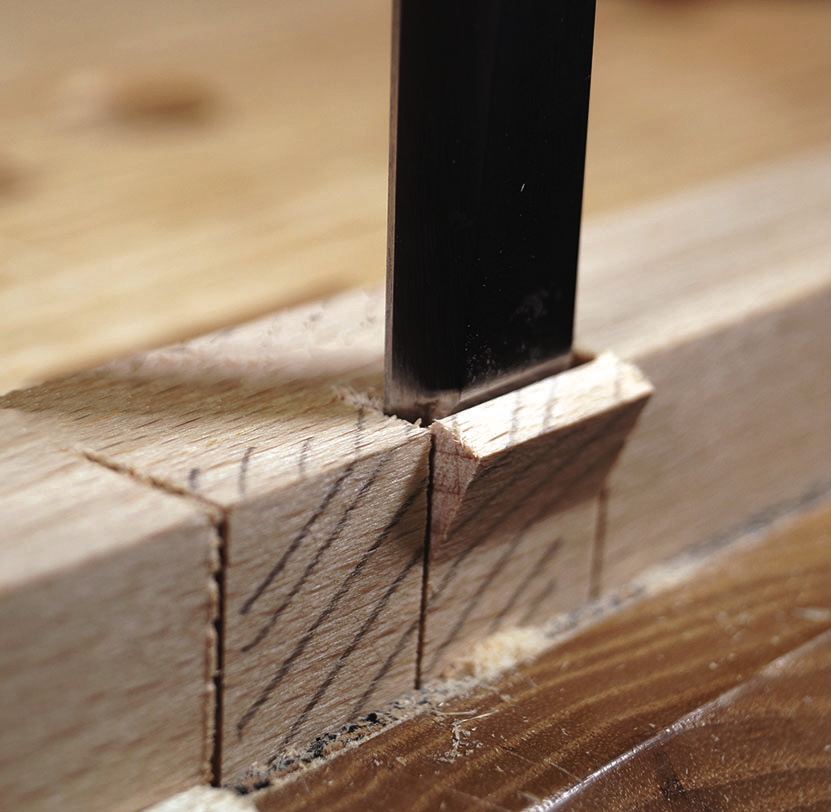
Dovetail socket
For the dovetail socket, firstly lay the tail on top of the corresponding component and line the shoulders up with the pencil lines you drew in the marking out stages. Carefully knife around the tail without letting it move and square the knife lines down either side of the component until they intersect with the marking gauge lines. Mark your waste, then remove the material exactly as you did with the lap joint. Just be wary that when removing the waste in a dovetail socket, you will be chiselling into a wedge-shaped cavity. Try not to damage the walls by whacking a chisel into them.