Matt Estlea completes the final joints on his practice frame
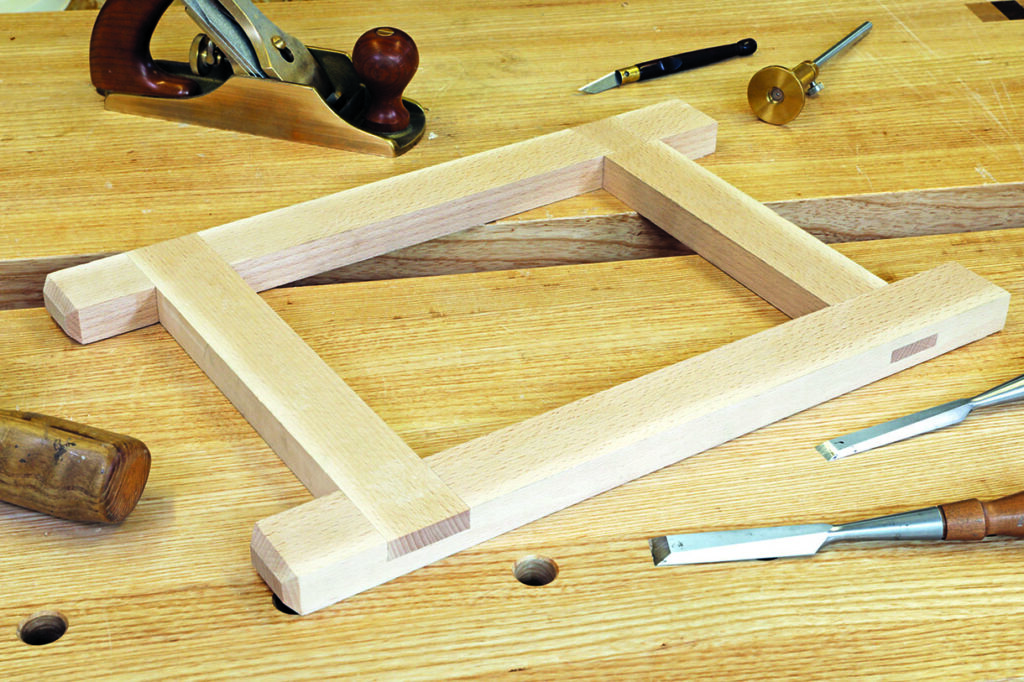
I previously explained how to cut two variations of a lap joint to ensure a strong, perfect fit. In this article, I’ll show you how to cut the remaining two joints on the practice frame as well as chamfering end-grain and planing the frame flush. Firstly, we’re going to get the bridle joint fitted. This is very much the same process as the lap joints we covered last month, except with an extra face to clean up. Therefore I won’t dwell on the details too much! We’ll then work on the mortise and tenon joint.
The bridle joint
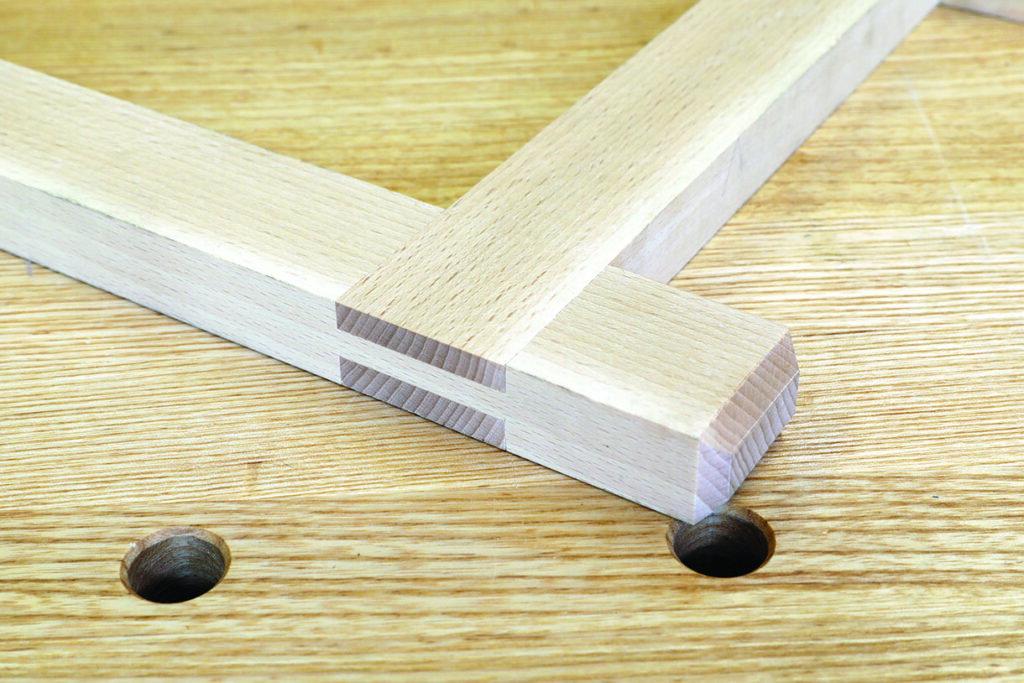
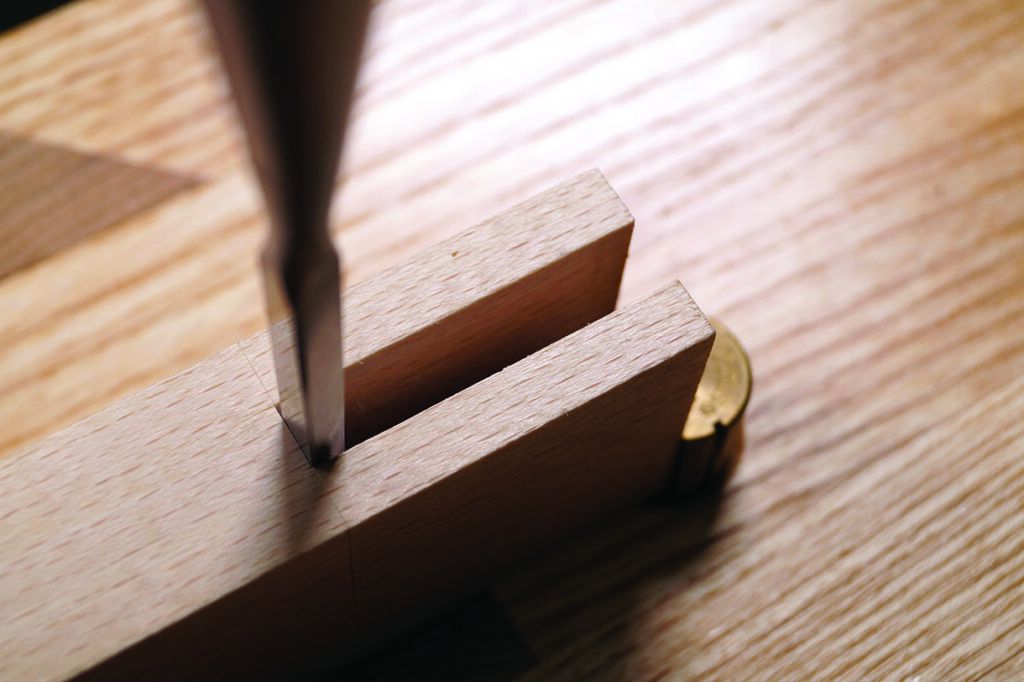
To start with, we’re going to cut the bridle joint on the end of the short components. Before doing anything, it’s worth noting that when we remove the waste in the middle it’s going to be difficult to clean the inside faces because the gap may be too small to fit a chisel in to. For this reason, you will need to cut as close to the marking gauge line as possible while still staying in the waste in order to make the gap as wide as possible. Alternatively, a dedicated paring chisel would work beautifully for this.
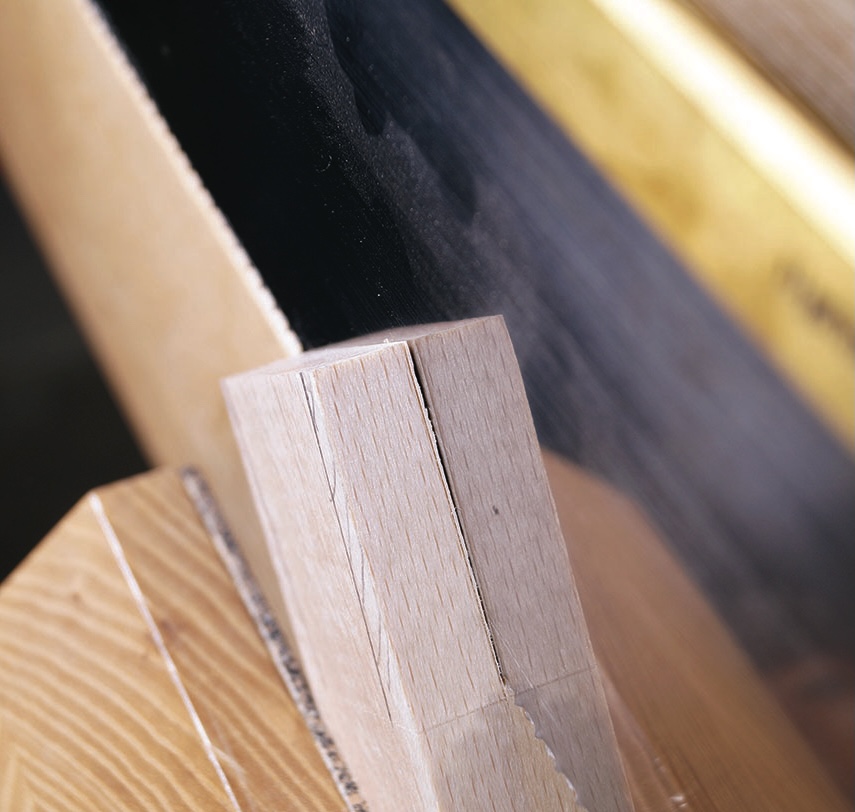
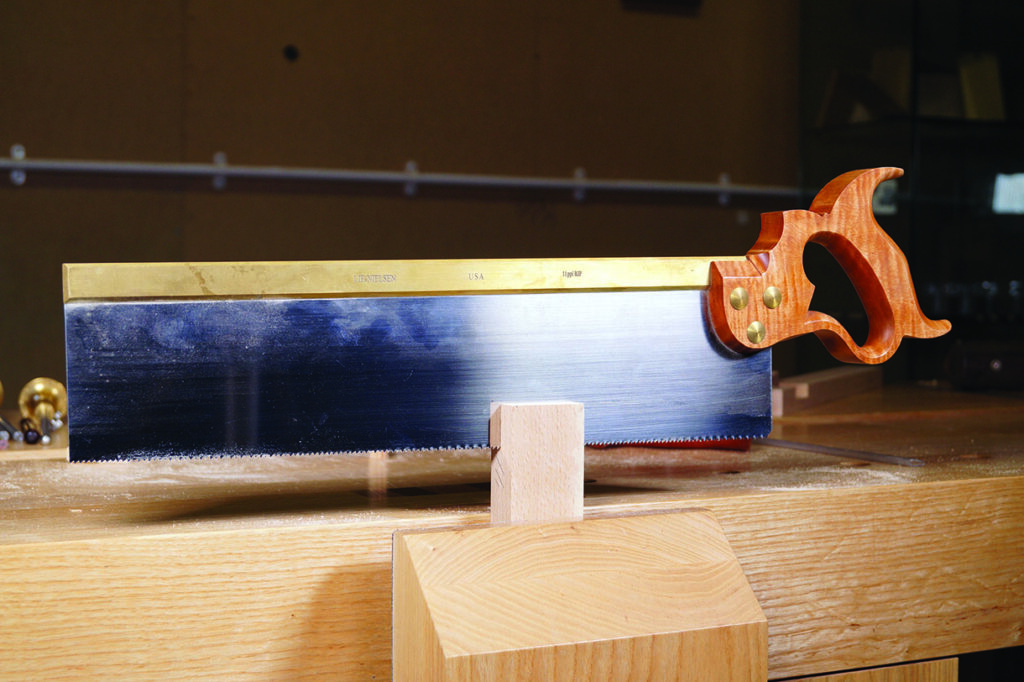
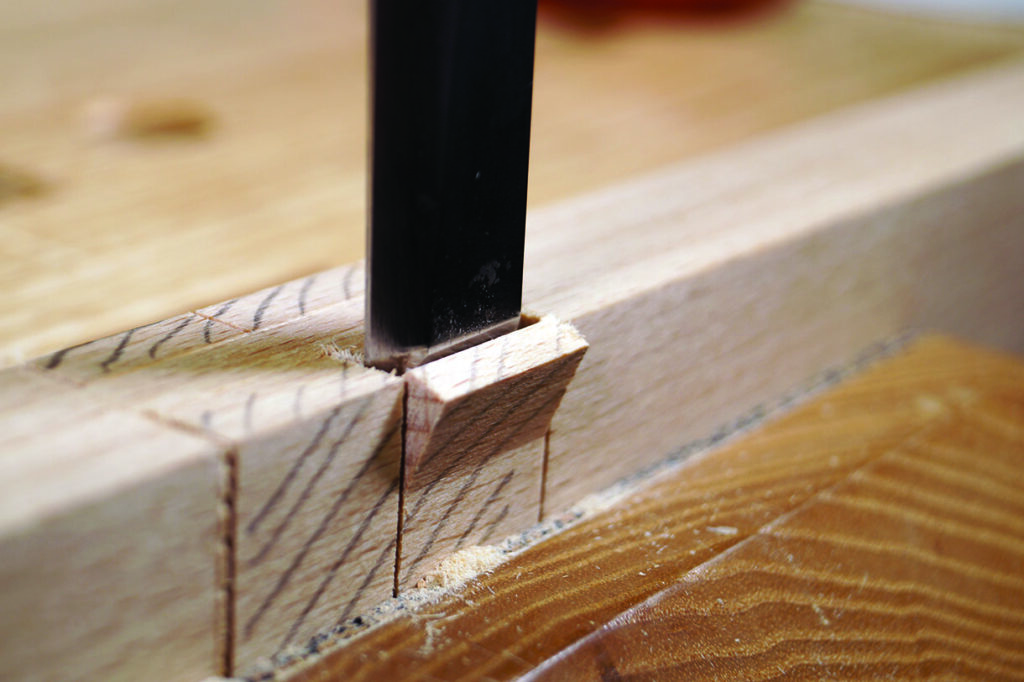
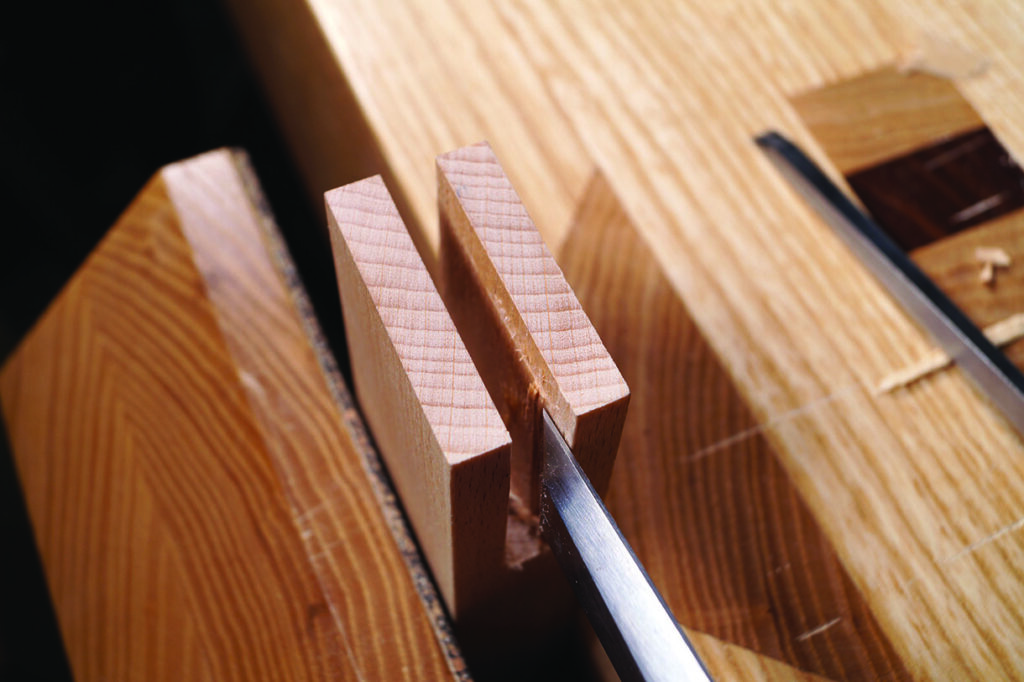
This is going to be sawn out in exactly the same way as the lap joint. Tilt it at 45° in the vice, saw down one of the faces and the end grain, flip it around and saw down the remaining third face at 45°. Then clamp it upright and remove the pyramid that is left over at the end. This means you only have to focus on two of the marking gauge lines at a time, as opposed to all three if you were to cut it with the component upright. Remove the waste with a coping saw or chisel and then start establishing the marking gauge lines with a chisel. You can do this by chopping down about 3mm or so on all three faces while being careful not to damage the outer edges because they will be on show once the joint is assembled. Finally, chop into the baseline of the bridle joint to remove the leftover end grain and check it with a ruler. As always, you want the ruler to be able to touch both outer corners without rocking on a high spot in the middle.
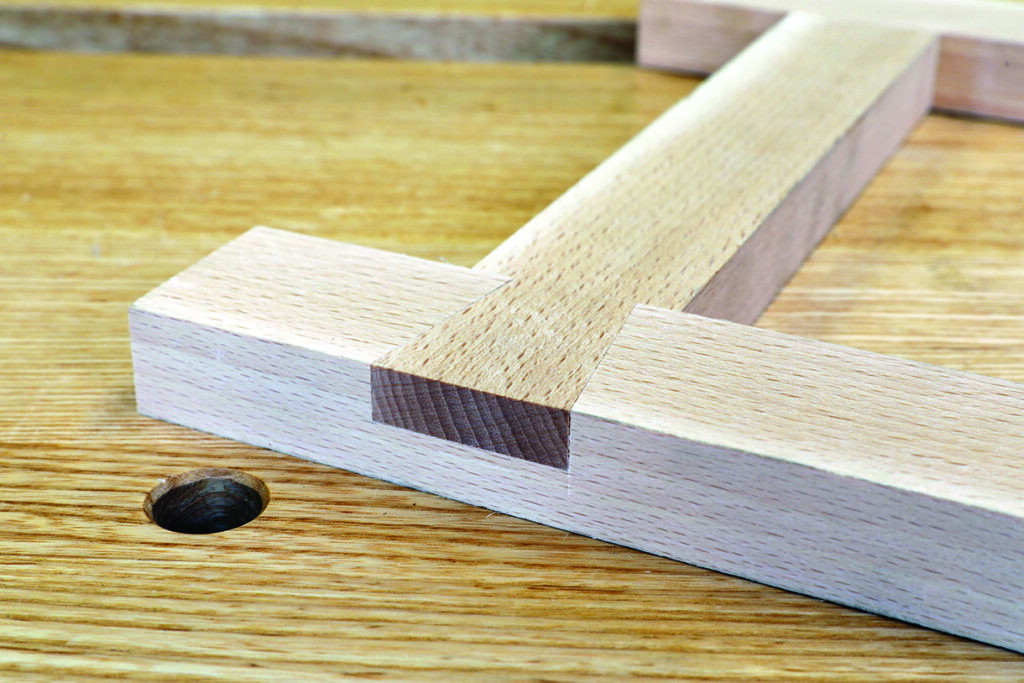
For the corresponding bridle joint component, the process is very similar to the halving joint (see F&C 269). Crosscut the waste material roughly 1mm from the knife lines and also saw directly in the centre of the waste. This will weaken the material enough for you to split it away with a chisel. To prevent it splitting in the wrong direction, I would recommend chiselling away half the waste, then half of that, then half of that until you get to within 0.5mm of the marking gauge line. Then the chisel can safely go into the gauge line and you can chop through from both sides into the centre. Grab yourself a ruler, check for any high spots and remover them with a shoulder plane or chisel.
Mortise and tenon joint
When cutting this joint by hand, in most cases you should cut the mortise first. The reason for this is because the mortise walls can be very easily bruised while being chopped out, consequently making the mortise wider than the gauge lines. Therefore if your tenon had already been cut, by the time you go and fit in the mortise, the tenon would be too small.
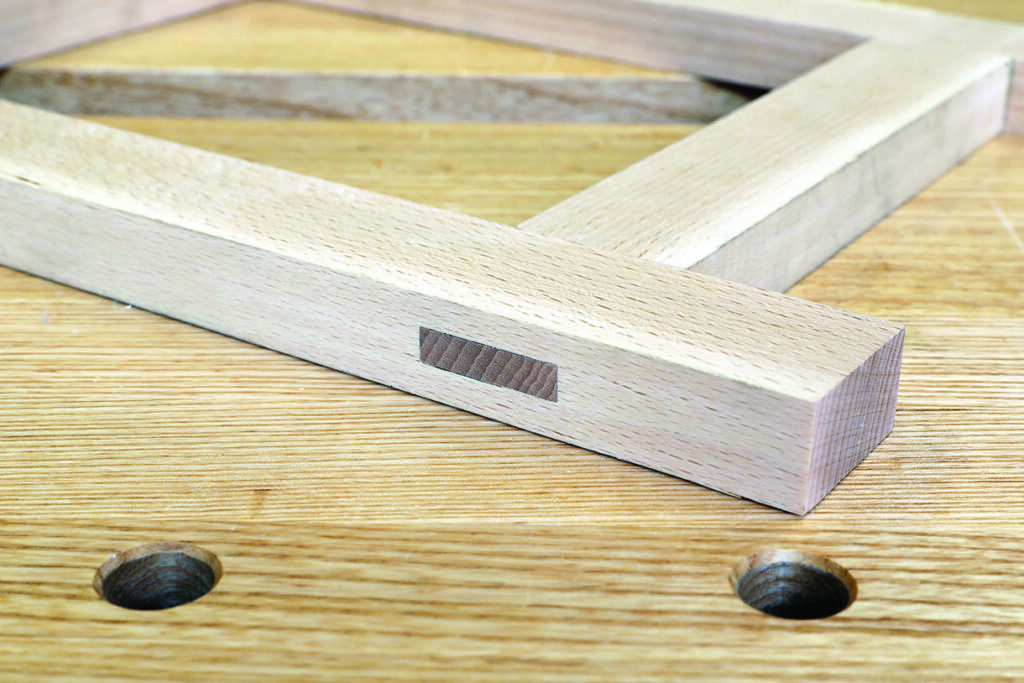
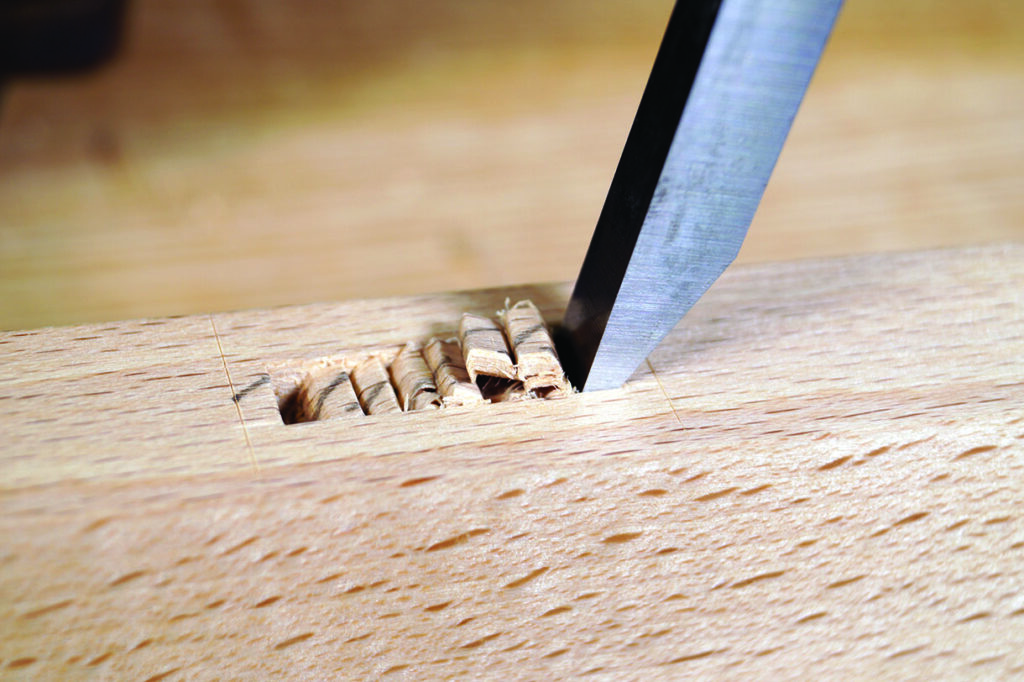
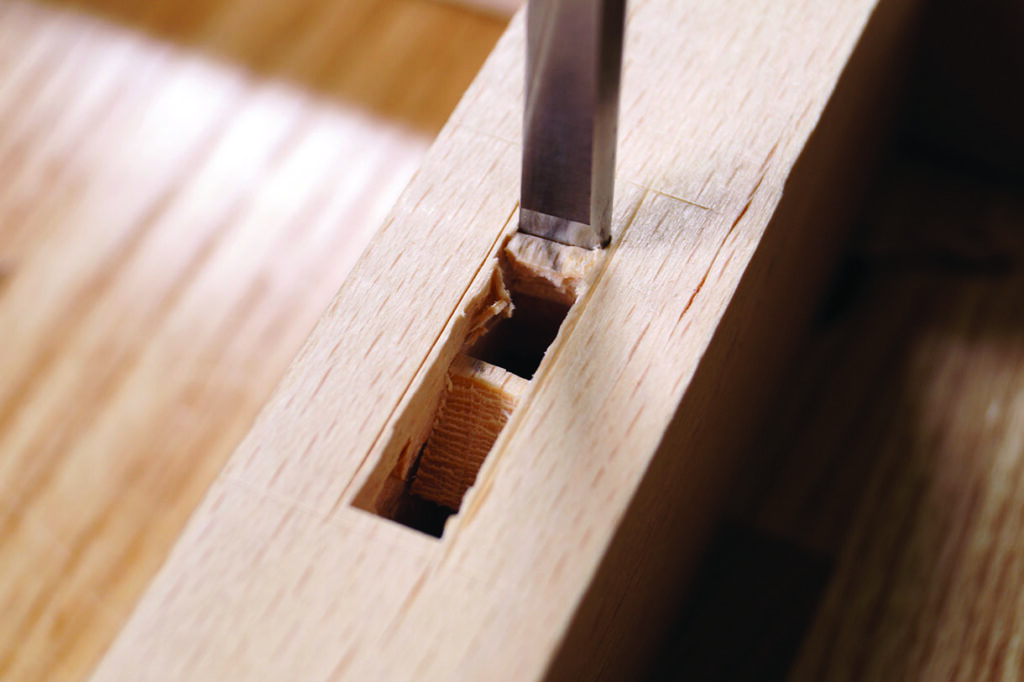
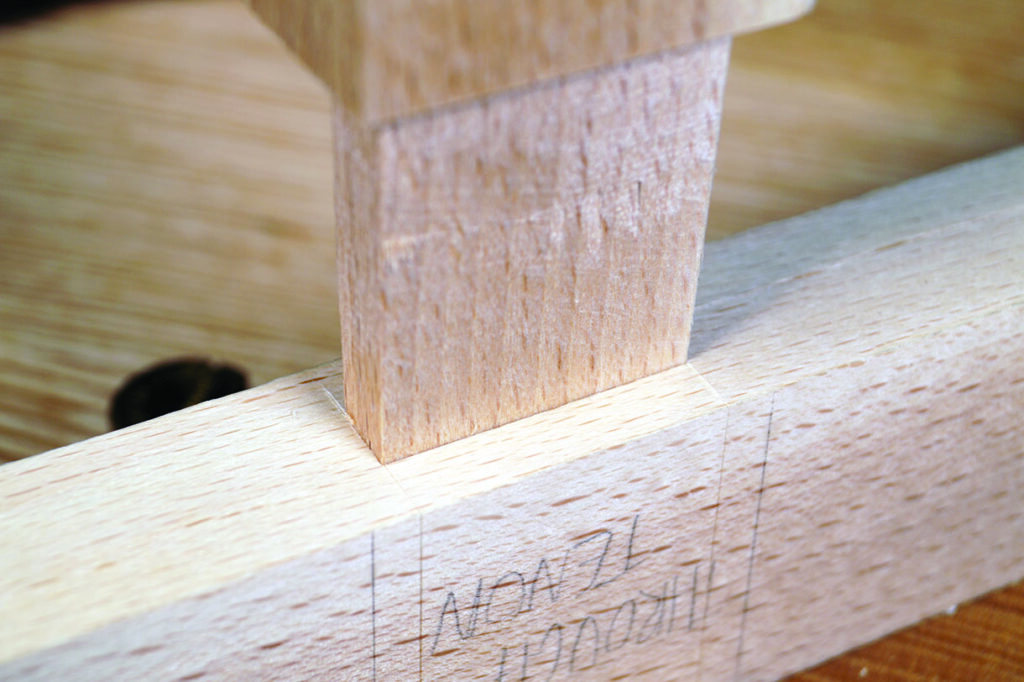
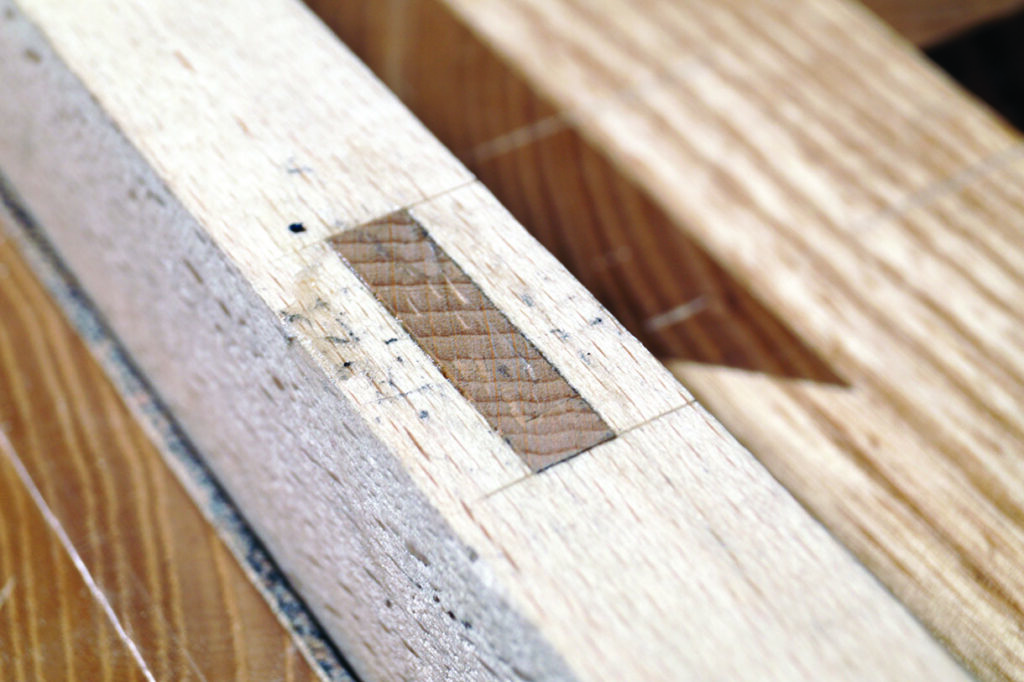
Because this is a through tenon, one side of the mortise is going to be hidden by the tenon shoulders and one is going to be on show. I used a 8mm mortise chisel, exactly the same width as the mortise walls, to start removing material on the hidden side of the mortise. That way if the walls got bruised it wouldn’t matter. I did a series of small chops starting from the centre and working towards the outside, but left about 5mm of material before hitting the end of the mortise. The leftover material acts as a cushion for the chisel as you can use the mortise walls to lever out the waste. In order to prevent blowing out the other side of the component, I used a strip of masking tape around my chisel to act as a depth stop, which I set 5mm shy of the opposite face. Once I had reached a consistent depth along the entire mortise, I flipped the component round to work in from the other face. I decided to use a 6mm bevel edge chisel to do this as I only had 5mm of material to remove before uncovering the other mortise. Using a narrower chisel meant I was unlikely to damage the walls on the exposed part of the mortise, thus creating a gap. I could then use a wider bevel edge chisel to accurately work back to the gauge lines as well as clean up the remaining material inside the mortise.
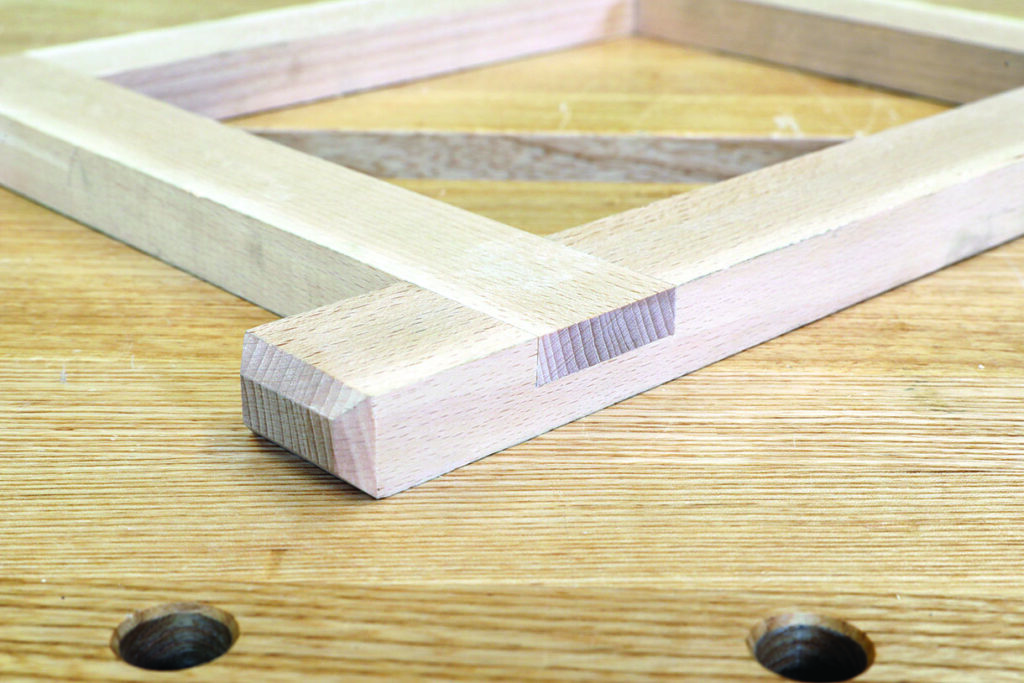
Now for the tenon. I cut about 0.5mm away from the marking gauge lines on all four cheeks and crosscut off the waste. Check the fit often when cutting this joint as it’s very easy to go too far. I scribbled some pencil marks on the tenon before pressing it into the mortise to allow me to see where it was rubbing, which I could then remove with a shoulder plane or chisel. You can get away with a few small errors here and there with this joint as it is mostly hidden, however keep an eye on those marking gauge lines on the end grain of the tenon. They need to be spot on to produce a gap-free joint after assembly. As you’re approaching the final fit, clean up those shoulder lines as we have done before and whack it together!
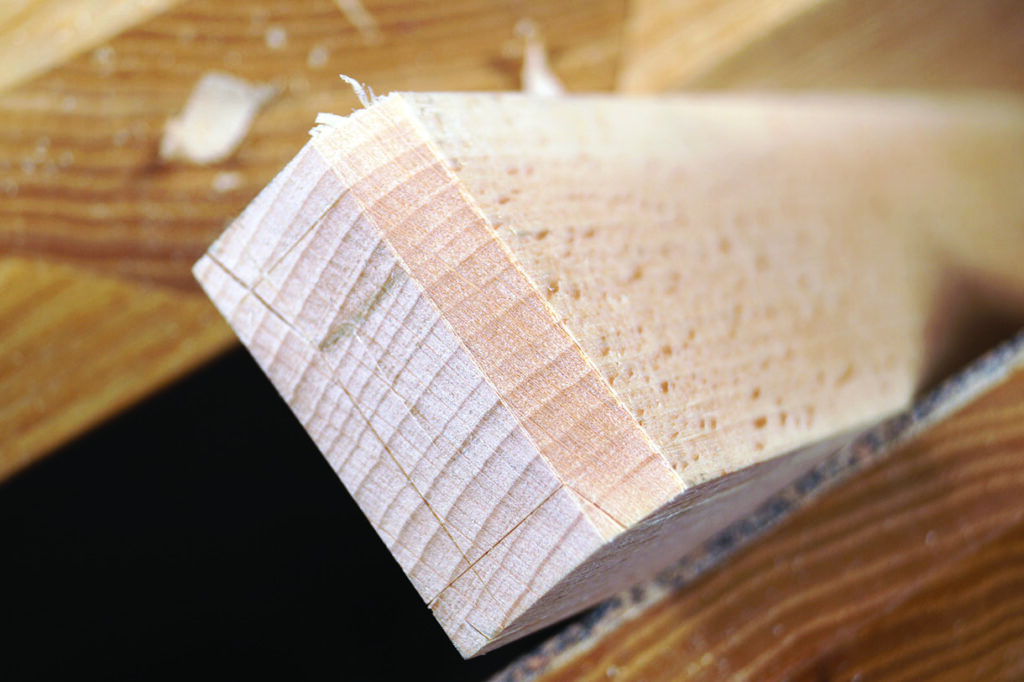
It’s easier to add the decorative chamfers before gluing up. I used a block plane to do this as it gave me the most control on a small surface area. I tilted the plane to 45° and also skewed it upwards to shear the fibres off the back end of the component. This reduces the risk of breakout as the blade gently removes the material on the back edge, rather than punch it off.
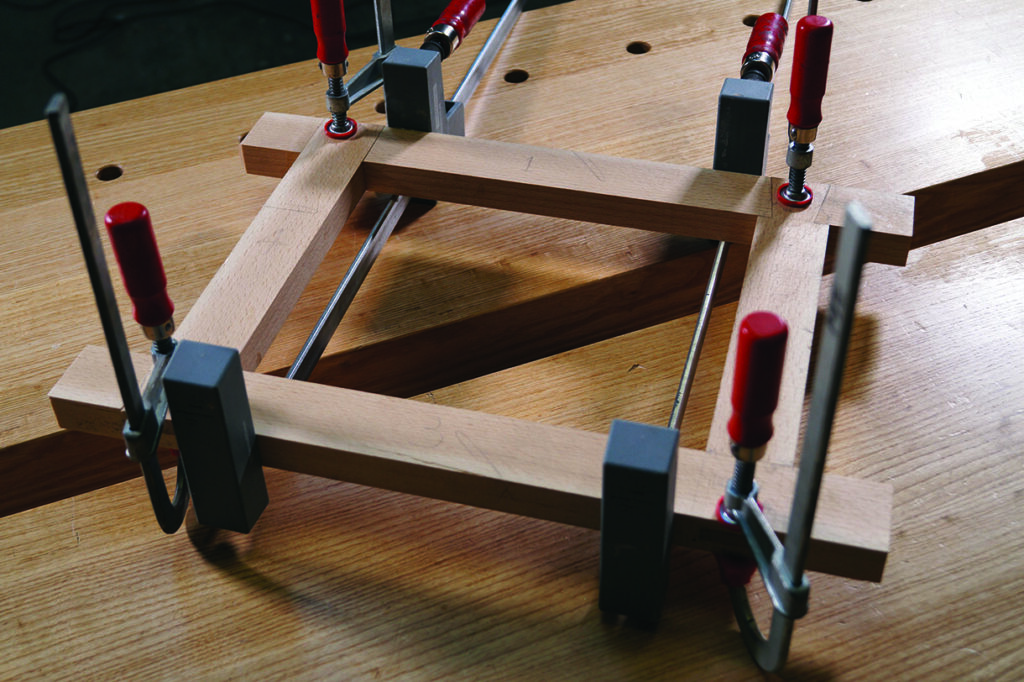
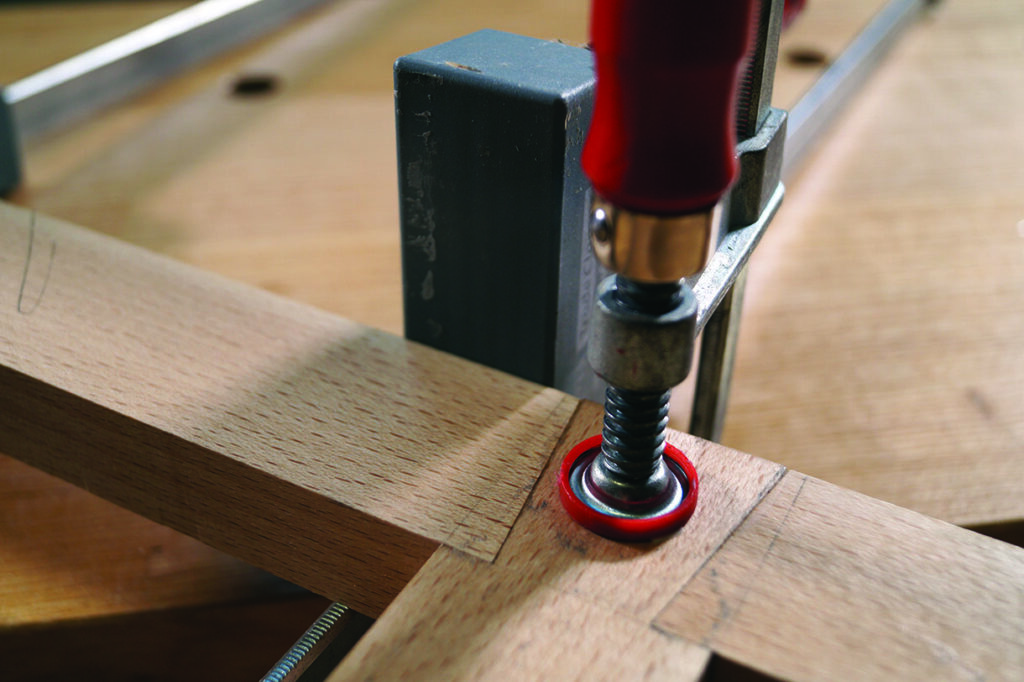
To glue the frame together, I used four F-clamps to seat each of the joints in their sockets and two bar clamps to press the shoulders together. Notice how I clamped these to the inside of the short components, instead of in line with them. The reason for this is because if the end grain of the short components was protruding beyond the long components, you’re simply applying pressure to the short component along its length, rather than pressing the long component into the shorter component. In hindsight, I would use four clamps to do this. Two in the positions as shown in the image, and another two on the outside edges of the joints. Obviously this will apply more even pressure along those shoulder lines and give a tighter fit. Why didn’t I do this in the first place? No idea. I was either being lazy or thick! Most likely a combination of both.
Wipe off the excess glue, plane those joints flush and there we go, your joint practice frame is complete. It may not serve you much in terms of functionality but I do hope you have learnt a thing or two along the way. Thank you to Jamie Ward at Warwickshire College for supplying the plans for this frame.
Finished joints