The Woodworkers Institute

We bring you the very best of woodworking!

“Make it with us”

Acorn box

Pat Carroll shows how to make an acorn-style box with the addition of hand-cut threads
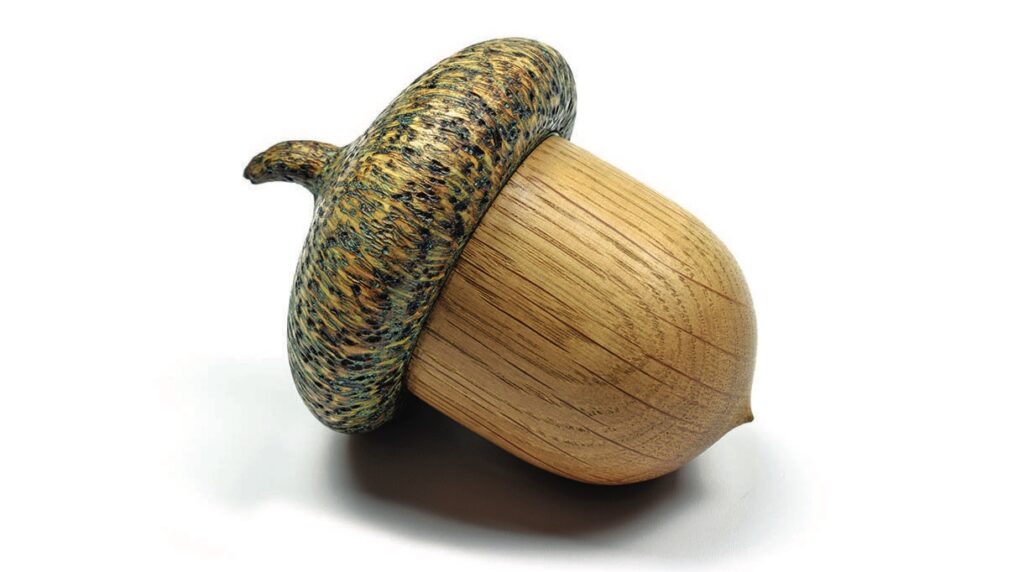
Wooden acorn sculpture with textured cap

Boxes can be very decorative and have many uses. They are fun projects that often don’t need much wood or equipment. This acorn box does not have a foot so, as it lays on its side, it needs a snug pop fit or threads to stop it falling open. This project has many variations and many decorative options available. I show making a threaded acorn box. I chose oak (Quercus spp) for the nut, which is the bottom of the box. This links the box nicely to the subject matter. For the cup – upper section – I chose spalted ash (Fraxinus excelsior). This would enable me to use pyrography to add detail and texture and colour to the cup section.

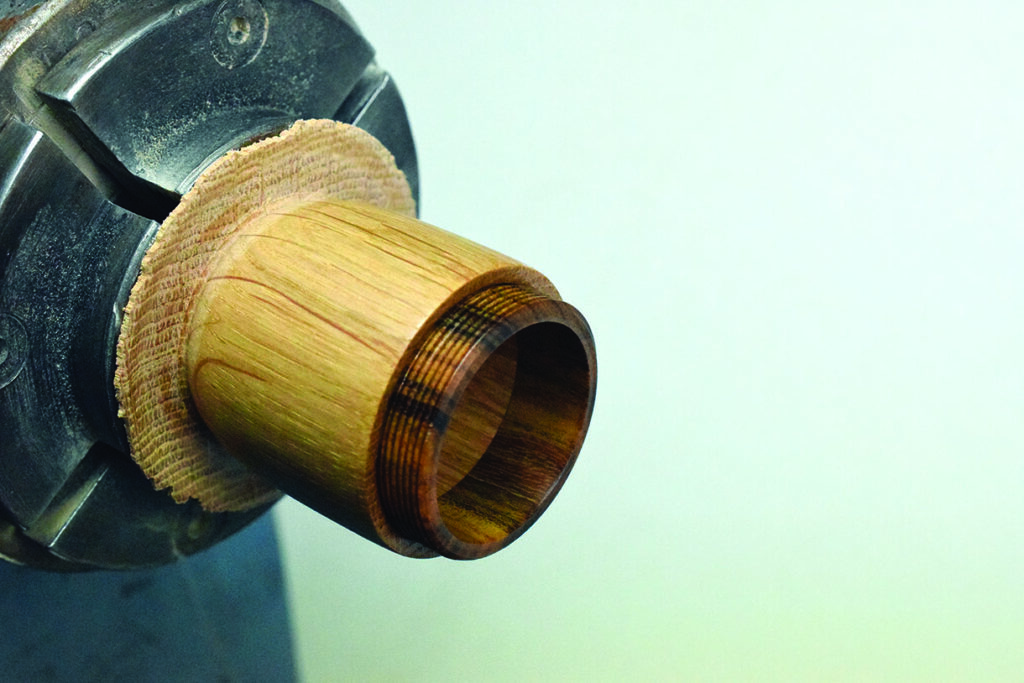
Since neither of these woods allow me to cut fine 20 teeth per inch (TPI) threads on them, I chose to insert a collar in each part using ebony (Diospyros spp). Ebonies hold threads well, but this section of ebony has a very greenish-brown tinge to it rather than the conventional black/brown one often encounters. The section of timber I used looks very much like verawood/palo santo (Bulnesia spp) which are dense timbers that hold threads well too. Maybe the timber was labelled wrong.

Alternative woods for the threaded would be dense, close-grained hardwoods such as boxwood (Buxus sempervirens) and some of the rosewood species (Dalbergia spp). Alternatively you could use a cast resin, polymer or acrylic such as those used on pens and alternative ivory. Some of these materials can hold threads well too. As thread chasing is an in-depth subject that could take up many pages to explain it fully, here is a link to give a more detailed description of the process for those who are unfamiliar with thread chasing: www.woodworkersinstitute.com/wood-turning/techniques/tool-use-modification/10-steps-to-the-perfect-thread

When using pyrography on the cup to add texture, I chose to burn away in the softer parts of the spalted ash
to leave the denser areas more prominent. A light brushing of verdigris wax was applied and buffed off with a soft cloth. 

Tools and materials

• PPE & RPE
• 20mm spindle roughing gouge
• 10mm spindle gouge
• 4mm parting tool
• 25mm side-cut scraper or skew chisel
• 25mm round nose scraper
• Chuck
• Dedicated drive centre
• Live drive centre
• 20 TPI male and female thread chasing tools
• Drill bit 
• Saw 
• Pencil 
• Callipers
• Pyrography unit
• Abrasives
• Danish oil
• Verdigris wax
• Timber of your choice to suit the drawings

Drawing
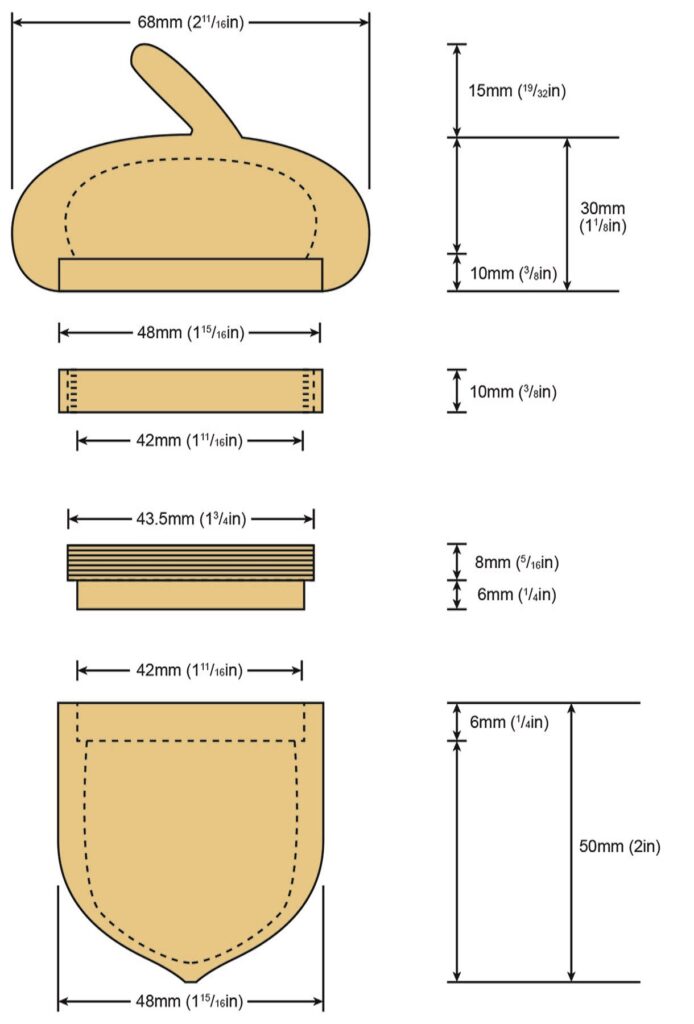
Detailed sewing pattern measurements diagram.
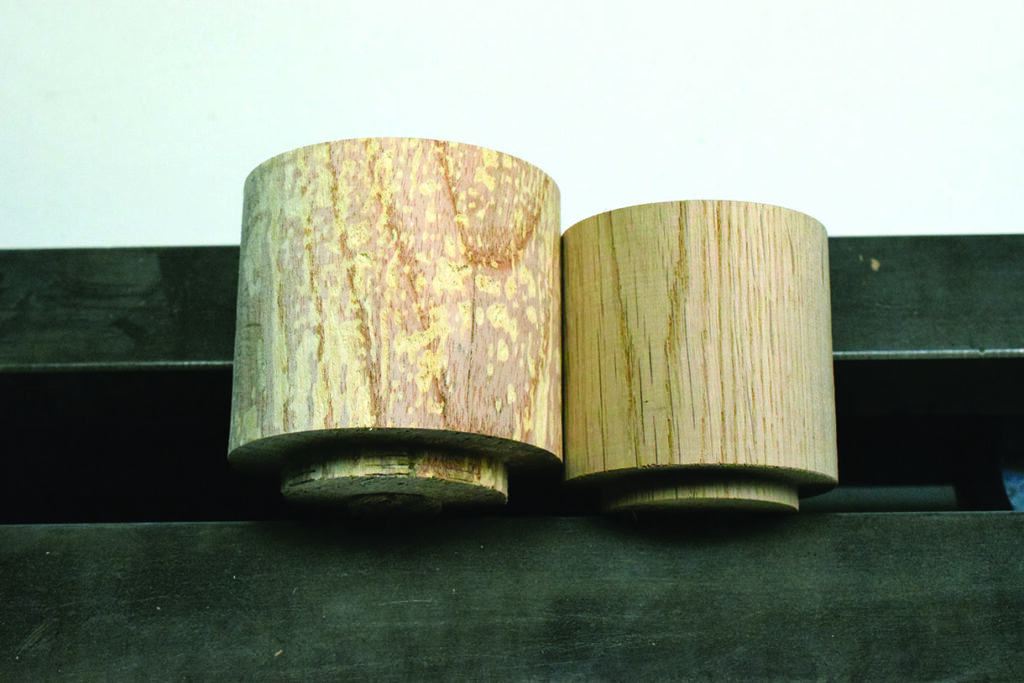
Two cylindrical wood blocks on black surface.
1. Mount the two pieces of wood for the cup and nut between centres and, using a parting tool, create a tenon on one end of each piece 
Turning wood on a lathe with chisel
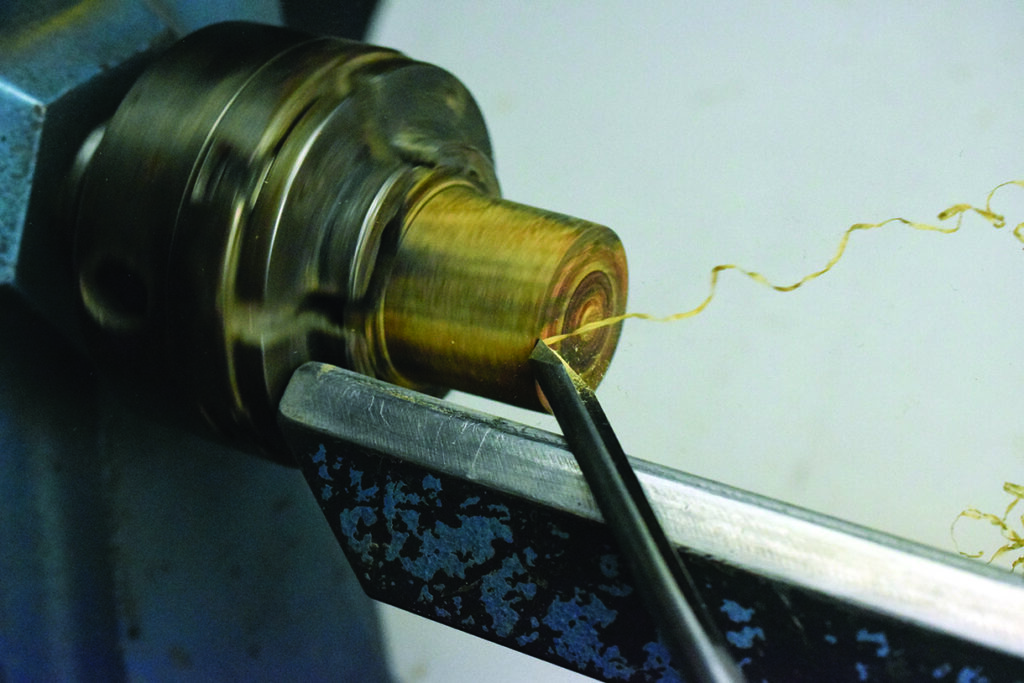
2. Now cut the collar inserts. I find making the threaded collar and spigot first is a safer practice than making all the acorn body sections first, as it gives me far more room for error with the thread chasing if something goes wrong. Place your timber for the threaded section between centres and cut a tenon to suit your chuck jaw size. Once cut, fit the piece in your chuck on the tenon just cut and true up the piece using a spindle gouge 
Woodturning on lathe with metal tool.
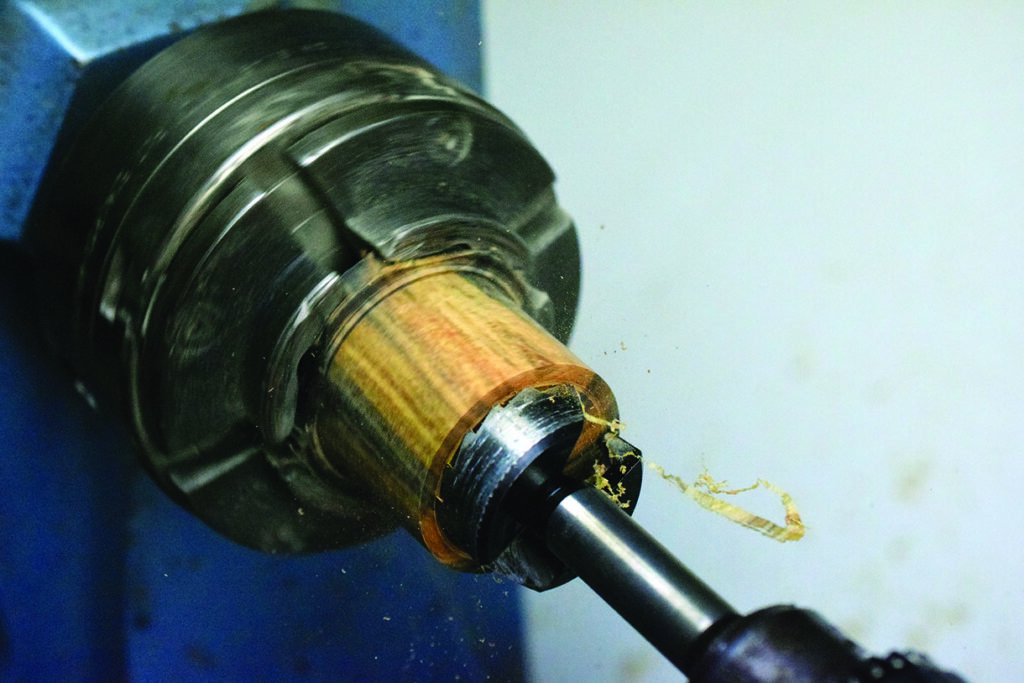
3. Now drill a hole using a Forstner bit or cut a recess using conventional turning tools and true up the side wall until it is the size you need and parallel. The advantage of using the drill bit is that parallel walls are easily achieved and if you make the hole size to match a drill bit diameter it makes life simpler. Once the hole is created cut a recess at the bottom of the collar to stop the thread chasing tool bottoming out and stripping the threads cut
Woodturning a cylinder on lathe machine.
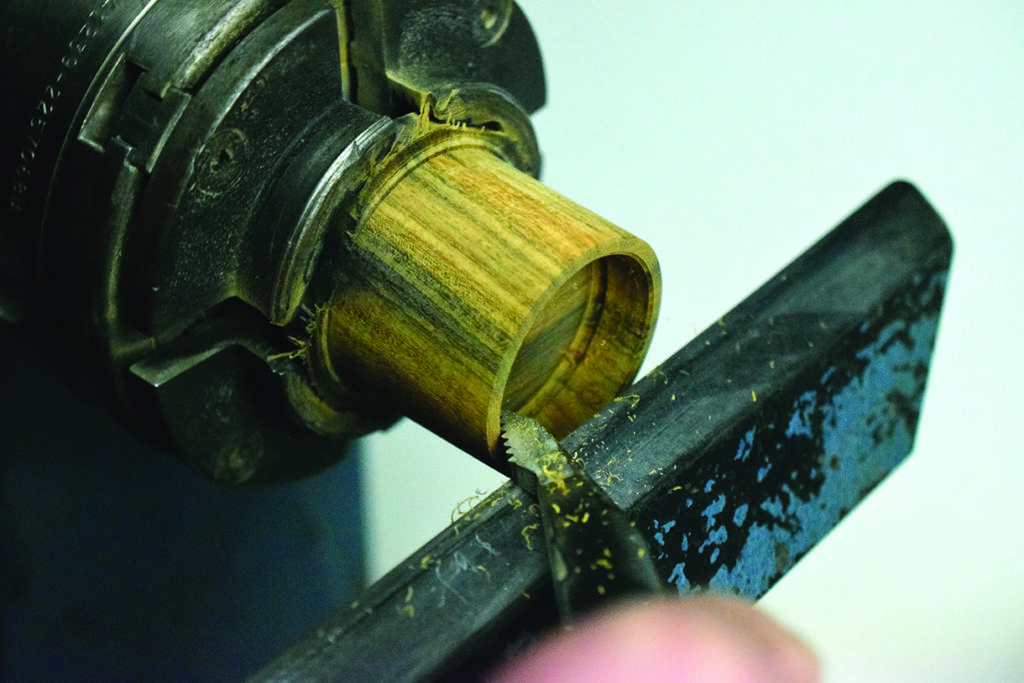
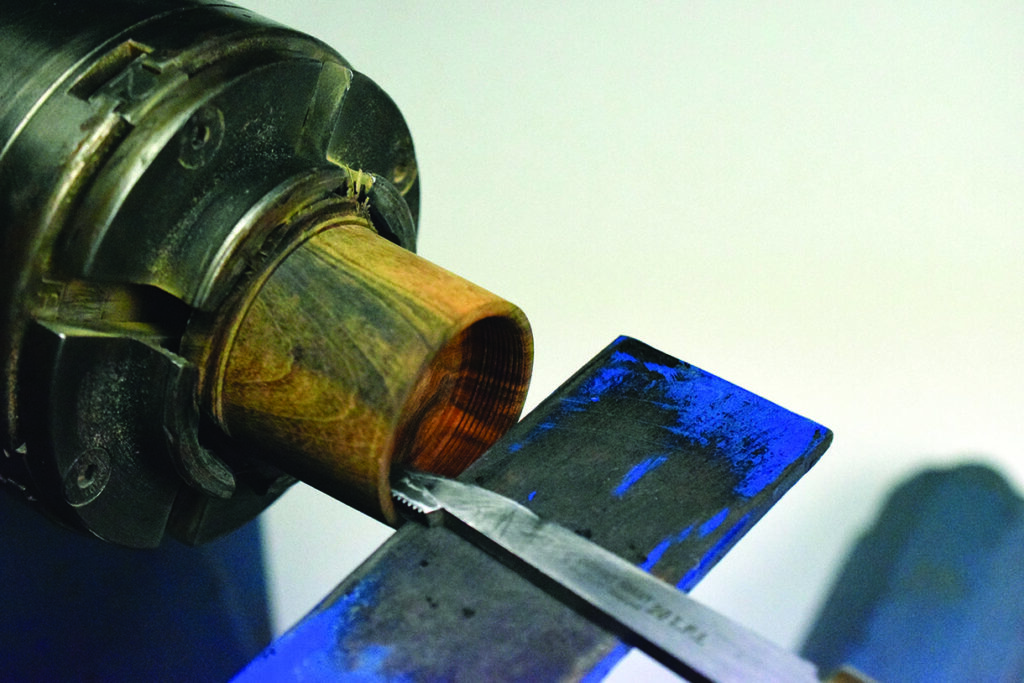
4. A slight chamfer is created at the top of the collar. This helps to allow the threading tool to engage the cut before you arc the tool to cut the main surface to be threaded. You cut the thread in small clockwise circles touching the second tooth off the chamfer, allowing the tool to engage the cut. Speed is between 250 300rpm. As the tool is drawn into the piece, allow the tool to come around so the cutter is parallel to the wood
Wood lathe tool sharpening close-up in workshop
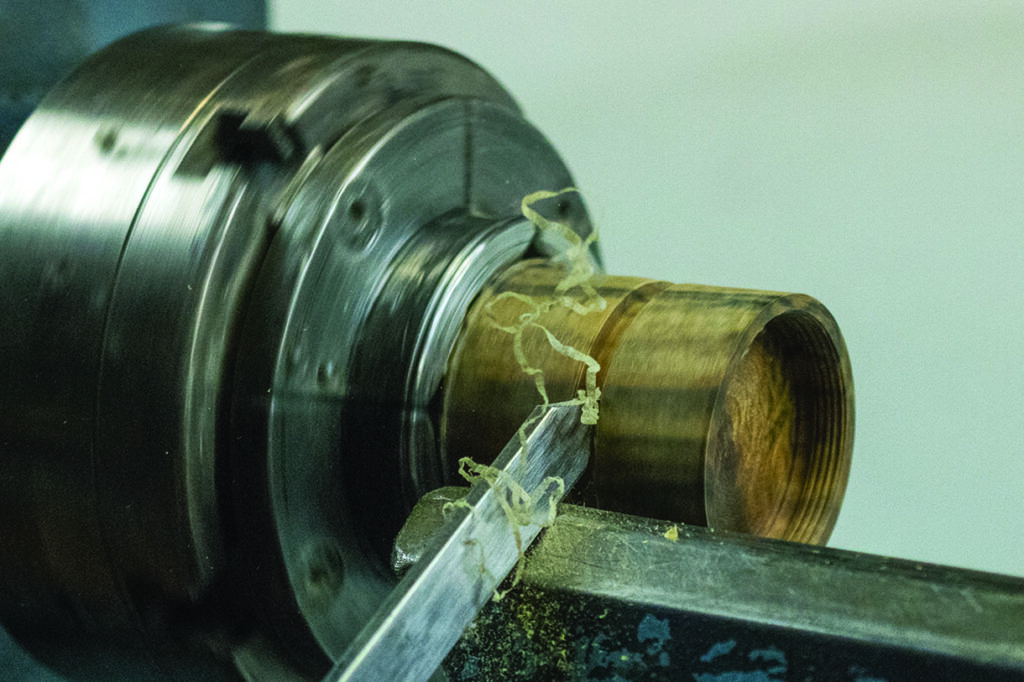
5. When allowing the cutters to traverse along the collar down into the piece, pay attention to the tool stopping once the first tooth enters the recess. A little paste wax can act as a lubricant for the tool to make the tool a bit easier to move on the rest and also in the cut
Metal lathe shaping a cylindrical object.
6. Now use a parting tool to part the collar off. Gentle, light cuts with a freshly sharpened tool are recommended
Woodturning with chisel and lathe shaving wood.
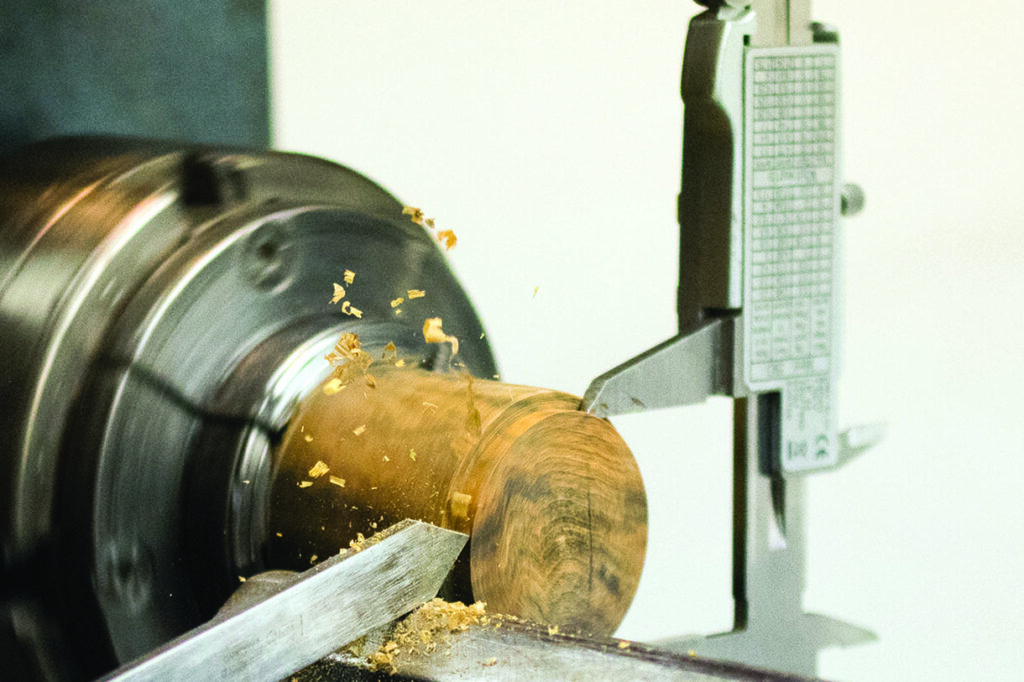
7. Use a parting tool and callipers for sizing on the remaining piece of wood to reduce it in size to about 1.5mm larger than the diameter of the internal measurement of the collar
Woodturning a threaded end block on lathe
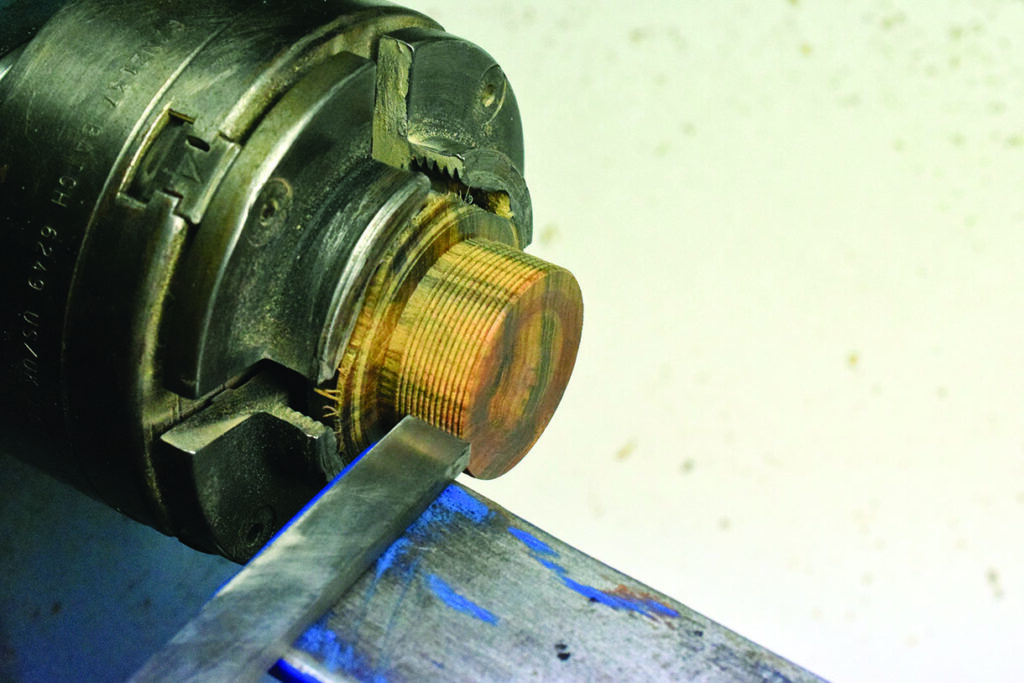
8. With the piece sized, cut a recess at the bottom of the spigot. The recess allows an area of clearance for the thread chaser to disengage as it cuts near the bottom and remove the tool at the end of the cut. For thread chasing I use a speed of 250-300rpm. The second tooth of the cutter is the first to gently touch the work. Progressing slowly around the spigot the tool can traverse along the length of the spigot until the parallel threads are cut. A number of light passes are required until you have a neat parallel thread. Leave a small micro-flat on the crowns of the teeth crown of the teeth to minimise the risk of the crowns of the teeth breaking off
Drill machining a wooden cylinder on lathe
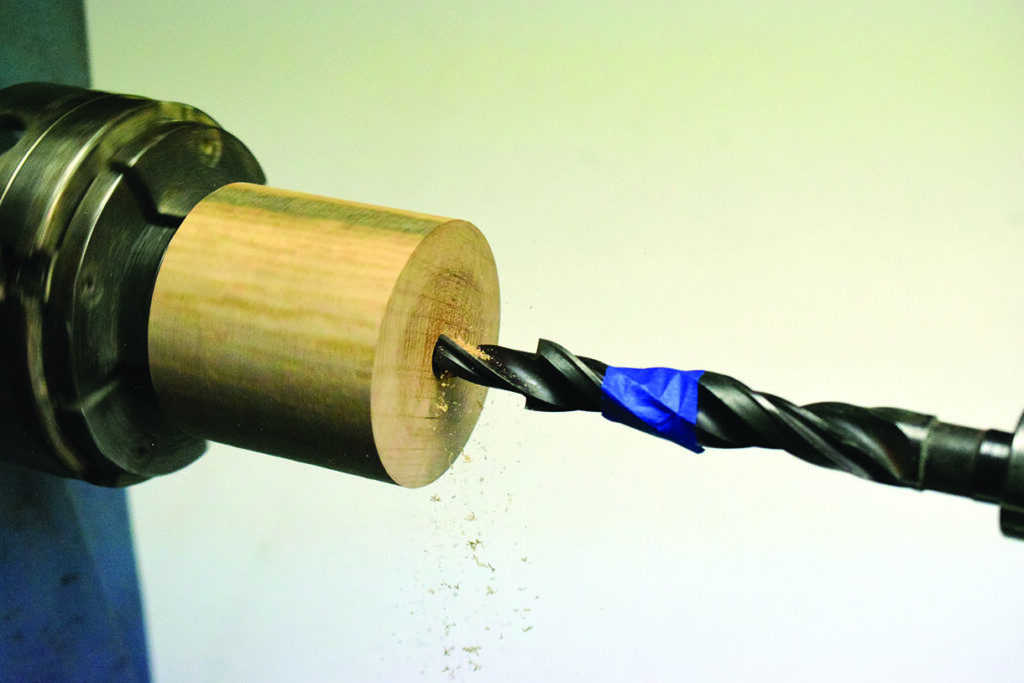
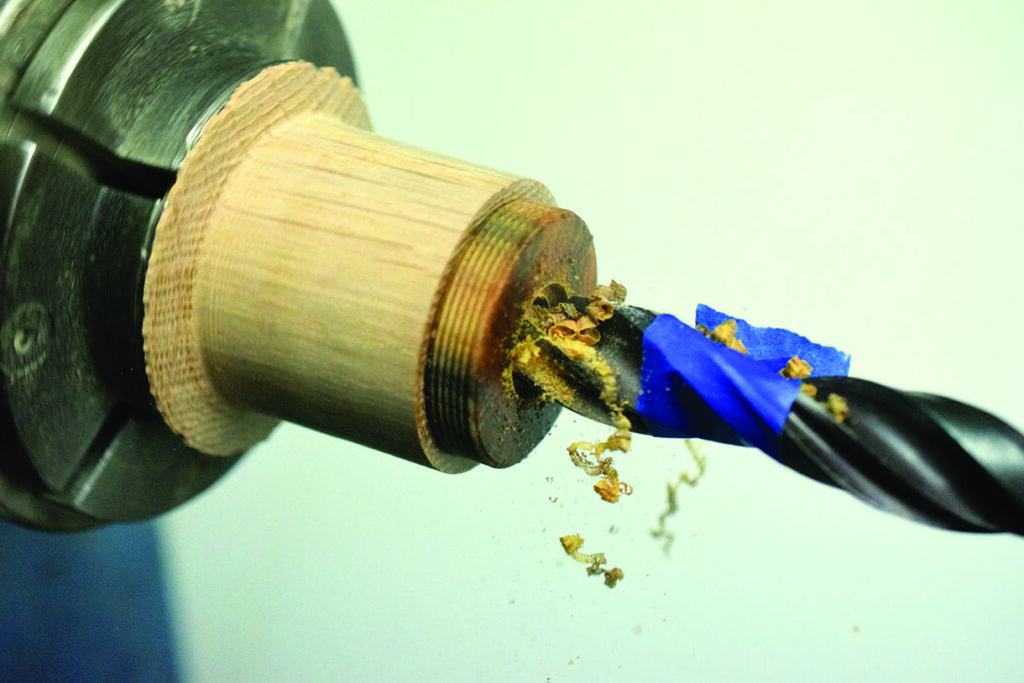
9a. Place the oak nut in the chuck and true the cylinder up. Drill a hole to the correct depth with a Jacobs chuck and drill bit or use a spindle gouge to bore a hole
Woodturning process with lathe and chisel.
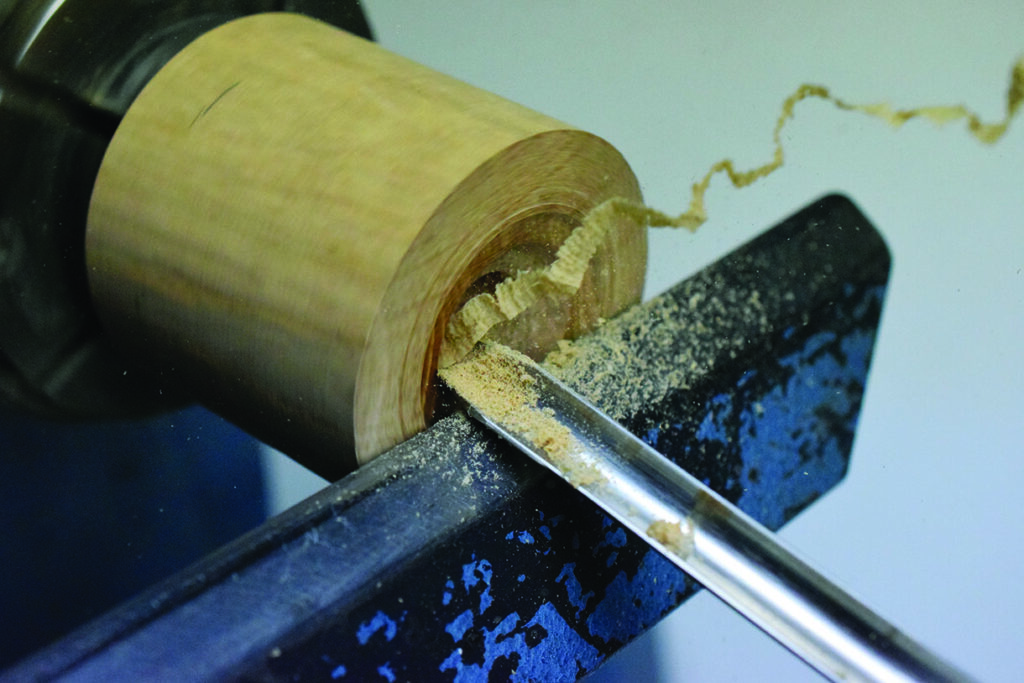
9b. Use a spindle gouge to start hollowing the piece. With the flute facing a 10 o’ clock or 45° angle, the tool is gently pulled and arced from the centre towards the outside. At this point it is only necessary to go to the spigot depth
Lathe shaping wooden tube with tool.
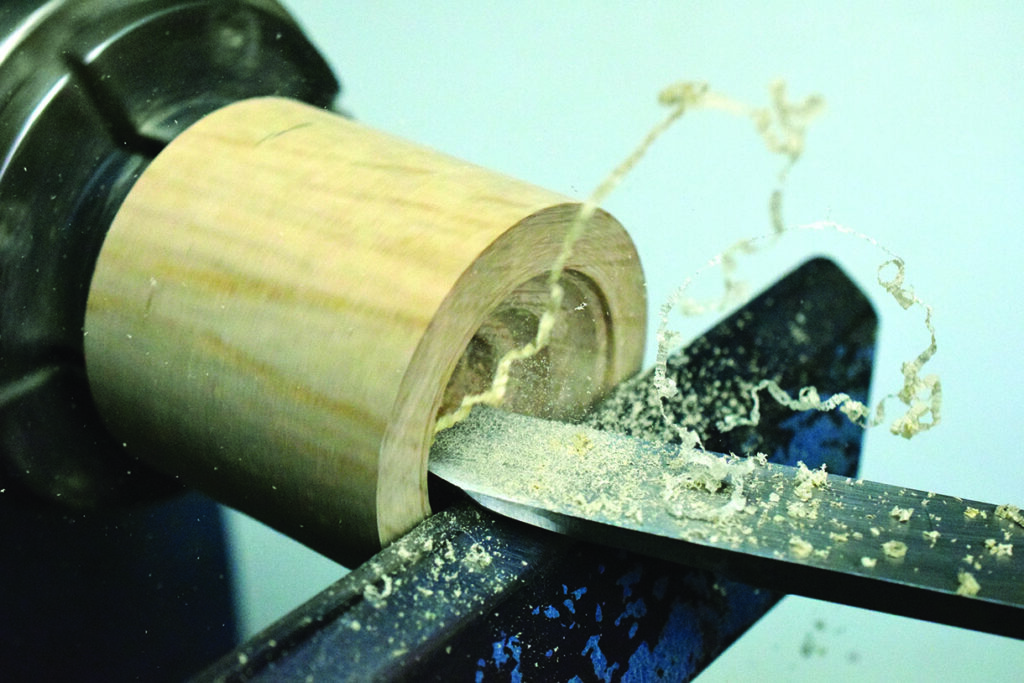
10a. Using a flat side-scraper, refine the recess to accept the threaded spigot
Wood turning on metal lathe machine close-up.
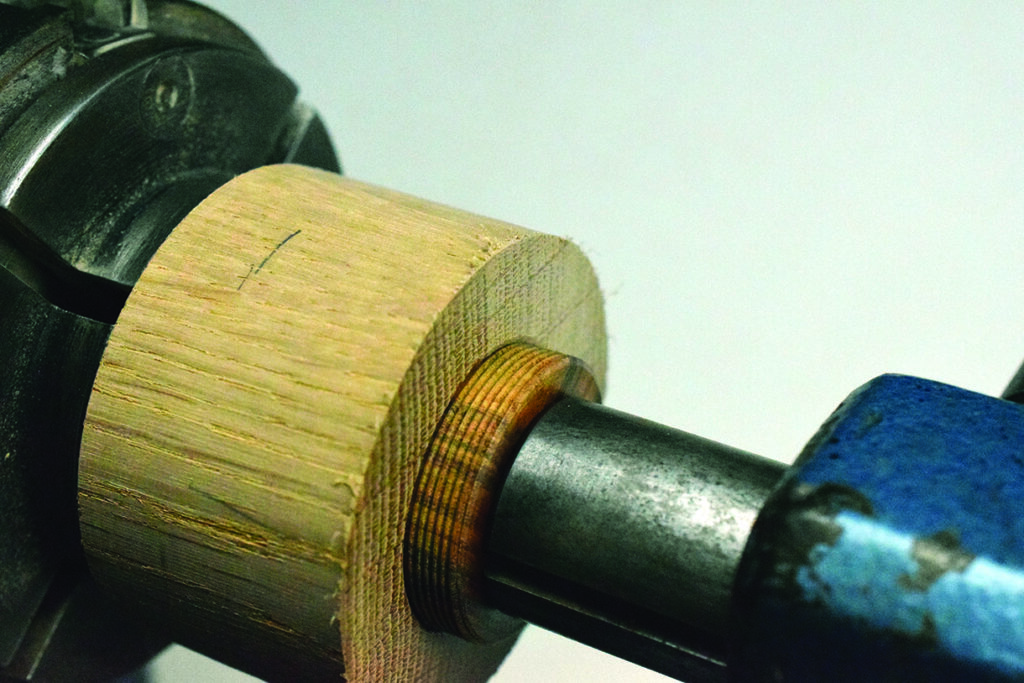
10b. Once cut, switch the lathe off and use the tailstock with no drive fitted to give a straight surface to push the spigot into place in the holes cut. This method also helps with alignment while the glue sets. Of course, don’t press it in place if the fit is too tight – adjust the hole so that it is a nice, snug fit prior to finally pushing the collar in place. Allow to set before moving on to the next process
Drilling into wood with spiral drill bit.
11. With the spigot glued in place, drill a hole as a starting point for the spindle gouge then hollow out the internal cavity. Use the same process as used in step 9. A side-cut flat scraper is used to clean up the sidewalls and a 25mm round nose scraper blends the curvature of the bottom into the straight section of walls
Woodturning chuck holding a wooden piece
12. The inside of the piece and the outside where possible should now be sanded with various grits, starting at 120 grit through to 400 grit. The outer bottom section will be refined and dealt with at a later stage. I applied Danish oil to the inside of the box. Once done, remove the piece from the chuck
Drill bit boring into wooden cylinder close-up
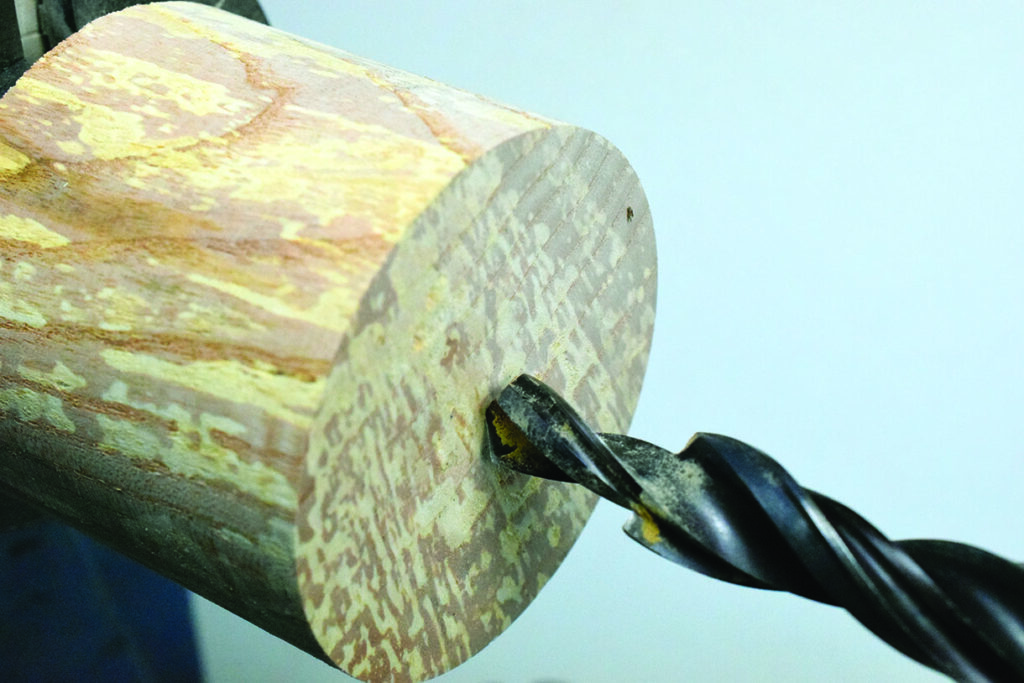
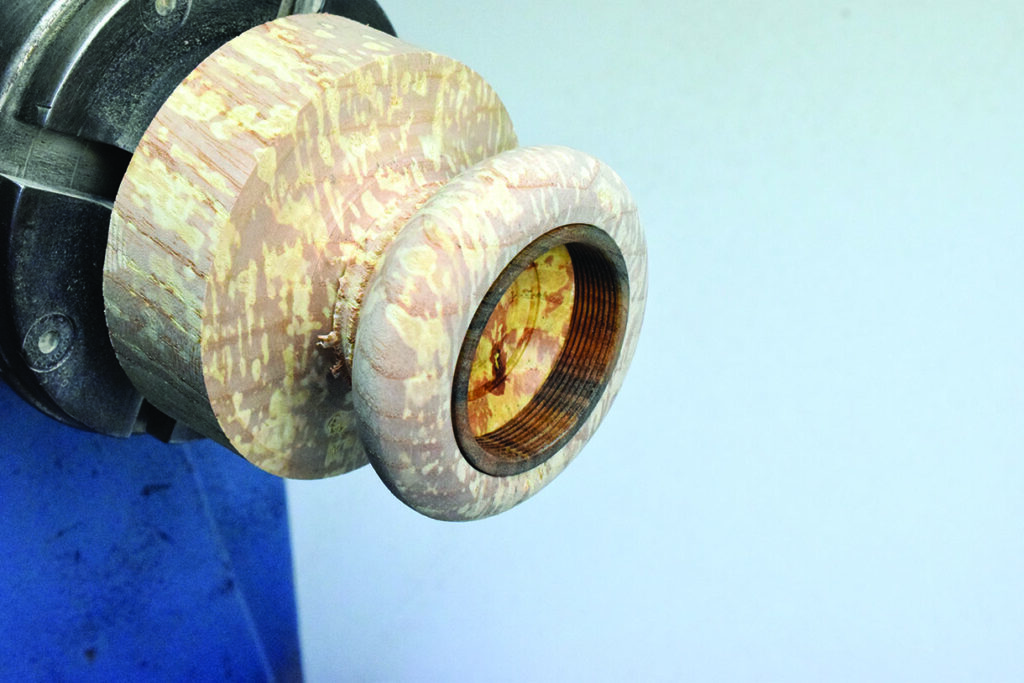
13. The spalted ash section of timber for the cup needs to be put in the chuck on the tenon you cut earlier and trued up. The size of the threaded collar now needs to be transferred to the top face and a hole drilled to the required depth. Using the same techniques as in step 9, the piece is partially hollowed out to just shy of the required hole width. Now partially shape the external shape of the cup
Marking wood centre with pencil for turning
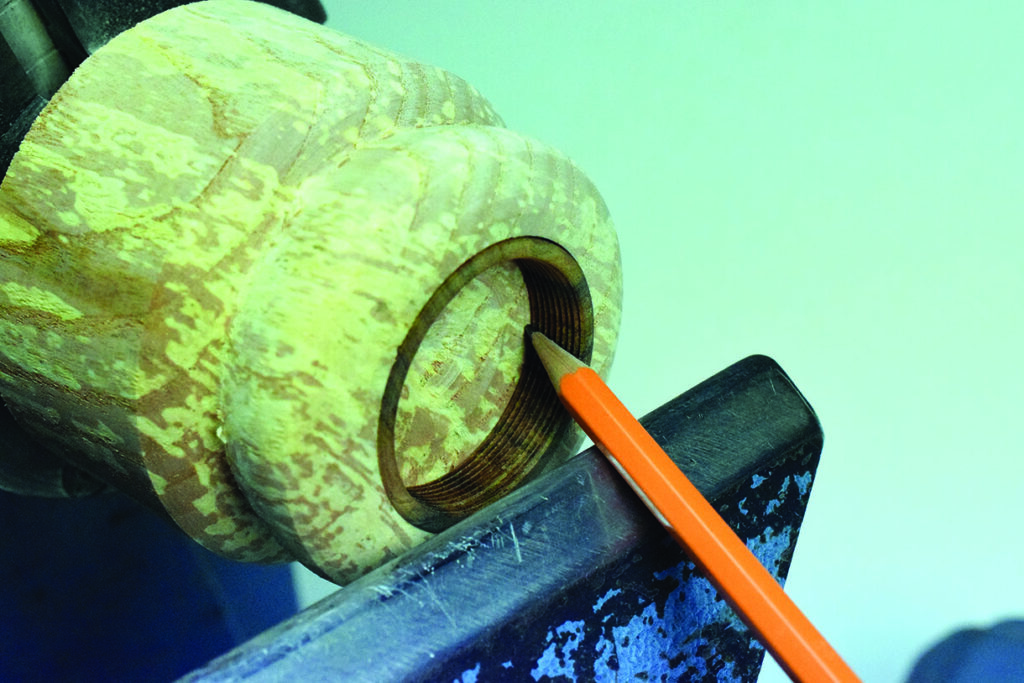
14. Using the side-cut scraper, make the sidewalls parallel and then insert the threaded collar. At this point the collar is not glued. A pencil mark needs to be drawn around the inside of the threaded collar on to the lower inner section of the wood that is yet to be properly shaped
Woodturning tool with threaded end
15. Remove the collar and refine the internal shape to mimic the profile cut on the outside. The reference mark drawn inside the collar is the finishing point. If the collar had been fitted prior to the hollowing, the threads would be in danger of being damaged. With the inside sanded and oiled two detail lines are added to the inside of the lid. The collar is glued in place. No oil is applied to glue area
Wooden sculpture on a lathe machine close-up.
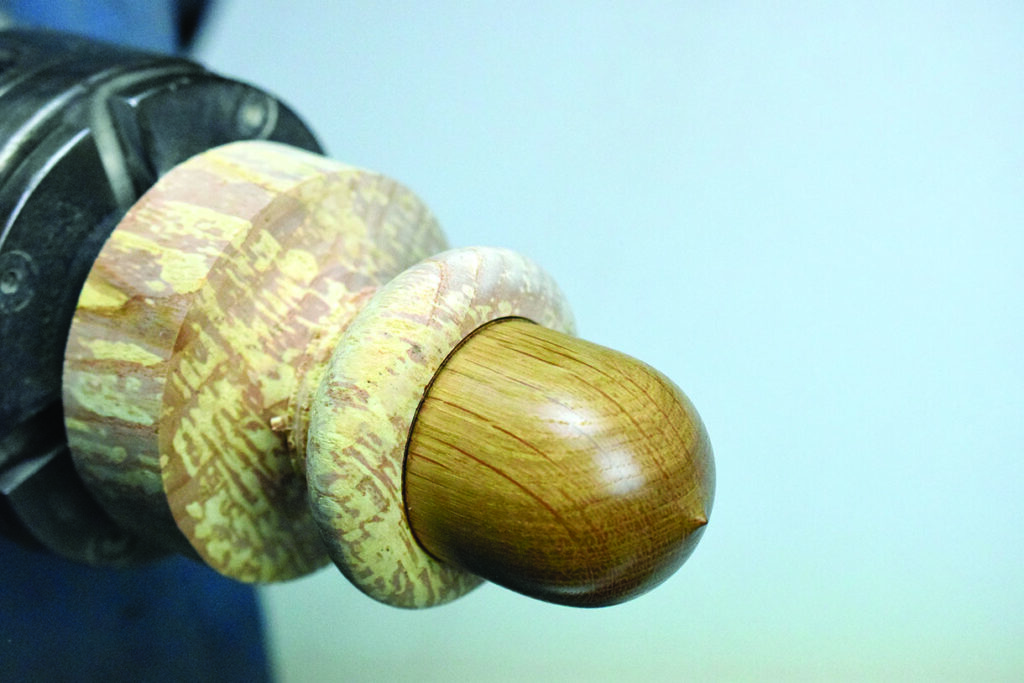
16. Now, screw the nut to the cup. You have still got to refine the very point/top of the nut. Bring up the tailstock revolving centre to support the piece while you shape and refine the nut profile as far as you can while you have the tailstock support in place. If anything needs doing now, it is just a very tiny refinement of the tip, which can be done carefully with the tailstock removed. Once happy with the shape, sand this using down to 400 grit abrasive. I applied Danish oil to the piece after sanding
Woodturning lathe with wooden object and red pencil.
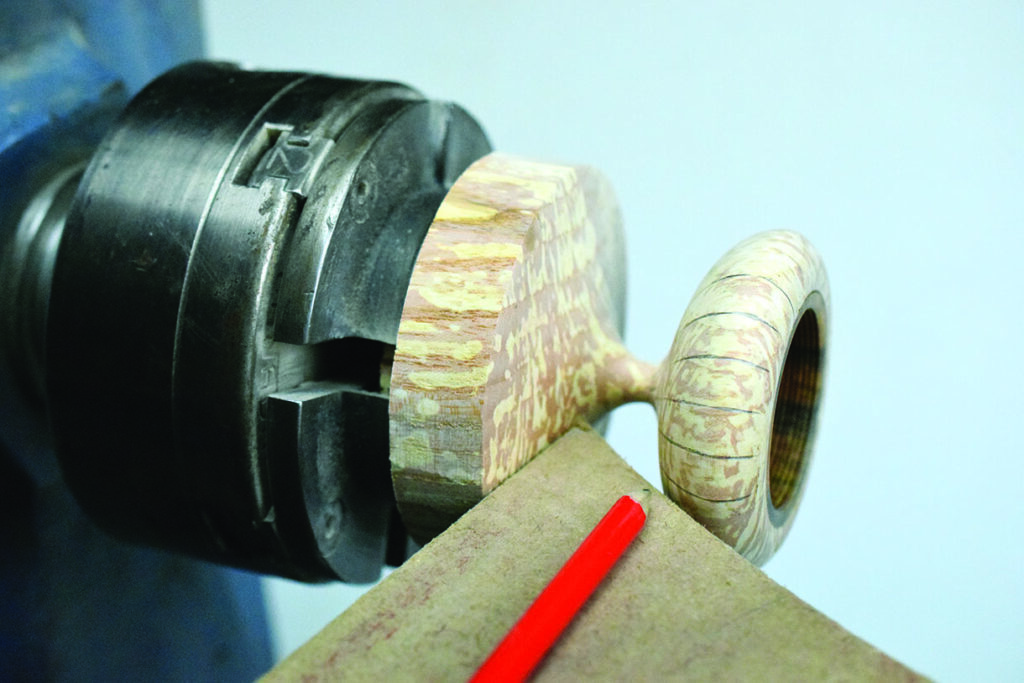
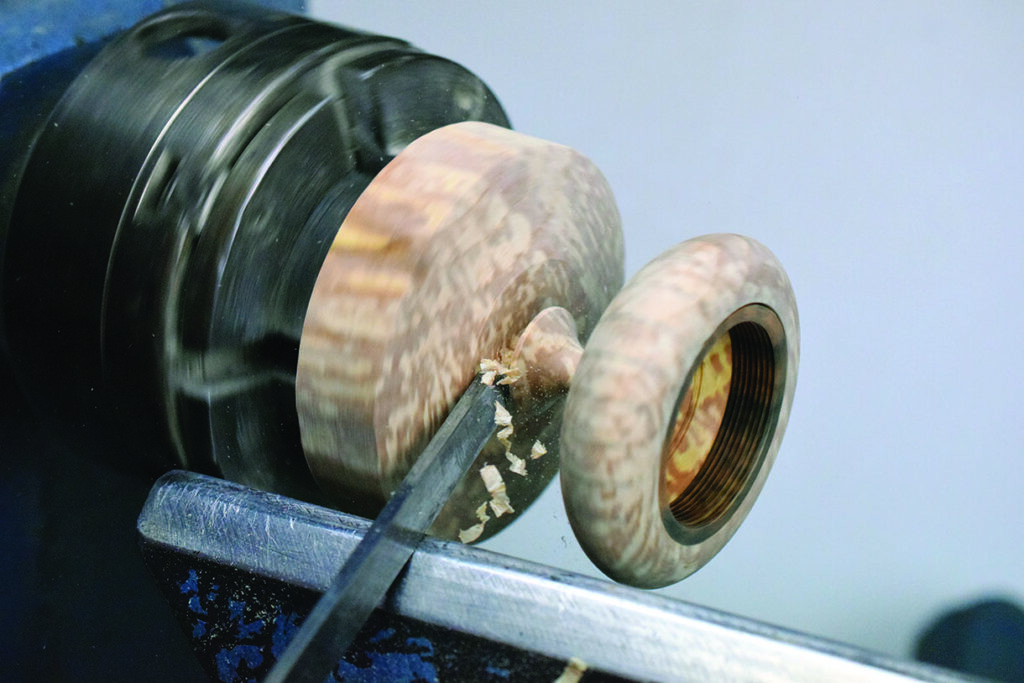
17. With the nut removed, shape the cup using a spindle gouge, but leave enough material to support the stalk of the cup. A bulbous shape was decided upon for the top design. After sanding through the grits use an index system to mark the cup with reference lines to help with the pyrography
Wood turning on a lathe in action
18. Once the grid lines are in place, part off the piece with a parting tool. Stopping the lathe and using a saw to remove the cup is a safer way for turners not confident in finishing the cut with the parting tool
Close-up of intricate wooden sword handle design.
19. The top now needs to be marked out ready for shaping the stalk. Cut in line with the grain, not across it. Attention to grain direction is important for strength
Close-up of a single acorn with blue background.
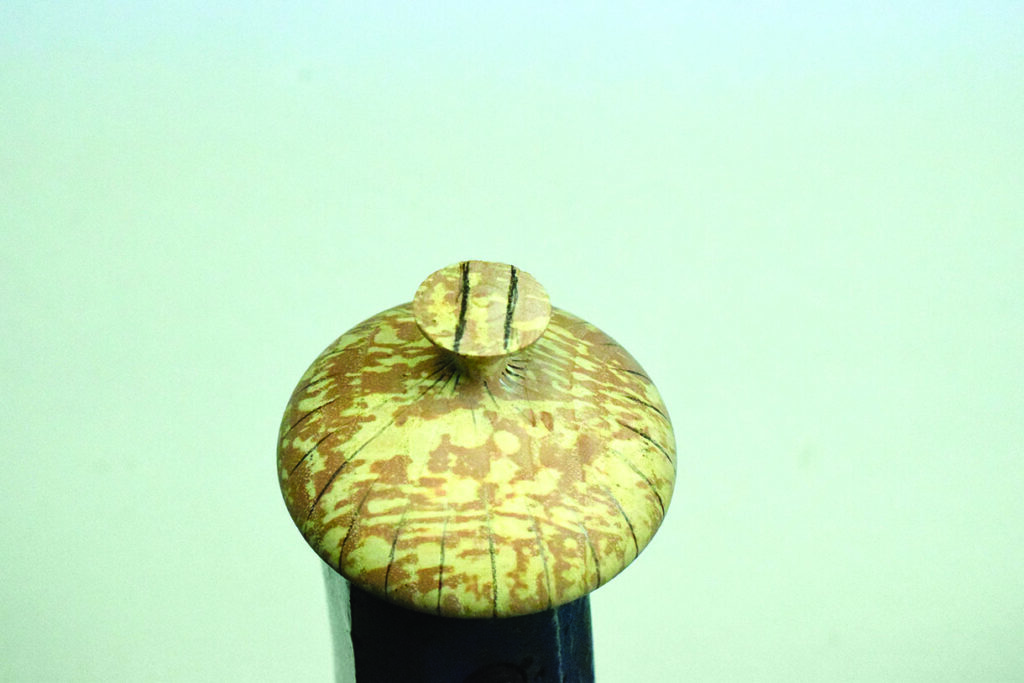
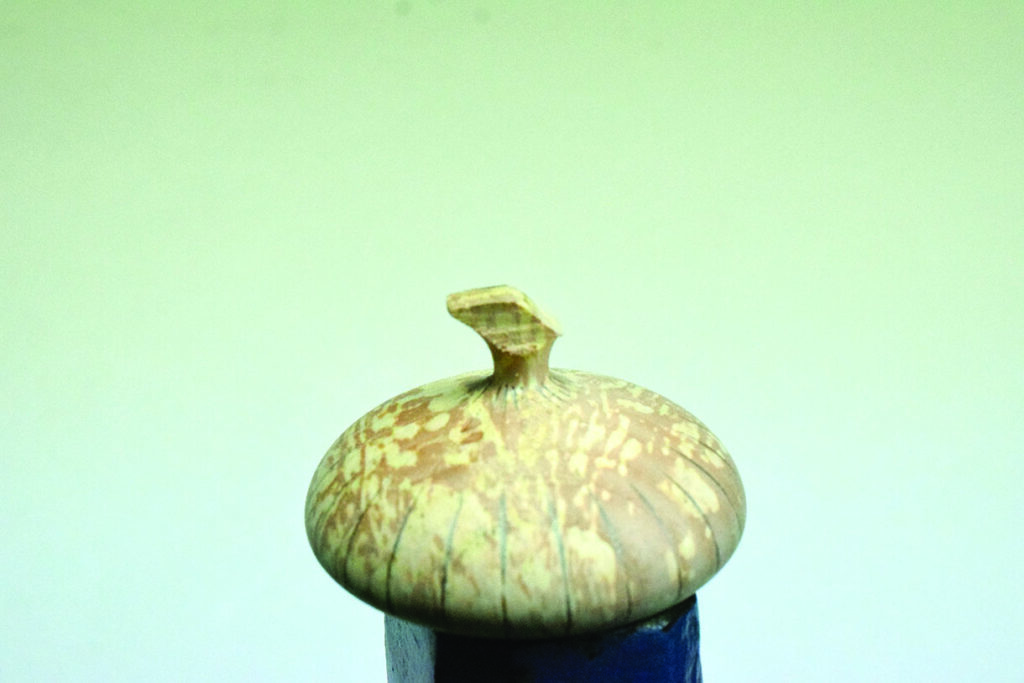
20. The stem of the piece needs to be cut down both sides, then the back corner is cut off. You can shape the stalk using a rotary carving tool fitted with a small sanding drum or carving burr. You can also use a carving tool or knife to create the stalk shape required
Decorative ceramic lid with unique texture and pattern
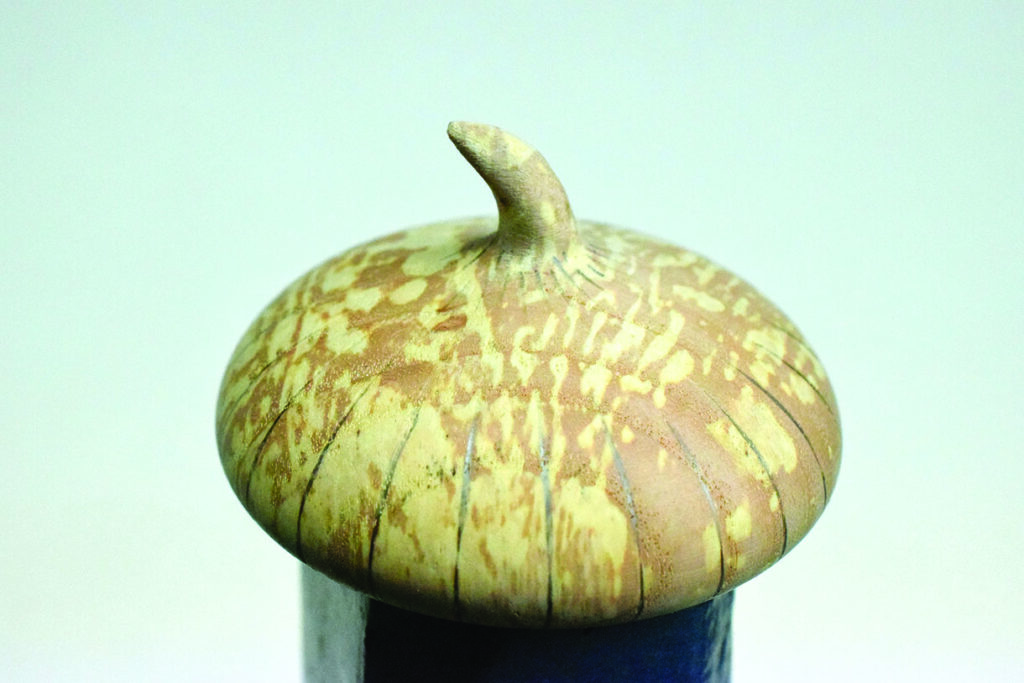
21. Then use abrasives to refine the shape
Electric probe testing a painted surface close-up.
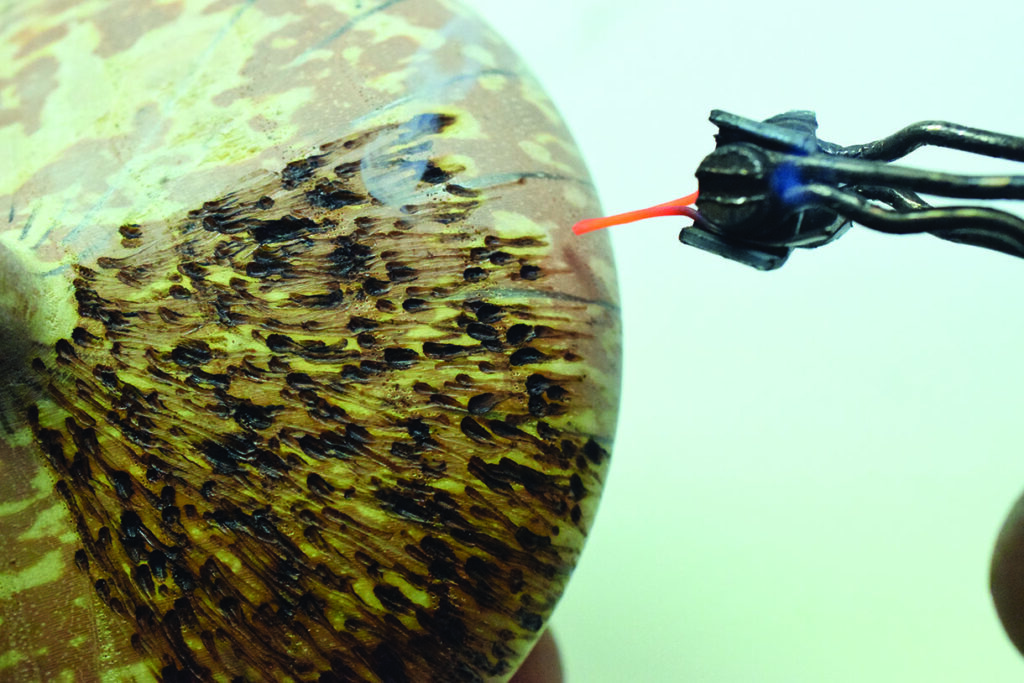
22. Use a pyrography machine to add the texture. Try not to concentrate the burning in one specific area, which helps to keep the pattern more uniform. By using the pencil lines as a guide, the pattern needs to flow from the centre of the stem to the rim of the lid
Blue acorn being painted green
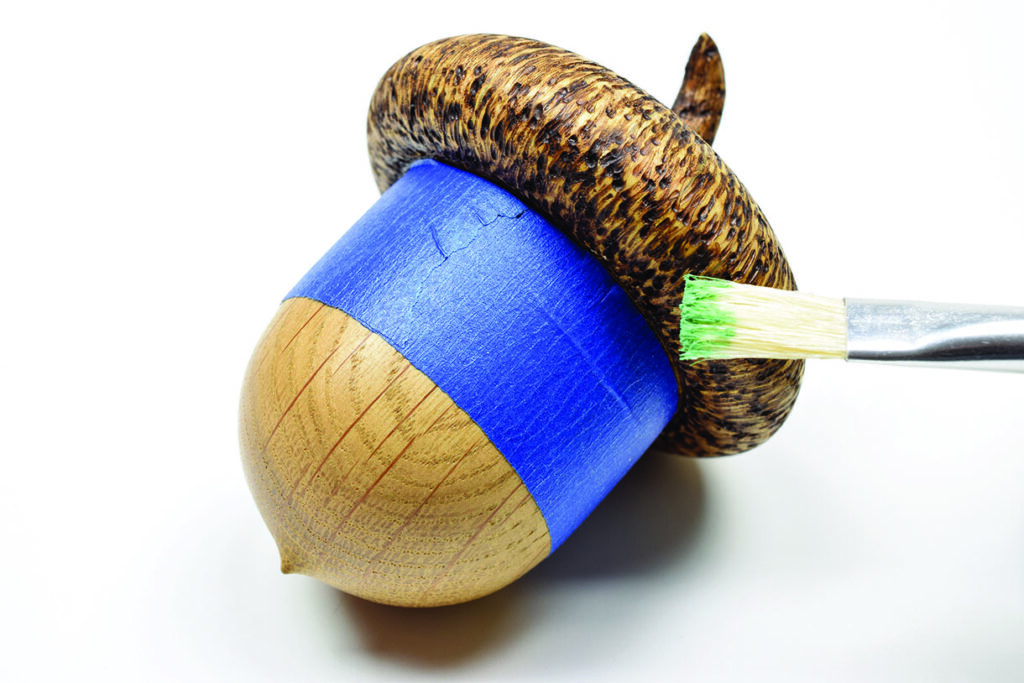
23. The pattern I created could be described as tadpoles swimming. Once done, the body needs to be screwed to the top, and masking tape wrapped around the body of the nut. Now brush on a light coat of verdigris wax. Buff off excess using a piece of tissue. Repeating the process creates layers and depth of colour. The rest of the piece receives three coats of Danish oil and is buffed to create a fine finish
Open decorative wooden container on white background.
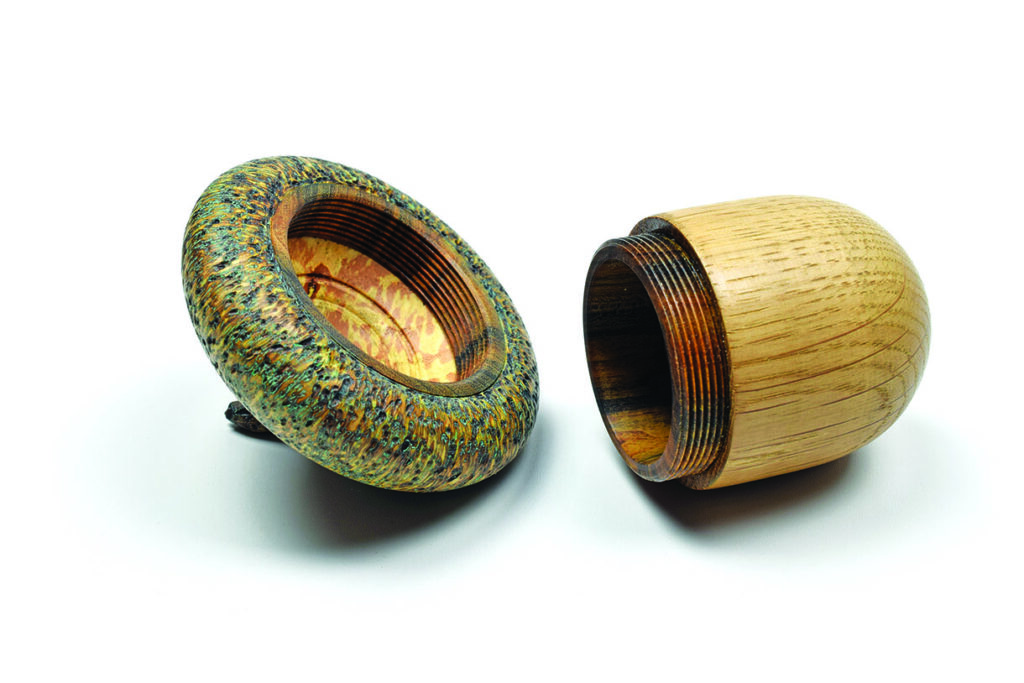
24. If all has gone well you should end up with something like this

Alternative design
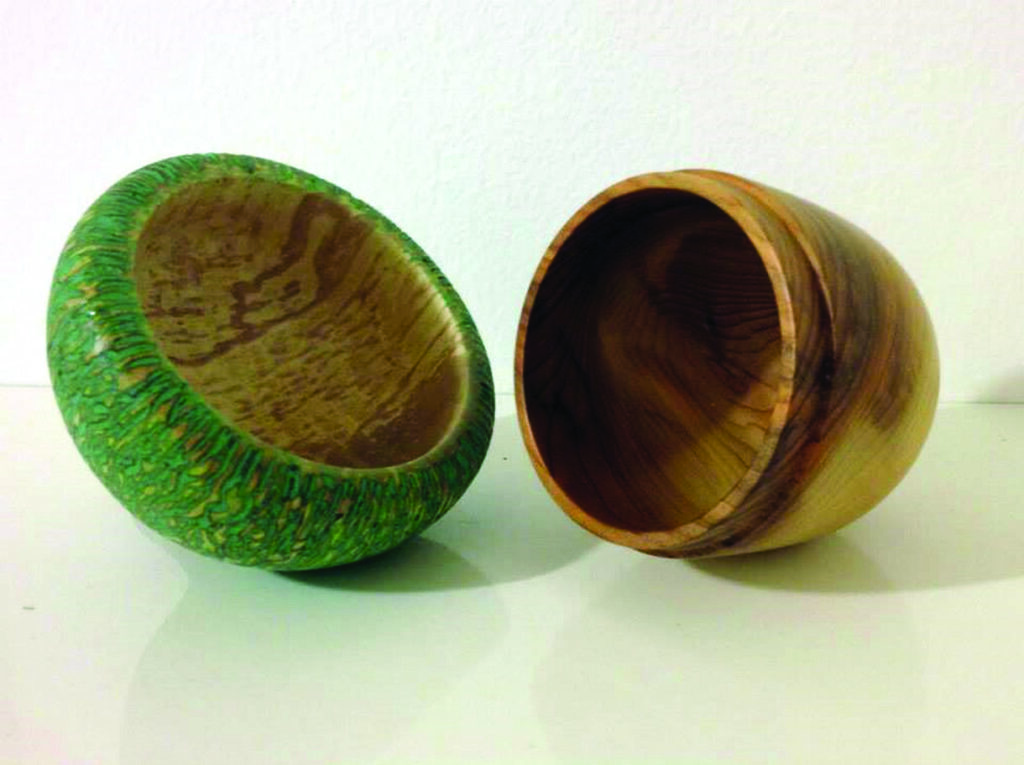
Two handcrafted wooden bowls on display
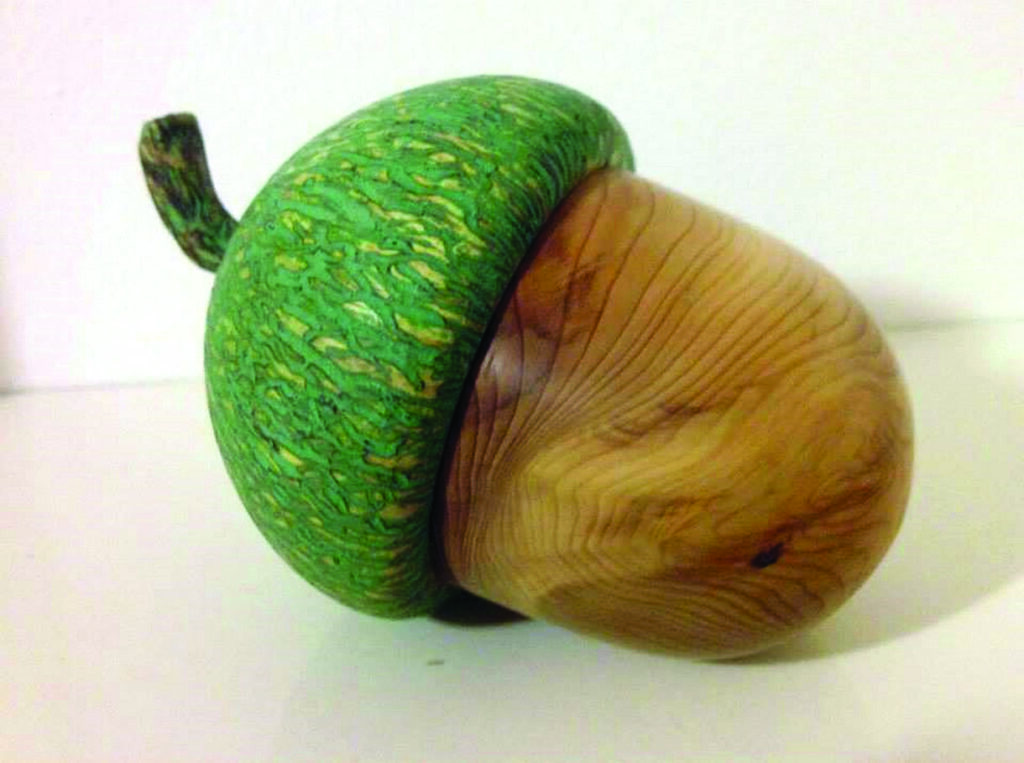
Here are a couple of images of a push-fit acorn box
Carved wooden acorn with green textured cap.

Leave a Reply

Your email address will not be published. Required fields are marked *