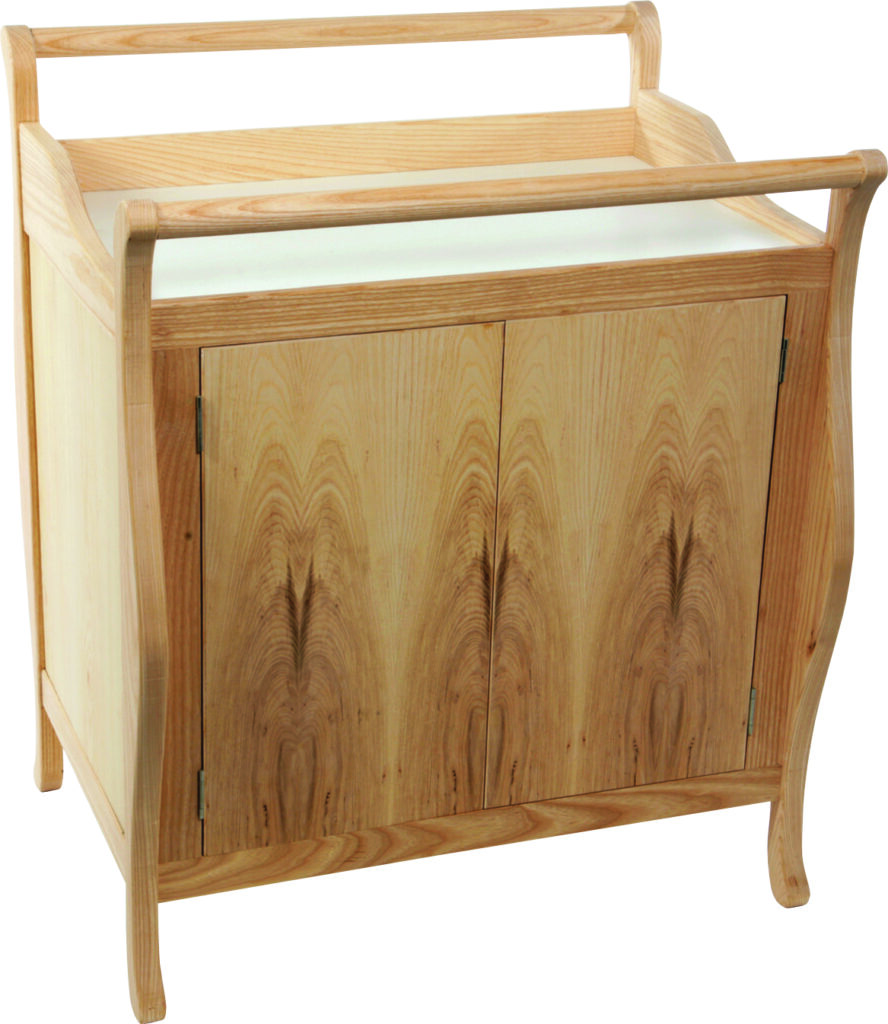
Alan Holtham creates an elegant project that will make life easier for parents

It is some years since I had anything to do with changing nappies, but at the time I did serve an intense apprenticeship spread over three children and the procedure is forever embedded in my mind. In fact I got so good I could do it with my eyes shut, which was often the best way really!
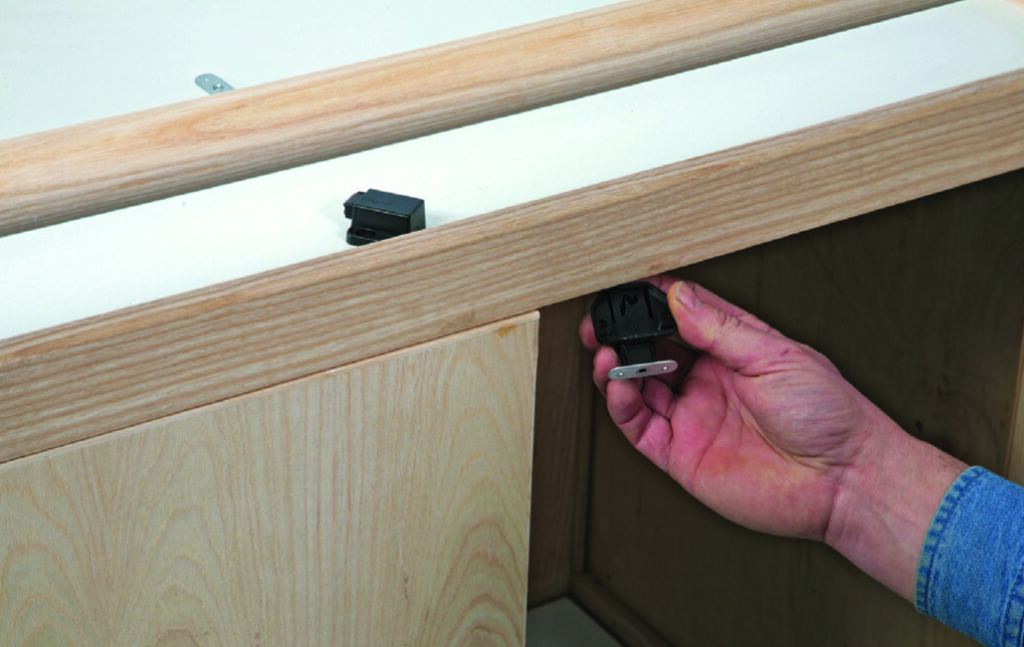
As with woodworking where you cannot beat a decent workbench to get the best results, so a changing station with the baby contained at the right height and with all the paraphernalia immediately to hand makes the job so much easier. I also wanted refinements like ‘touch to open’ doors that you could open with your knee to get the forgotten wipes, without having to let go of the squirming infant. This one was designed to match in with a range of chain store nursery furniture that didn’t have a changing stand in the range.
Although at the time it seems like the nappy changing routine goes on forever, babies do actually grow up quite quickly and I wondered if the unit could also be designed to be put to good use afterwards. With this in mind, I made it so that the easy-clean laminate surface just drops in place and can be changed at a later date to a timber one, converting the unit into a rather nice washstand.
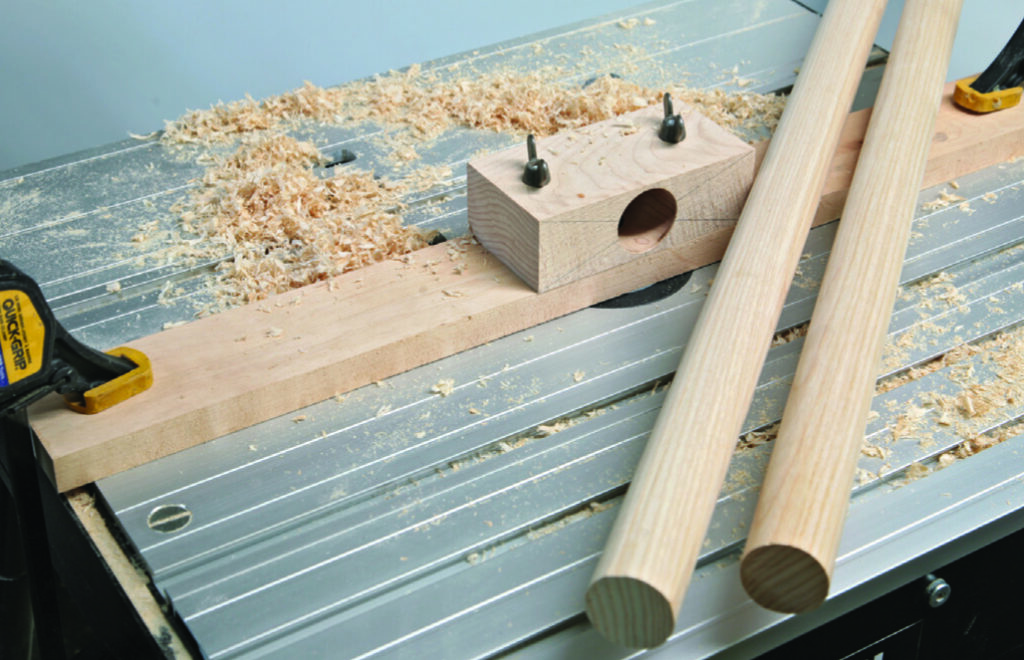
Timber preparation
A large amount of timber is needed for a project of this size, so make sure you plan your cutting list carefully to minimise waste. The baby changing shelf rests on the dowels, but if everything is cut accurately it should be a nice tight fit – there are no safety issues there. On that note, make sure you sand everything carefully and remove any sharp edges before you finish off.
Templates
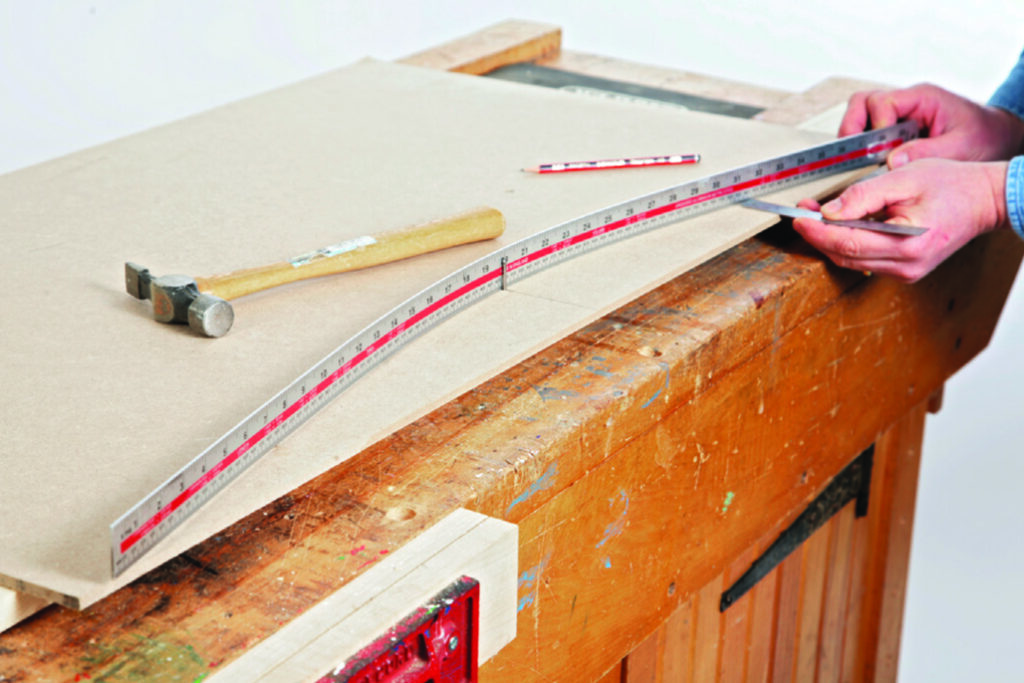
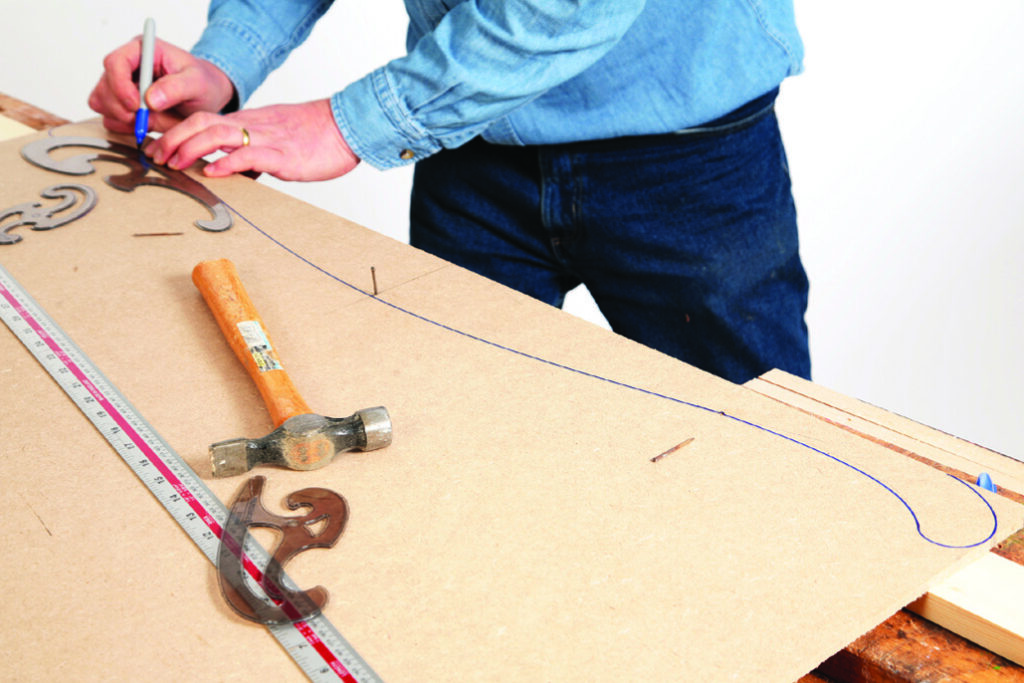
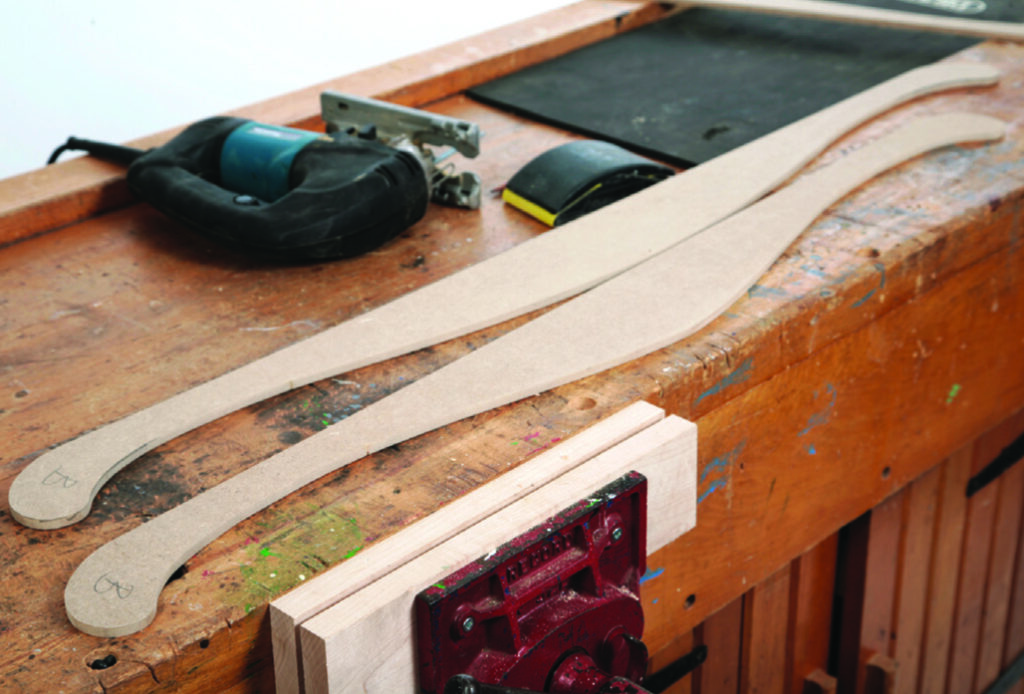
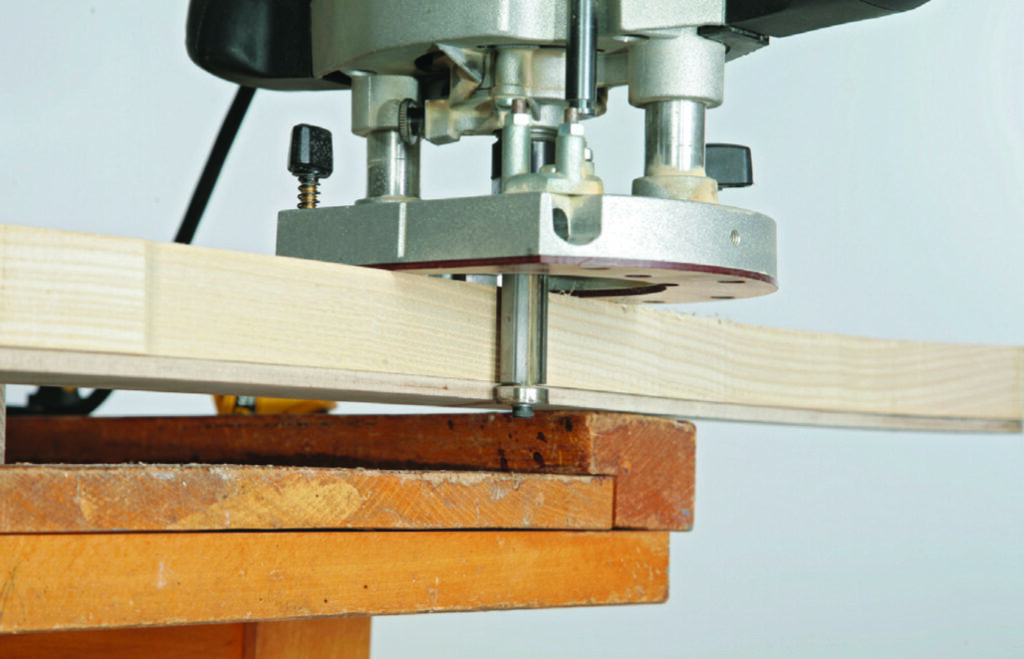
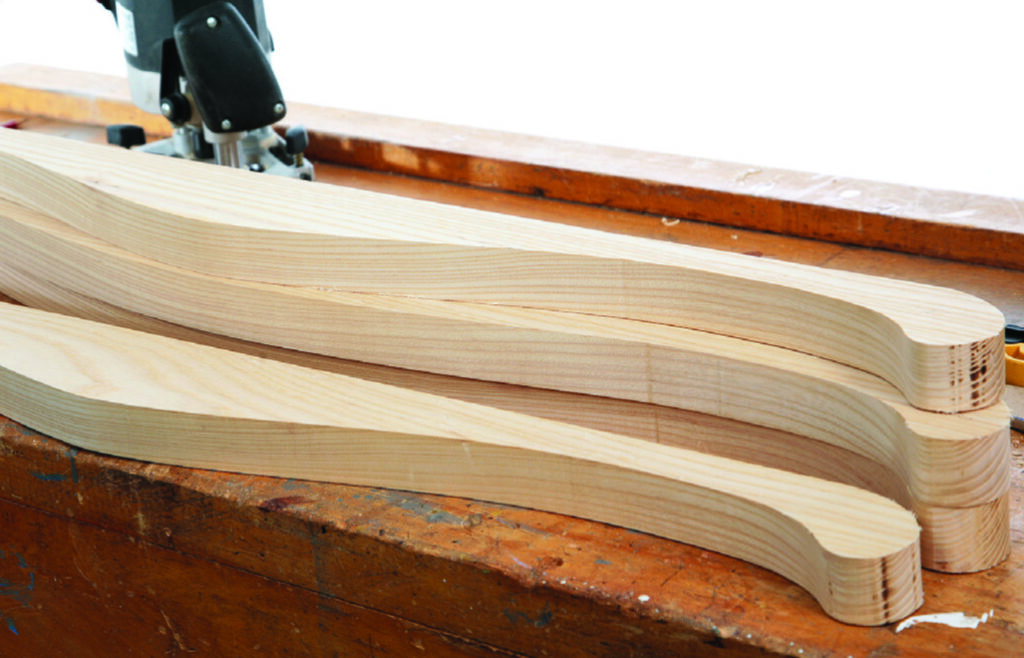
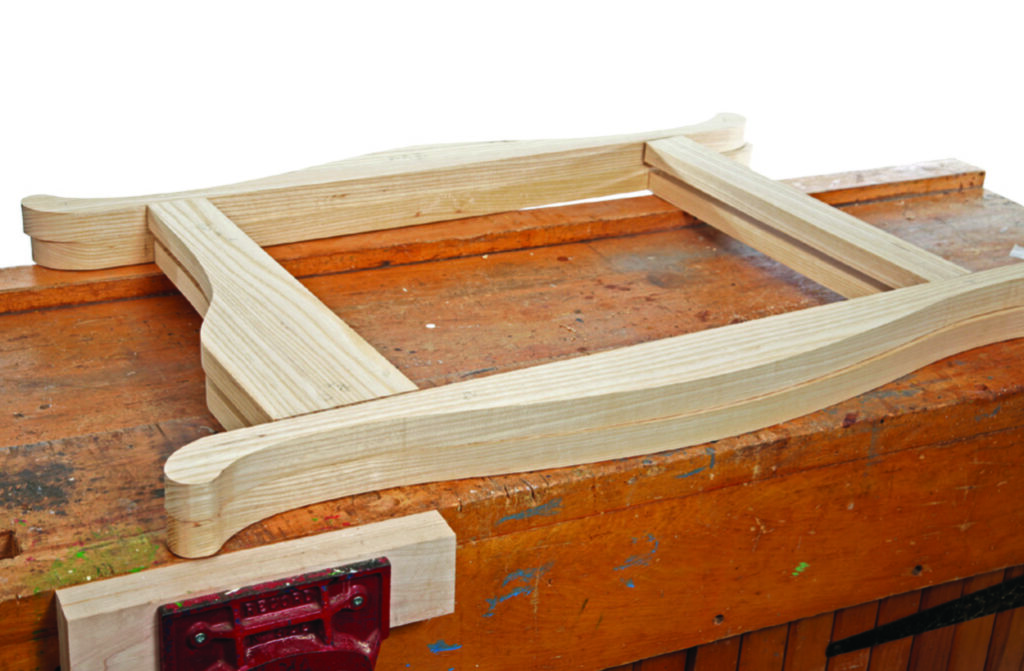
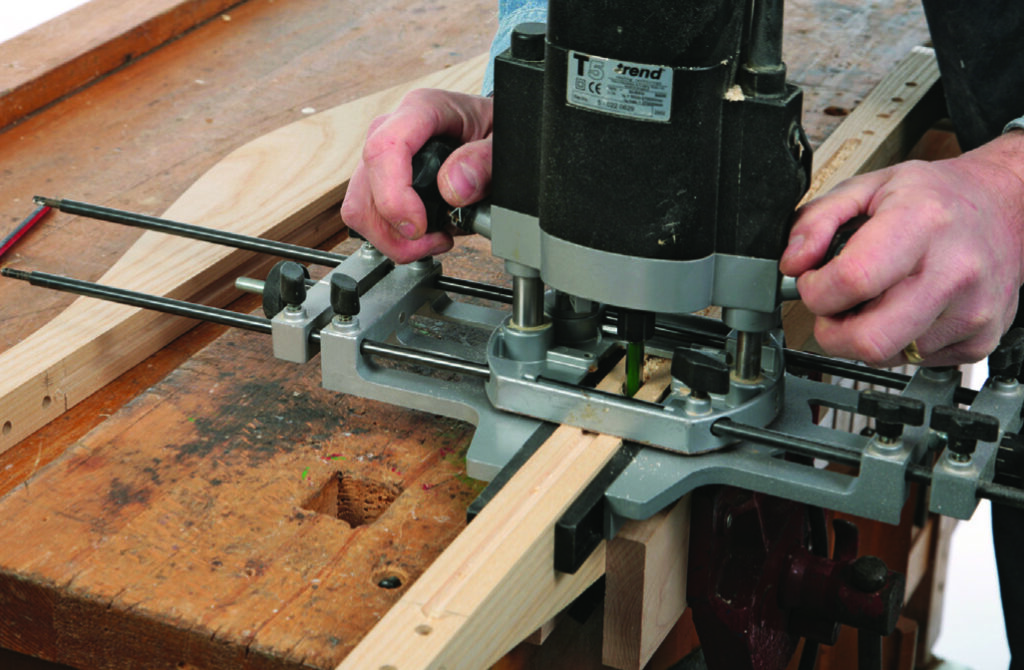
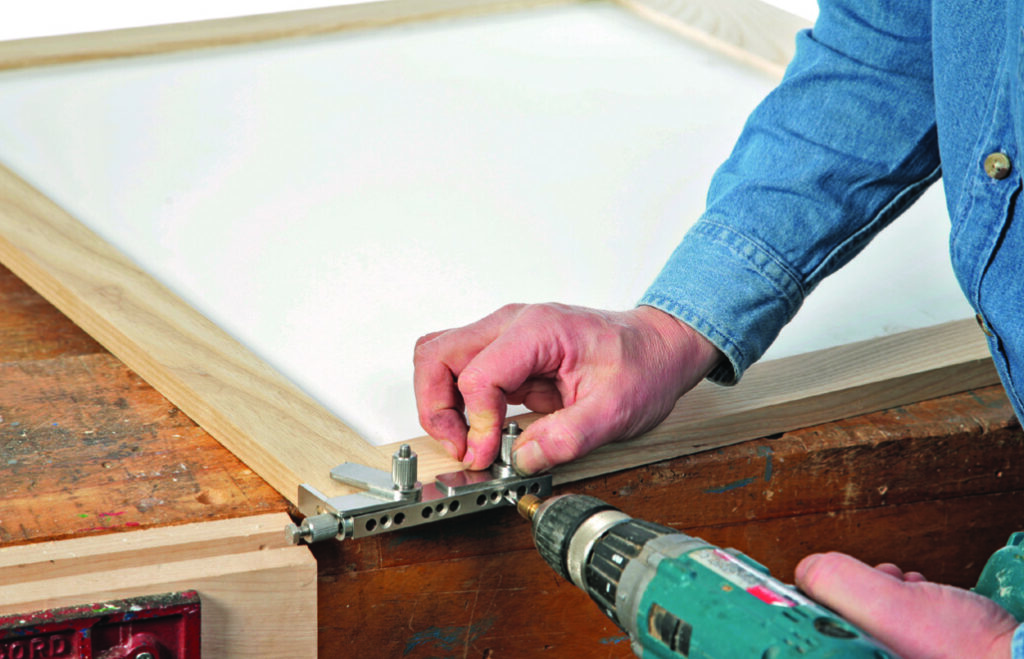
The uprights and cross pieces

Baby changing station plan
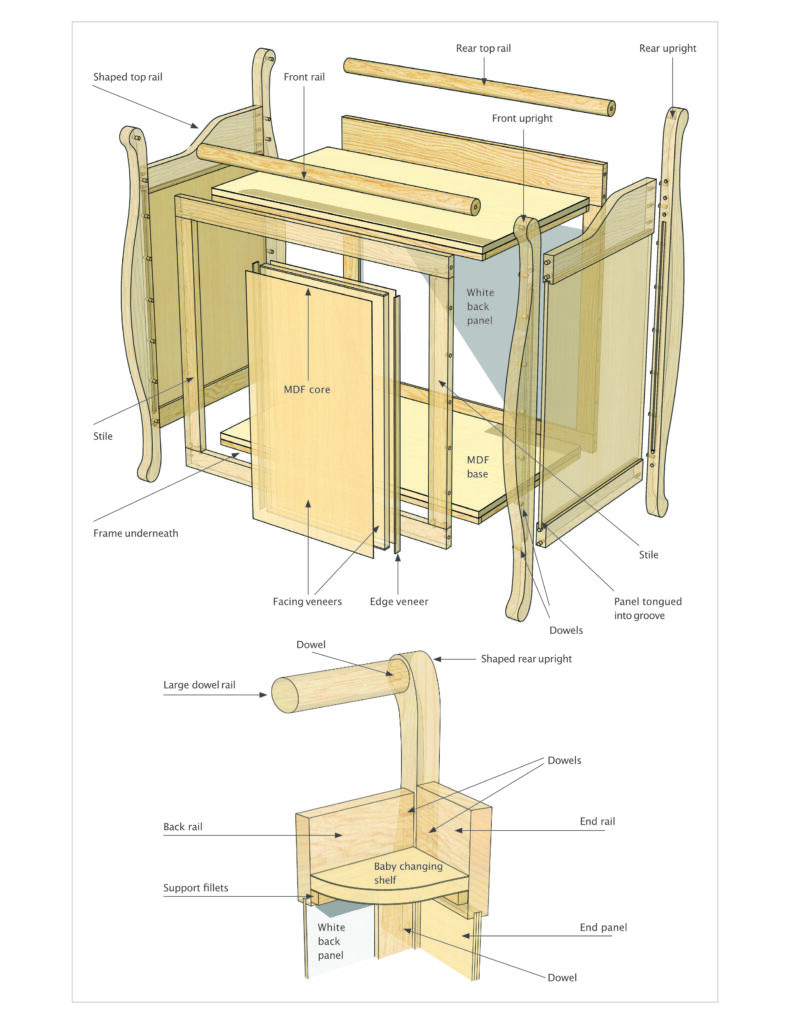
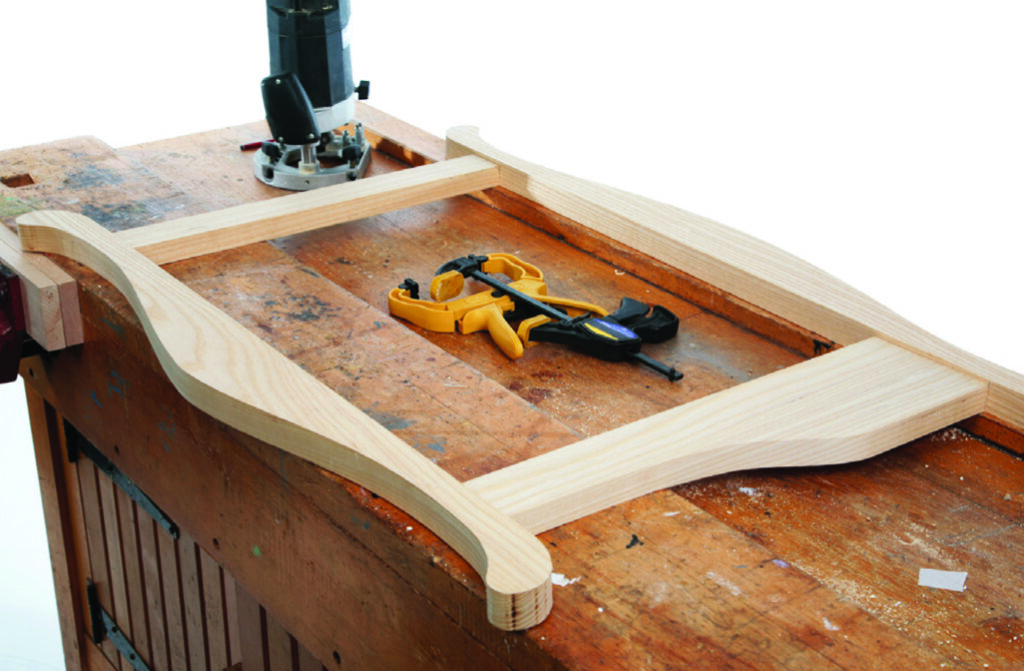
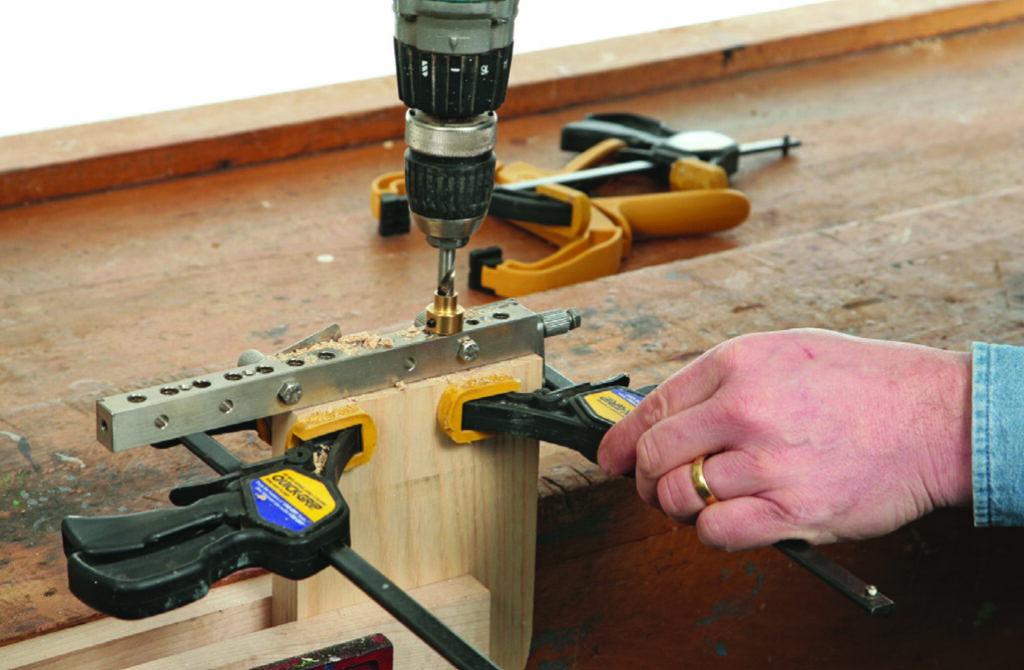
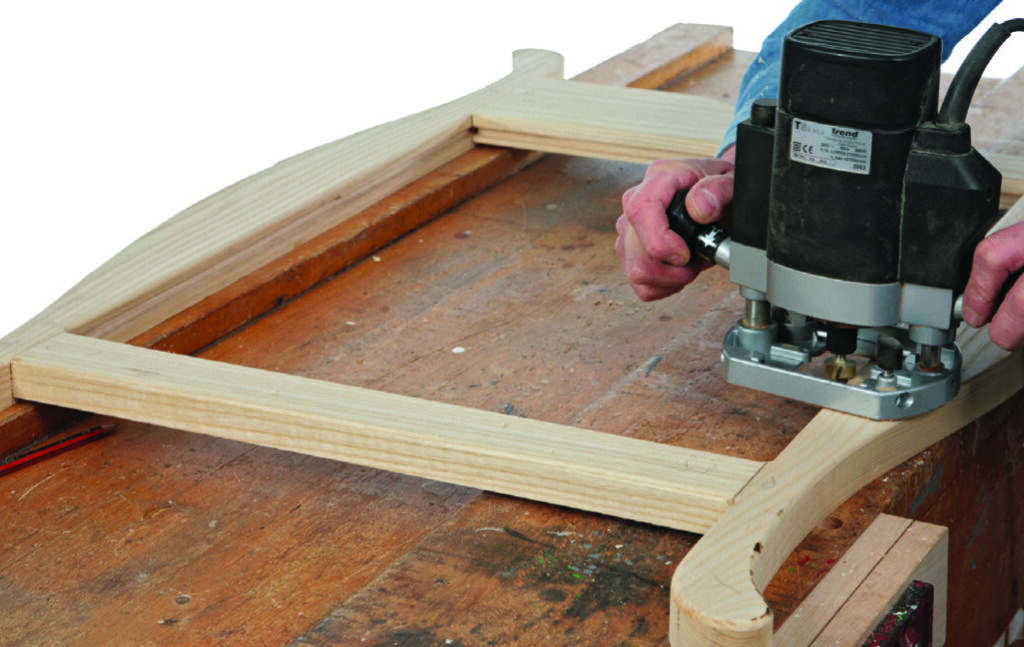
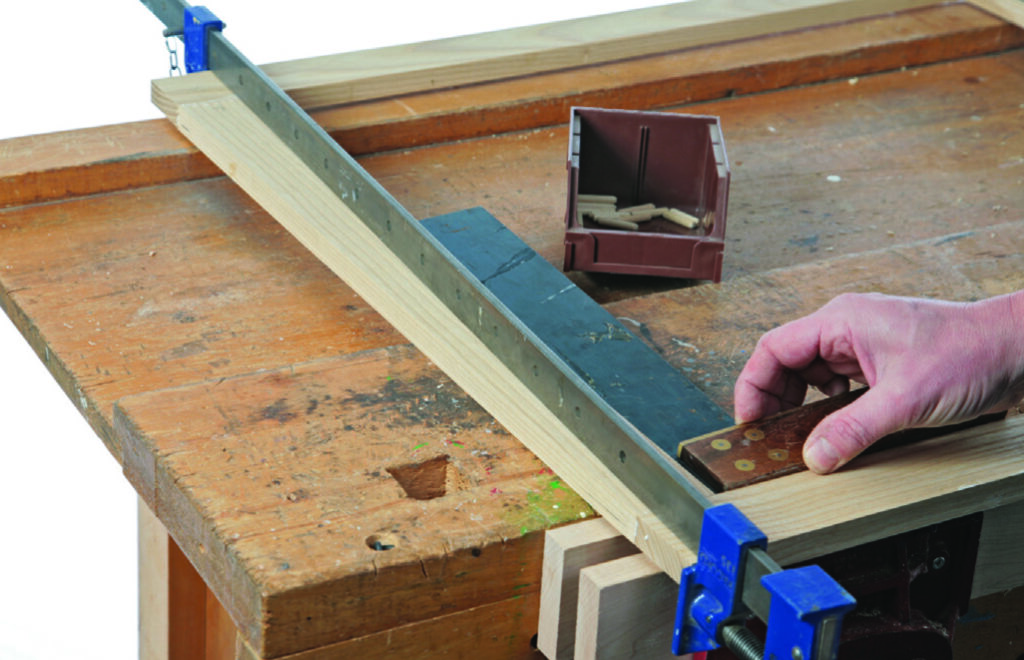
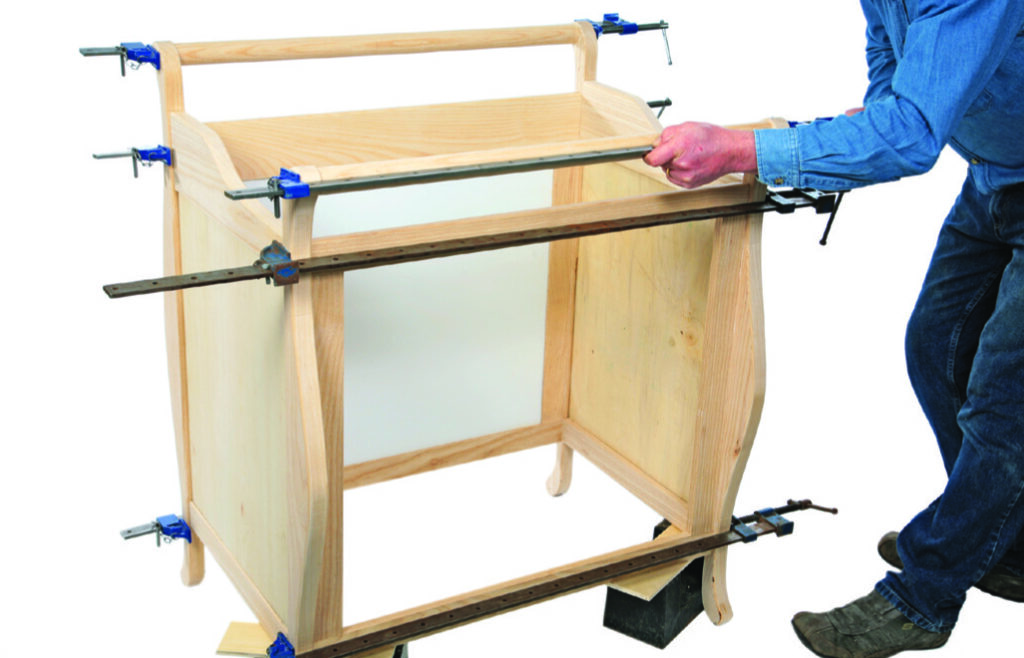
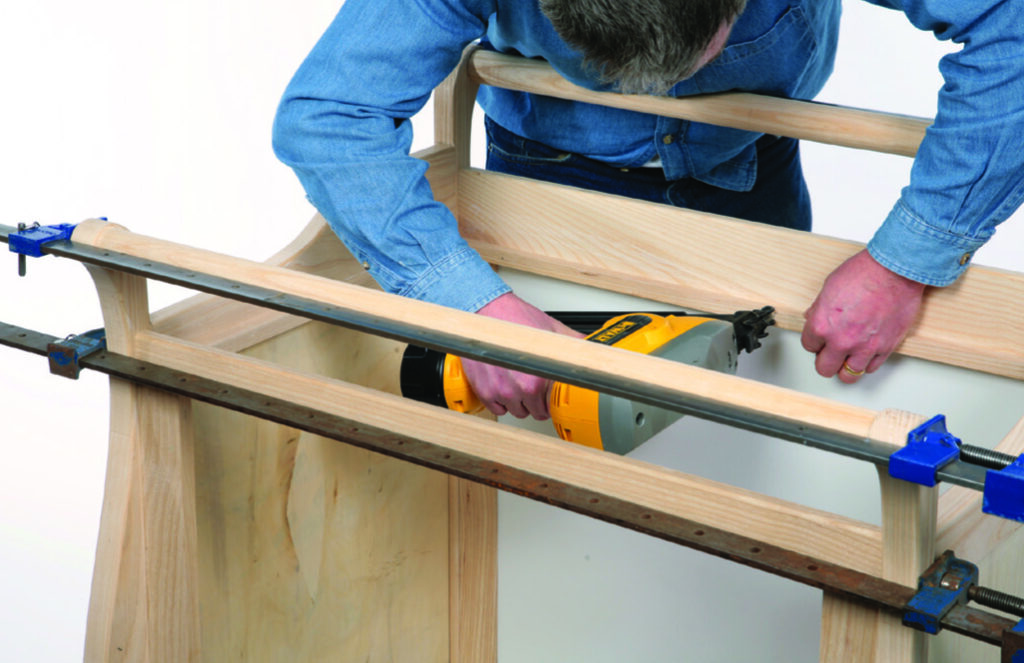
Assembling the frame

The shelves and doors


Finishing
Although I sanded the various components as I went along, a final light sanding cleans up any marks from the clamps. Add three coats of food safe oil to finish. As with woodworking where you cannot beat a decent workbench to get the best results, so a changing station with the baby contained at the right height and with all the paraphernalia immediately to hand makes the job so much easier.
Further reading
PHOTOGRAPHS BY ALAN HOLTHAM
2 responses
Very nice, can we get exact measurements for this?
Hello there, the full plan and measurements can be accessed via the link below:
https://woodworkersinstitute.com/wp-content/uploads/2025/08/Baby-changing-table.jpg