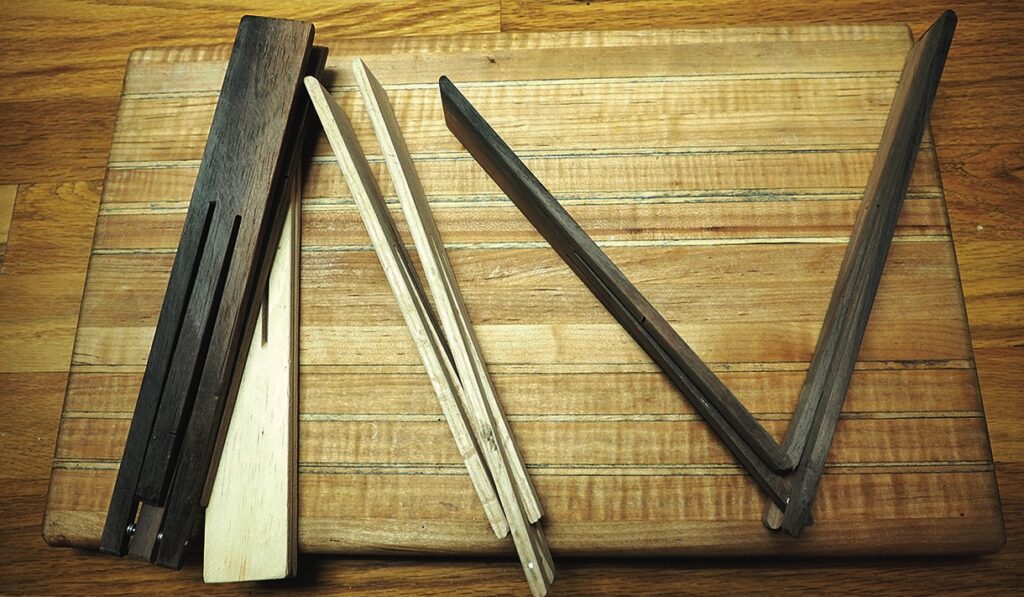
Michael T Collins makes a useful pair of salad tongs
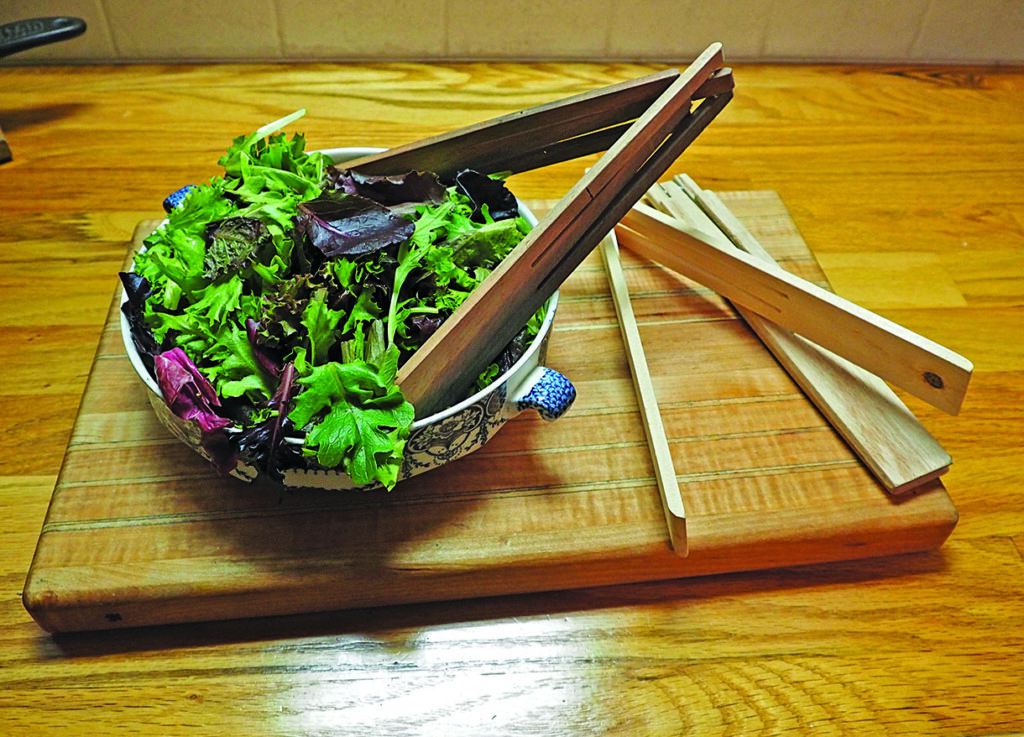
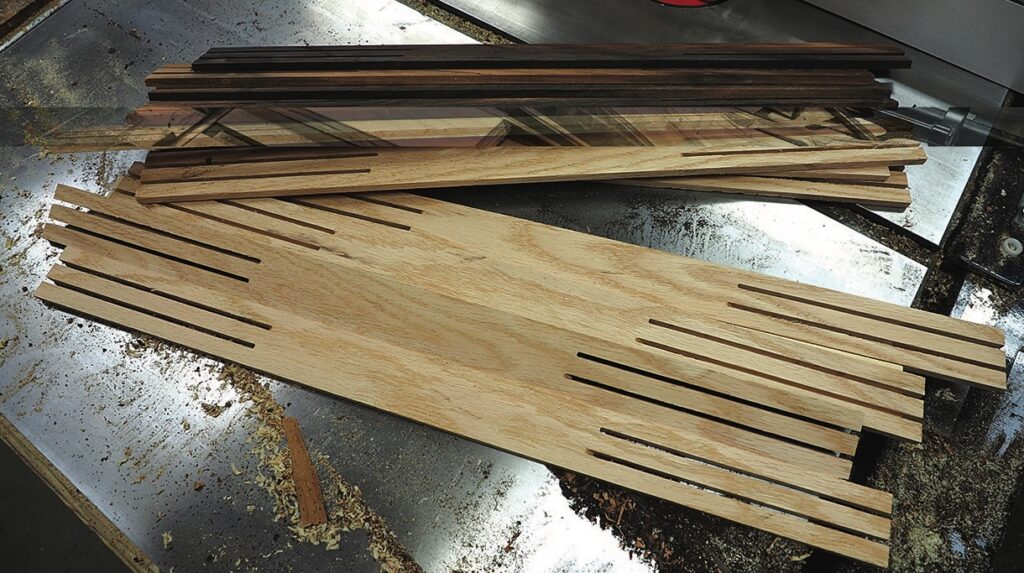
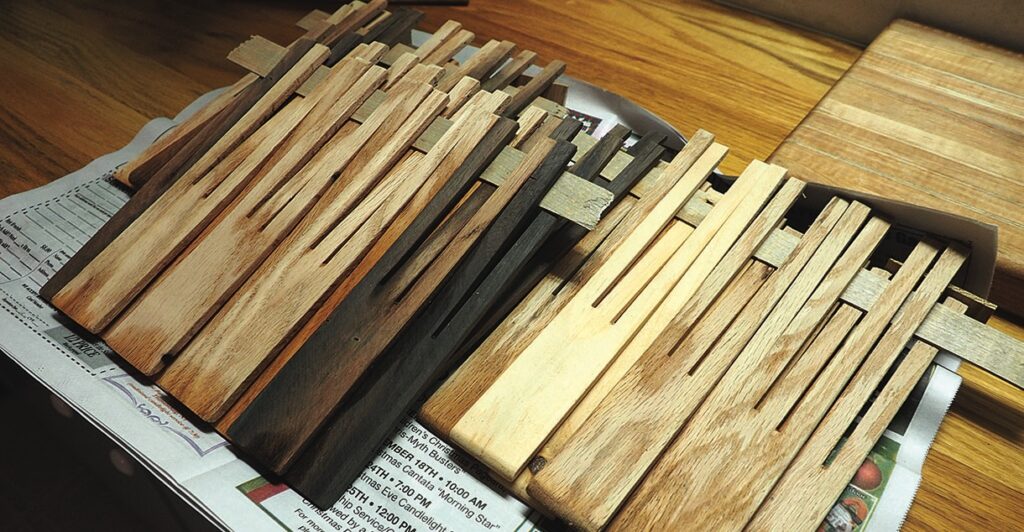
Who doesn’t like a nice pair of hand crafted wooden salad tongs? One year everyone in my family got a pair for Christmas – they’re easy to make out of scraps of wood. I very rarely make batches of anything, but these tongs lend themselves to batch processing. Over the last 20 years I have made them out of many different species of wood and in this article I am using pine (Pinus spp.), oak (Quercus spp.) and katalox (Swartzia spp.) a very hard, almost ebony-like wood that creates a sturdy utensil.
Things you will need
• Rip saw, bandsaw or tablesaw
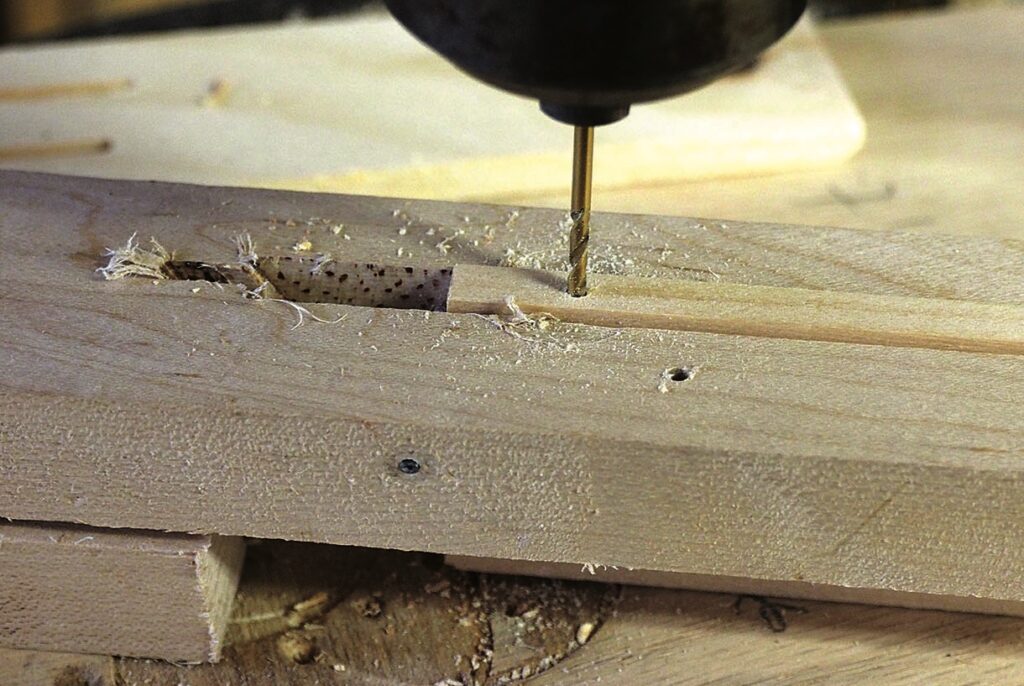
• Drill and 1mm bit
• Smoothing plane
Cutting list
• As many pieces of wood that you want tongs – 535 x 38 x 6mm
• At least 110mm OD stainless washers (less if using a bandsaw)
• 38mm stainless steel panel pins (heads removed)
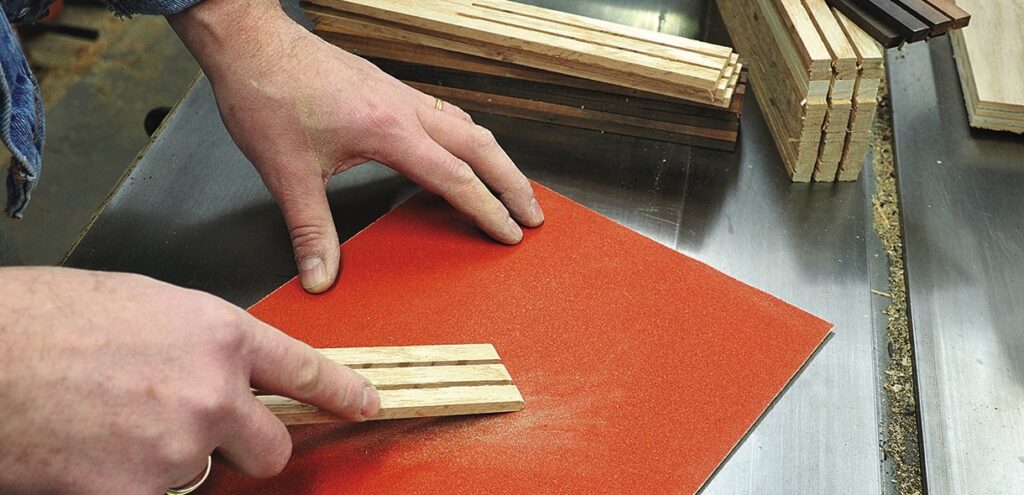
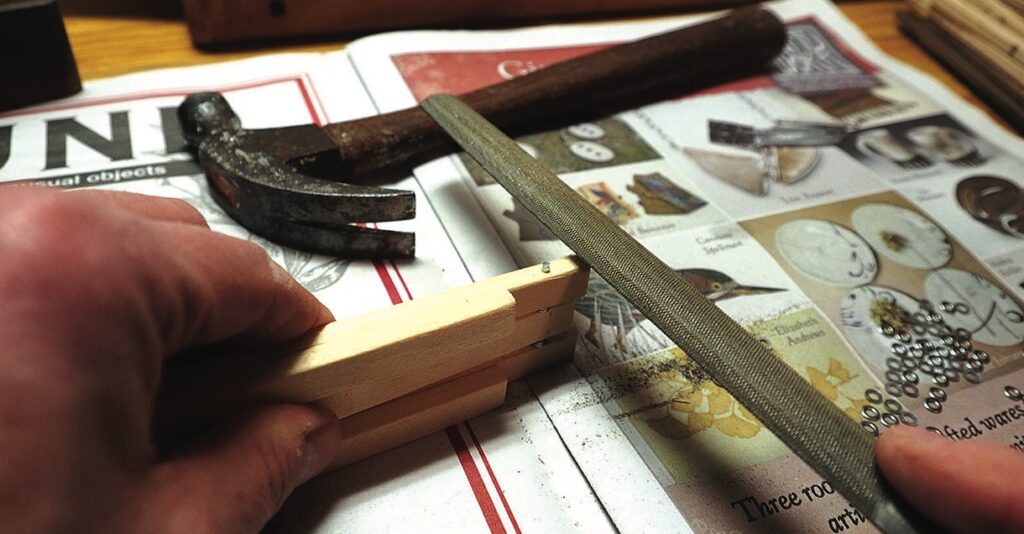
Preparing the wood
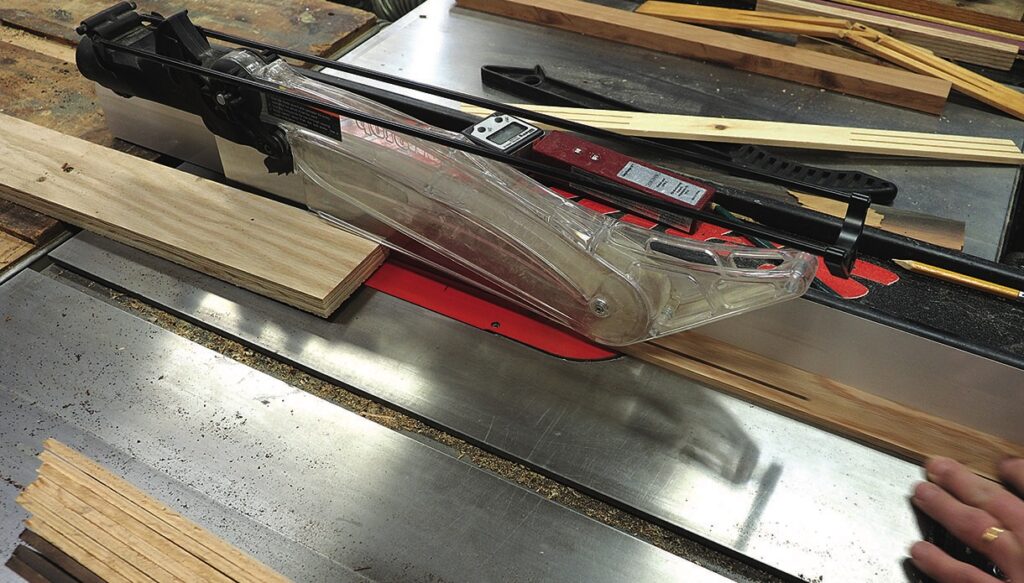
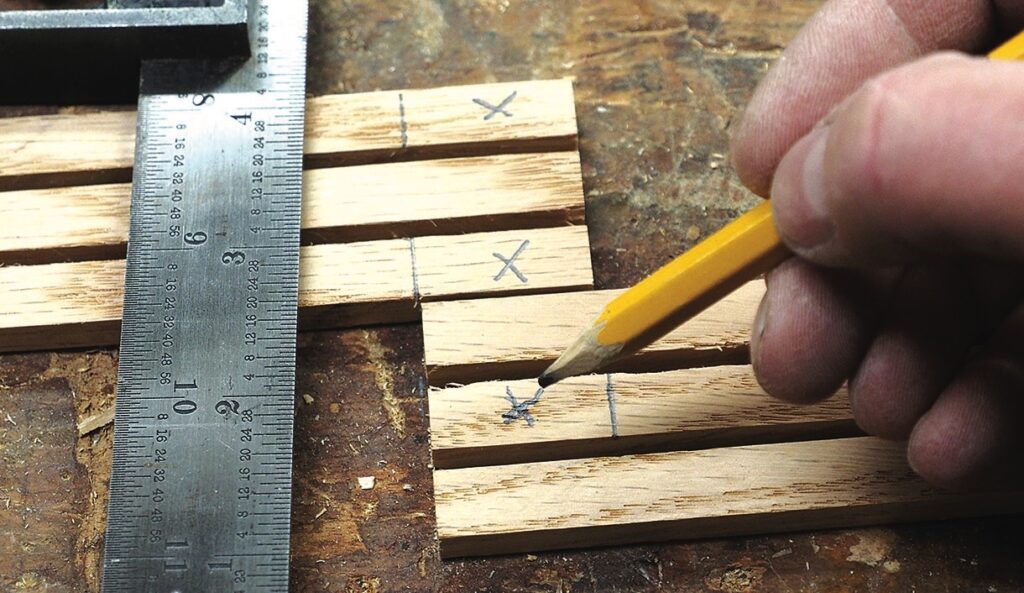
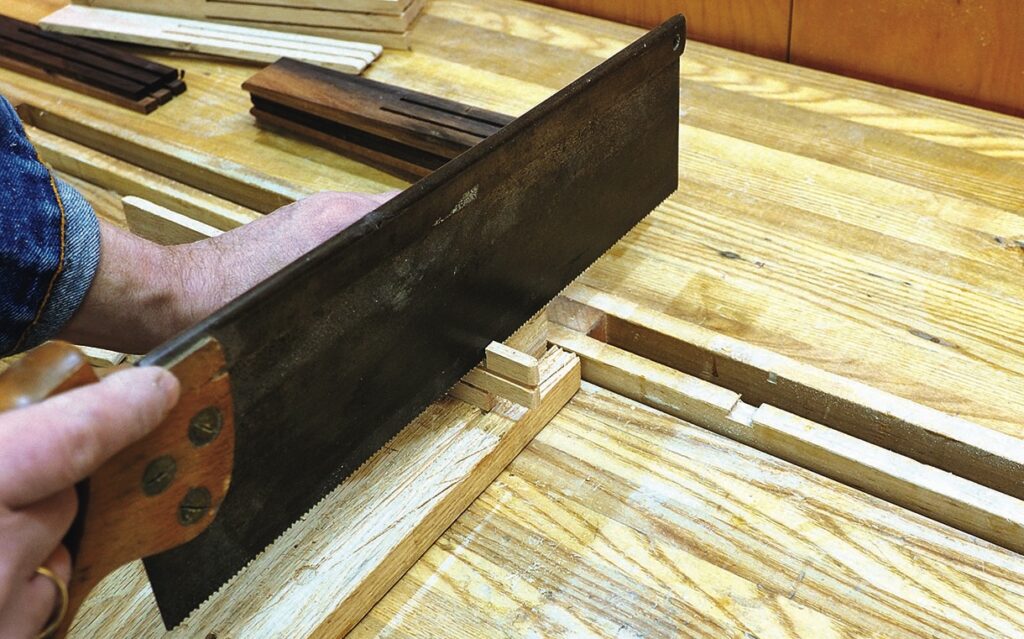
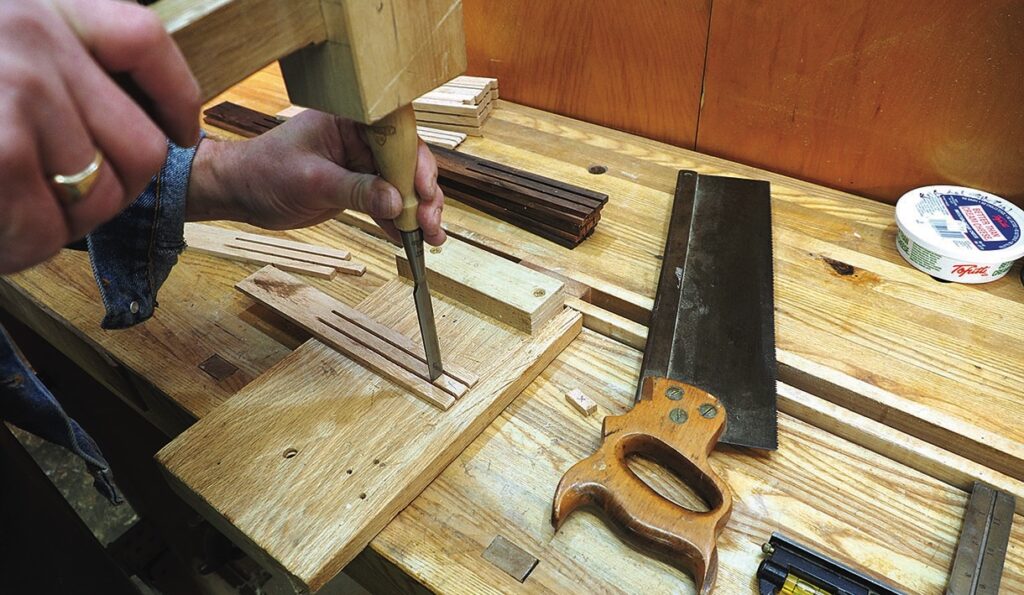
Making the tines
Dimensions
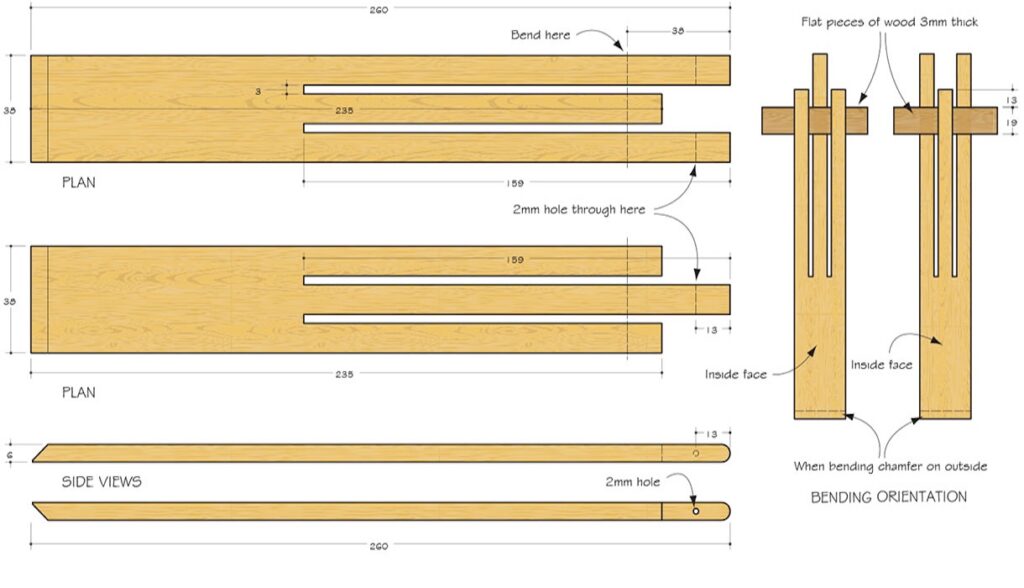
Making a pair


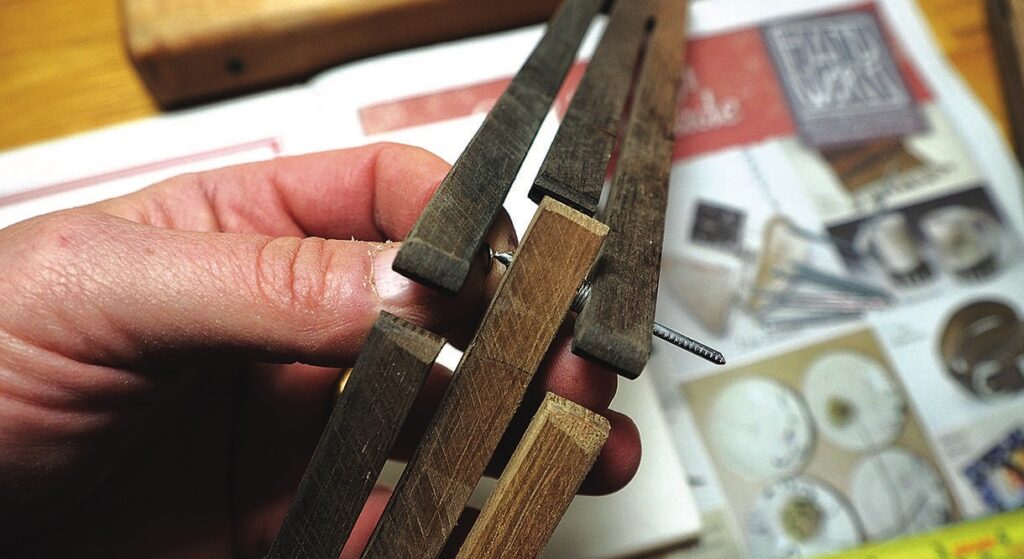
Creating the ‘spring’

Assembling the tongs
Variations on a theme
Variations of this project might include making the ends more spoon-like – and what about making them much thinner and creating spring-loaded chop-sticks?