The Woodworkers Institute

We bring you the very best of woodworking!

“Make it with us”

Christmas decorations for every home

Colwin Way continues to show us how to make things a little more festive
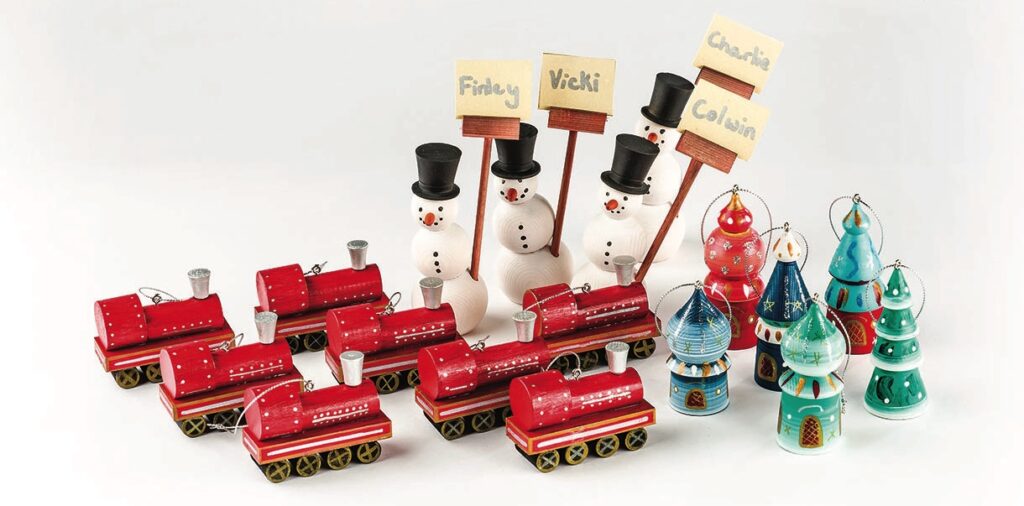
Vintage Christmas train ornaments, snowmen and colourful decorative trees

Christmas is just my favourite time! It’s a running joke in our house that Christmas starts in September for me and lasts until March. Both my youngest son and I have a count down to Christmas on our mobile phones that starts in January. We usually start planning how we’re going to decorate the tree a couple of months before and, of course, in the most colourful over-the-top-way possible avoiding my wife’s annual comment of: please can we keep it tasteful this year and maybe just white lights?

My woodturning courses change slightly as well taking a festive spin instead of turning practice pieces in the shape of toadstools or seashells we can look to do Christmas trees and snowmen. However this month instead of the norm and making these plainer decorations, which are fairly common now in our craft shows and club evenings, I thought I’d share with you a couple of different ideas for you to practise and sell at your Christmas craft shows or simply give as gifts to friends and family. No matter how enthusiastic you are or not about Christmas, there’s no doubting that it’s a colourful time of the year and gives us a good excuse to go bright with our decoration.

I’ve decided to do three different items for you each with different types of painting and colouring techniques. Please use my ideas as inspiration to create your own decorations and don’t forget to have fun along the way even getting the family involved with the decorating.

Equipment and materials used

• 4mm drill bit
• 5mm drill bit
• Hand vice for drilling
• 25mm skew
• 10mm spindle gouge
• 3mm parting tool
• Paints, pens and decorating materials
• Small pull saw
• Disc sander
• Epoxy resin glue
• 5mm beech dowel (snowman’s broom)

Drawings of decorations

Snowman
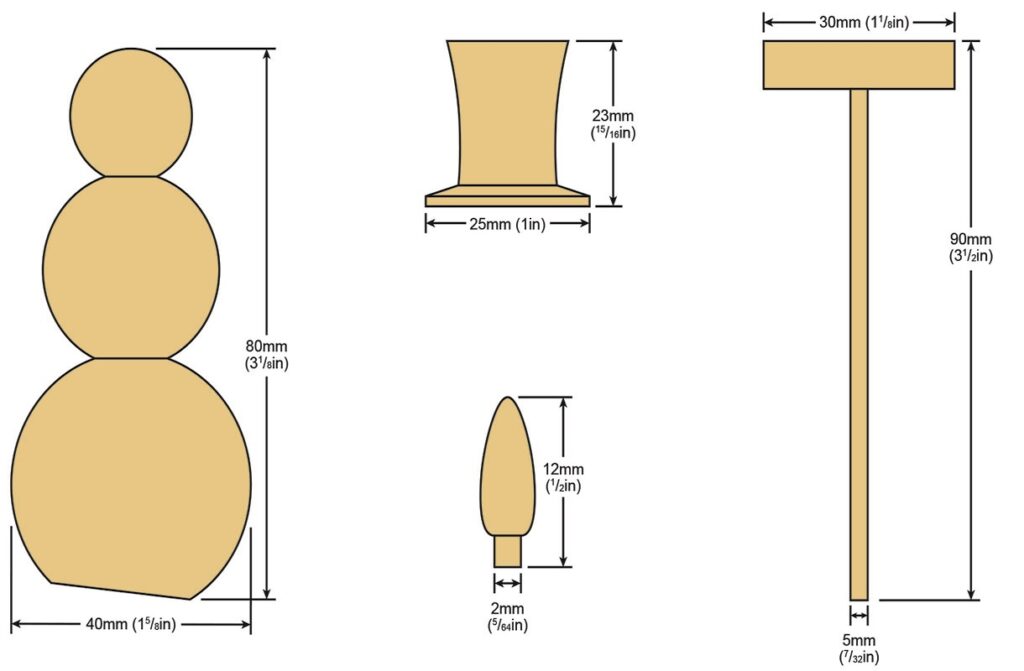
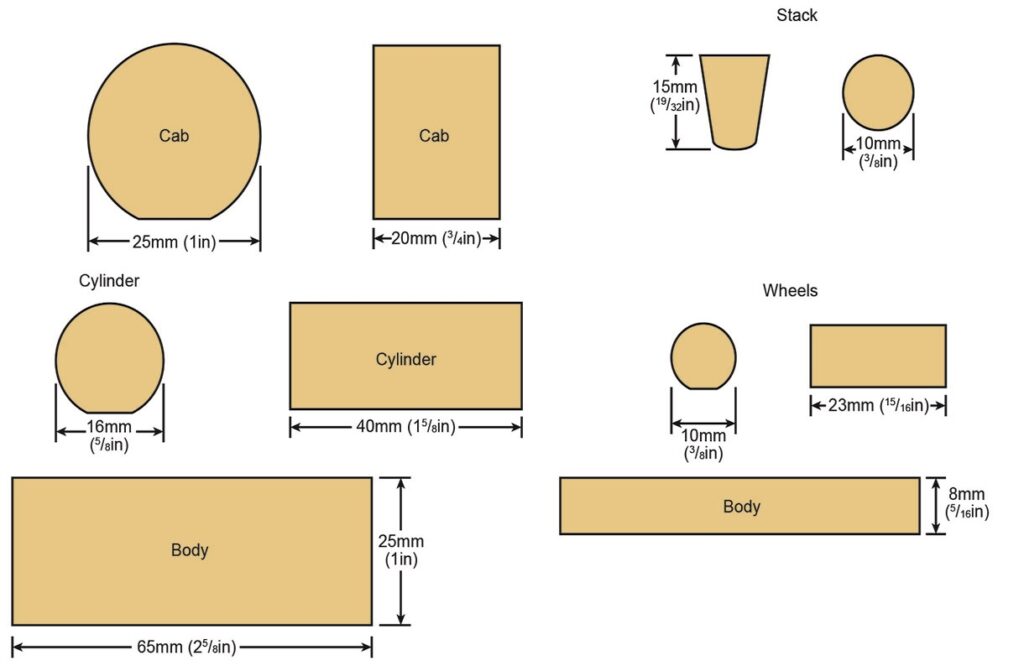
Dimensioned diagram of four beige wooden craft components

Train

Measured cut-out templates for a toy vehicle body and parts

Houses

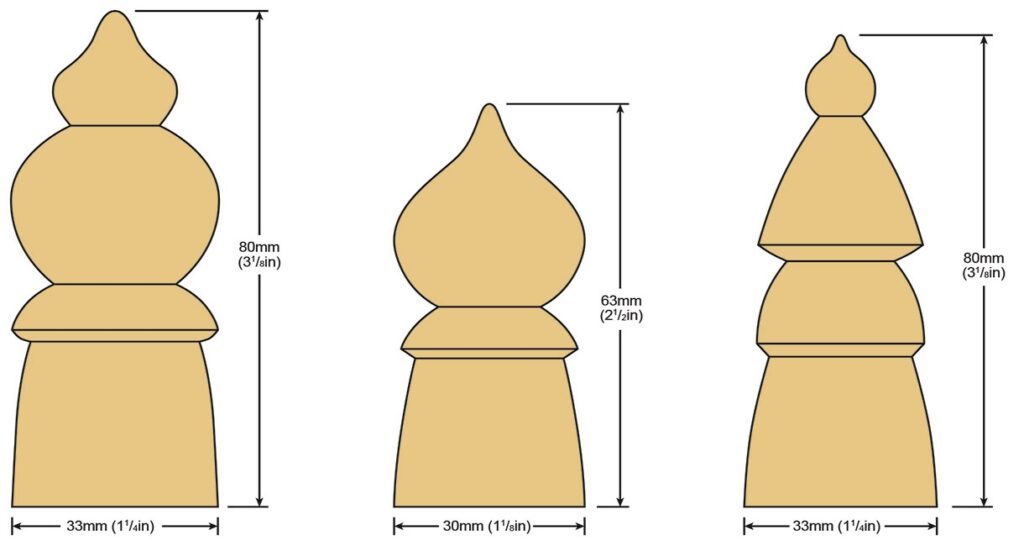
Diagram comparing three chess-piece profiles with dimensions

Christmas houses

I’ve seen these types of decorations in all shapes, sizes and colours. Mine are fairly small and have a mixture of paint, pen and glitter effects. I’ve suggested a few different types in the line drawings.
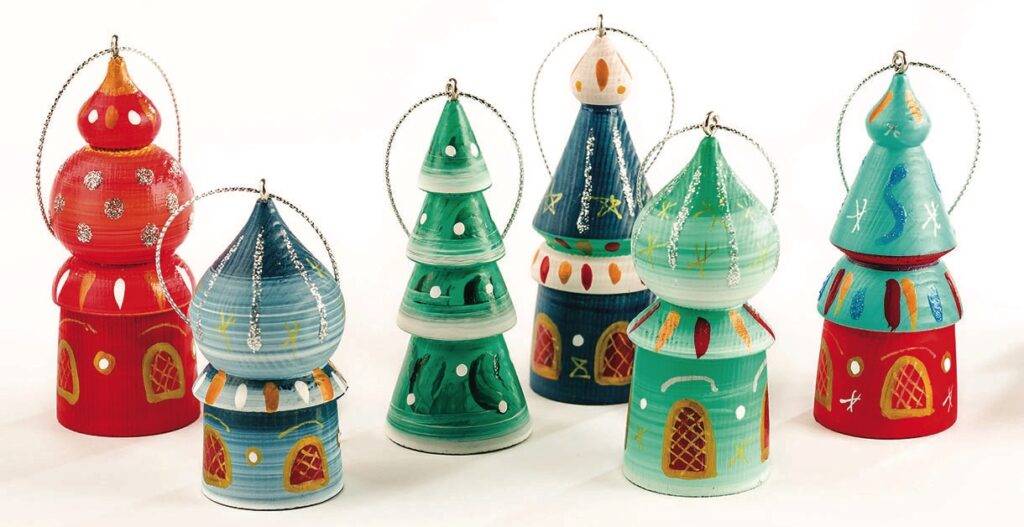
Colourful hand-painted Christmas bauble ornaments shaped like cottages
Woodworker drilling hole into small wooden block
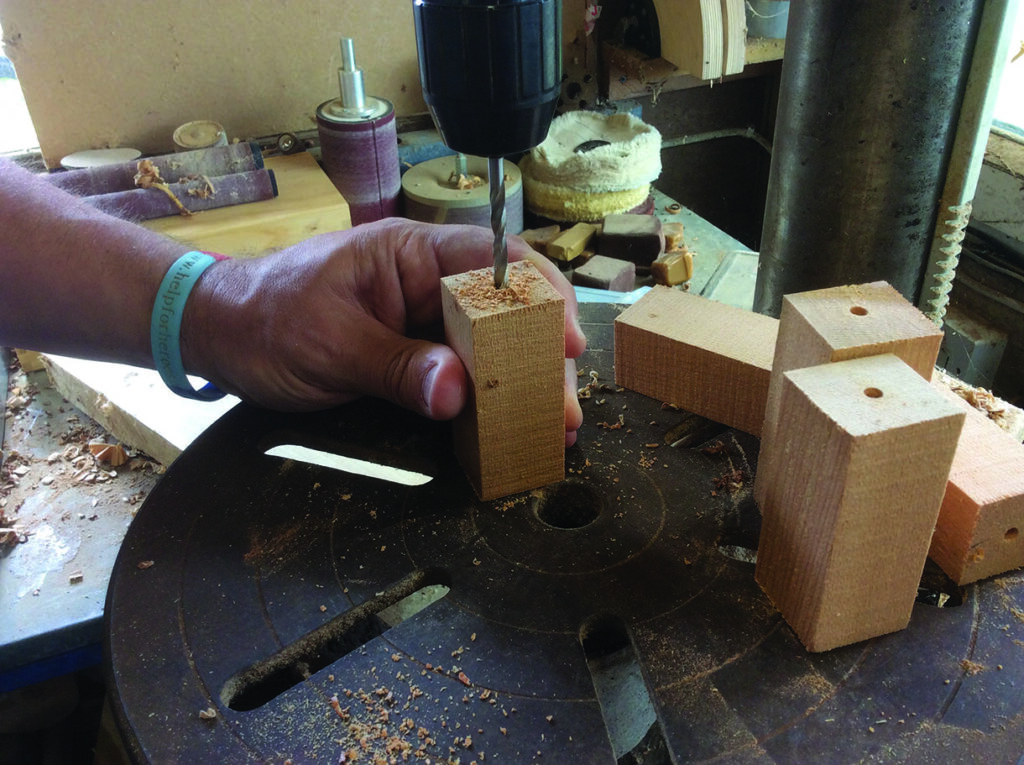
1. All of the decorations I’m doing are in batches, so start off by roughly cutting a handful of Western red cedar (Thuja plicata) blocks and the same number of painting sticks. Cedar is so light in weight, but also a really nice timber to turn. Before turning centre the blanks and drill a hole in one end, to match the painting sticks, in this case 5mm. I use a pillar drill, but a cordless drill would be equally as good
Woodturner shaping small wooden piece on a lathe
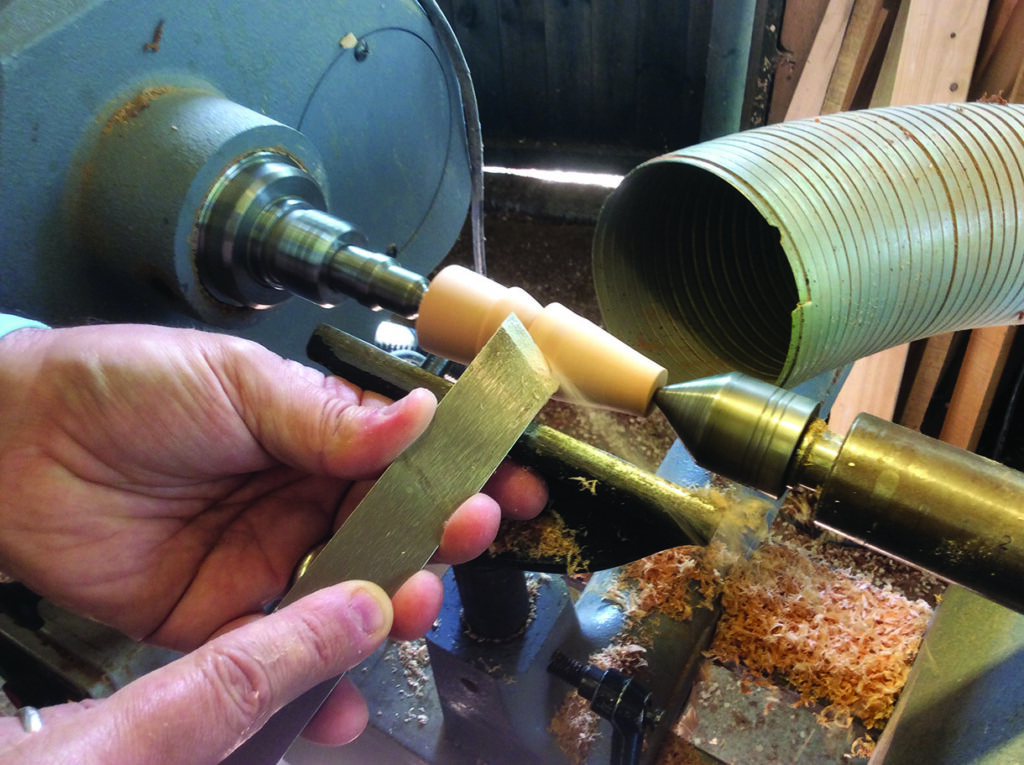
2. Mount the blank between centres with the drilled hole towards the headstock. Use a light pull-style friction drive inserted into the hole, to drive the piece and a single pointed live centre in the tailstock. Rough down to a cylinder then clean the surface with a skew cut and start to shape. Use the skew for most of the shaping but a spindle gouge will also come in handy to turn the smaller portions near the finial top. Leave a small piece of waste wood near the top to clean off later, taking away the hole made by the tailstock centre
Woodworker sanding a turned wooden spindle on lathe
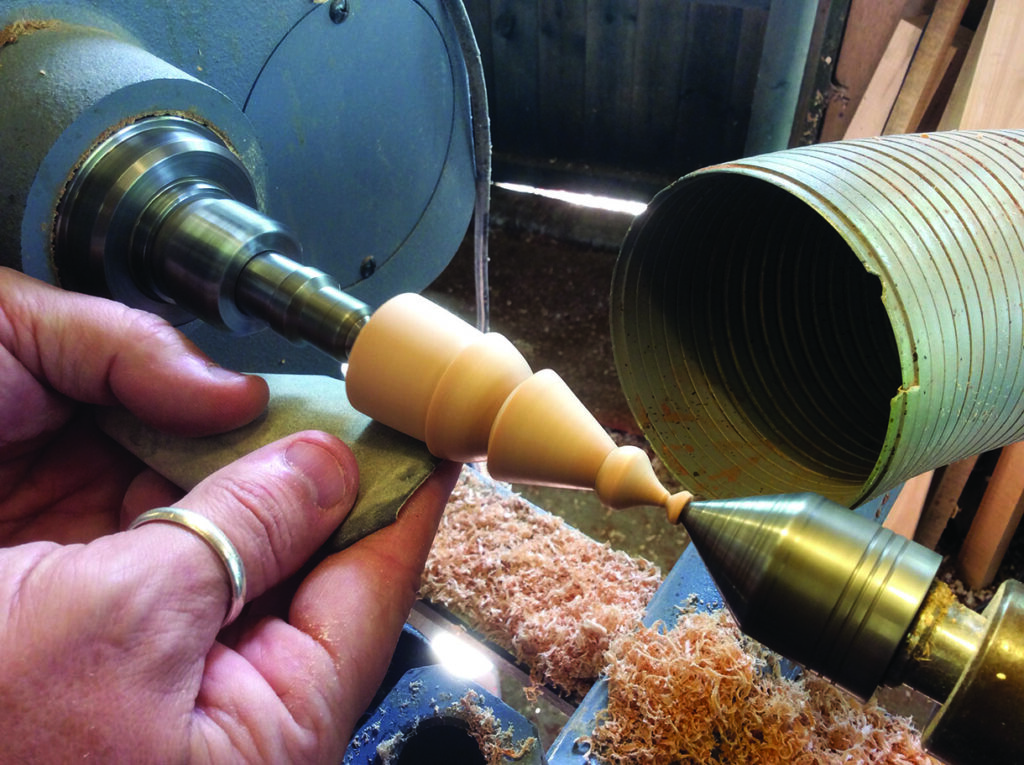
3. When you have the shape you want, sand and seal the bare timber with sanding sealer to give a good canvas for the paints
Woodturner displaying carved wooden finials and spindle work
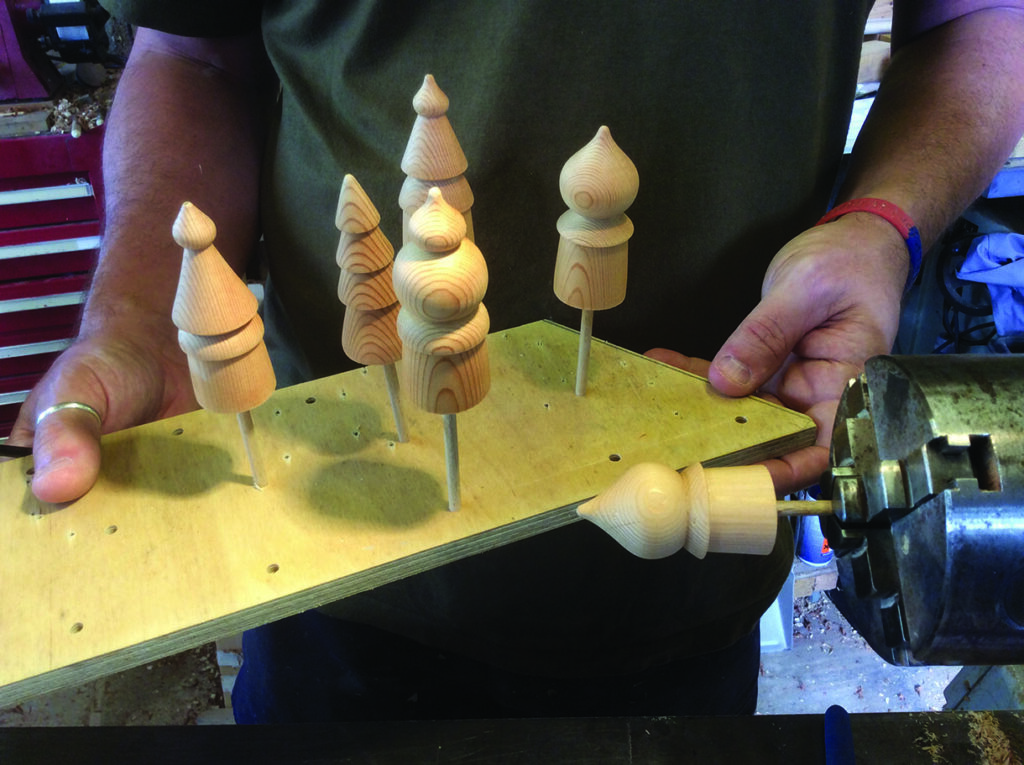
4. A selection of the shapes. One is held in the chuck with its painting stick, giving good visibility for painting
Craft paints, brushes and palette beside wooden blocks
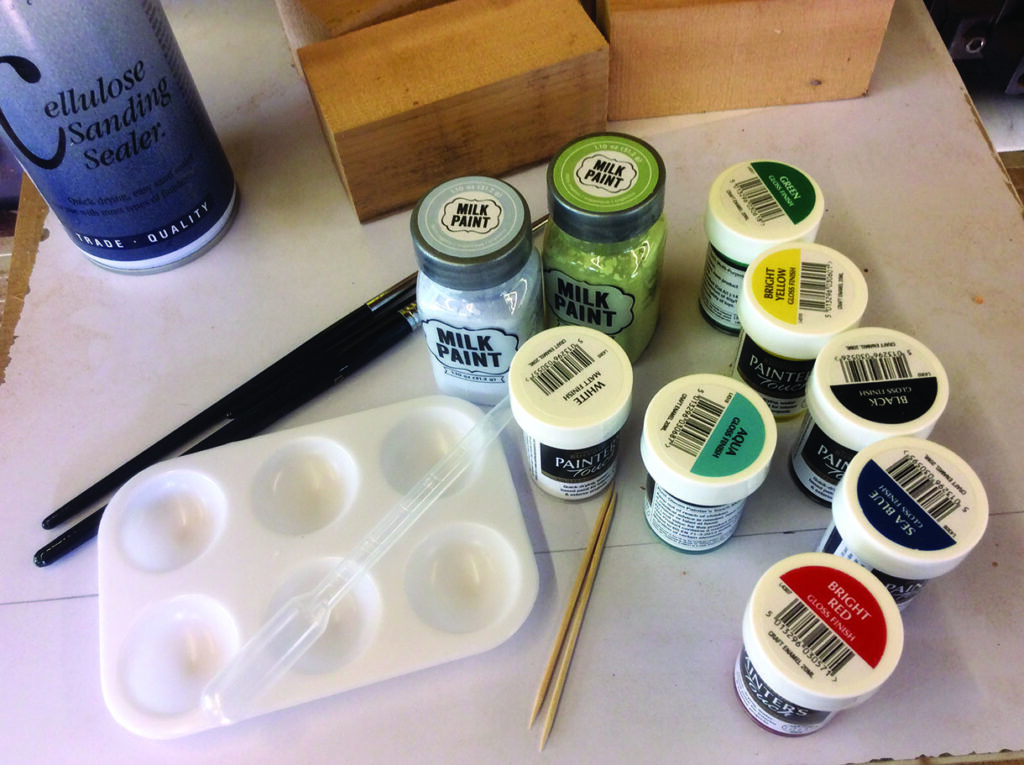
5. The paints I’m using are all water-based and a mixture of milk paint and a brand of toy safe paint. We also want one that has a matte finish so we can decorate with pens and glitter
Woodturner painting a spinning blue wooden object on lathe
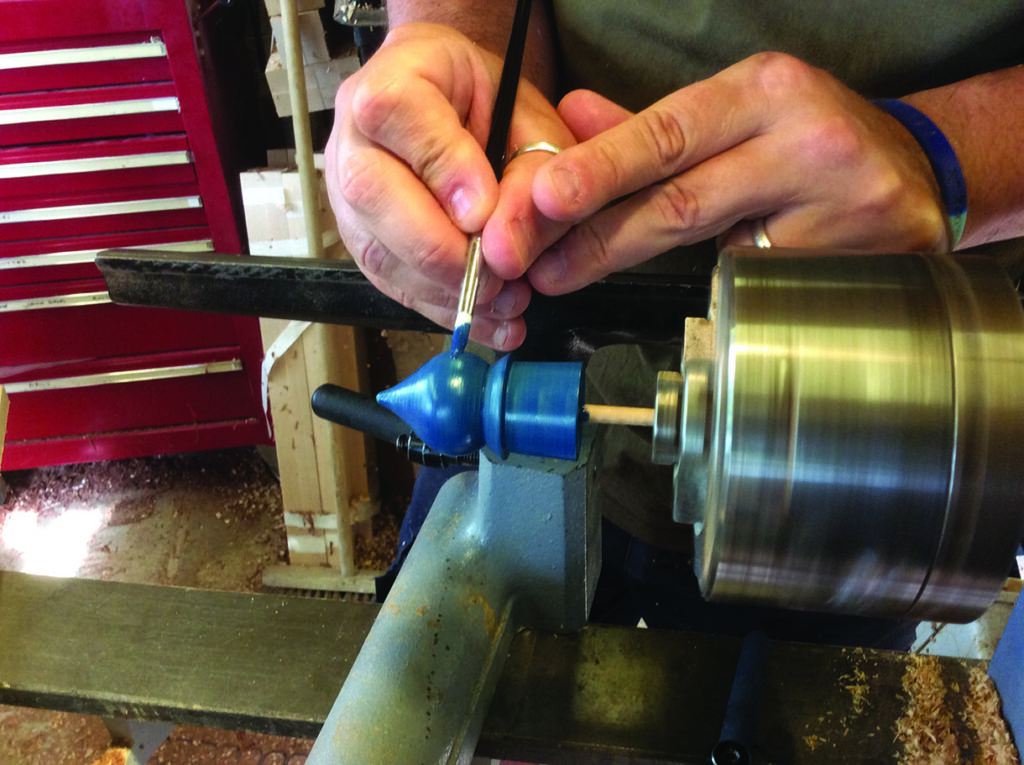
6. Turn on the lathe at a low speed (around 300rpm) to get the block colour
Craftsperson painting a spinning wooden ornament on a lathe
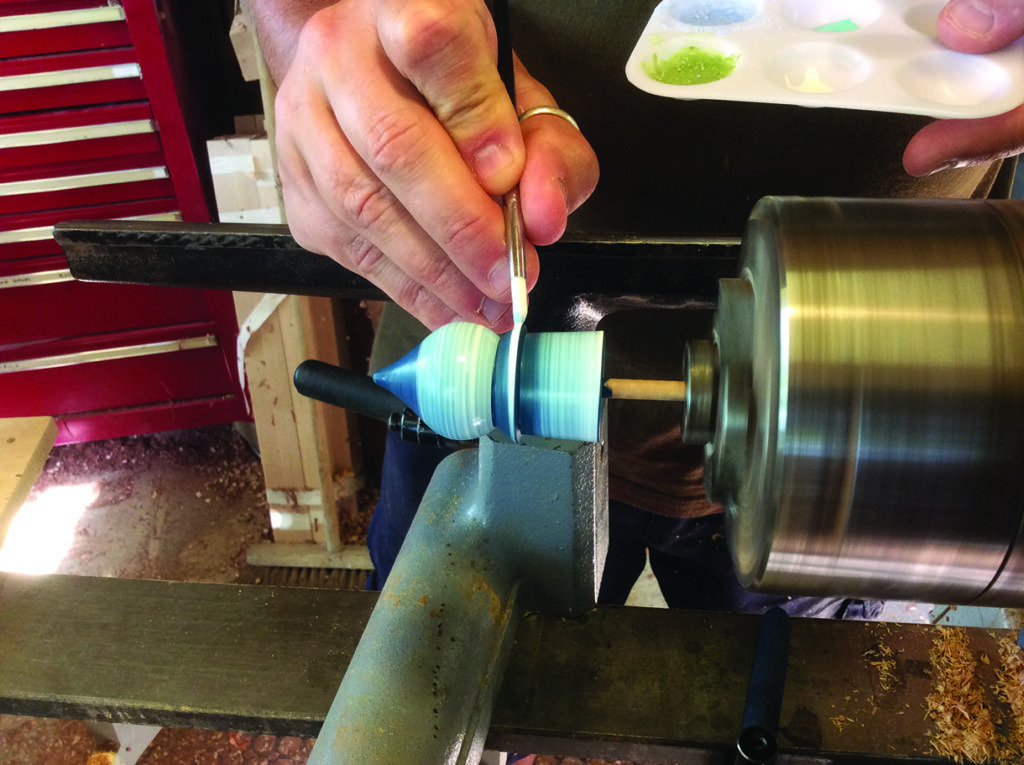
7. Moving quickly before the base coat has the chance to dry, start at one end and add white. Without reloading the brush, keep it in contact and slowly move up the piece. When the brush starts to fade to your liking stop, clean and dry the brush before starting on the next section with the same technique. This gives a snowy look 
Colourful turned wooden tree ornaments on a workshop board
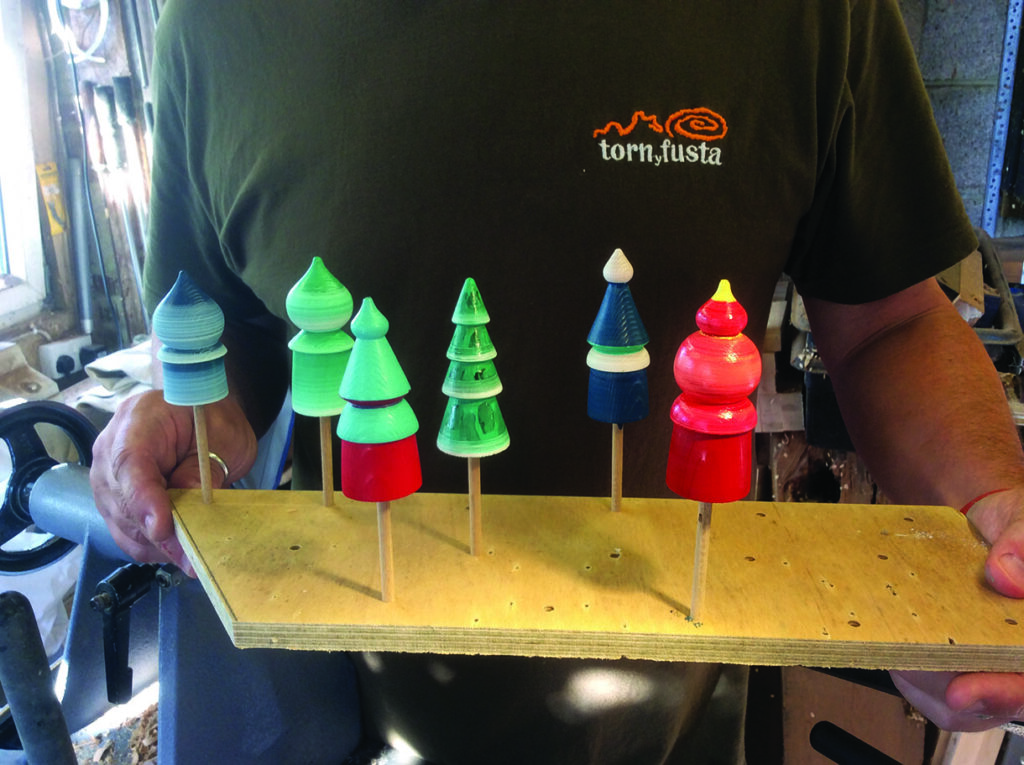
8. These are by no means finished as they need details. Use  a paintbrush, gold and silver pens and glitter for the finishing touches

Snowman place settings

Let’s move onto dinner table place settings; these are a little bit of fun and can add a nice talking point while pulling the crackers.
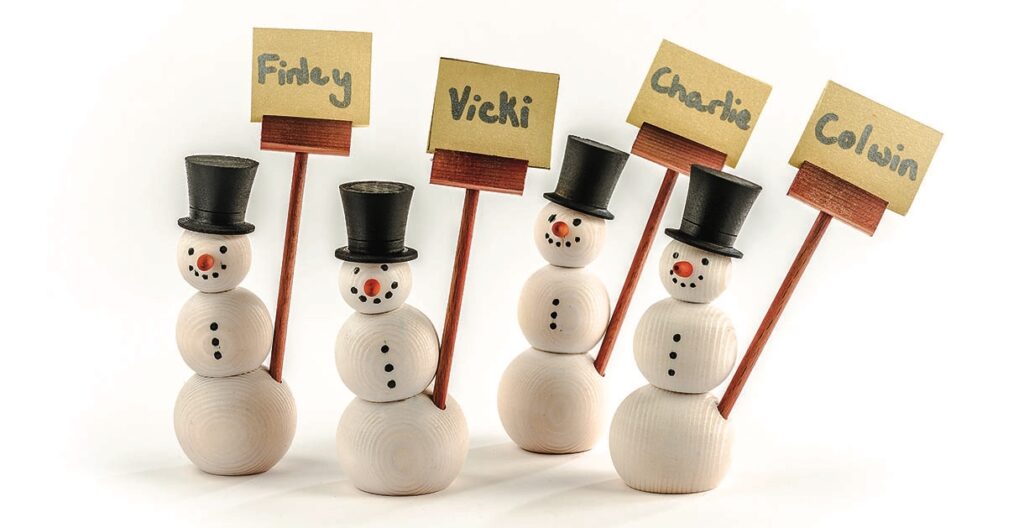
Four wooden snowmen holding personalised name signs
Woodturner shaping wooden cylinders on a lathe
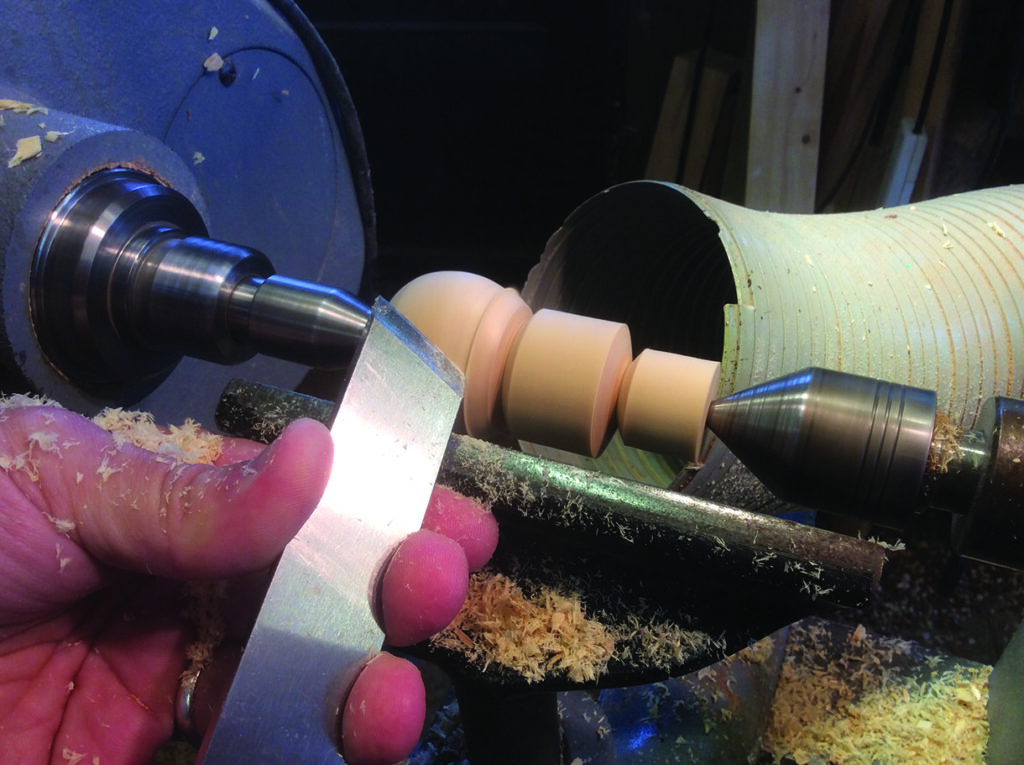
1. Start by choosing your timber. It is important that the timber’s pale in colour to help with paint coverage. Here I’m using a piece of joinery grade redwood (Sequoia sempervirens). Start by roughing down to a cylinder before using a skew to clean. The snowman needs to be divided into three decreasing balls, so start with a ‘V’-cut in preparation for the first bead
Woodturner shaping a spindle on a lathe
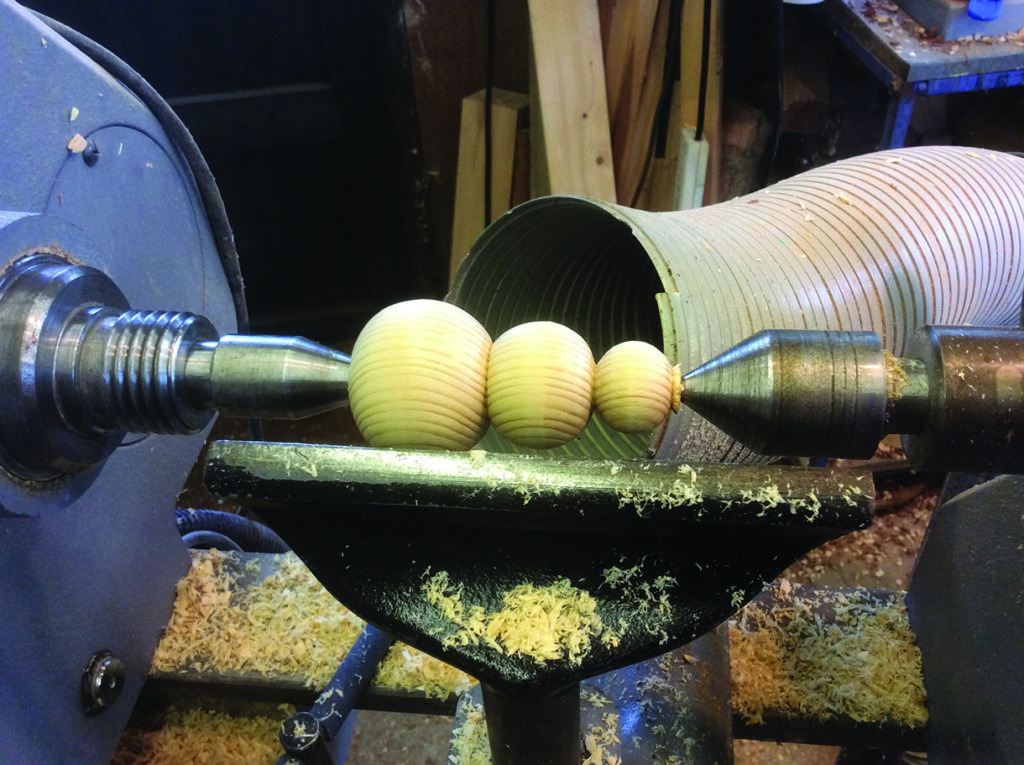
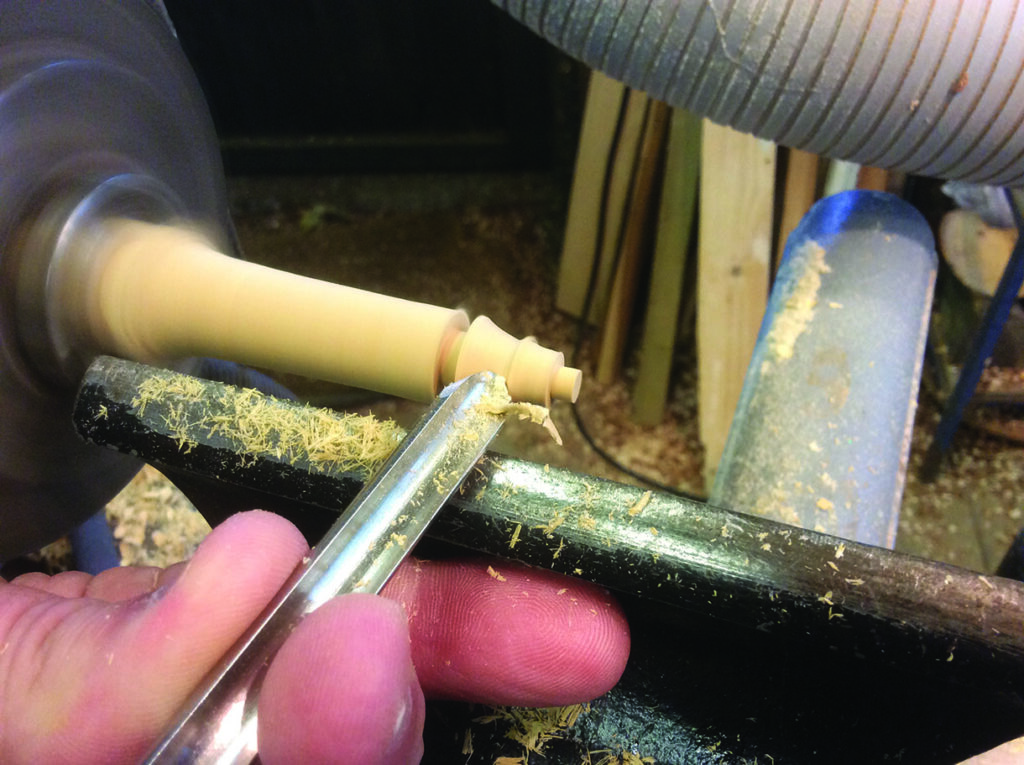
2. Once divided up and the ‘V’-cuts are in place it’s time to roll the beads. I am using the skew, but if you’re more comfortable with a beading and parting tool or spindle gouge then both work as well. Avoid scraping as the finish will need more sanding leading to misshaping
Three wooden spheres being turned on a lathe
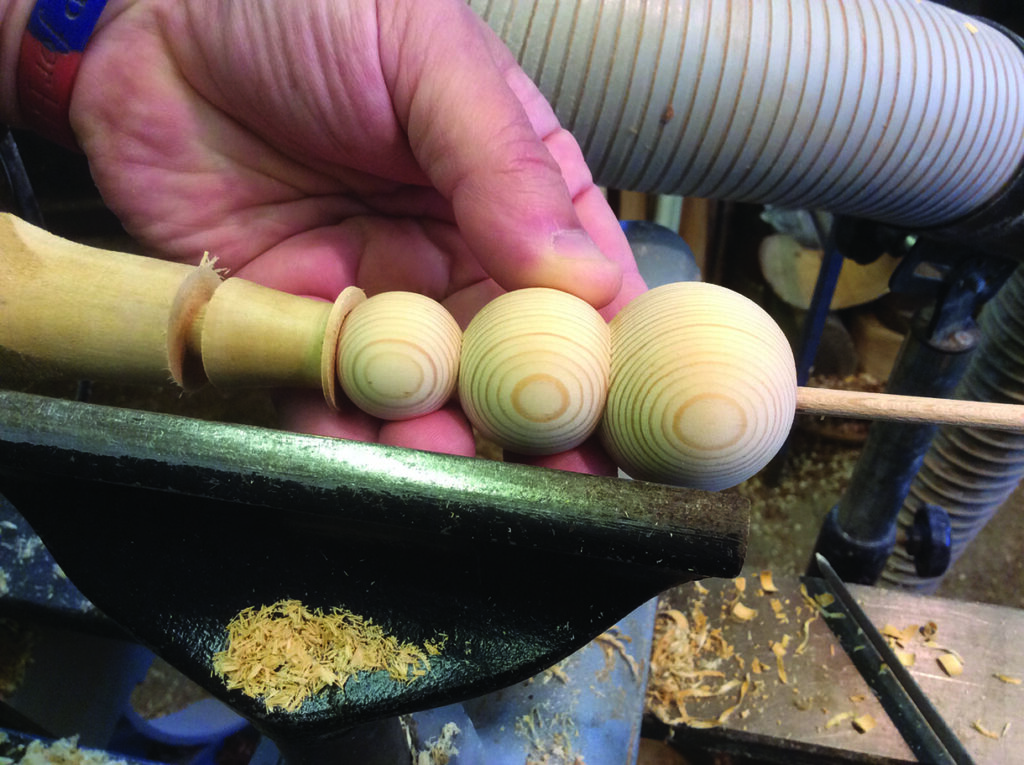
3. Here is the finished shape ready for sanding
Woodturner shaping three wooden spheres on a lathe
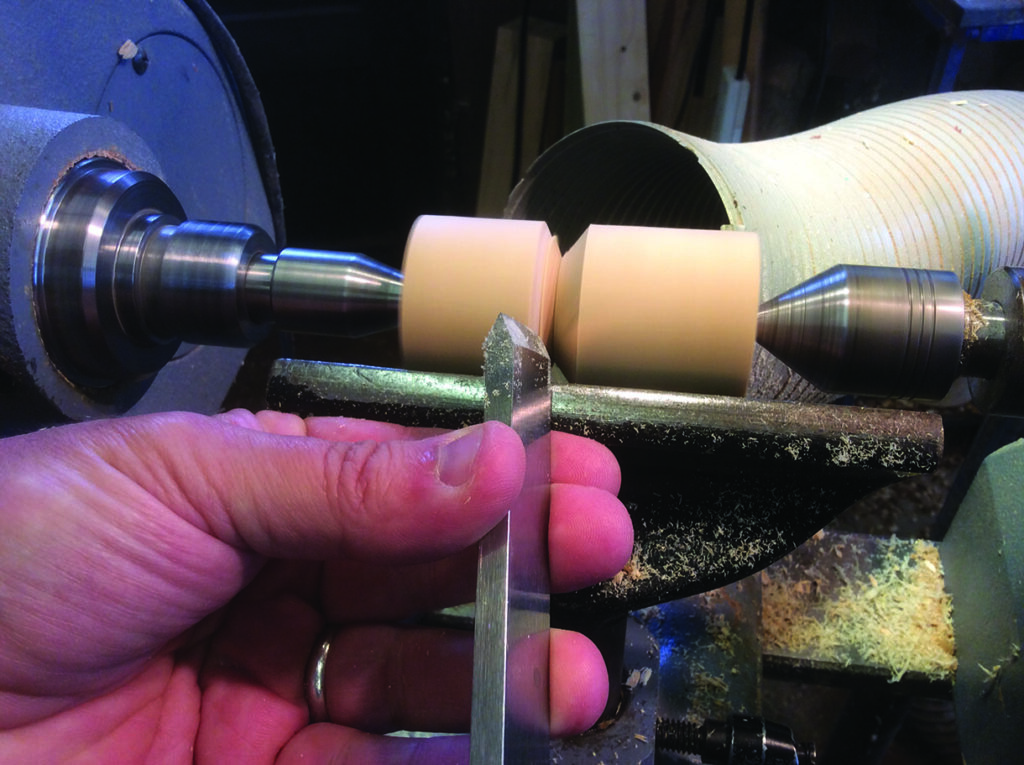
4. Next is to turn the top hat. Here I am testing the fit. Cut the blank slightly oversize to 25mm and hold the blank in some internal step jaws in a chuck. When you’re happy with the shape, part off. Don’t worry about the parted off end of your top hat; you can clean this off later
Woodworker holding a fine-toothed saw and small timber piece
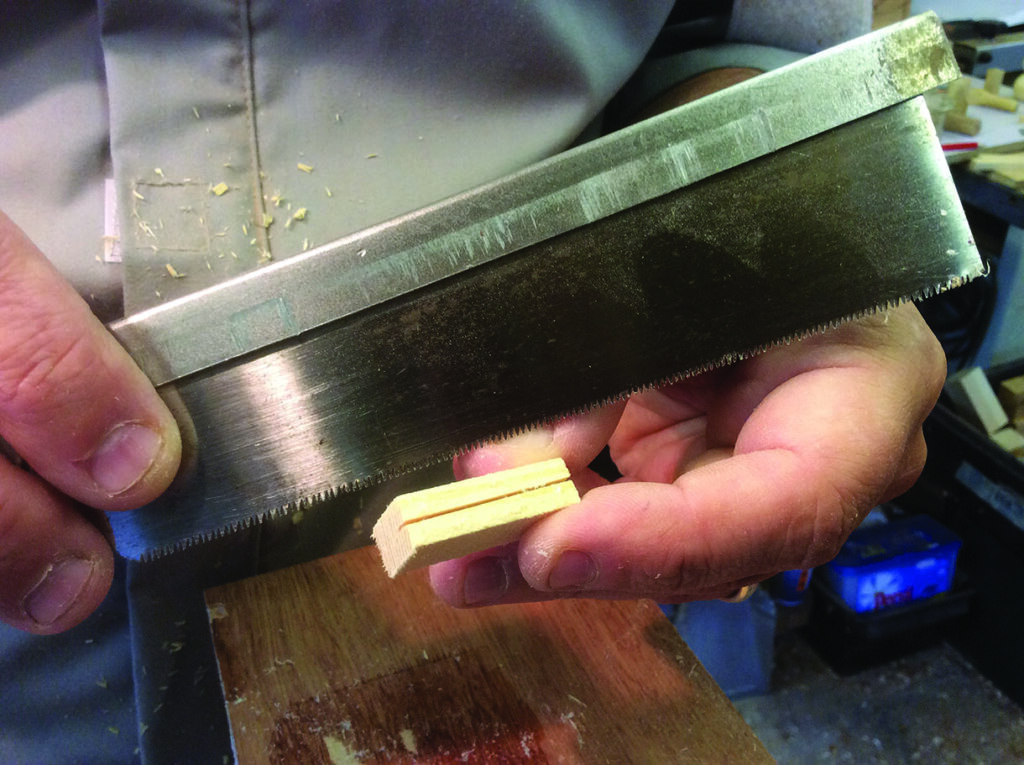
5. Now move onto the broom, which is made up of two pieces. The handle is made from 5mm beech dowel and scrap redwood is used for the broom head. To make the head, cut a slot in one side as the picture shows using a pull saw then sanding the opposite side to a slight radius
Craftsperson sanding a small wooden piece on spinning disc
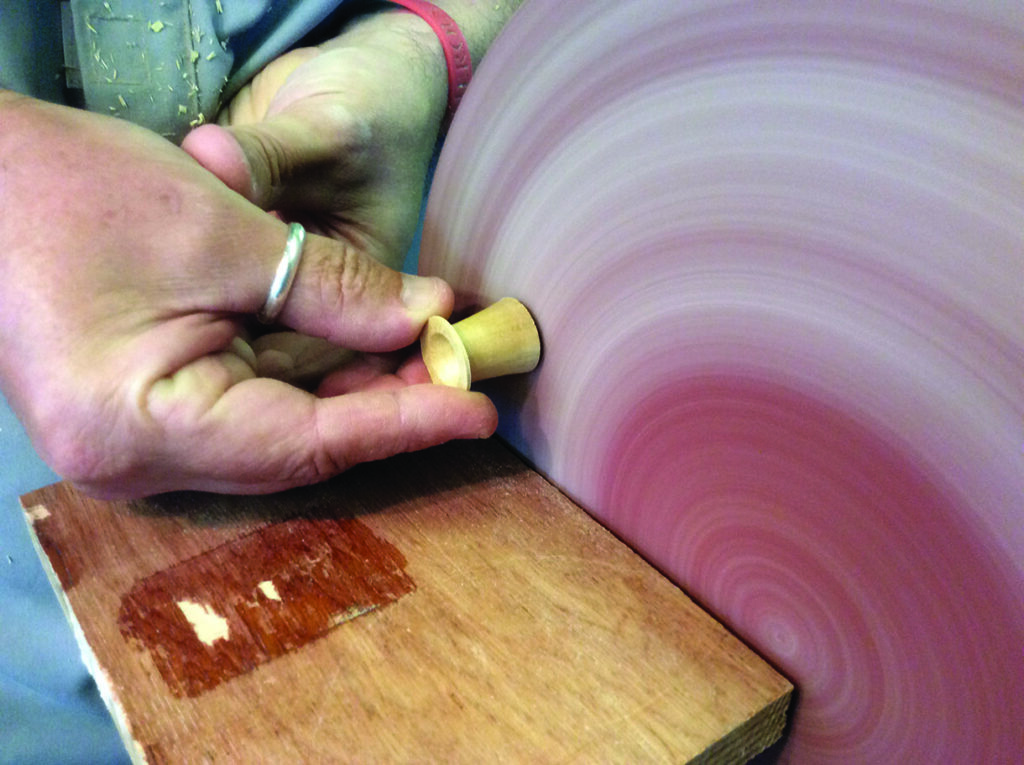
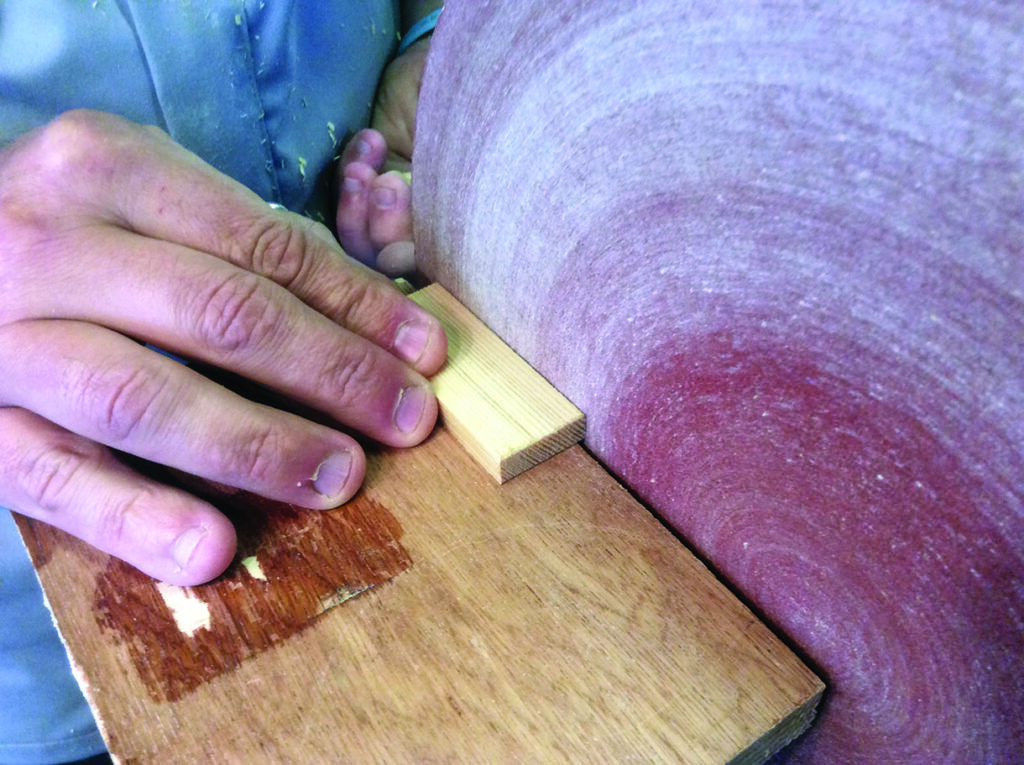
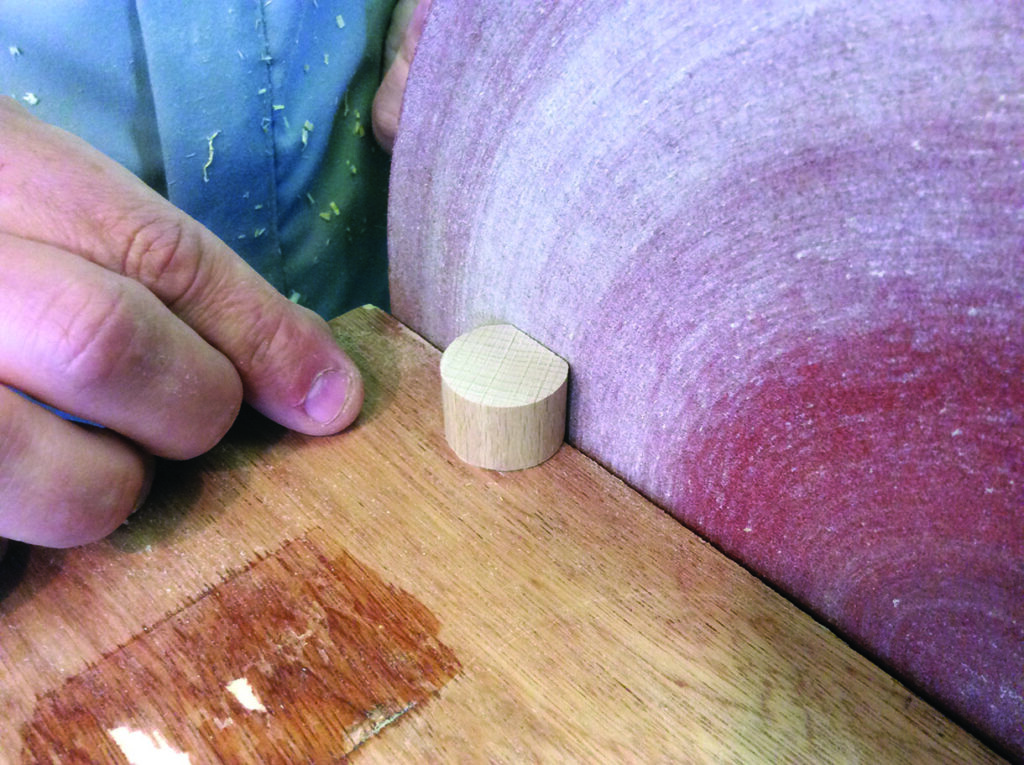
6. Once you have all the pieces of your snowmen we can think about cleaning up prior to painting. Using a sanding disc held in the lathe, sand the top parted surface of the top hat and the bottom of the body so it sits neatly on the table and any waste material you don’t need
Woodworker assembling unfinished wooden figurines on a workshop bench
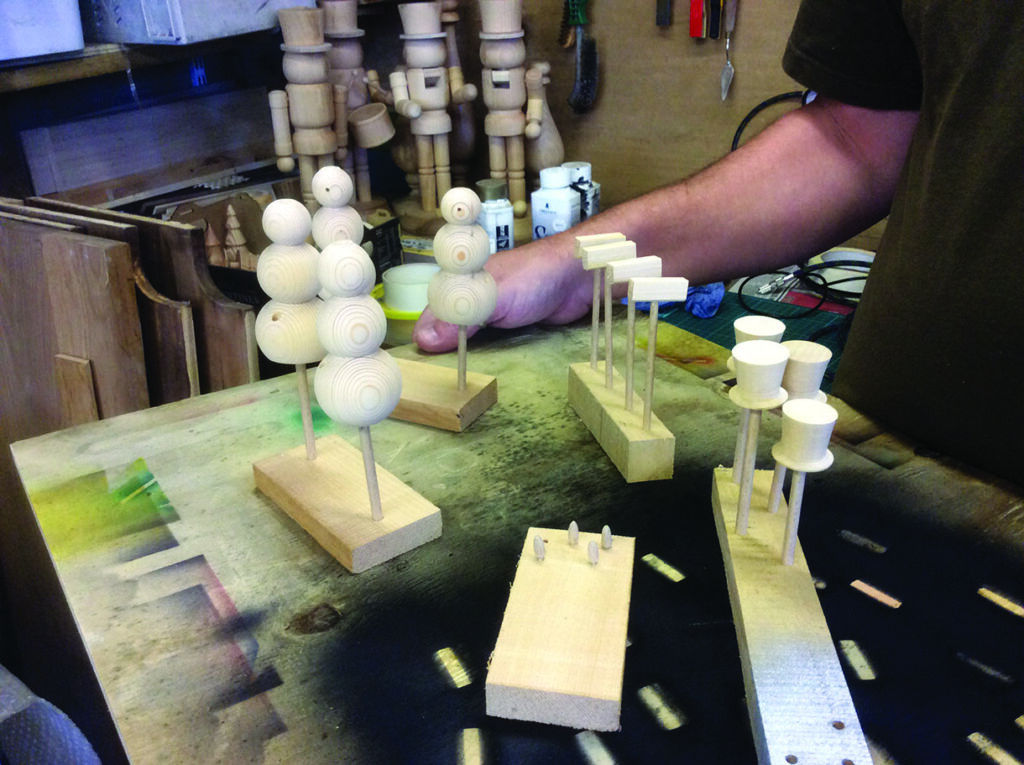
7. Set the pieces up for painting on painting sticks mounted into some waste wood blocks, which makes it so much easier to paint
Person airbrushing small model parts in workshop
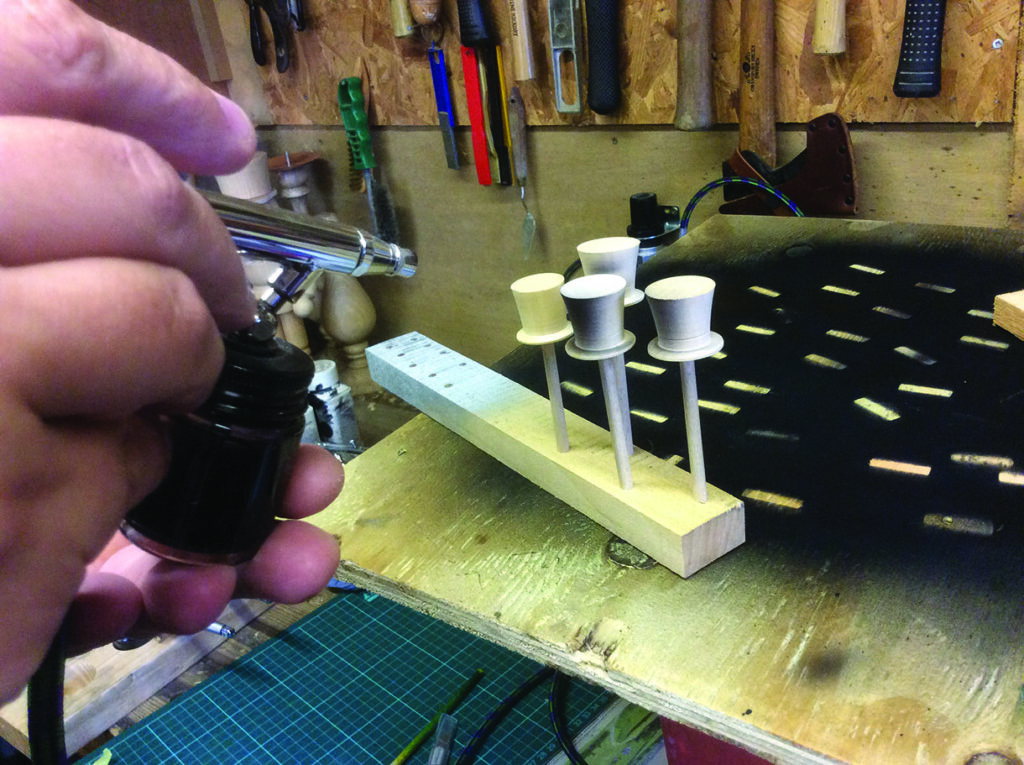
8. I decided to airbrush the snowmen to avoid brush marks. I’ve also opted for acrylics over spirit stain through the airbrush as I find white stain takes a lot of time to create solid colour whereas acrylic takes just a few seconds of spraying. Here you can see the hats being given the first touches of black paint

Train decoration

Moving to another tree decoration, a multi-piece steam train. This project comprises of several straightforward turnings. You could use dowel if you have some spare and just cut to length. 
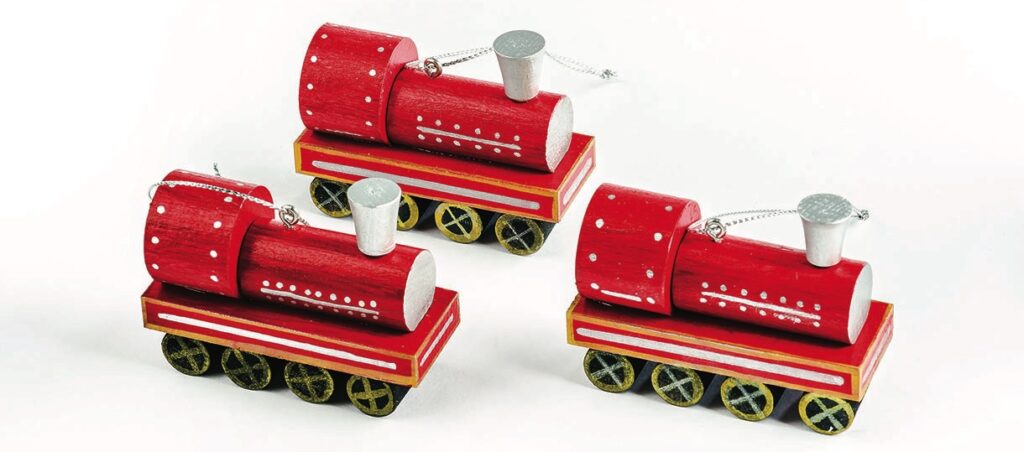
Three red wooden toy train ornaments with silver chimneys
Woodworker holding timber pieces beside his shaved head
1. Start with the main body. Use a pale colour timber for painting, so mainly redwood for me. The body is the only piece of square timber in this project. Sand all faces clean and square
Woodworker shaping a small wooden piece on lathe
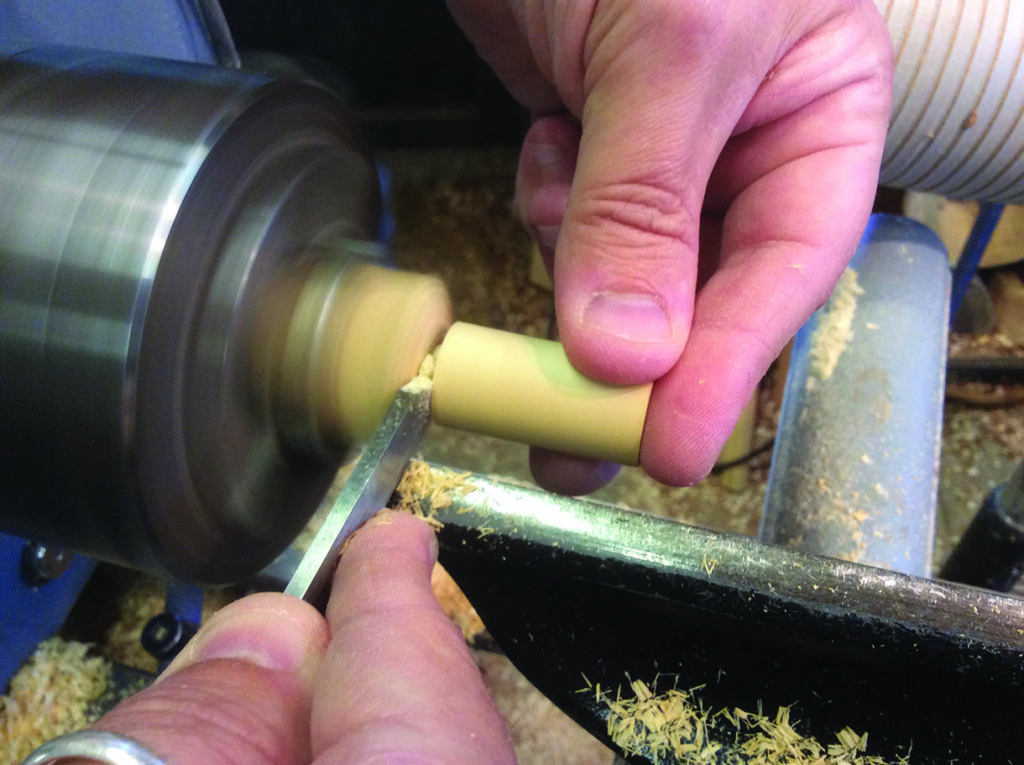
2. Now we move onto the turnings. First turn the main cylinder, and when these are done turn the wheels and the cab (see drawing above)
Woodturner shaping a spinning wooden spindle on a lathe
3. The stack is the next thing to turn and to ensure you can glue the stack, include a small tenon of 4mm. Drill the equivalent size hole in the cylinder later
Hand holding assorted freshly turned wooden pieces
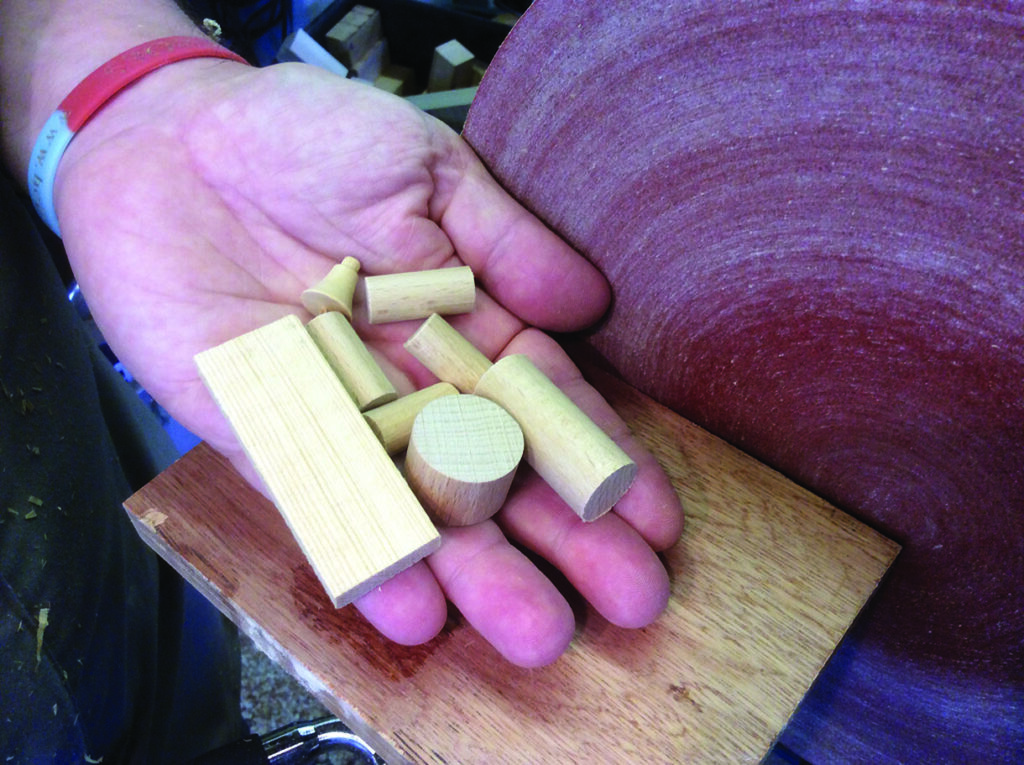
4. Now all the pieces are turned and sanded, we now have to think about how we’re going to glue these together
Hand positioning wooden dowel beside rounded timber surface
5. To attach all the pieces together we need a good gluing surface, easily done with a disc sander. Note how much of a flat is required. This needs to be done on the wheels, cab and cylinder, as well as any untidy areas 
Person hand-painting colourful wooden Christmas decorations
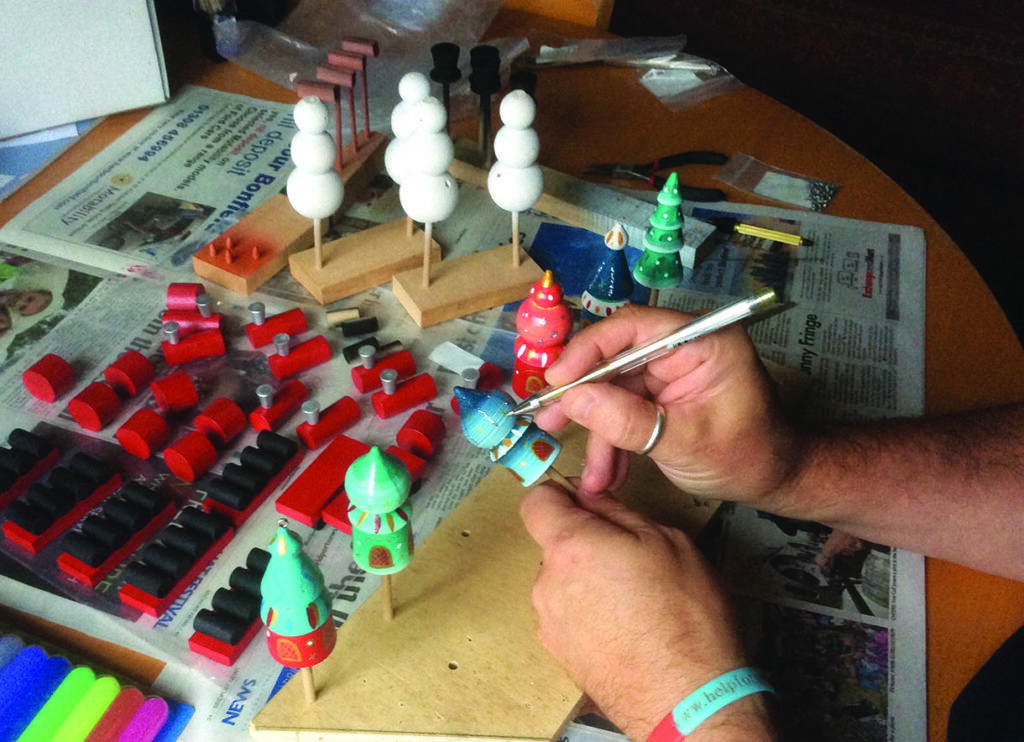
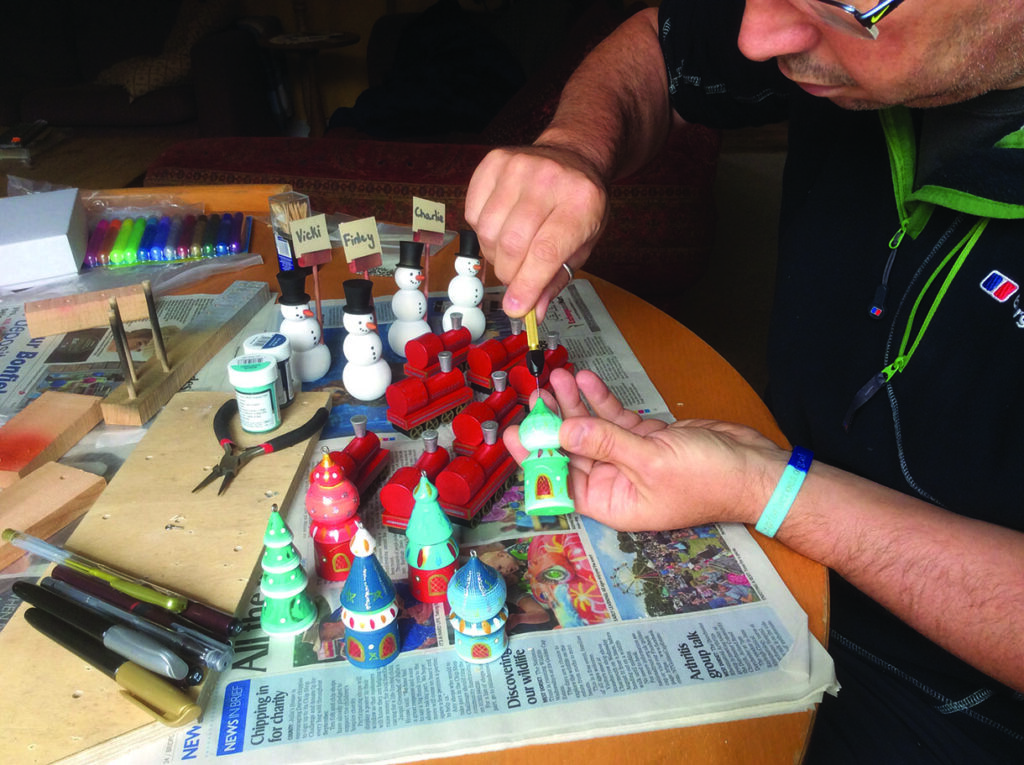
6. Now to the painting table, here’s the details to consider; house – windows and doors. On the houses try and mix up your decorating techniques, for instance I’ve switched between paint with brush, silver and gold pens with fine and thick nibs and glitter pens; snowmen  – buttons, eyes, mouth and nose, name tags. I use a fine black marker to paint in the coal features and coloured card for the name tags; and on the Christmas train, details on the wheels, cylinder and cab
Man paints miniature wooden Christmas decorations at a table
7. Glue together and add the hardware next. Use a hand vice with a small 1mm drill bit to drill a small hole, ready to screw in the screw eyes. This also needs to be done to the train between the cab and the stack. Take time with cotton and blue tack to find the right pivot point before placing the screw eyes. Now to glue everything together. Use an epoxy resin with a cure time of 30 minutes, which works really well on painted surfaces
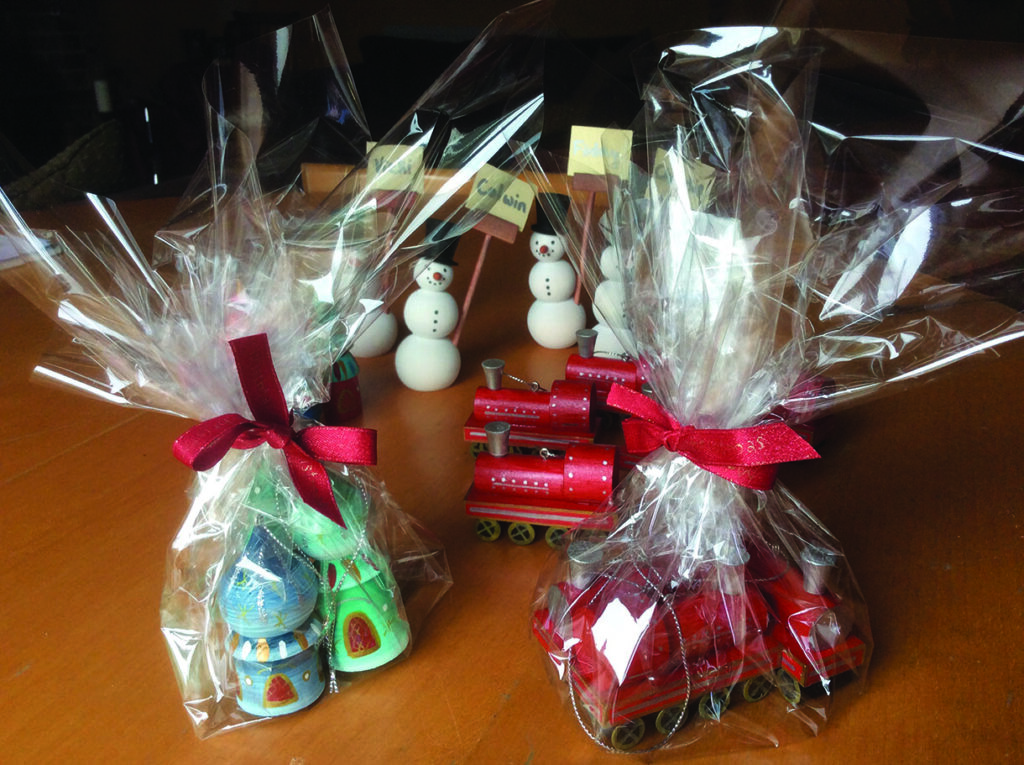
Cellophane-wrapped festive gifts with red bows and toy trains
8. A great idea for Christmas presents or for selling your decorations. Here I’ve picked out groups of three and bunched them up giving a really presentable gift

Leave a Reply

Your email address will not be published. Required fields are marked *