The Woodworkers Institute

We bring you the very best of woodworking!

“Make it with us”

Contemporary desk pen

Walter Hall makes an elegant, contemporary-style desk pen
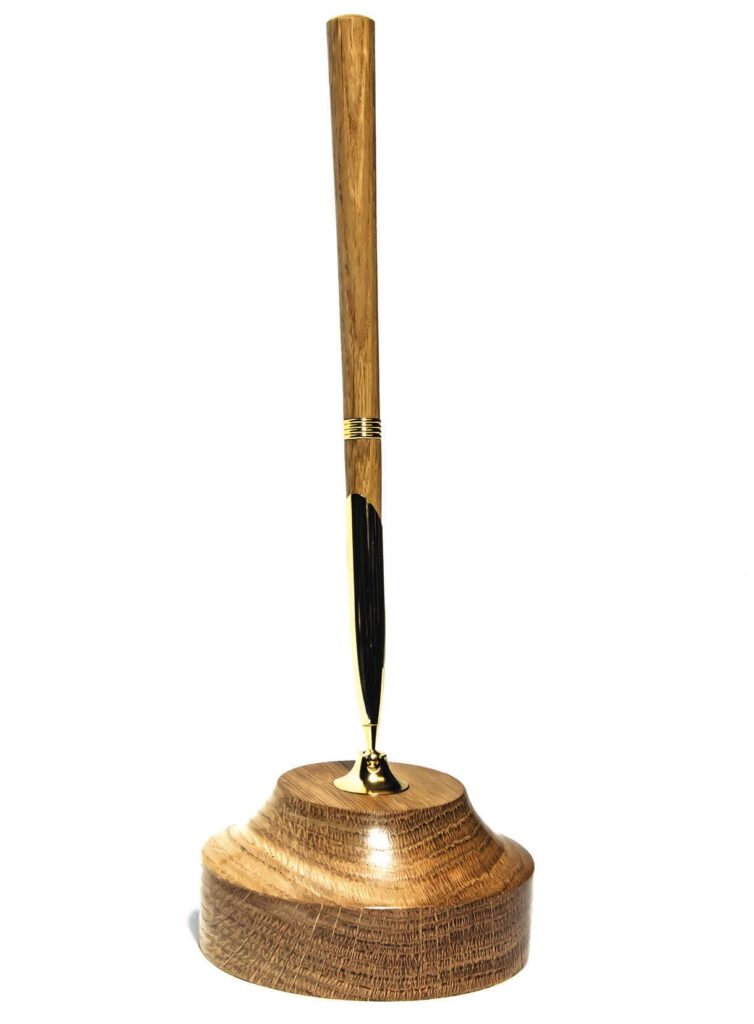
Elegant wooden pen with a round base holder.

The temptation when turning desk pens is to incorporate fancy decorative techniques or beads, coves and finials that show off the maker’s skill. If done well this can result in an impressive design, but if overdone the final product can be something that has more in common with a Victorian stair spindle than a writing instrument. My objective in designing this project was to create a pen with a clean, modern look and an elegant flowing shape that would not look out of place in a modern reception area. It is surprising how difficult it is to resist the temptation to just add a bead to highlight this or some texturing to add interest to that during the turning process. 

Other design considerations are that the business end of the pen must fit accurately into the trumpet, so care must be taken in selecting appropriate components, I used the parts from a Streamline kit. It is also important that the upper barrel of the pen is not so long that it becomes top heavy and unwieldy to write with, and that the base is heavy enough to be stable when the pen is removed from and replaced in the trumpet. 

EQUIPMENT AND MATERIALS

Tools
• 13mm or 10mm bowl gouge
• 20mm or 25mm spindle roughing gouge
• 20mm or 25mm skew chisel
• Face shield/respirator
• Dust extraction

Materials
• Pen trumpet
• Streamline pen kit or similar
• Velcro-backed aluminium oxide 240-400 grit
• Abranet 240-600 grit
• Cellulose sanding sealer
• Melamine lacquer
• Carnauba or Microcrystalline wax
• Tack cloth
• Safety cloth
• Paper towel or tissue
• Oak bowl blank 100mm diameter x 55mm
• Oak spindle blank 20mm x 20mm x 250mm

Drawing
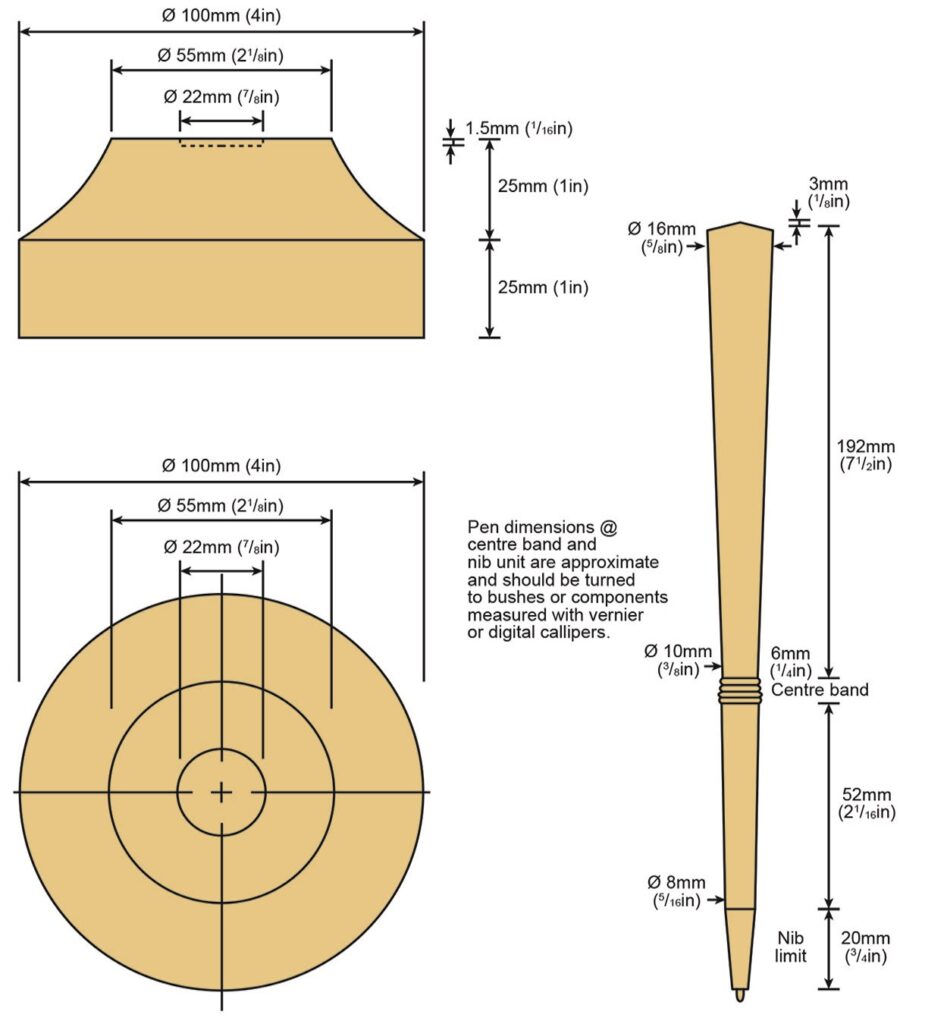
Detailed diagram of wooden pen dimensions in millimetres.

TOP TIPS

• When using sanding pads use squares of abrasive rather than pre-cut discs as this helps to get into the shape of the curve but do take care not to round over the edges.
• Rather than cleaning up the base on a sander, the work could be remounted on the lathe using a padded jam chuck or vacuum chuck to clean off the residual adhesive and finish the back. 
• You could add a felt or rubber base to protect the surface on which the piece will stand, but I prefer not to do this as the woodturning police like to turn things upside down to check for screw holes.
• Alternative tools that could be used for the pen body include spindle gouges, carbide tipped tools or spindlemaster type tools. Use whatever tools you are most comfortable with to produce a good smooth surface.
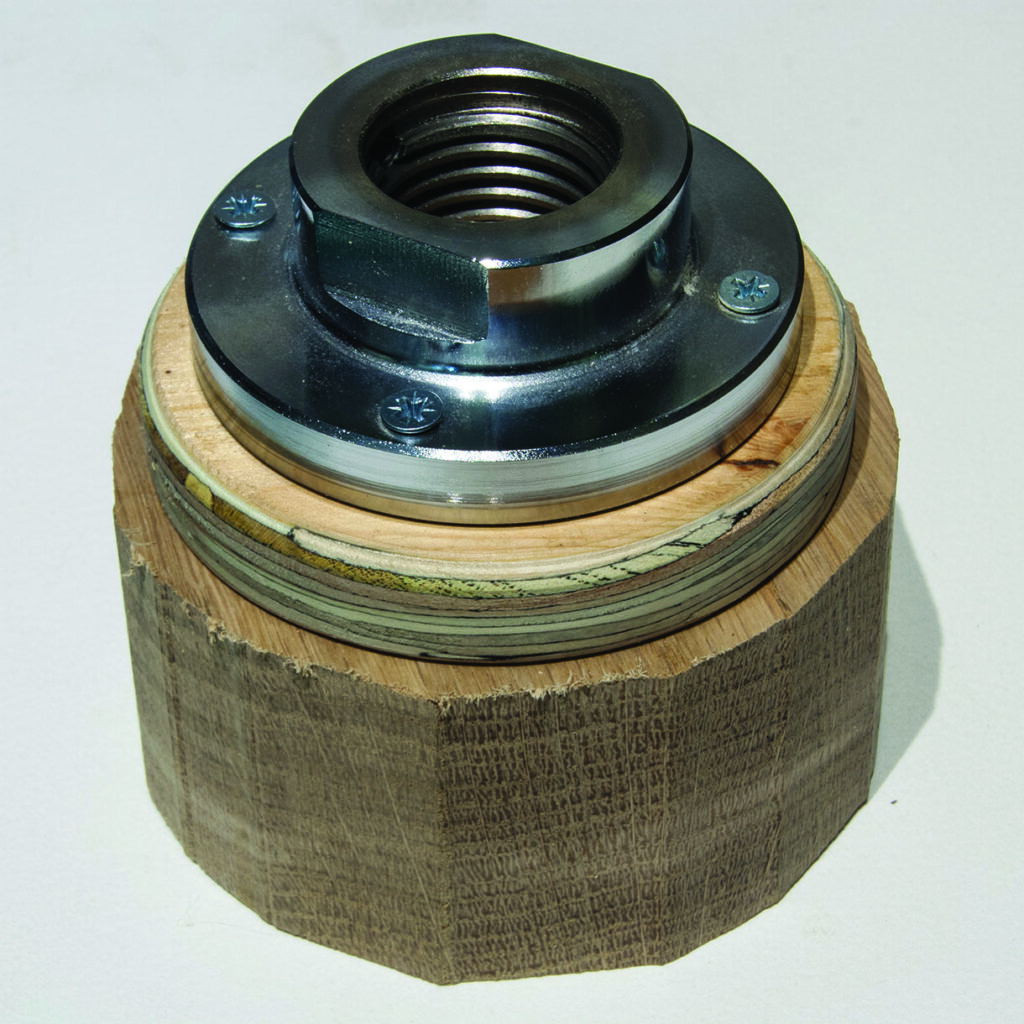
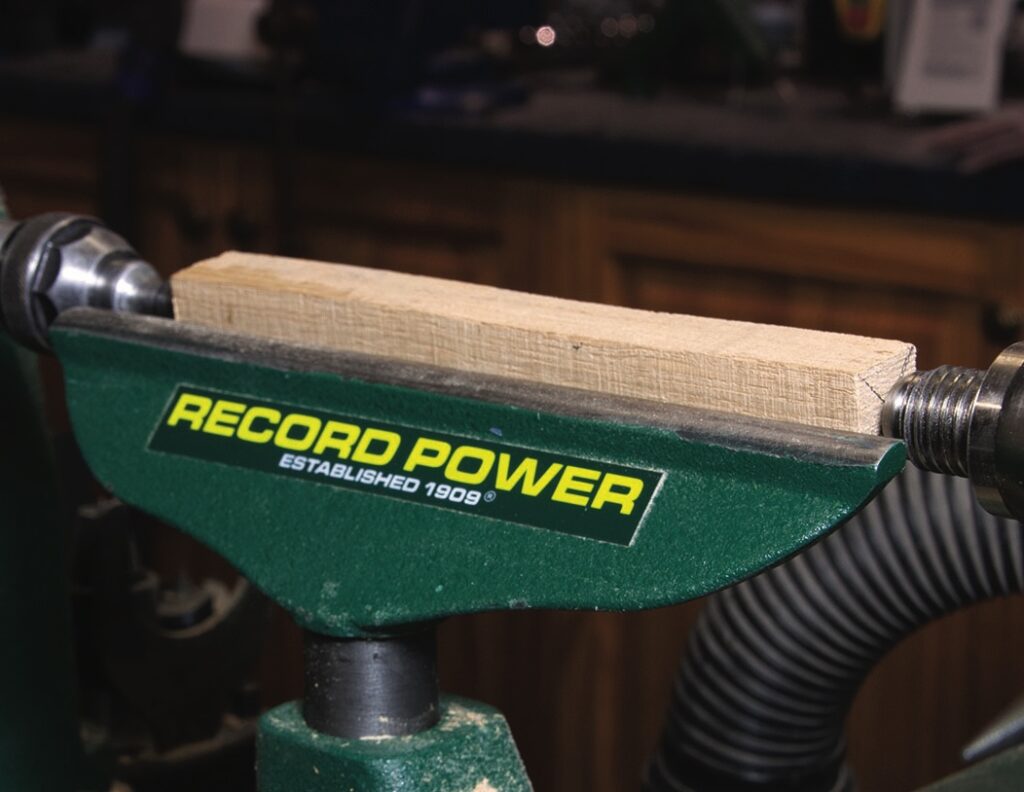
Metal pipe fitting attached to wooden block
1. Begin by making the base. Plane or sand the base of the blank flat then cut it roughly to round on the bandsaw to reduce initial vibration and stresses when turning. Mount the blank on the lathe by hot-melt gluing it to a plywood disk screwed to a faceplate
Person woodturning on lathe, creating wooden bowl.
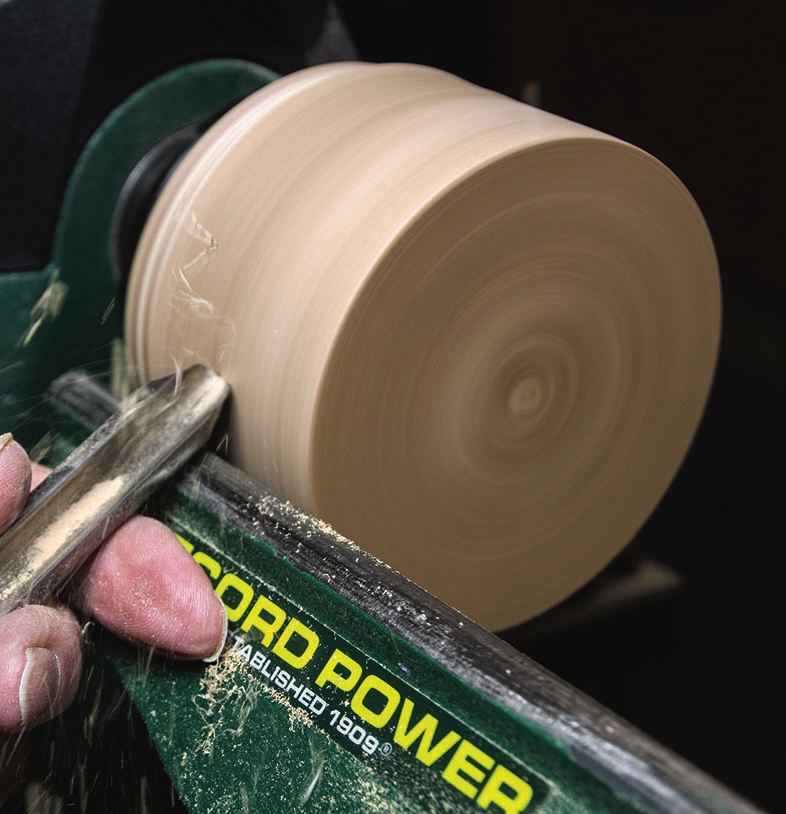
2. With the lathe running at about 1500rpm, use a bowl gouge to turn the blank to size, working in from the front and back of the workpiece towards the middle to avoid breakout and carefully watching the outline at the top of the workpiece to judge the shape
Woodturning in action with a lathe.
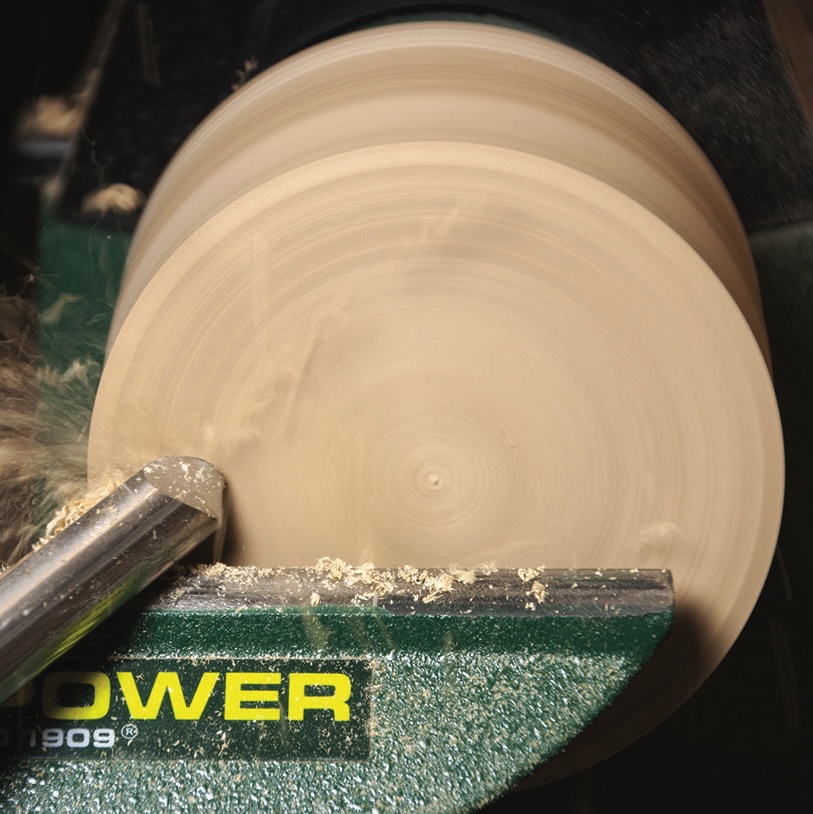
3. Flatten the face of the piece using a series of pull cuts from the centre outwards to reduce the work to the required thickness and level the top surface. A push would work just as well, so just use your preferred technique. A final shearing cut will give a smooth surface
Measuring spinning pottery with ruler
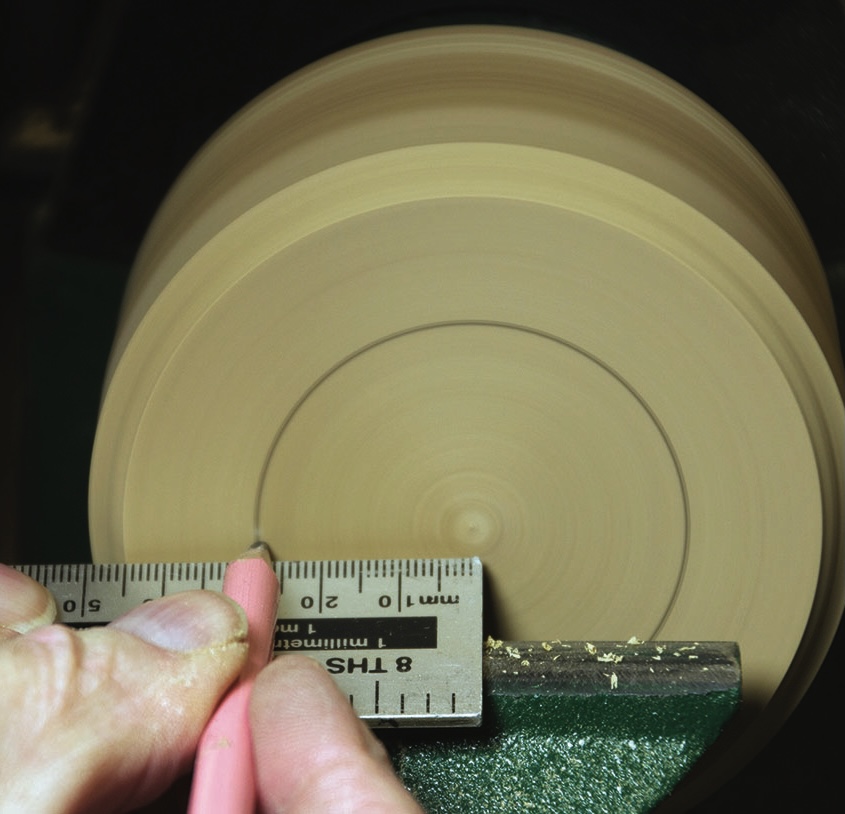
4. Once the top face is prepared mark the limits of the cove on the face and side of the work using a steel rule and pencil. This enables you to concentrate on shaping the cove without having to worry that your cuts are going too far into the side or top and spoiling the design
Woodturning process with lathe and chisel
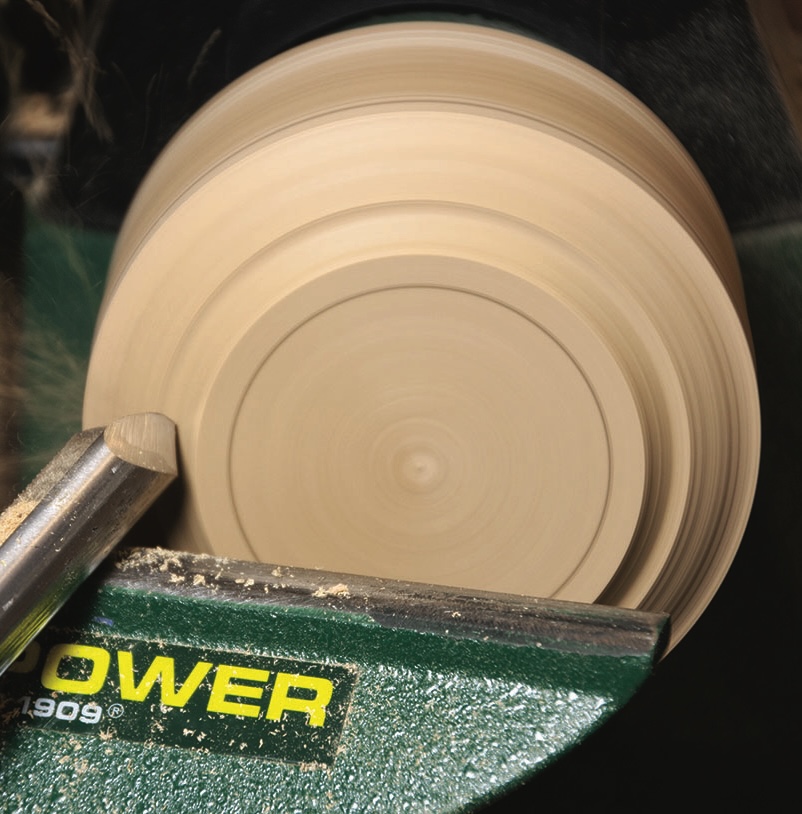
5. Before shaping the cove, cut a recess for the trumpet. Use a Forstner bit the exact size of the base and drill just deep enough to accommodate the base. Then form the cove using the bowl gouge
Wood lathe crafting a spinning wooden bowl
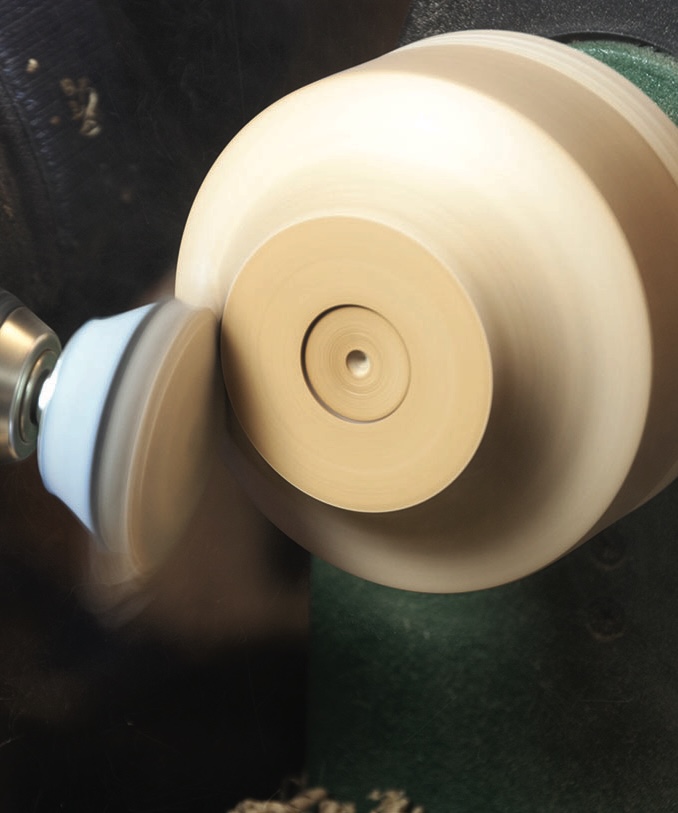
6. With the speed reduced to 500rpm, sand from 180 to 400 grit using a sanding arbor in a drill. Take care not to round over the edges of the cove. Clean off dust after each grit and apply sanding sealer between grits
Wood being polished on lathe
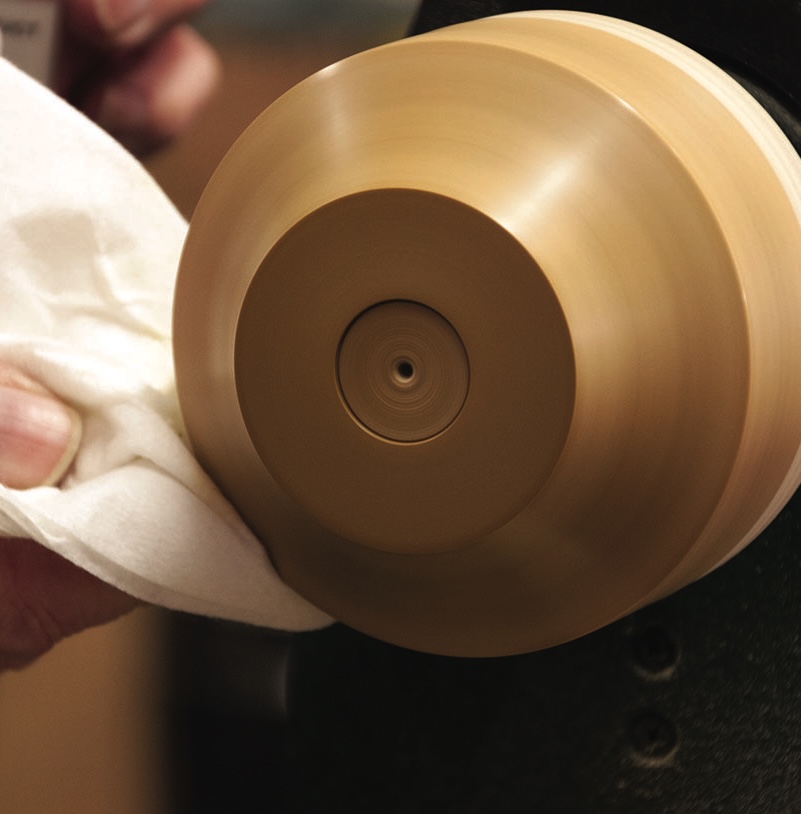
7. Finish with melamine lacquer to give a durable surface. With the lathe still running at sanding speed, apply the lacquer using a brush or a rubber formed from tissue or non-woven safety cloth and immediately burnished with a dry safety cloth. Three or four coats are required to achieve a nice satin-gloss
Carving a wooden bowl on a lathe.
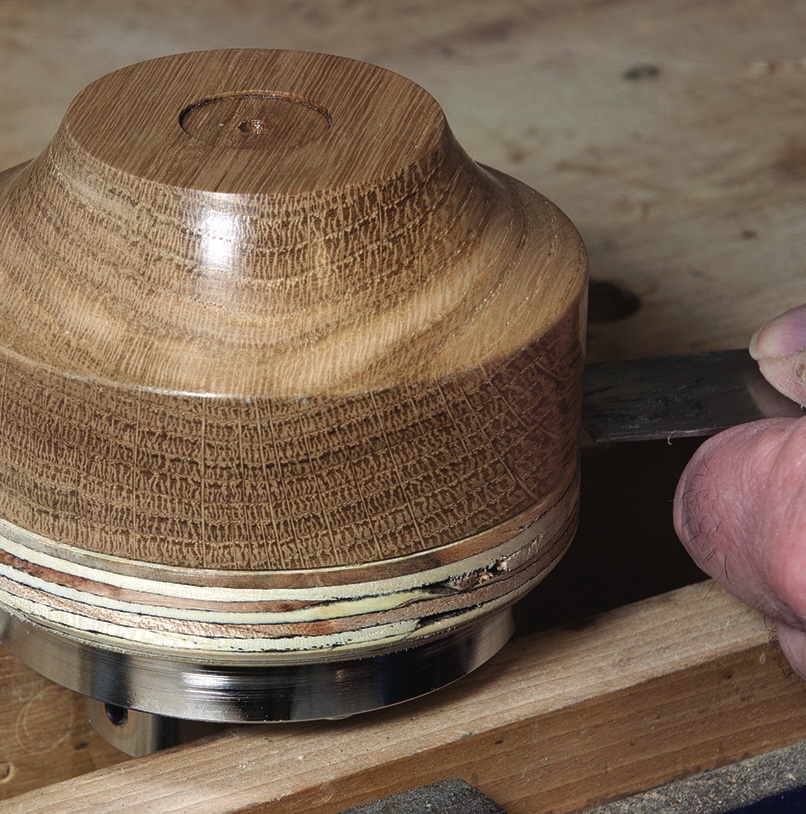
8. With the faceplate held in a vice break the glue bond with a wide bevel edged chisel with the flat back of the tool facing the finished work to avoid damage. Clean up the bottom on a belt sander and finish with melamine lacquer by hand. Glue the trumpet in place with epoxy

Health and safety

• Precautions against dust are essential when power sanding. Use an extractor and/or wear a powered respirator. You only get one set of lungs.
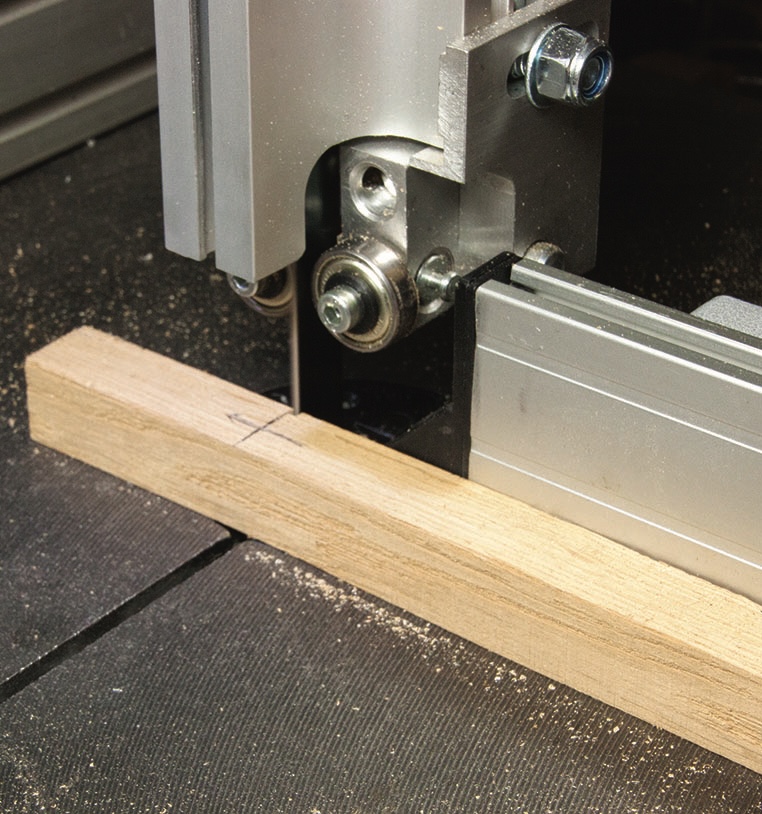
• When working with smaller pieces on the bandsaw it is safer to clamp them to the mitre gauge rather than trying to hold them by hand.
Drawing on wood with a mechanical pencil.
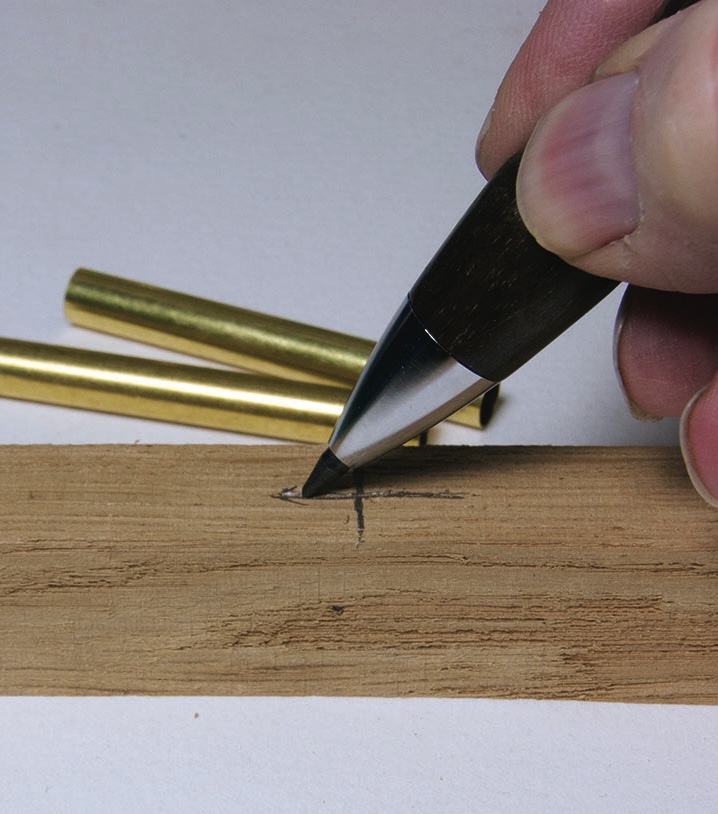
9. Select a suitable length of oak for the pen and mark the length of the tube and the orientation of the piece to ensure grain match. The longer length for the upper barrel of the pen should be cut just a little longer than the finished length to allow for mounting between centres
Close-up of metal bandsaw cutting wood
10. Cut the pieces to length on the band saw. Keep the rip fence well clear of the work and fingers gripping the work against the mitre gauge well away from the blade. Add stability while cutting by using a push stick against the work to the rear of the blade
Spinning drill on a lathe machine
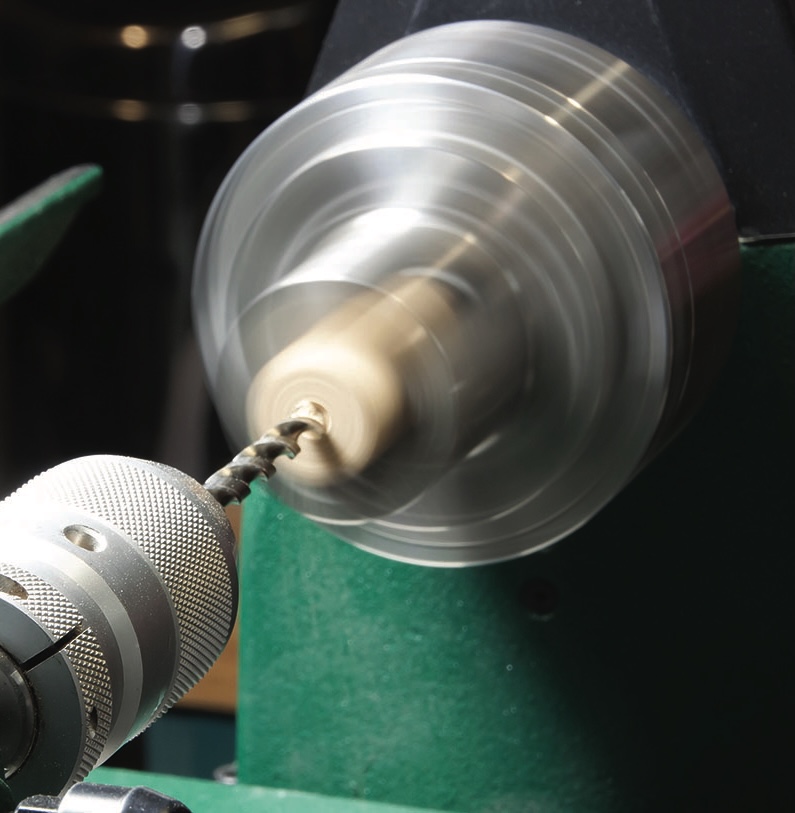
11. Drill out to 7mm for the brass tubes on the lathe using pen blank jaws. This could also be done using a pillar drill. Drill at about 400rpm and withdraw the bit frequently to clear swarf and avoid overheating. When drilling into the end of the long workpiece, set up carefully to avoid whip and inaccuracy
Woodturning with lathe and chisel, creating shavings.
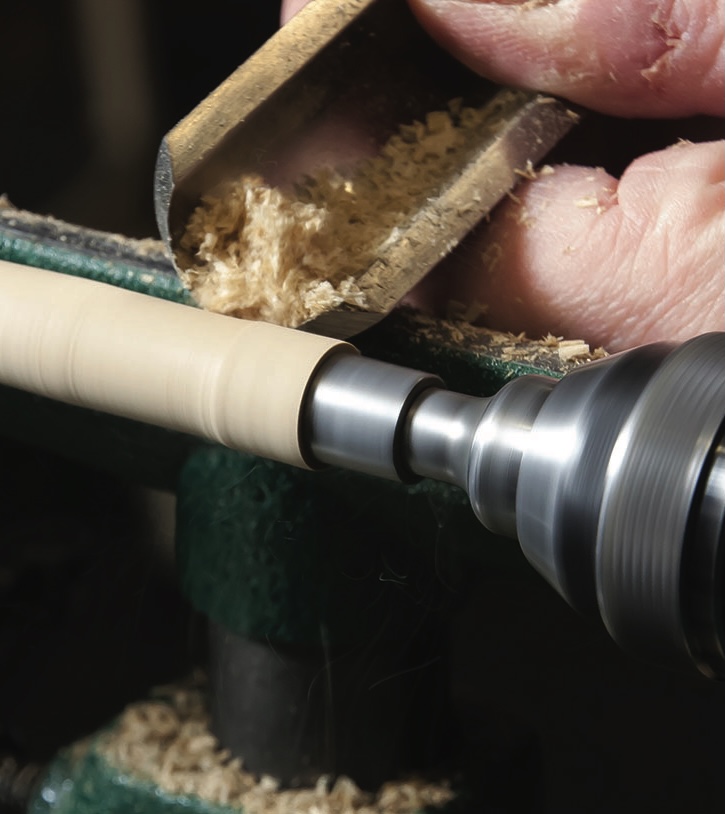
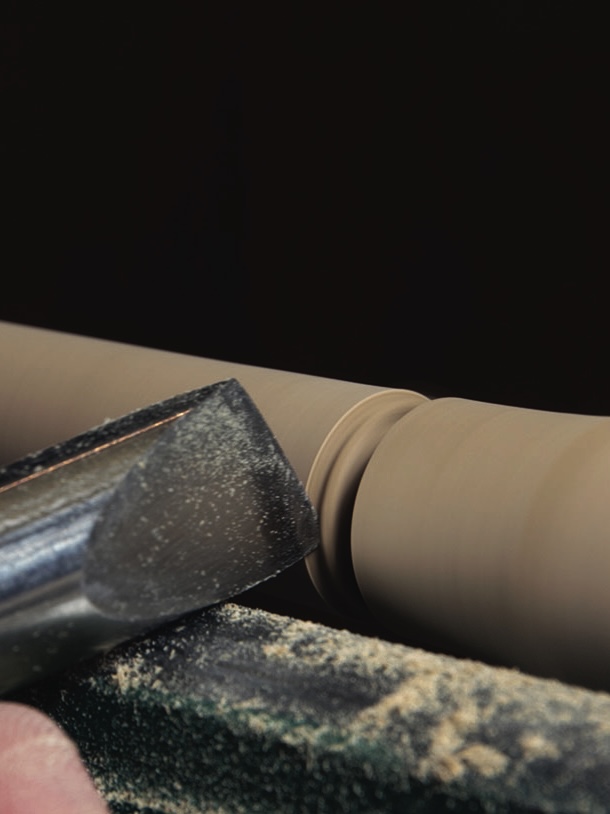
12. Square the ends of the blanks using a cordless drill and barrel trimmer with the blanks securely held in a vice before mounting on a mandrel and bushes in the normal way and turning to shape using a spindle roughing gouge and a skew chisel
Close-up of a golden pen nib.
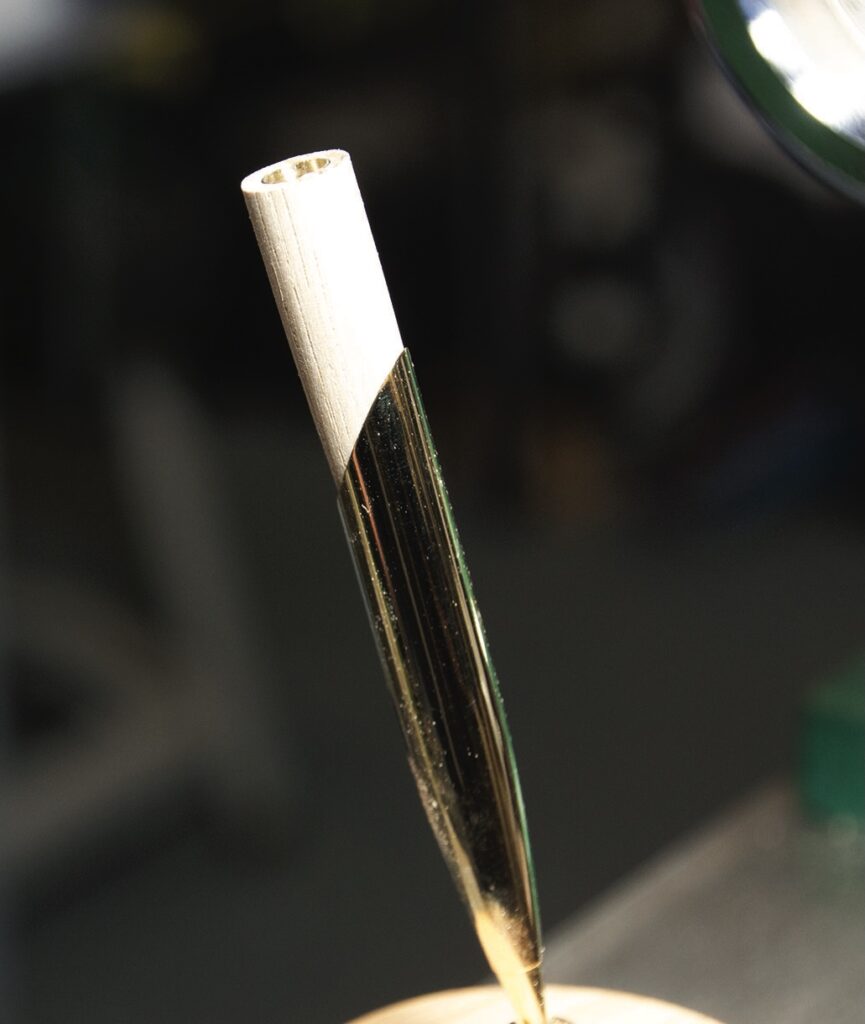
13. Before final sanding and finishing it is important to remove the barrel from the lathe and test it in the trumpet for fit. The fit required is slightly slimmer in the body than would normally be needed for a standard Streamline pen
Hand polishing a wooden pen barrel.
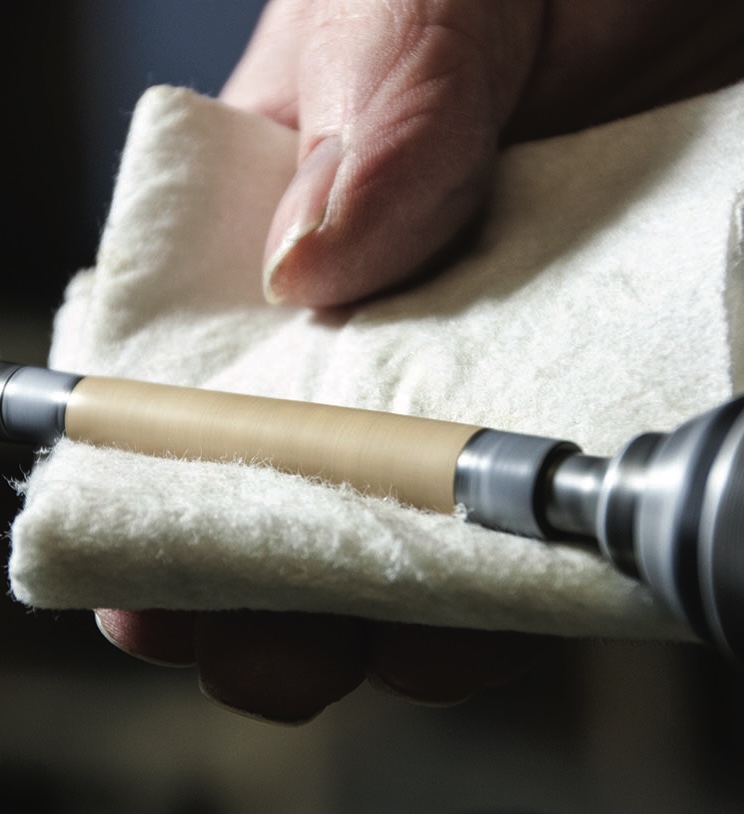
14. The pen body is finished in the same way as the base using melamine lacquer. After sanding through the grits by hand along the grain, clean off the dust between grits with a tack cloth, apply sanding sealer and burnish with a handful of shavings before applying three coats of melamine. Remove the completed part from the lathe and assemble using a pen press
Wooden board secured in green woodworking vice
15. Turning of the longer upper barrel was achieved by mounting the end with the brass tube on the mandrel and bushes with the mandrel shaft drawn back to a suitable length and the other end of the work supported in the tailstock by a revolving centre
Woodturning tool shaping a wooden cylinder.
16. Form the sweeping shape of the body with a roughing gouge and finish with the skew. The point of the skew is also used to form the end of the barrel (but without completely parting it off) before sanding and finishing in the same way as for the lower barrel. Once finished carefully part off the waste from the end of the barrel with the
skew chisel and sand and finish the endgrain by hand. The upper barrel is simply pressed into place on the lower barrel (once the refill has been fitted)

Leave a Reply

Your email address will not be published. Required fields are marked *