Kurt Hertzog has some tips for success with shellac and lacquer
For the woodturner seeking easily applied finishes that offer good looks and protection, I usually recommend shellac or lacquer. Most woodturners are in the hurried mode so using long, involved finishing tasks find little favour. Newcomers as well as the more experienced can easily and quickly apply either of these finishes by following only a couple of basic rules.
Both shellac and lacquer are evaporative film finishes. They can be built by applying multiple coats for thickness and appearance. Personally, I like the look and feel of both of these finishes and use them often. Each offers different benefits of application, protection and appearance. Knowing about these differences will help the woodturner pick the time and place for each. We’ll explore these popular film finishes and how best to be successful with them.
Safety
With any finish, read, understand, and follow the manufacturer’s safe use instructions. PPE indicated can include protective gloves, plenty of ventilation and activated charcoal respirators. Learning the proper
PPE is only part of the information available from the manufacturer.
The safe use instructions on the packaging will indicate the parameters for application that will yield the best results. Substrate preparation and condition, ambient temperature conditions, humidity and other information will be suggested. The few moments spent reading these can help you protect yourself and get the results you desire.
Preparation for finish
Regardless of the finish or the method of application, a poorly prepared surface will always be a detriment to a well-finished final result.
Shellac basics
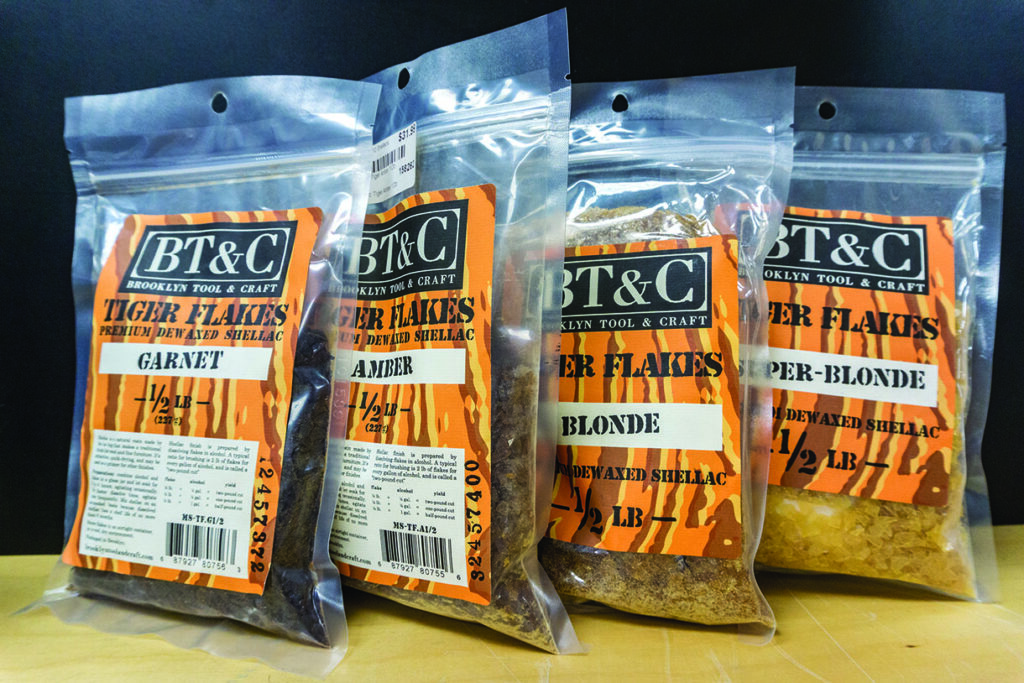
Shellac is a bug excretion that has been processed to clean and sort it for use in a wide variety of applications. These range from coating edible produce and pharmaceuticals to being applied to woodturnings and woodworks. A key to good results with shellac is having fresh product. From the moment shellac is made, it begins a degradation in performance with age.
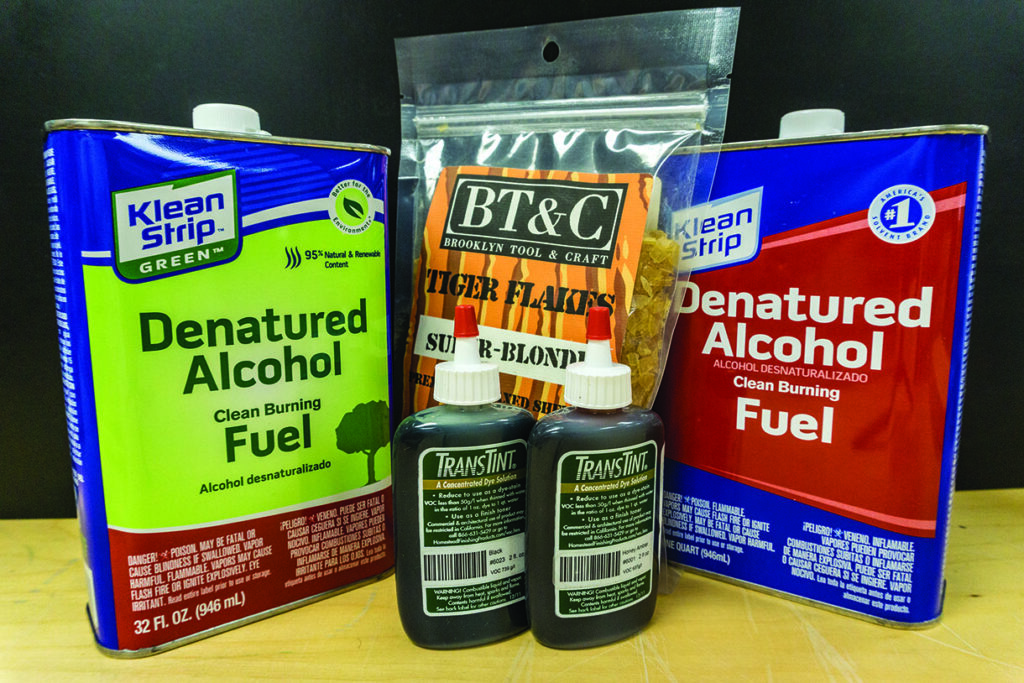
Buying fresh commercial product is a challenge since it is day/date coded and begins ageing the day of manufacture. If you wind up buying at a slow turnover merchant, you may have problems with application and final results. When creating your own shellac mixture, the age and storage condition of the flakes, as well as the alcohol used to mix your shellac, can have an effect on the results. The shellac purists have special alcohol brands, special blends, or proofs that they use.
Shellac is one of the most versatile finishes available. Purchased at your retailer or easily made, it will function quite nicely as a finish by itself. It also works marvellously as a separation or barrier layer between non-compatible finishes, a colouring agent carrier, and a final finish over a different type of finish. Shellac can be purchased pre-mixed in a can from your home improvement store or paint retailer.
Did you know?
Shellac is derived from the secretions of the female lac bug. She secretes the resin on trees in Thailand and India. Depending on end-product goal, harvested lac resin goes through varying degrees of processing. The resultant solid flakes are subsequently dissolved in alcohol to make liquid shellac.
Versatility
Shellac is a very versatile finish. In addition to being used as a finish for woods, it is used as a fingernail polish, final coat for sweets and pills, adjustment agent in watchmaking, a fuel for fireworks, water resistance in felt hats, adhesive for fixing pads in musical instruments, binder for ink sacs in vintage pens, a shine agent for fruits, the time-release coating for medicines and more.
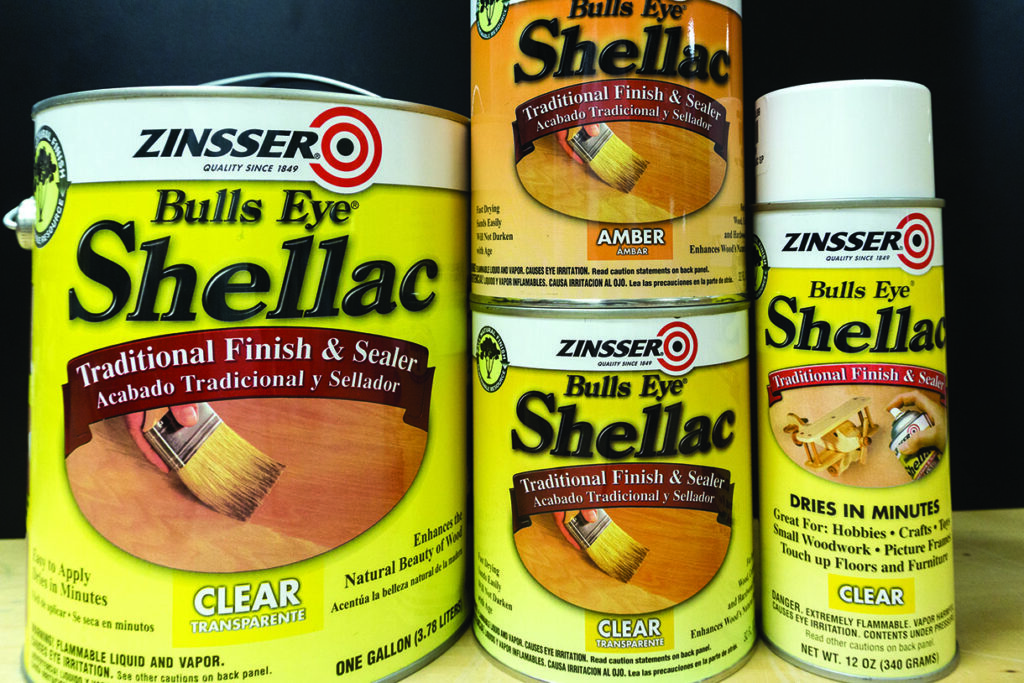
One brand in the US is produced by Rust-Oleum brands company Zinsser and sold under the Bulls Eye brand name. It is available in different ‘cuts’ or, in reality, different loadings of shellac flakes. A cut of shellac is made with a given weight of shellac flakes dissolved into a volume of alcohol. For example, 1lb of shellac flakes fully dissolved in one gallon of alcohol produces a 1lb cut of shellac. Two pounds of flakes dissolved into one gallon of alcohol is a 2lb cut, etc. Obviously you can make any cut you want by varying the ratio and make it in any volume based on needs.
Purchased shellacs usually don’t indicate the cut on the can but are known to be about a 3lb for the Bulls Eye shellac and a 2lb cut for the Seal Coat version. Based on your needs, lighter cuts can be made with proper dilution with alcohol.
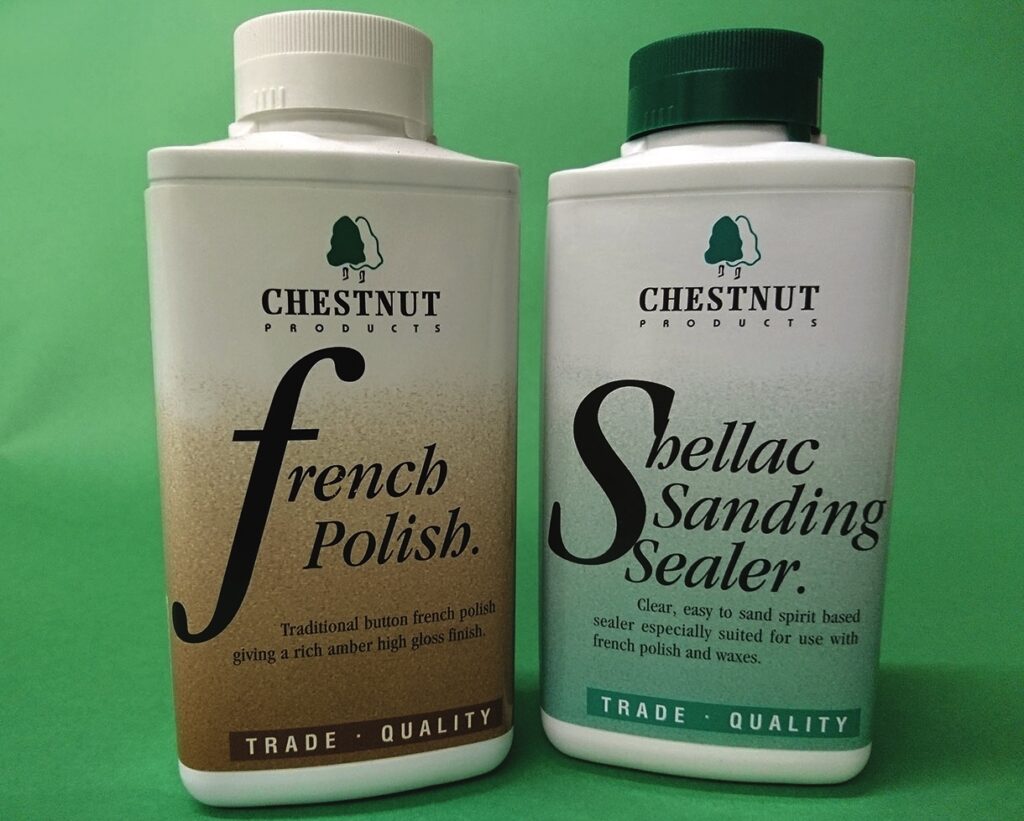
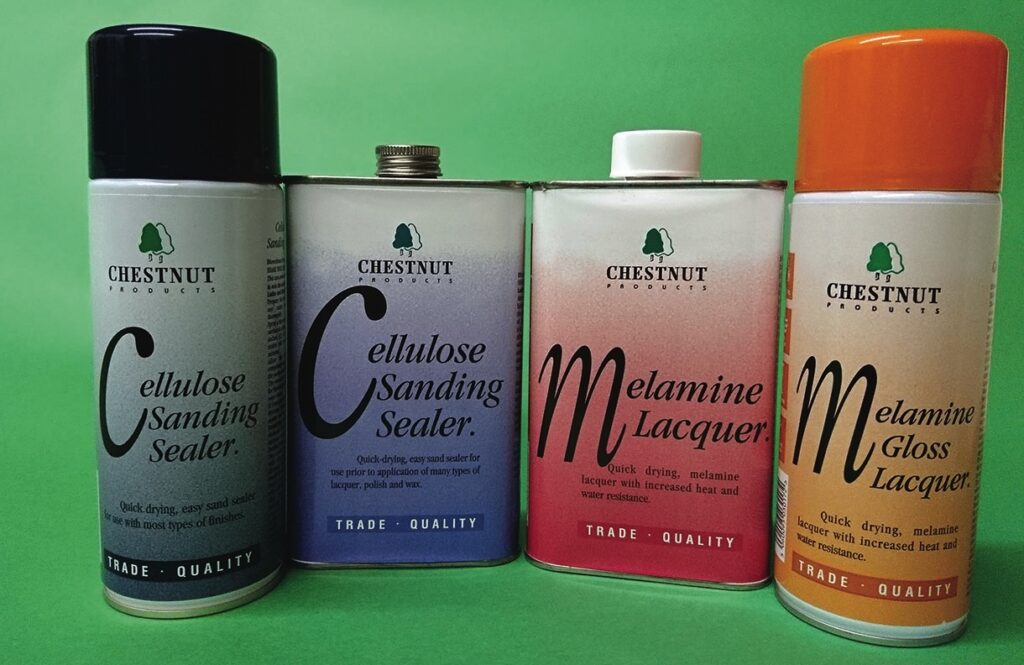
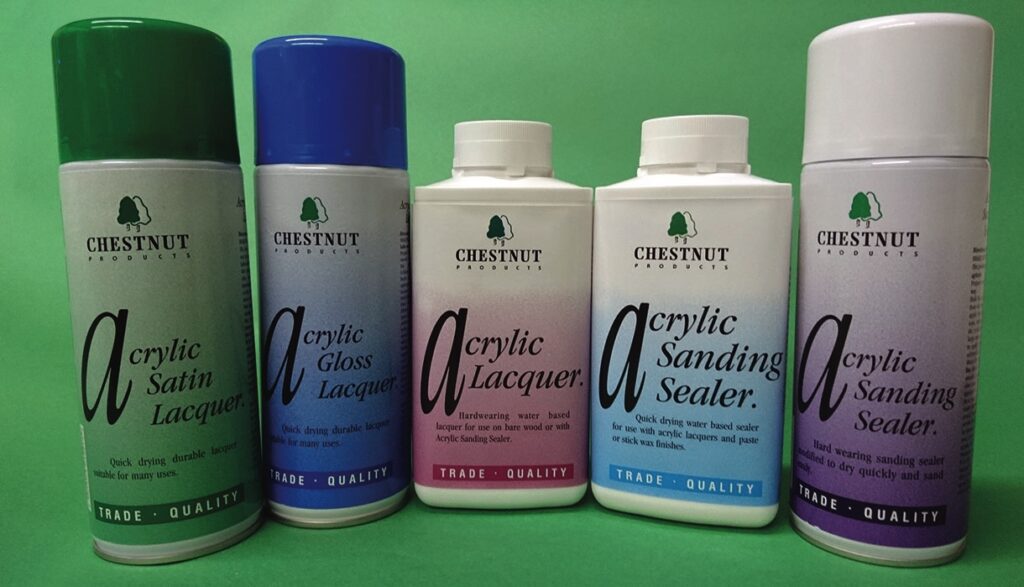
Having mentioned Zinsser, please note there are many other makes of ready-mixed shellac products around the world – Chestnut products, Liberon, Mylands, Rustins, Colron, Barrettine, Blackfriar, Morrells, Briwax and many more for you to choose from.
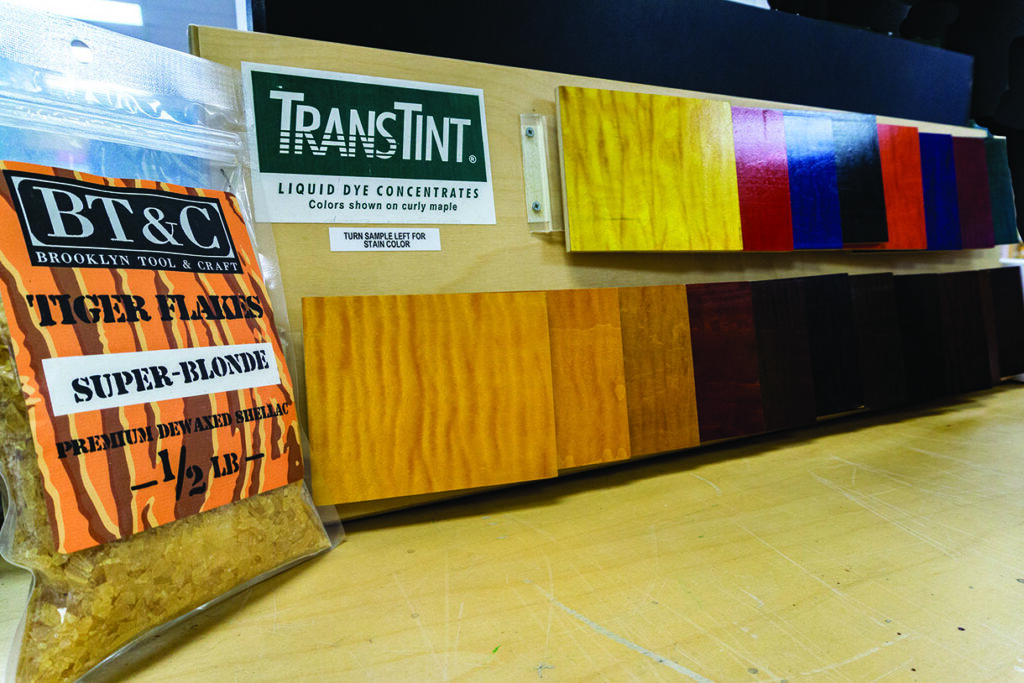
If you have special colour needs, the colour of the shellac bought or home-mixed can be altered with alcohol-based dyes. Virtually any colour of tinting can be accomplished using alcohol-based stain, aniline dye, or universal colourants. A colour wheel may be a valuable addition to your kit. The dyes available through your retailer will let you achieve virtually any colour you wish.


Problems and fixes
If shellac stays tacky and never hardens, it is too old. Get or make fresh shellac. Three years is about the maximum life from canned premade product. Home mixed is less. Fresher is always better. If sprayed shellac or lacquer ‘blushes’ the humidity is too high. Changing your diluting agent from denatured alcohol to isopropyl alcohol is said to help with shellac. Retarding agents are available for lacquers. The best solution is to spray either finish on a cooler, less humid day. The evaporation of the distillates in the finish causes cooling, in turn condensing moisture on the finish causing clouding or blush. Retarders are available but beyond our scope.
Lacquer basics
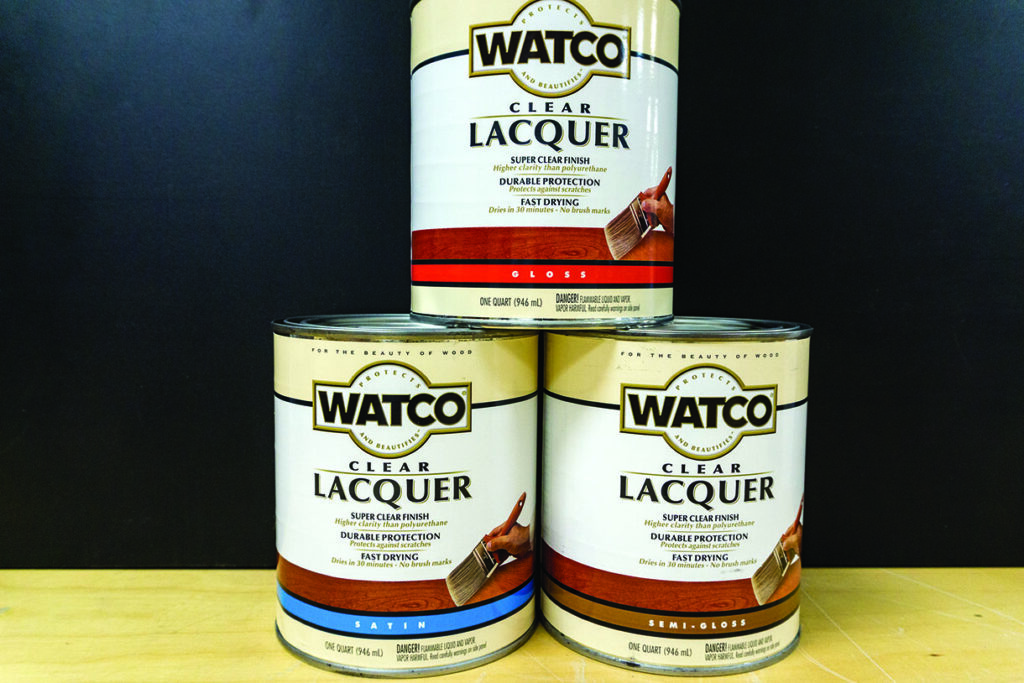
Generically, lacquer refers to hard finishes that can be applied to wood. By that definition, shellac actually falls under the heading of a lacquer. We’ll leave it separate and try to reign in ‘lacquers’.
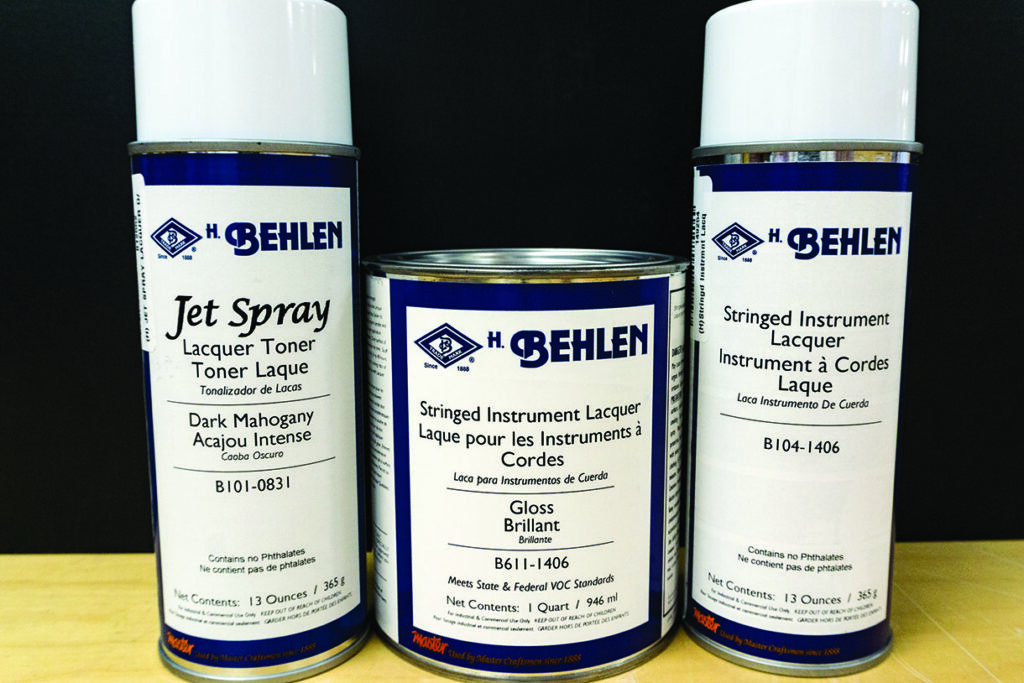
Intentionally ignoring Urushiol-based lacquers and the other exotic forms, we’ll focus on the modern, readily available and more easily used nitrocellulose, acrylic, and water-based lacquers. These more modern versions still require skills to use well but are available to the consumer in nearly any market. Usually shiny but sheen is controllable. We’ll deal with that near the end of the series. Nitrocellulose lacquers have been around since their use painting automobiles back in the 1920s. Currently, these lacquers find most of their use on furniture and musical instruments.
The preferred way to apply nitrocellulose lacquer is by spraying. Be aware of the PPE and safe handling precautions needed to use this finish. Acrylic lacquers use a colourless acrylic resin as their basis. Water-based to be dealt with later. Catalysed lacquers are used extensively in the professional arena
and beyond the scope of our series.
Finishing environment
Few of us have the space or can afford a dedicated finishing area or booth. It would be nice but often we are forced to use the shop area where other work occurs. The problem that presents is dust. The biggest enemy you are likely to have in finishing is dust that will settle on a wet finish.
The two solutions that I use with varying degrees of success are finishing outdoors and finishing in the shop first thing in the morning. My finishing process is to do all brushing of finish inside and spraying of finish either inside or outside depending on the season, weather, temperature and winds.
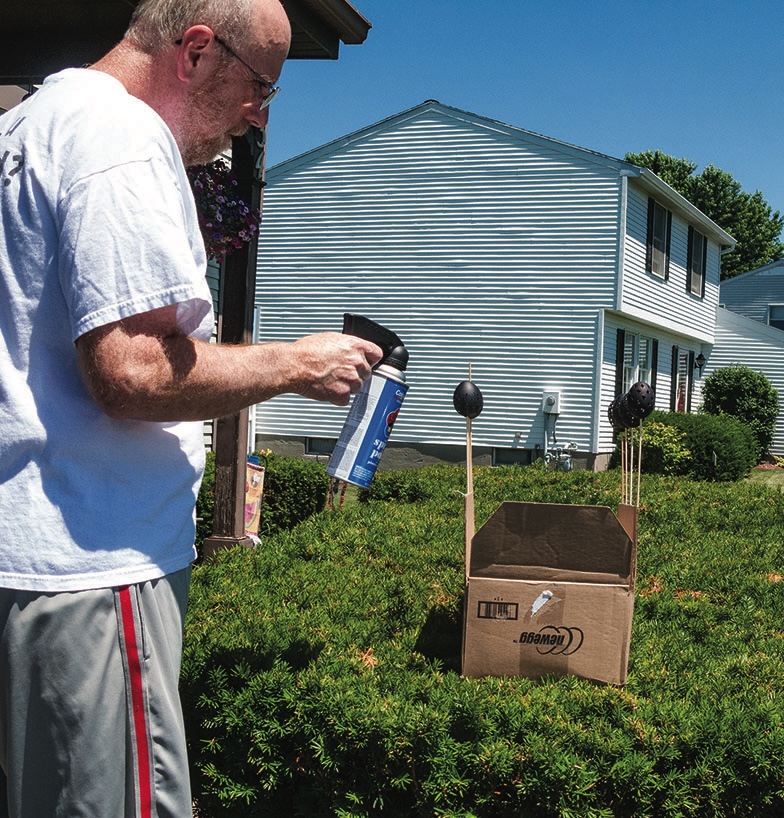
Finishing outdoors has some perils that you don’t have indoors. The season of the year and your locality can dictate your ability to work outdoors. The weather of the day and the potential change in weather can be a problem.
The beauty of working outdoors is the prevailing light breeze will carry off the overspray and fumes but do be wary of stronger breezes that might carry dust. Other than the seasons when you have plants shedding materials, a warm, sunshiney day is a joy to be outdoors spraying lacquer or shellac. Barring the outdoor opportunity, putting a finish on your project in the shop needs to be done with minimal airborne dust. I also try to make sure that I do a batch of finishing rather than just one thing at a time.
Typically, after I have finished turning for the day I will have a workshop clean up. That means removing large shavings and then vacuuming up any other debris and dust that is evident in my workshop and finishing area. I then leave the overhead dust filters on overnight to capture any errant particles. Then first thing in the morning I do all my finishing tasks to minimise any risk of dust settling on my wet finishes as they cure.
Differnces between shellac and lacquer
• Lacquer is more durable than shellac.
• The gloss of lacquer is controllable from ultra matte to very high gloss.
• Lacquer doesn’t watermark as shellac will.
• In respect of thinners, alcohol is more user-friendly than lacquer thinners
• As applied, both finishes will chemically melt into the previous layer.
• Acrylic lacquers feature a very fast drying time.
• Lacquers may have use/disposal legal requirements based on usage quantity and local environmental regulations.

Application techniques
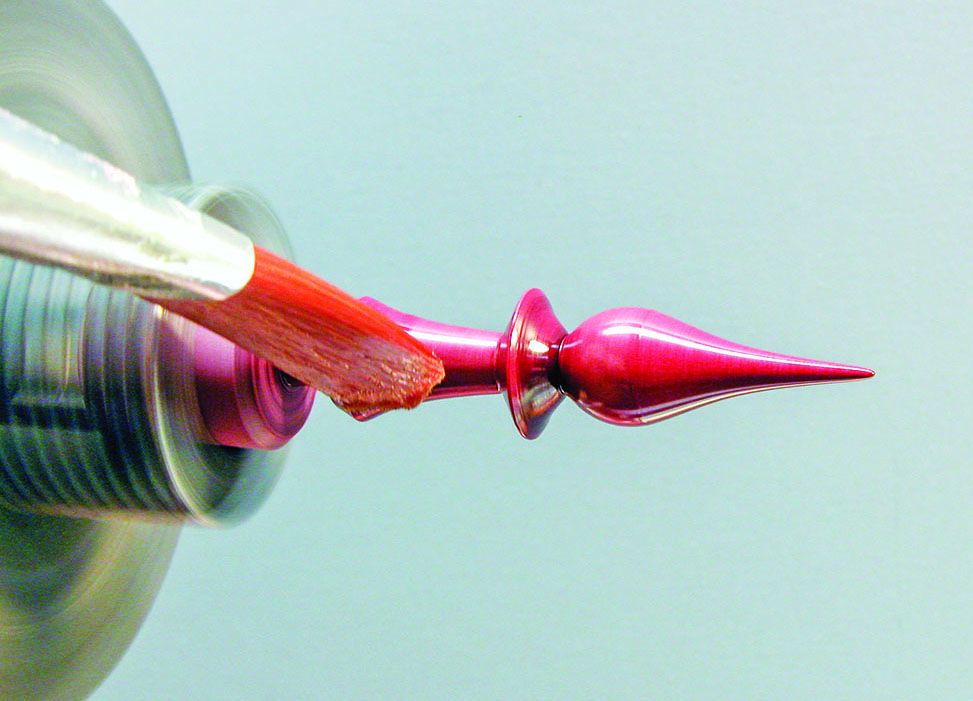
Both shellac and lacquer can be applied in the same two manners. Either will work nicely if brushed on in a dust-free environment with a quality brush. The key word is ‘quality’. You’ll find that purchasing and using a quality brush will make the finishing far easier. You can keep a quality brush in shape for many years with prompt and proper cleaning. I never mix my brushes. Brushes for shellac are never used for anything else and the same for lacquer.
Each is cleaned with the appropriate solvent. Lacquer thinner for lacquer and alcohol for shellac. A thorough cleaning in the solvent and drying of the brush, along with flattening and wrapping in newsprint for storage, will keep your brushes ready for use for years. I try to use the lathe as my workholding and brush apply without power. I brush on the finish while rotating the lathe by hand. Like any painting, keeping a wetted edge and brushing on sufficient material to allow for settling without running works best. Once I have a complete coat, I will often turn on the lathe running at the slowest speed. The rotation will keep everything settling without running. Shellac will take only moments with a light enough cut. The viscosity of lacquer will usually take a bit longer.
Don’t apply the next coat until the previous is dry. You can go away and come back the next day if you wish. You won’t need to but you could, since the solvent in both finishes will cut into the previous layer – that is, the next coat will partially dissolve the dried previous layer just a bit and bond the two layers together.
This goes on over and over with each successive coat until you have built the thickness you desire. If the coats are properly applied and you use the premise of many coats of very thin applications, you should have no need to ‘level’ the coats. Everything should be ready for the final sheen control, buffing and polishing. Remember, problems always arise when you try to apply the next coat too soon.
Application by spray
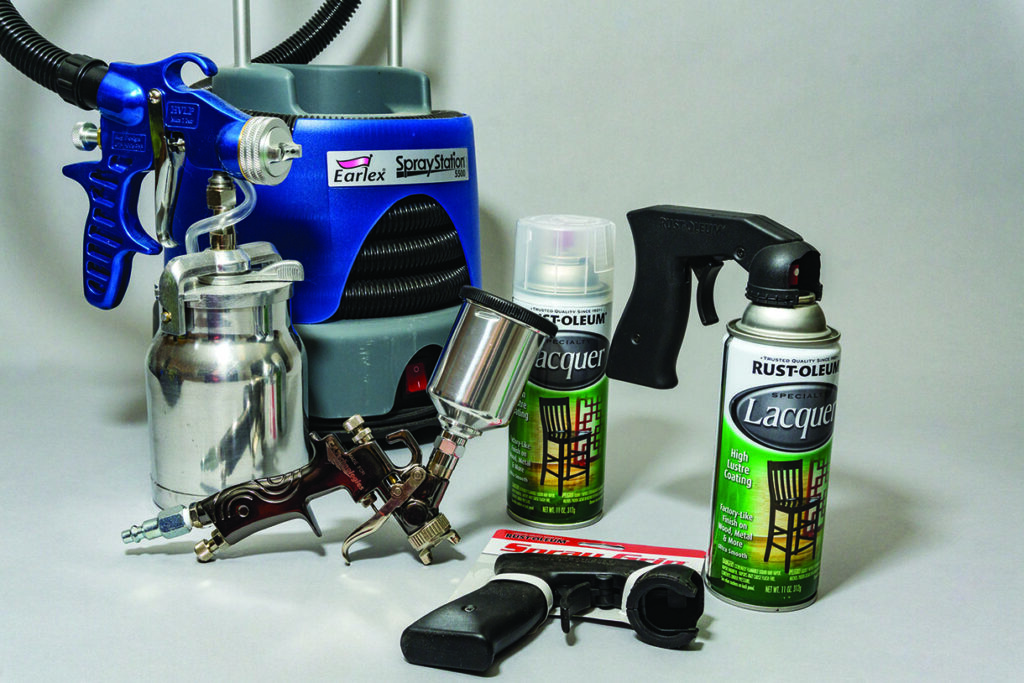
Shellac and lacquer both work very nicely being sprayed. Virtually any spray mechanism will work provided you have the correct viscosity. Each applicator will require something different.
You can apply lacquer or shellac via an airbrush, a standard spray gun, an HVLP system, or a rattle can aerosol applicator. I am perhaps the worst spray painter there is. I own and use an HVLP system but rarely use it because I find I get successful results with an aerosol applicator. I don’t spray shellac at all any more and always brush it.
For lacquer, I don’t brush it any more but always spray it from a rattle can applicator. You can buy versions of lacquer from the most inexpensive to some of the finest available in these applicators.
If you are spraying furniture or large projects, you’ll likely need an HVLP or standard spray gun system. My projects are sized so I can apply lacquer from a spray can quite nicely. I use the same method as above being held in the lathe and rotated by hand or positioned outside so I can walk around it. The same guidance as above. Many light coats get the job done properly. Applying too thickly just once will cause a run that will ruin the job.
How many coats? I’ve never really counted to get a minimum and maximum number. Put on the number of coats it takes to give you the appearance you want.
Sheen control, buffing and polishing
We’ll deal with sheen control, buffing and polishing of the entire finishing matrix near the end of the article series. There are some differences but, for the most part, they are all so similar that it will be easier to cover the commonalities and identify the few differences. Look for the buffing and polishing topic in the last segment of this series.
Dos and don’ts
• Always be cautious spraying shellac. It is a flammable finish until the alcohol flashes off.
• Shellac is a great primer to seal knots prior to another finish. It will seal in bleeding.
• When mixing shellac, always date and indicate the cut on the container. When in doubt, mix fresh.
• Read the technical labels and always follow the recoat guidelines. Failure to follow the recommended guidelines may result in a poor or useless finish.
• Don’t rush! Having spent all the time creating something you are proud of, rushing is likely to introduce errors that may result in a bad finish. We all know a bad finish will ruin a great piece of work.
Conclusions
One of the takeaways from this series will probably be that there isn’t any one best finish. As with virtually everything else, there are pluses and minuses to be considered and weigh in the selection decision. This issue, we compared two popular film-type finishes that have ease of use, wide acceptance and many years of history. Are they the ‘answer’? Perhaps, but you’ve got many more to put into the decision matrix as we go forward.
Your decision will vary from project to project based on the relative importance of materials cost, ease of use, repairability, special equipment/facilities needed, level of PPE, your familiarity with the product, size of project and more. Nearly any finish we’ll present will do the job. The selection you make should be the best balance of the benefits and drawbacks for your situation.