
A perfect, well-organised space in which to work is every woodworker’s dream. Here we show you how to make it a reality…in the UK
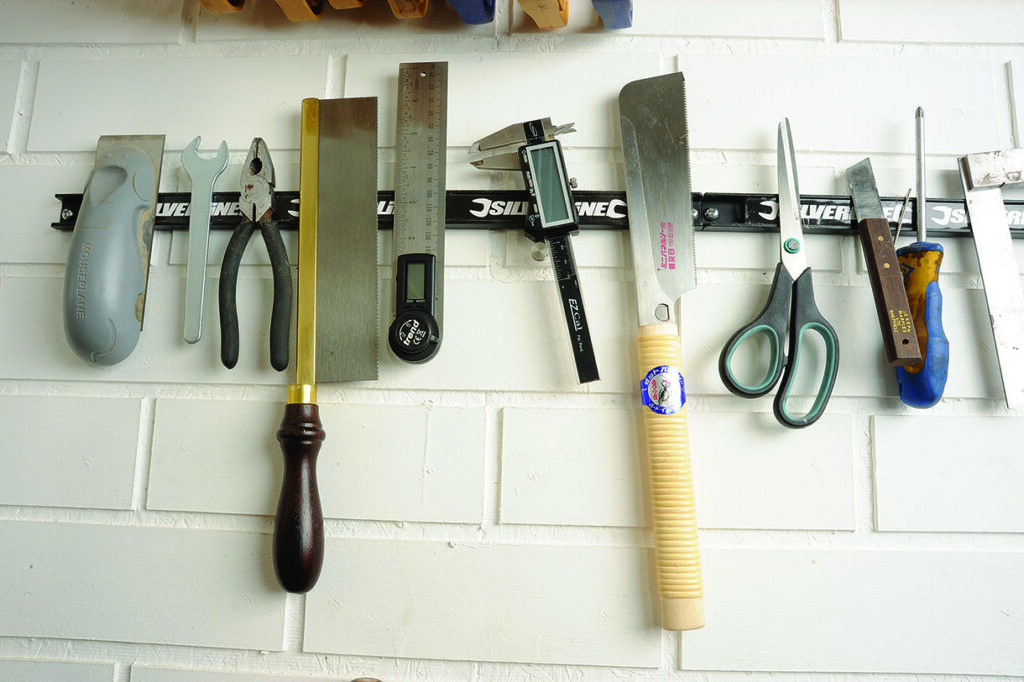
The average workshop – be it a garage or shed – is usually quite small, so ingenious solutions are called for. The problem is that as soon as you organise storage properly, it takes up more room than when everything is piled in a heap! There is an adage that if the machines take up too much room, get rid of the machines. You can’t quite do that but it is necessary to make some hard decisions about what you actually need, as opposed to what you have. The big essential bits of kit determine everything else around them. So maybe timber needs to be stored in the roof space or a separate weather-tight shelter outside. Are you working in a space with bare brick and no insulation? Lining a workshop out and creating a comfortable pleasant environment forces you to look at what you need to put back in that space in order to work effectively. Sometimes hard choices are needed…
Fitting out
So maybe the first step is to fit out the building properly. A typical method is to line out with builder’s polythene sheet and then a layer of polyurethane insulation board behind walls, ceiling and floor, set between battens and then board over everything. This can be OSB (oriented strand board) or ply on wall and ceiling and moisture resistant flooring chipboard on the floor area, which locks together to form a good continuous surface, capable of withstanding heavy loads and keeping your feet away from the cold underneath.
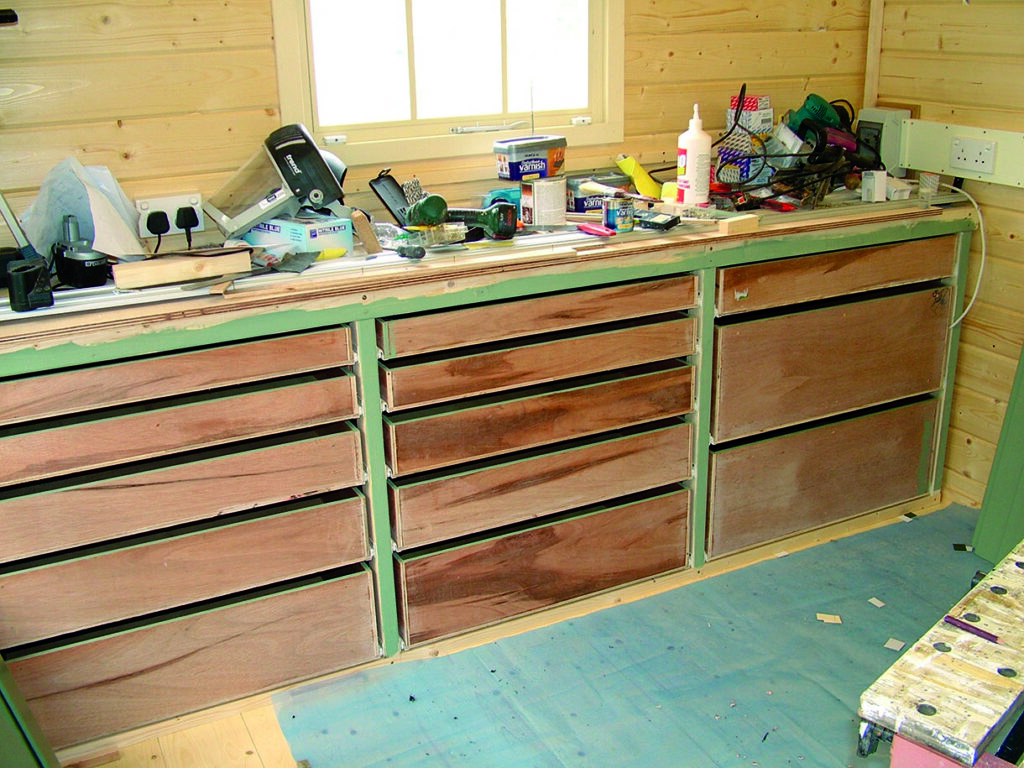
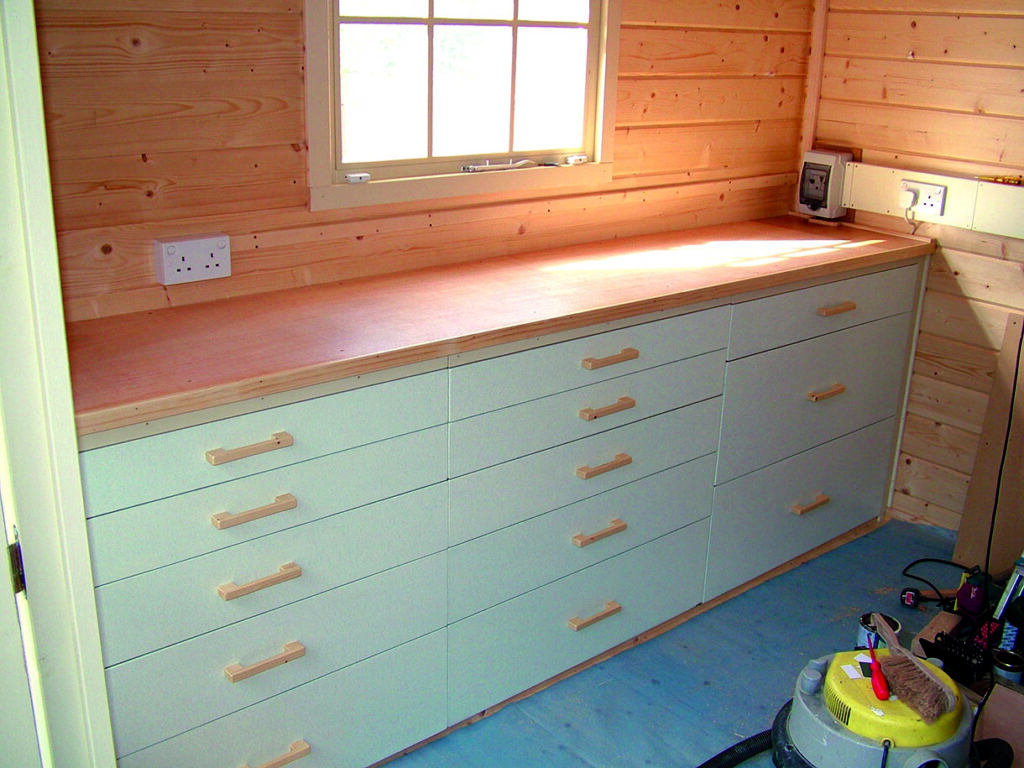
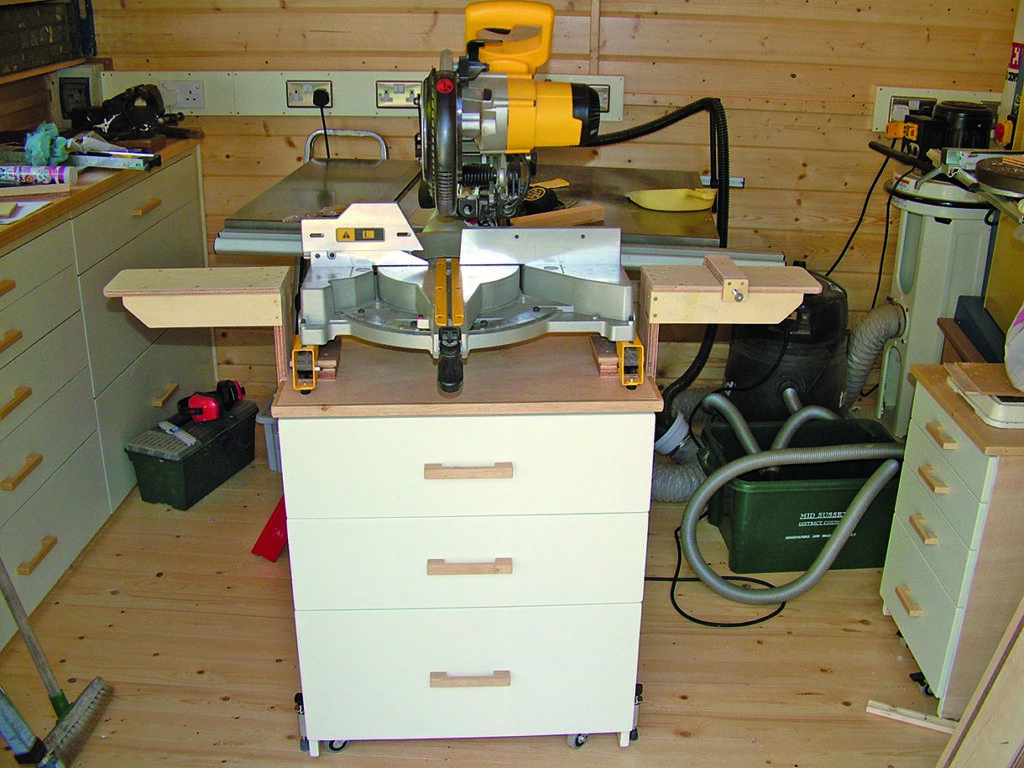
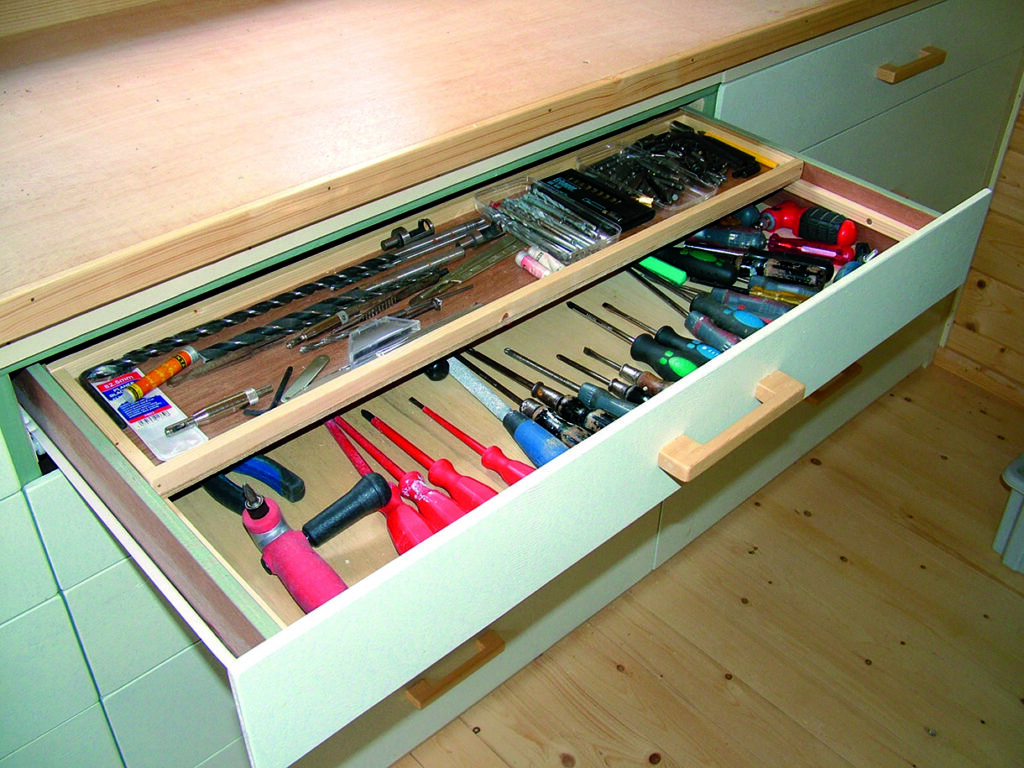
An advantage of lining out is that you now have continuous flat surfaces which you can fix things to. Storage drawers are extremely handy and the top surface can be used for things like a compound mitre saw, pillar drill or sharpening station.
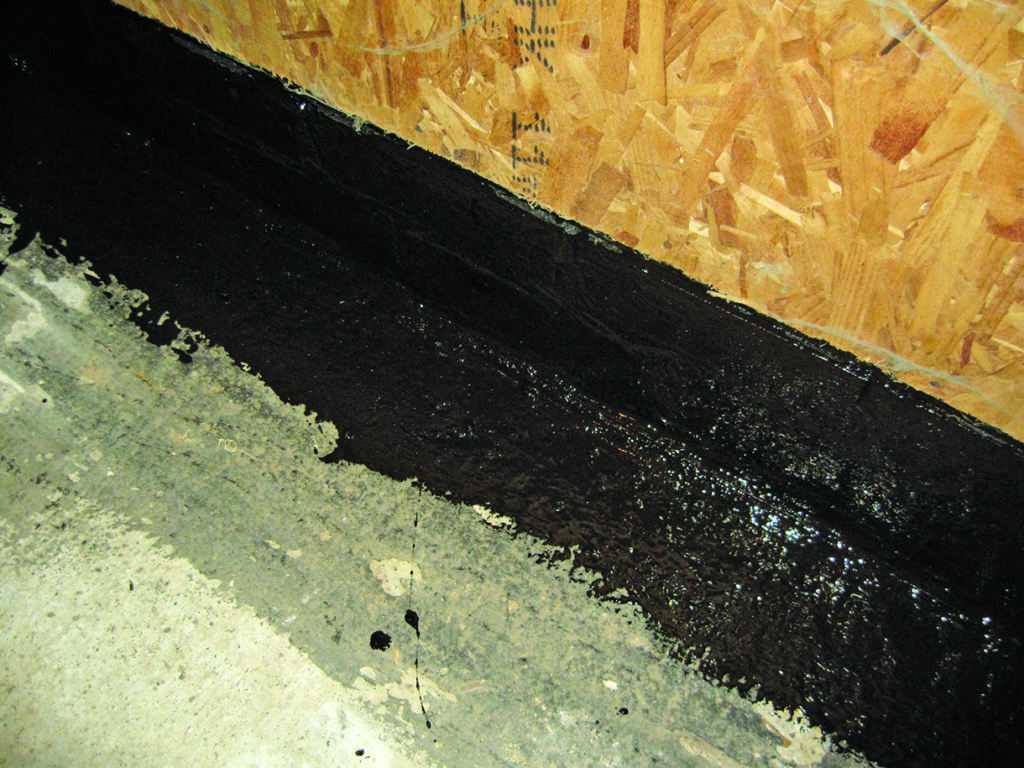
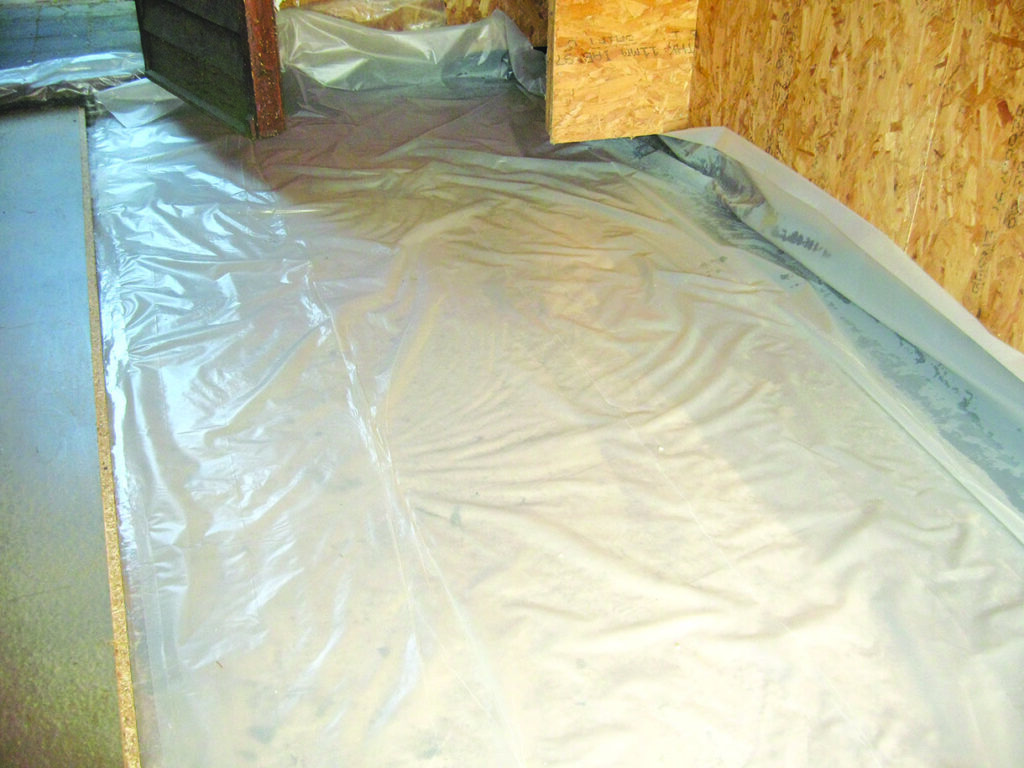
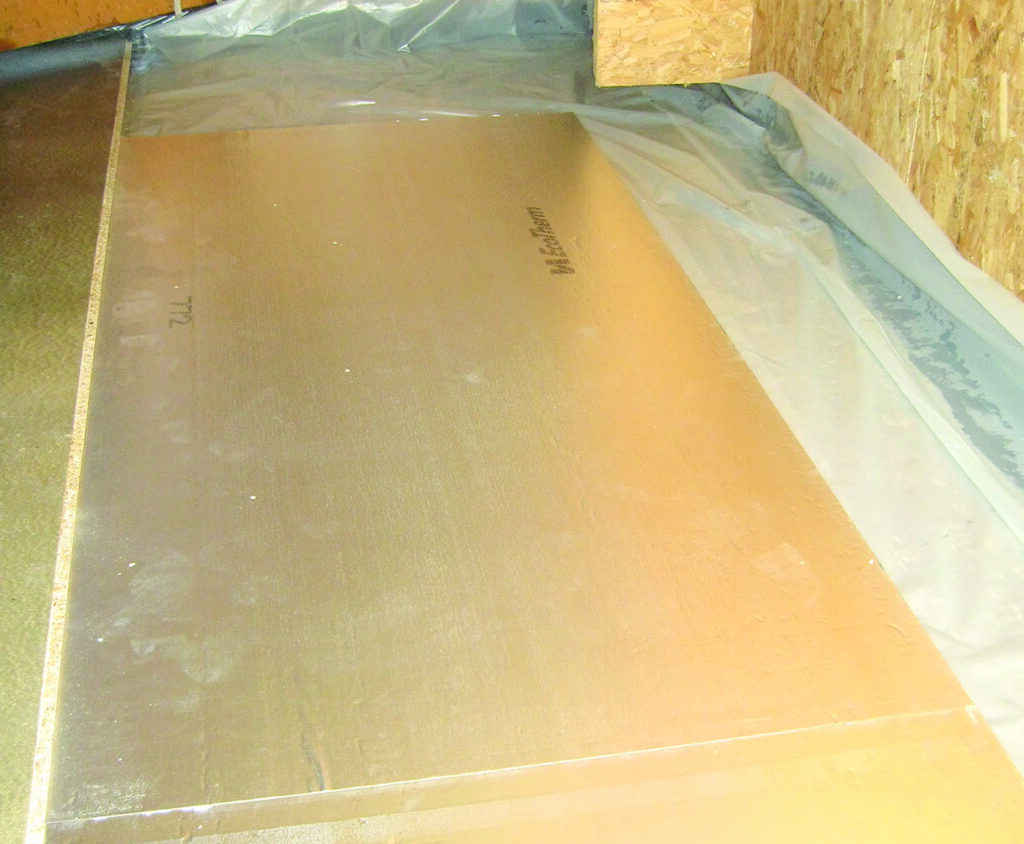
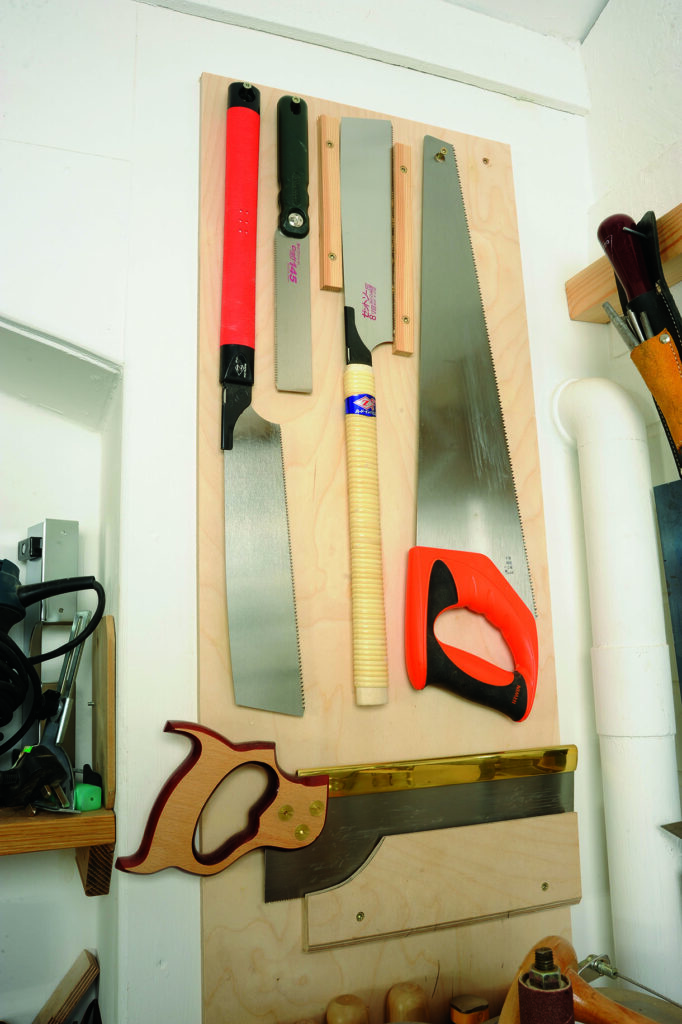
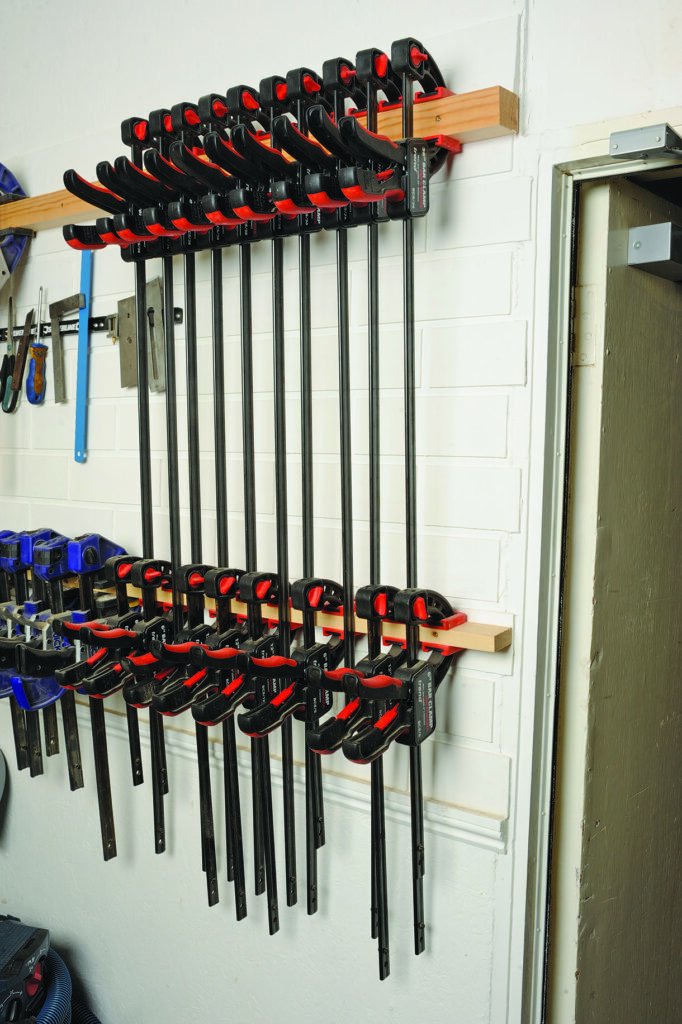
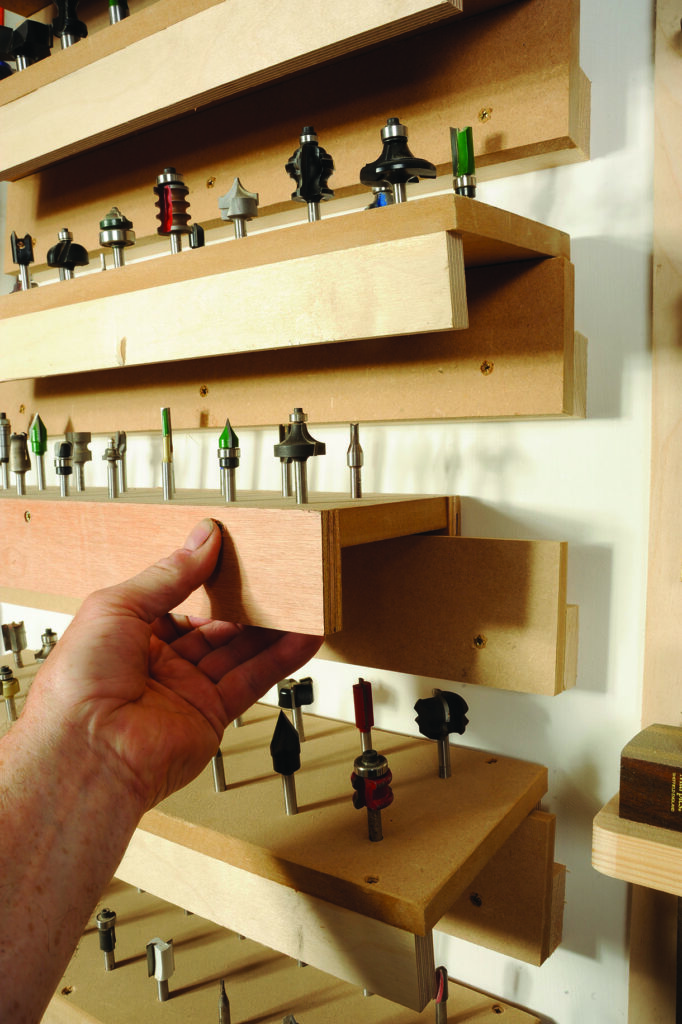
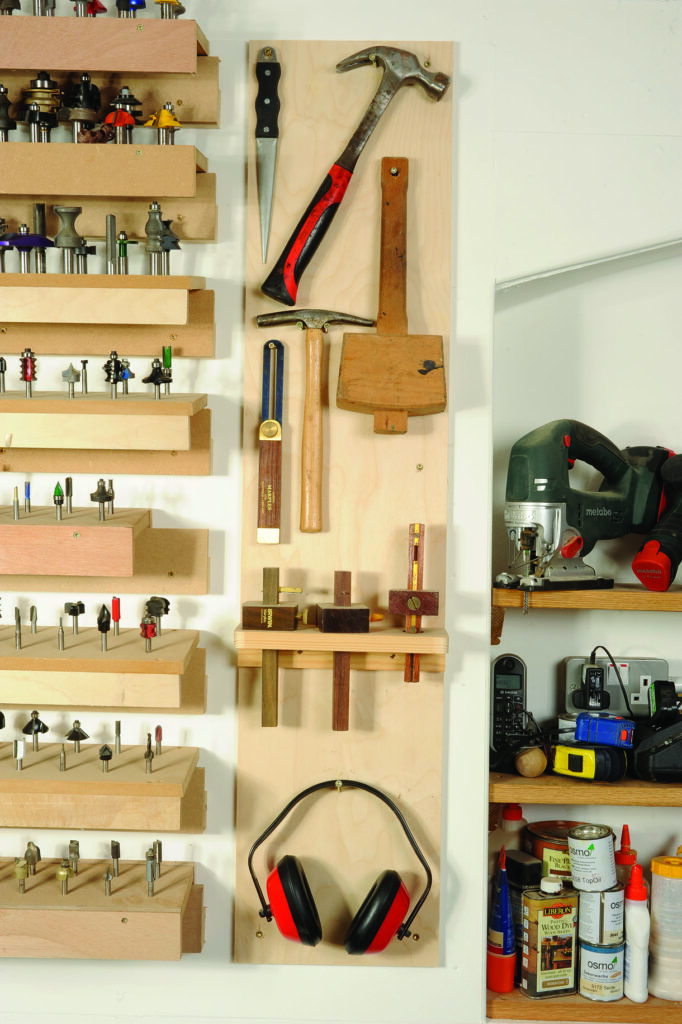
Any area of wall space is valuable although you need some windows so you don’t just rely on artificial light. Magnetic racks and custom-made toolboards keep things nicely organised and make selecting tools easy while keeping them safe and you feeling proud about your workshop setup.
Choosing machines
Choosing which machines is always difficult – they cost money and in a small space you can’t have everything you want. A bandsaw seems to be number one on most woodworker’s lists and it has a small footprint which is useful. It does need to be good quality and have decent blades available, so you can get accurate cuts if you don’t have a table saw as well. A pillar drill also has a small footprint and can sit on a bench or cupboard. A good capacity compound mitre saw will do a lot of accurate ninety degree and forty five degree mitre cuts, but it does need plenty of room for cross-cutting long timber. A small cabinet thicknesser is very handy and has a small footprint but again needs plenty of room to feed timber, so these last two machines may need to be movable or maybe you need access at the end of the workshop to feed timber through. Having access doors could be useful for sliding timber into roof storage racks, it may be possible to cut openings in the roof end to do this.
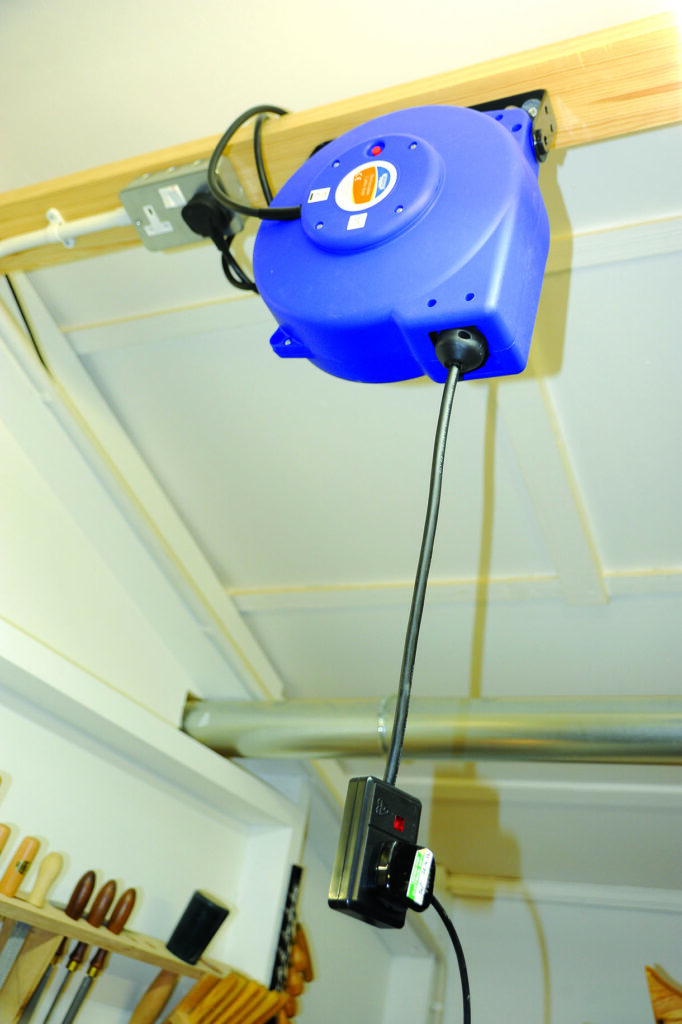
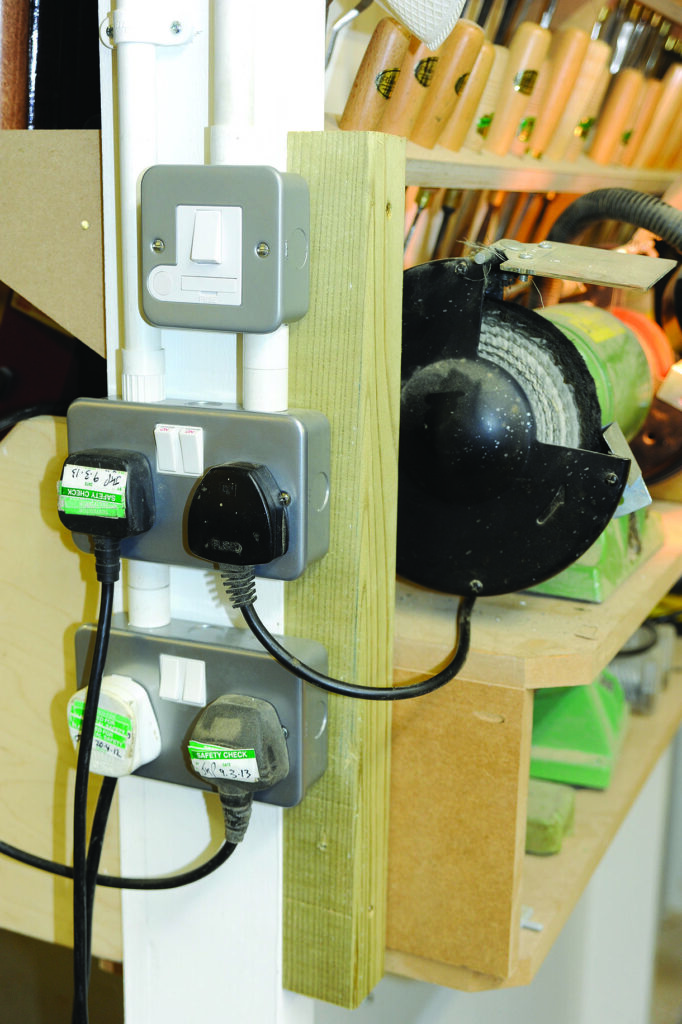
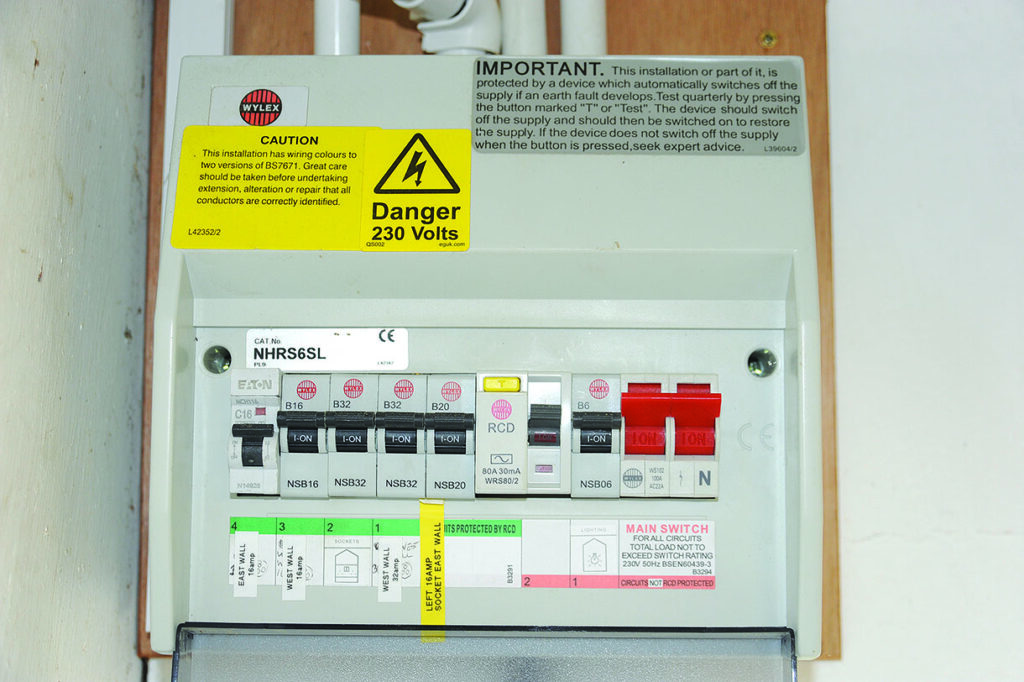
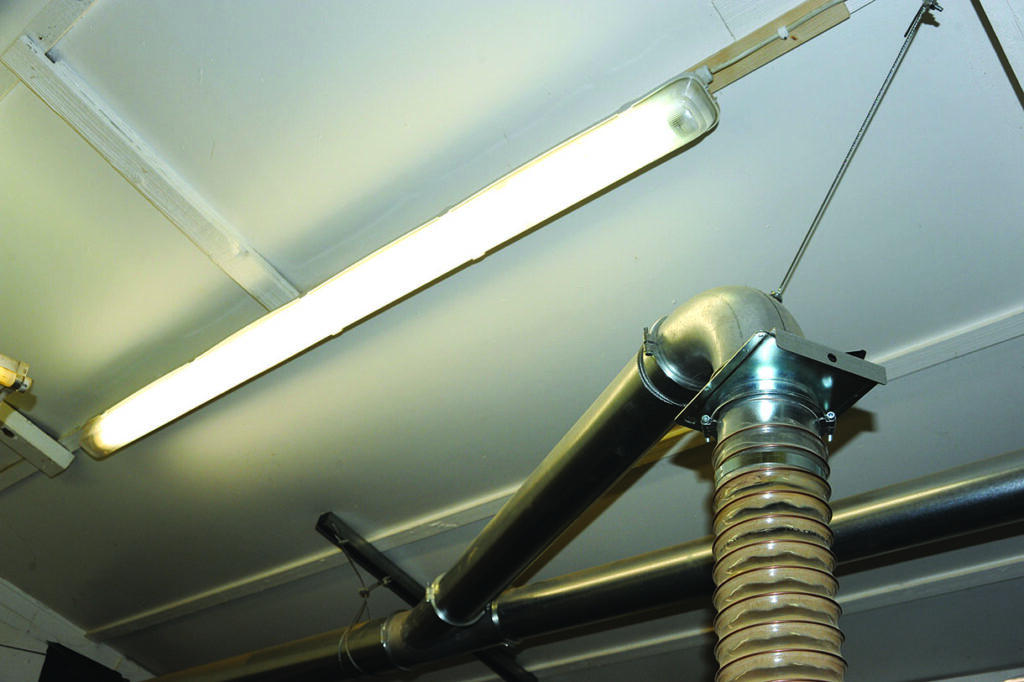
Electrics are an essential workshop feature. They need to be installed safely so it is best to employ a qualified electrician to do this. However you can work out a suitable layout for sockets and lights and fit conduit, metal clad sockets and enclosed striplights ready for the electrician to cable everything and also install a consumer unit to supply and protect the workshop electrics.
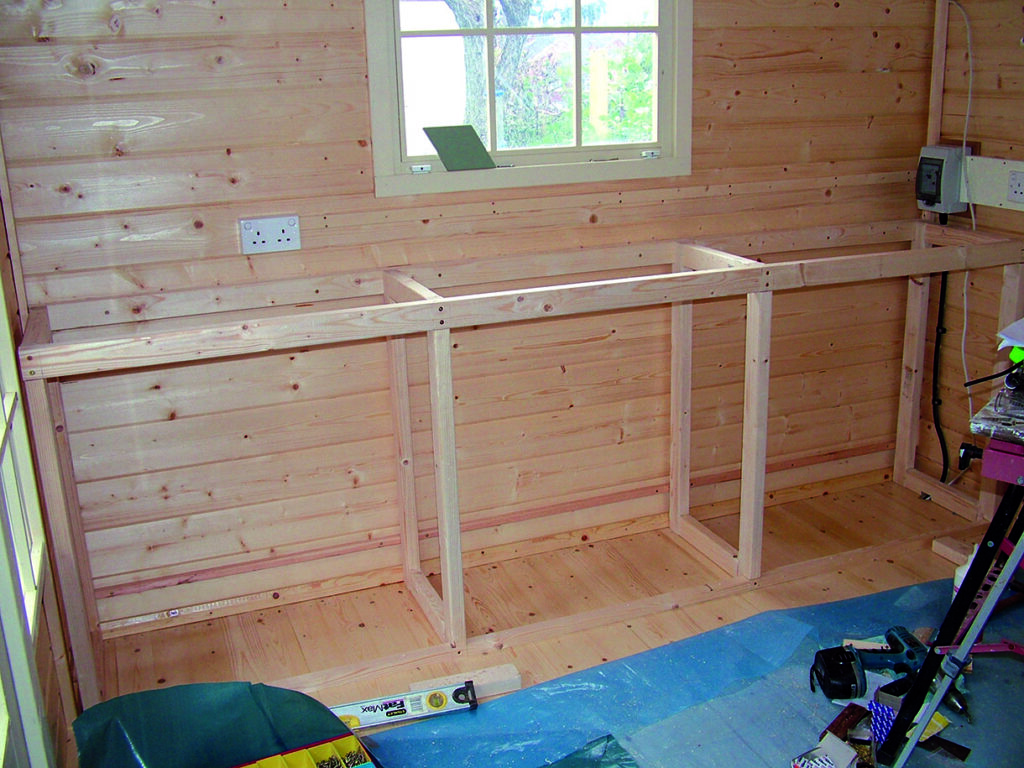
James Hatter lined his workshop with TGV (tongue, groove and vee) softwood and then screwed a framework to it
Extraction
Extraction is essential but the requirements for planer thicknessers which produce chippings and compound mitre saws and disc sanders which produce dust are obviously different. In a small workshop you may need to settle for 65mm diameter pipework rather than the larger 100mm type. A twin motor drum extractor is very powerful and will sit under a workbench or even be installed in its own weatherproof cabinet outside. This will reduce the noise in the workshop but may annoy neighbours, although sound insulation helps. All machines except one (usually the bandsaw) need blastgates to ensure enough suction at the machine being used. Powertools extract better with a powertool auto extractor but that needs more space although it can be moved around.
Security
Last but not least is workshop security. This is not an easy one to resolve because a determined intruder will always find a way. Security lighting and padlocks can make it difficult for a burglar to be discreet and of course nowadays some homeowners install small CCTV systems in high-risk areas but these need to be linked to a recording device for evidence. Making a habit of locking up regularly is important and remember to lock garden gates as well.