The Woodworkers Institute

We bring you the very best of woodworking!

“Make it with us”

Hawaiian puahala calabash

Emiliano Achaval shows how to make a classic Hawaiian end grain vessel
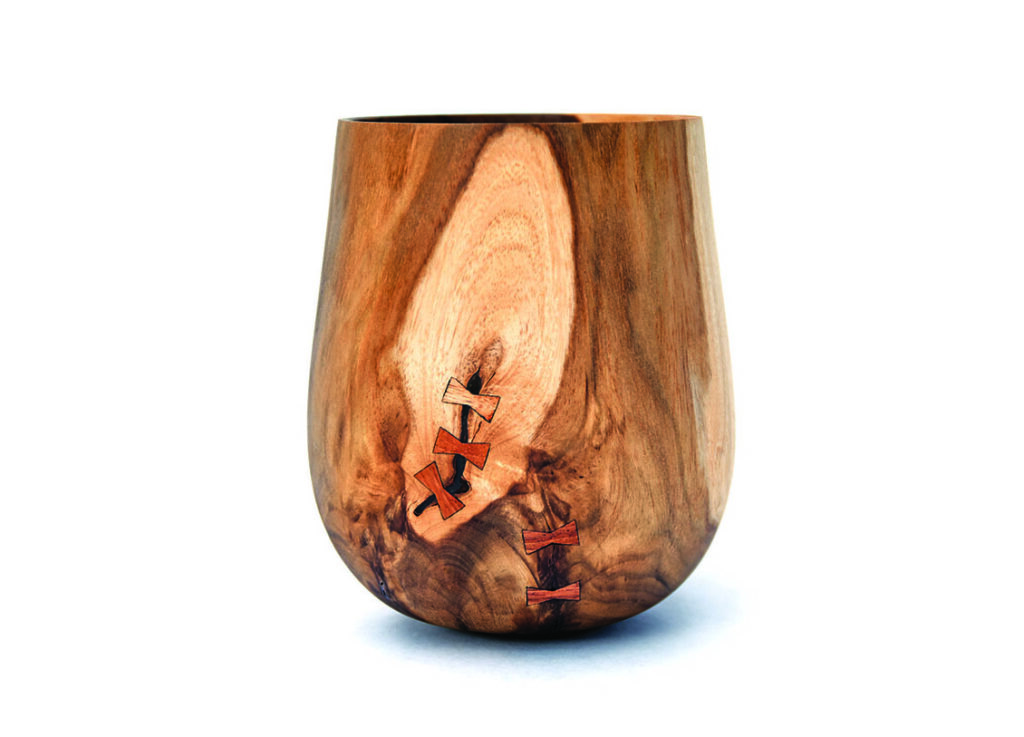
Handcrafted wooden vessel with decorative bowtie inlays

Most people have heard of the place I call home: Hawaii. It’s a privilege to be able to live on this paradise island of Maui, surrounded by history and traditions.

In the following article I will show you how I make a puahala calabash. For inspiration I’m using the ancient kou puahala that I was loaned for the article featured in Woodturning magazine issue 308, when I explored the different types of calabash. 

For this project I decided to use a piece of kou (Cordia subcordata), given to me by my good friend, woodturner John Mydock. Kou is a native tree to Hawaii and is a close-grained hardwood that has a rich, beautiful colour and was the preferred timber of the ancient Hawaiians. 

That said, any close-grained hardwood will work for this project, which not only gives you the option of using a timber close to you, but also timber colour options. I will try to stay true to the form but, just as no two woodturners are alike, the ancient craftsmen each had their own style, so I’m not trying to make a perfect copy. 

Tools and mterials

• RPE & PPE
• Close-grained hardwood of your choice
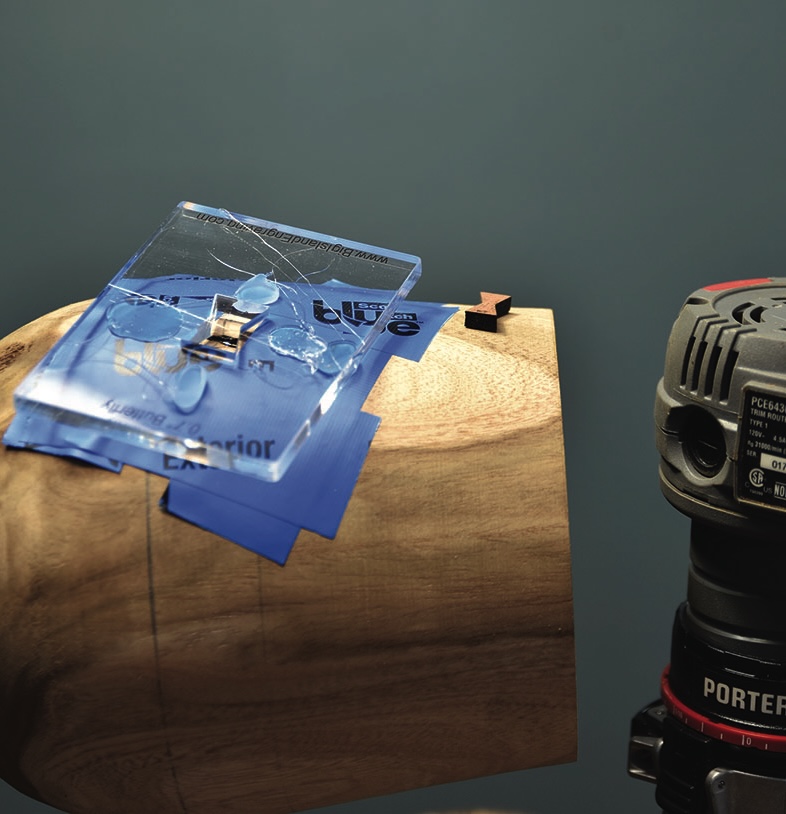
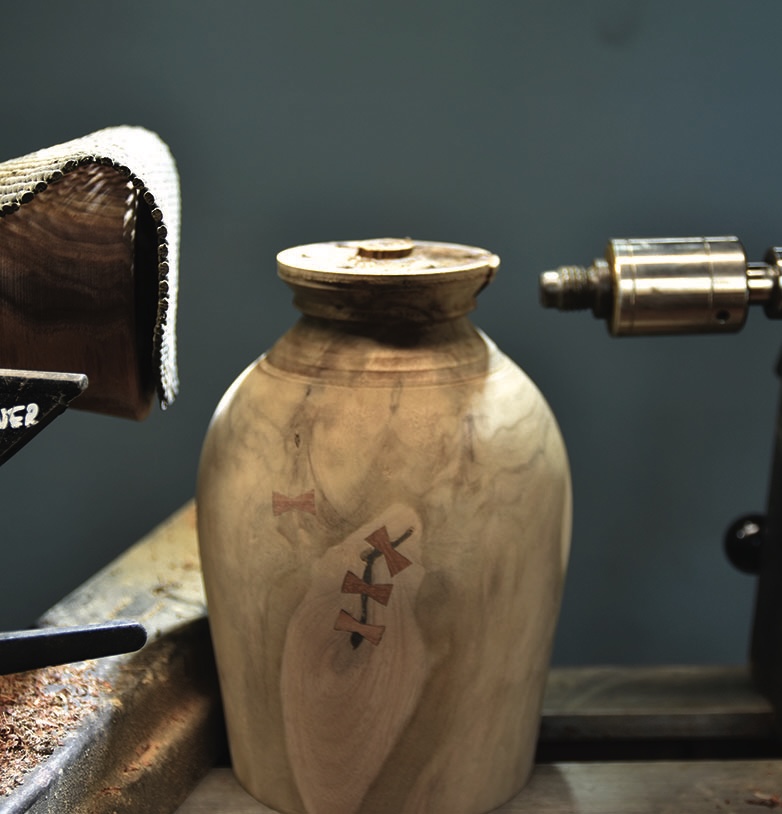
• Faceplate
• No10 sheet-metal screws
• 20 or 25mm spindle roughing gouge
• 10 or 13mm bowl gouge 
• 10mm spindle gouge
• French-curve negative rake scraper
• Hollowing tool with small 6 or 8mm tip
• 1¼in sawtooth bit 
• Laminate trimmer/palm router
• Danish oil or similar finishing oil
• Pewa’ bowl repair templates
• 22mm pewas – wooden butterfly repair patches
• Adhesive
• Abrasives down to 400

Drawing
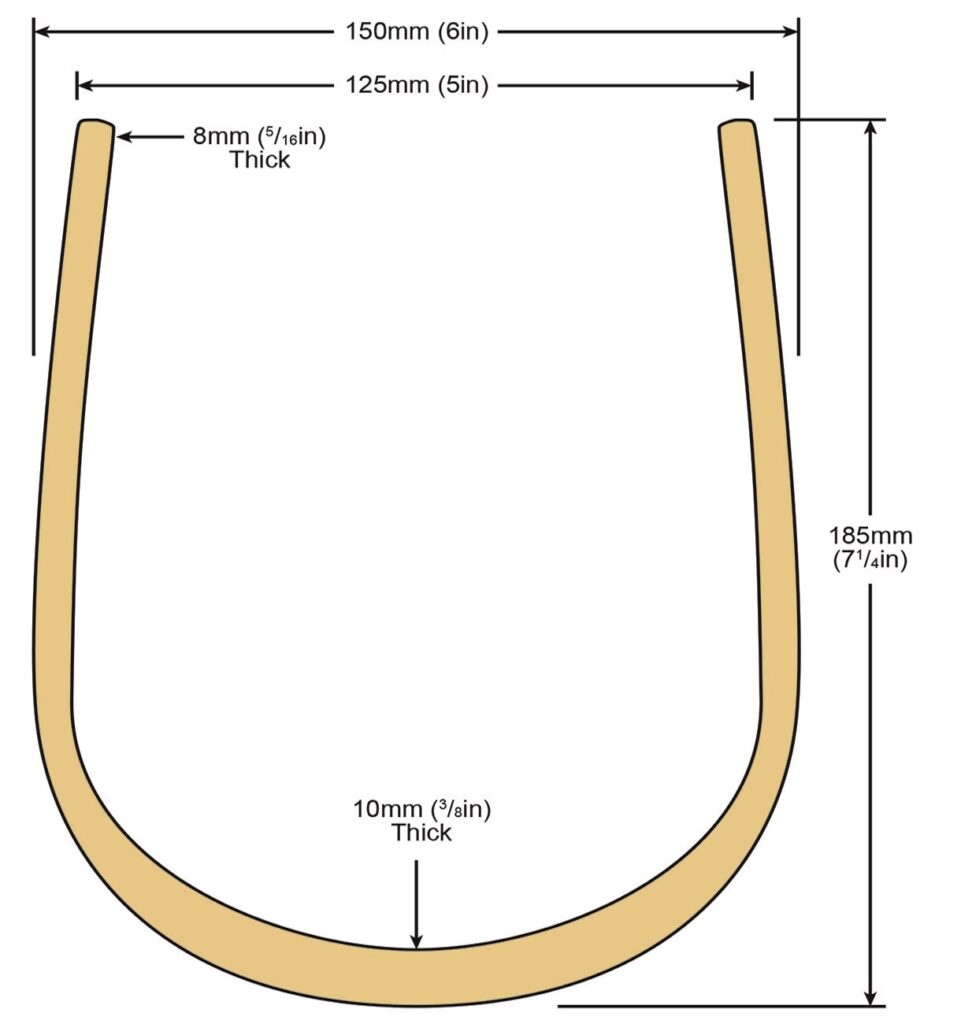
U-shaped wooden piece dimensioned in millimetres and inches

Turning the vessel

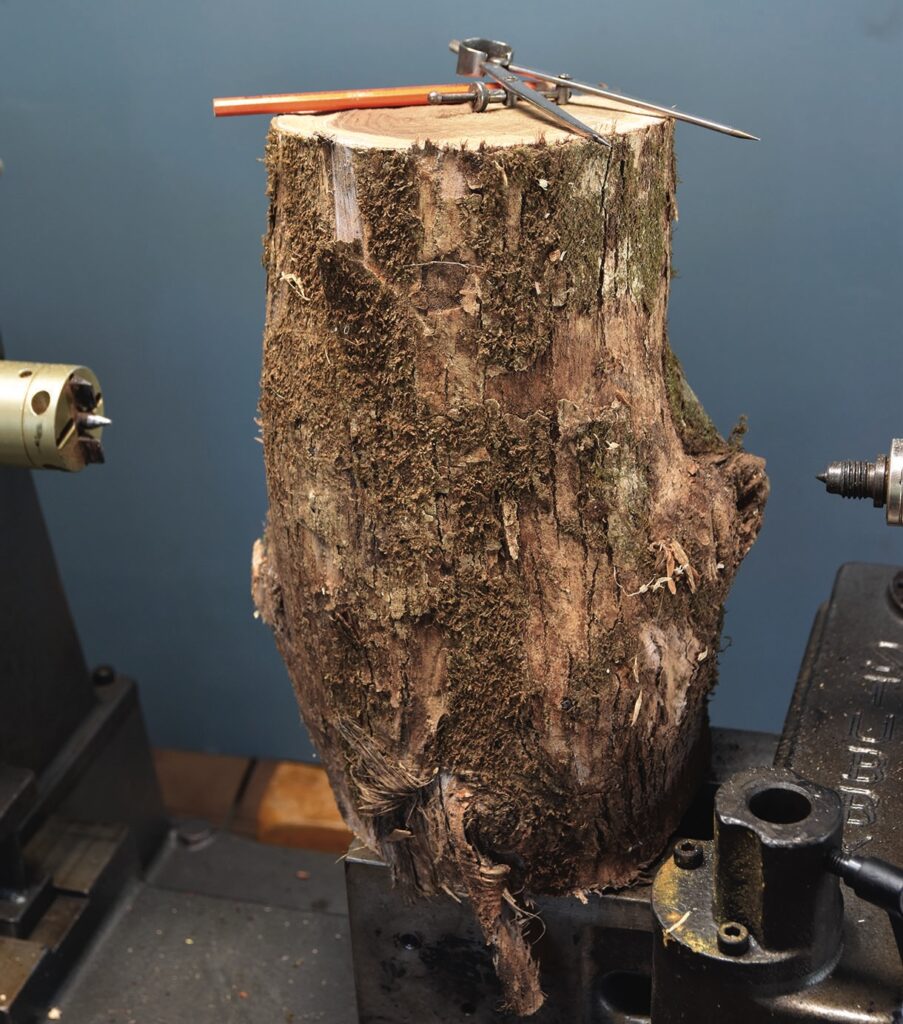
Wood log mounted on a lathe with calipers
1. Whether using a chainsaw, hand saw or bandsaw, follow all safety procedures and cut a log to length. You can use pre-dimensioned timber if you choose. I will eventually use a faceplate to secure the wood to the lathe, even though this is an end grain project. You can of course opt to use a chuck if you so wish. If you use the faceplate method, do not forget to leave enough extra wood for the screws in the faceplate so they do not mark or run through the required timber for the calabash. Some softwoods won’t hold screws on the end grain well. Make the blank at least 38mm longer than its width. Mark the centre, making sure the piece will be offset to show some of the sapwood. Draw a few circles to see your best options. All ancient puahala have the distinct heartwood/sapwood contrast, and this visual contrast makes the vessel look a lot nicer than if you only had heartwood alone
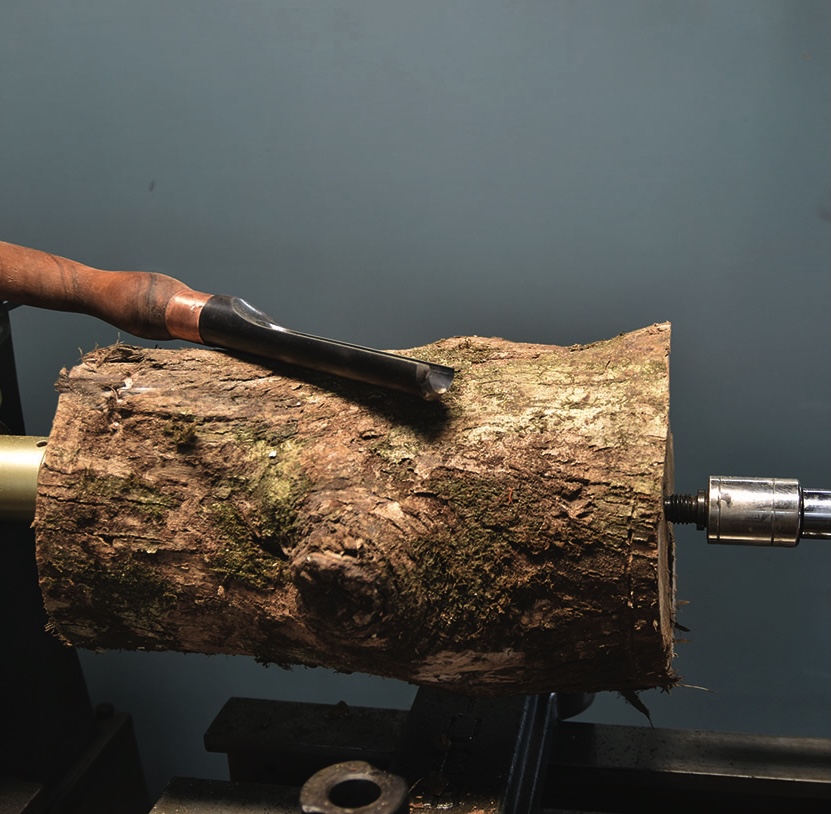
Woodturning chisel resting on bark-covered log in lathe
2. Start by mounting the log between centres, balancing the piece as best you can. You either need to offset the blank a bit now to give you some heartwood and sapwood in the final bowl shape, or do this after you have a cylinder of wood to work with. Now, with a low lathe speed – the log is likely to be over 175mm in diameter so you need to have 500rpm or lower as a speed – turn the log to a cylinder using either a spindle roughing gouge or bowl gouge.until you get a rough cylindrical shape
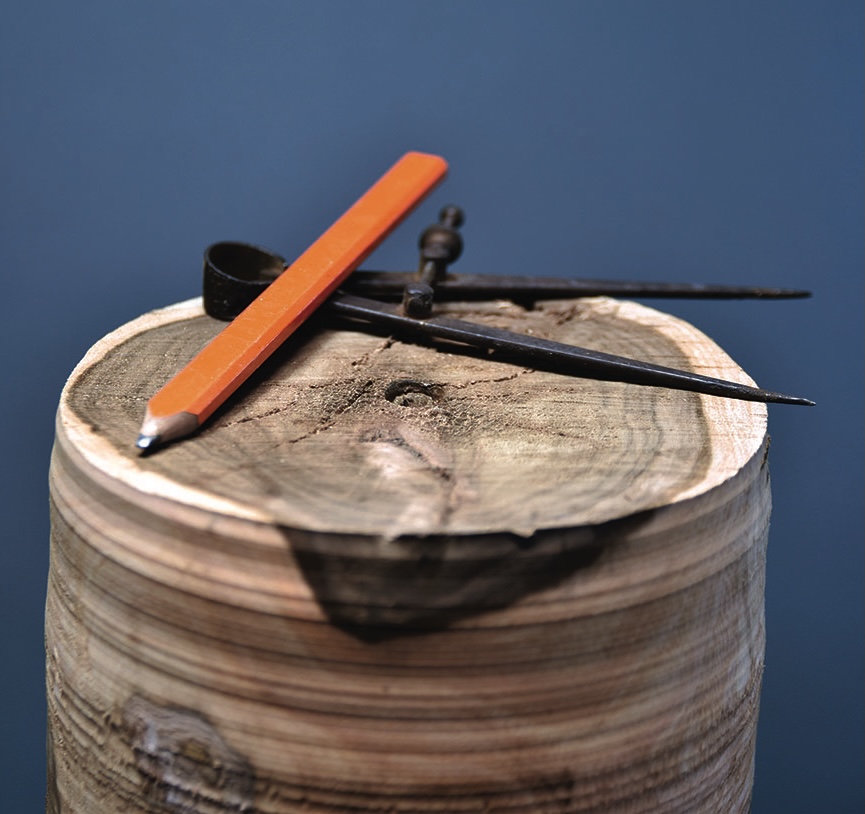
Orange pencil and black drafting compass on wooden stump
3. If you did not start with an offset in the log, when you have the blank close to round, stop, take it off the lathe and double check that you will end up with some sapwood. It’s a very fine line between a great-looking contrast and having only heartwood on the piece. Note the cracks on the wood. Most of these will turn away. Any that are left will be dealt with later on, but use slow turning speeds and stop to see if any fault becomes more severe as you turn. If in doubt, use another piece of wood rather than compromise safety
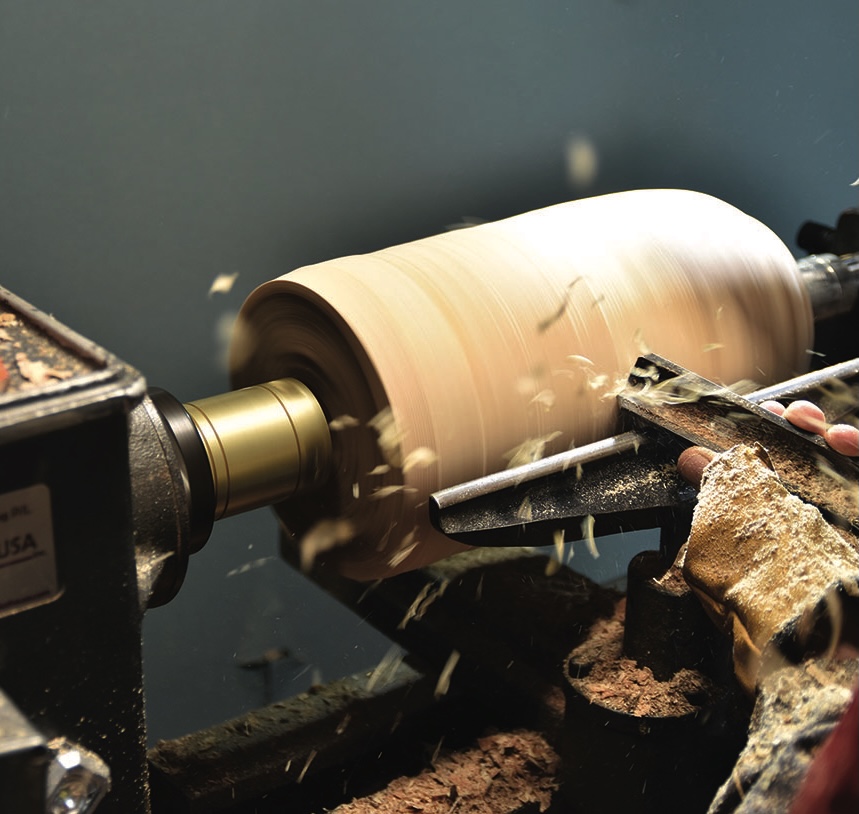
Woodturner shaping a spinning wooden bowl blank on lathe
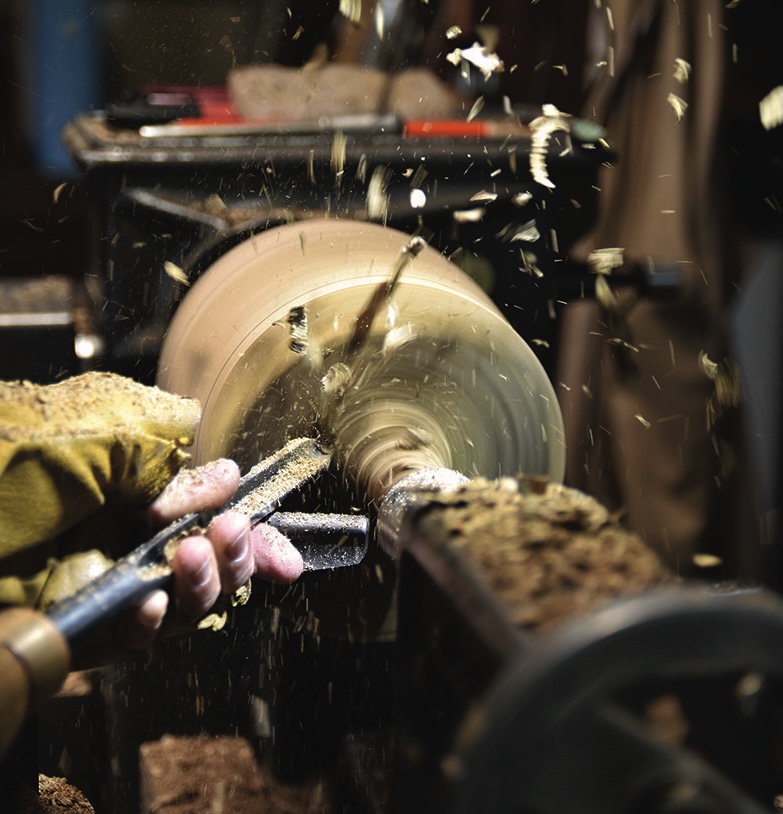
4. Use a spindle roughing gouge to turn the wood until you have a nice, even cylinder and then start working on the curved bottom but not on the curve of the wall. Stop when you start seeing heartwood
Wooden vase being shaped on a lathe
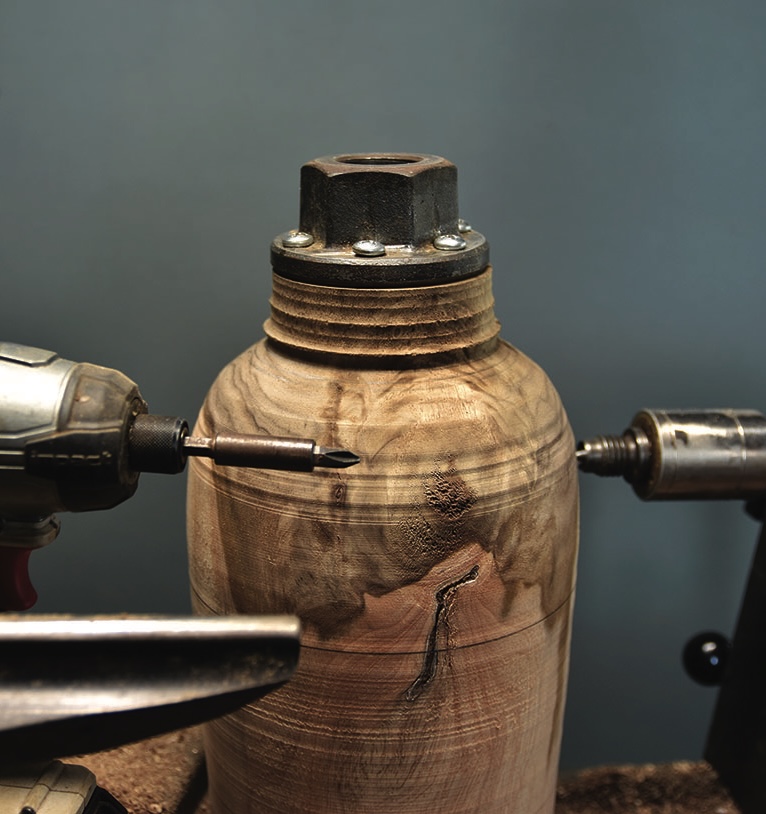
5. Measure your faceplate and, using a bowl gouge, create a tenon that is slightly wider than the faceplate diameter and slightly undercut the end of the tenon on the tailstock end. Or create a spigot for your chuck if this is your preferred method of holding work. Now remove the blank from the lathe and attach the faceplate. If the screws do not hold due to the wood being soft, re-mount the wood on the lathe and create a spigot for your chuck. These two options give you stability for the hollowing process
Tape measure and pencil on marked wooden bowl blank
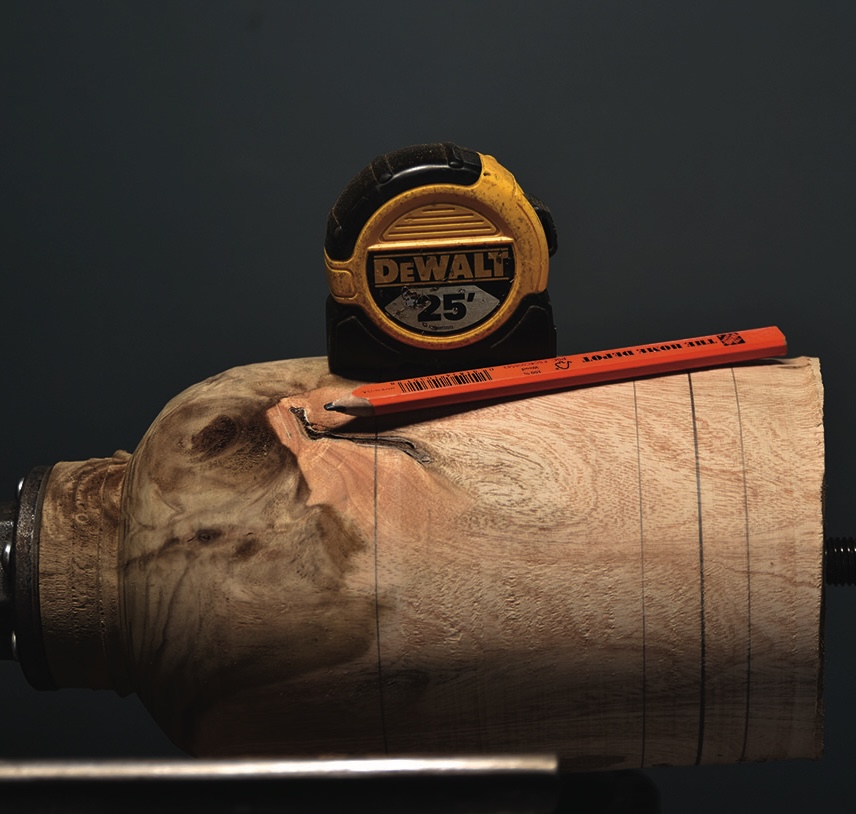
6. We do not have the final width yet, but measure it and then add 25mm and mark this measurement as the length. Take the extra off if there is any to remove
Woodturner shaping spinning timber on a lathe
7. With a bowl gouge, start shaping the curve. There are no straight lines in a true umeke. Check the curve off the lathe. The top curve should start a little above the half way line. Now measure again. You want to be close to even in width and height or about 20mm taller. Here, after offsetting it is still a little too long
Woodturner shaping a spinning wooden bowl on a lathe
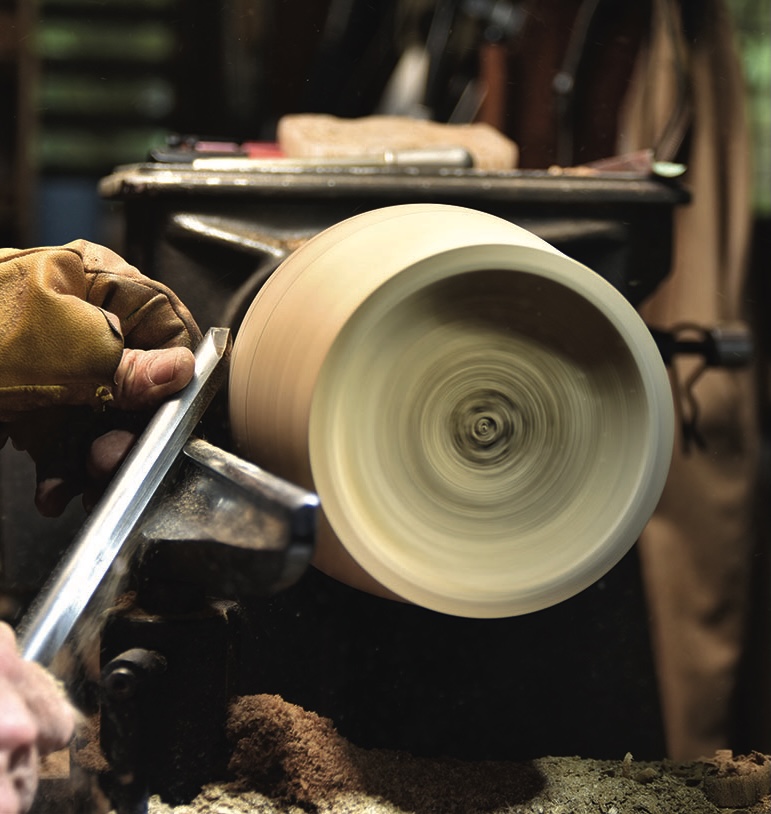
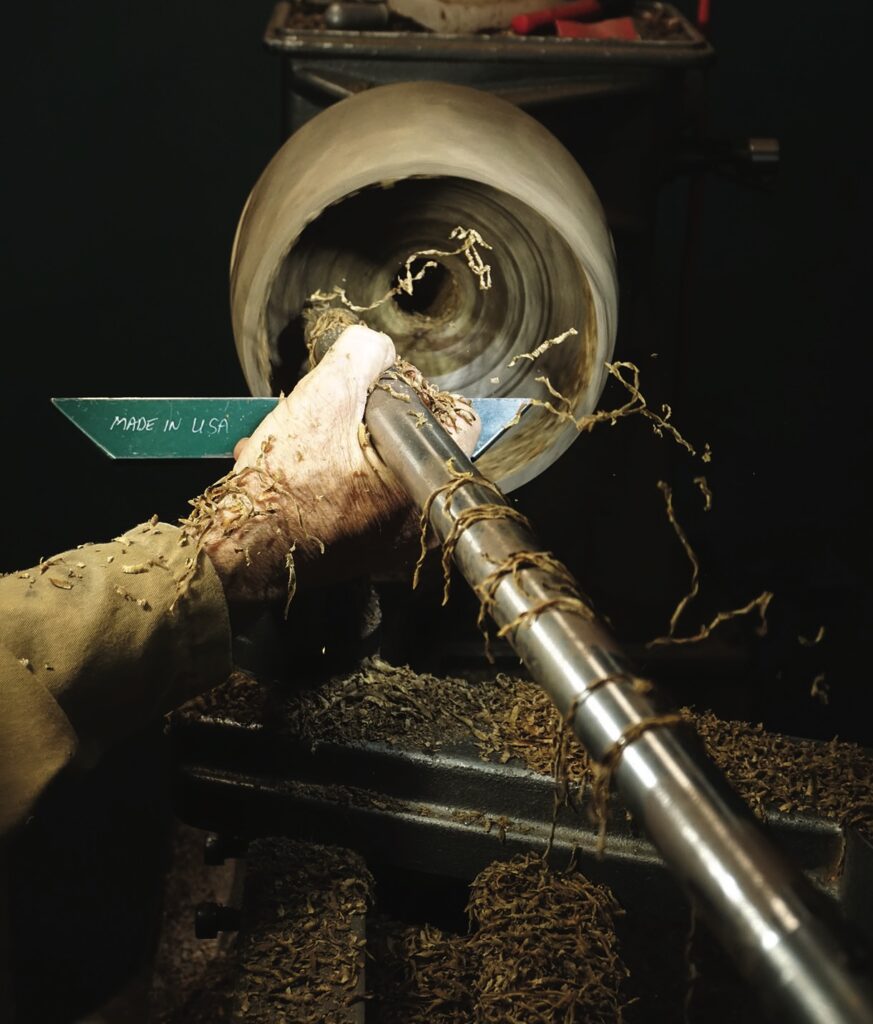
8. Clean up any tool marks with a sheer scrape. Note the position of the tool’s locking handle so it won’t interfere with the smooth flow of the cut
Drill bit boring into a wooden vessel
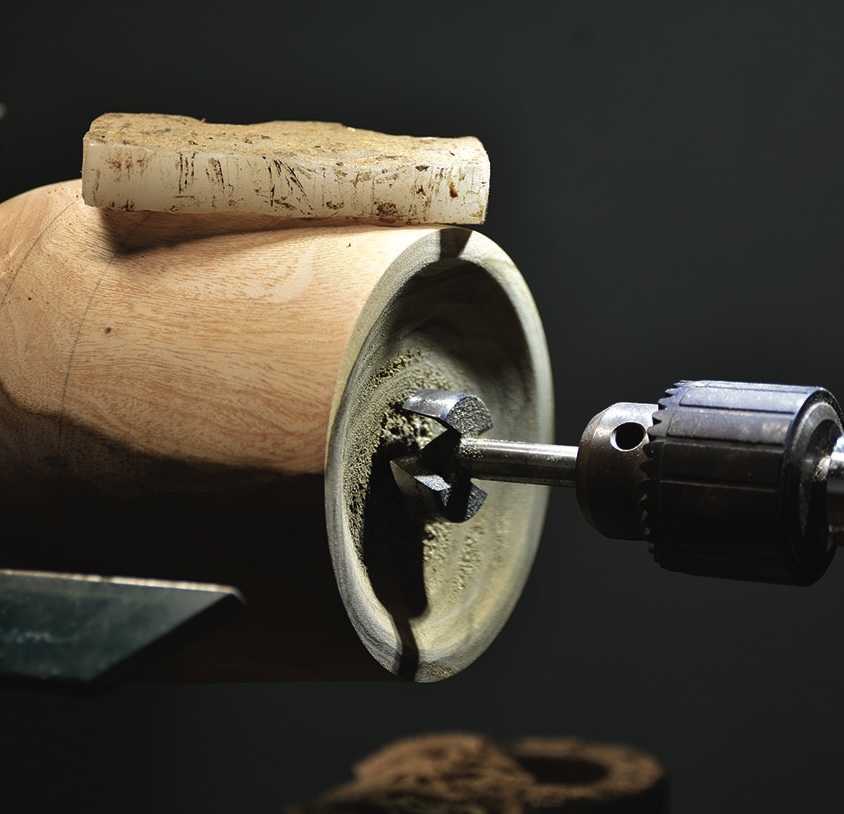
9. To speed up the hollowing and to avoid the most difficult area to cut, the centre, use a sawtooth bit and drill to depth. A little bit of wax helps with the screeching
Woodturner shaping a spinning bowl on a lathe
10. Now it’s time to hollow out the inside. Thoroughly inspect the blank for any cracks and so on. If any are evident, work out if you should turn the wood. If they are minor, wrap strong duct tape around the piece for support. There was one self-contained fissure visible that did not extend for any major length so I decided to work with it. Hollow out the inside to mimic the external curve cut while bearing in mind that the wall thickness gradually increases by a little until the thickest section is at the bottom. I use a captive hollowing rig for this but a hollowing tool with a small bullet-shaped or round cutting tip used freehand wall also work. Make gentle light cuts from the centre out to the widest part to ensure you are cutting with the grain
Woodturning lathe with wooden vessel, callipers and workshop lamp
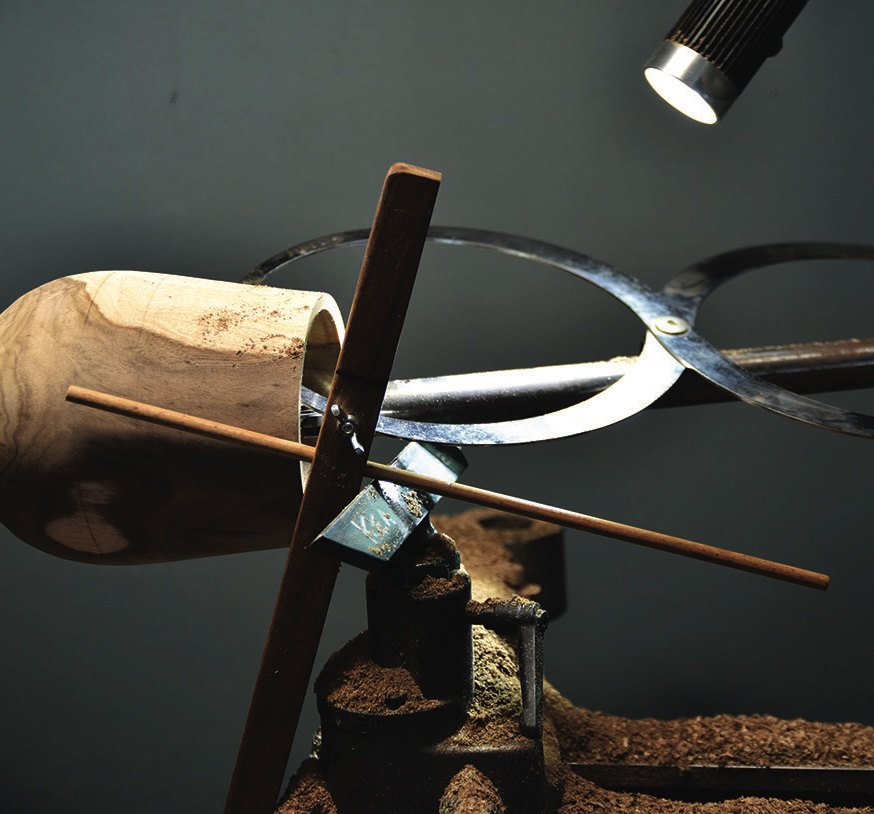
11. Stop often to check wall thickness, and the bottom thickness and also to see if any cracks appear. I had to keep an eye on the fissure that was there at the start. It did not move any further. Callipers work well for this job
Chisel carving inside a hollow wooden cylinder
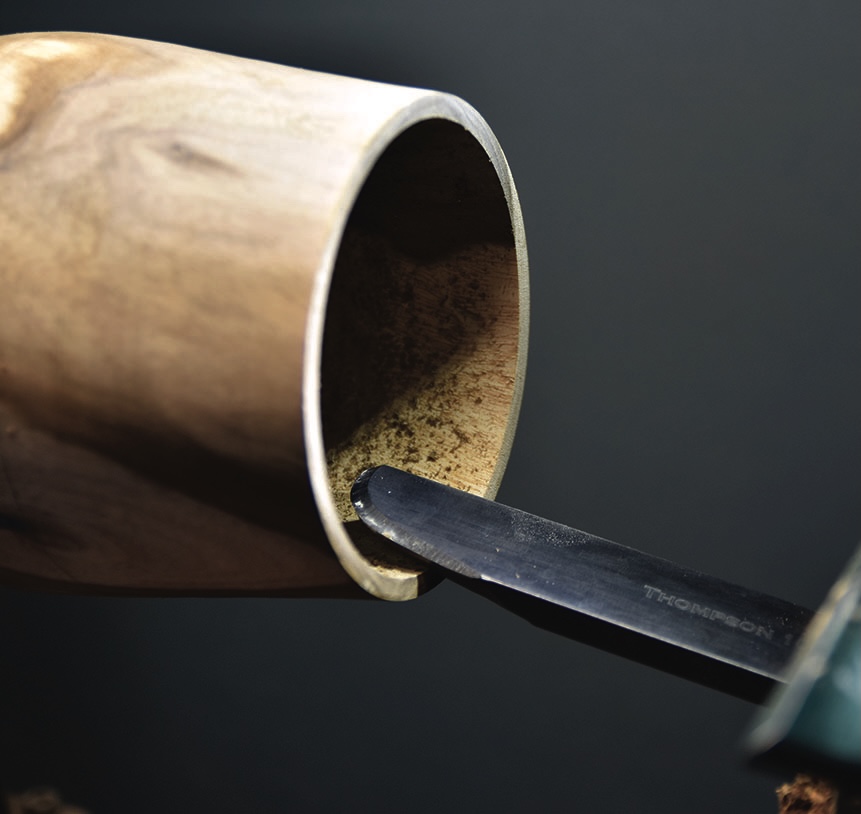
12. Once you have done the hollowing out, clean up any tool marks. Any thick section scraper or tipped tool with the right size and shape of cutter will work for this. I chose to use a negative rake scraper for a fine finish and good tool control. Remember to use slow speeds and be careful when you get closer to the rim as it might flex a little, which is not something you want to happen
Router and template on curved wooden workpiece
13. Now it’s time to do any repairs if needed. A traditional repair method is to use pewas. Pewa means ‘fish tail’ in Hawaiian. It was a common repair used by the ancient craftsman. Use this method if you want a real Hawaiian look on any cracks and so on. Fishtail or dovetail stitching locks things together. I use a ready-made template and pewas. I will look at how to do the pewa stitching detail in a later issue. You can of course use a biscuit jointer to ‘stitch’ a joint as well as epoxy or any other type of repairs to bridge and bond cracks, etc. Once stitched, refine the external curve and the base profile a bit more – be wary of hitting any screws at the base area
Wooden urn on a lathe with inlaid cross
14. Once the shape is refined as far as you can, sand the piece inside and out going down to 400 grit. Once sanded, remove the piece from the lathe and remove the faceplate. Create a friction drive to support the inside of the work at the bottom of the inside hollow, place a bit of non-slip router mat on the friction drive and then mount the work between centres. You already have the centre mark at the bottom from the initial turning so you can centre it properly against the friction drive
Close-up of a wooden bowl being turned on a lathe
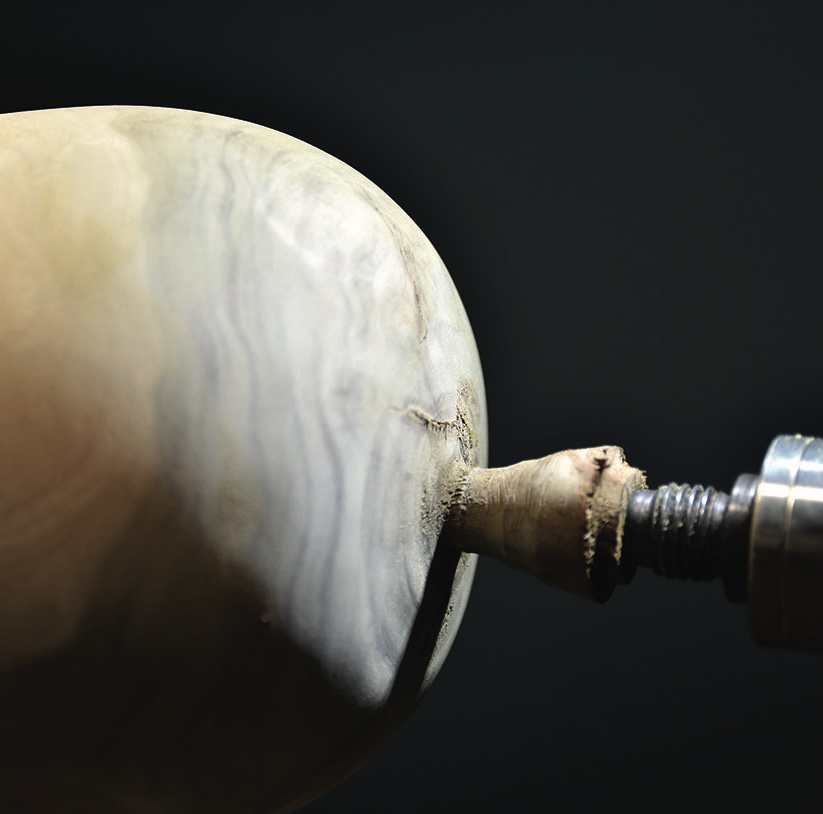
15. Remove the faceplate or chuck tenon and continue to create the base curvature. The bottom will almost be like a sphere. It will sit right, trust me
Craftsperson sanding a wooden bowl on a lathe
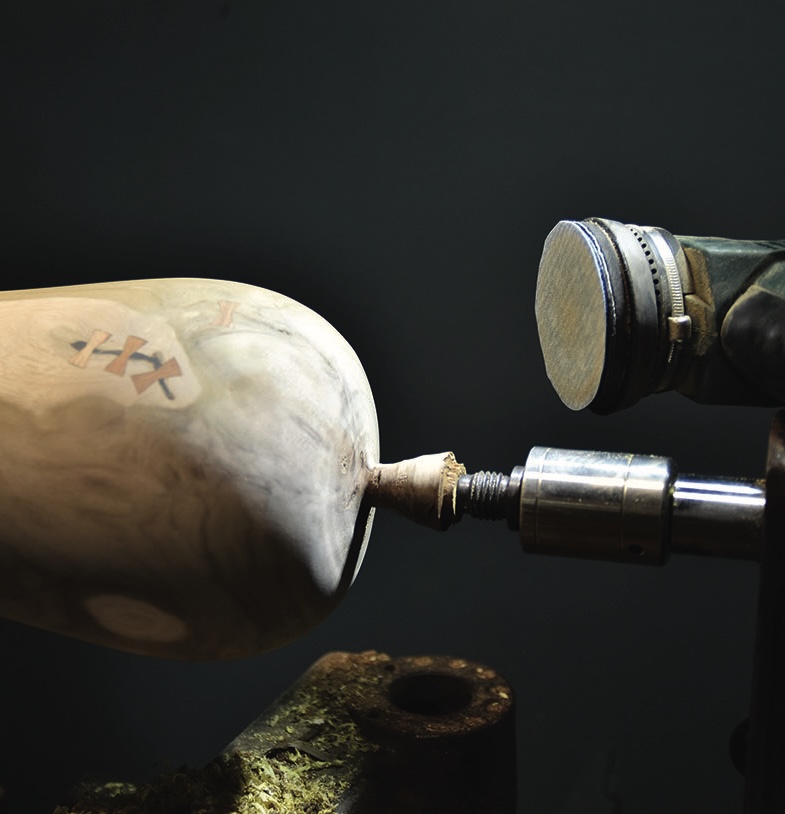
16. No straight lines are ever found on true ancient calabashes. Visualise the curve below the nub. Note the cracks in the lower section. These will be stitched later. Sand the lower section as far as you can and remove from the lathe
Handcrafted wooden urn with decorative bow-shaped inlays
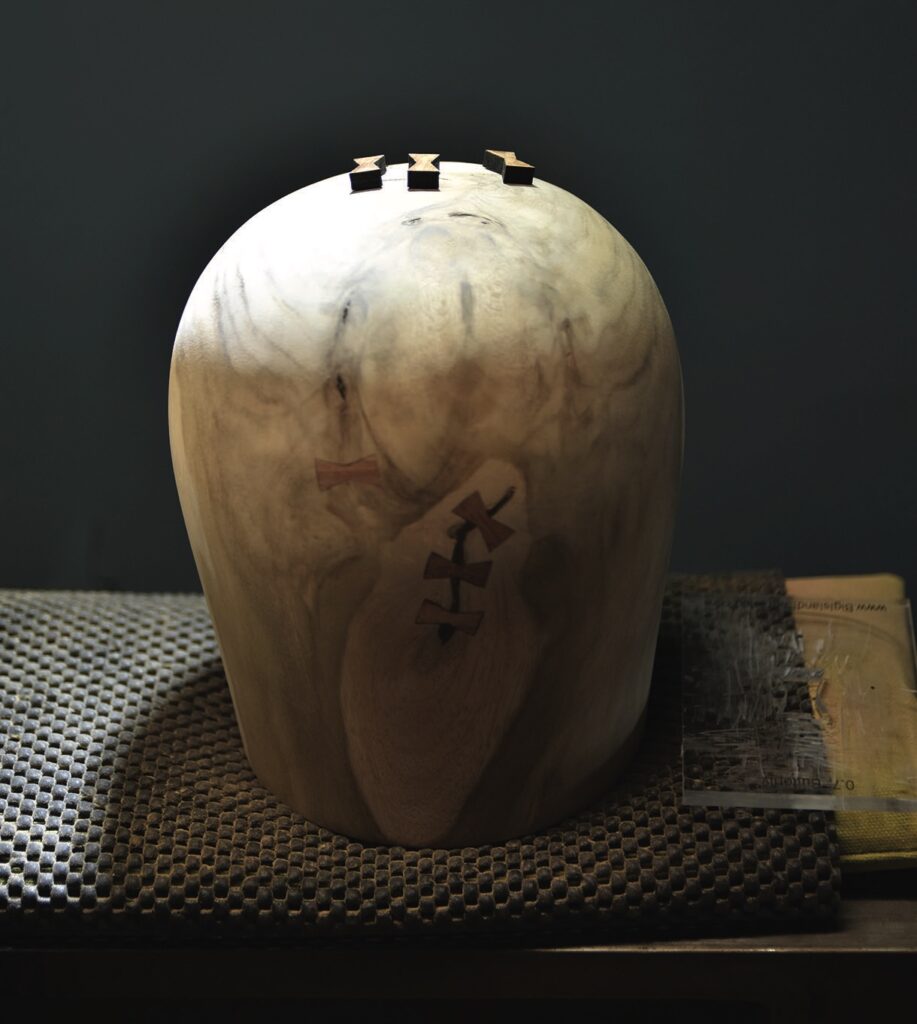
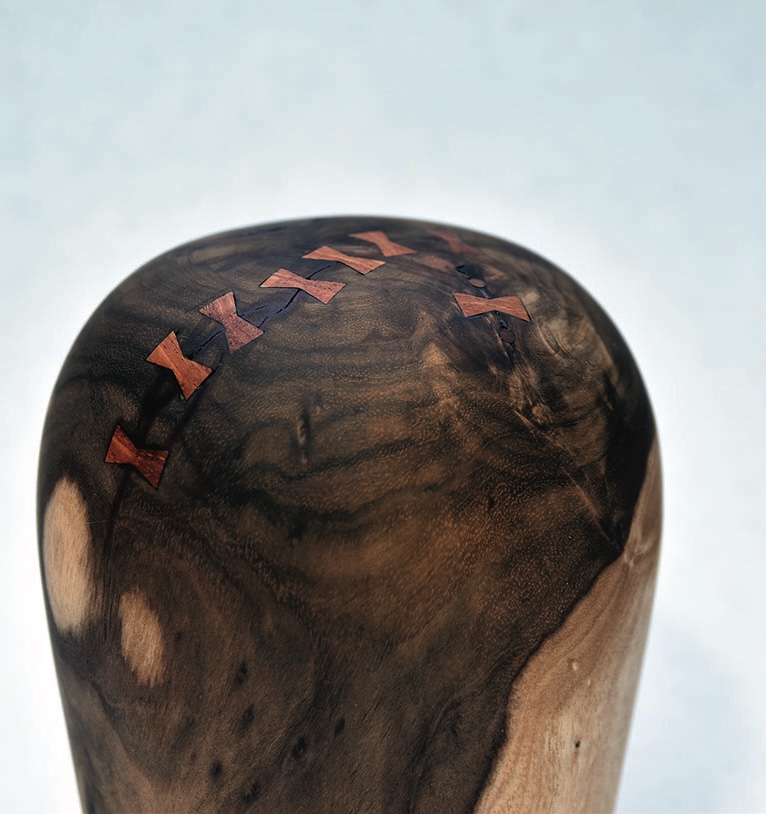
17. Carve off the nub and sand and blend the lower curve. Because it’s an end grain you might have to add some pewas or your repair of choice on any cracks. There were a few on this piece so a few pewas were added. This helps with the strength of the bottom. If you don’t have any cracks, add a pewa or two to the pith 
Dark wooden vessel with decorative bow-tie inlay repairs
18. Finish sanding the bottom. Also sand the inside if the pewas go right through the wood, mine did not. Note the two round dowels used at each end of a crack. This is a traditional method to stop cracks running further. For a true pre-contact ancient look apply an oil finish. For a more modern feel try something like a gloss lacquer

Leave a Reply

Your email address will not be published. Required fields are marked *