Ian Woodford takes on his woodturning club’s challenge and creates something with a hole in it…

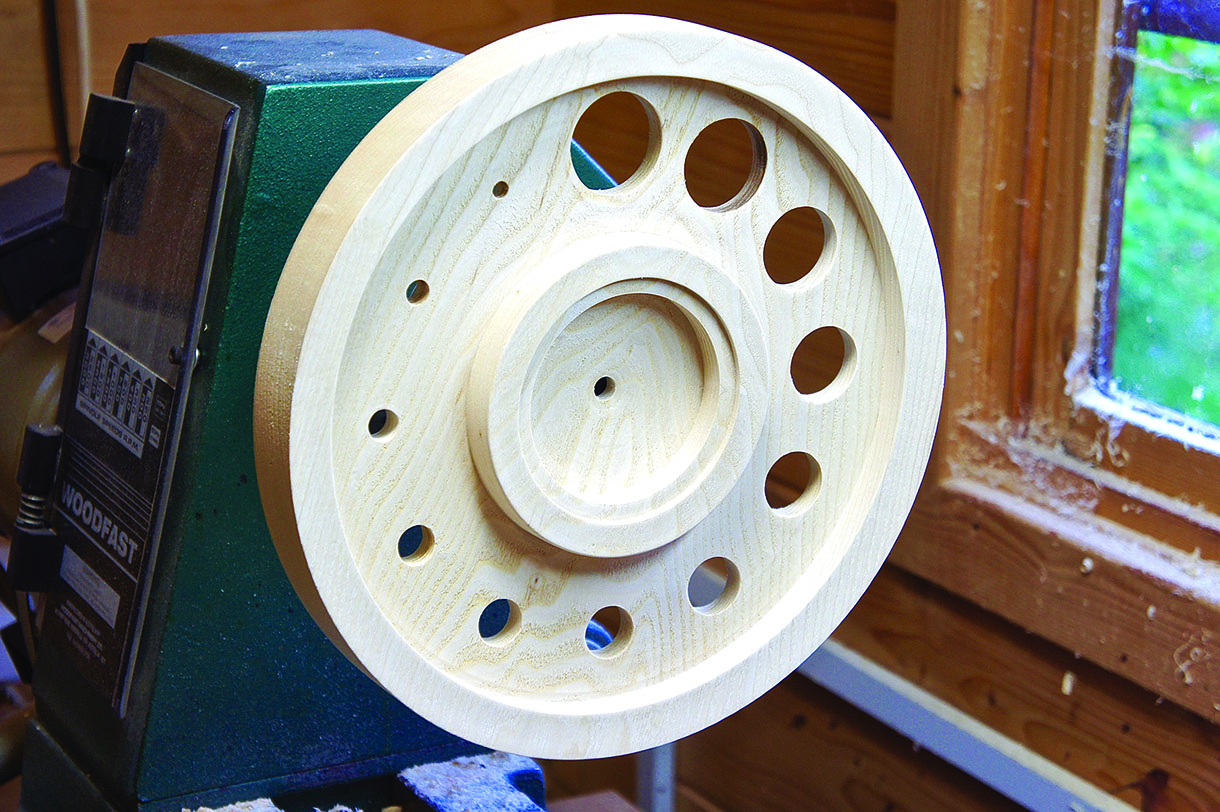
My local woodturning club issued a challenge to make something with a hole in it. Apart from the obvious, many thoughts went through my mind, but this idea came to me while enjoying a glass of wine – I must drink more often! Each numeral on the clock face was to be a hole, but increase in size from one through to 12 o’clock. I also wanted a contrasting backing to the holes to make them stand out. I experimented with different colours and also tried various wood veneer backings, but the final choice can be your own preference. The turning is not difficult and can be achieved with basic tools, however it does require a set of Forstner drill bits.
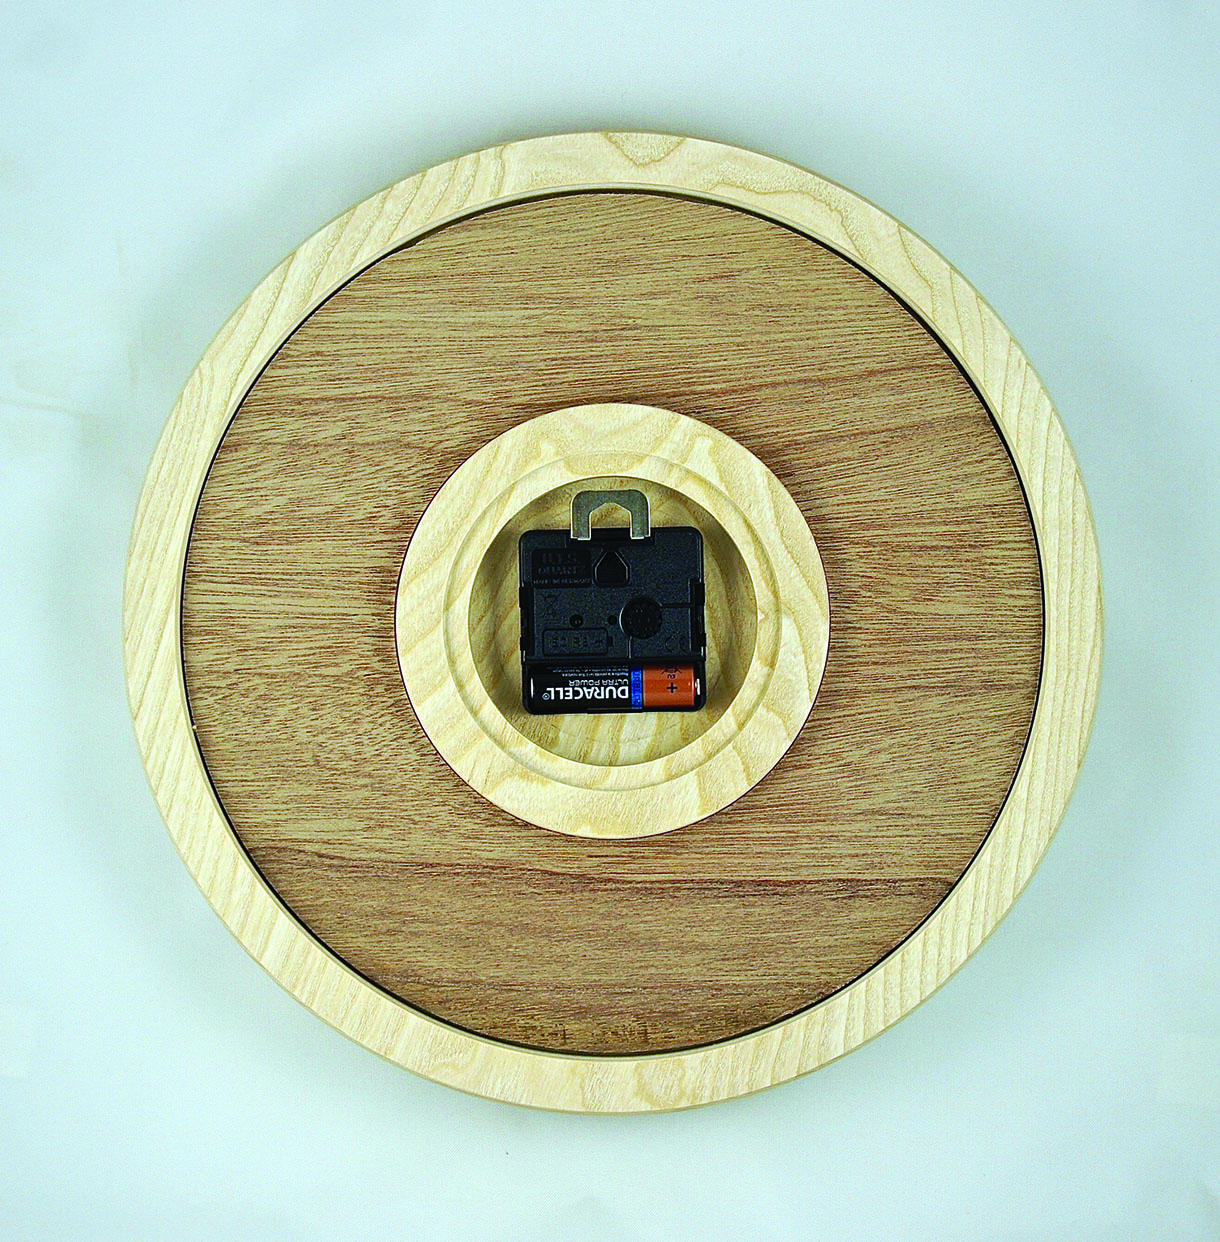
I leave the choice of wood entirely up to you, but my preference was to use a light coloured wood which would then enable the backing to the hour holes to stand out well. I chose a piece of ash (Fraxinus exlcesior), 305 x 38mm, which had a nice grain pattern but sycamore (Platanus occidentalis) or maple (Acer spp.) would have been equally suitable. So, let’s get into the workshop and get all the necessary tools chosen and sharpened. Follow the diagrams and every stage is quite straightforward. The clock movement and hands are freely available from many websites and all my measurements were based around the length of the minute hand, which is 100mm long. Sanding was taken from 120 grit through the various grades and finished at 400 grit. I prefer not to have a bright glossy finish on this type of project, so for the final finish I used a semi-gloss spray lacquer and applied at least four coats to the front, while the back had only two applications.
Tools and materials
- Quartz clock movement and 100mm hands
- 10mm and 6mm bowl gouges
- 10mm spindle gouge (fingernail grind)
- Shear scraper
- Thin parting tool
- Jacob’s chuck
- Forstner bits
- 10mm drill bit
- Pillar drill
- Four jaw chuck with appropriate sized jaws
- Centre punch
- Callipers
- Abrasives from 120–400 grit
- Revolving sanding pad and abrasives to fit
- Pencil
- Ruler
- Semi-gloss lacquer
- Any additional equipment like wood or colour stains
Wood
- A blank of ash, beech (Fagus sylvatica), maple or sycamore – 305 x 38mm
- Scrapwood as a glue chuck and jam chuck
- Backing ply or stiff board
Clock plan
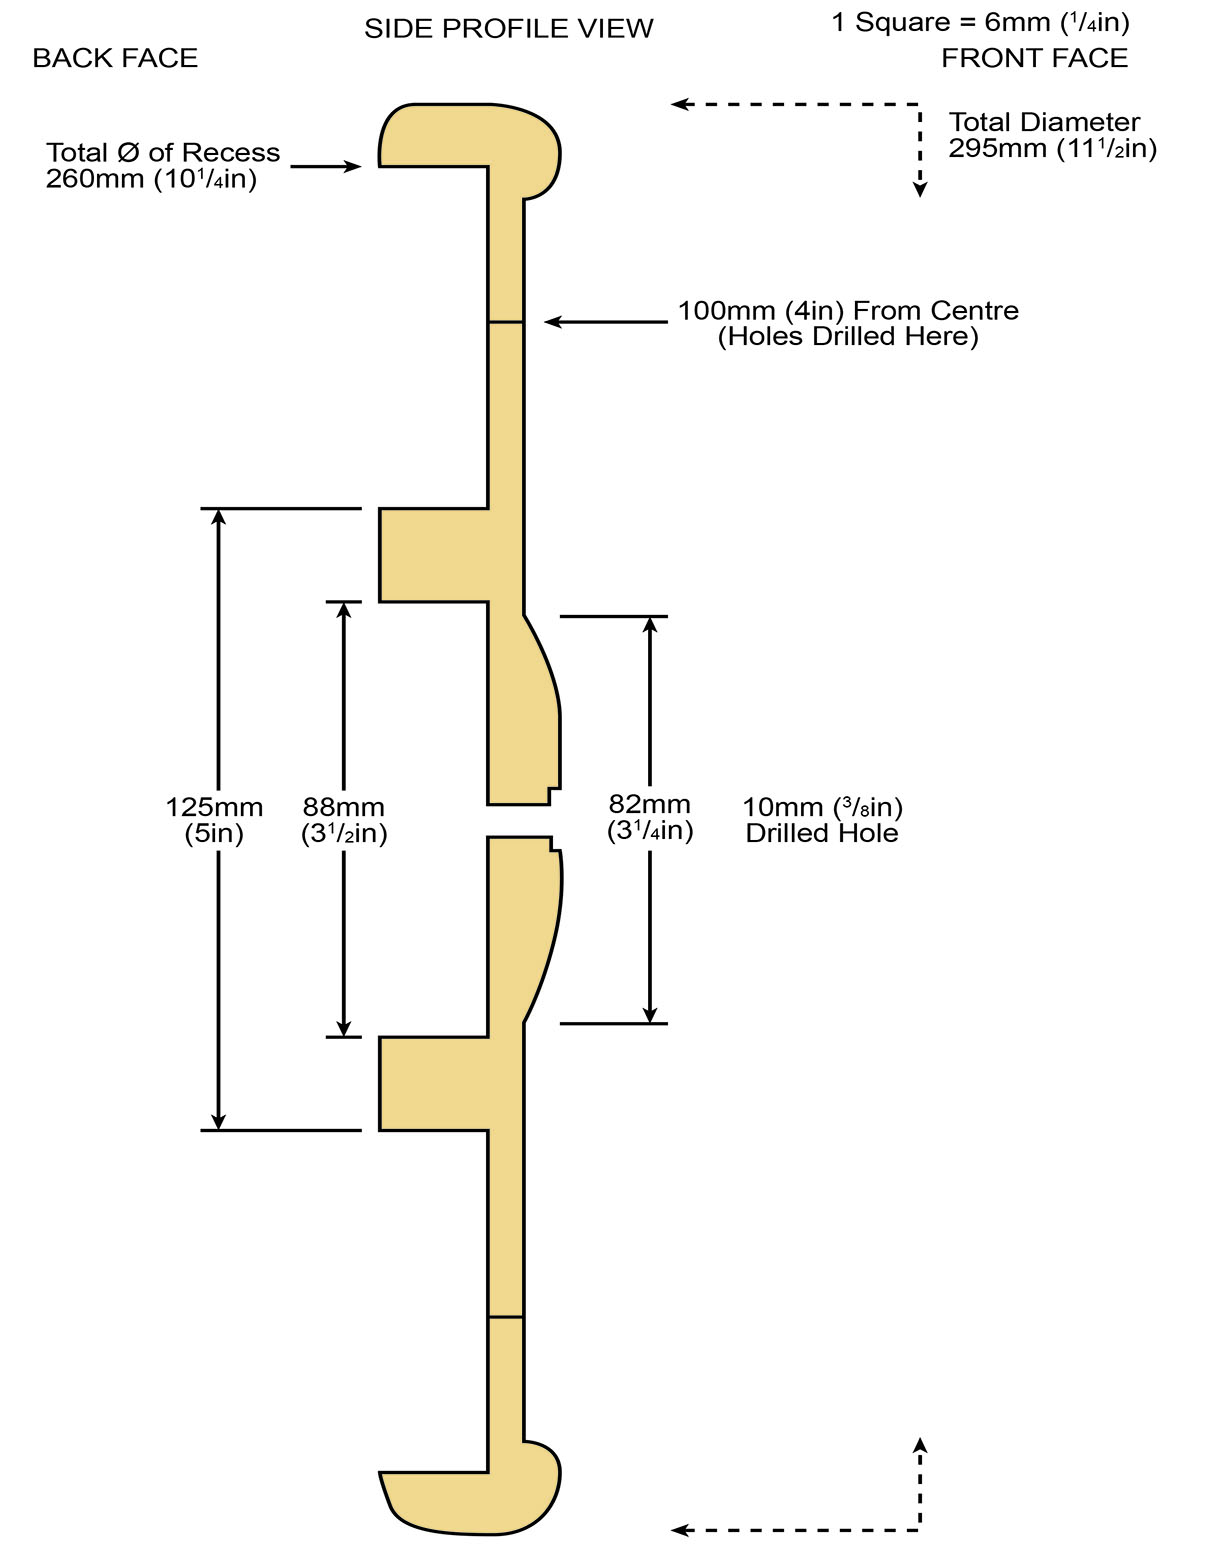
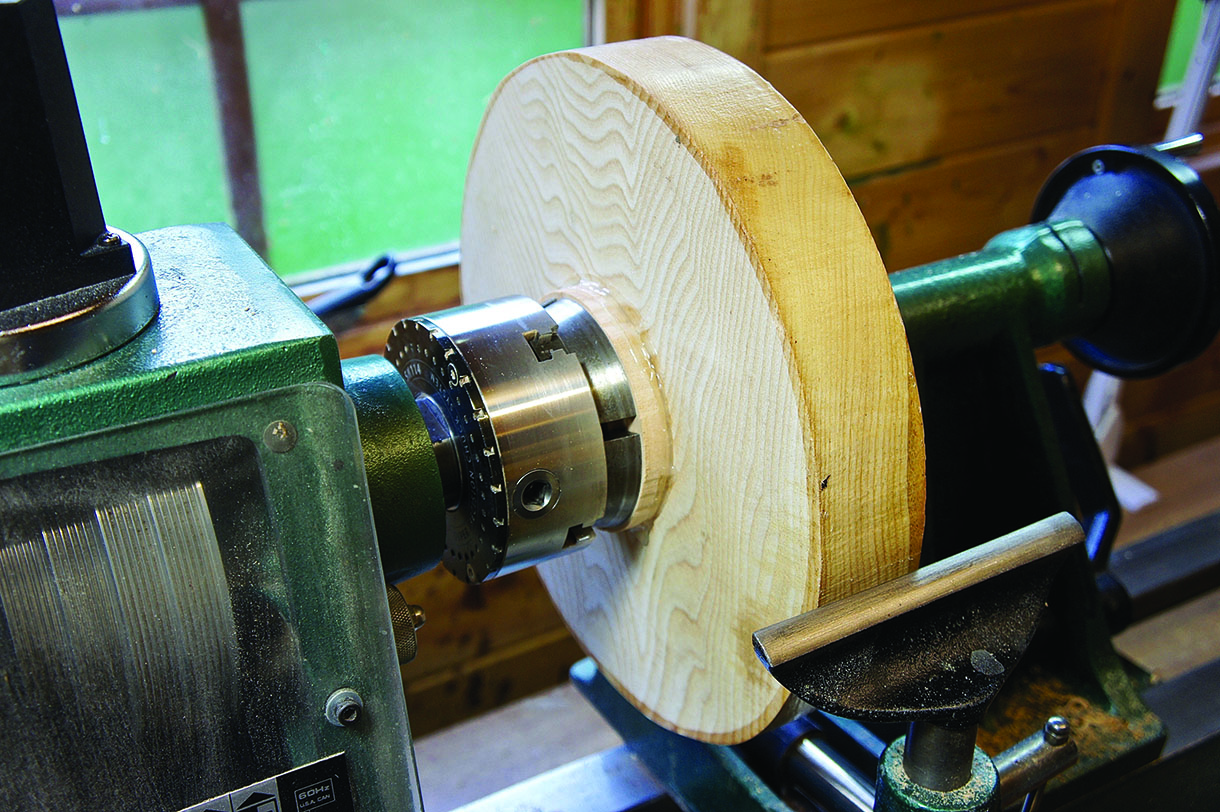
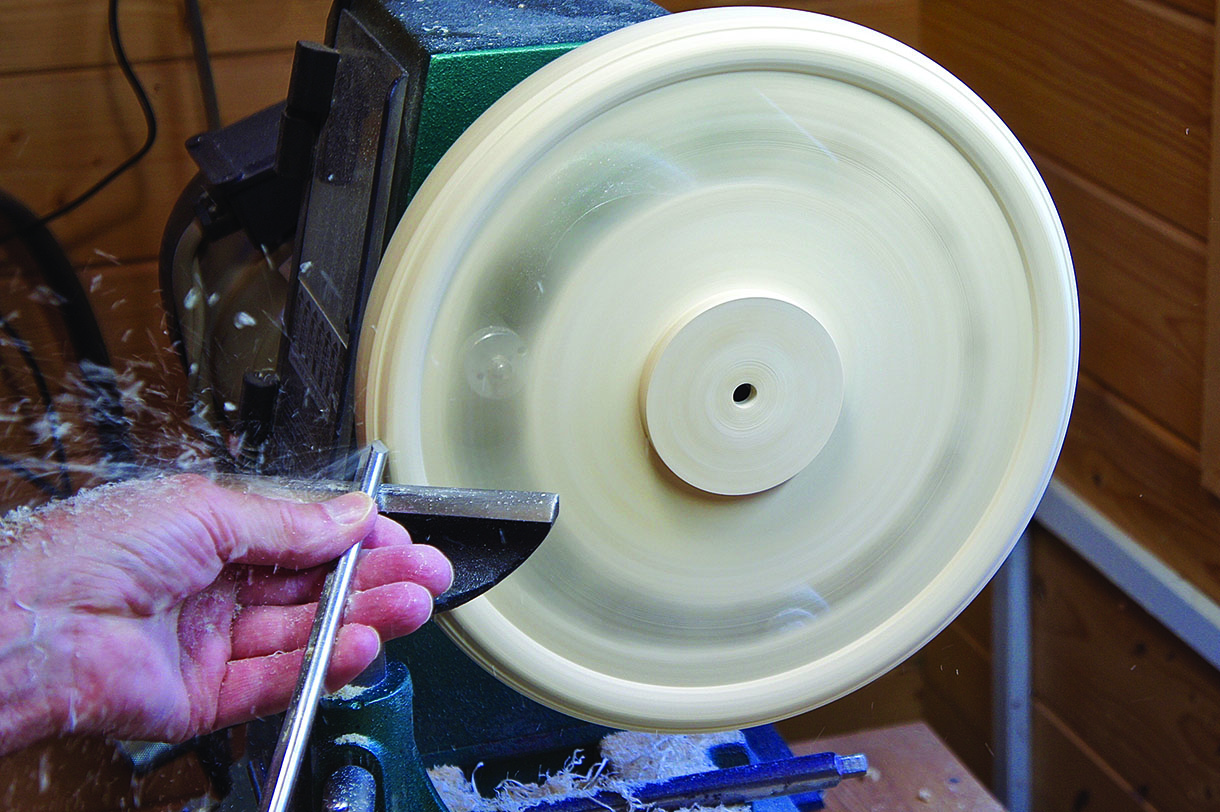
Turning the back
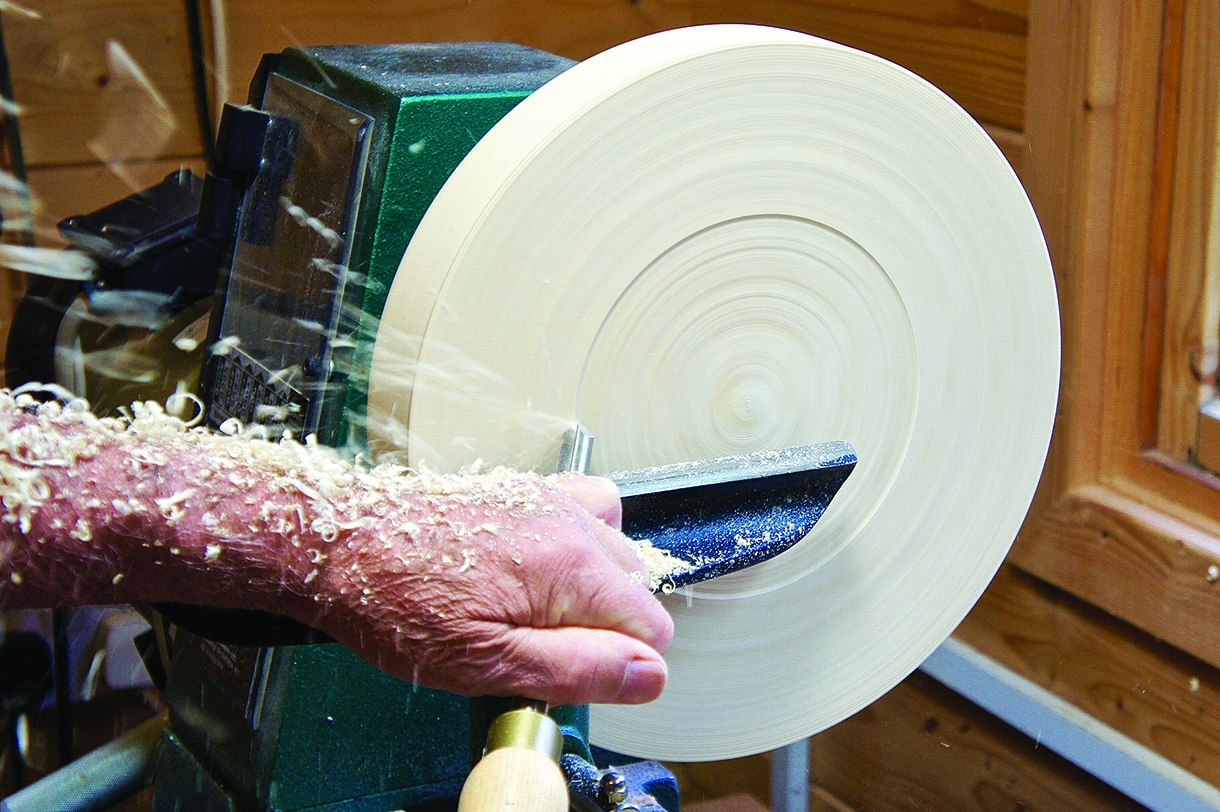
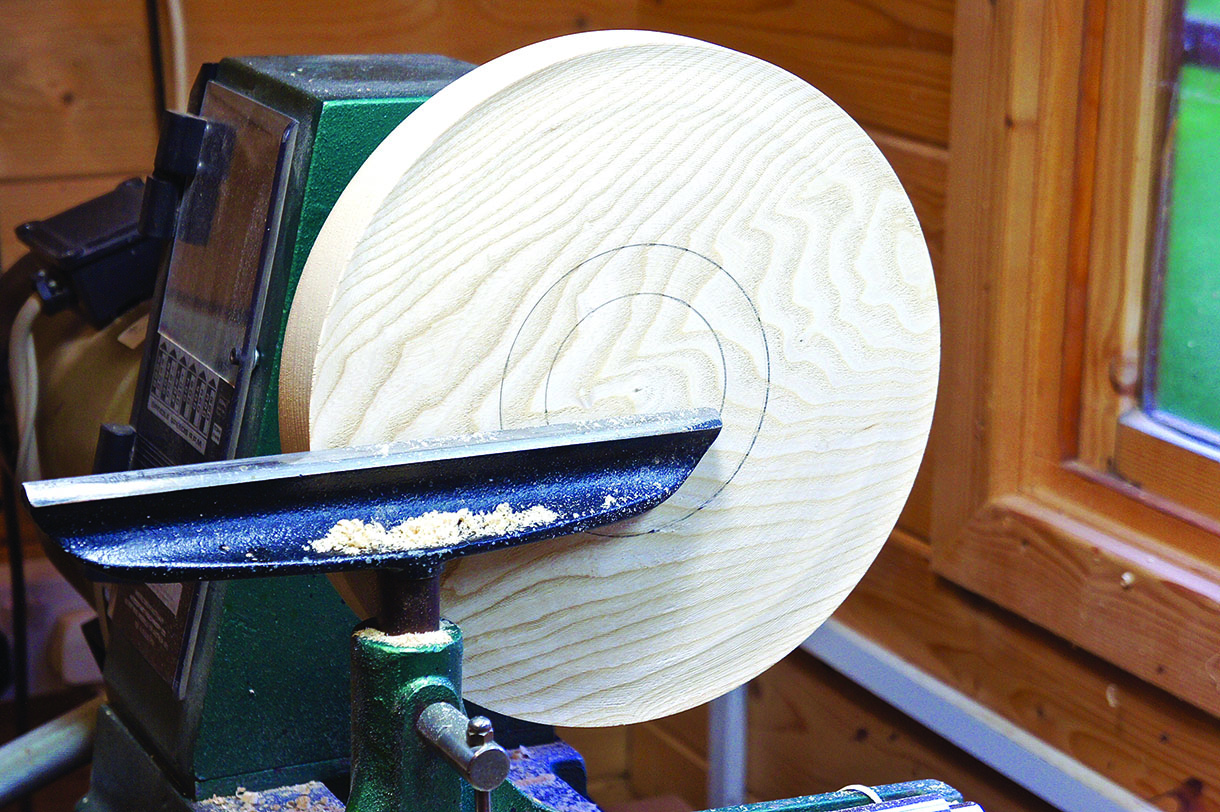
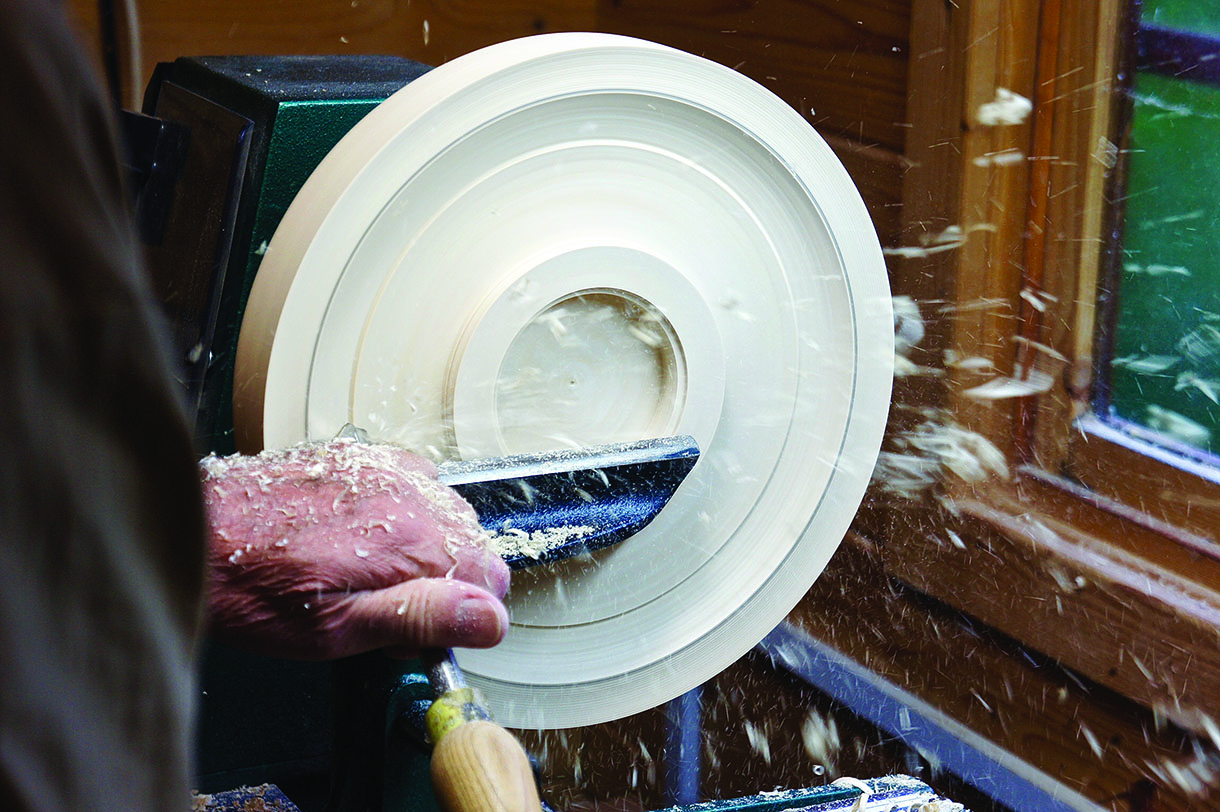
Turning the front
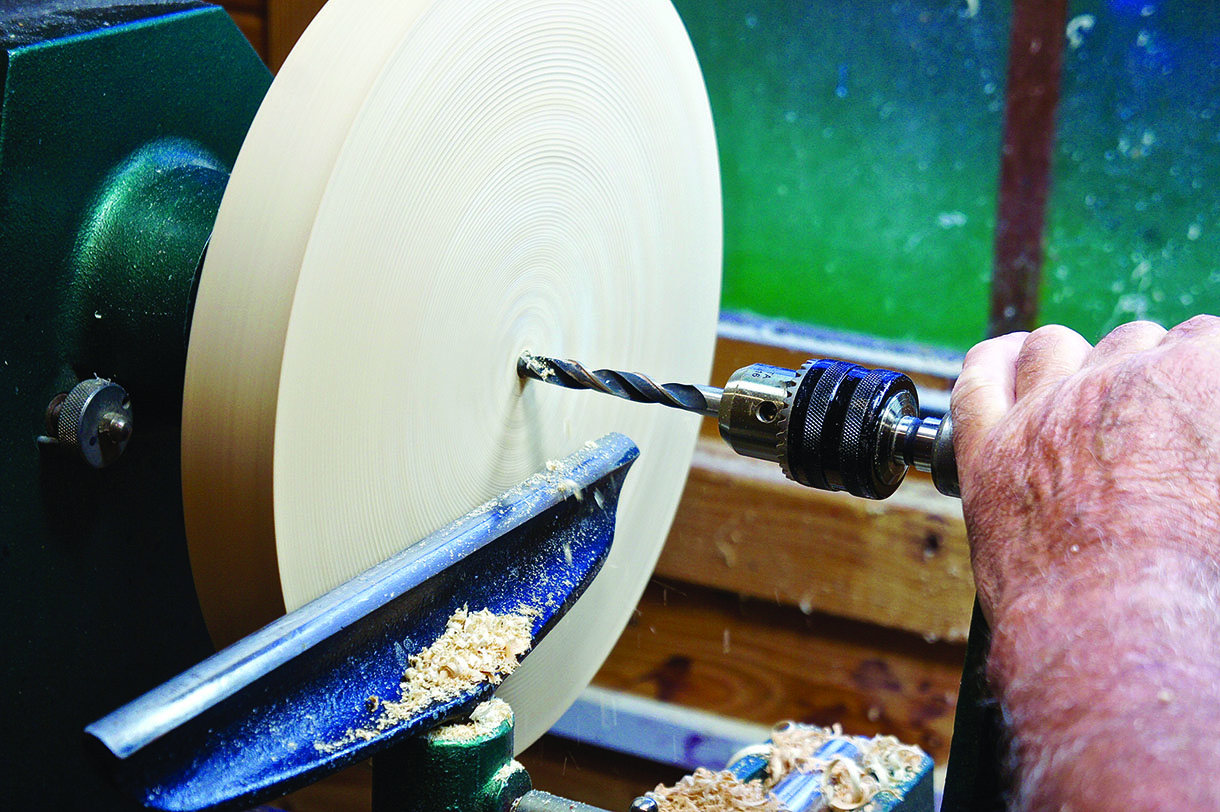
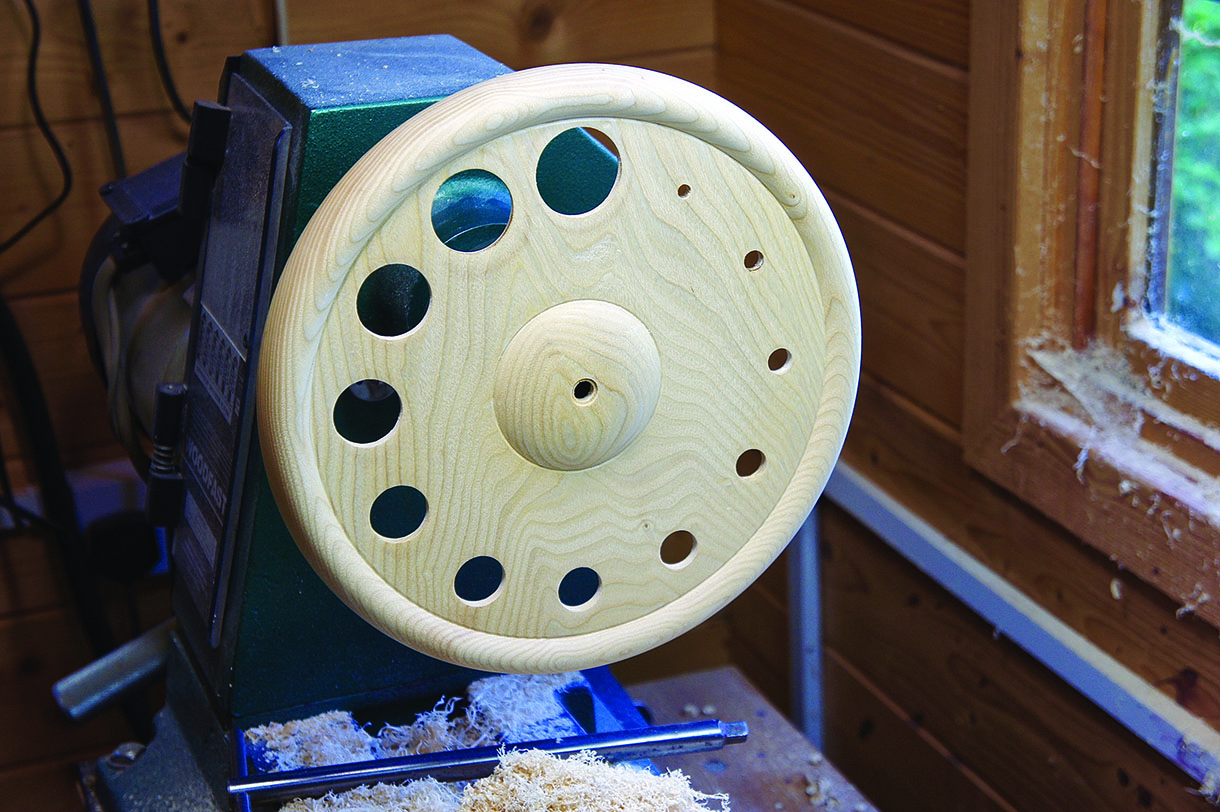
Drilling the hour holes
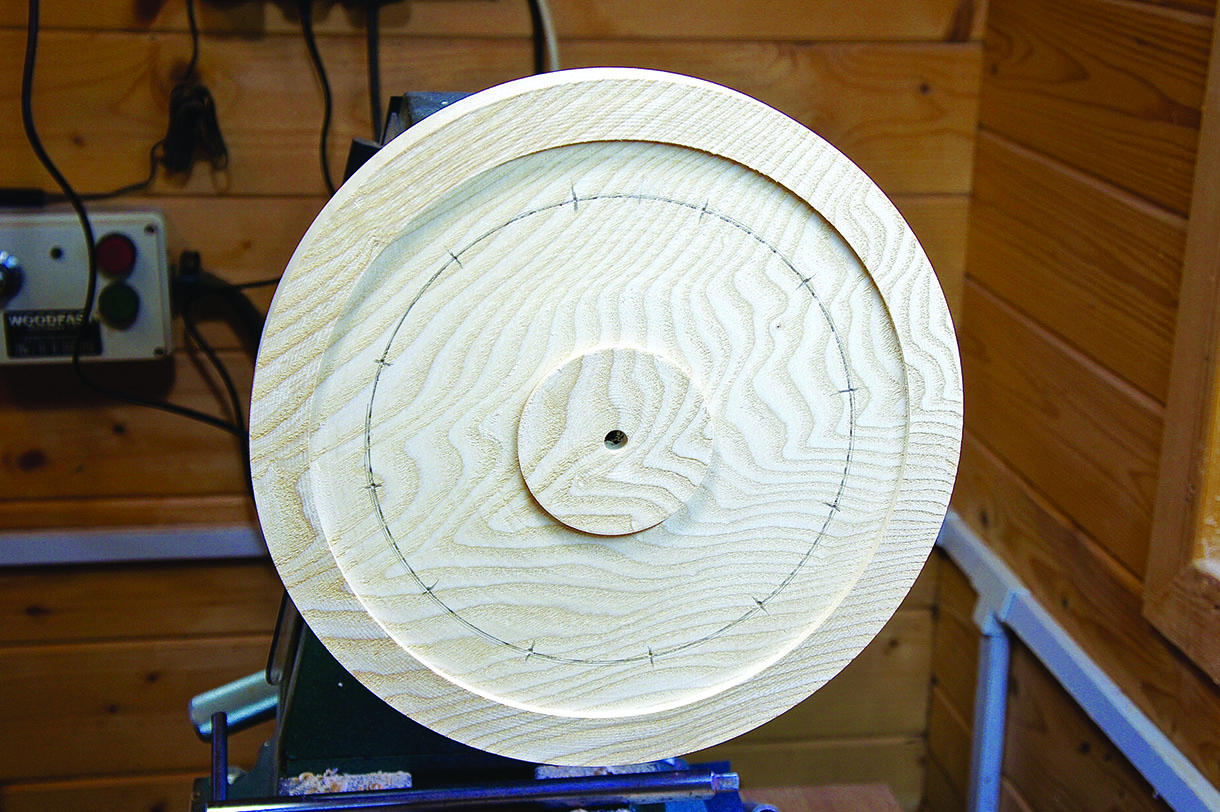
Before marking the hour positions, determine the grain orientation you desire when hung. I used the headstock locking mechanism to mark the hour positions.

HANDY HINTS
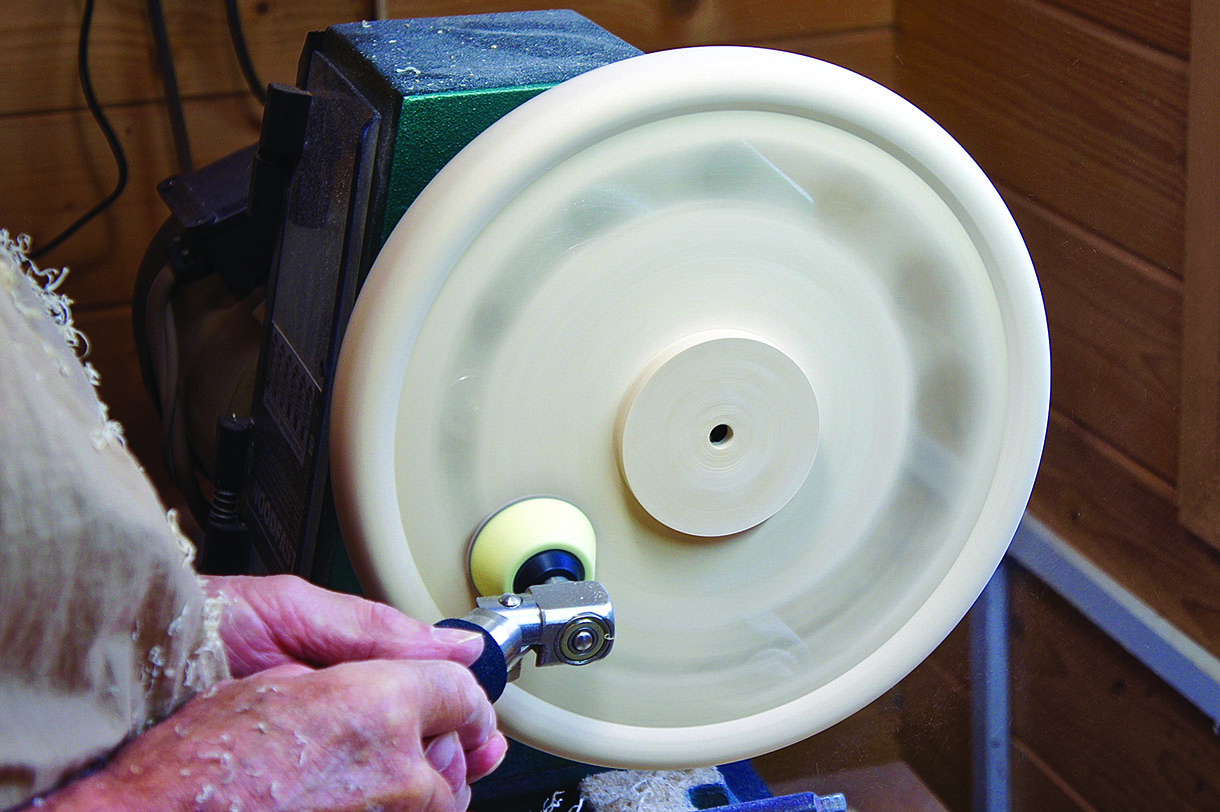
• When sanding areas with an uneven or interrupted surface like holes, it is always best to have a supportive pad between the abrasive and your fingers. A foam pad is ideal for this.
• If you can speed up the lathe a little when turning areas with holes or natural edges, this will give you a more controlled and even cut.
Finishing
One Response
Would like to see a mantel clock plans