Michael T Collins brings us a design of chair with an intriguing past.
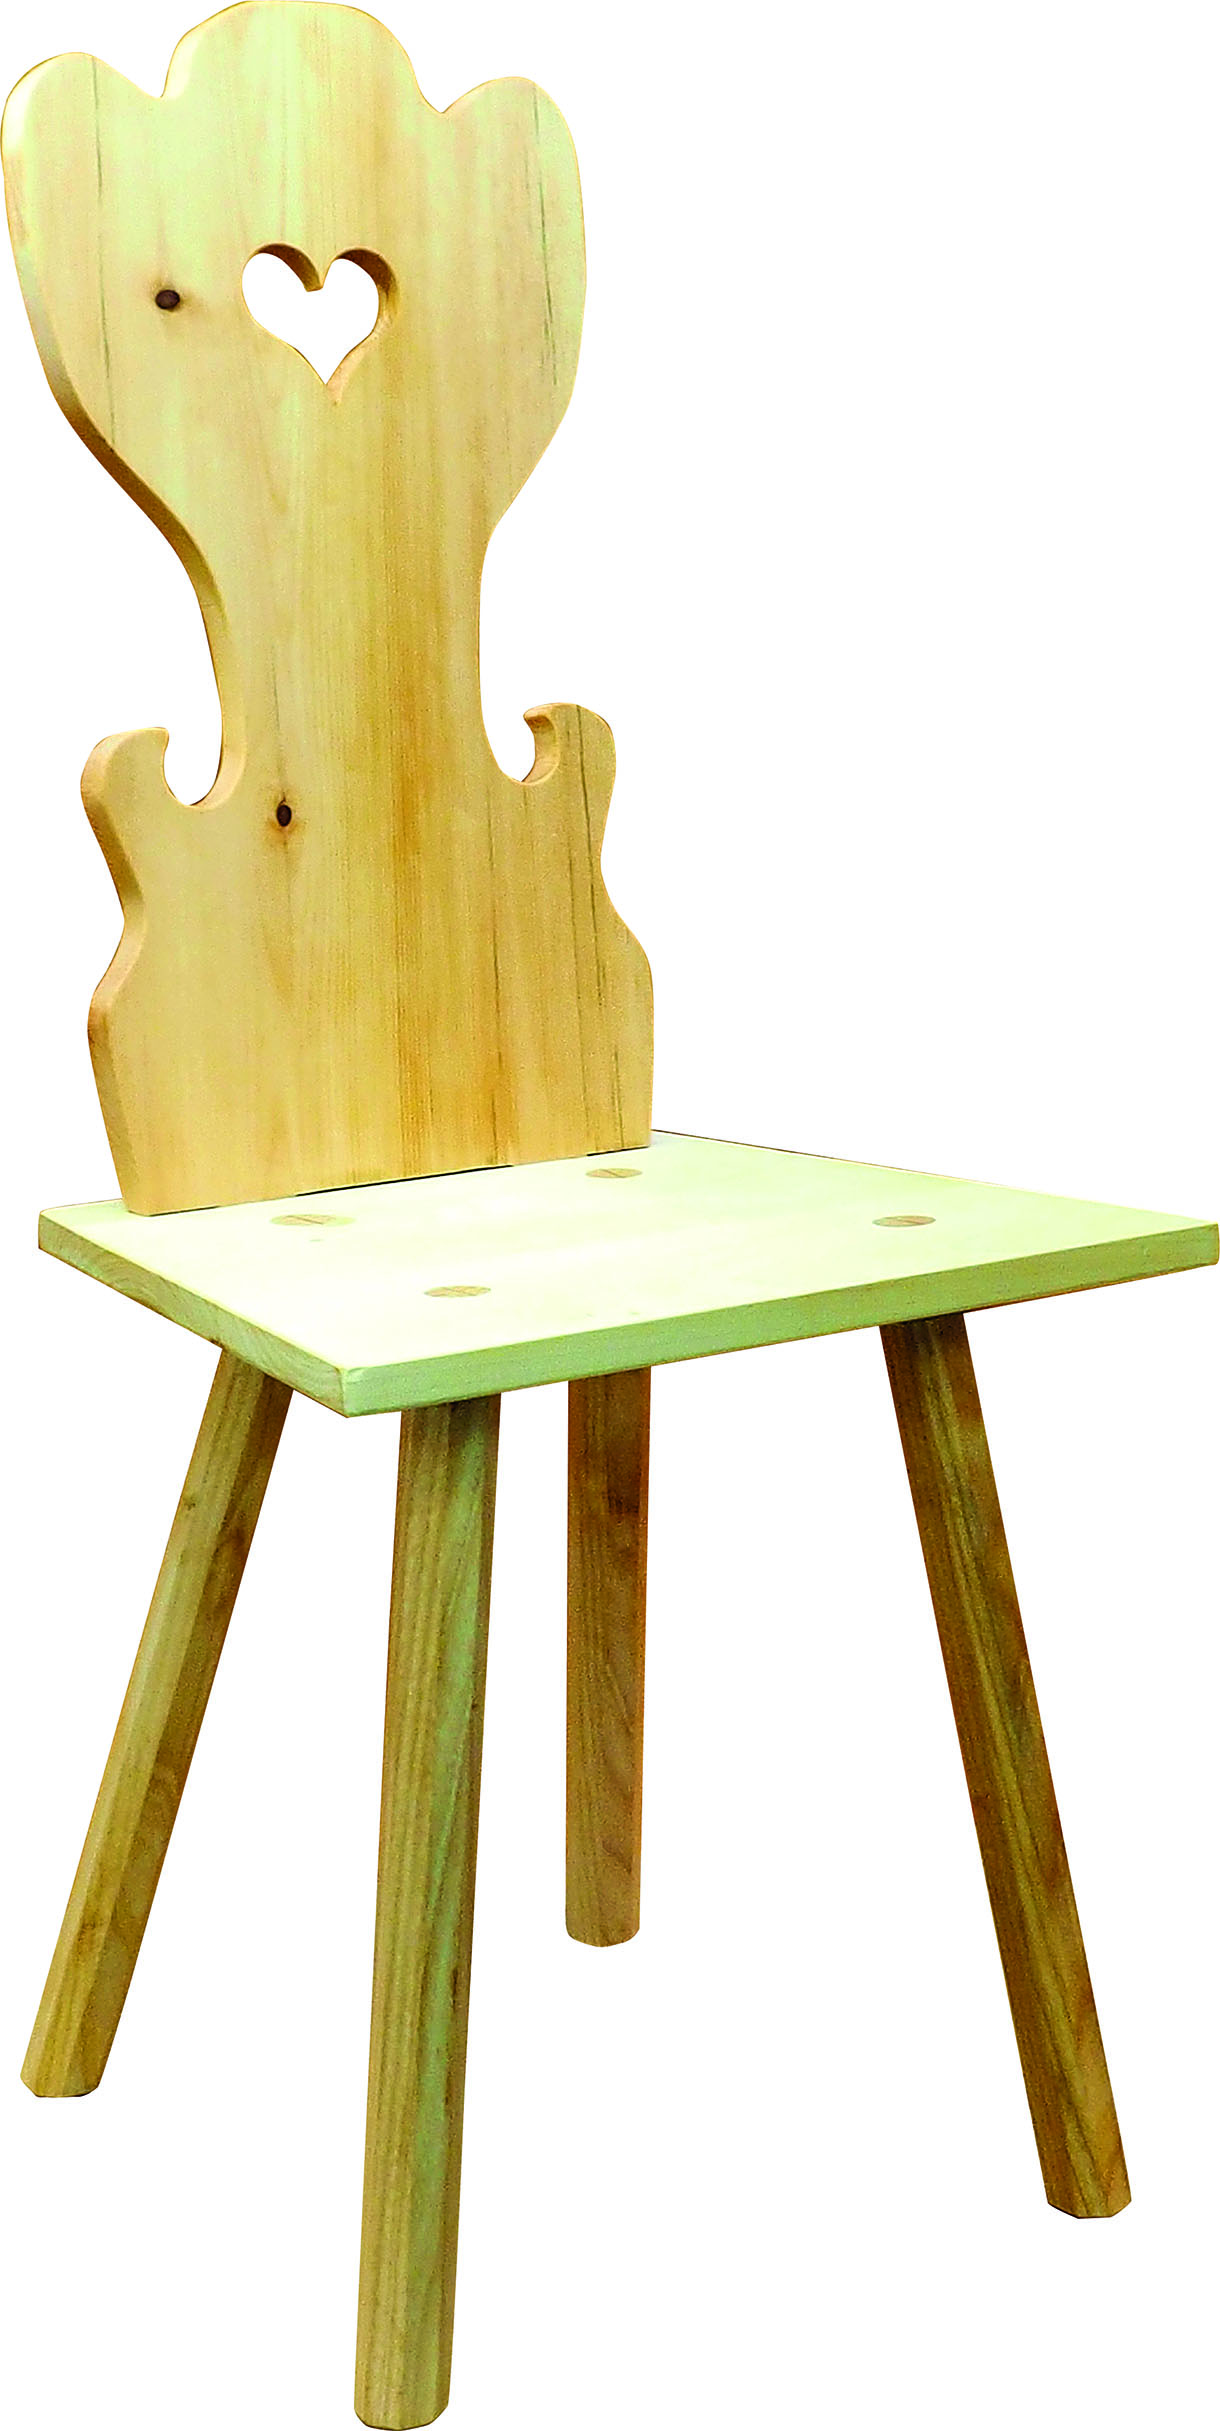
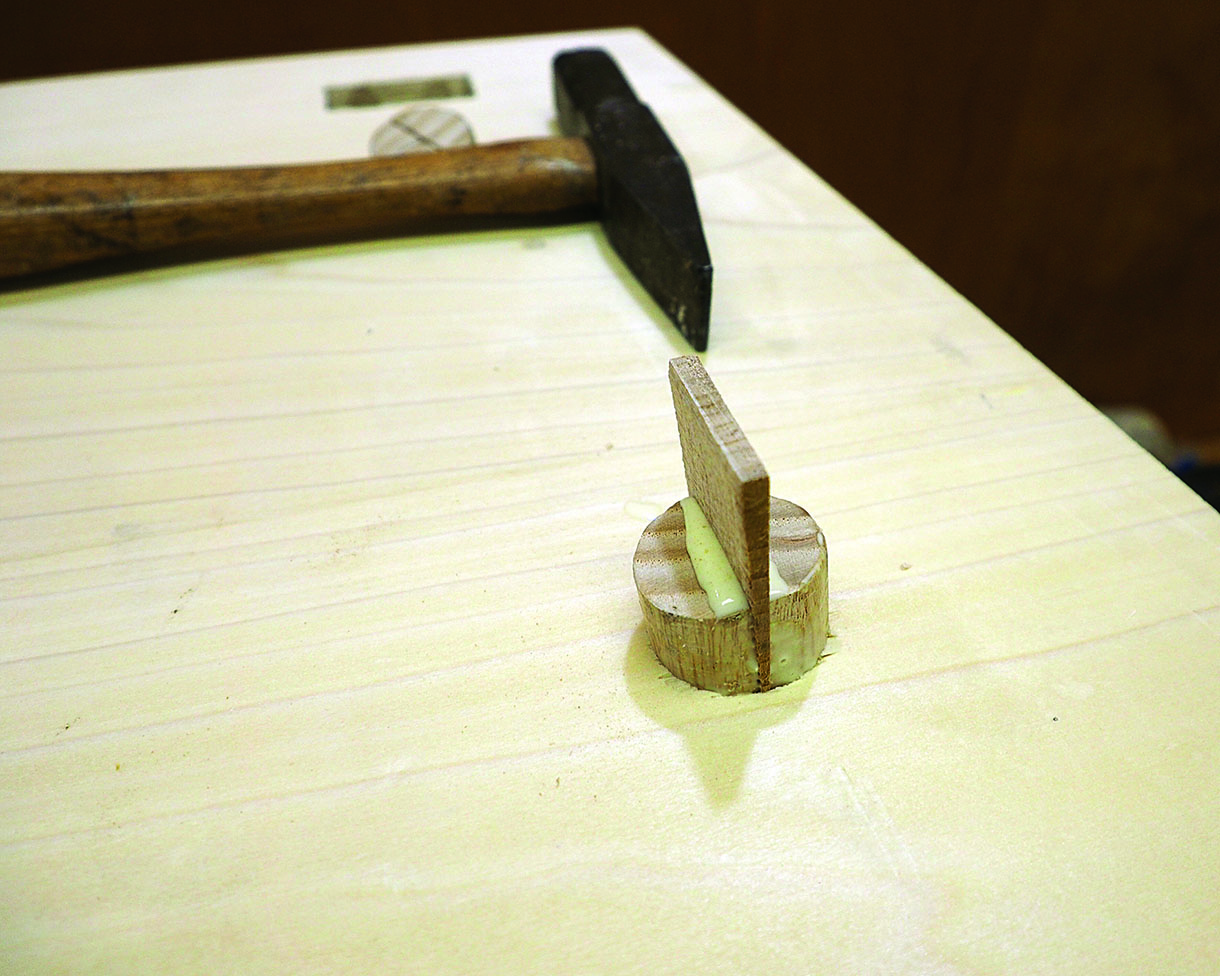
In photographs I have seen of Moravian chairs, the back rest does not appear to have ever been fastened into the seat in a permanent manner. Perhaps it was made this way for easy storage when packing up and travelling. The legs, on the other hand, are very much secured in place with glue and wedges.

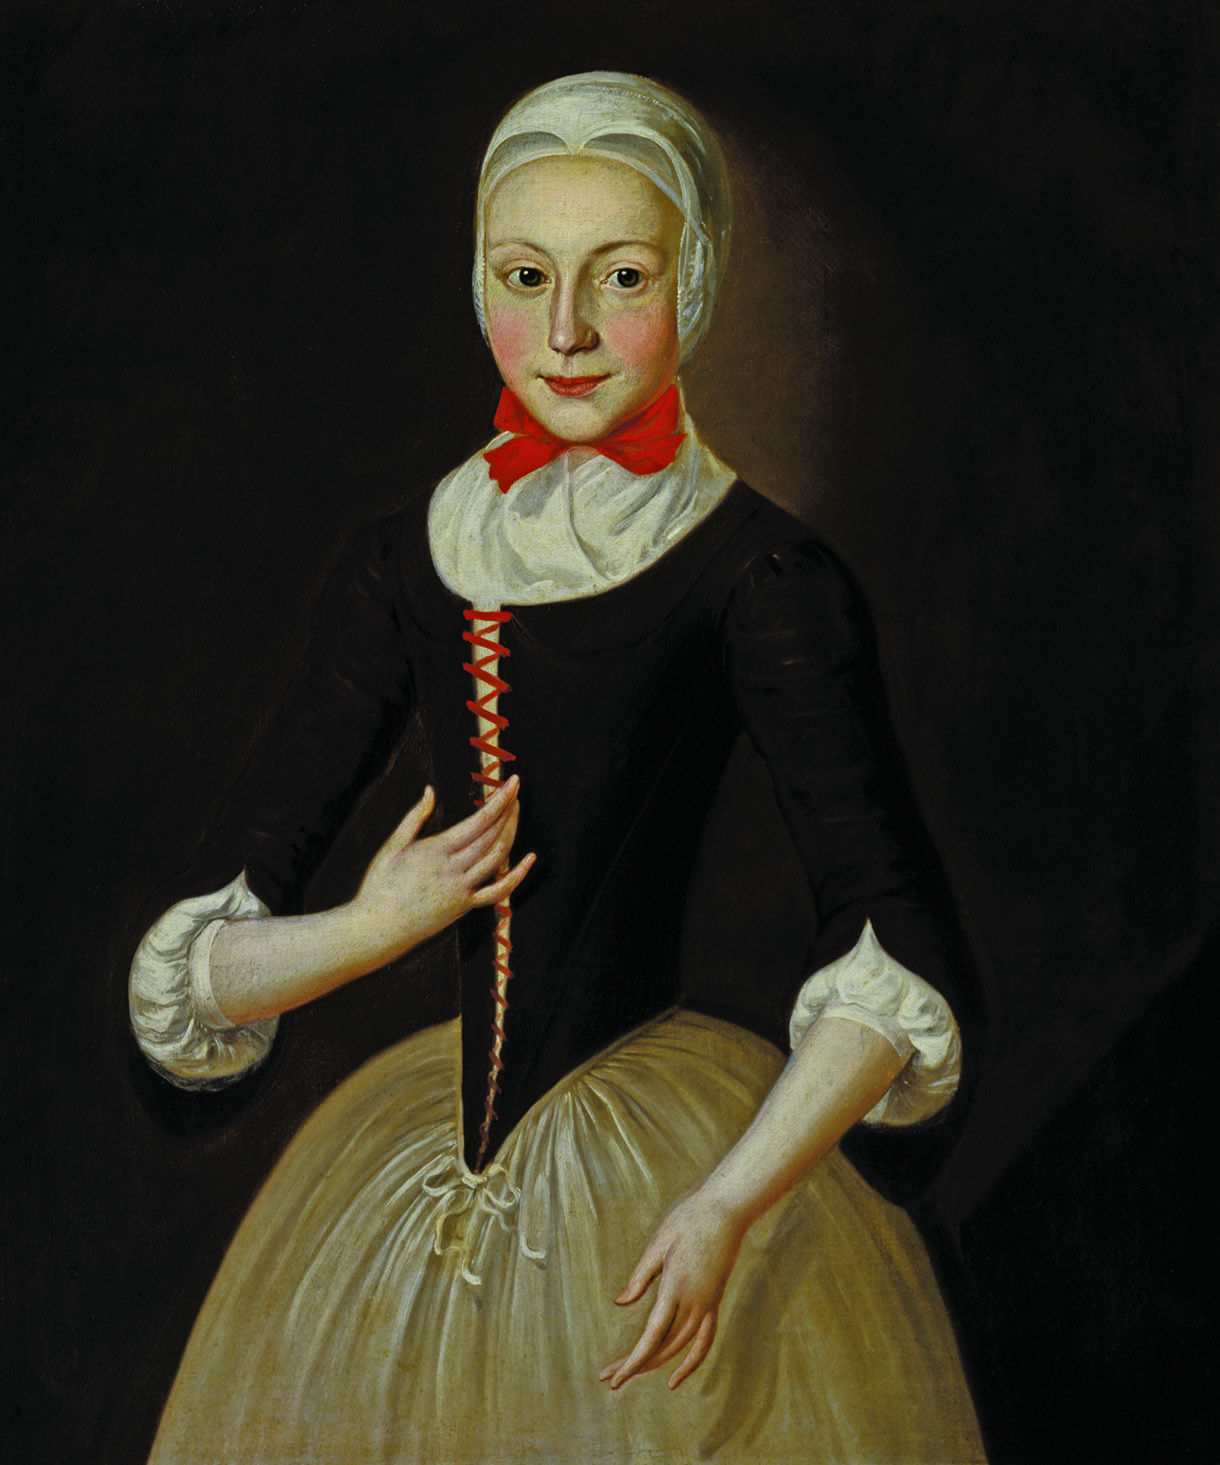
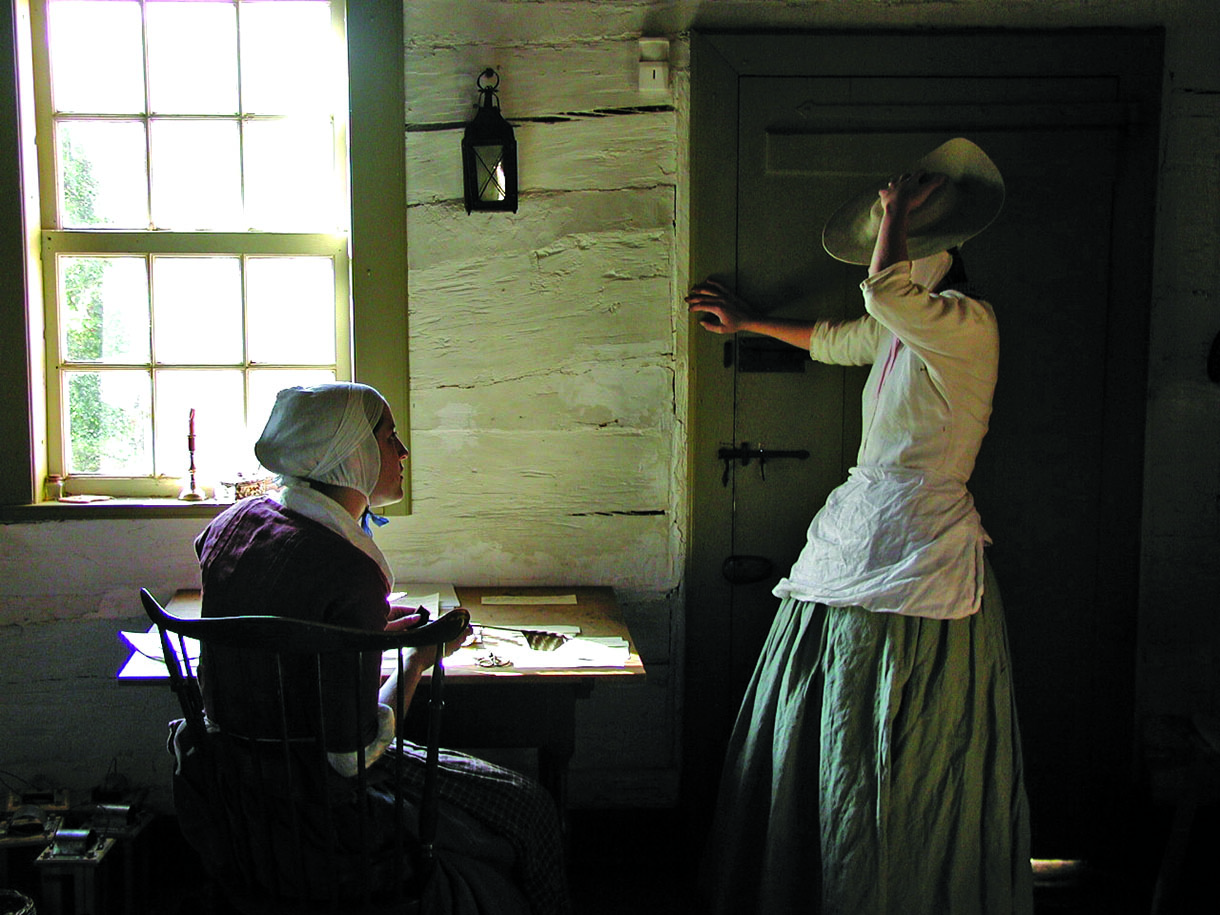
The Moravians, who can trace their roots back to the 15th century, re-emerged in the 18th century in Bavaria. These colonial Germans were members of the Moravian church, and they came to America for the same reason others also did around the same time: to escape religious persecution in Europe. The first American settlement was in Bethlehem, Pennsylvania, around 1740, and it was there that the Moravians began to build a reputation as artisans. In the early 1750s a group of the Pennsylvania Moravians moved to Salem, North Carolina, and in 1766 establish a centre of trade. In a letter dated May 1754, the Reverend Johann Jacob Friis (1708–1793) wrote, ‘I made the top of a table for myself, and […] cut wood for feet […] They shall be Lyons Claws; is not that too much?’.
He went on to say of the first Moravians in North Carolina, ‘one day I am a joiner, the next a carver; what could I not learn if I was not too old?’ Keeping its history in mind, let’s now make a chair!
Tools you will need
• Carpenters’ square
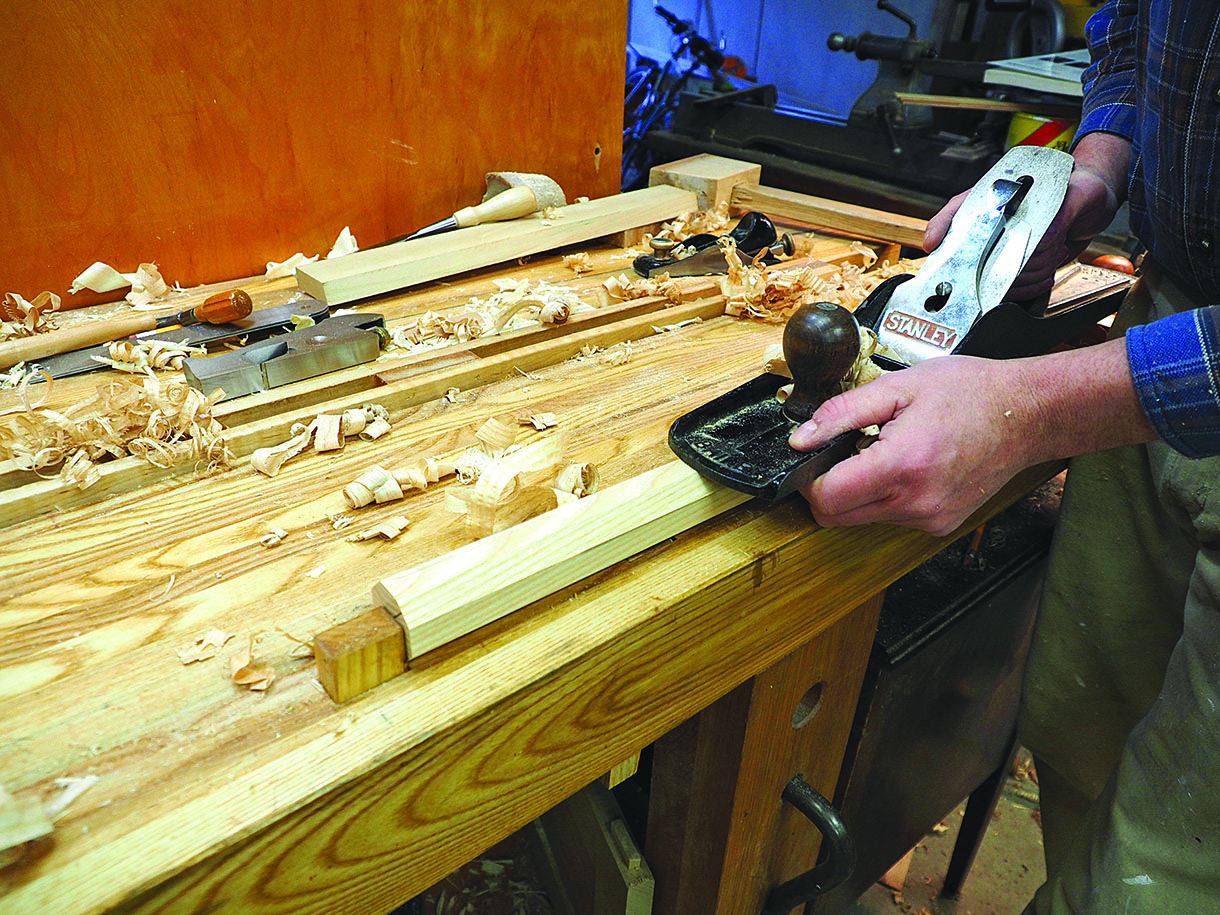
• Shoulder plane
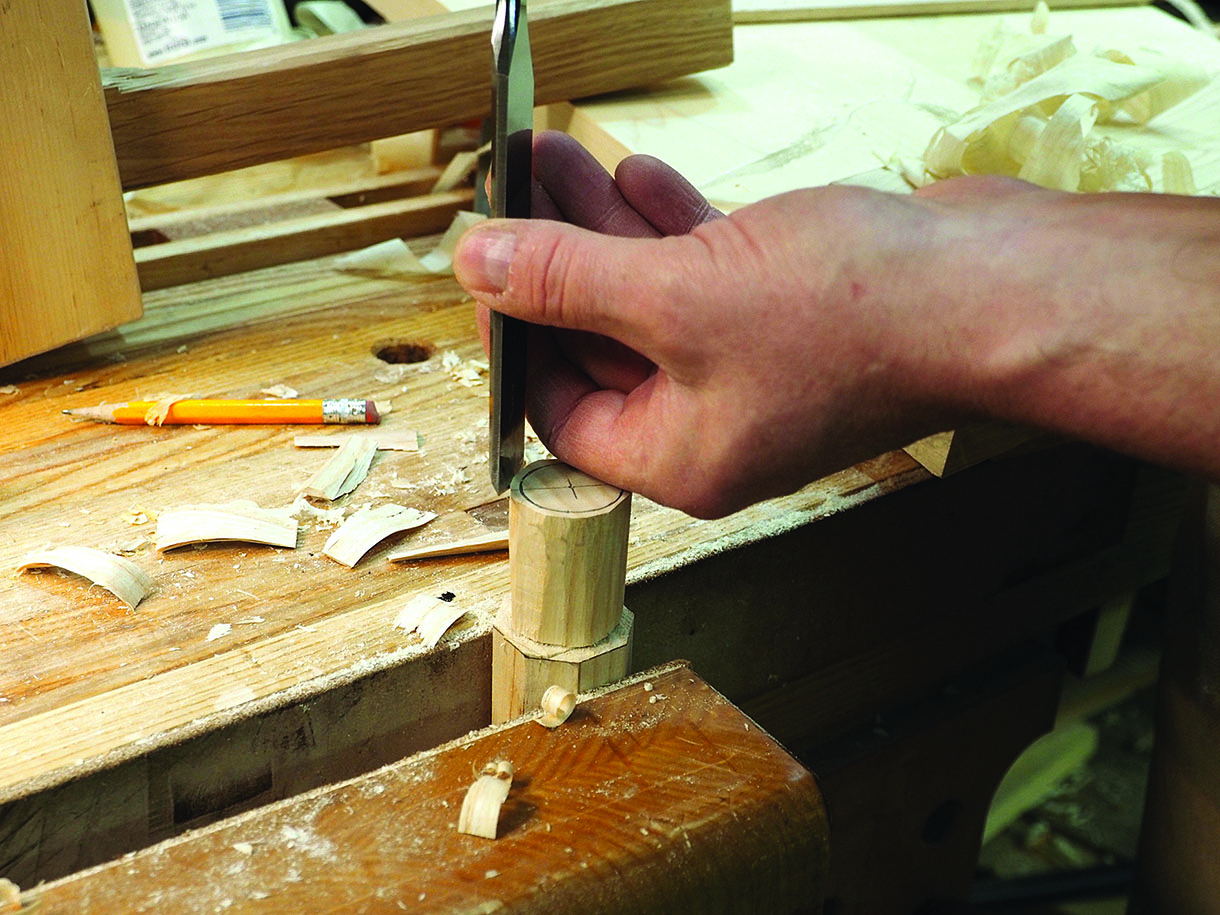
• 6mm chisel
• 19mm chisel
• Marking knife
• Gauge
• Two bevel gauges
• Brace
• 19mm and 25mm twist bits
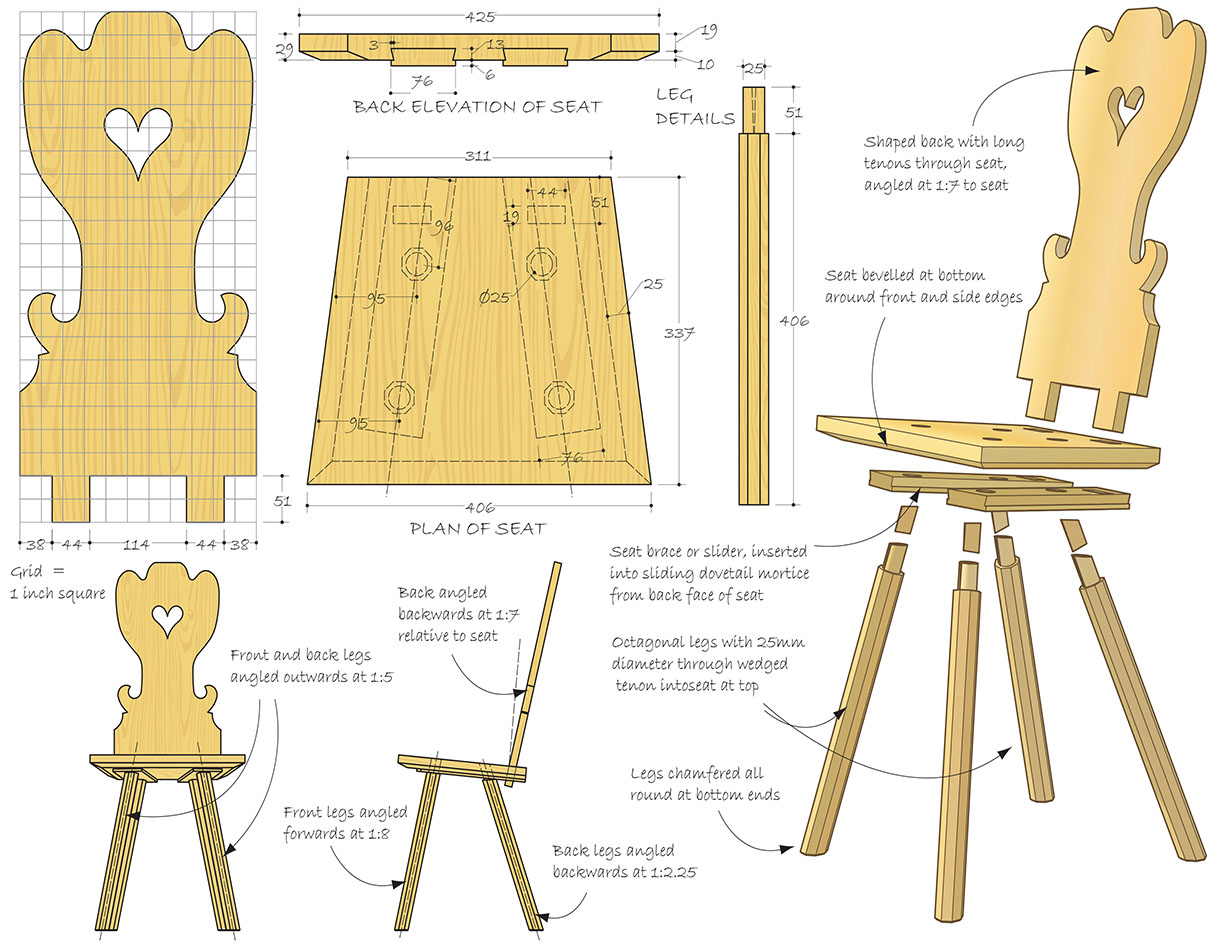
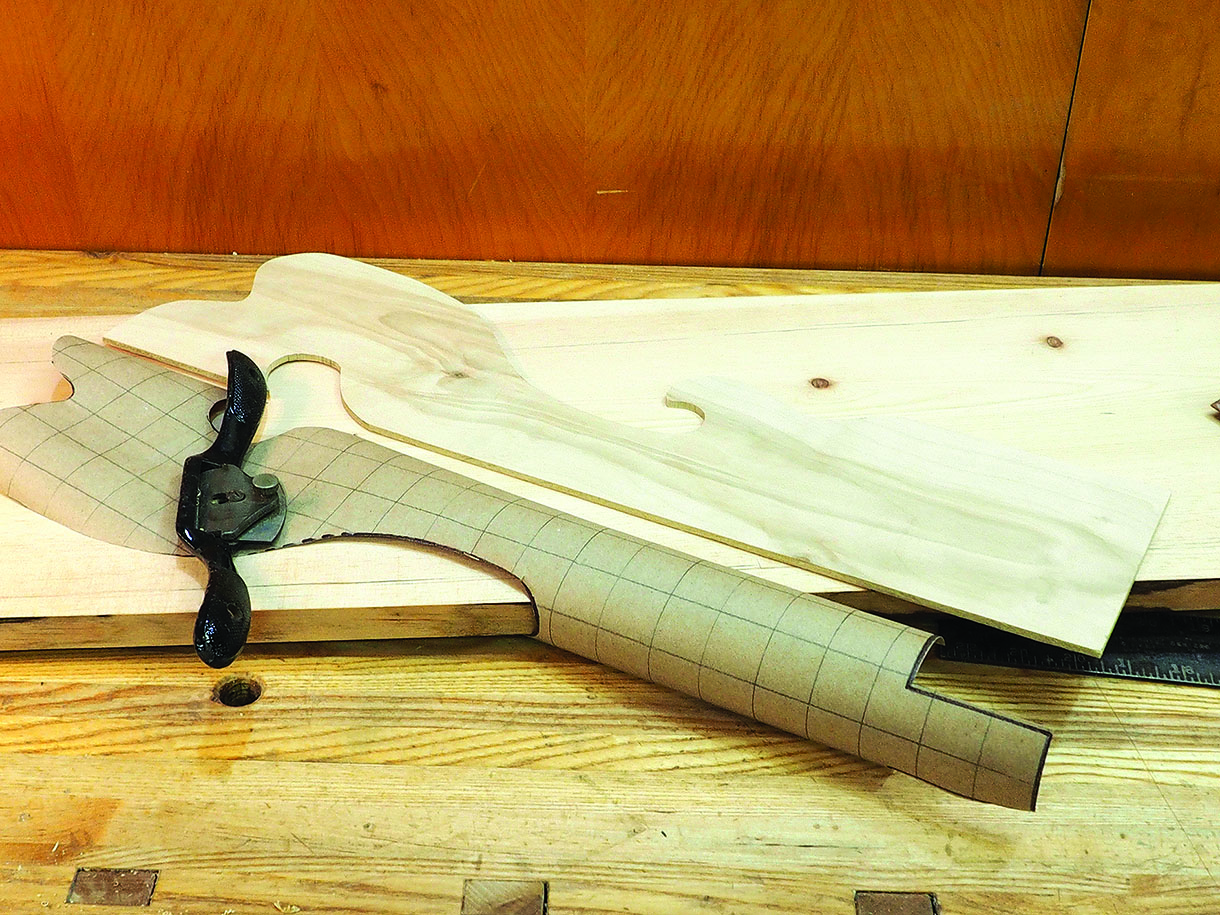
Moravian chair plan
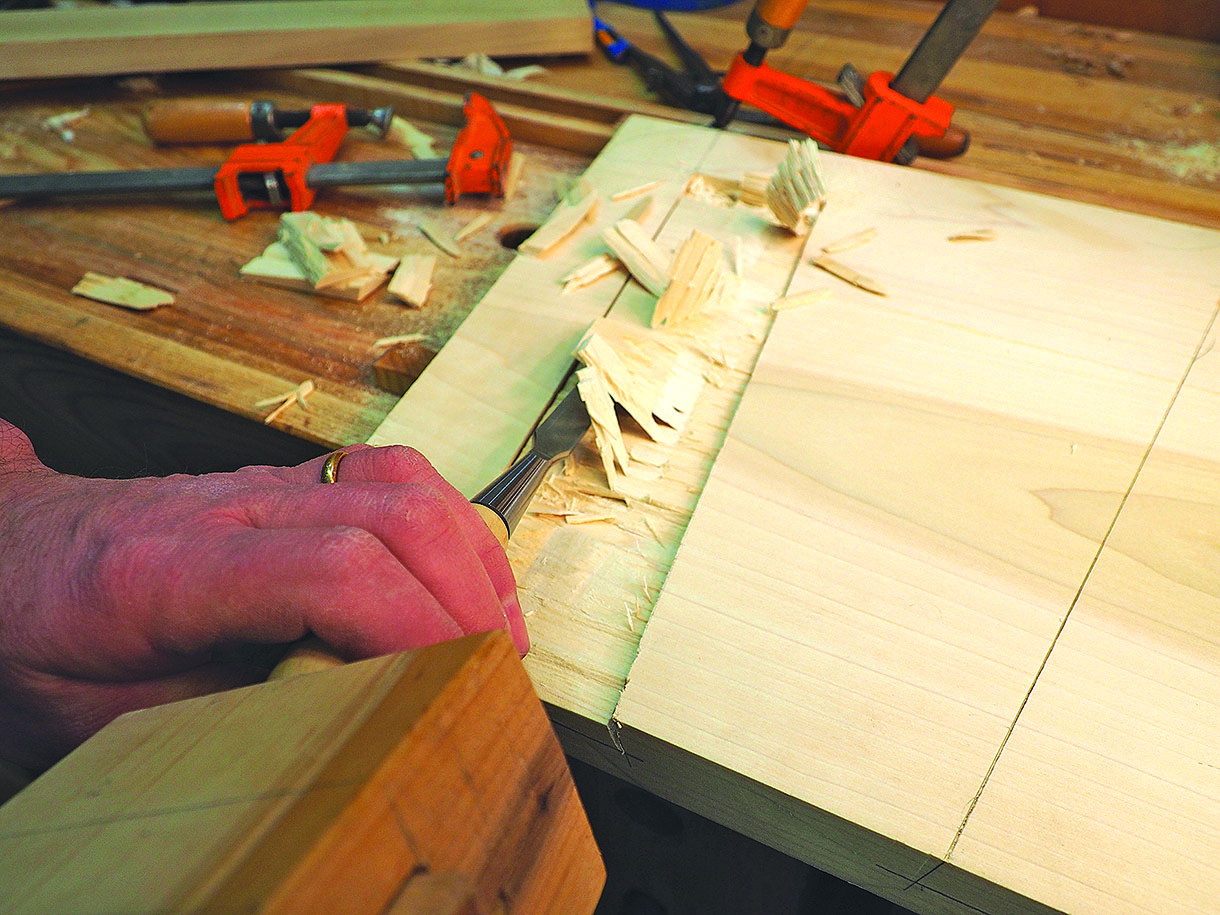
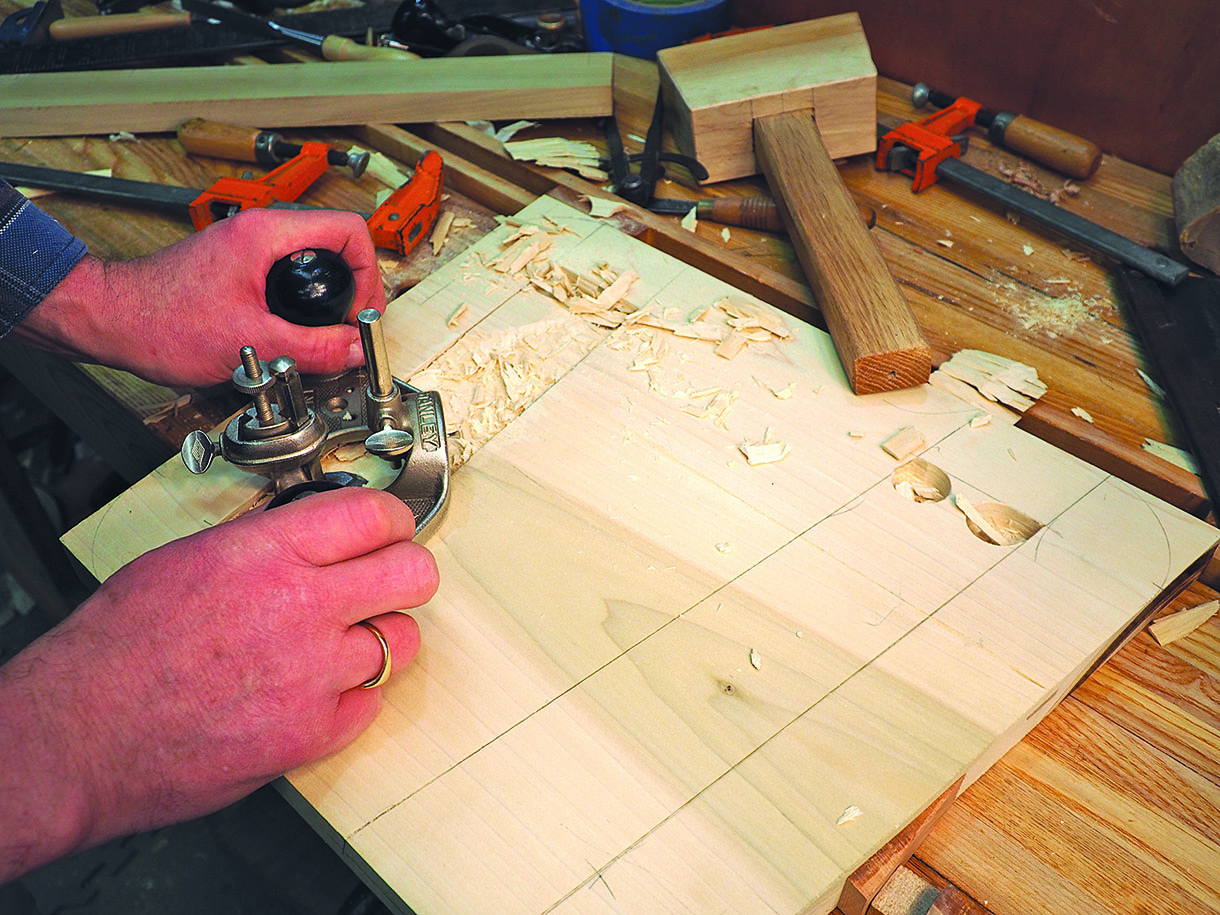
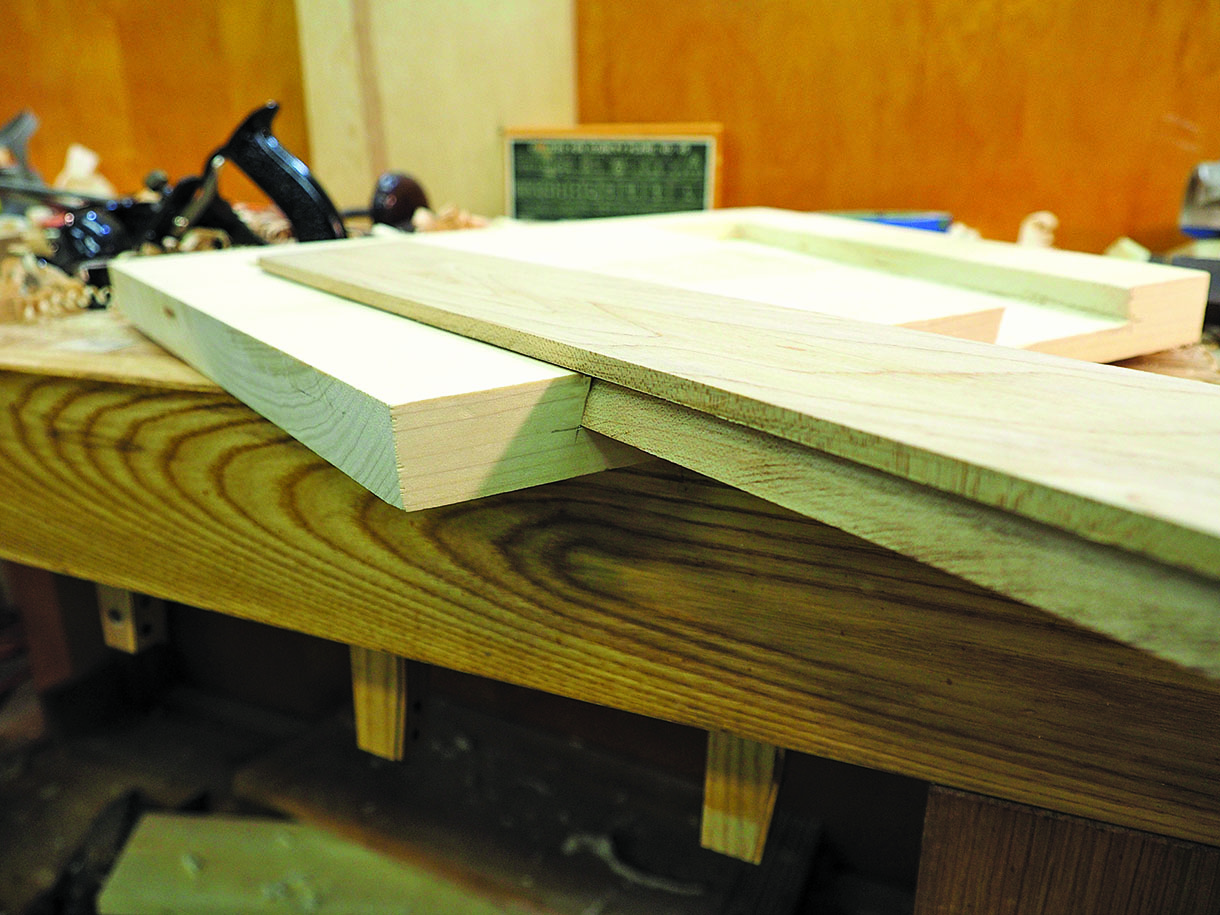
The seat
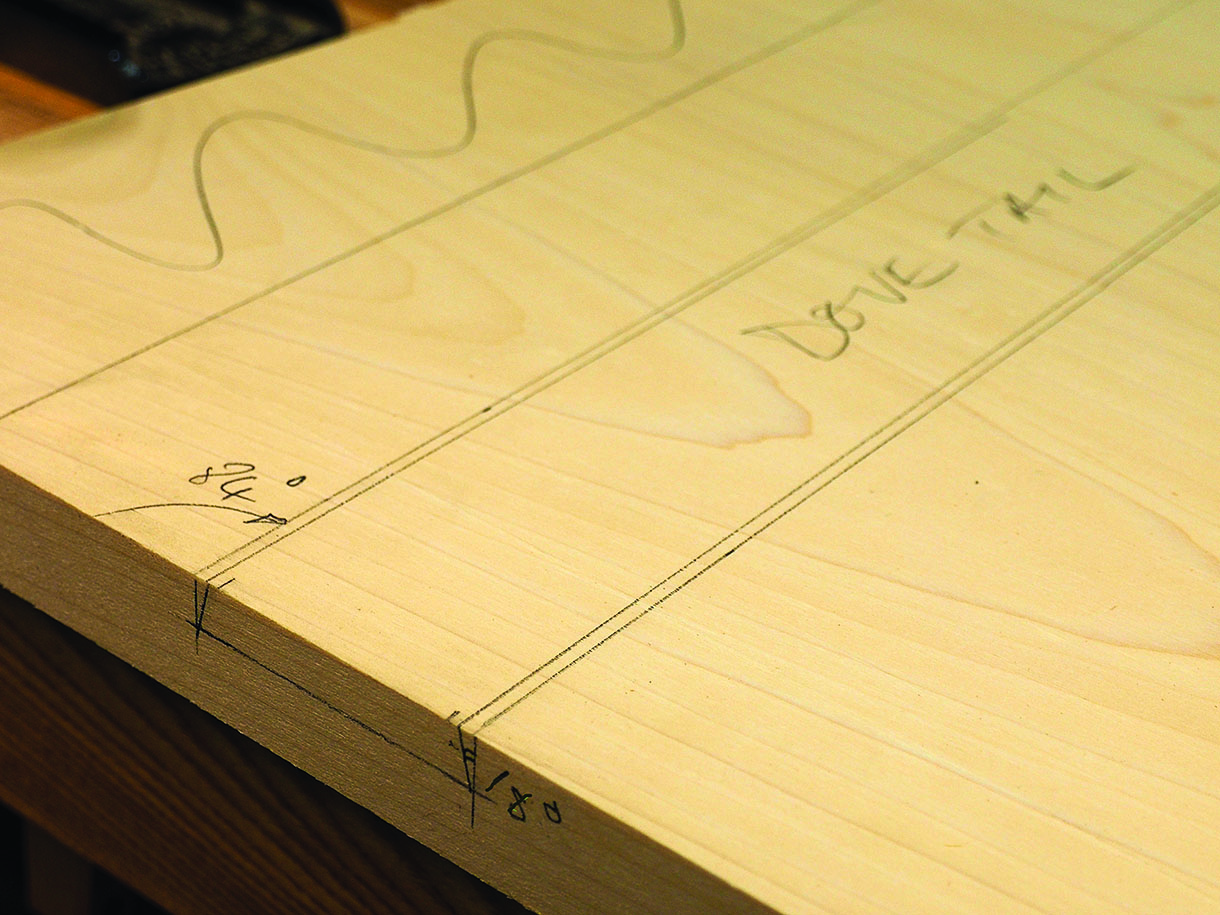

The dovetail jig

The sliders
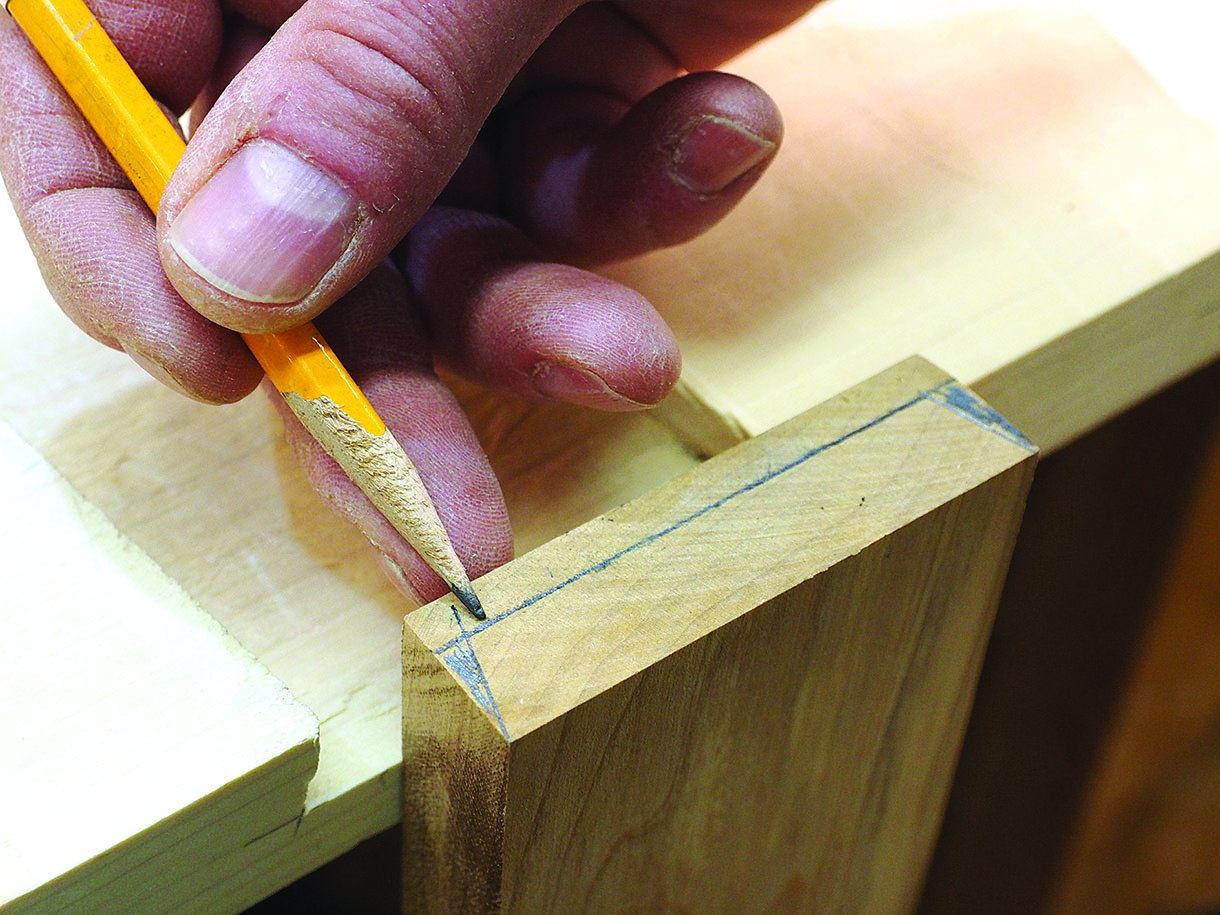
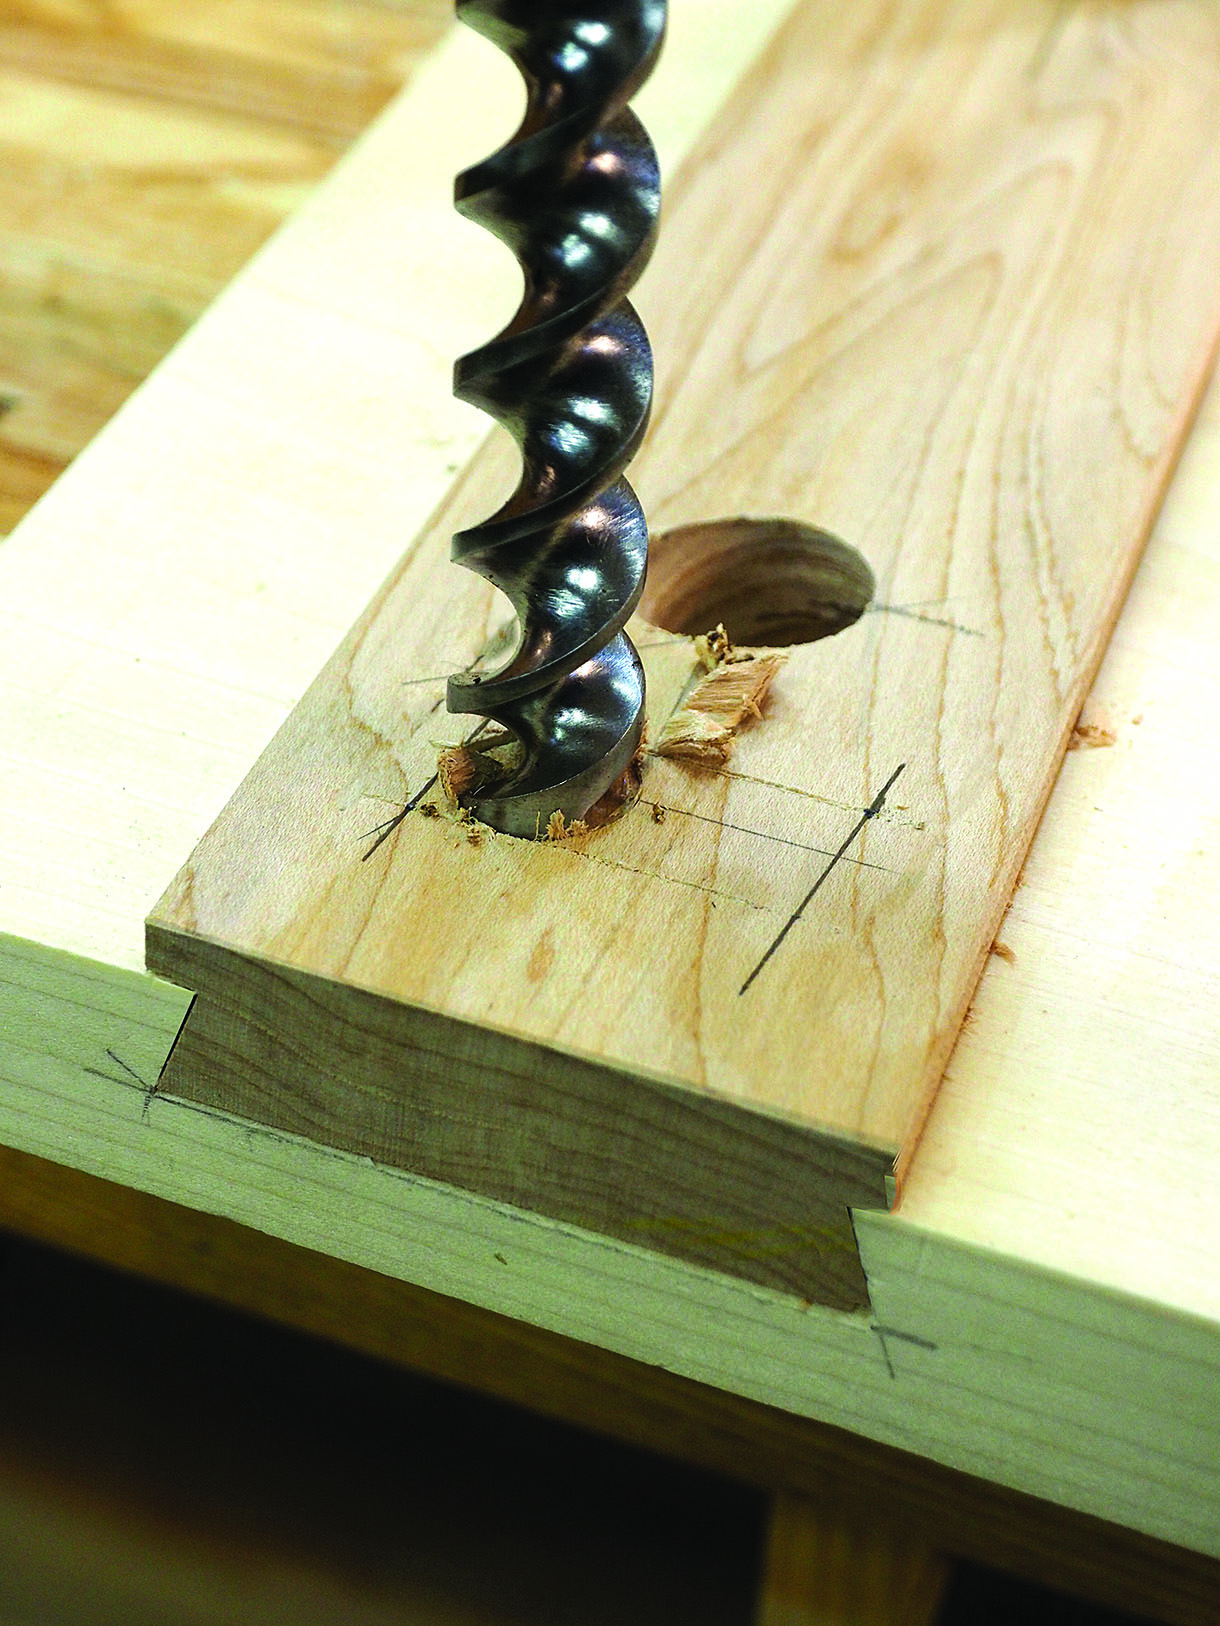
The leg mortises
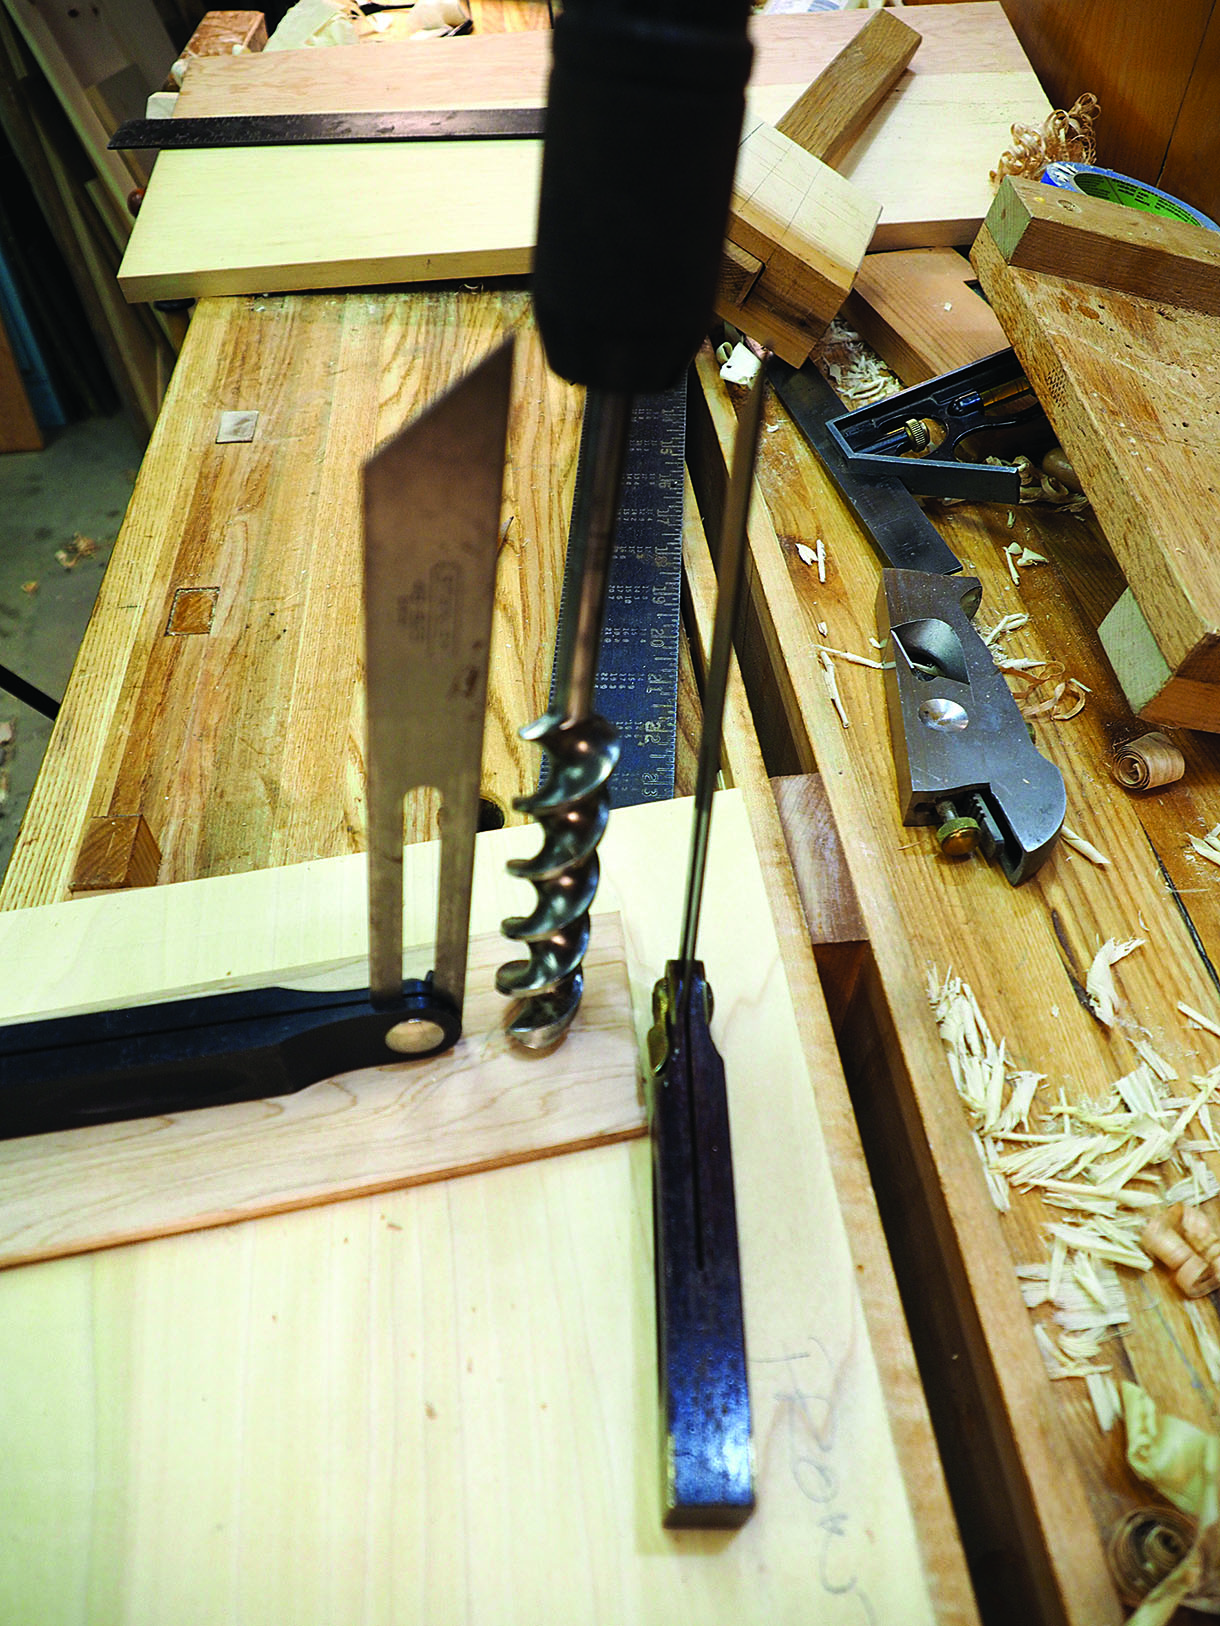
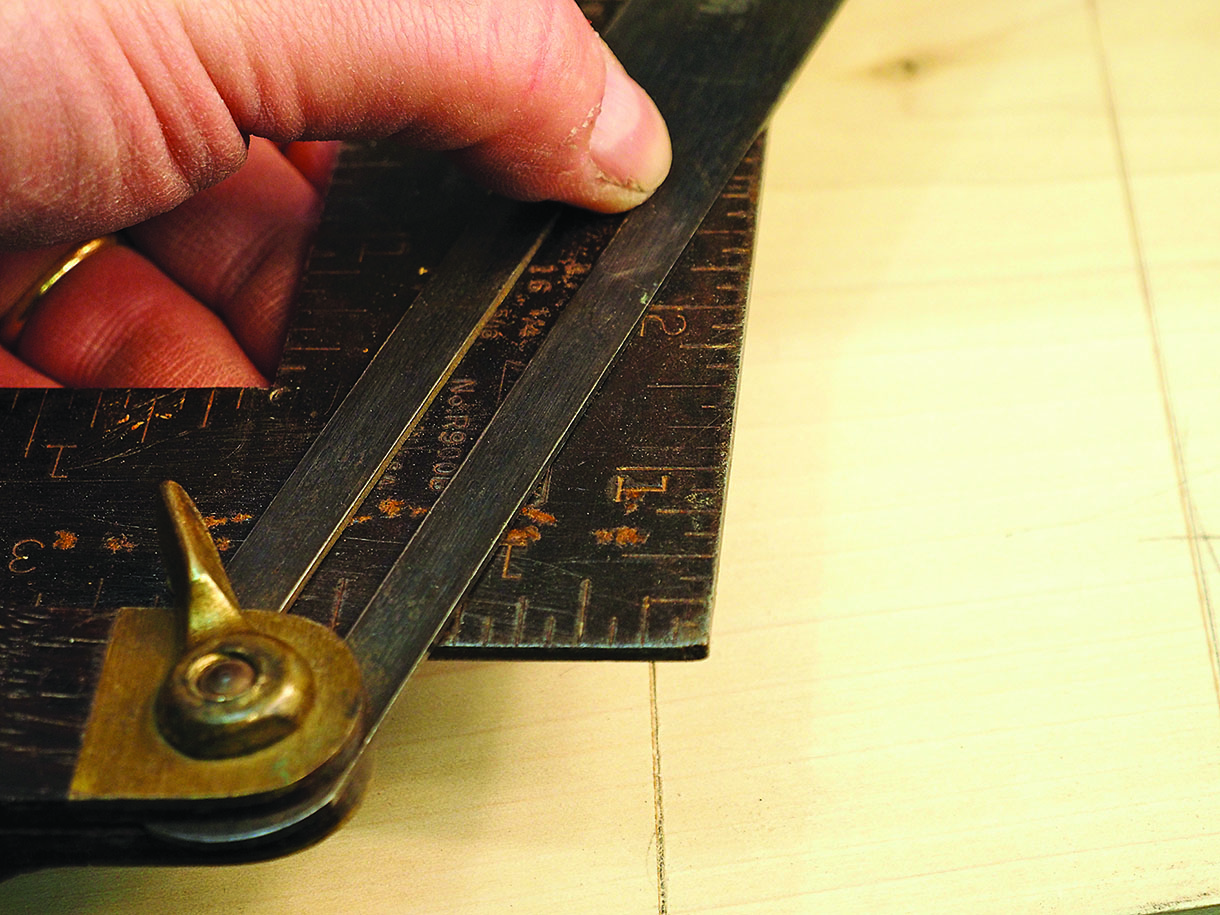
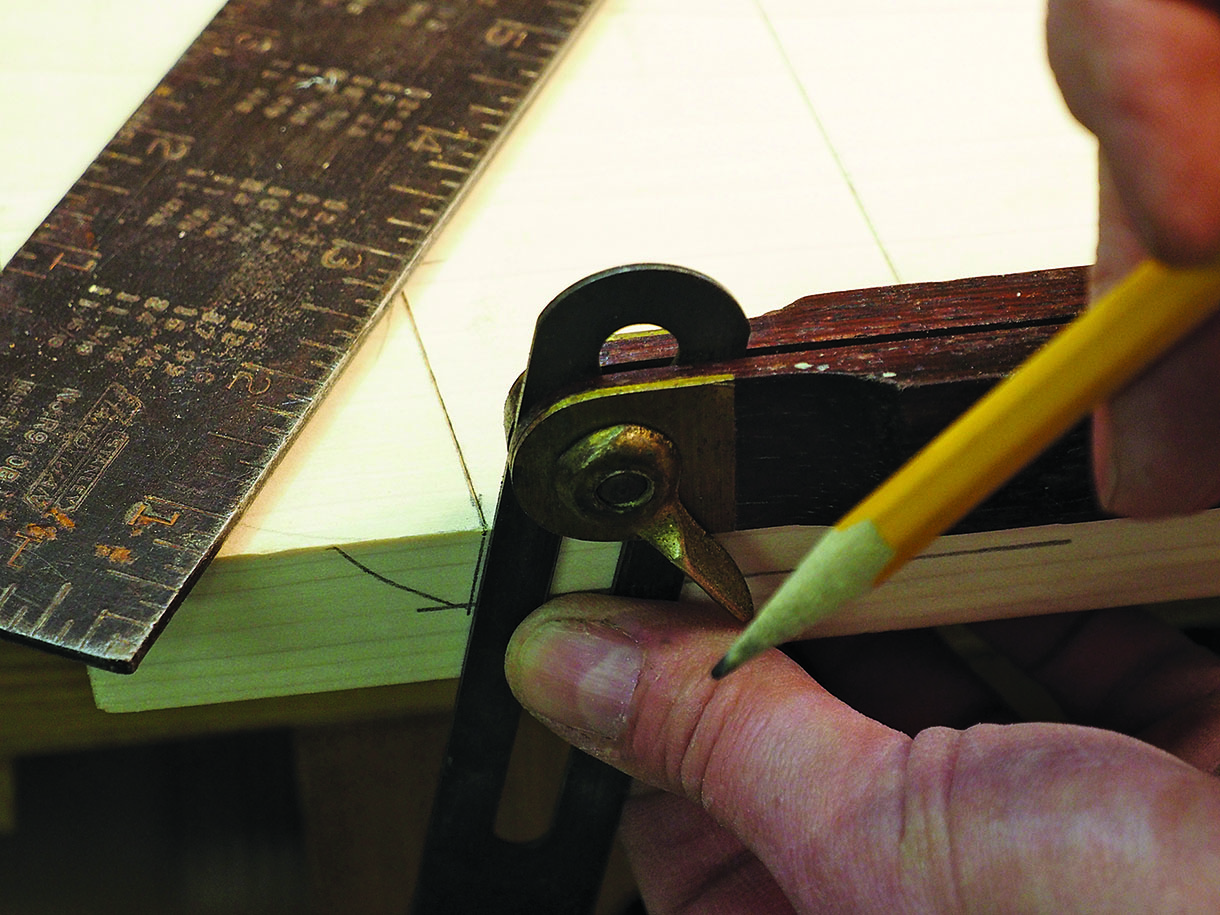
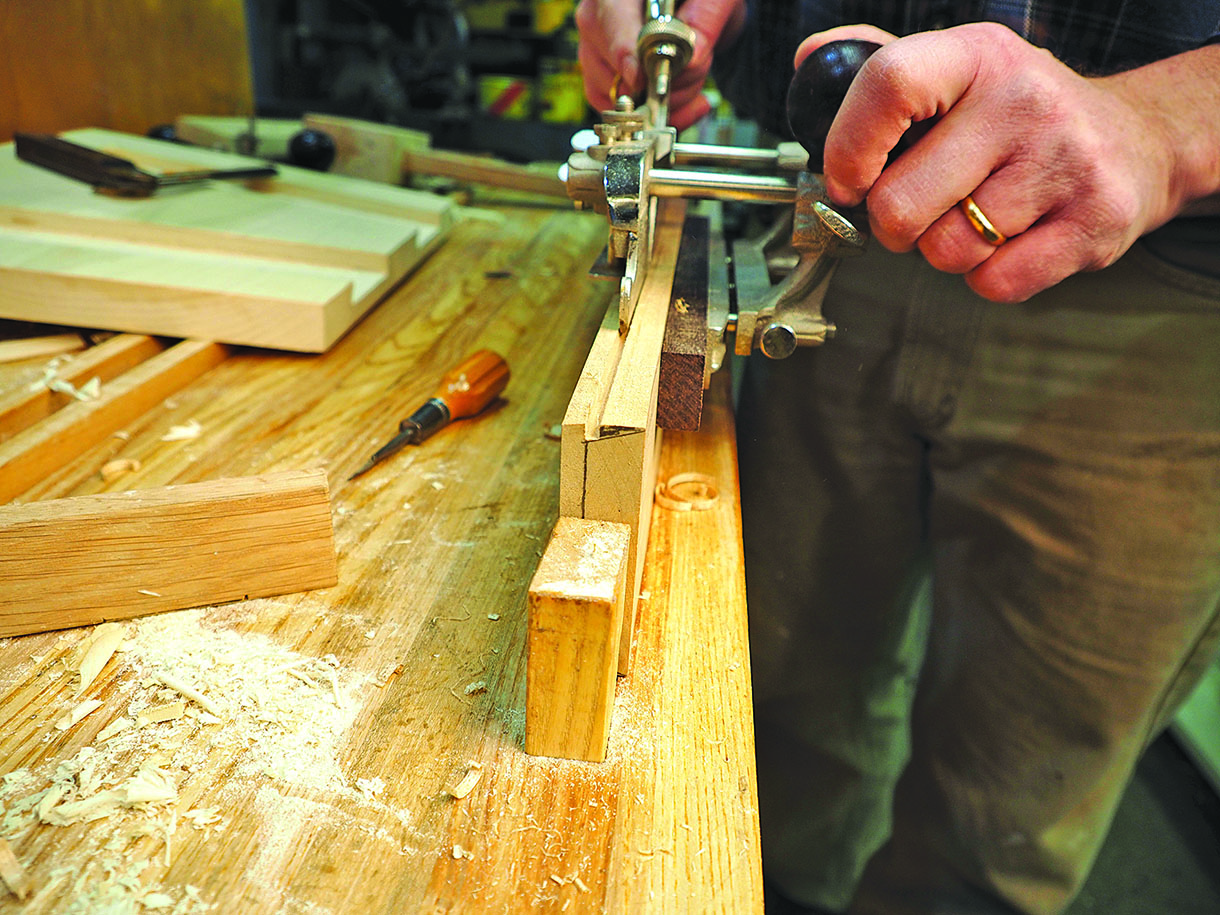
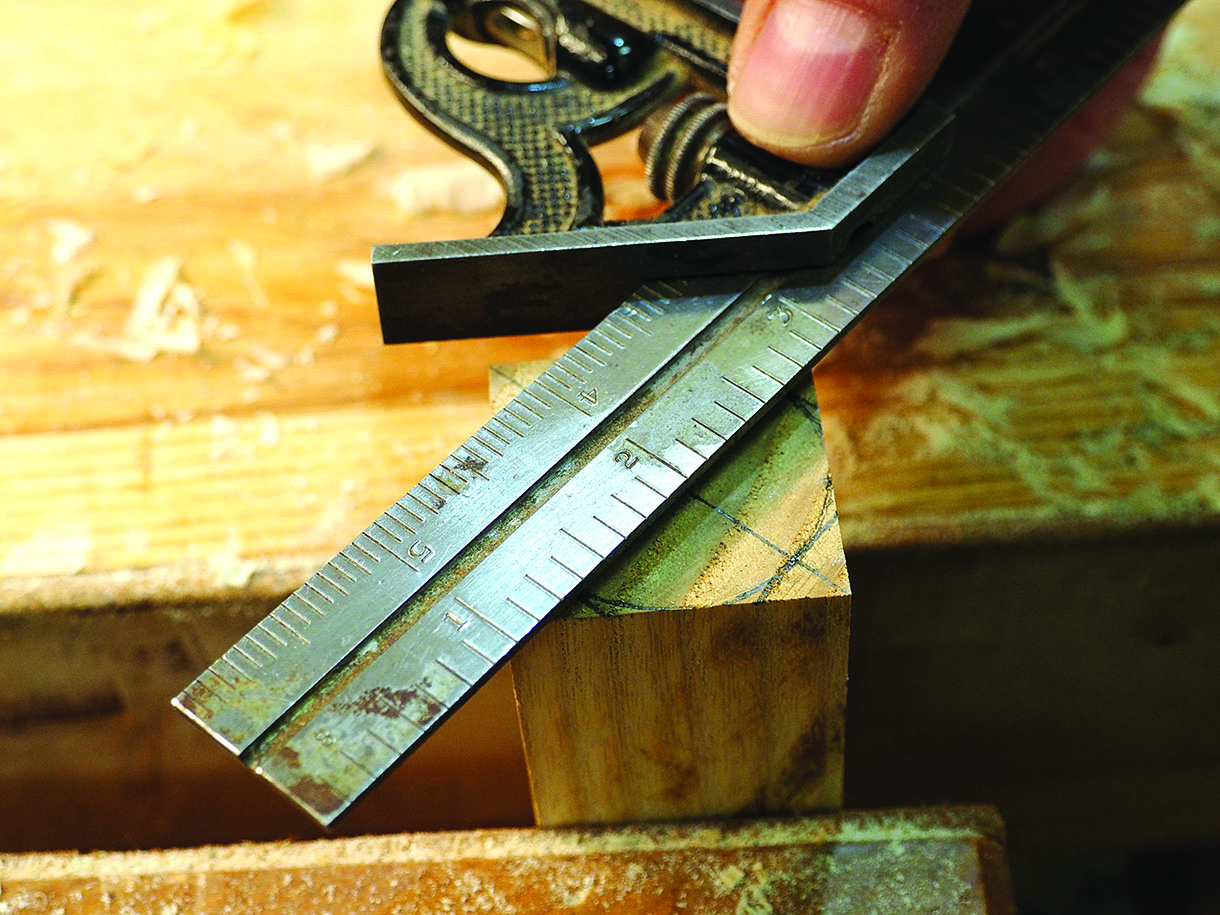
Leg splay angles
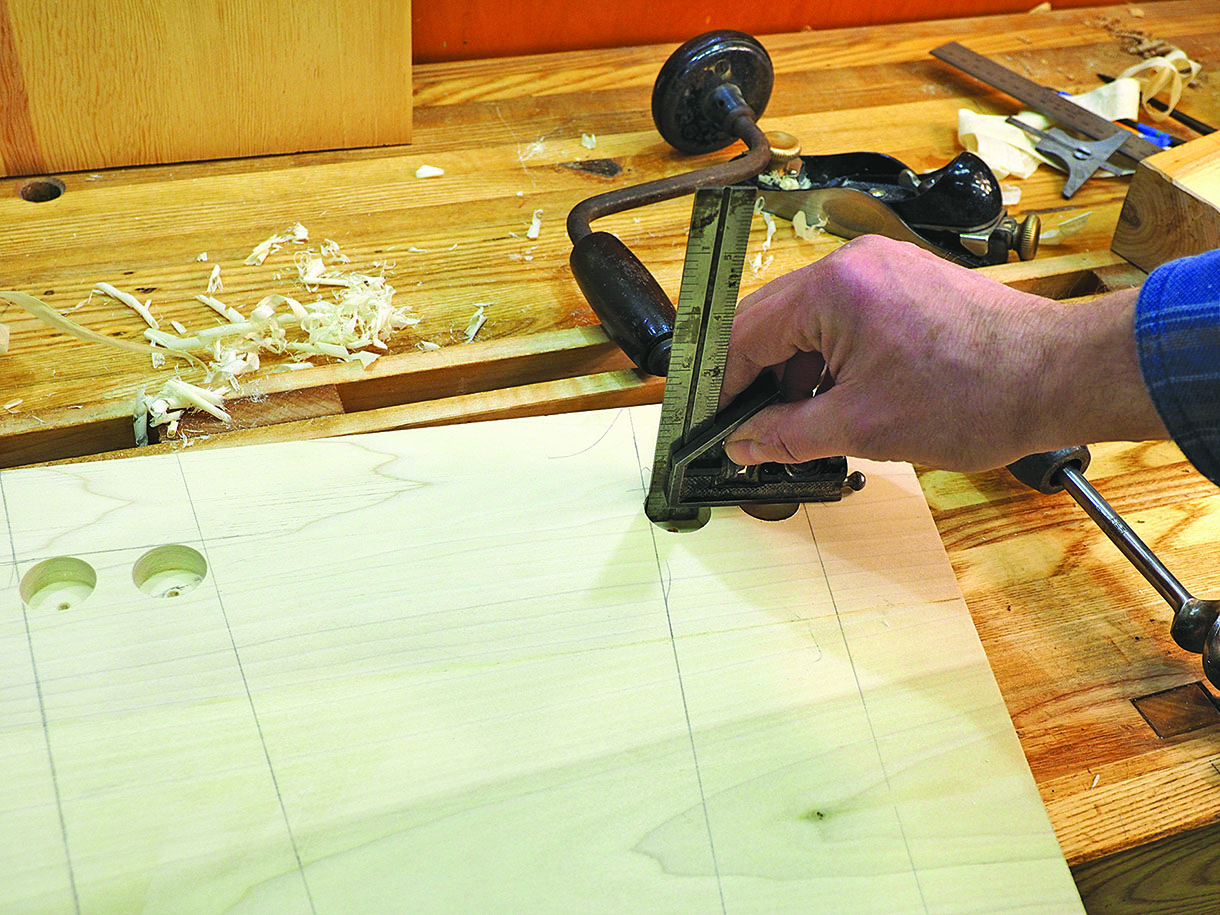
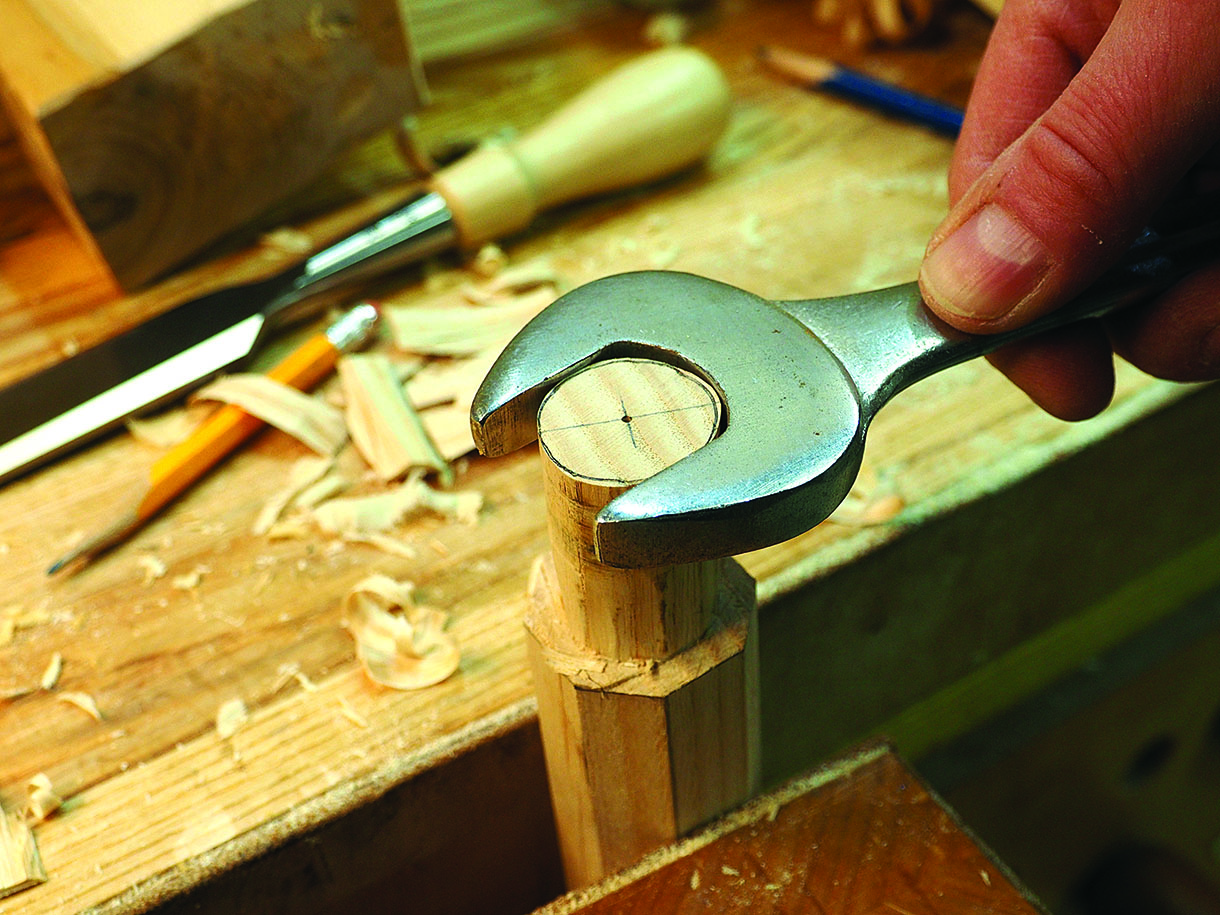
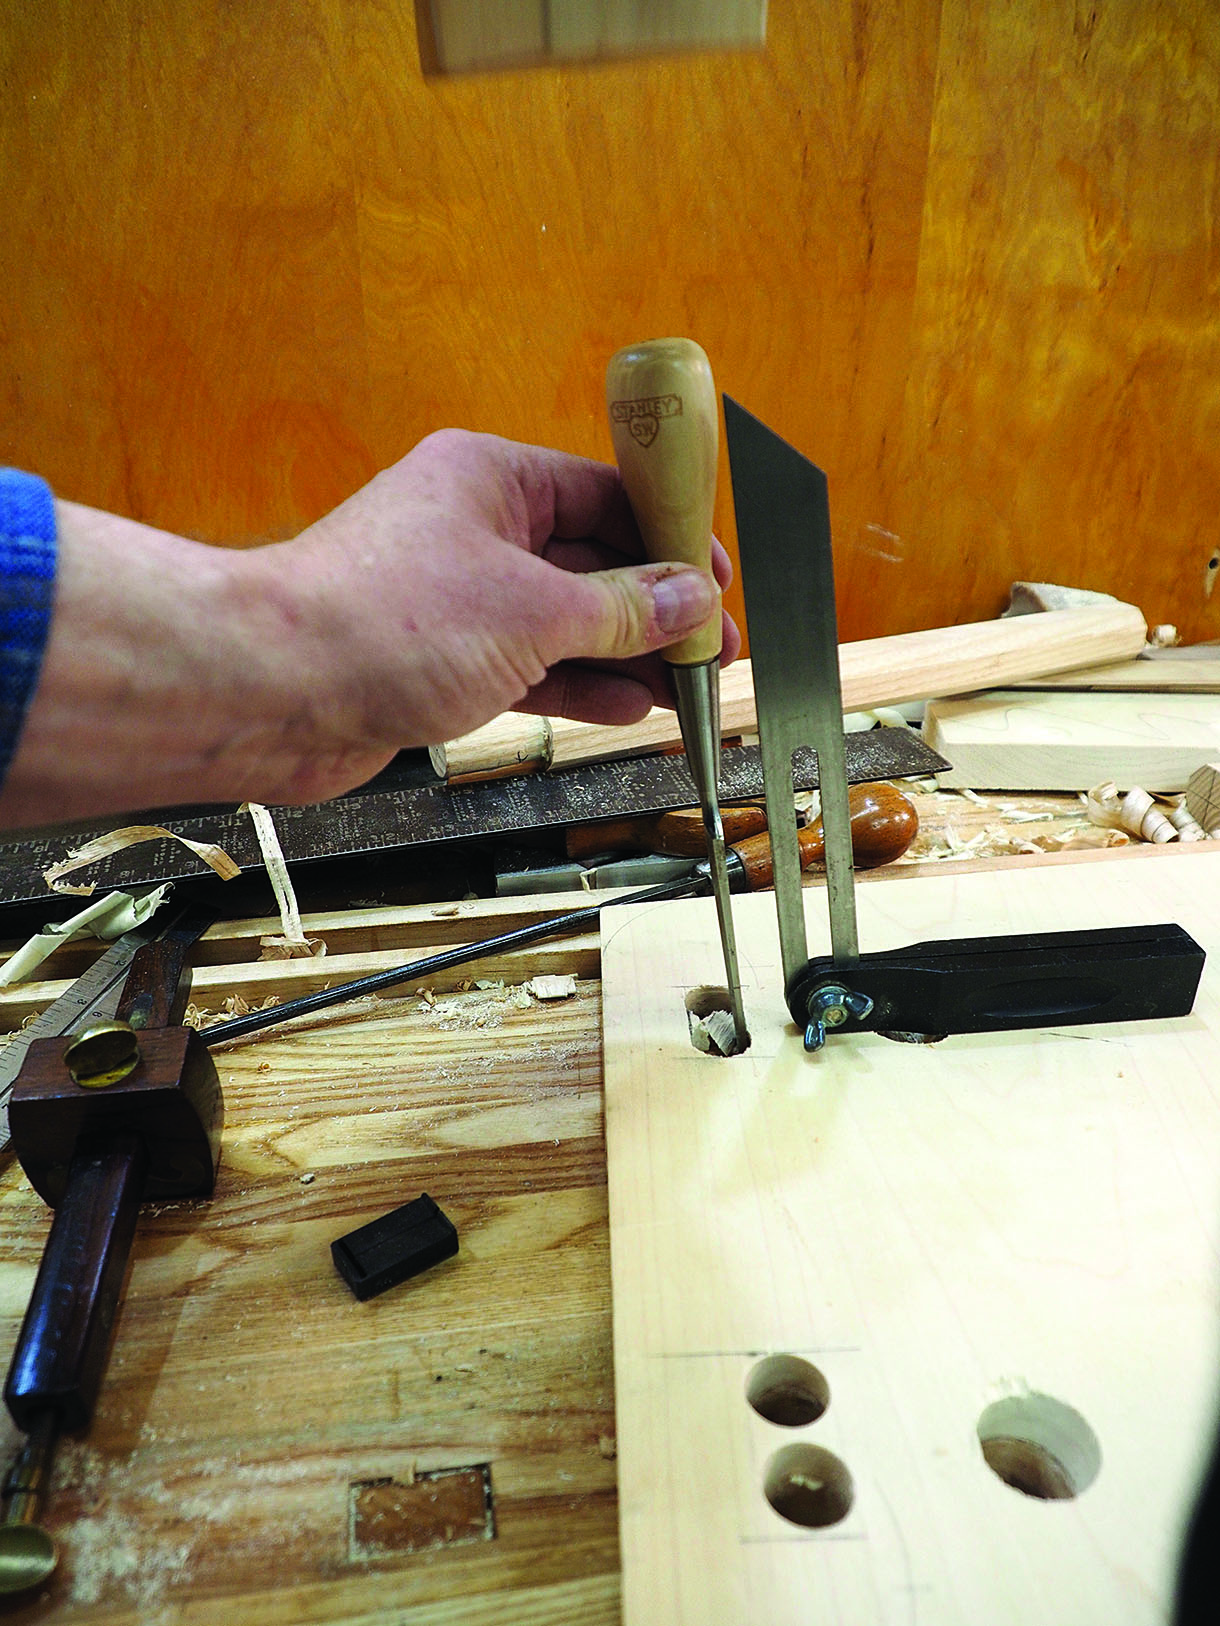
All legs are splayed to the sides at an angle of 1:5, the front legs are splayed 1:8 forward and the back are splayed 1:21/4 backwards. All angles are approximate. These angles will cant the seat slightly back. To get these angles, place the bevel gauge on the carpenter’s square so the bevel spans the 25mm, 125mm, etc. Clamp the sliders in position. With the bevels set in the correct orientation, and keeping the brace and bit in line with both of the bevels, begin to bore the mortises. Before the twist bit’s spur goes too far into the wood double check the angles.
This task is easier with a mirror or another person to guide you. Practise on scrap wood before tackling your chair. Clamp a scrap piece of wood on the exit side (top) of the chair to prevent splintering as the bit exits. Bore all the holes using the same technique, but remember to change the bevel angle. These techniques can be used time and time again when building chairs.
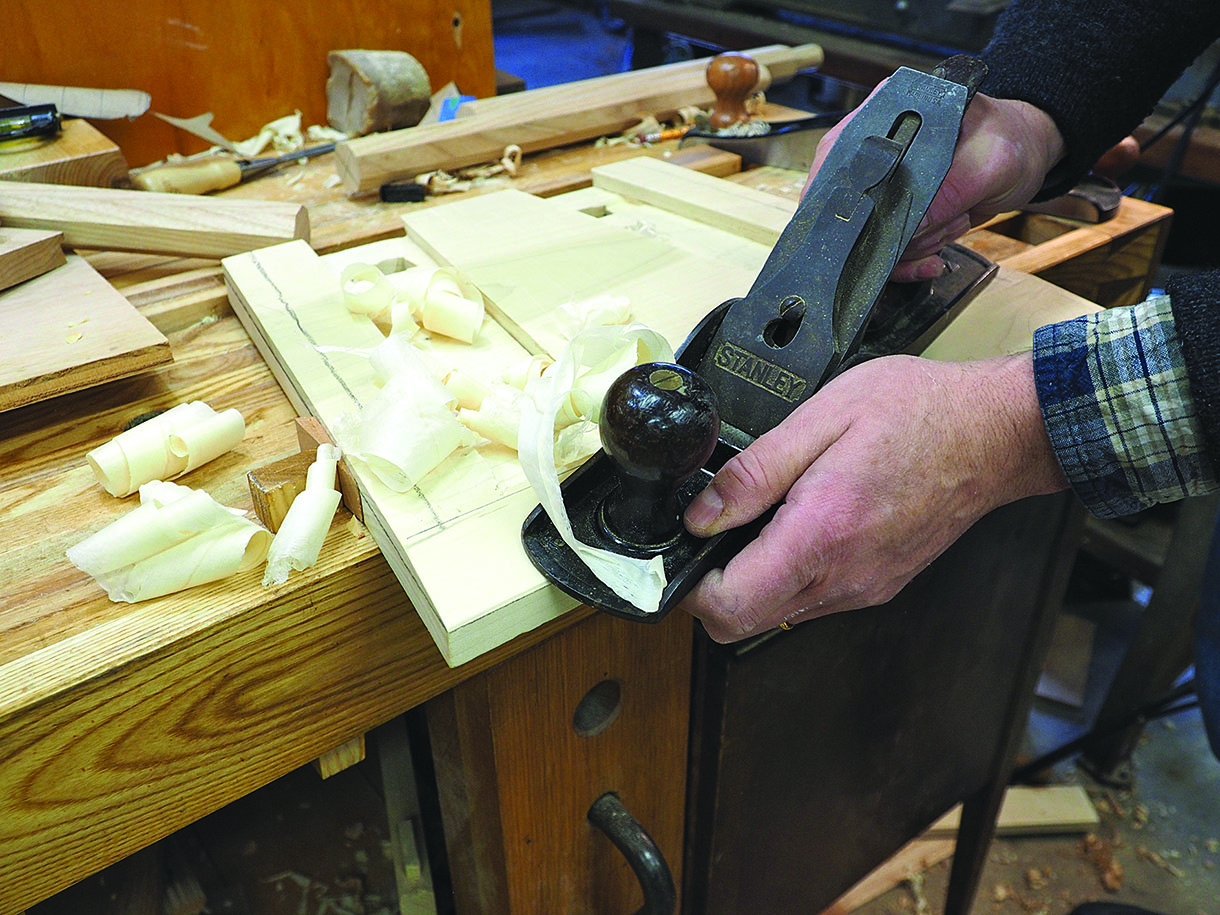
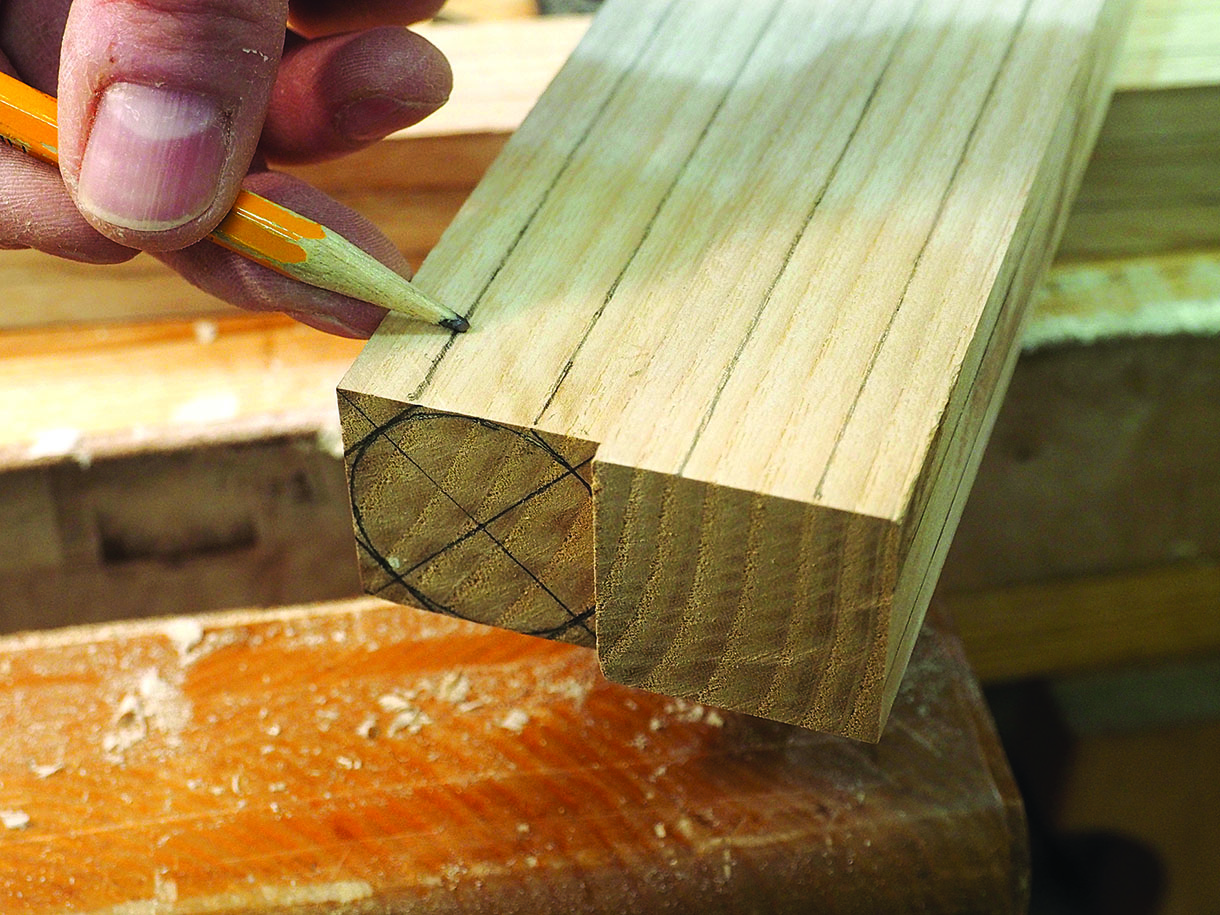
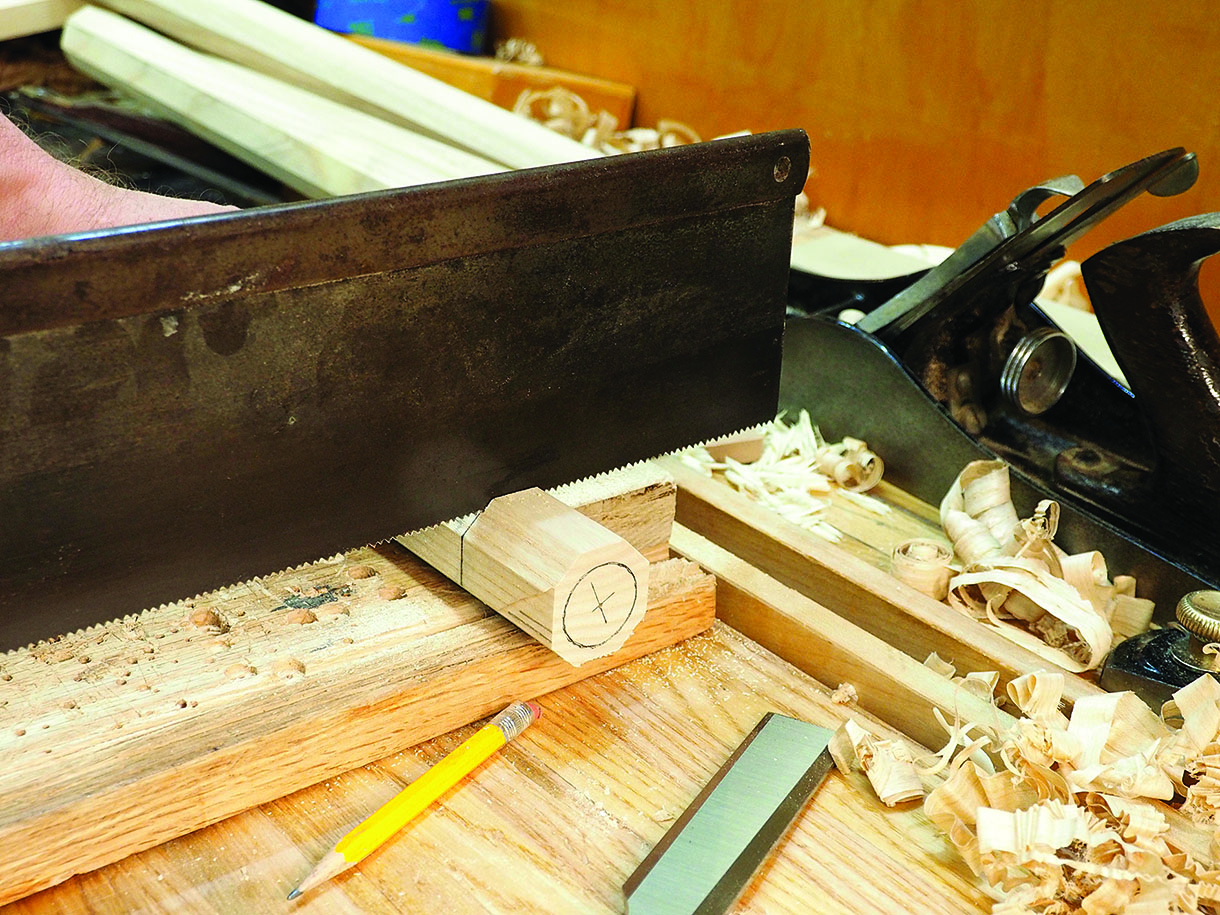
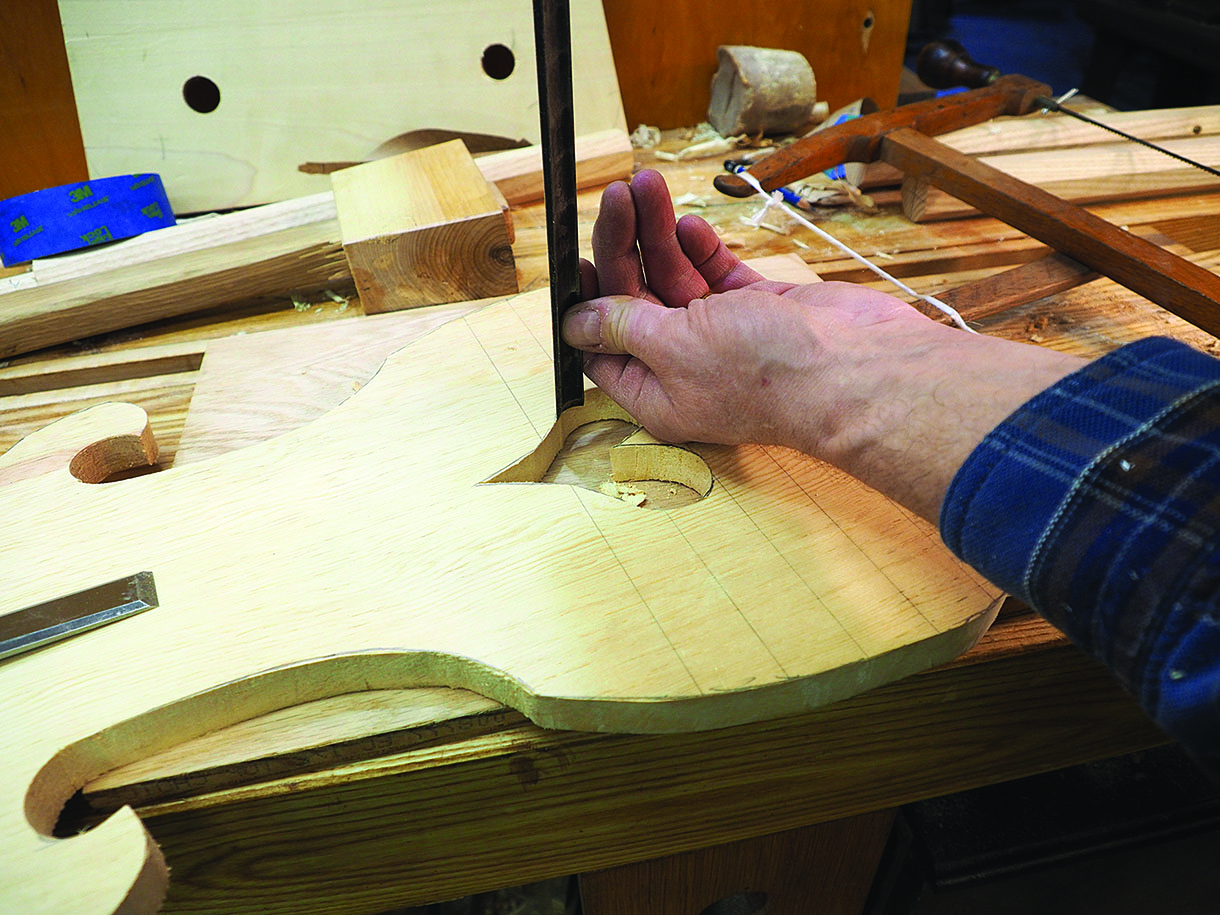
The legs

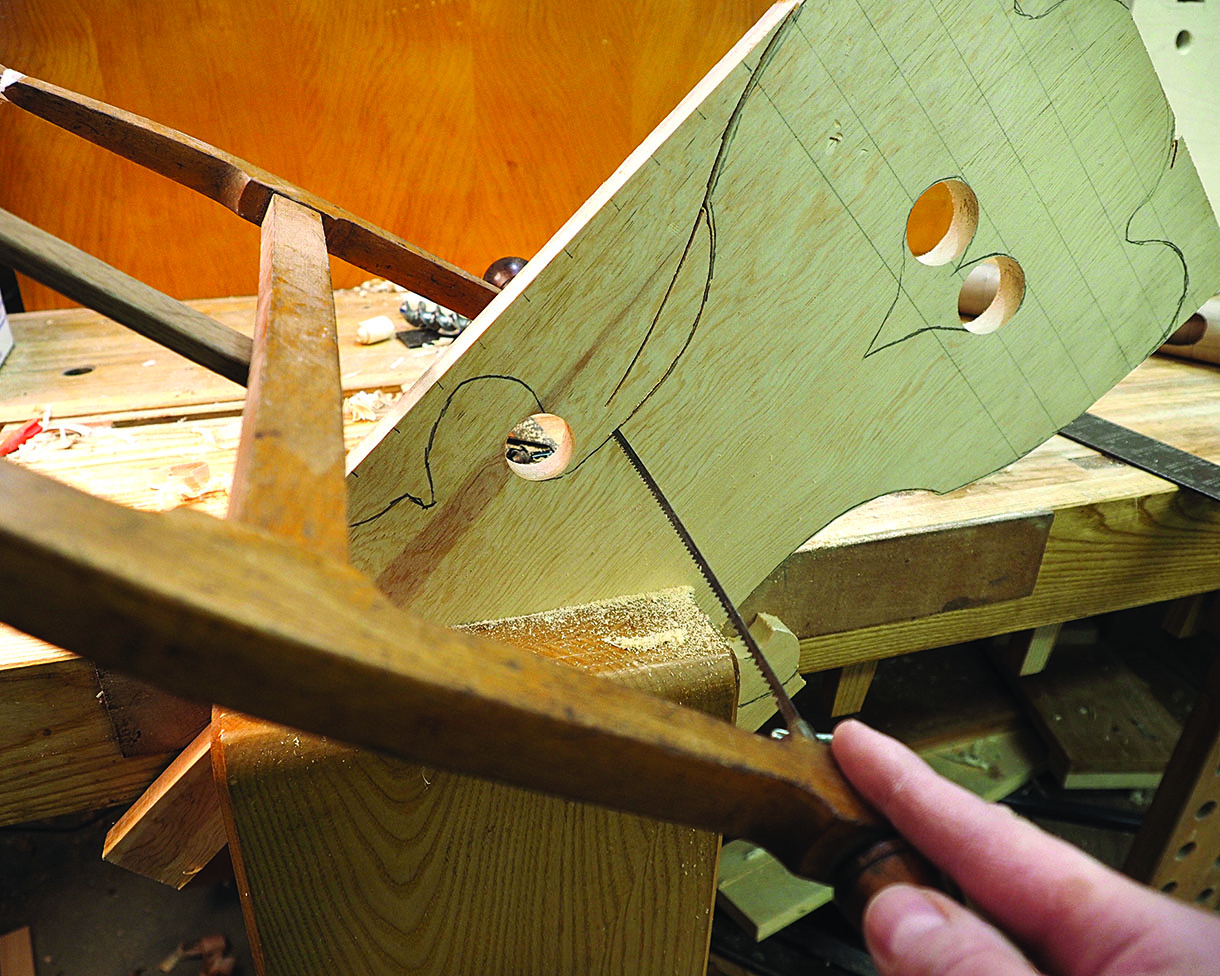
The back rest mortises
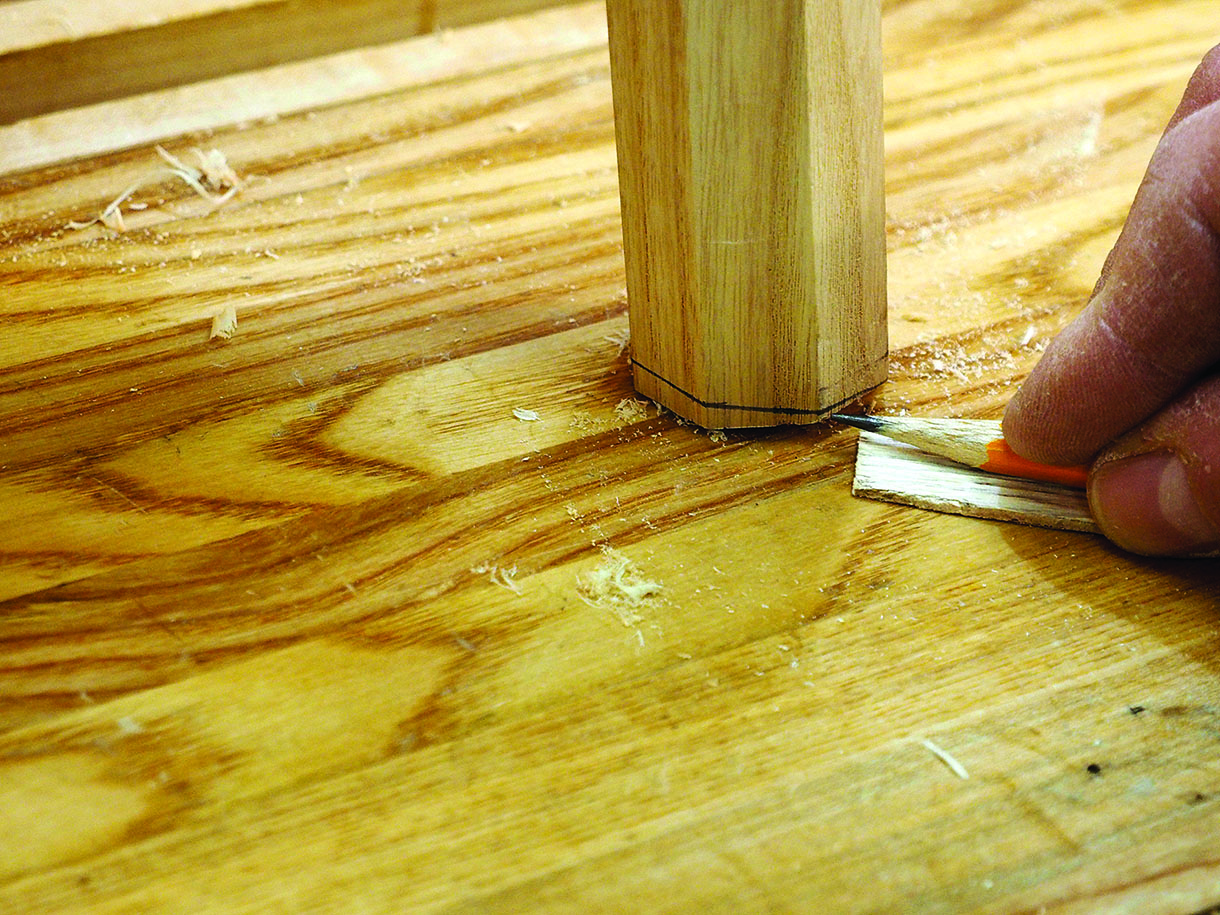
Back to the legs
Further reading
PHOTOGRAPHS BY MICHAEL T COLLINS EXCEPT WHERE OTHERWISE STATED