Mark Baker explores creating that elusive perfect cut
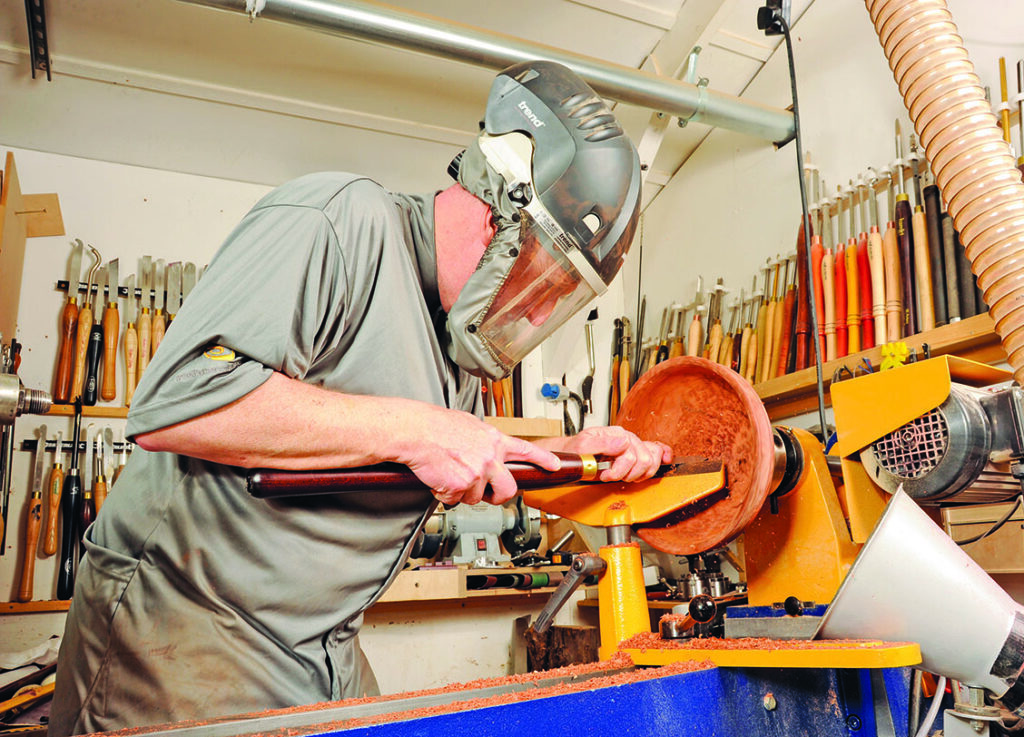
The perfect cut is something every turner strives for but few ever achieve every time. The perfect cut is often labelled as one that will require no sanding afterwards. Truthfully, that happens but rarely, on a few dense closegrained timbers. The simple fact is that we should be trying get a good cut most of the time with minimal need for sanding afterwards, which means a cut that gives a relatively smooth surface with no major humps, bumps and tear out that we can sand with ease to a fine finish. I know there are times when we are cutting certain dense timbers where we can get a beautiful finish straight off the tool, but it isn’t something one should get vexed over if it doesn’t happen. No one knows what grit grade you started sanding at unless you tell them. All they see is the end result.
The factors involved in making the perfect cut are: the timber species being used, the grain orientation of the timber, the shape being cut, the presentation angle of the tool, the speed of tool movement when cutting, the sharpness of the tool and lastly, but by no means least, practice.
Sharpening
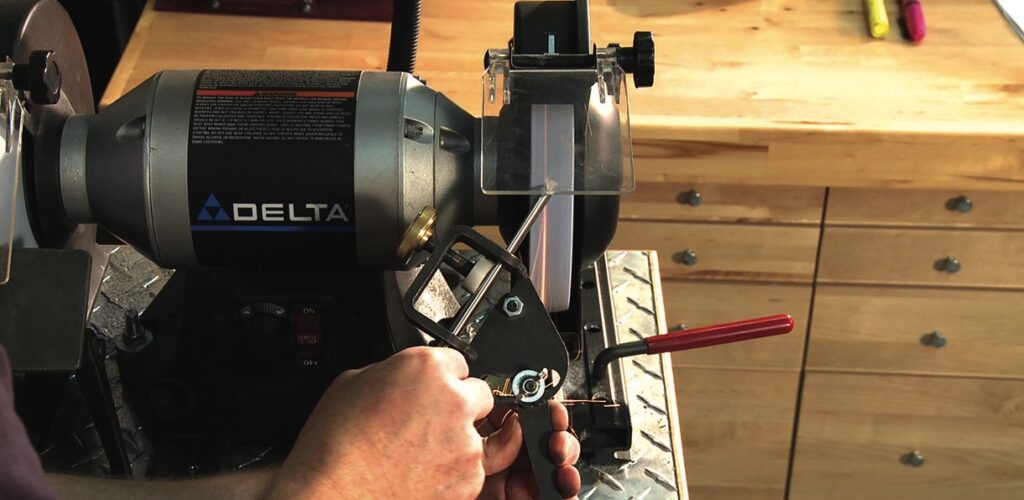
The number one problem that people encounter when starting to turn is not the turning – that comes a bit later when one starts to shape wood – it is sharpening tools. It doesn’t matter if you use conventional turning tools or one or some of the tipped-tool variants – without sharp tools it is not possible to get a clean cut. Numerous machines and sharpening materials are widely available.
The common sharpening methods are via wheel or belt and after this some turners choose to hone. Use coarse grits to shape the cutting edge required and use fine grit grades to create sharp cutting edges. The tipped-tool variants might not be able to be re-sharpened, in which case you will need to buy a new tip.
Sharpening is a vital skill to learn. Do look at buying a sharpening platform and a fingernail/swept-back grind jig. They will prove worth the money in the long run and will make life easier for you.
So the primary rule is: sharpen often and keep the tools sharp.
Turning tools
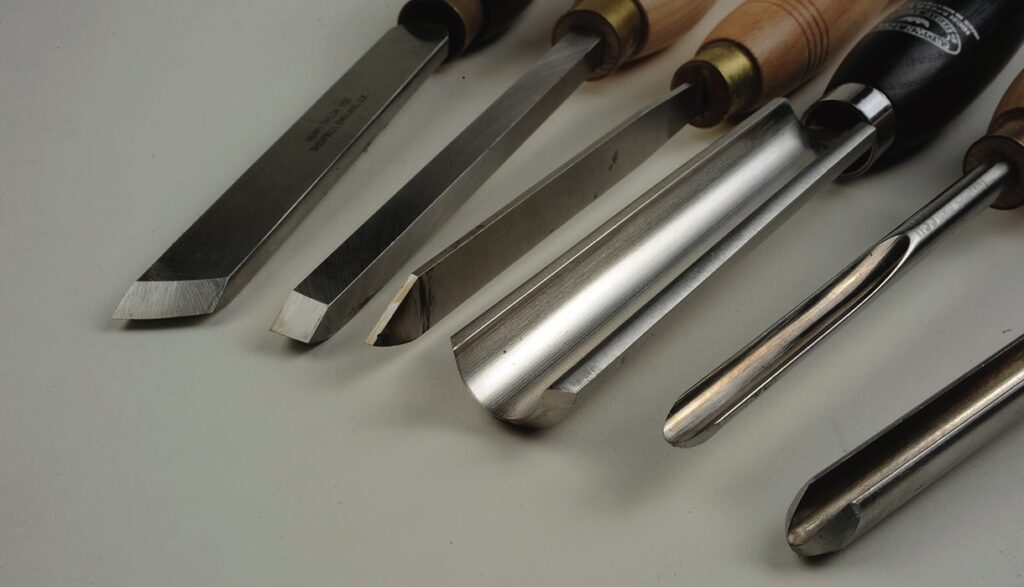
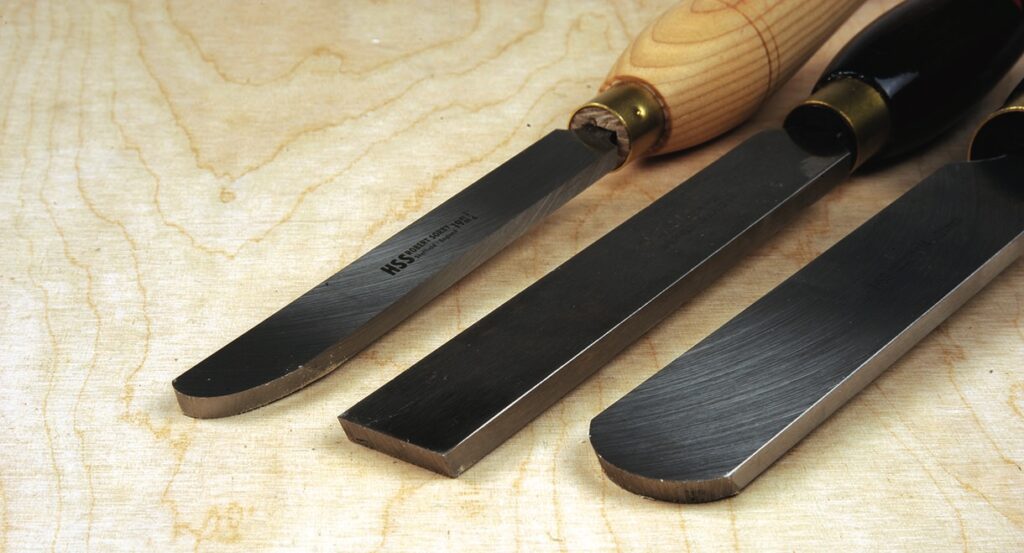
A huge mistake people make when starting turning is buying too many tools. A parting tool, bowl gouge, spindle gouge, spindle roughing gouge and maybe a few scrapers or a multi-tip scraper with multiple heads is all you need to start with. I would add a skew, just because I think they are great tools for cleaning up and cutting, but I know some people hate them with a passion. You can certainly do without them, but some jobs are definitely easier with one. By learning to use the standard tools well you learn all the fundamentals of cuts concerning standard turning without too many tools to try to learn.
Presentation angles
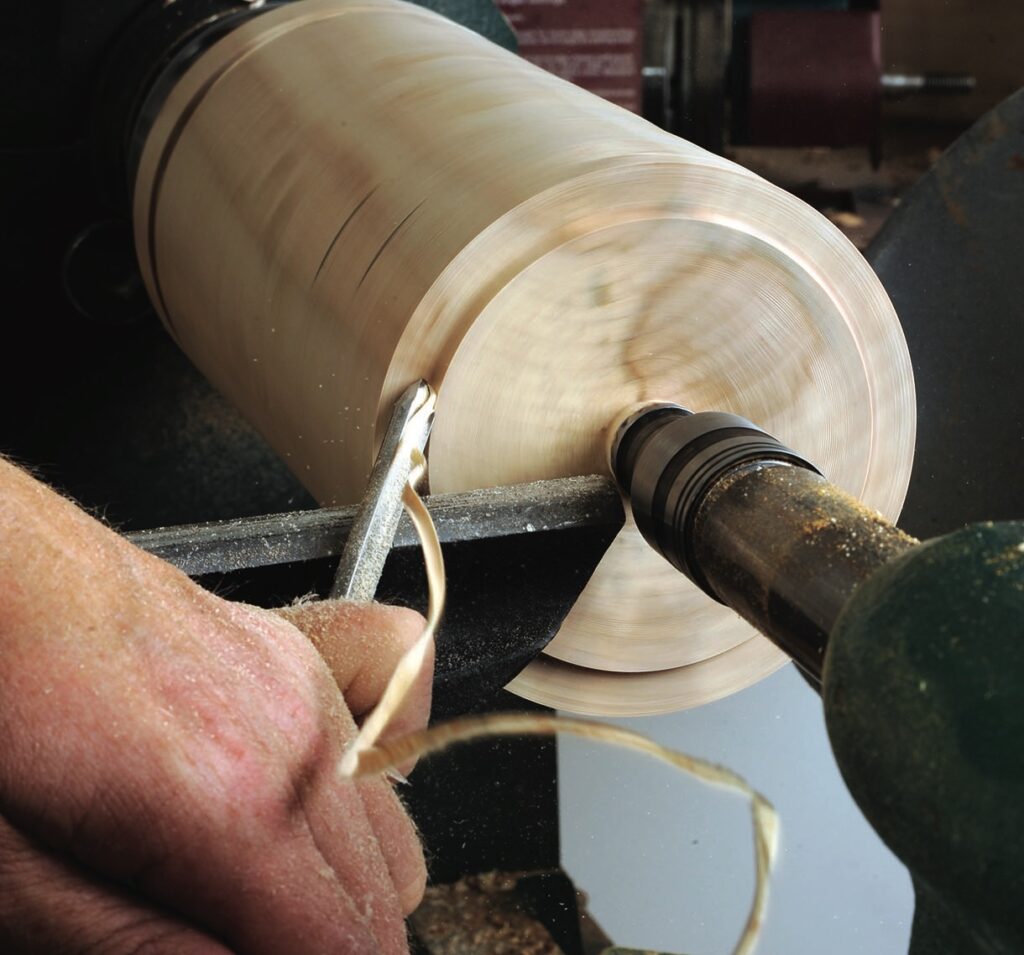
Tools need to be presented to the work so they can cut efficiently. In the case of gouges, skews and parting tools – the bevel rubbing tools – they need to be presented to the work so the bevel is rubbing and you can peel the wood cleanly. Depending on the tool used, this is done by raising or lowering the handle in conjunction with rotating the handle to present the cutting edge at an optimum angle. In the case of gouges, the flute should always point in the direction of cut and the cut occur on the lower wing. Scrapers are typically presented to the work so the blade is flat on the rest and the handle is higher than the cutting edge or horizontal. You select a scraper cutting edge profile to suit the surface being cut, so a gentle curved face requires a scraper cutting edge profile to be as close a match as possible. The cut should occur on or just below centre on external surfaces and on, or just above, centre on internal surfaces.
Cutting with the grain
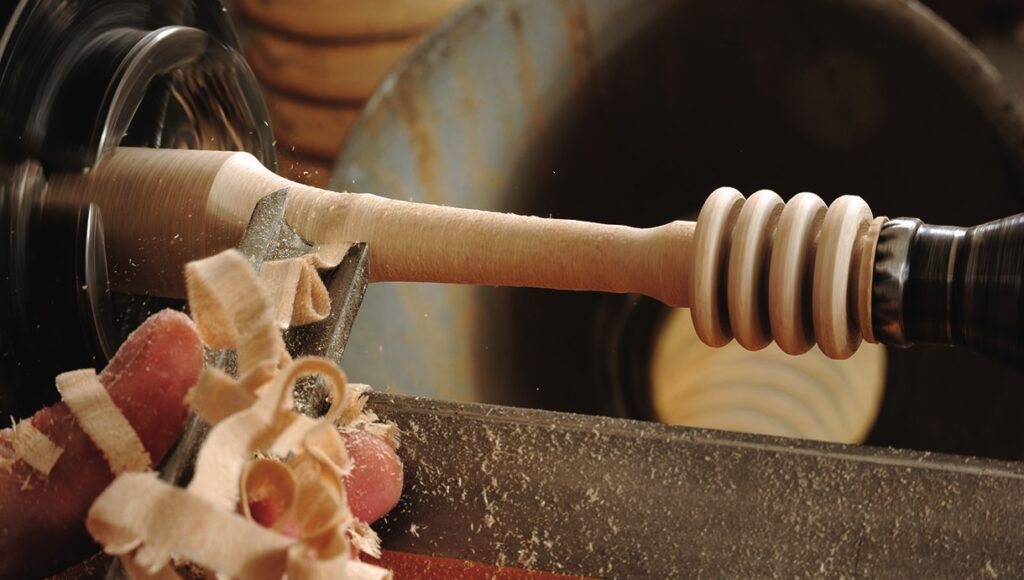
It might sound simple, but if you cut with the grain you are well on the way to minimising grain tear-out. The phrase is, always cut downhill. This means no matter whether it is faceplate or spindle grain you will always be cutting so there is a longer fibre behind the one being cut, giving it support.
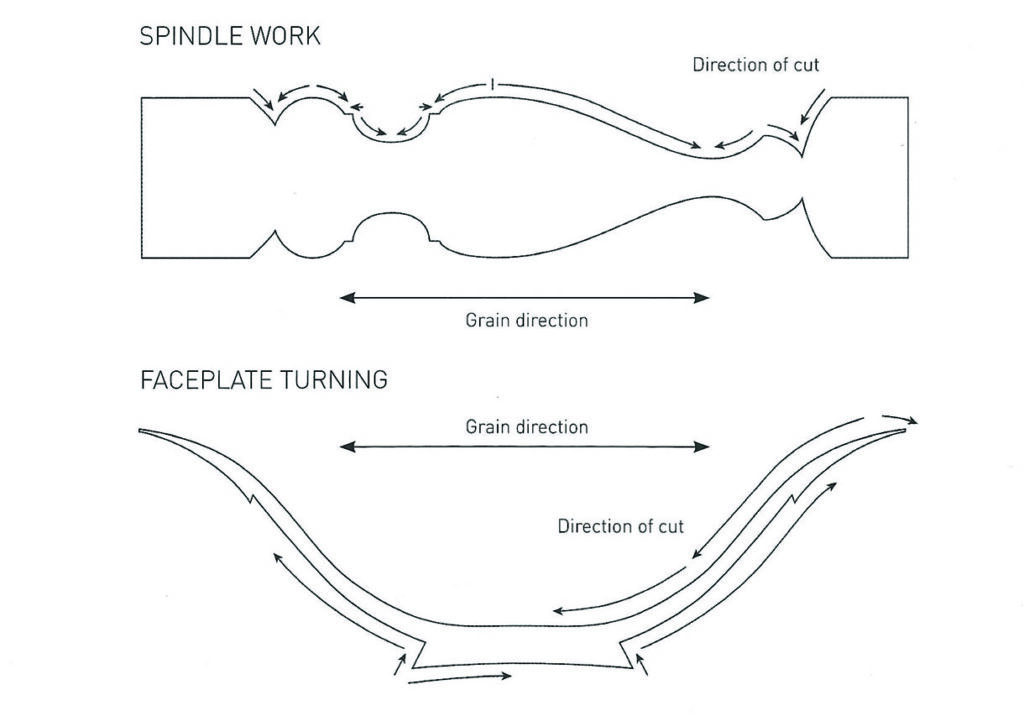
Practice, practice and more practice
We cannot become truly proficient if we only get to turn once every couple of weeks or so. Yes, we all encounter time pressures, but there is no solution to this other than we need to make time in order to get better. We also need to turn multiples of the same thing so we get used to making certain cuts over and over again, rather than tackling one-off projects each time. So, instead of making one spinning top, bowl or box, make five, 10, or 15 and get used to the cuts involved. It doesn’t take 15 times longer to make all 15. Repetition is needed to understand what is happening when you use a tool and how to make cuts perfectly. Use pine or some other softwood to start with. You will see immediately if you are getting a clean cut from a gouge. A clean bevel-rub cut will be shiny. A non-bevel-rub cut will be dull and likely to feature torn grain. Don’t spend money on expensive timbers until you are ready to make a special project for someone.
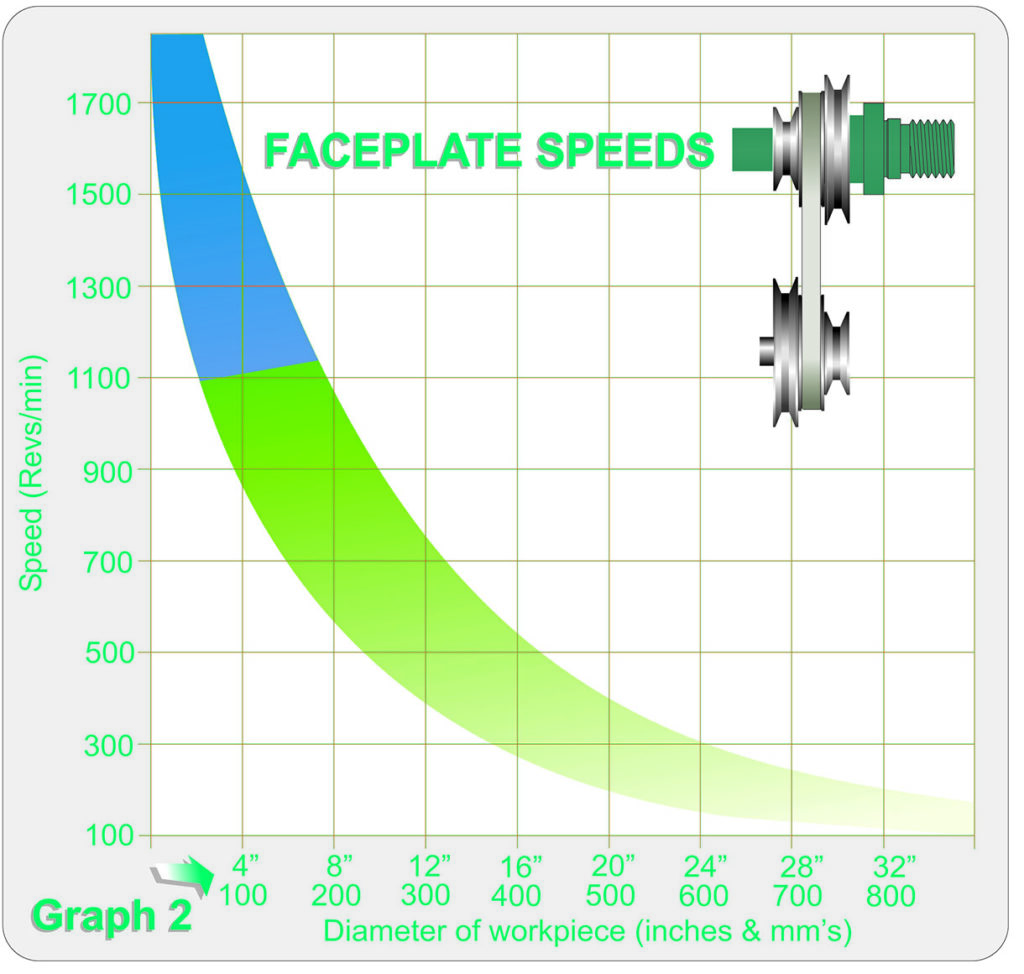
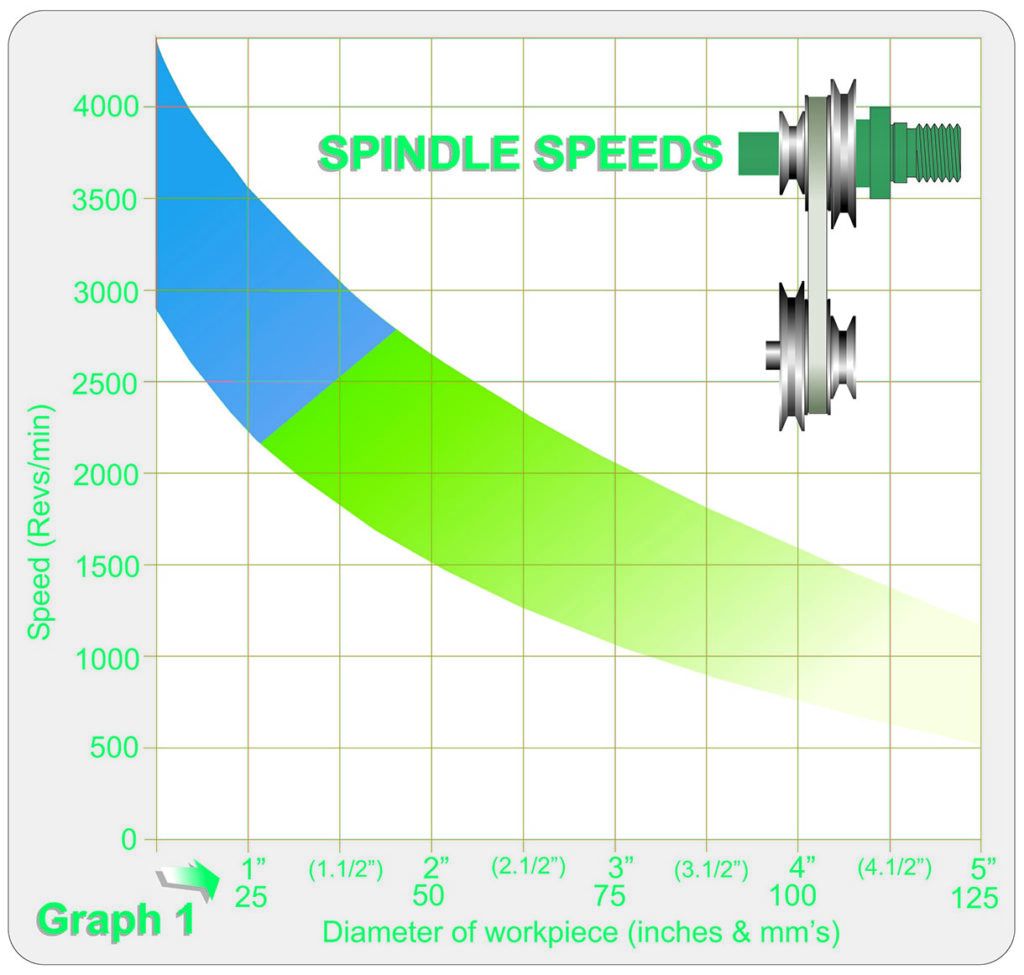
Useful speeds