Mark Baker shows how to make a simple, decorative tealight holder
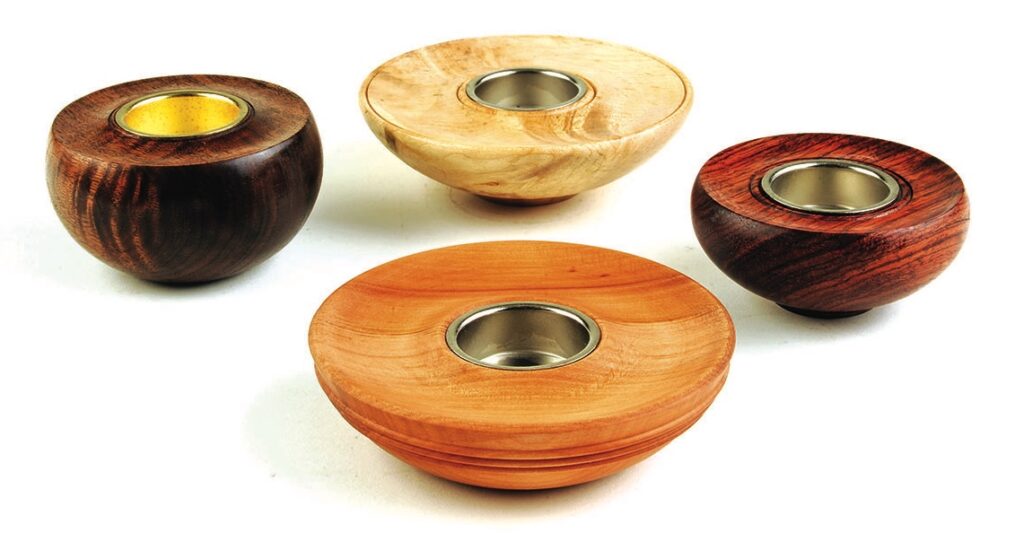
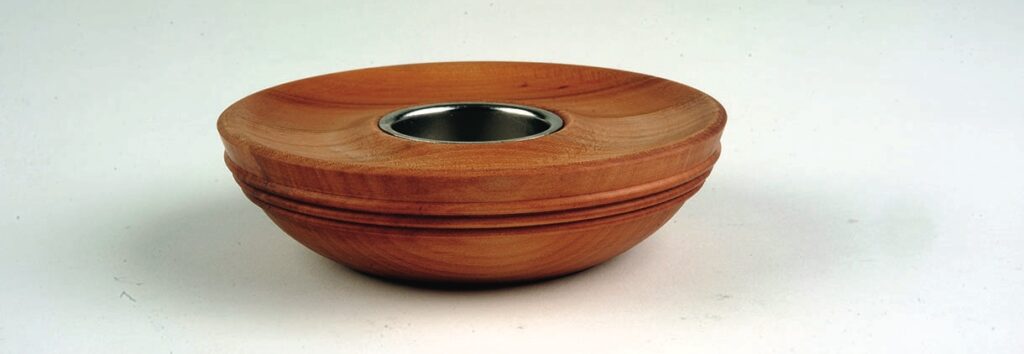
Tealight holders may seem a bit old hat or not something often thought about as a prime project for turning. That is a shame because they are functional, well liked as presents, they sell well at craft events and, depending on the grain orientation selected, are either spindle turning – a squat or tall form of a wide candlestick – or, if faceplate grain orientated timber is selected, the processes used are the same as those used for turning bowls but with a smaller internal hole. These are great items on which to practice and refine your turning skills. There are myriad design options to explore and you can choose almost any timber you like, whether it be figured or plain. They do not take a lot of timber so are low cost – unless you splash out on a rare or highly figured piece of wood – and can be very quick to make, so are ideal for us time-poor turners who want to have fun and make something useful when we get time in our workshop. This article shows how to make one and also gives you a few design variants.
Health and safety
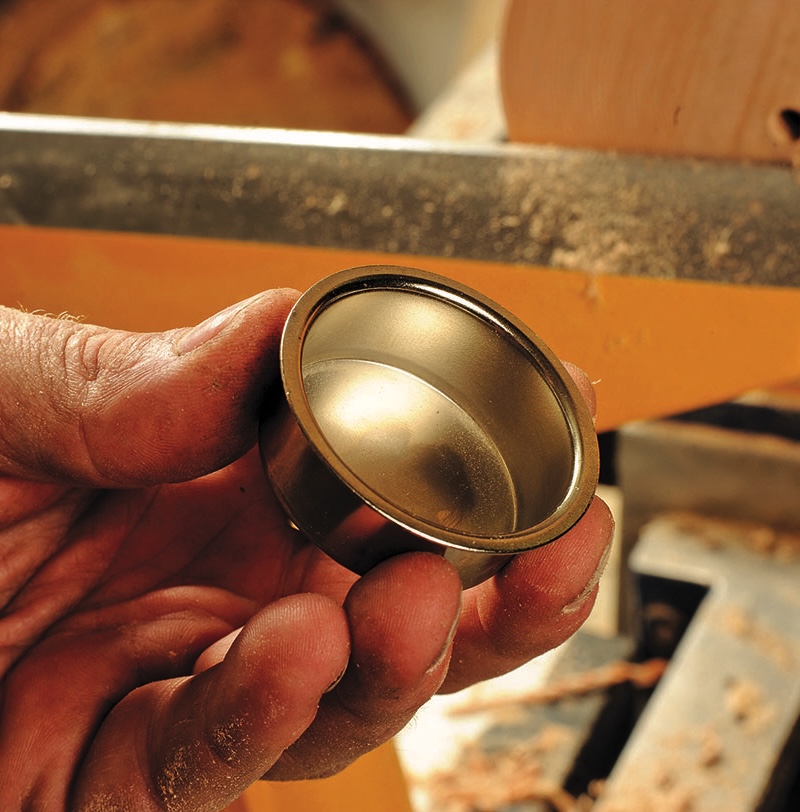
• There is much debate as to whether one does or does not need to use some form of heat shield/insert between the tealight and the item it sits in. There may – depending on the country one lives in – be specific laws or guidelines to cover this and, if there are, follow them accordingly, but if they are ambiguous as to whether you should or should not have a heat shield in place, my opinion is why take the risk of not using a purpose-made glass or metal holder? That way you know that you are minimising the risk of something untoward occurring for minimal cost. The inserts can be incredibly attractive too and add something extra to the piece.
• No matter what height you make the tealight holders, always ensure that the base is wide enough to support the piece without it toppling over if accidentally knocked.
• If you do stick the glass or metal holders in place, use a heatproof adhesive and, if using glass, make sure that you leave a little bit of an expansion gap between the hole and the glass holder to allow for any wood movement.
• Never leave a lit tealight or candle unattended or place one near any flammable material.
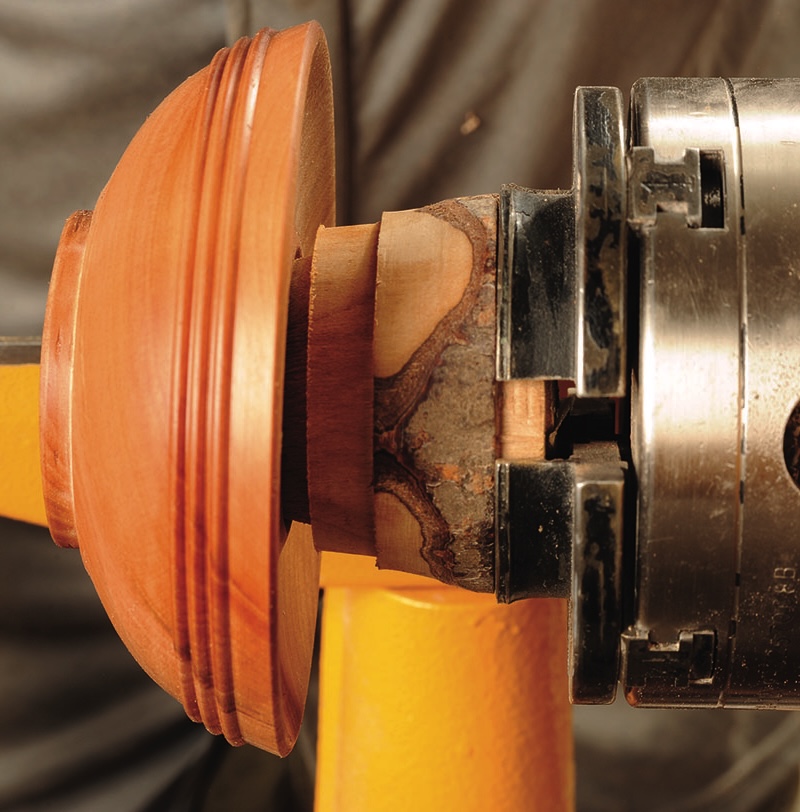
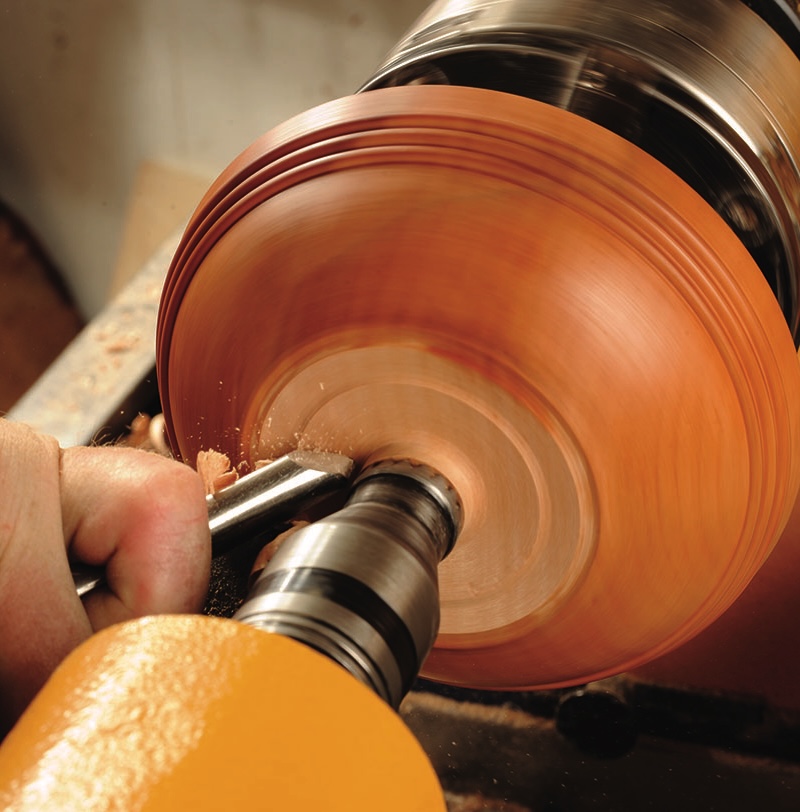
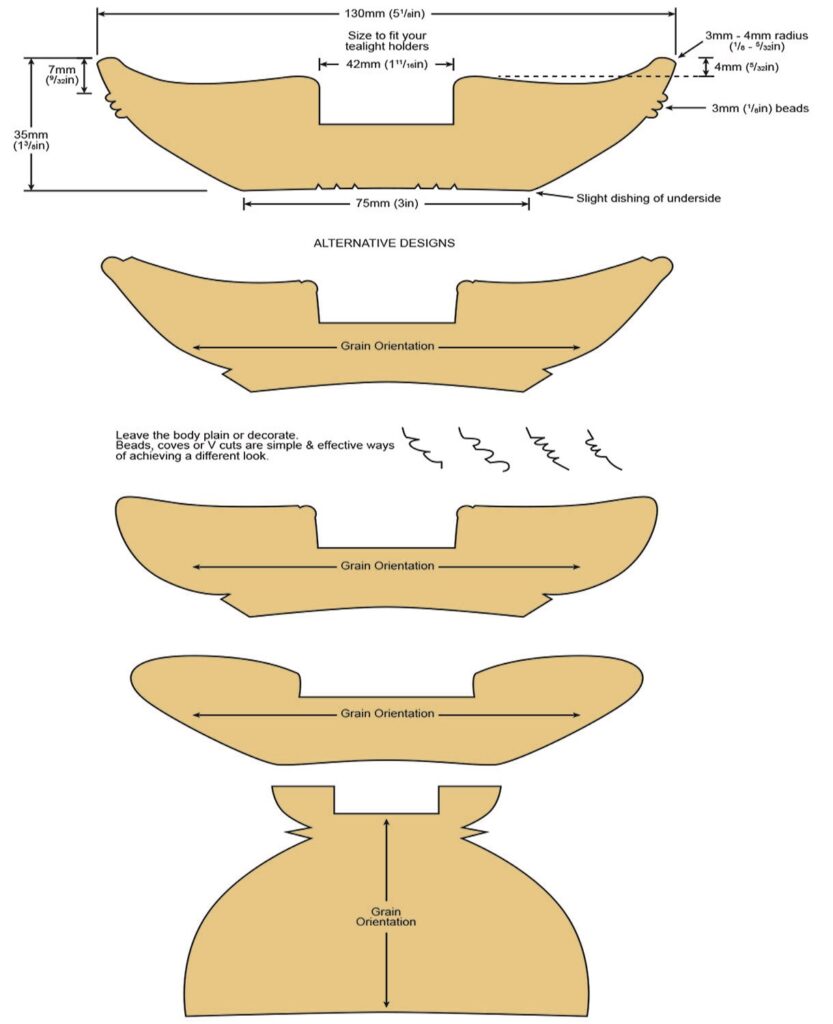
Plans and equipment
Equipment and materials
Tools
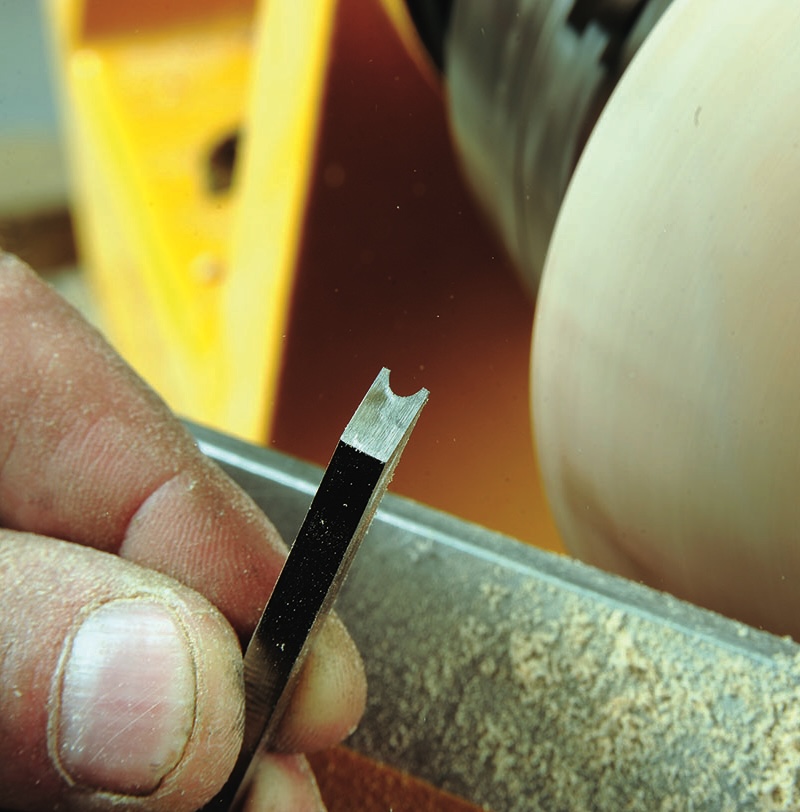
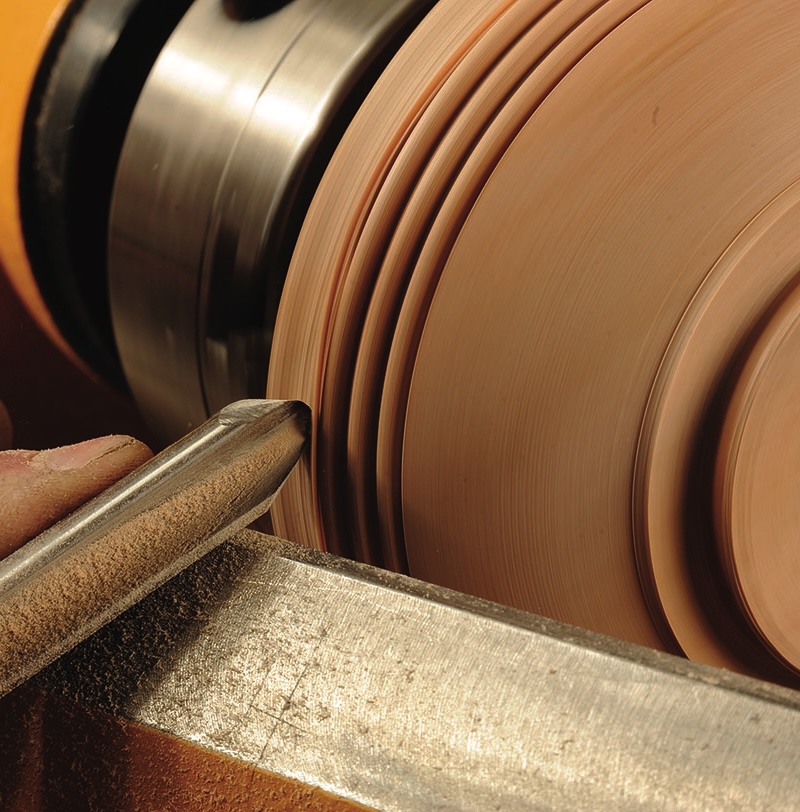
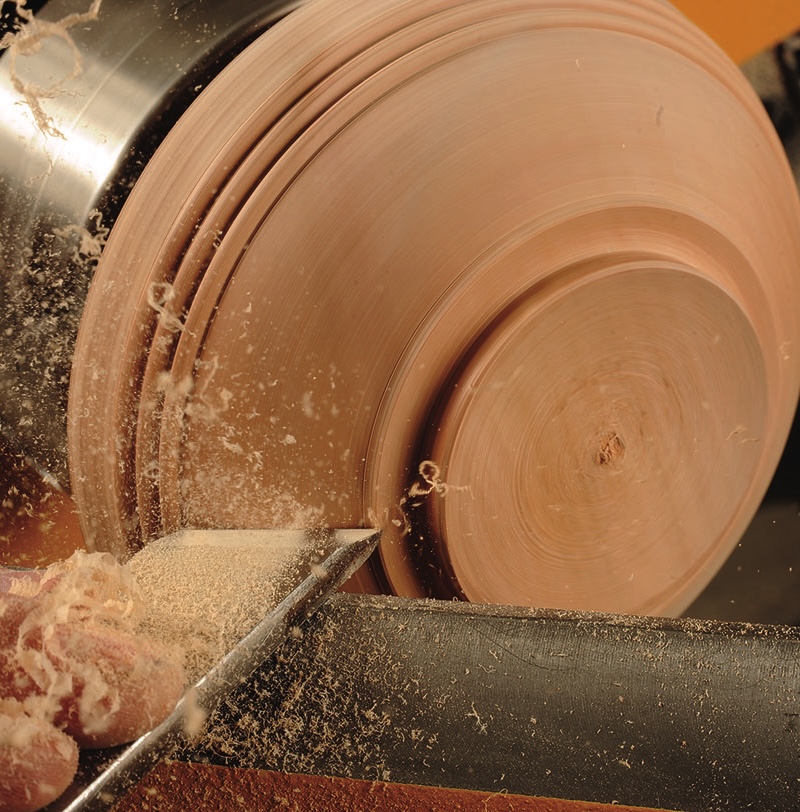
• 10mm bowl gouge
• 3mm bead forming tool
• 10mm beading & parting tool
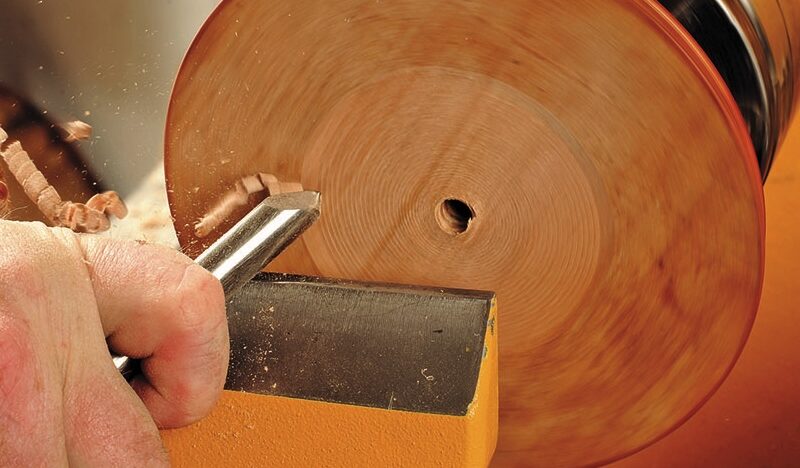
• 2mm or 3mm parting tool
• Square end or angle-edged scraper
• Round-nosed or French-curve scraper
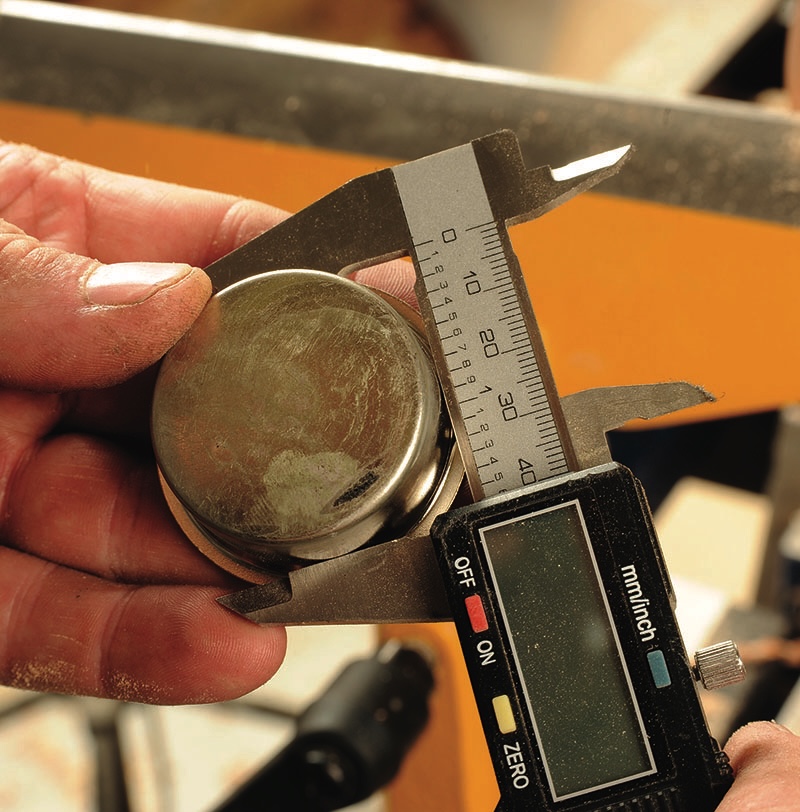
• Calipers
• Tealight insert of your choice
Materials
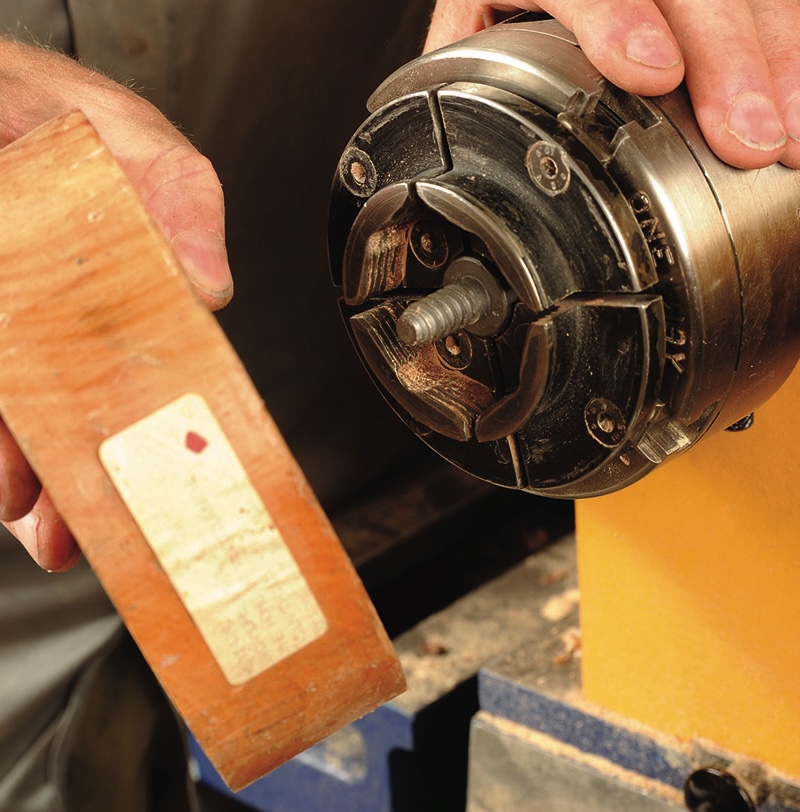
• Timber of your choice – I chose pear for this project
• Finish of your choice
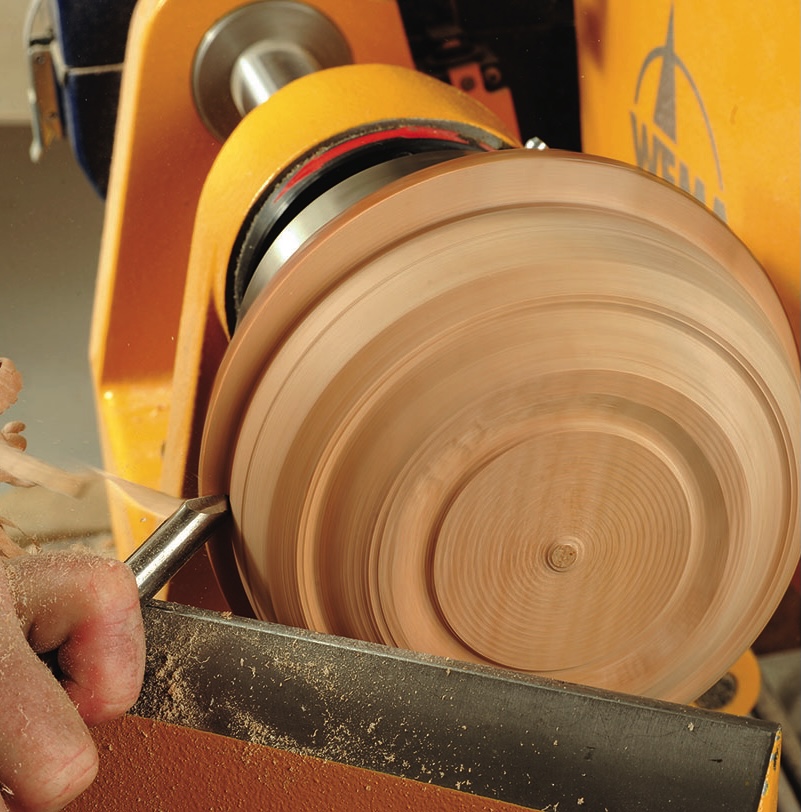
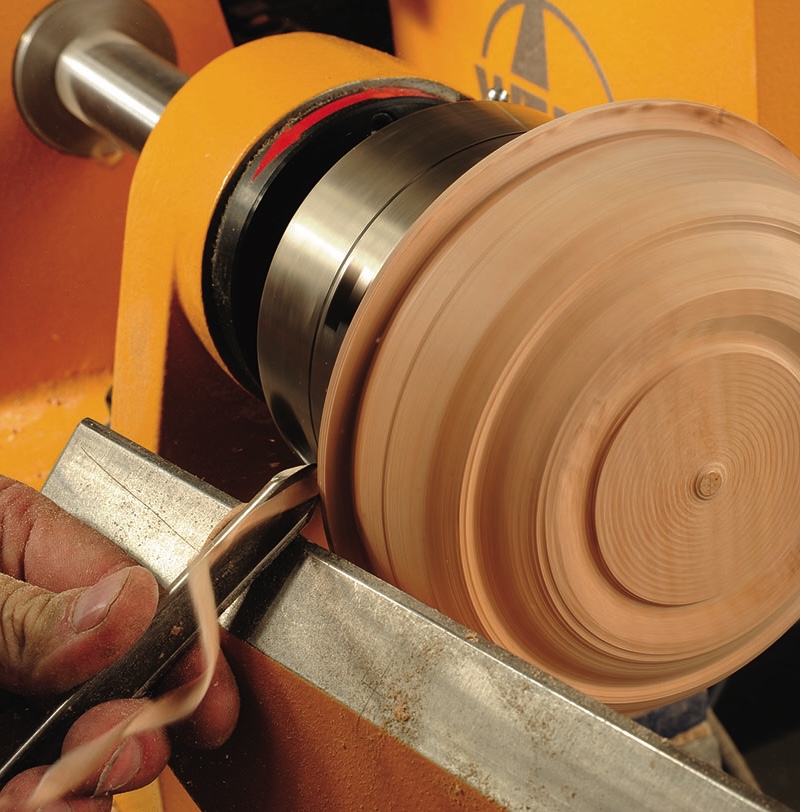
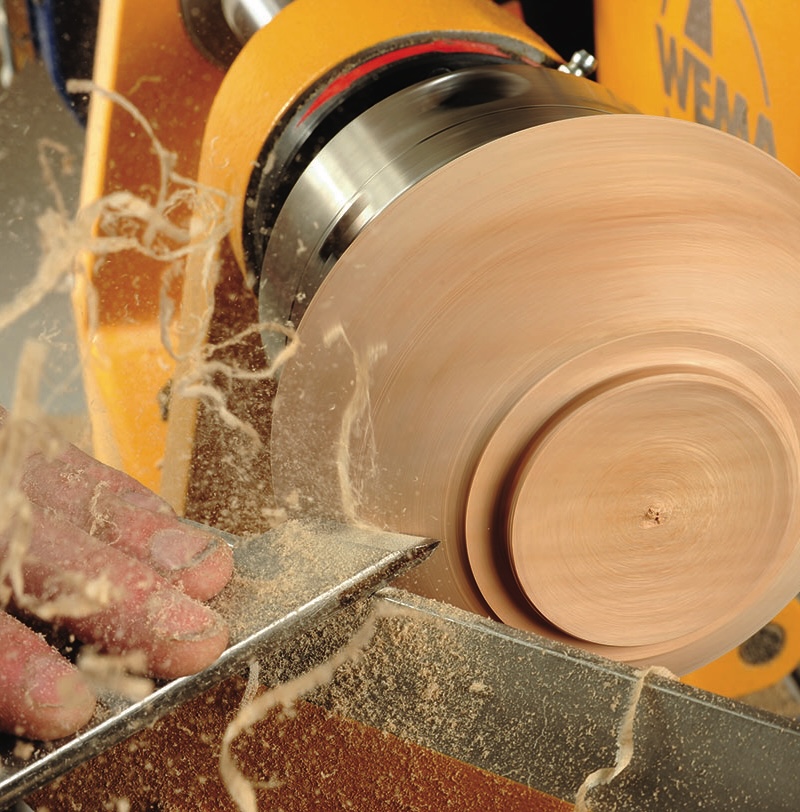
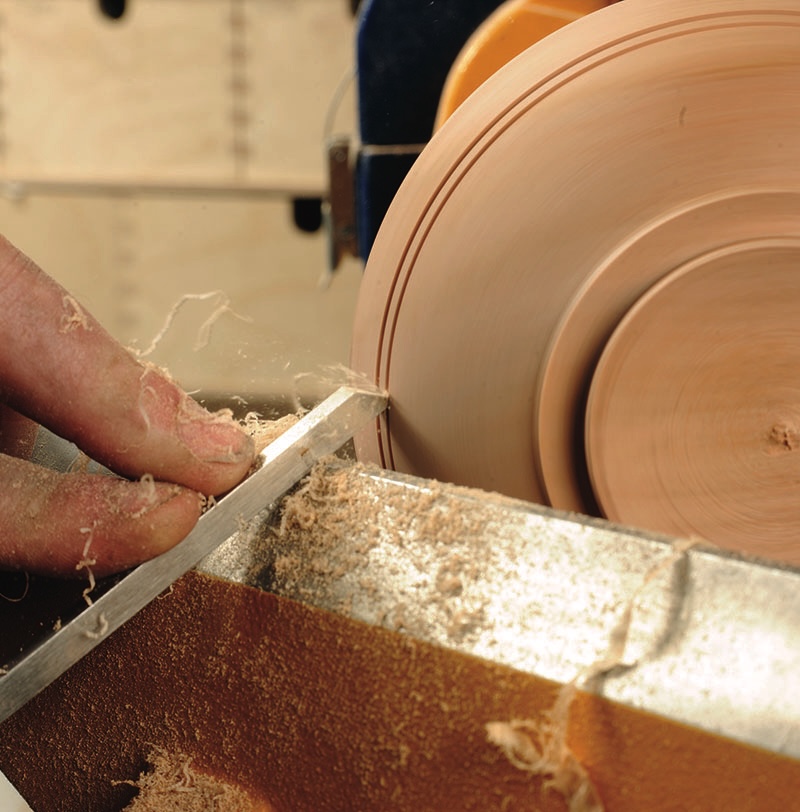
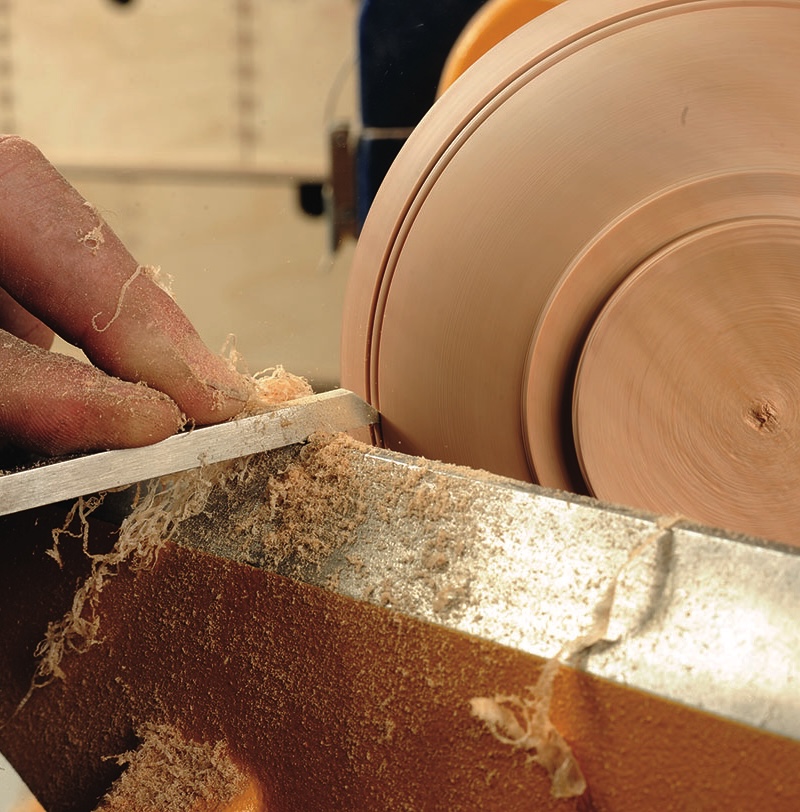
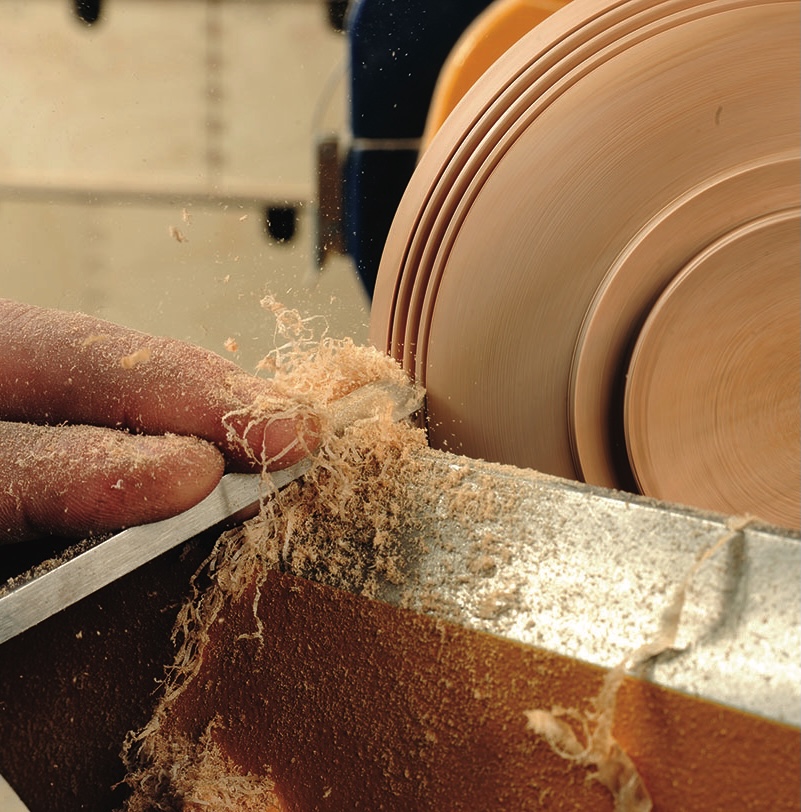
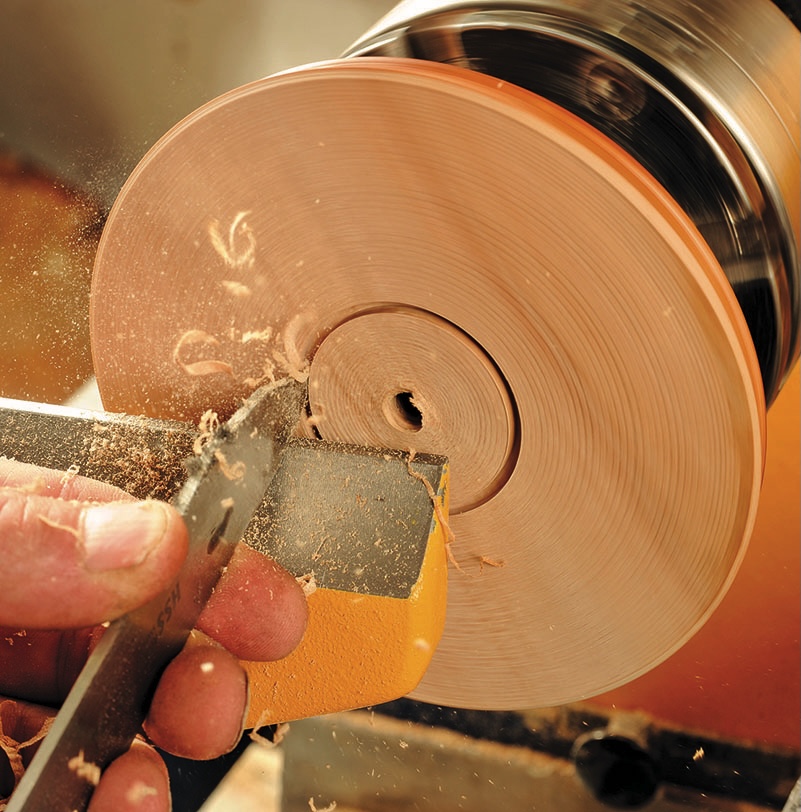
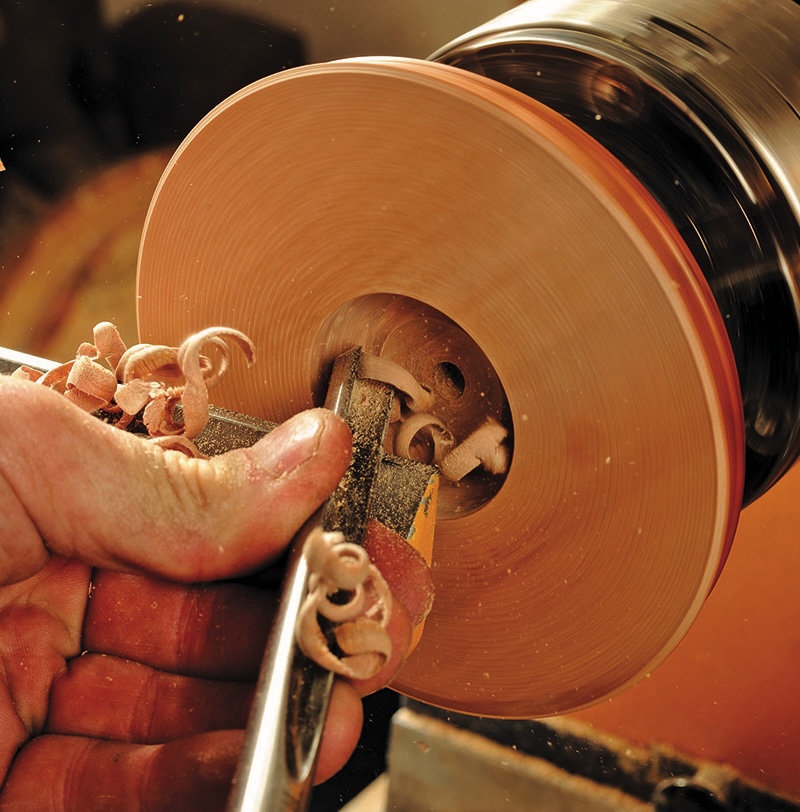
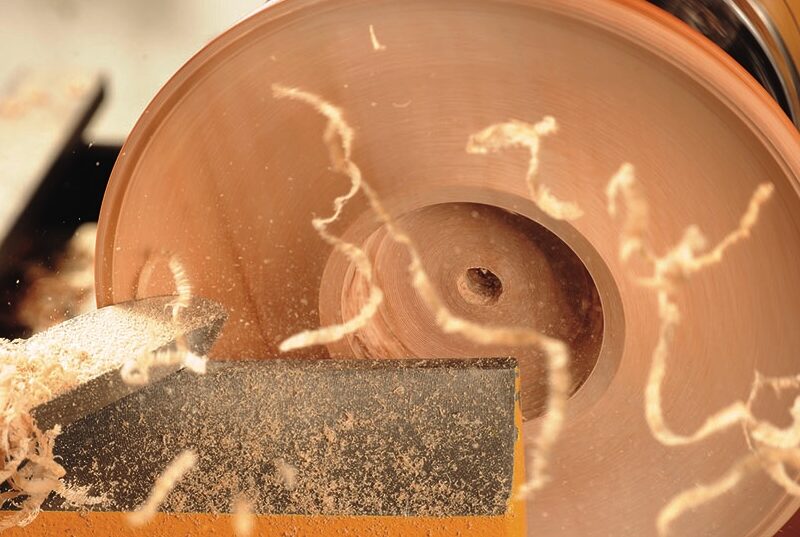
Turning tealight holders