Derek Jones investigates the origins of this quintessentially English vernacular style of table
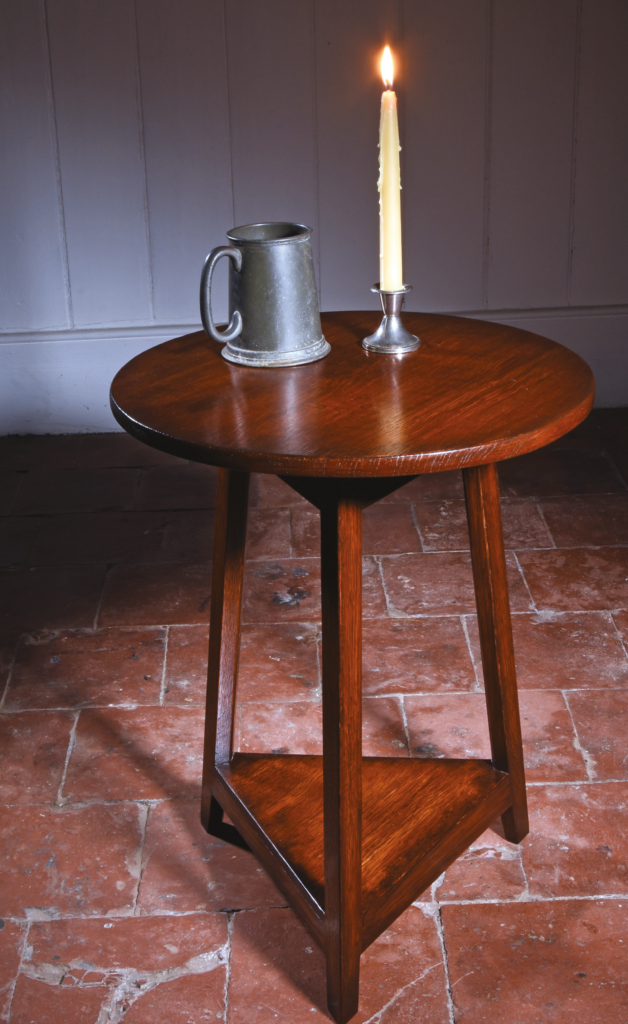
In this article I’m going to share how I went about making three variations of a three-legged table commonly known as a cricket table. The first one didn’t make it past the prototyping stage and was recycled into parts for the second, with the third realised a few weeks later. If you’re tired of making square items and not quite ready to tackle curves, this project is the next logical step as the joinery is similar to other forms. The concept goes back hundreds if not thousands of years with early versions consisting of three sticks mortised into a thick solid top.
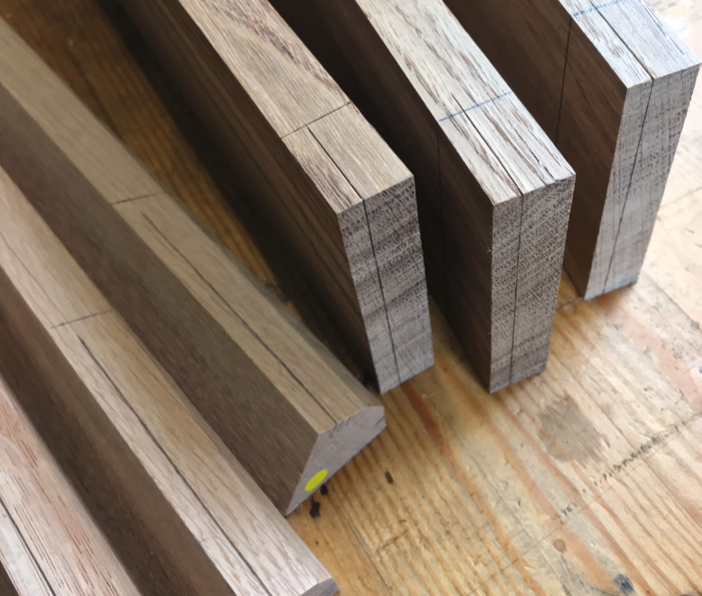
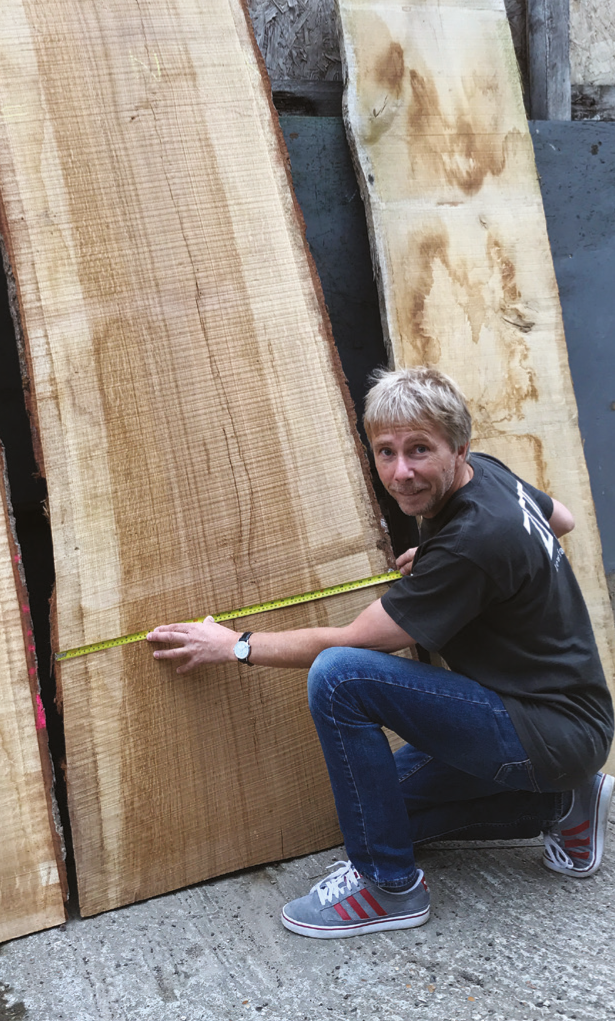
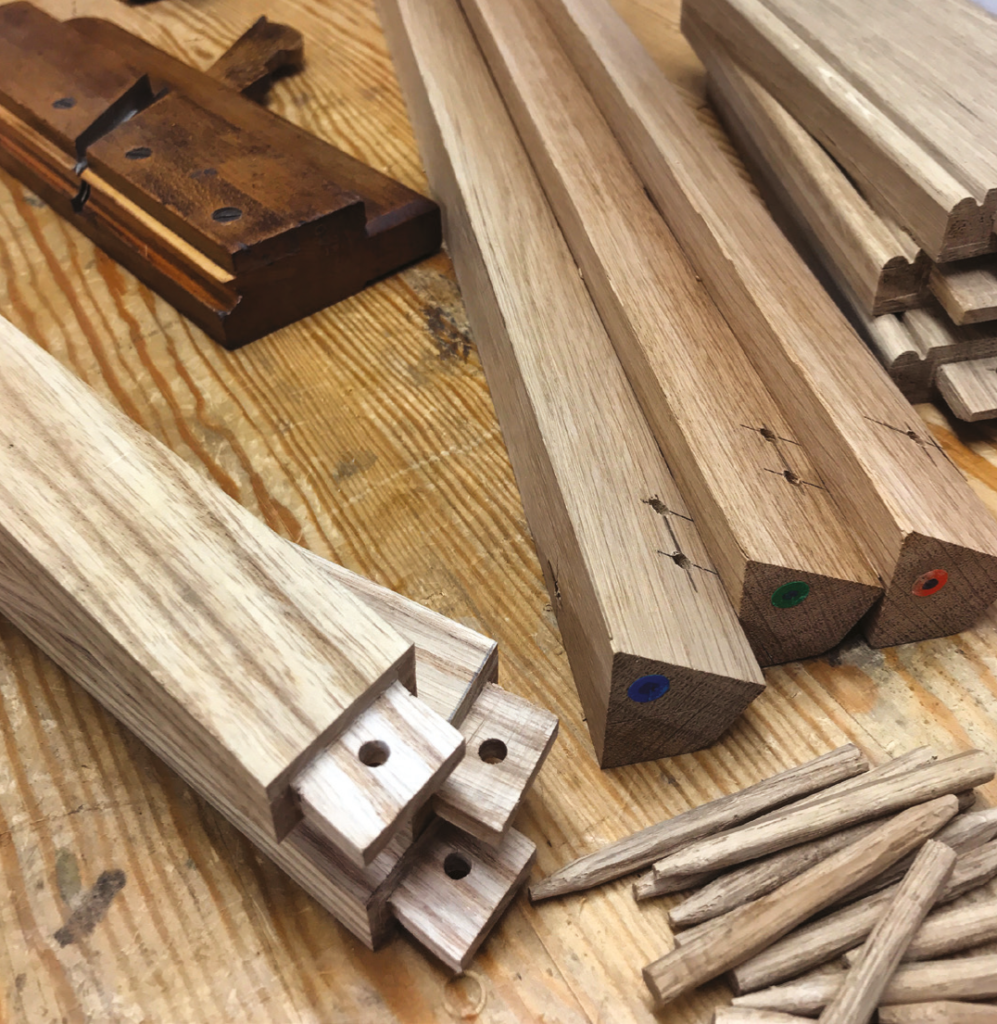
I used a later style to base my tables on using a combination of draw- bored mortise and tenons and round stretchers to make the base and a two-piece top. The tops, aprons and legs were cut from two boards of brown oak and the stretchers from some leftover olive ash.
The timbers used for this style of English furniture were typically ash, oak, elm, chestnut and various fruitwoods either singly or in any combination of the above, including yew and even pine. With such variation in the form and choice of material it’s hard to say if there are any regional trends as I suspect these and similar items were made from whatever timber was available.
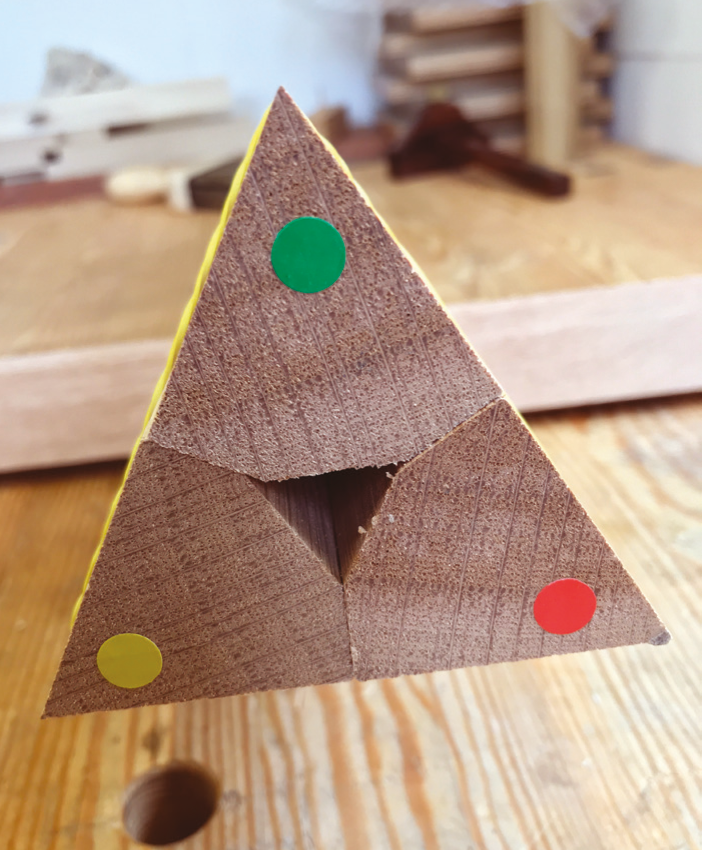
At first the geometry looks quite complicated but in fact the mating parts all meet at 90° thanks to some clever planing and careful stock preparation. Riving the leg components from green stock would of course avoid the need for some otherwise tricky resawing.
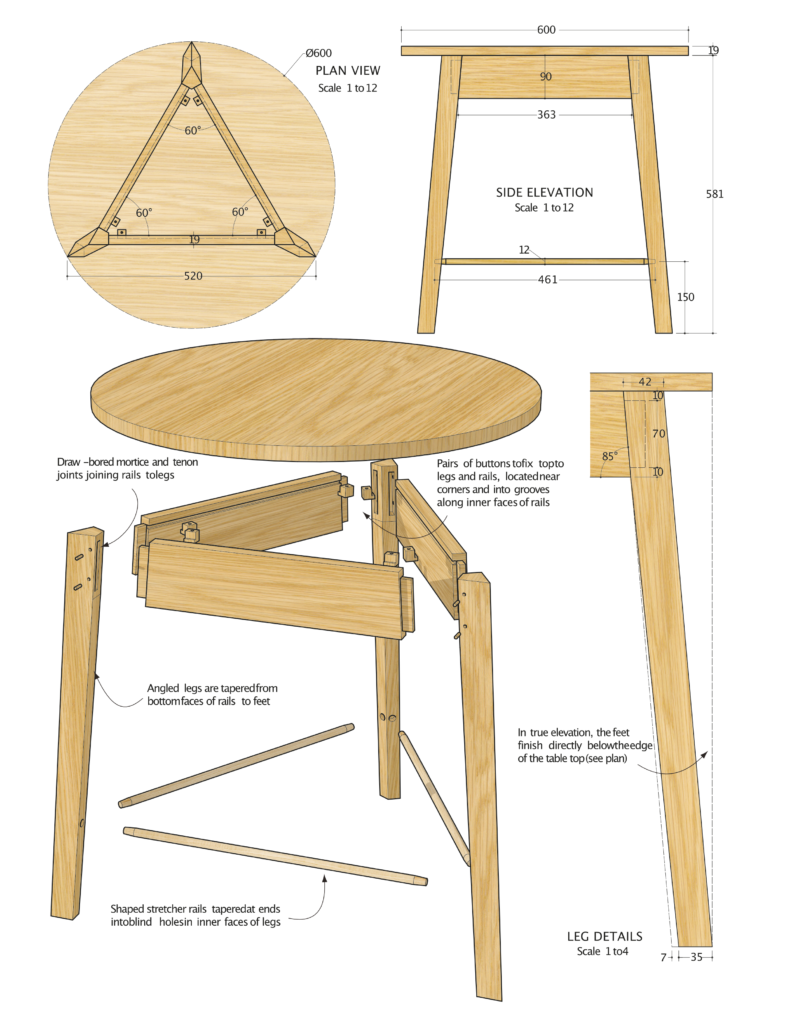
Cricket table plan
Origin of the species
For years I assumed the term cricket table was in some way linked to the game of the same name, the visual clues are there after all; three stumps for legs, some rails that could be interpreted as bails and a ball- shaped top. Delving into the nomenclature for clarification revealed a far more interesting story, however. There are several words thought to be the origins of the term cricket or creckett that link to this style of table. All are perfectly plausible given the established trade
routes between England and its immediate European neighbours from the 15th century onwards. For example, the French term used to describe a wooden post was criquet while in Old English a cryce or cricc described a crutch or staff. As the earliest three-legged stools and low tables consisted of three sticks driven into round mortises bored into a slab of wood, it’s probably safe to assume the reference then was to the stick and not a game.
Adding weight to that theory is the Middle Dutch word krickstoel used to describe a low long stool used for kneeling in church; krick being the Middle for stick. Variations exist in regional dialects across England such as crickit, crackett and cracket of which the first recorded use was in 1635 describing a low three-legged stool; an item widely used throughout Europe at the time. Low stools and back stools aren’t necessarily indicative of a nation short in stature.
The reduced height meant that sitters could remain below the cloud of smoke in dwellings that weren’t equipped with chimneys or smoke holes. In practical terms three legs are more stable than four as the three points will always come to rest without rocking but it’s not the only reason three legs were a popular feature on stools and chairs during the 17th century.
Desperately in need of funds to support a growing naval fleet, the treasury sought to capitalise on the growing number of more affluent citizens by taxing luxury goods. It’s hard to imagine now but in the 17th century chairs fell into this category. The chair tax was introduced in 1661 and was based not on the chair as a whole but on the number of legs it had. It did nothing to dispel the popularity of chairs of course and in rural areas especially, three legged ‘excise’ chairs were the norm. The tax was abolished 150 years later by the Prince of Wales when he became Prince Regent in 1811.
What’s on a name?
The first universally accepted reference to the game of cricket came by way of a legal dispute over a plot of common land in Guildford, Surrey in 1597. During the court proceedings 59-year-old coroner John Derrick testified that he and his school friends played ‘creckett’ on the site some 50 years earlier while attending the local Free School (now Royal Grammar School) placing the origins of the game somewhere in the 1550s. The earliest recorded account of adults playing the game appeared a little later in 1611, and once again was the result of a court hearing. Two men from Sussex were prosecuted for playing the game on a Sunday instead of attending church.
A complex hybrid
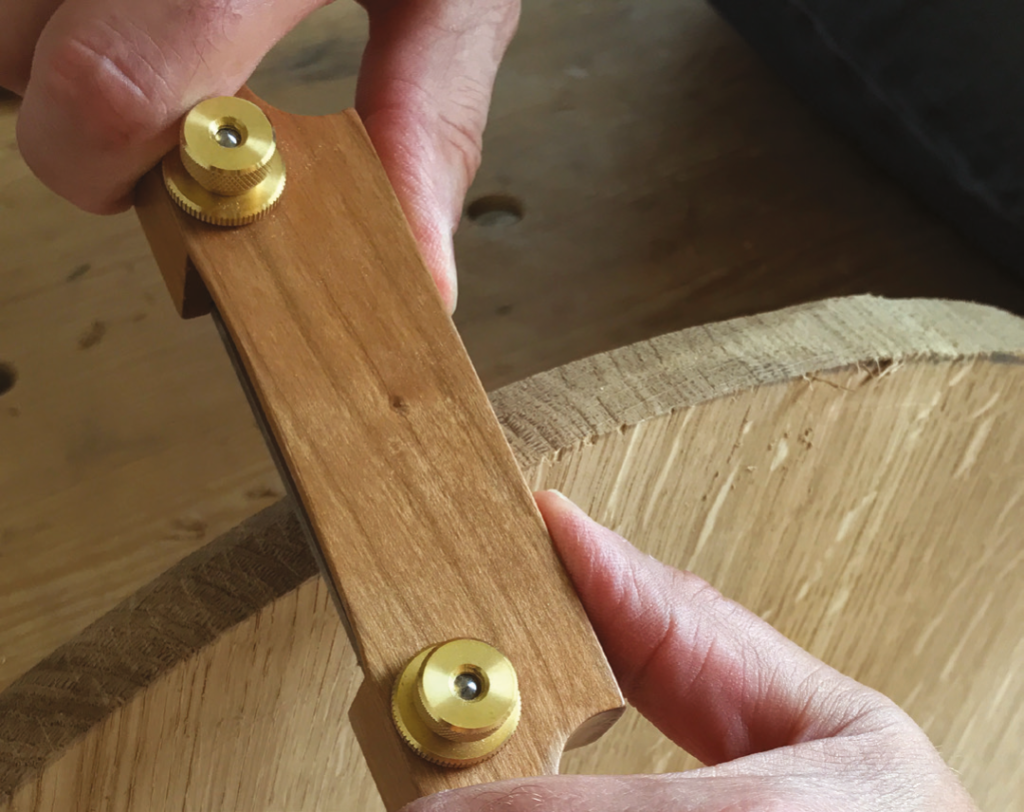
To begin with you need to draw a circle onto a template board that represents the size of the top. Using your compass or a pair of dividers set to the radius of the circle, step off six points around the circumference. Now strike a line to alternate points in the sequence to create an equilateral triangle. In case you need reminding the angles at each point are the same, 60°.
Your sketch, we’ll call it a rod from here on, represents the ideal footprint for your table base as the points will be where the outer corners of the feet contact the floor. Before you can determine the size of the stock needed to make the legs, have a think about the size of the mortises you’re going to cut and how you intend to cut them. If you’re mortising by hand with a mortise chisel select a chisel around the 6mm mark, likewise if you’re using a hollow chisel mortiser. If you’re drilling first and then clearing the waste with regular bench chisels you can be a little more flexible. The point of this exercise is to determine the thickness of the aprons, which if you’re adopting the rule of thirds approach, will be three times the width of the mortise.
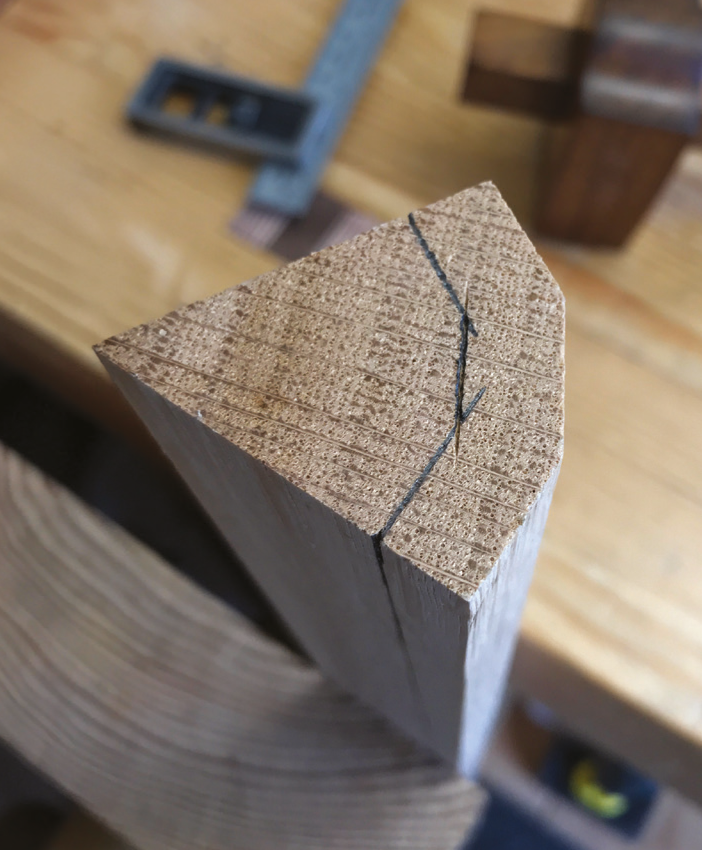
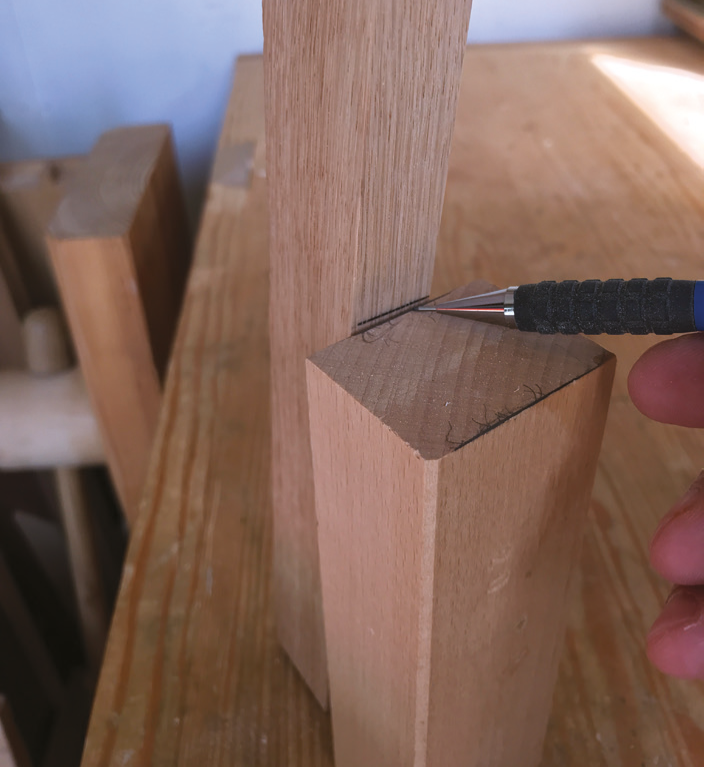
Going back to your rod for a minute, now draw a line to represent what will become the shoulder face of the leg at 90° to the edge of the triangle far enough away from the tip of the leg so that a mortise can be accommodated. Tip: it needs to be at least the thickness of the apron material and preferably more. Do the same to the shoulder face on the other side of the leg to determine the depth of the second mortise. I’ll warn you now, it’s tight but for reasons I’ll explain later you can put aside your perception of strength and stability within corner joints for now. If your mortises happen to meet in the middle of the leg you’ll have to create a 30° mitre at the tip of the tenons where they’re likely to touch.
It’s not a problem so stick with it. In fact it’s a good scenario if you’re chopping out the waste by hand as the risk of breaking through the bottom of the mortise is high. With this done you can now rip your leg components to size and while you’re at it cut a support piece, maybe half as long as the legs again with a 30° angle cut along one edge. You’ll use this to steady the legs while mortising and planing later.
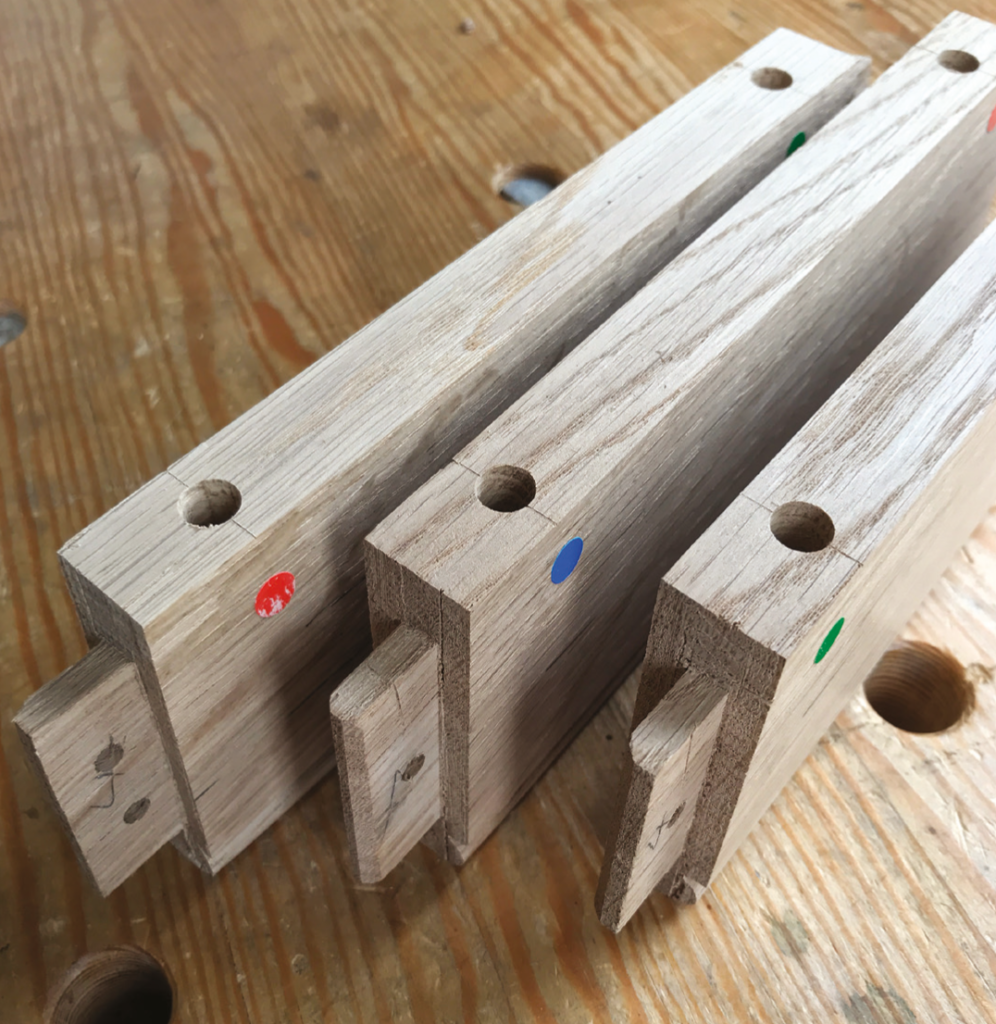
Squaring up the legs is the key to getting the frame together neatly when the time comes and there’s a knack to it. Knowing where to focus your efforts will make the task so much easier and here’s how I tackled it. If the depth of my aprons is, for example 100mm, then all I need to worry about is the 100mm that will take the mortise and tenon. The rest of the leg can be slightly out of square. I know it’s a hard concept to accept as it probably goes against every instruction you’ve learned but loosening the straps on the straitjacket of unnecessary perfection now and then is a good thing.
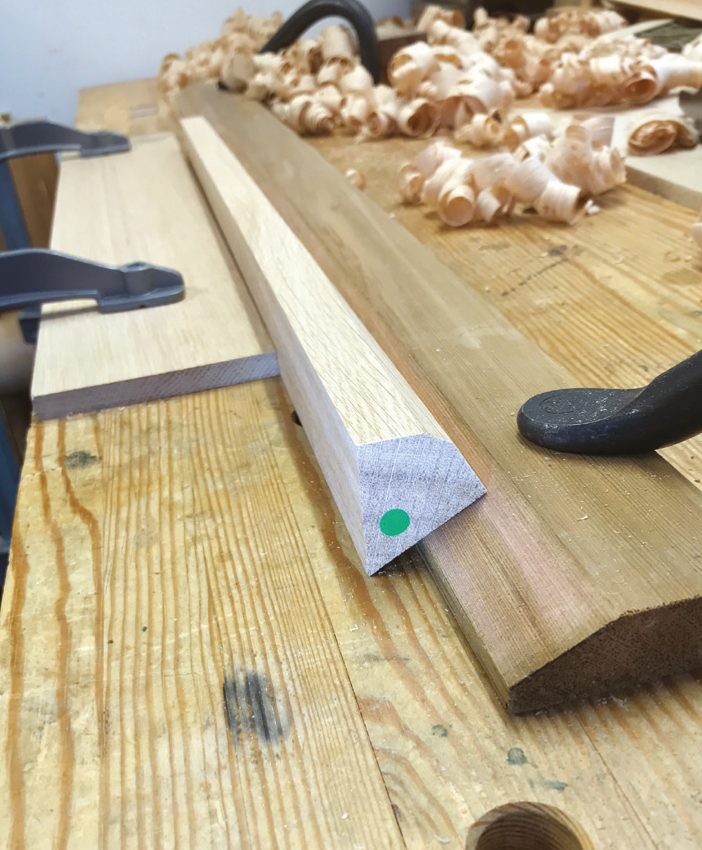
Now’s the time to decide if you want to put a taper on the legs. If you do it’ll be on the two inside faces that are at 90° to the outside faces of the legs. I did mine by hand propping the leg against the 30° support with a stop clamped to the bench at the far end. Tapering the legs gives the table a much lighter look but it also results in a more contemporary appearance. The majority of period examples are straight legged all the way down to the stretcher and then tapered below that to the floor. This was to be the style for my third version.
A mixture of rake and splay
There are no hard and fast rules about the amount of splay you put on your legs or whether you do it at all, but there are some things you might want to consider. For example a wide splay over a short distance, i.e. short legs, will make your table appear more squat and put stress on the joints at the apron if a bottom stretcher isn’t used.
It will also create a smaller contact area for the top to sit on and leave you with some proportionately extreme overhangs. A narrower splay will do the opposite to all of the above. For pieces that have a definite front, back and sides such as a chair (both three- and four-legged versions) you’ll typically need to factor in a second angle known as the rake.
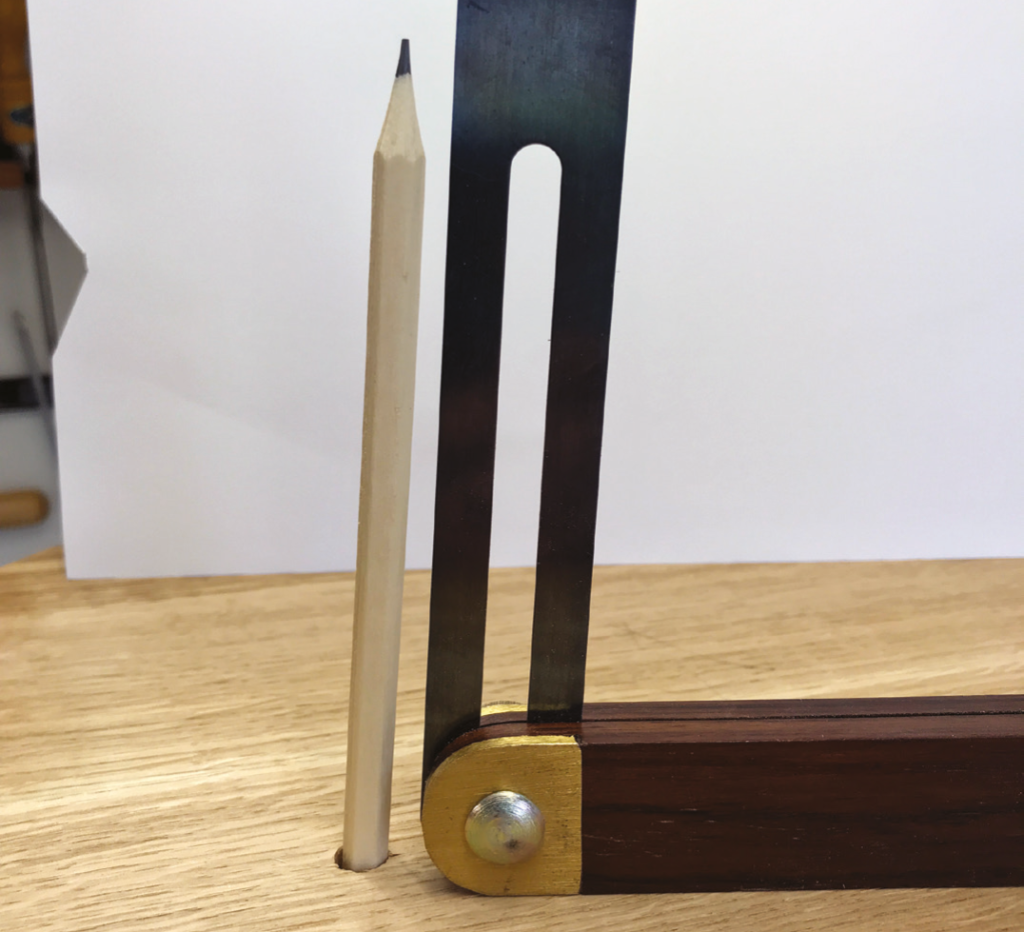
This often helps with seat geometry to prevent chairs from tipping backwards when the sitter reclines. For a table you don’t generally have to make that allowance so the rake and splay are the same. On this design the angle is generated by sloping the ends of the aprons by 5° if you’re working with tapered legs and 6° if you’re not. You may not like either of my suggestions in which case experiment with a sliding bevel, clamps and the aprons and stretchers to find your own.

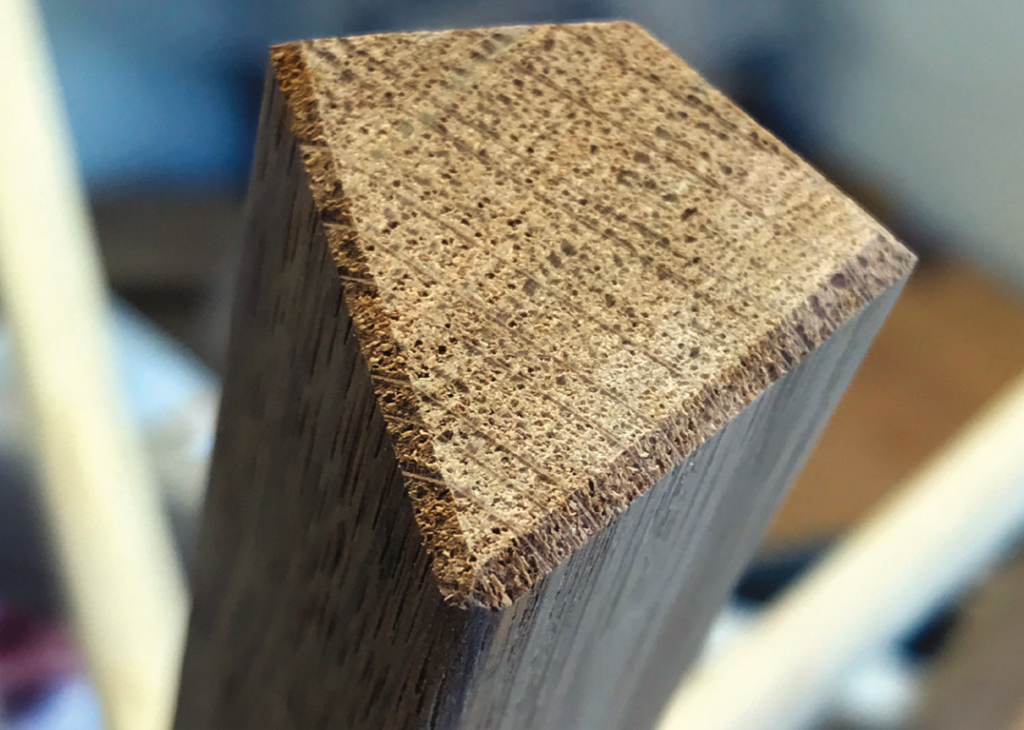
What makes brown oak brown?
Brown oak is similar to spalted beech or olive ash in that the darker colour comes from a fungal infection within the tree. While it’s not considered a structural defect, brown oak is not recommended for use in construction or for outside. The timber tends to be softer and easier to work with hand tools. Village carpenters would have valued this greatly giving rise to the term ‘green ebony’.
Rake and splay
Splay is measured across the width of the chair when viewed from the front and back. Rake is measured across the width of the chair when viewed from either side.

Angling mortises
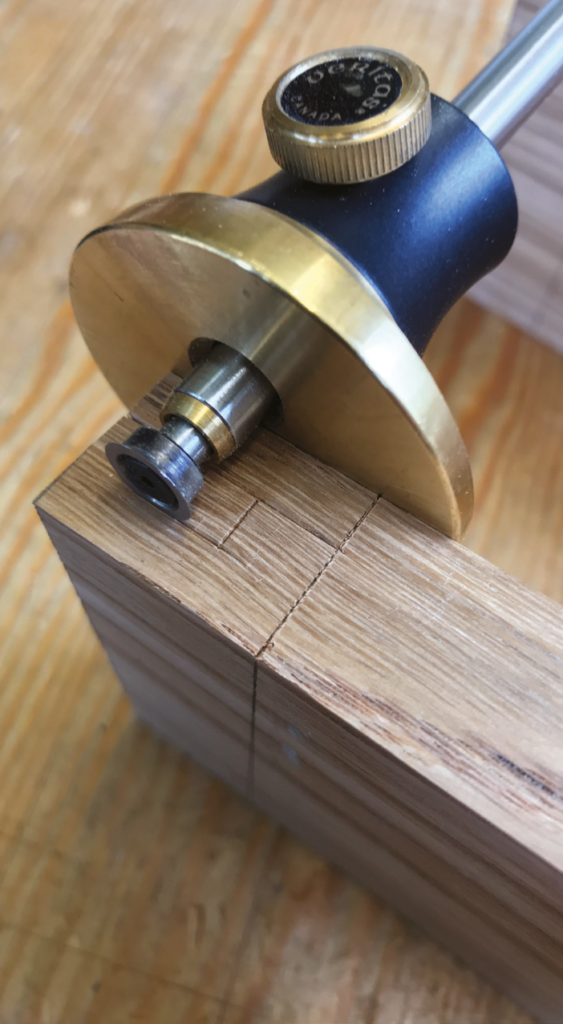
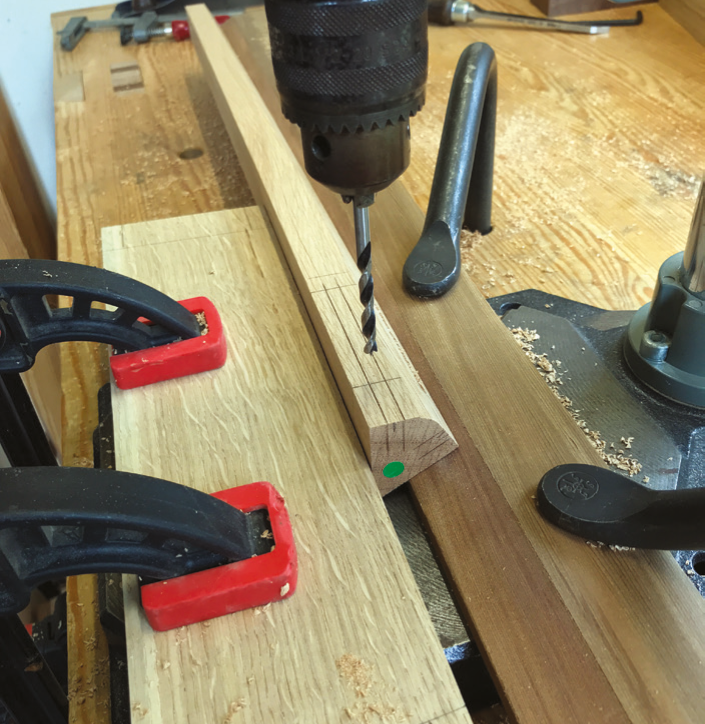
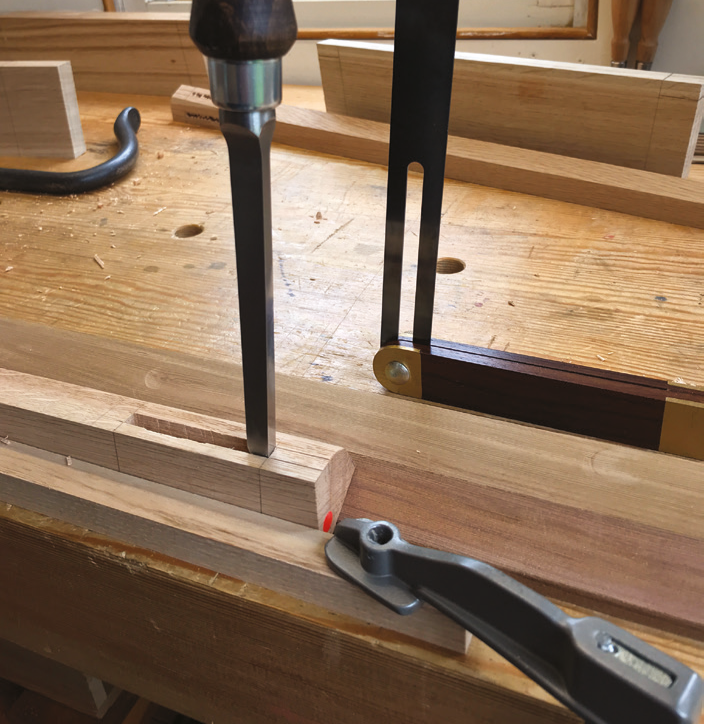
You can cut your tenons with the top edges running parallel with the top and bottom of the apron as it will avoid any short diagonal grain. The mortises, however, need to be cut to accommodate the splay angle. The quickest way of doing this is to bore straight mortises and then over or under cut the ends with a chisel while reading off a sliding bevel set to the splay angle and positioned where you can see it. It’s a lot easier than it sounds. Alternatively you could work with an angled block to shim the leg while drilling or mortising. A machine setup may allow you to tilt the bed by the required amount.
If your components are delicate you’ll need to be mindful of the size and spacing of the draw pegs as you may find their exit points on the inside of the leg collide. My workaround here was to stagger them; two pegs on one side and one in the middle on the other. Don’t expect to be able to drive them in much further than the thickness of the leg and make the taper/point short.
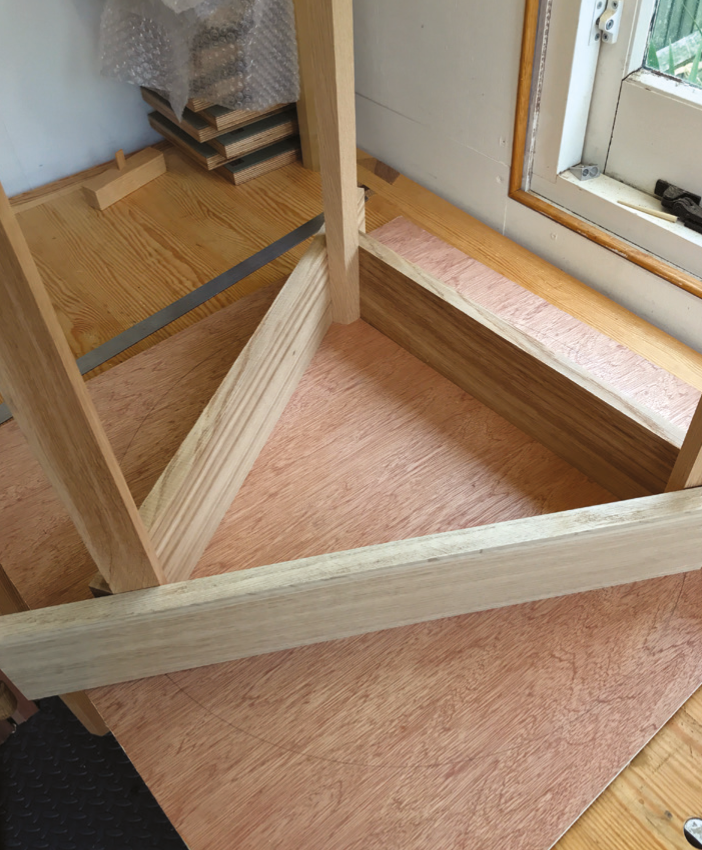
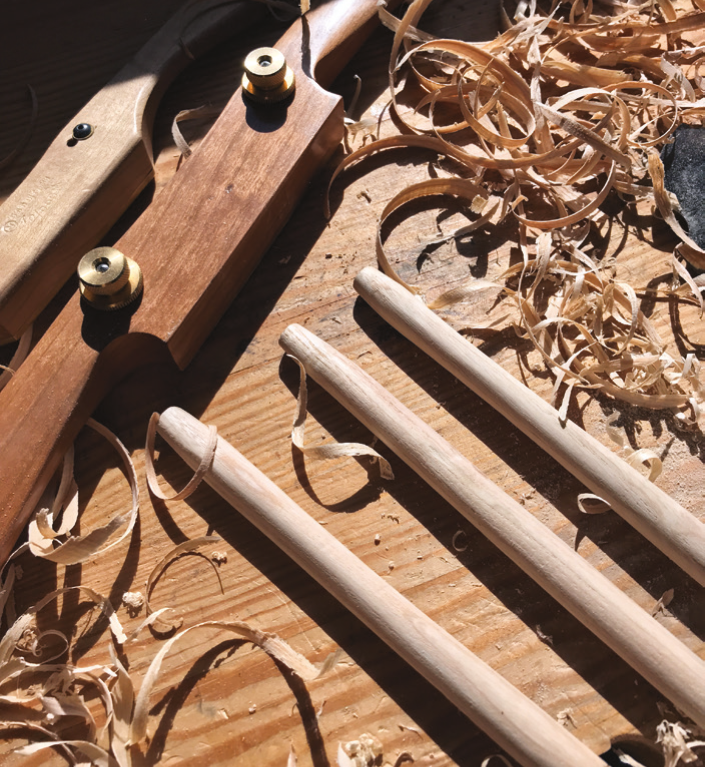
You can shape the round stretchers from square stock quite easily with a spokeshave or a block plane. If you’re looking for perfection you could use a hollow moulding plane. I did and immediately regretted losing the flats. Locating the holes for these is done by first assembling the frame dry and using a block that’s cut to the height from the floor that you want to position them. Make a mark across the inside of the legs with a pencil and transfer the legs to your pillar drill or use the sliding bevel trick again to get the right angle.
There are two more things you need to do before gluing up. Because the splay causes the three sides to lean in towards the centre of the table, the top edge of the apron is similarly angled. You need to rectify this by planing a 5 or 6° bevel across the top as appropriate. Do it now as it’s hard to do afterwards and it will give you some reference surfaces to rest your saw against to trim the tops of the legs. You’ll need to repeat this on the stretchers as well if you intend to fit a shelf to it. The last thing on your pre-assembly to-do list is to rout or plough a groove for buttons at the top of the inside face of the apron components.
You might want to consider applying any decorative mouldings as well at this point. I ran a 3⁄8in bead along the bottom edge of the aprons on one of mine. Gluing up is best done with strap clamps and not sash clamps. My preference is a glue with a long open time such as Titebond Liquid Hide Glue or Old Brown Glue. If a lot of pressure is needed to pull the frame together you will crush the corners but don’t sweat too much over them as you will want to round these off later.
Fixing the top to the bottom
After cutting the top I smoothed the edge with a couple of different spokeshaves; one set for a rough cut the other for a fine one to produce a slight roundover. I also carried out the necessary tidying up of the frame including chamfering the bottom of the legs.
The first method for fixing the top is to use buttons. I’ve written about these many times before so won’t dwell too much on them now other than they allow the top to expand and contract without splitting or stressing the frame. The second is more traditional but not one I’ve seen on a cricket table. Typically they have a board beneath the top that’s oriented across the joins for support, which is let into two of the aprons. This can be nailed in place and then nailed to the top. An equally acceptable solution is to nail directly through the top into the aprons or legs. As traditional a method as it is I’m not quite ready for this level of unsophistication yet.
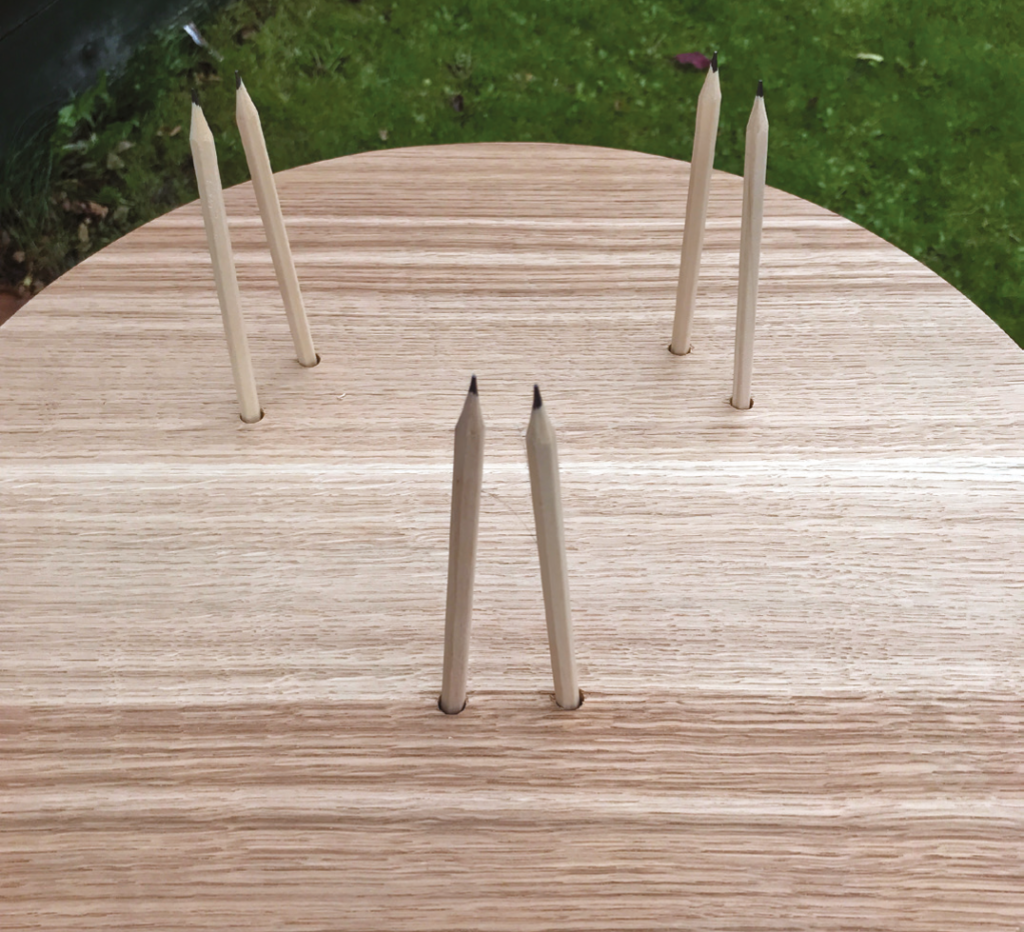
A prettier solution is to adopt a technique found on joint stools where wooden pegs are driven into the apron or legs directly through the top. It’s usually done in one procedure as the splay creates a wedge out of the pegs and prevents it from lifting. My belt and braces approach included back wedging the pegs through the top.
Finishing up
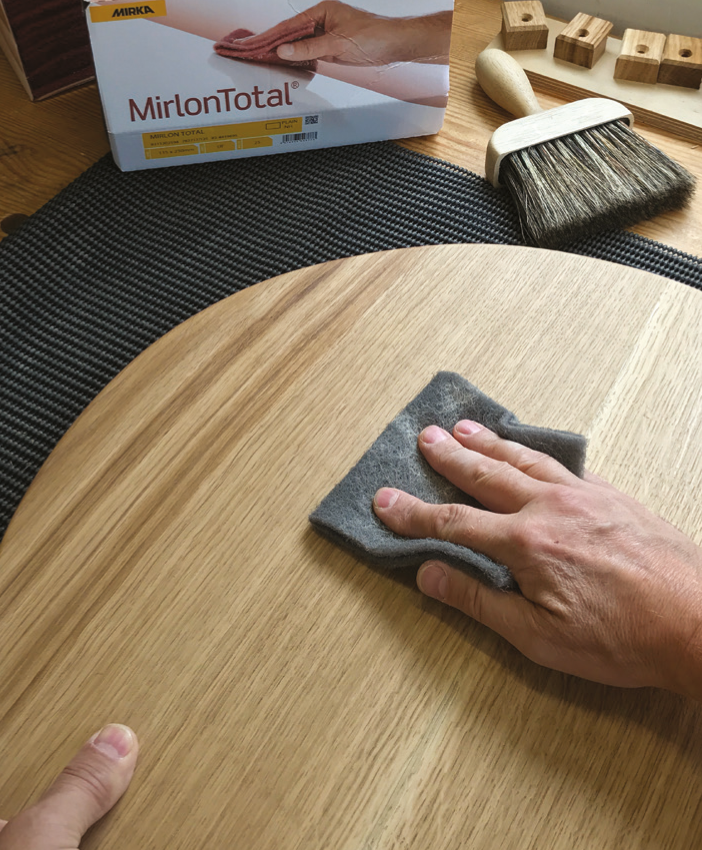
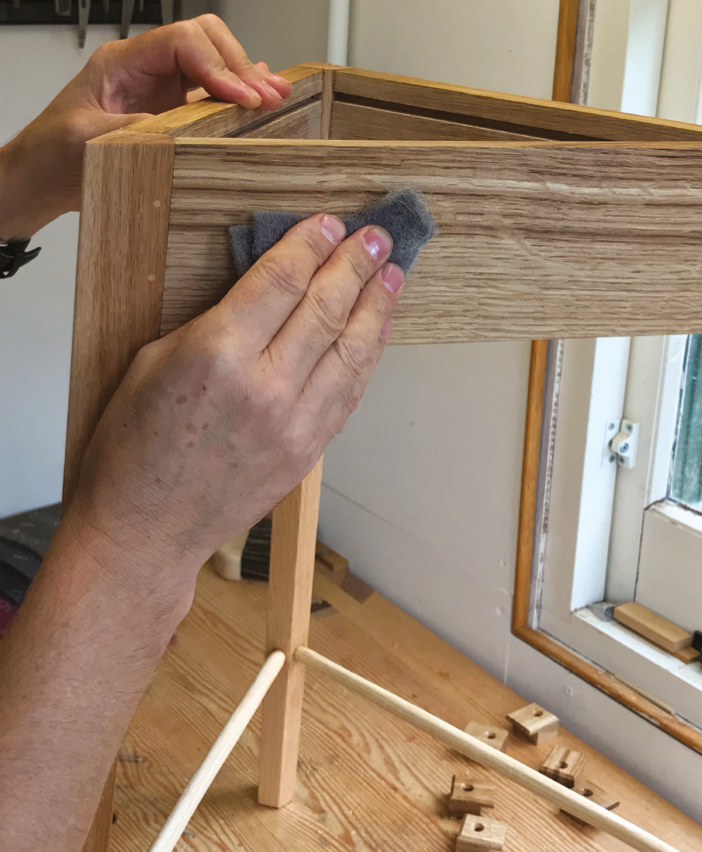
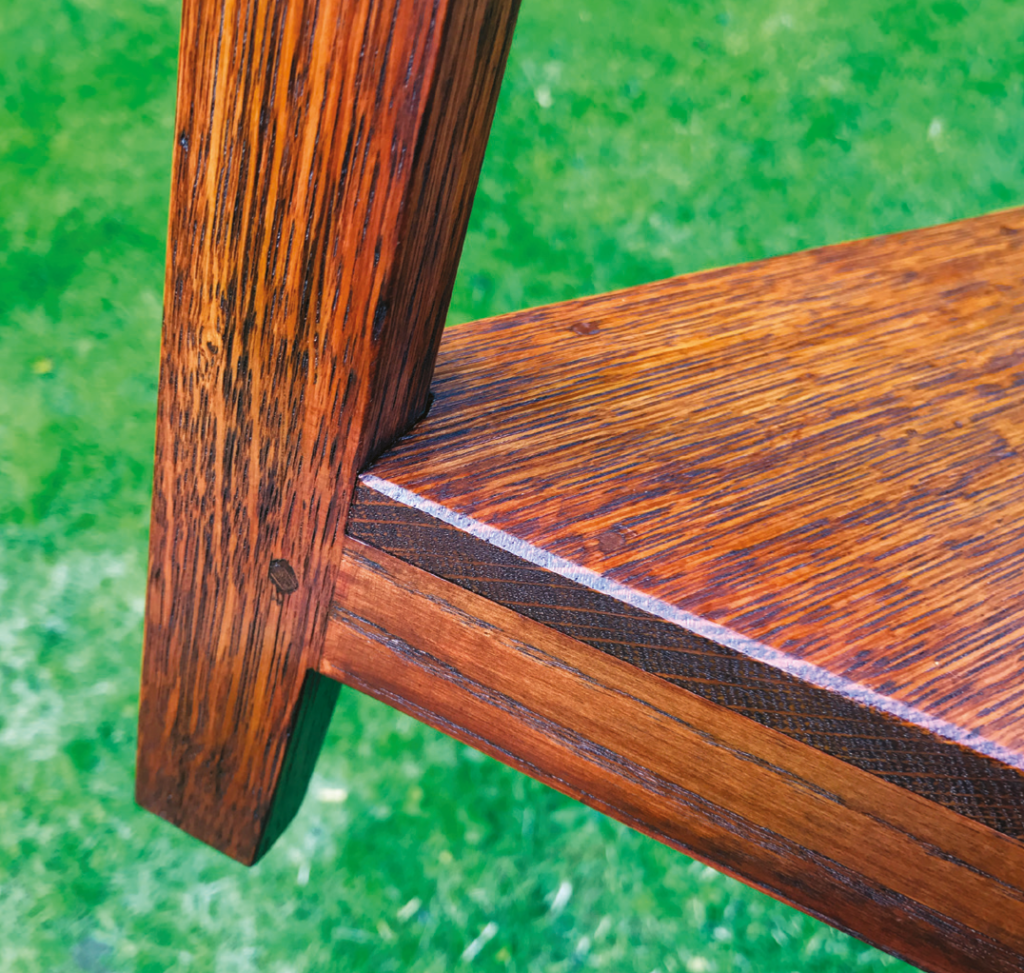
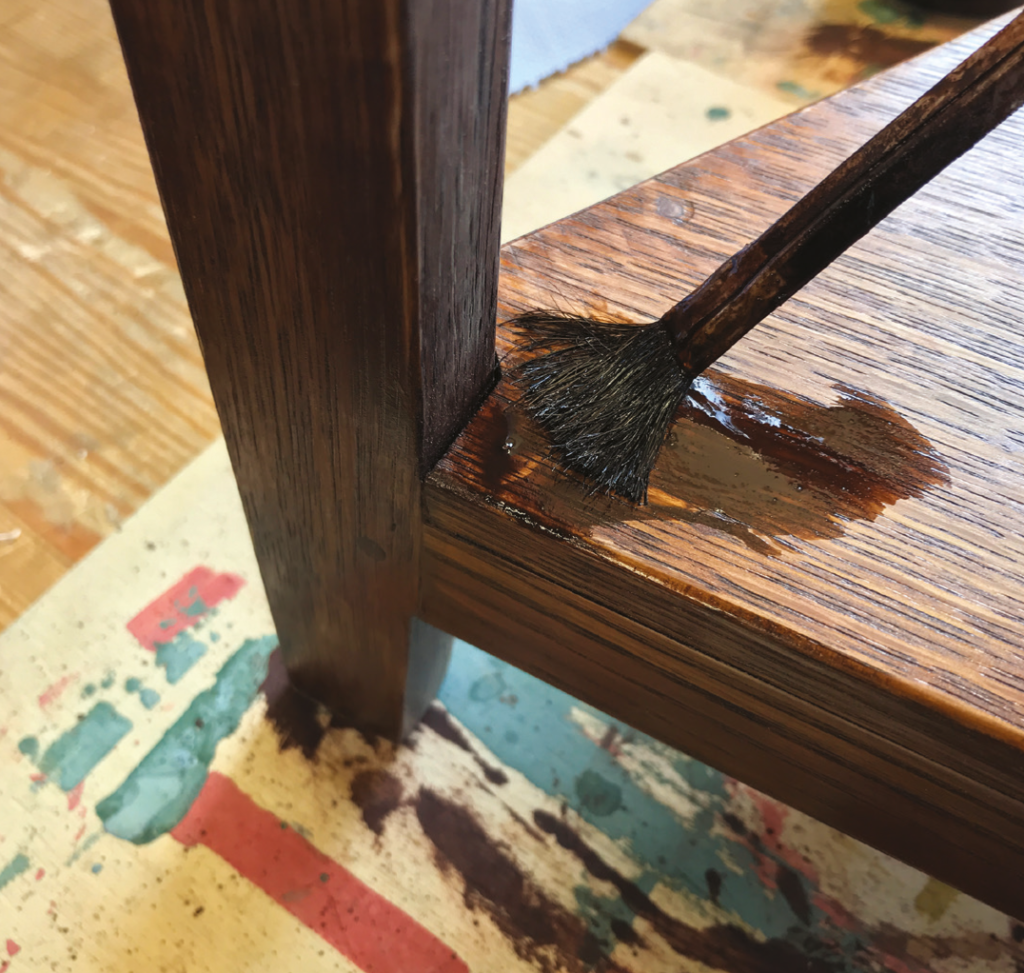
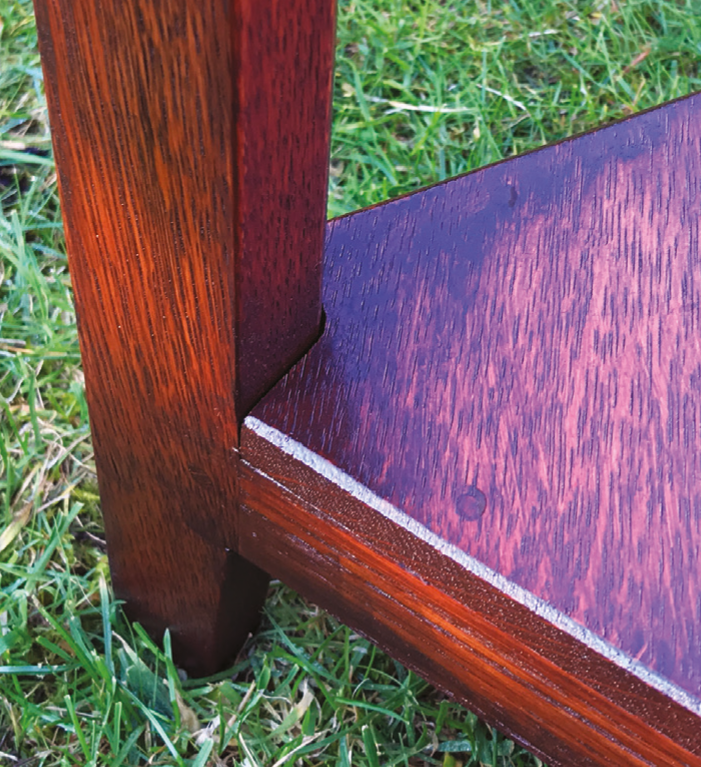
I used two methods of finishing for my tables, the first a simple wash coat of dilute shellac to raise the grain followed by a vigorous cut back with the Mirlon Total abrasive system featured in F&C 277. I followed up with two coats of satin Osmo applied with the same ultra fine abrasive and a coat of my own beeswax polish. The second was an attempt to add some age to the piece by first applying a blend of light oak and mahogany oil stain. This is sealed in place with a dilute wash of shellac as before.
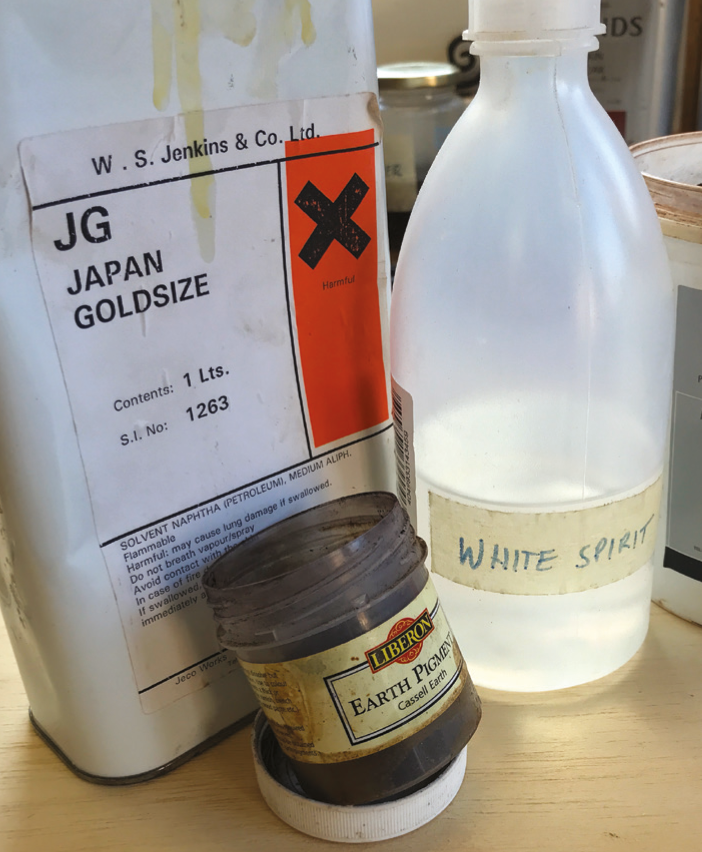
The next step is to mix up a stipple using brown umber and red ochre earth pigments in white spirit and gold size. It’s brushed on and allowed to tack up slightly before rubbing over with a cloth to remove the excess and leave a build-up in the corners. After an hour or so another coat of shellac was applied to fix it before two further coats of Osmo and then wax. The result is a good, albeit fake, patina that doesn’t look at all out of place on this style of table.
By far the most challenging aspect of this build was coping with the odd shape of some of the components and in particular levelling off some of the surfaces after assembly; triangles don’t like being squashed into a vice. On top of that it was also difficult to let go of my detail obsessed upbringing and work in a more relaxed way where to some extent the process dictates the form. What surprised me was just how rigid the structure was despite the relatively thin components and meagre joinery. There are a couple more experiments I’d like to try with this form, a thicker top with a deep chamfer on the under side for example and an Arts & Crafts version with carved detail to the legs, but before that a cracket, or crecket or even krickstoel or two.
Further reading
PHOTOGRAPHS COURTESY OF DEREK JONES