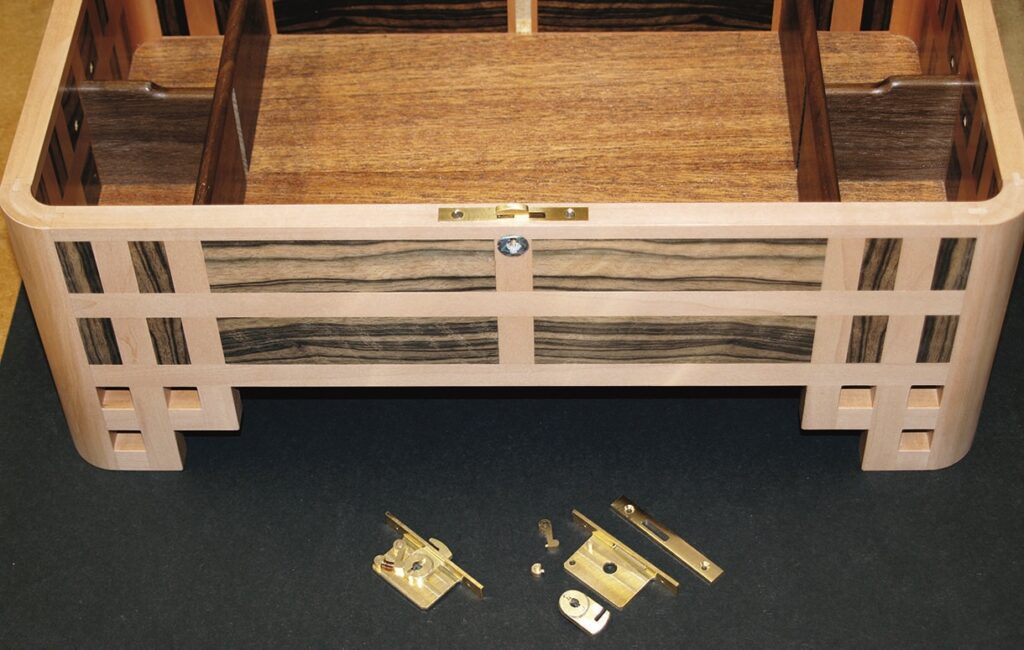
Robert Ingham explains how to make your own metal hardware
I have set myself the challenge to design all my own hardware. It started when the hinges that I bought for a student project at Parnham College needed a lot of adjustment. We were all very frustrated and after a debate we abandoned the hinges and redesigned the way the lid of the box could be lifted by making them out of wood, which became a feature of the design. Although modern hardware, such as the smartHinge, is made to a very high standard using CNC technology, I get a great deal of satisfaction from making my own. I was very fortunate to learn metalwork at secondary school under the encouragement of my tutor, Geoff Hines. I made fishing reels and model aero-engines and followed my love of engineering at Loughborough Training College, specialising in silver-smithing in my final year.
Tools and equipment
The basic use of metal is very similar to the use of wood. Having a knowledge of the structure of wood both from a practical and scientific point of view is essential to get the maximum advantage from its application. The same is true with metal. A big factor in the use of metal is the tools and machinery. While quite a lot of work can be carried out with hand tools such as files and hacksaws, to get the dimensional control and repetitive accuracy some machinery is necessary. At Parnham College, I bought a small model maker’s engineering lathe and milling machine. They performed adequately but when I had the good fortune to set up my own workshop I invested in a higher level of precision machinery. To some extent this was self-indulgence but I am glad I took the decision. Affordable engineering equipment is manufactured today to quite a high standard so it is not necessary to buy the ‘tool-room’ standard of equipment that I have.
Brass hardware
Brass is probably the most appropriate metal for making hardware that combines with wood in furniture making. It is quite easy to work and is available in different ratios of the copper and zinc that forms the alloy. The most common ratio is 50% copper and 50% zinc, which is known as half hard or machinable brass. A higher percentage of copper means the brass is quite malleable, which is suitable for shapes formed by sinking and raising such as bowls and dishes. A higher percentage of zinc makes the brass quite brittle. Half-hard brass is available in a range of cross sections: sheet, rod, square, rectangular, ‘U’ and ‘L’ profiles. The annealed brass is drawn through a die that has a profile hole of the finished cross section. The process is also known as extrusion and the profile that results is dimensionally quite accurate.
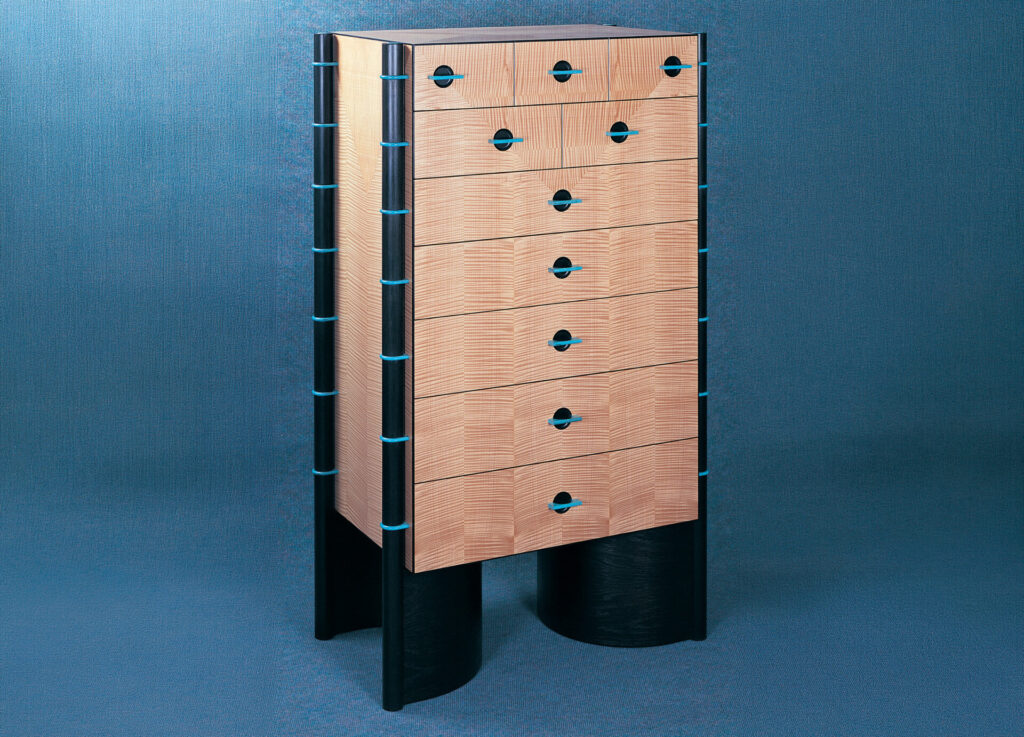
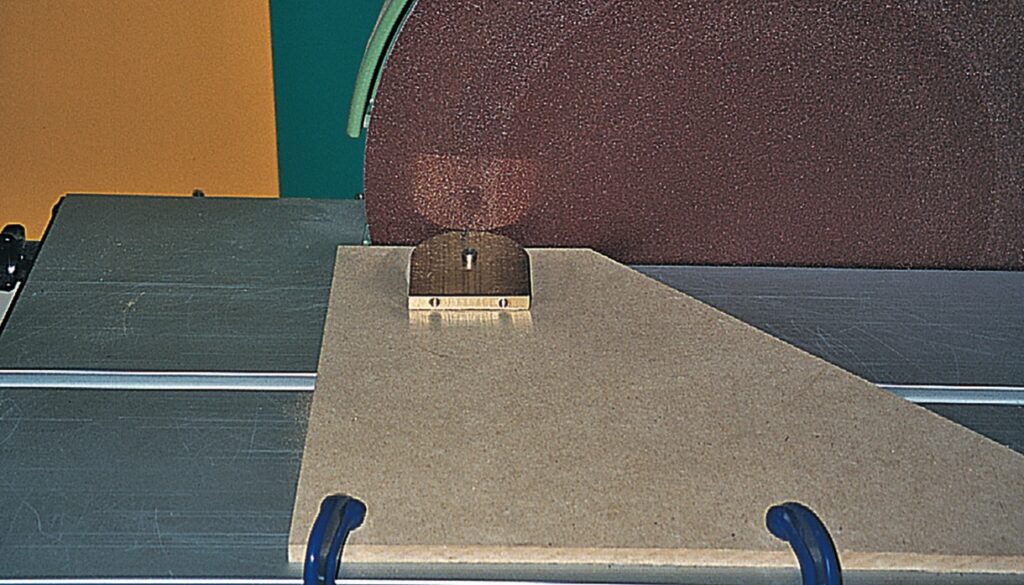
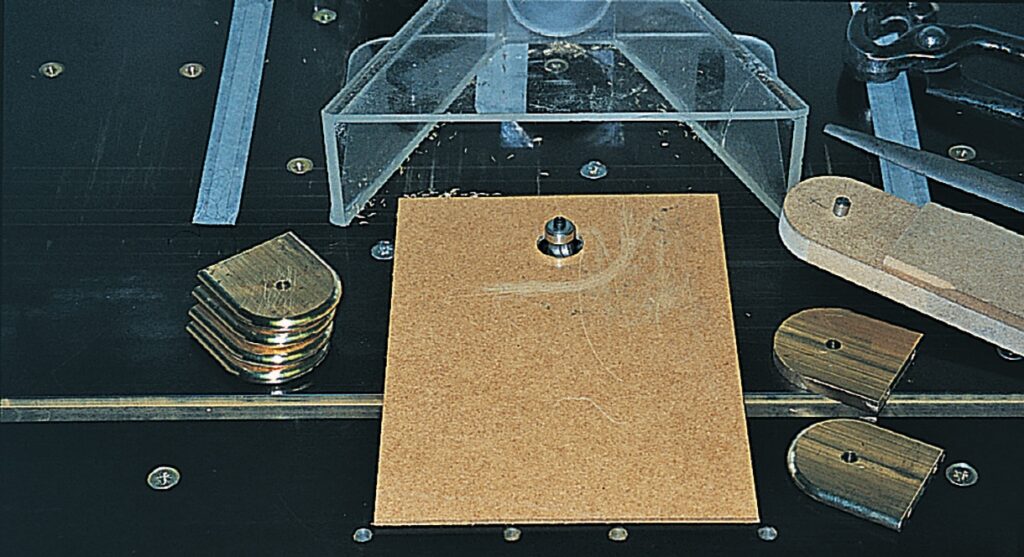
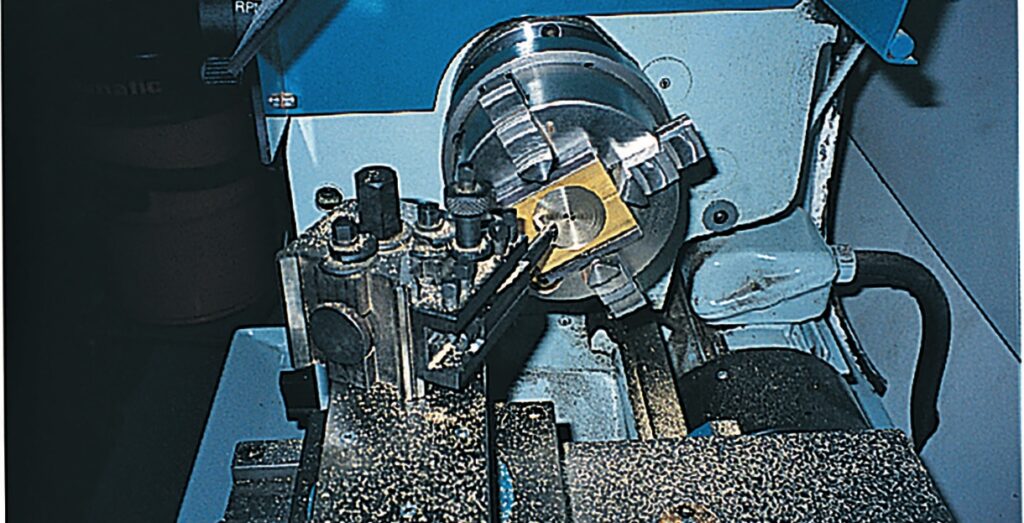
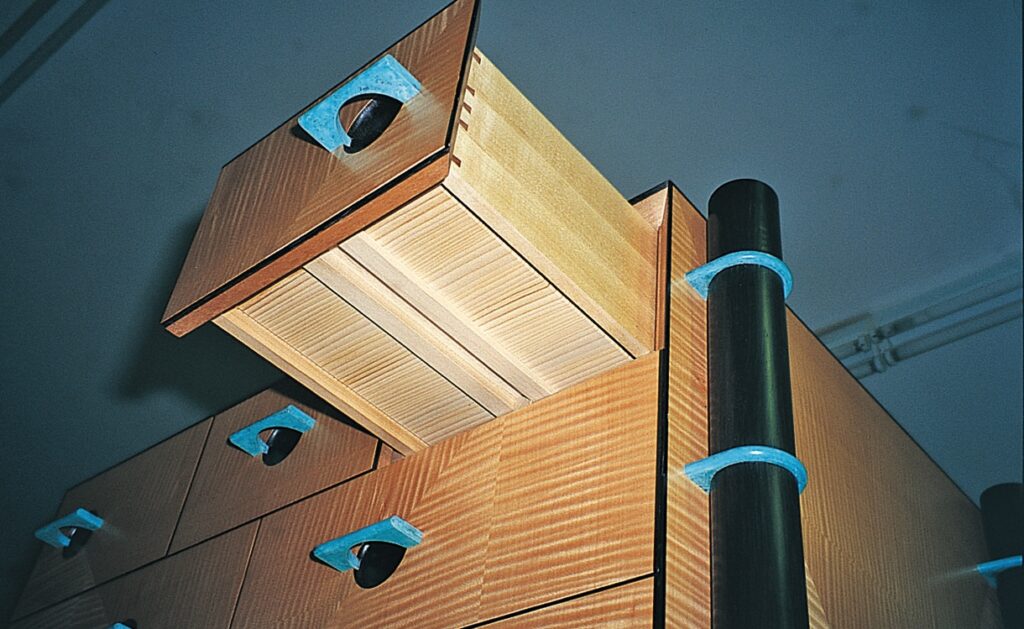
In practical terms half-hard brass is very easy to work. It can be sawn by hand with a hacksaw, a fretsaw, a bandsaw, a jigsaw or a circular saw. The outriggers that connect the leg uprights and the handles of the chest of drawers in Derek Jones’ article (see F&C 271, An Airbrush with the Past) were cut oversize on the bandsaw and to length precisely on the sliding table of my dimension saw. It is very easy to drill and the swarf or shavings are small fragments that do not clog the flutes of the drill or the hole. Internal and external threads can be cut with taps and dies without the need for cutting compound lubricant. I used my milling machine to drill the screw holes that connect the outriggers to the carcass with repetitive accuracy. The half-round profile was shaped on my disc sander. The excess material was removed on the bandsaw and the centre hole was located on a pin carrier that slides in a groove in the table of the sander. The half-round cross section was formed with a ball race rounding over cutter on my router table. A carrier plate was used to pass the edges against the cutter for safety and control. The spindle speed was reduced to minimise the production of excessive heat.
The mechanical method of holding brass components together includes the use of screws, rivets, glue and solder. Epoxy resin will bond brass but it will eventually disconnect. I made some drawer handles in a combination of wood and brass and the bond failed after a short period of time. Superglue will bond brass but it is only suitable for low load handling. Soft solder, an alloy of tin and lead, is also an option but very strong results can be achieved with silver solder or brazing spelter. Easy flow silver solder can be melted with a gas flame torch. The main challenge is that of holding the components together. This can often be done by holding the components together with pieces of fire-brick or by wrapping small pieces of wire around the components. A flux paste is applied to the joint which fuses between the surfaces to be soldered early in the application of heat. The function of the flux is to coat the surface and prevent oxidation during the heating process. Pieces of solder rod can be cut and positioned against the joint or the rod can be held in place until it melts and is drawn by capillary action into the joint. I have a heating plate that consists of a base and two vertical sides made from fire bricks. The structure is held together with an angle steel frame with a space underneath so that it can be used on a workbench.
Brass is very often associated with bright polished surfaces that are thought to raise the value of the object. It can be polished on a burnishing disc to a very bright level but in most practical situations it needs to be lacquered as repolishing can be a tedious and messy process. Special recipes can purchased but cellulose lacquer applied with a brush or spray gun will protect the surface.
Finally, brass can be patinated. There are many colours that can be created with a range of chemicals, some of which are dangerous to use and difficult to obtain. The blue-green colour that I frequently use is often referred to as verdigris, which happens naturally if the brass is left in damp conditions. To make it intentionally, a solution of copper nitrate is applied to the surface of the brass. The patination is then speeded up with the application of heat. A high enough temperature can be achieved with a hot air gun. The surface can then be protected with the application of lacquer or varnish.