You can buy Pen Turning for only £12.00/ $15.96 (+P&P)! Usual RRP £14.99 / $19.95
🇬🇧 For UK readers, visit giftstome.co.uk and use offer code R6214
🇺🇸 For US readers, visit IndiePubs.com and use offer code IPP4055
Offer ends 3rd December 2026
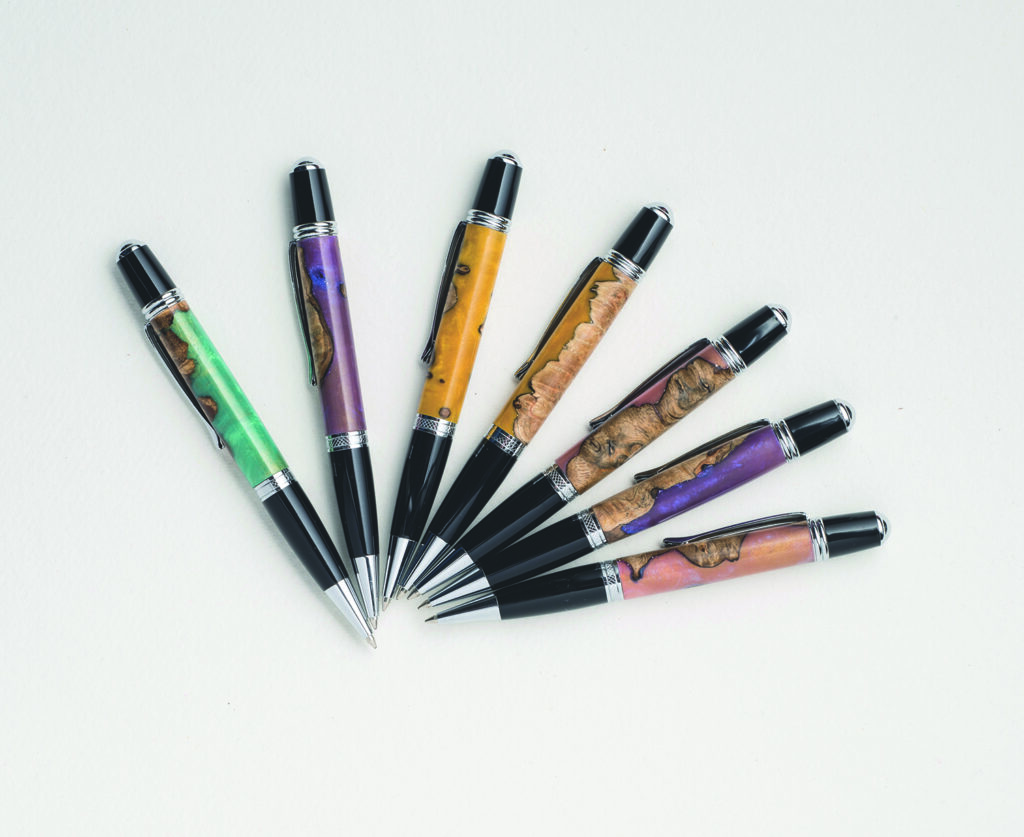
In their book Pen Turning – A Foundation Course Kip Christensen & Rex Burningham turn a pen from a plastic blank and pen kit
Single-barrel pens are very popular among woodturners. The kits have only one brass tube and require the preparation and turning of just one barrel. As a result, it takes less time and materials to make a single-barrel pen, compared with two-barrel designs.
Preparing plastic pen blanks
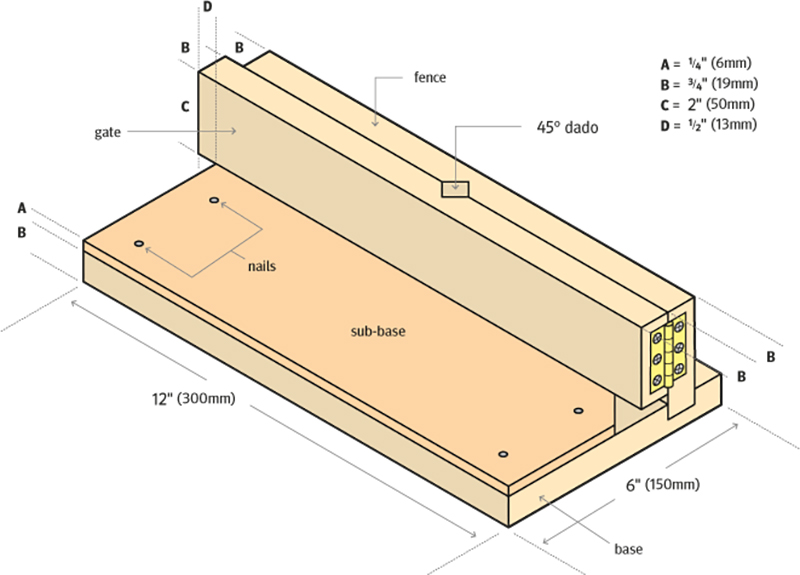
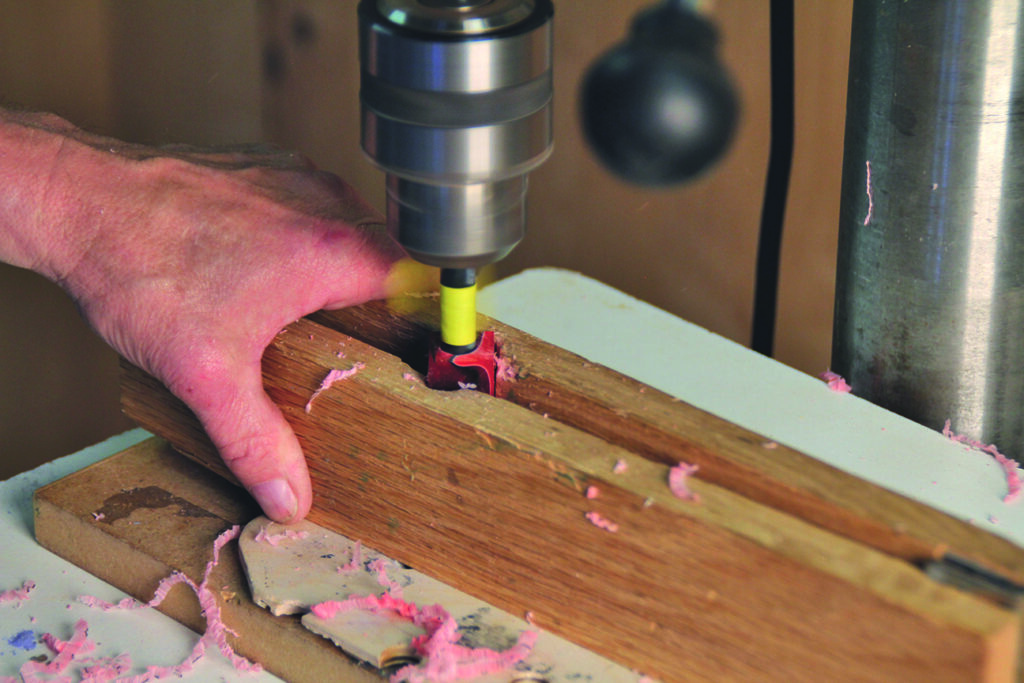
A gate jig (see the jig illustration) is an excellent way to secure the blank while drilling (photo 2). The coloured tape on the drill bit can act as both a depth gauge and a method of clearing shavings that collect on top of the hole and obstruct your view of the drilling. Depending on the type of plastic being drilled, the speed of the drill press may need to be reduced to 250-500rpm to prevent the plastic from melting. Plastic pen blanks are also somewhat prone to blowing out as the drill cuts through the plastic at the bottom of the hole. To reduce the possibility of blowout, slow the feed speed considerably as the tip of the drill approaches the bottom of the plastic blank. Again, keeping an eye on the bottom edge of the tape will let you know when to reduce the feed speed.
Another precaution is to cut the plastic blank about 1⁄4in (6mm) longer than the tube, stop drilling before reaching the end of the blank, and then cut the excess off after drilling.
Using epoxy adhesive
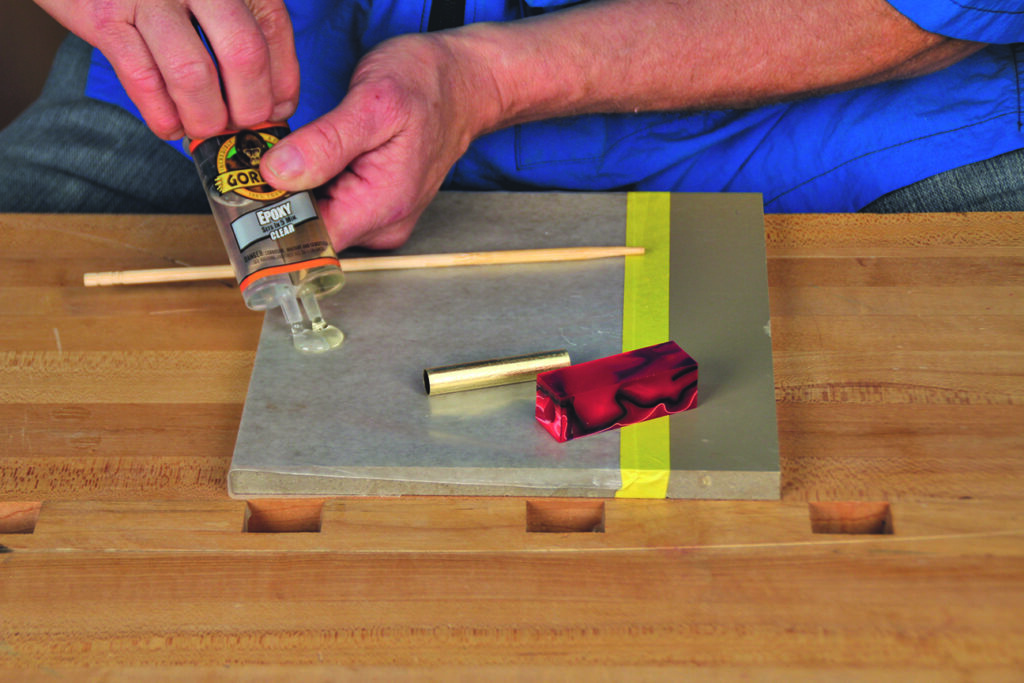
Epoxy resin adhesive is excellent for gluing a brass tube into a plastic blank. It is a two-part adhesive that is good for gluing dissimilar materials. Just prior to applying, the two parts need to be mixed together (photo 3). Put equal amounts of parts A and B side by side on a disposable surface (here we are using waxed paper) and stir them together until thoroughly blended. A chopstick works well for this.
Using a chopstick, line the inside of the hole with a thin layer of freshly mixed epoxy (photo 4). It is a good practice to apply adhesive from both ends of the blank.
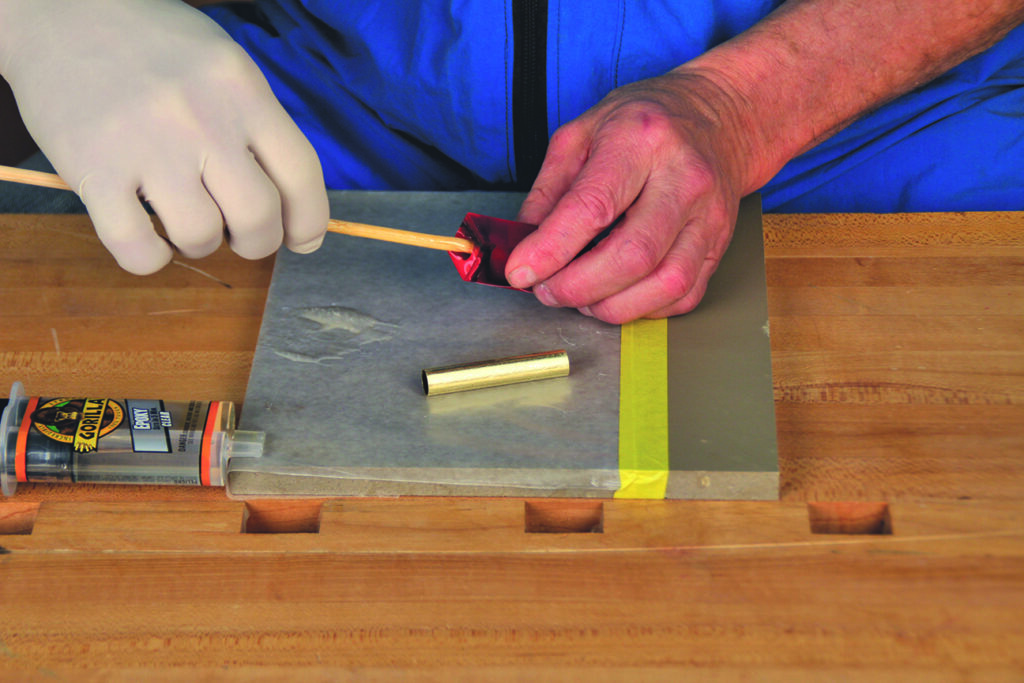
A thin layer of epoxy should also be applied to the outside of the brass tube. This can be done quickly by rolling the tube in the epoxy (photo 5).
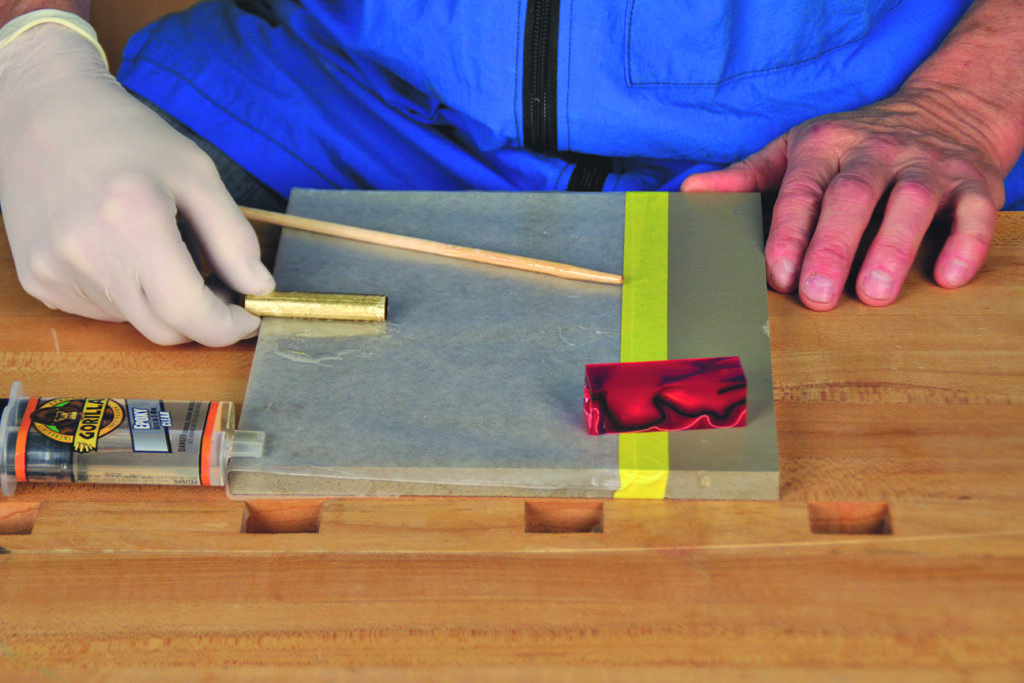
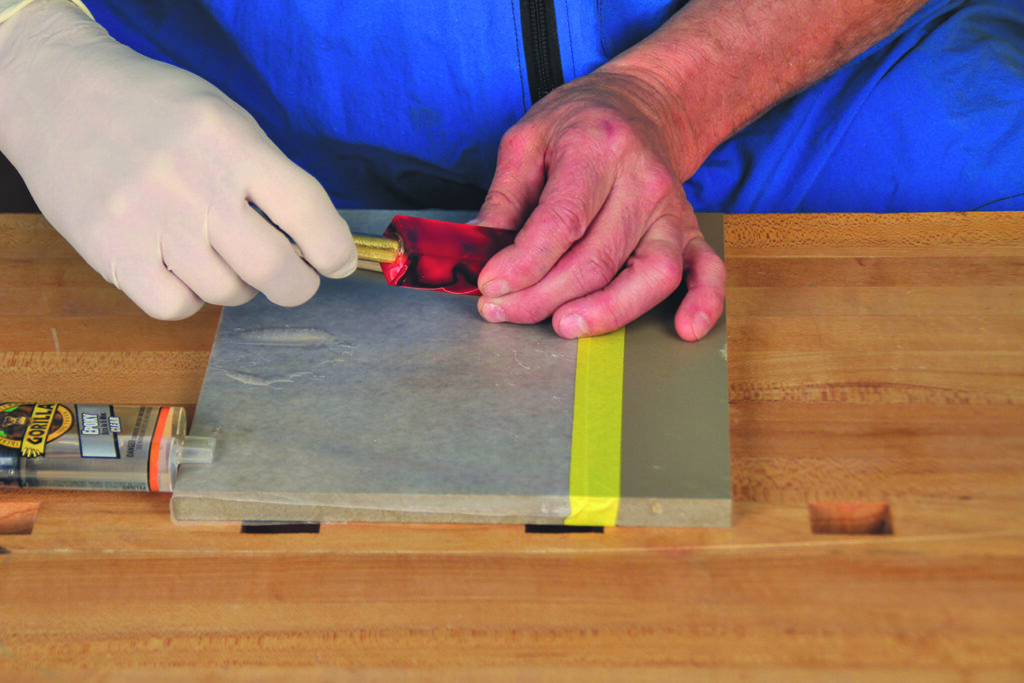
Next, push the tube into the hole. A light twisting motion will help distribute the epoxy evenly between the tube and the plastic blank (photo 6). Stop when the end of the tube is still slightly inside the hole. The tube must not be exposed outside the hole, or it would need to be shortened slightly during trimming, which could prevent the writing tip from extending the proper distance beyond the tip of the pen after final assembly.
TOP TIP
Some plastic pen blanks are translucent or even transparent in places, allowing the metal tube to show through. The appearance can be improved by using tubes that closely match the colour of the plastic. Tubes made with various platings of differing colours can be purchased. Alternatively, tubes can be spray-painted to match the colour of the plastic precisely.
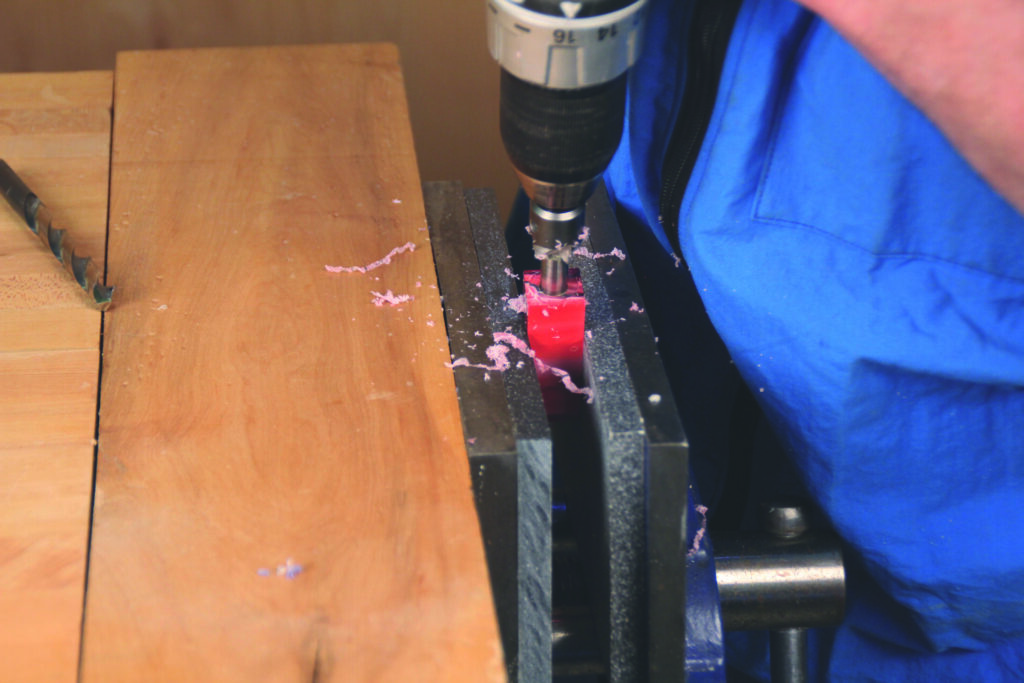
In this case a cordless drill is used for barrel trimming (photo 7). The drill should be rotating at moderate speed when the end of the blank is first contacted by the head of the trimmer; otherwise there is an increased possibility that the blank will blow out at the beginning of the trimming process. Take a light cut, lifting the trimmer repeatedly to check for the end of the brass tube. Stop trimming as soon as the end of the tube is clean. With the Classica pen, it is essential that the brass tube is not shortened while trimming, as this could interfere with the functioning of the pen.
Turning the plastic pen blank
As noted earlier, since the tube for the Classica pen is relatively short, it is possible to mount two blanks on one mandrel and turn two pens in one process. If you are turning only one Classica pen and using a double mandrel, you will need to include a spacer on the mandrel so that pressure can be provided from the brass nut at the tailstock end of the mandrel. Here a defective pen barrel (including a tube inside) is used as a spacer (photo 8).
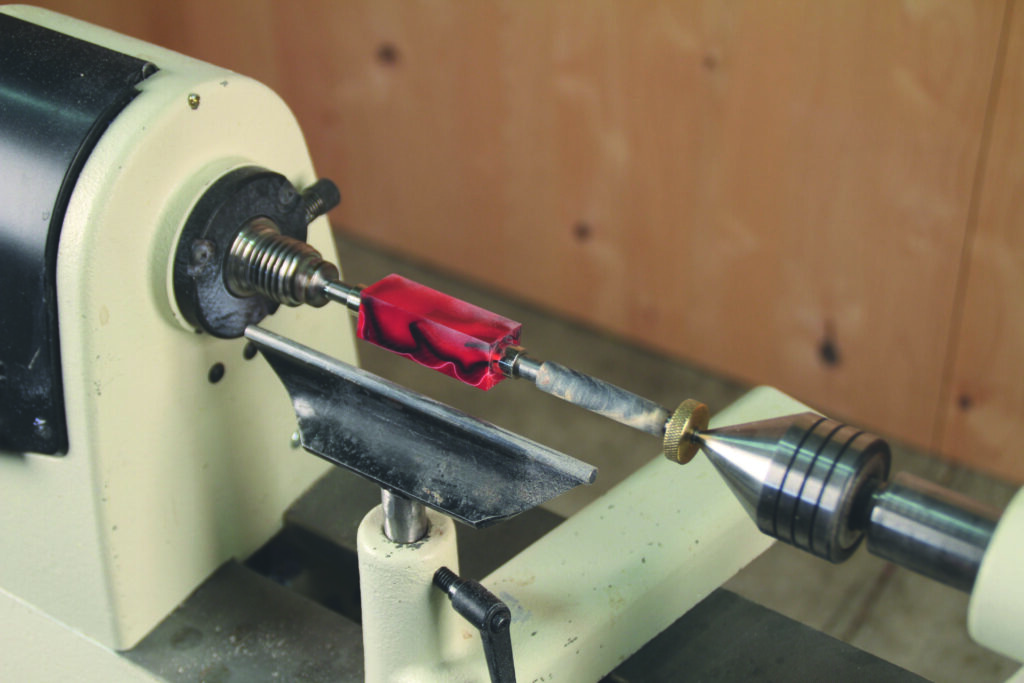
Plastic pen blanks can be turned using most traditional turning tools, including gouges and scrapers. Cutting techniques such as shearing, scraping, and shear-scraping can all be used. However, plastic generally must be approached with more care than most woods, since it can tear out abruptly without warning. Tearout can usually be reduced by using light scraping cuts with a scraper that does not have a burr on the cutting edge.
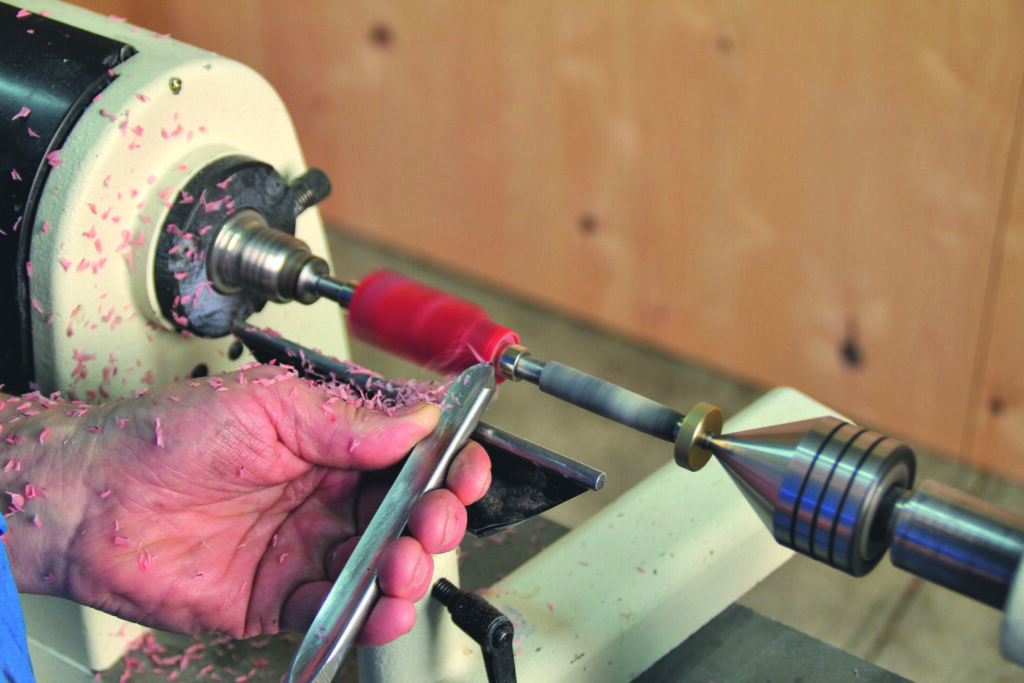
In this sequence, we will show a variety of tools and cuts that are suitable for turning plastics. Though shearing with a gouge may invite more tearout than does scraping, shearing is more efficient for removing excess stock. Consequently, a good approach to take when turning plastic is to do the rough turning with a gouge and the shaping and final cleaning cuts with a scraper. Here, a shallow spindle gouge is used to remove the square corners of the blank. Turning from each end of the blank toward the centre will reduce the possibility of blowout on the ends of the blank (photo 9, photo 10).
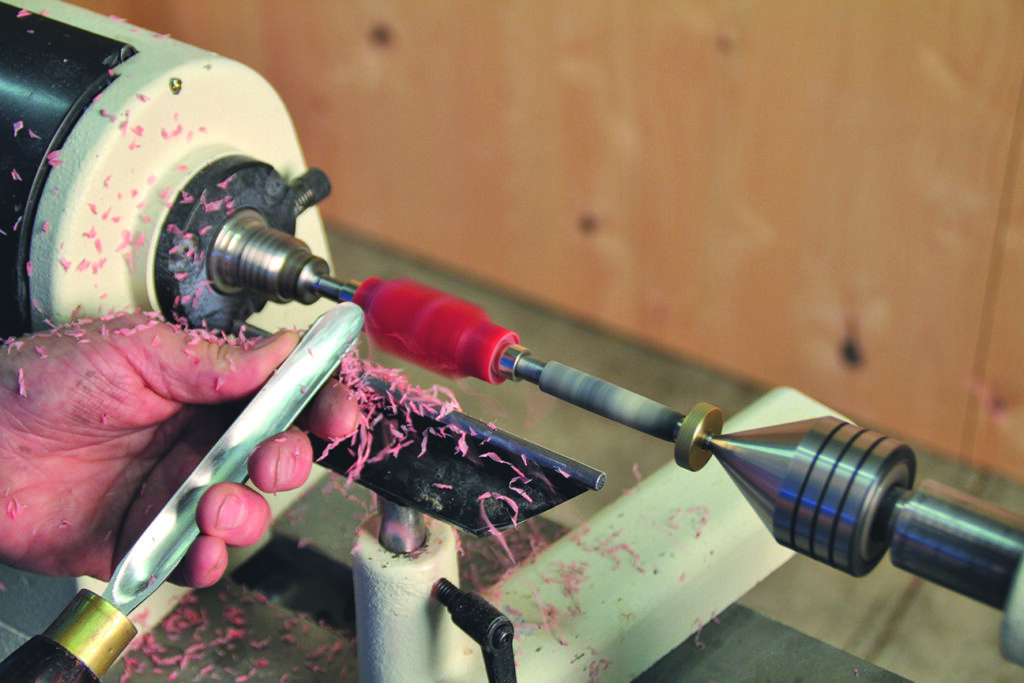
Next, turn away the square corners in the centre section. Notice that on all the cuts with the gouge, the tool handle is held low and rotated to the side somewhat to give a shearing, or at least a peeling angle, rather than a 90° scraping angle (photo 11).
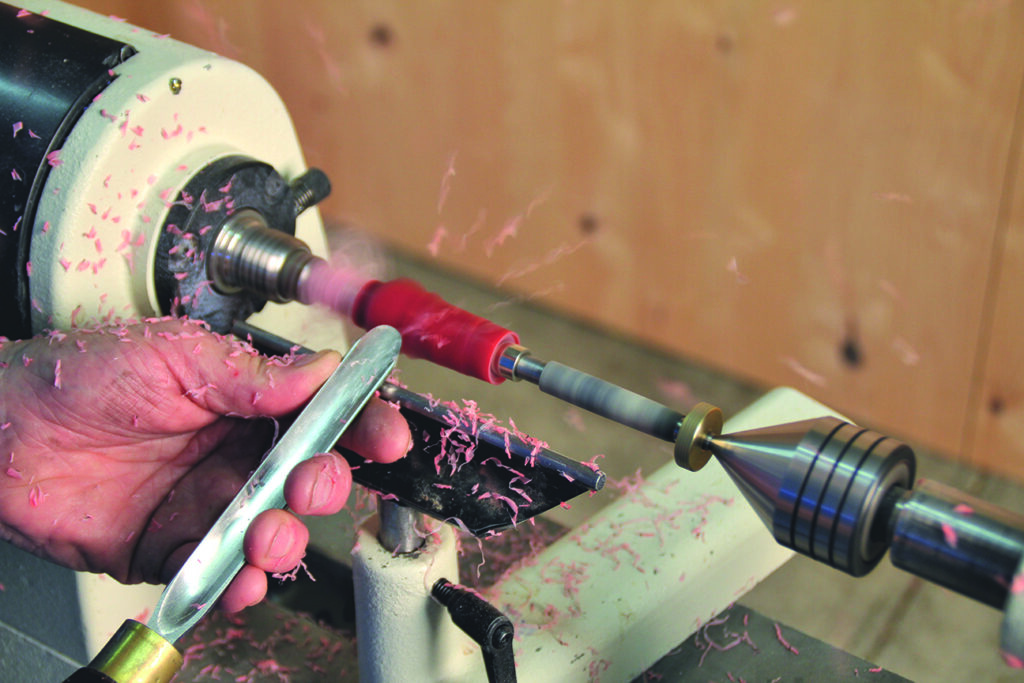
After the square corners have been removed from the blank, turning plastic usually produces long, continuous shavings that tend to collect on the surface of the turning (photo 12). This often obstructs your view of the work, so it may be necessary to stop the lathe from time to time and remove the shavings. A soft-bristled brush, such as a toothbrush, can be used to quickly remove the shavings.
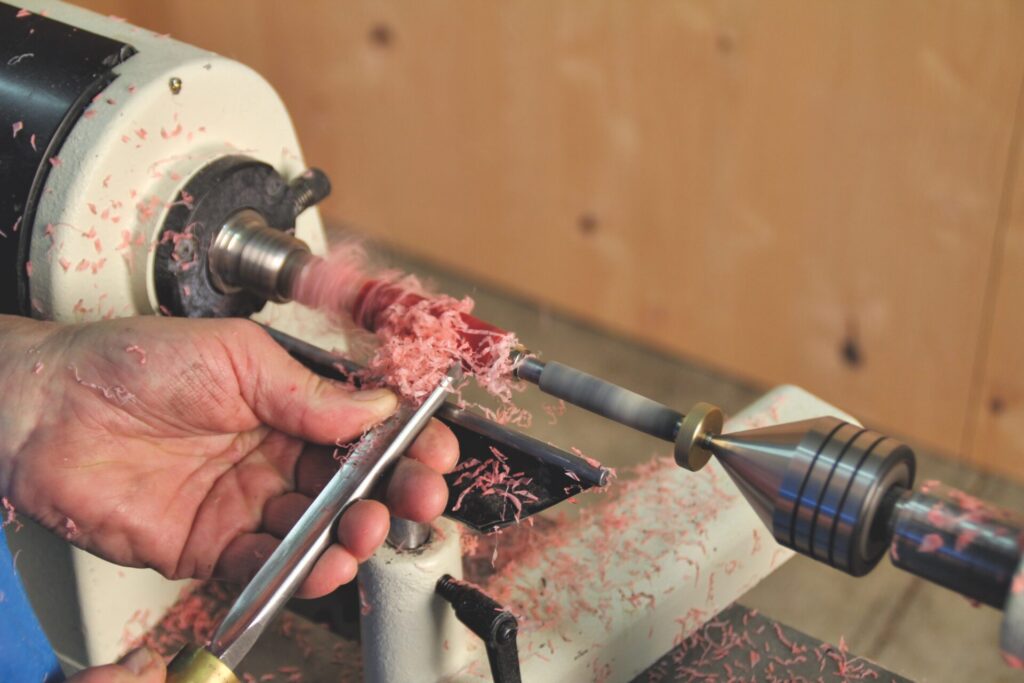
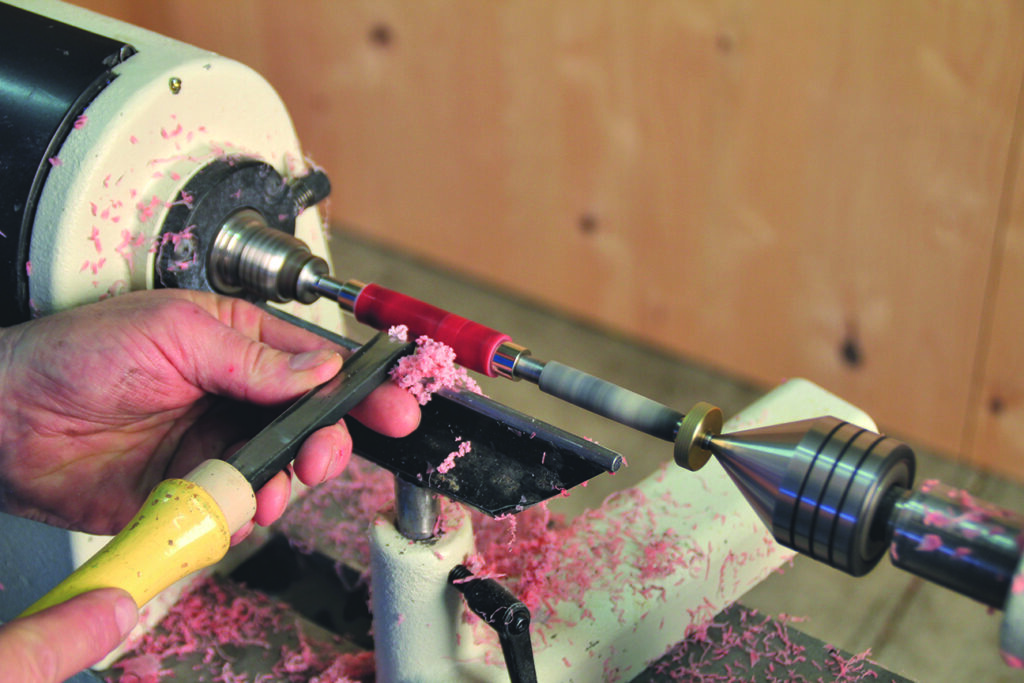
Once the square corners and excess plastic have been removed with a gouge, it is recommended that final shaping and finishing cuts be made with a scraper. Options include HSS scrapers with a traditional 70° grind (photo 13), or carbide-tipped scrapers (photo 14). Regardless of the type of scraper used, when turning plastic it is best not to have any burr on the cutting edge, otherwise the tool may be too aggressive and cause tearout.
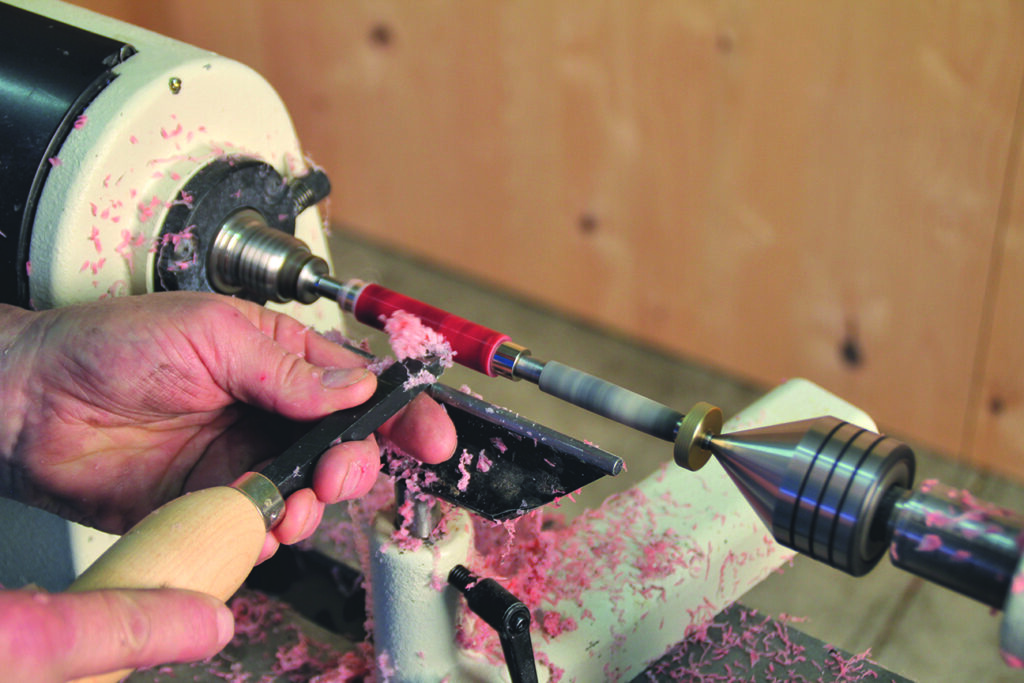
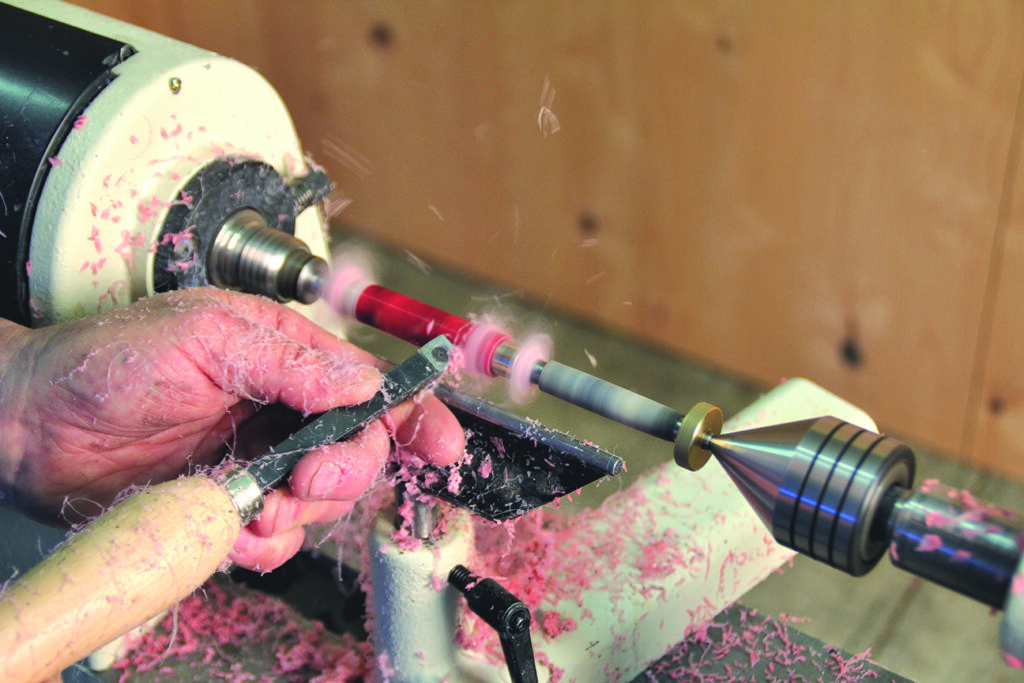
Although scraping tools are generally held flat on the toolrest, occasionally a cleaner cut can be made by rotating the tool slightly, producing a shear-scraping cut (photo 15). This works best for making very light finishing cuts.
Sanding
Single-barrel pens often look best if turned to a straight cylinder, or else with the centre of the barrel turned slightly larger than the bushings, with a gradual curve tapering toward each end. When getting close to the final shape and size, stop the lathe and feel the turned surface for any defects (photo 16). It is often easier to feel defects than it is to see them. Be sure to check the transition between the turned barrel and the bushings. The barrel should be very slightly larger in diameter at each end than the bushing, leaving only a small amount of material for sanding.
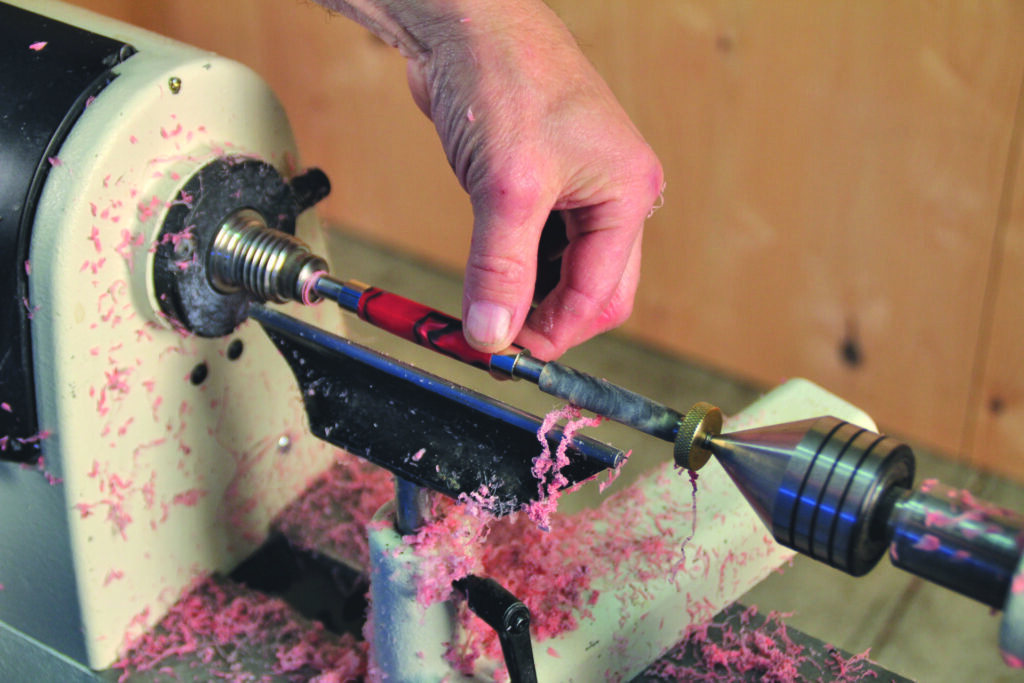
Begin sanding with standard dry abrasive. Start with about 220 grit and progress to 320, 400, and finally 600 grit. Sand from the top (photo 17) or the bottom (photo 18). Progress to the next finer grit only after you have eliminated all the defects caused by the previous stage. Since the bushings indicate the diameter of the matching components of the pen kit, it is important to avoid sanding the bushings and reducing their diameter.
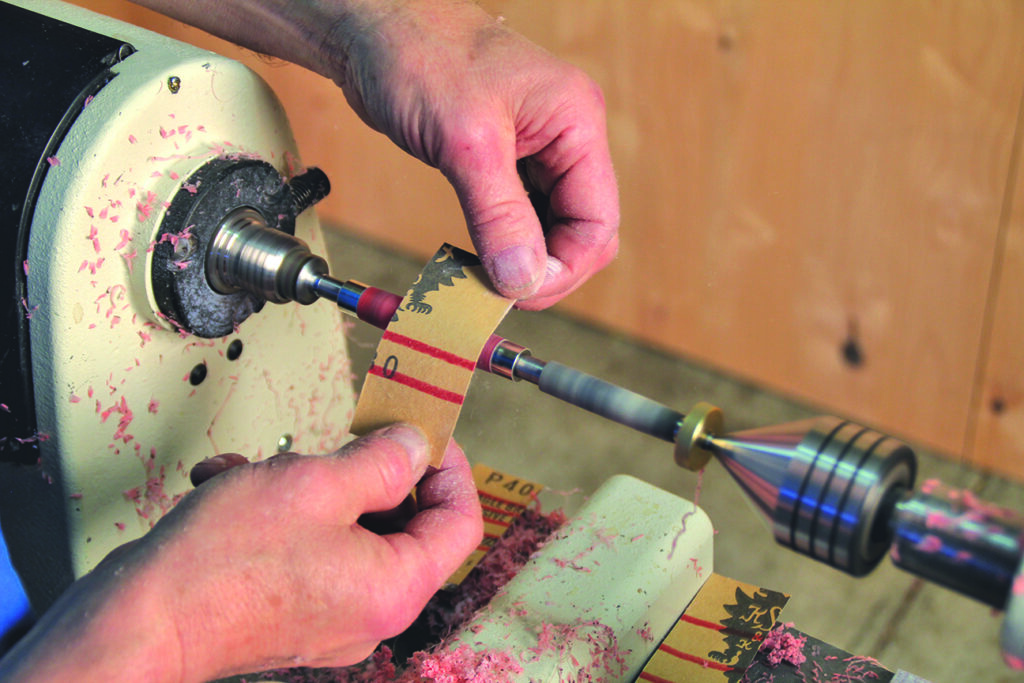
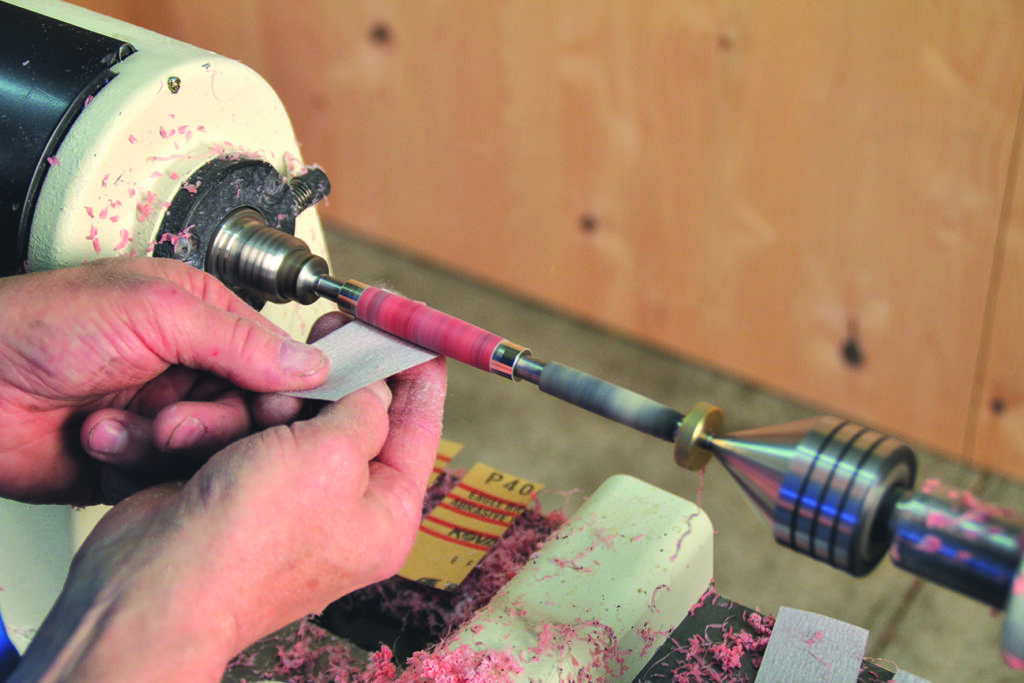
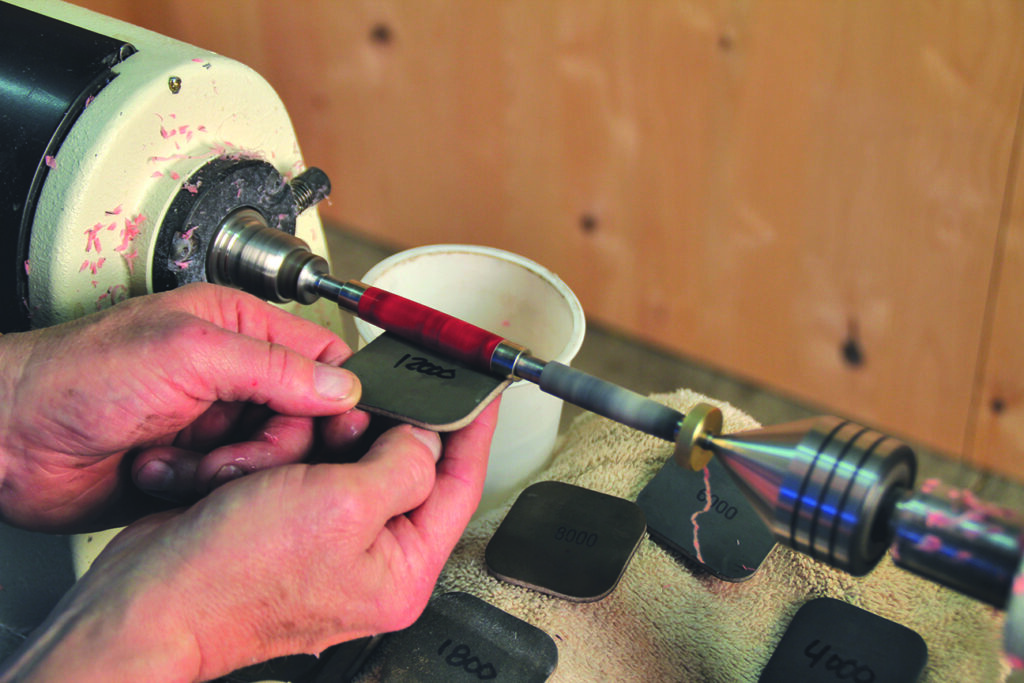
Some woodturning suppliers offer microsanding abrasives that work very well on plastics. Usually these are used with water for ‘wet’ sanding. The water reduces friction and heat that might melt the plastic and clog the abrasive. The abrasives are available in a variety of grits up to 12,000, which leaves a very fine, shiny surface. Those shown here have a thin, flexible foam backing and come precut in 2in (50mm) squares. These abrasive pads can be stored dry or kept in water in a sealed container.
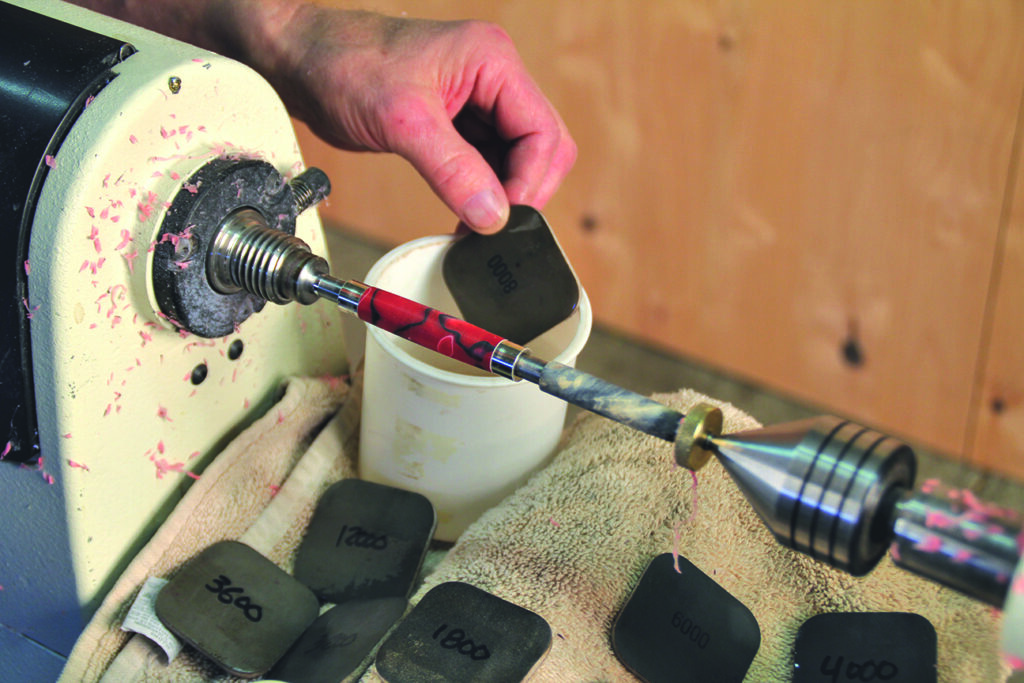
Place a towel over the lathe banjo and bed to protect them from the water, then lay the abrasive pads on the towel in sequential order from coarse to fine. Beginning with 600 grit, dip the abrasive in a container of water (photo 19) and sand lightly. Progress through the abrasives, sanding lightly with each one, finishing with 12,000 grit (photo 20). Very little sanding should be needed with each grit, so the full wet-sanding process goes quickly. After wet-sanding with microabrasives, the surface should be free of any visible sanding lines.
Finishing
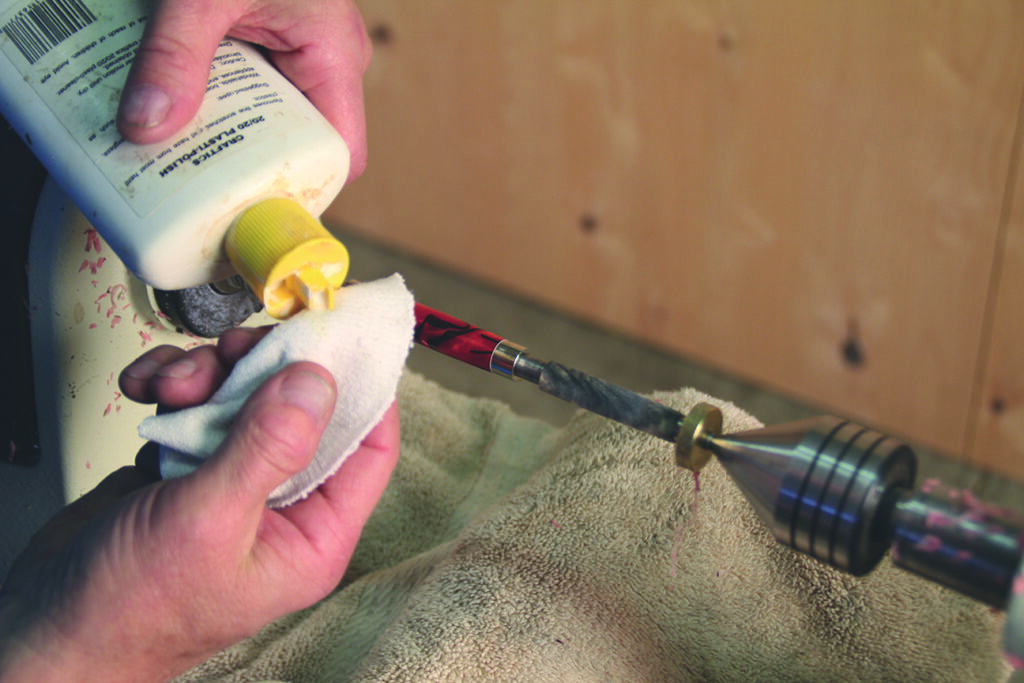
The finishing touch is a quick application of plastic polish. Put a small amount of very fine plastic polish on a clean rag and gently rub it on the surface of the plastic while the lathe is running (photo 21).
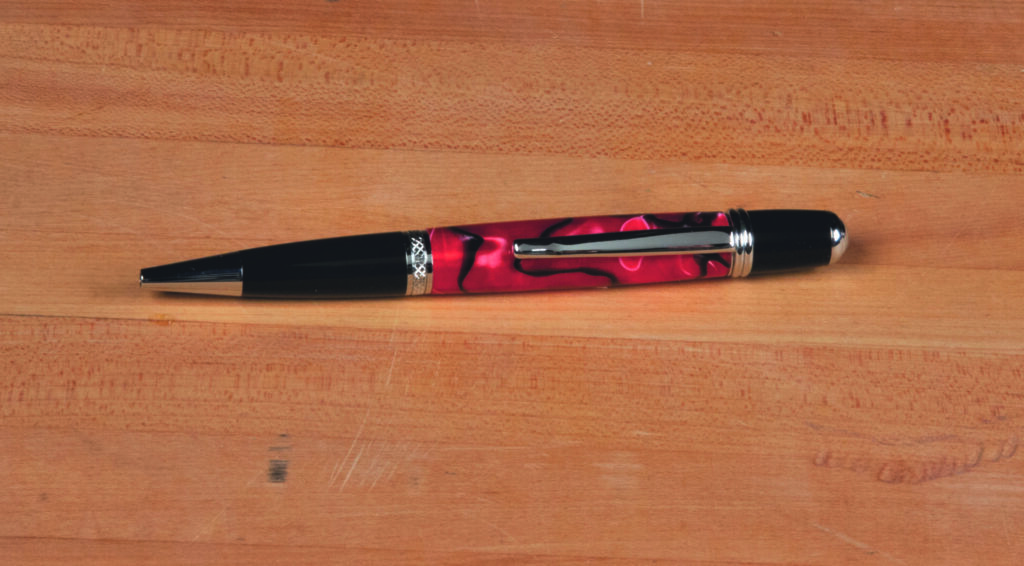
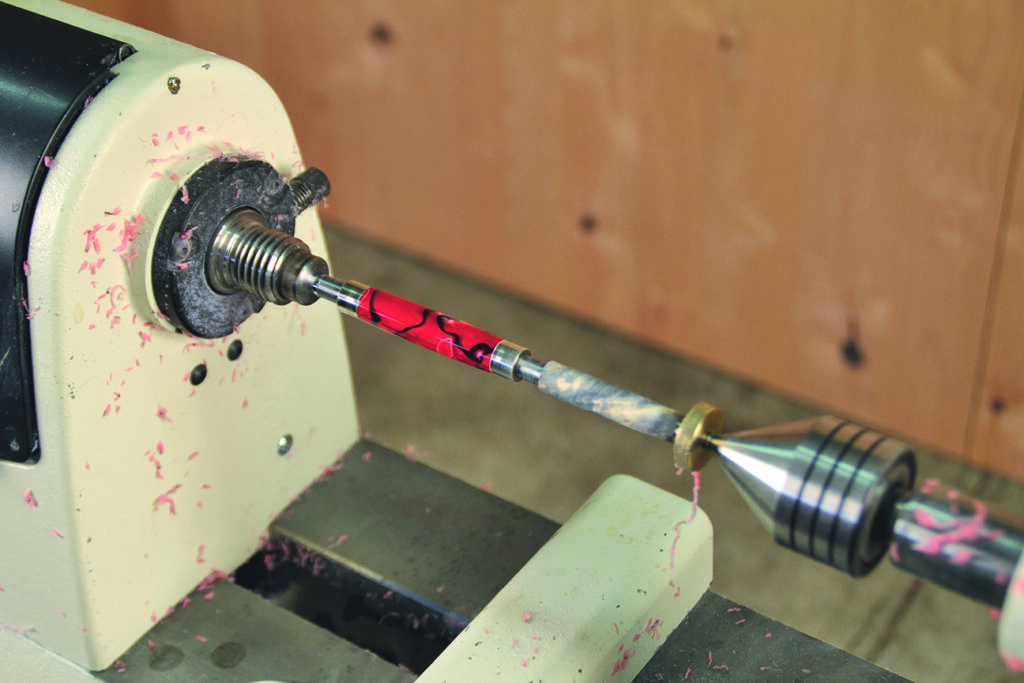
The final surface should be clean and shiny (photo 22).
Assembly
To prepare for assembly, lay the pen parts out in their proper order (photo 23).
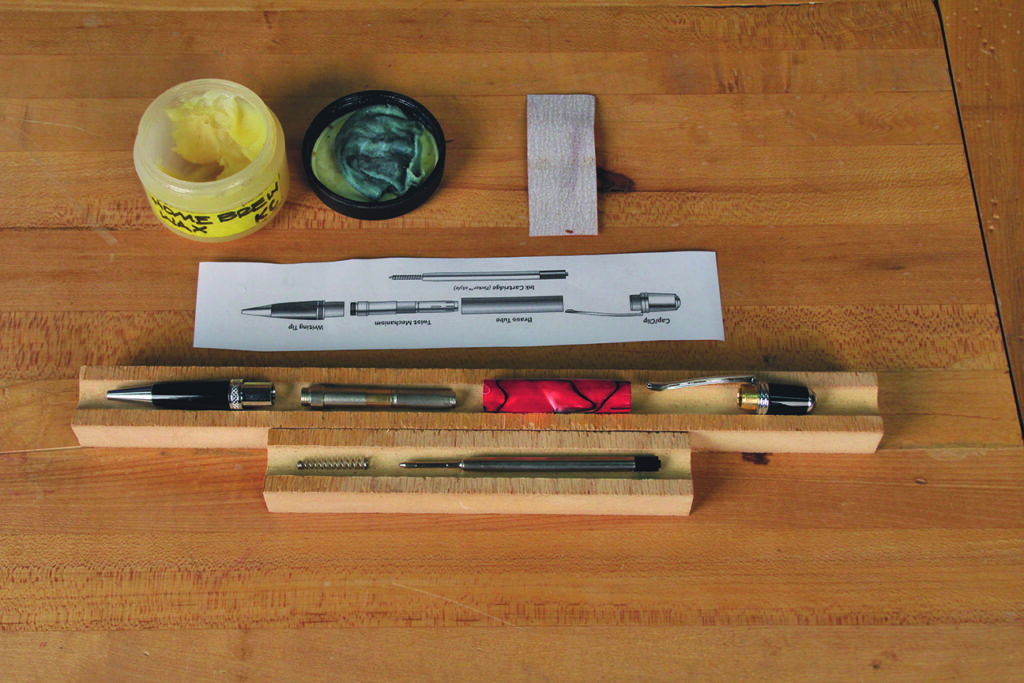
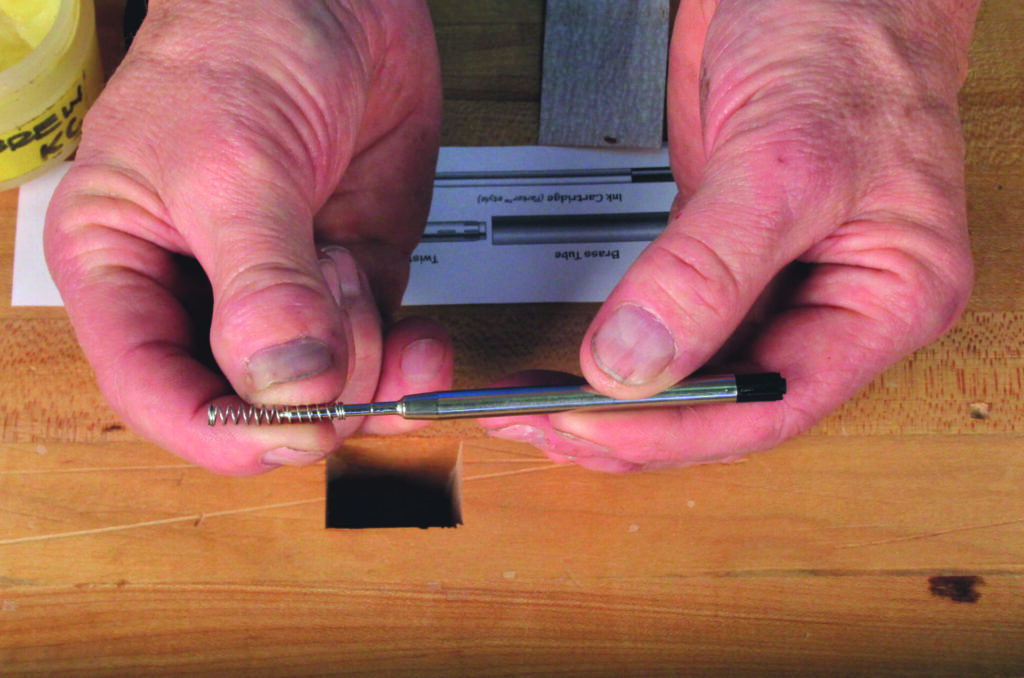
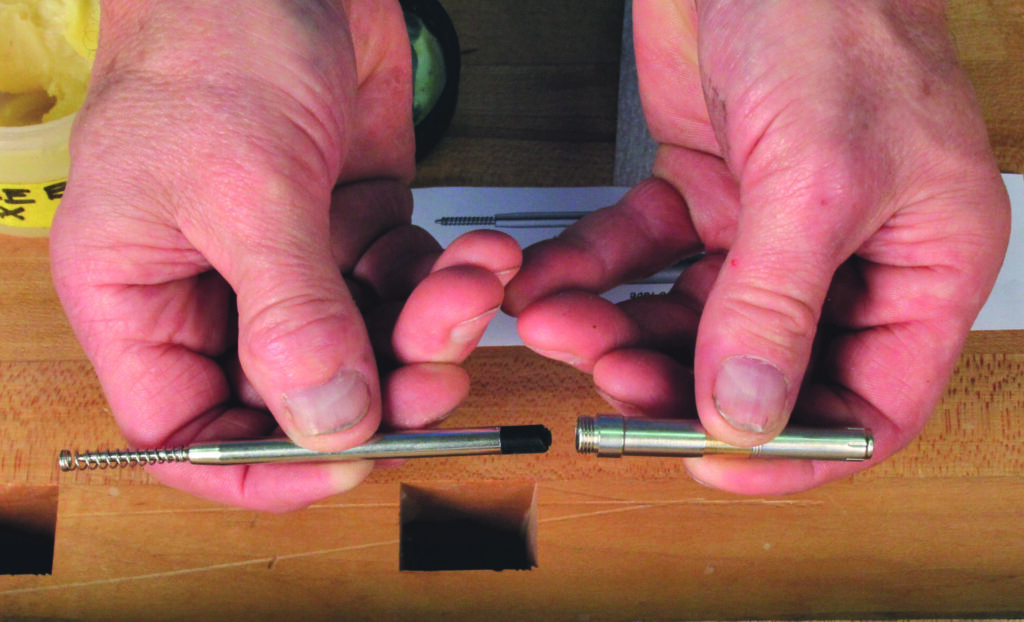
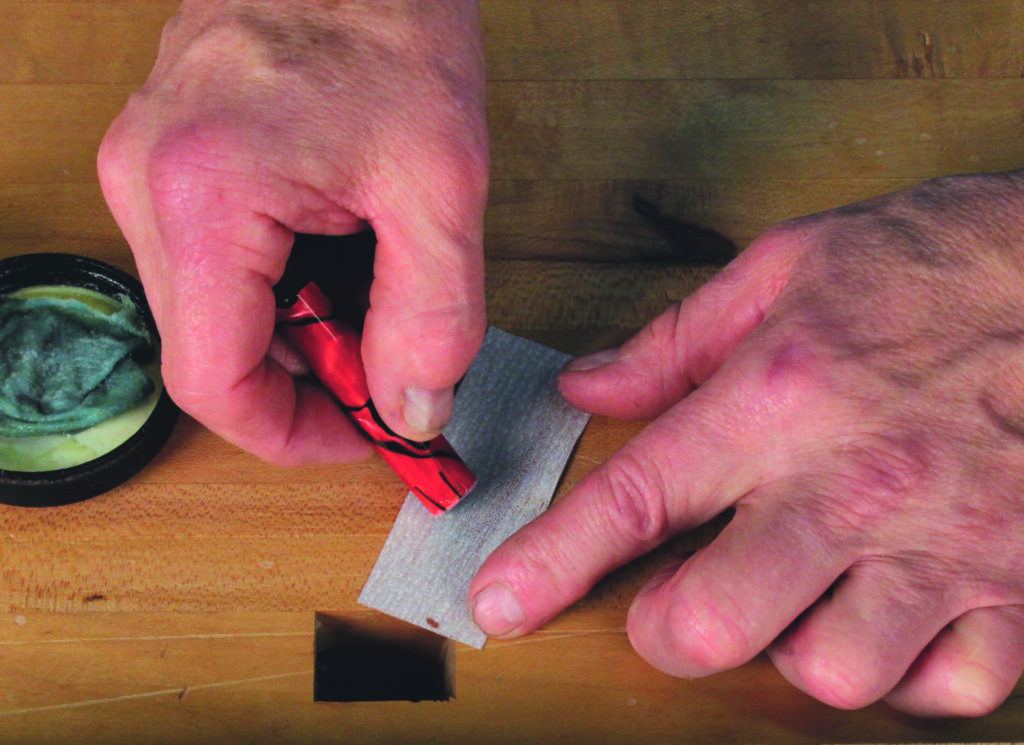
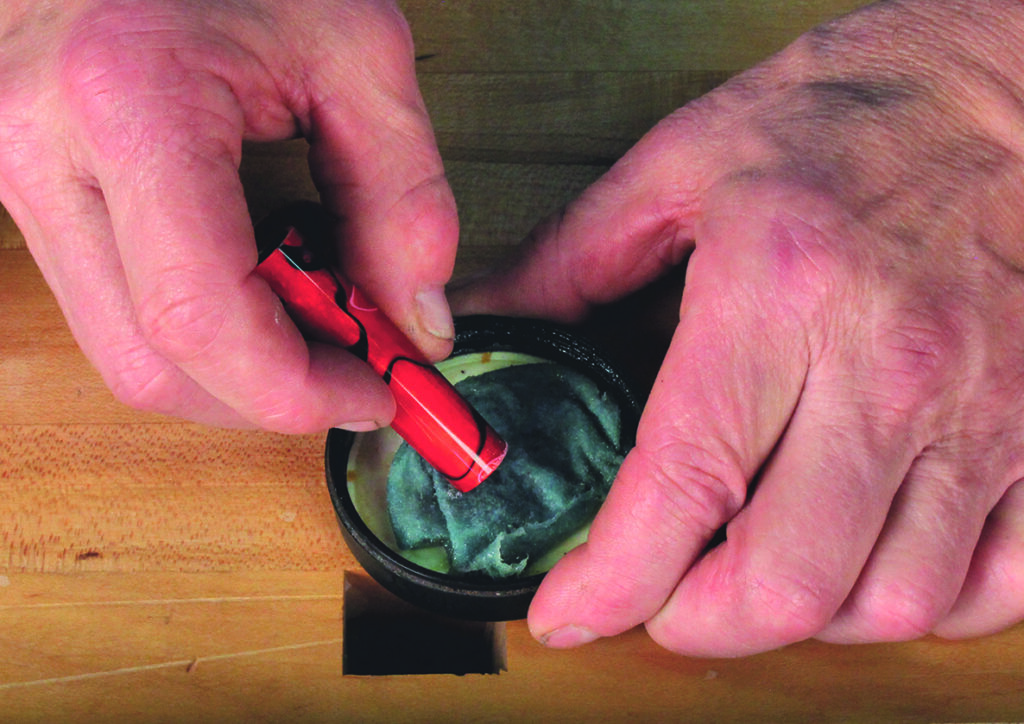
Press the spring onto the end of the ink cartridge (photo 24). Next, insert the ink cartridge into the open end of the transmission (photo 25). Soften the corners at each end of the turned barrel by holding the barrel at a 45° angle and gently rotating the barrel (photo 26), then apply a small amount of paste wax to the corners (photo 27).
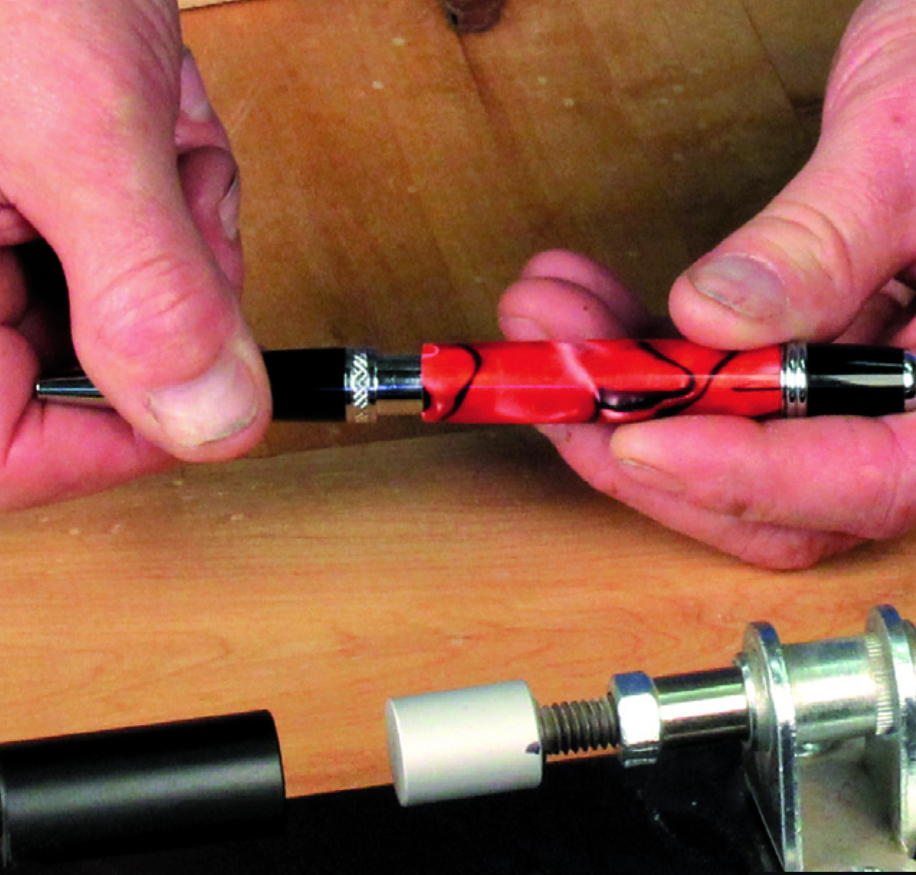
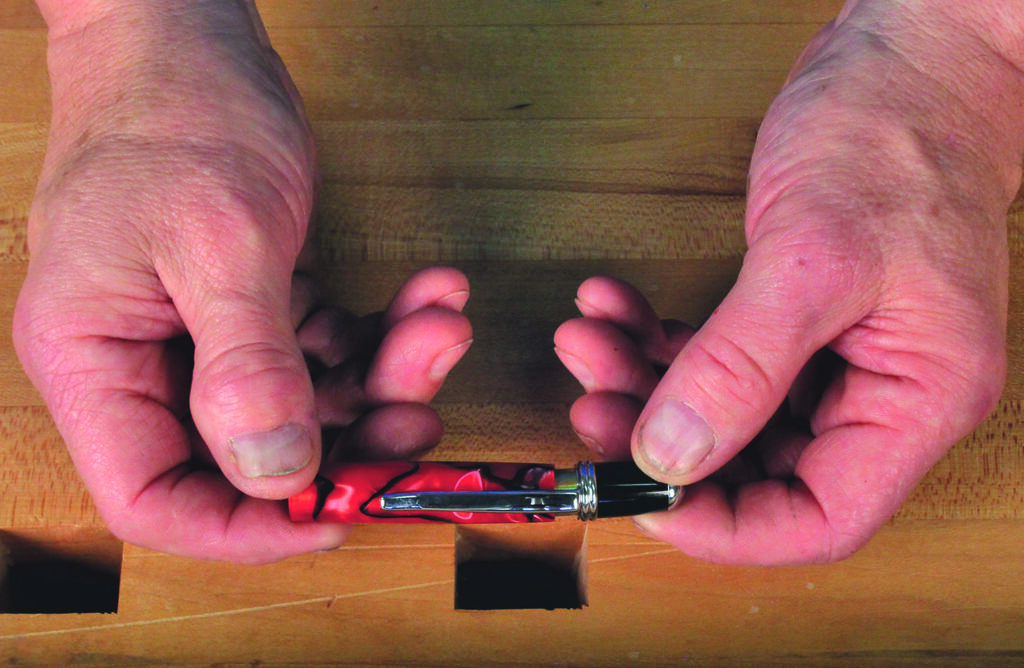
Before pressing the cap and clip into the tube, visually align the clip with the pattern on the plastic to give the best appearance (photo 28).
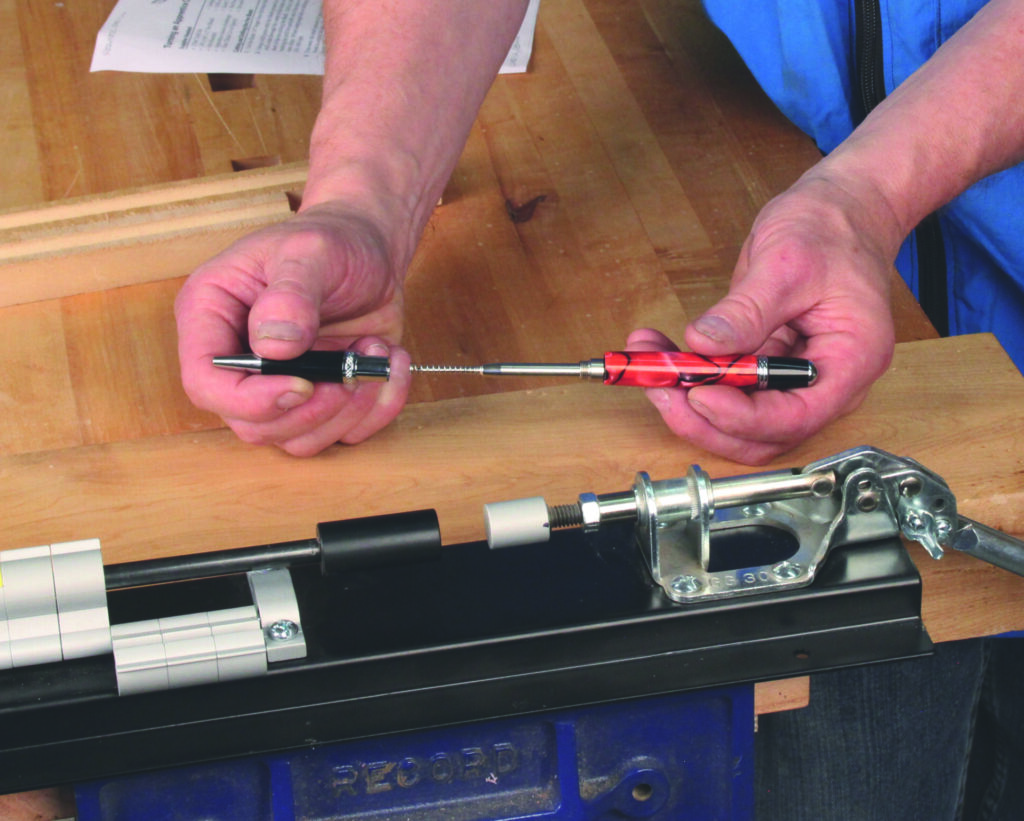
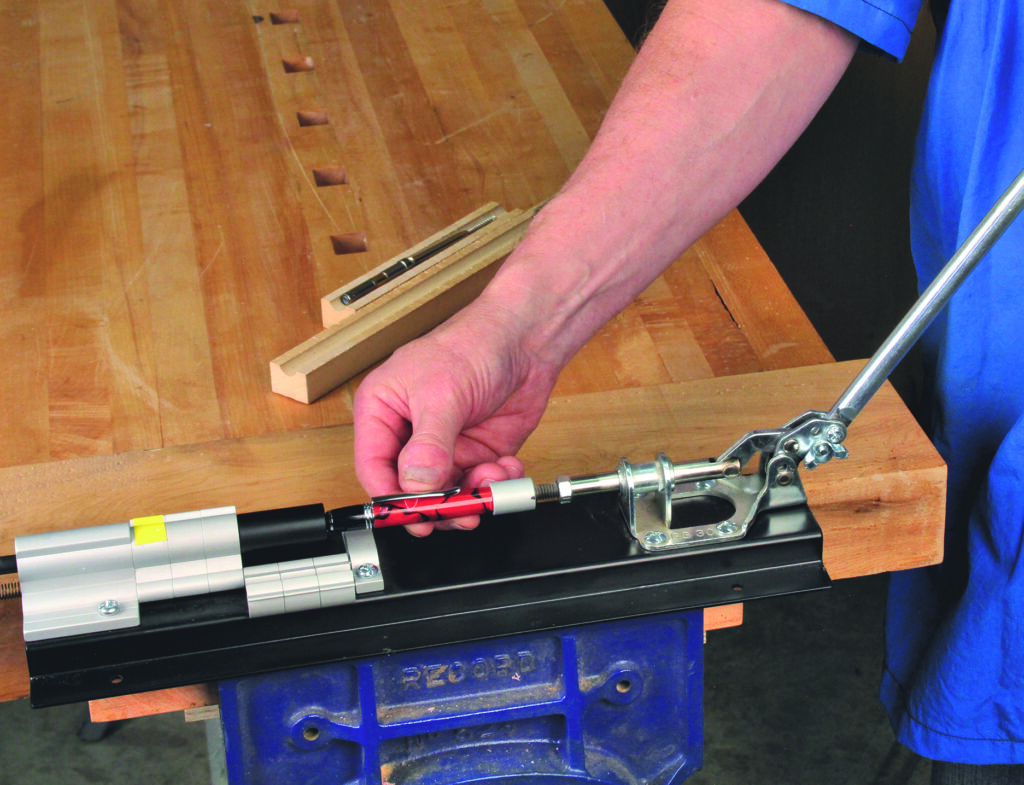
There are a variety of methods for pressing the pen parts together. You could use a vice as described in previous chapters. Shown here (photo 29) is a commercially produced pen press that makes the process quick and efficient.
Now slide the tip over the ink cartridge (photo 30), and thread the tip into the transmission (photo 31). When the pen is fully assembled (photo 32), you should be able to feel a smooth transition between the turned barrel and the metal components provided in the pen kit.