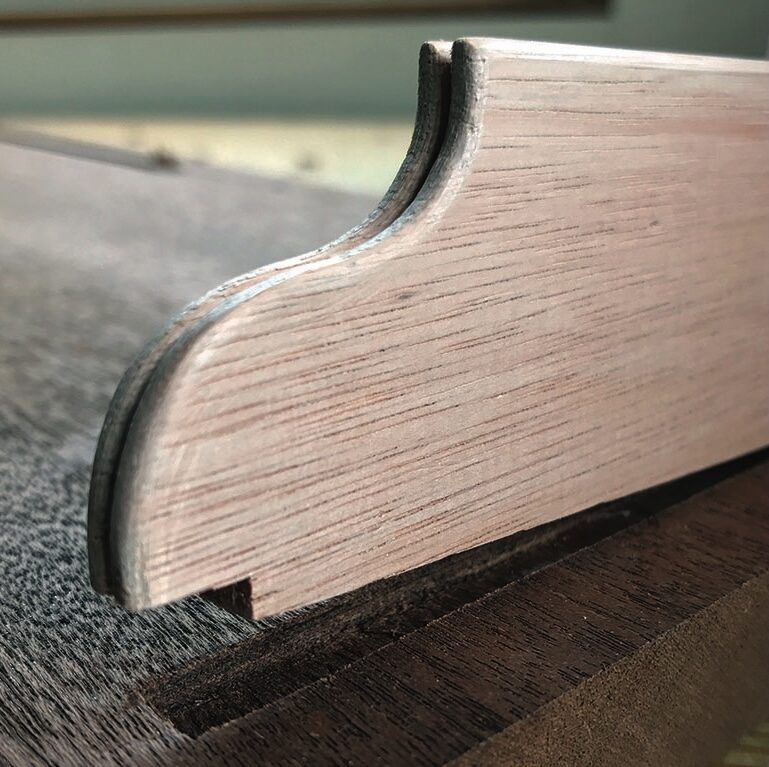
Derek Jones demonstrates a few techniques for adding a period-style gallery to your worktops
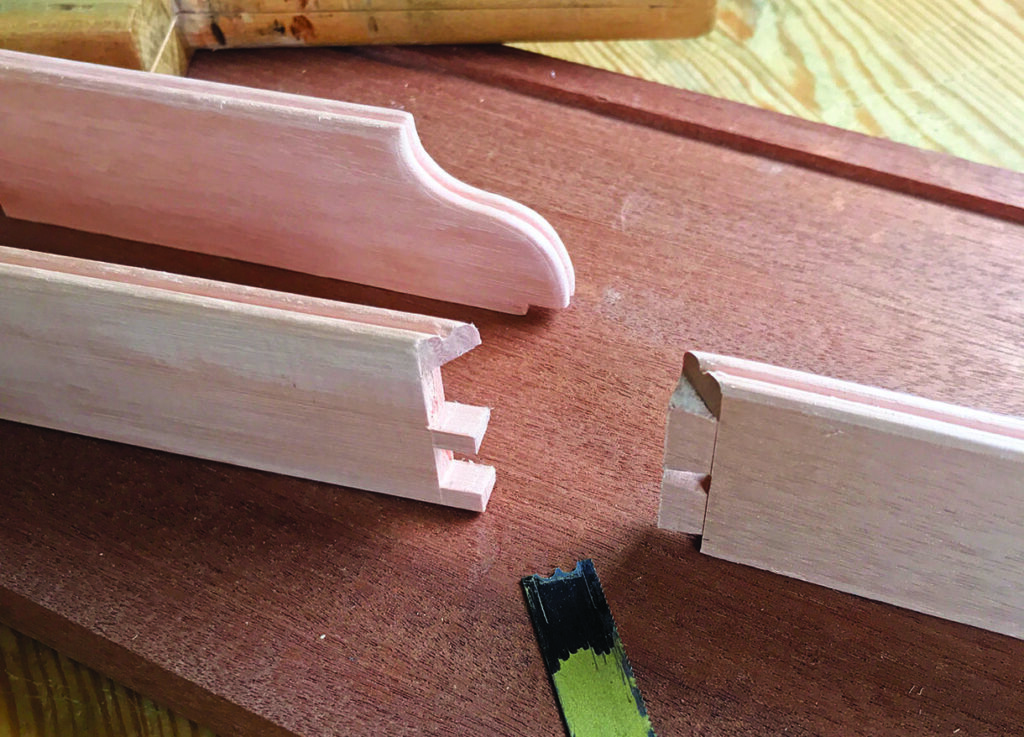
Gallery or up-stand? I’m never sure which term best describes the detail that appears around the perimeter of a worktop or whether if in fact both will do; they are it seems interchangeable when describing their presence in general terms. The only distinction perhaps is when there is reference to fretwork or some form of decorative gilded bronze accoutrement rather than a plain and purely functional detail. If there is a rule or general consensus it might be that an up-stand runs along one edge while a gallery tracks the perimeter along three or more edges. Either way, in this article I’m going to refer to them as a gallery mainly because the version I’m making incorporates a little decorative detail. With the exception of maybe a small router plane and a round tapered file you should be able to complete this detail with the tools and equipment you already own. Although some steps could be done quicker with an electric router it seems like an awful lot of effort to go to if you just have one set of components to make, and for a period handmade look the results are often too perfect to be convincing.
Cutting a trench
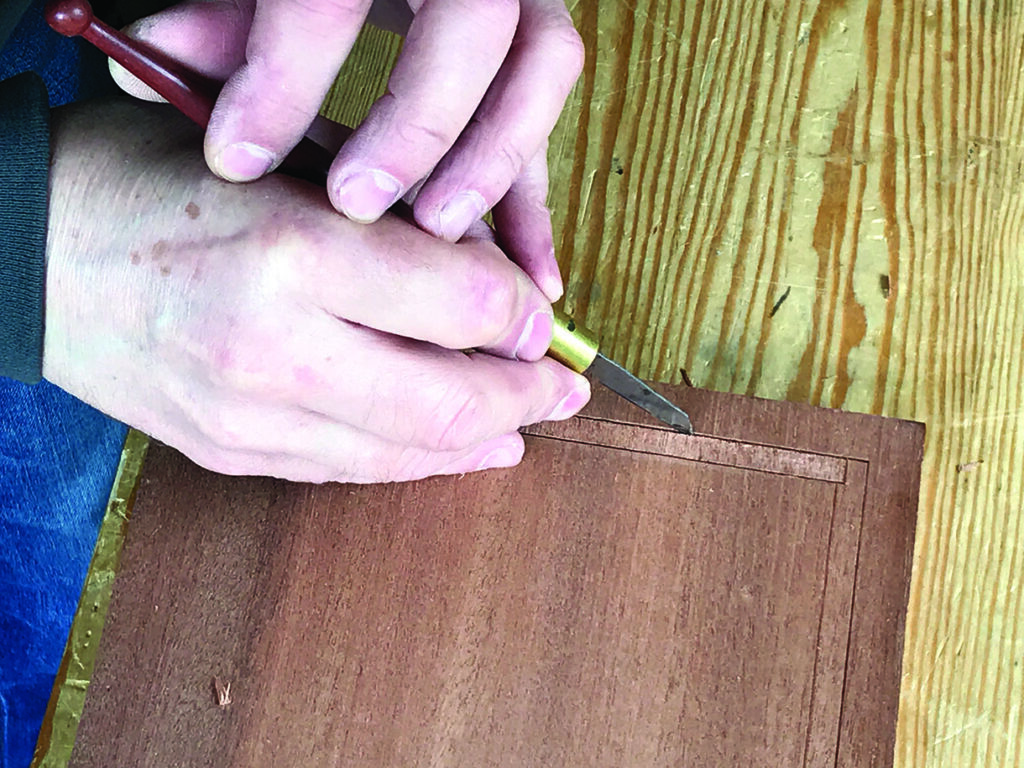
It’s usually not practical to fix a gallery in place from beneath the worktop due to the thickness of the material used to make it, so you will have to create a trench or groove in which to glue it. This needn’t be that deep and for components that are between 6 and 10mm thick, 5mm should be adequate for a three-sided form. A single rail might benefit from being deeper, or better still consider mounting it into a rebate along the back edge where you can use screws to fasten it in place from behind. It’s tempting to use an electric router to cut the trench but it’s not nearly as much fun as doing it by hand. Start off by using a marking gauge to lay out the lines. A knife or wheel gauge is best used for this especially if you need to cut lines across the grain and if the gallery is being laid to run parallel with the edge of the worktop. A mortise gauge will allow you to make both lines at the same time if the distance from the edge is consistent along every side.
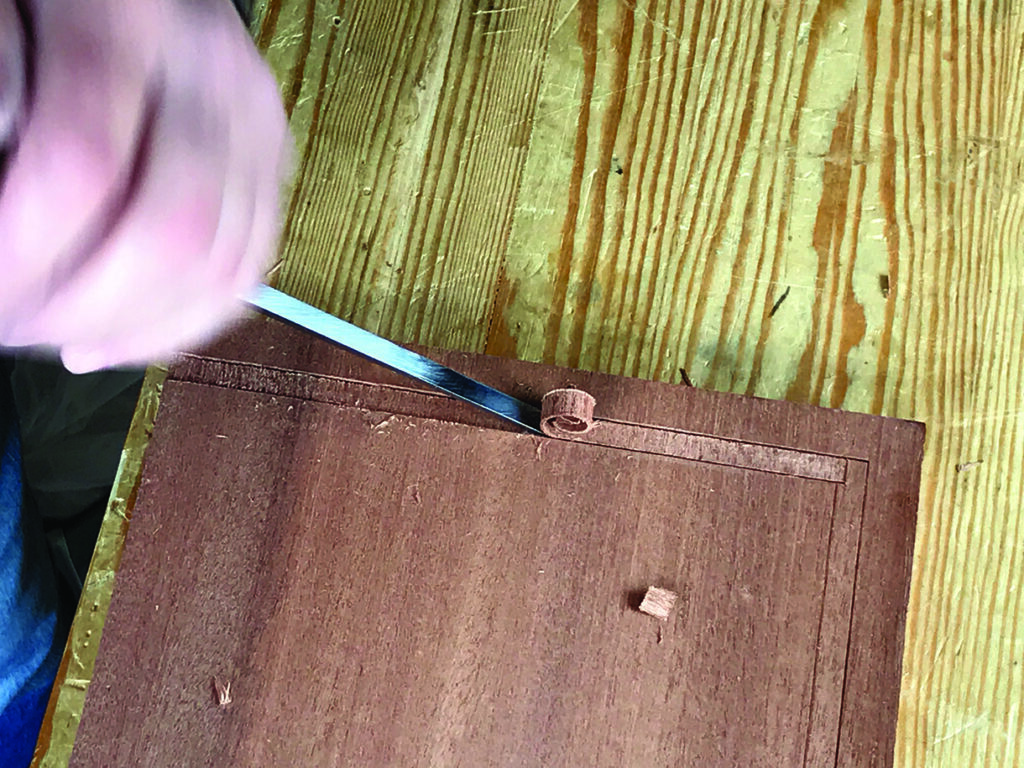
With these established you can now define the lines with a marking knife using a metal straightedge if you wish. Clamp it in place if you can and make a series of light cuts rather than one or two heavy ones. You don’t need to cut to the full depth of the trench at this point, a couple of millimetres will be enough. Starting with the cross grain trench, use an upturned chisel to gently remove the material between the cut lines. The fibres should come away quite easily and you will find that you don’t actually need to cut right up to the walls of the trench, if anything you want to avoid touching them with the chisel if you can. By rocking the chisel up or down on its bevel you will find an angle that removes a comfortable amount of material at a time. The trick is to find this angle and complete the run in a series of short strokes at the same depth. It’s a little bit like freehand sharpening. Every so often use your marking knife to cut the walls of the trench a little deeper and repeat until you have a reasonably consistent level trench from start to finish. The same technique also works along the grain but you will have to pay attention to which way the grain is running as there is a tendency for the chisel to cut deeper than is required.
Flat bottoms
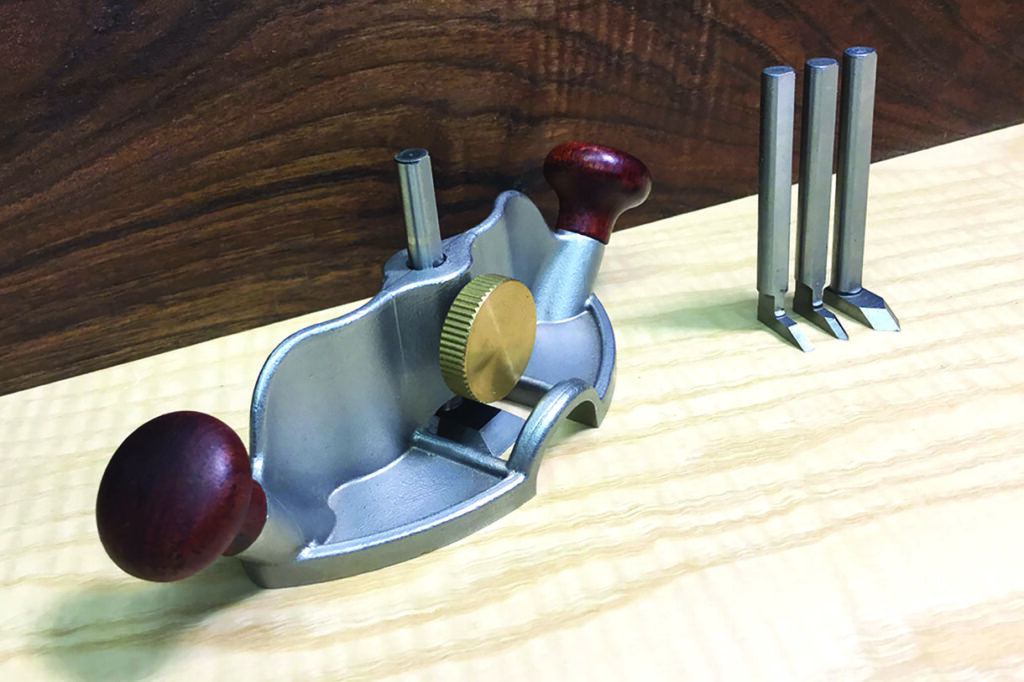
To achieve a consistently flat bottom along your trench you can check progress with a multi square, or if you have one, a small router plane. Unlike their larger counterparts these delicate tools don’t always have a screw adjuster to advance the cutter and rely on you tapping the top of the tool with a hammer just as you might with a wooden wedged plane, to increase the depth of cut for each pass. A method that allows for very fine adjustments to be made is to place a piece of paper over the trench at the end of a pass to raise the cutter off the bottom of the trench and then give the tool a gentle tap to place the cutting tip back on the bottom of the trench. Remove the paper and you will be able to make a cut equal to the thickness of the piece of paper. Continue to run your marking knife around the walls of the trench as necessary. When you’re happy with the results you can prepare the gallery components to fit the trench.
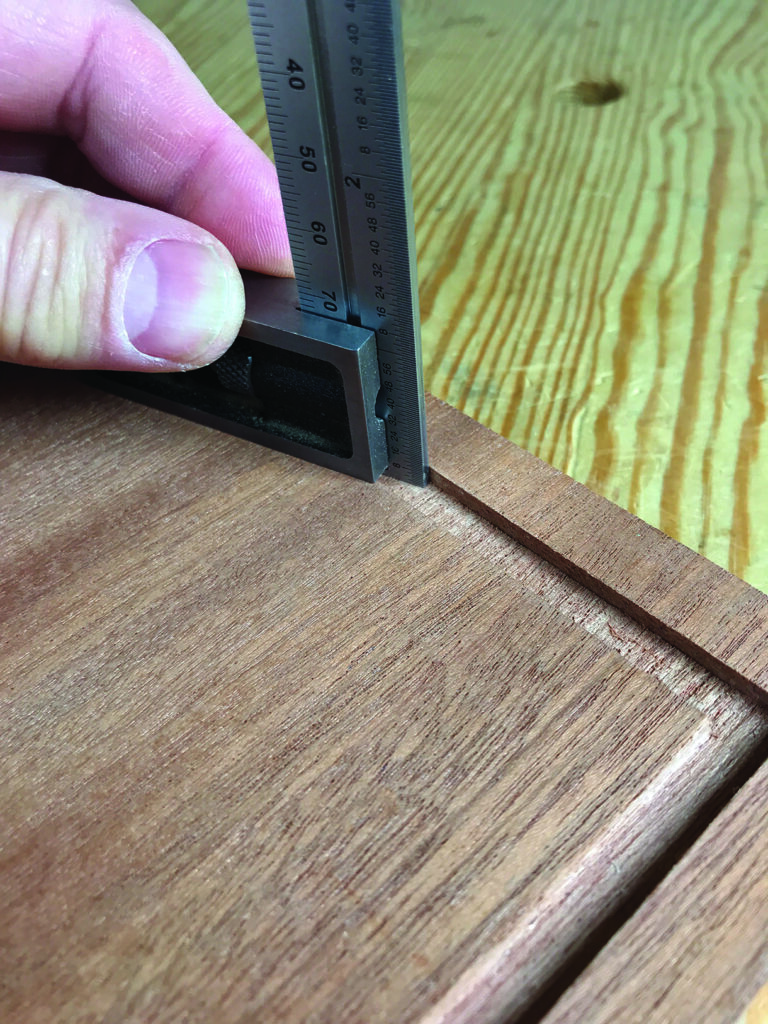
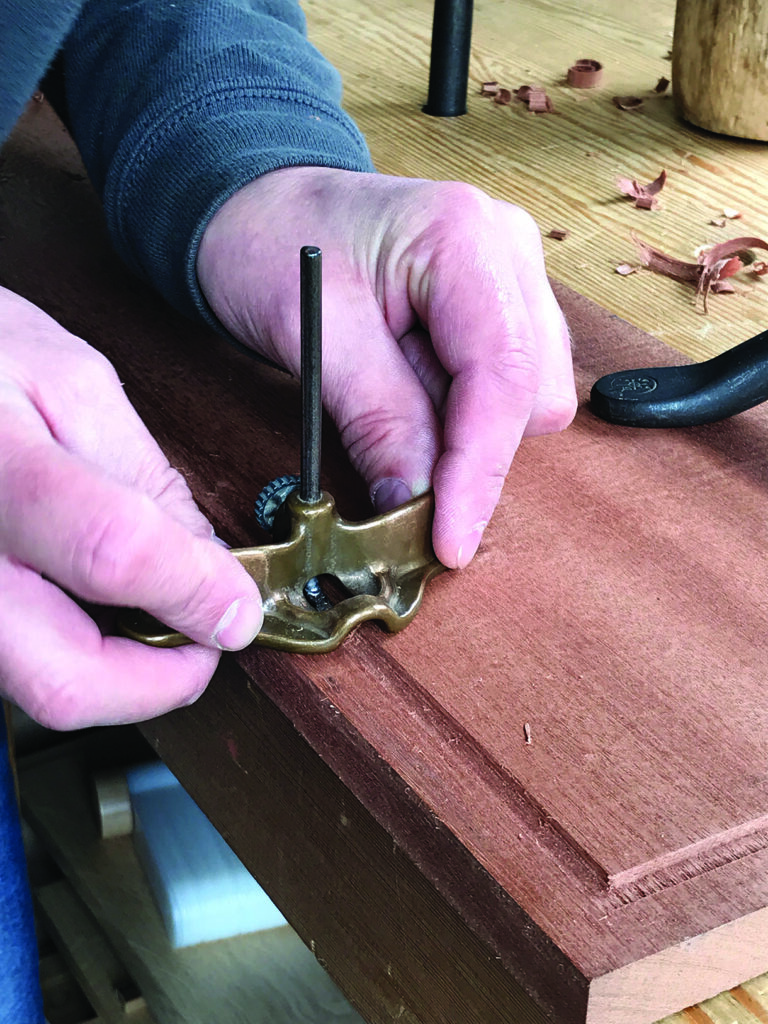
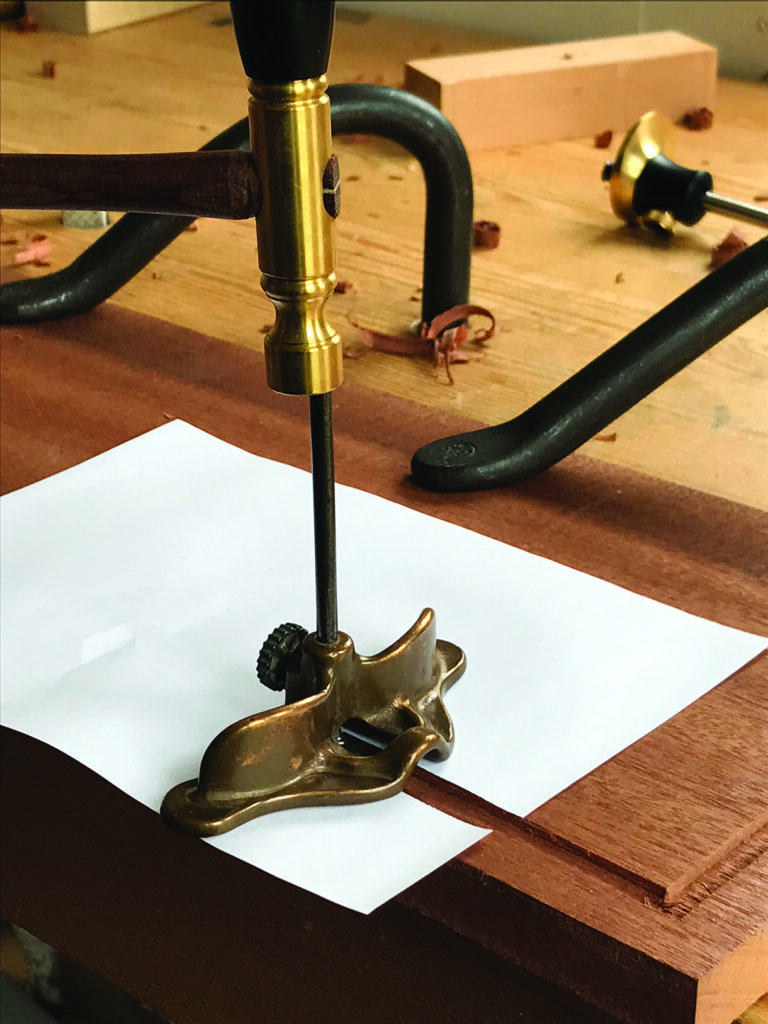
Top tips
Avoid scratches: As with any tools that are designed to run on the surface of your components, keeping the contact area free from dents and scratches will help avoid marring the surface of your workpiece. A little wax on the surface also helps to keep things running smoothly. Be careful also not to let chips or shavings get between the sole of the plane and the surface of your workpiece while you’re working.
Small router plane: The small Quangsheng router plane is an excellent tool for cutting accurate housings and trenches. The V-shaped tips are bevelled so you can access the internal corners of sliding dovetail housings as well.
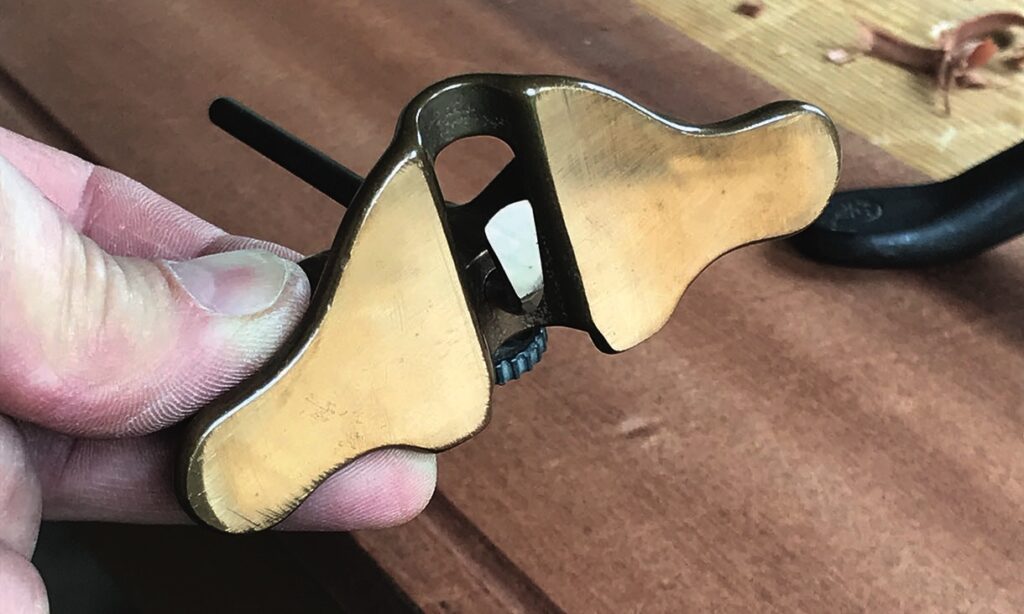
Stock preparation
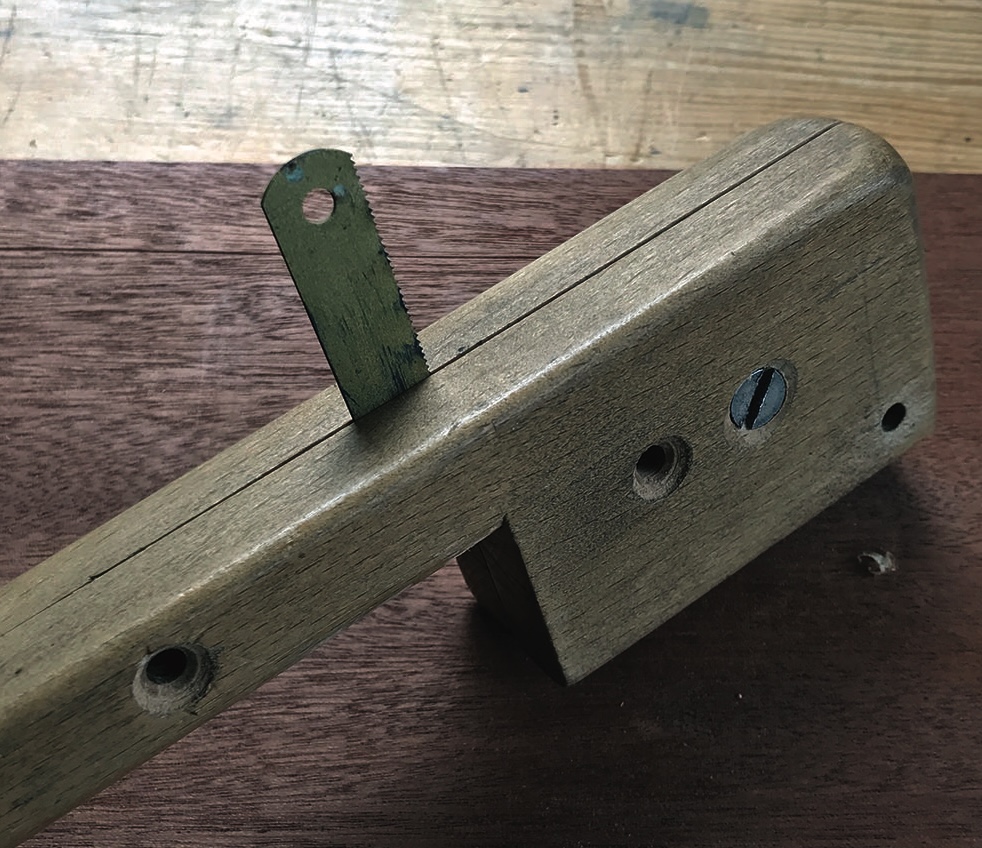
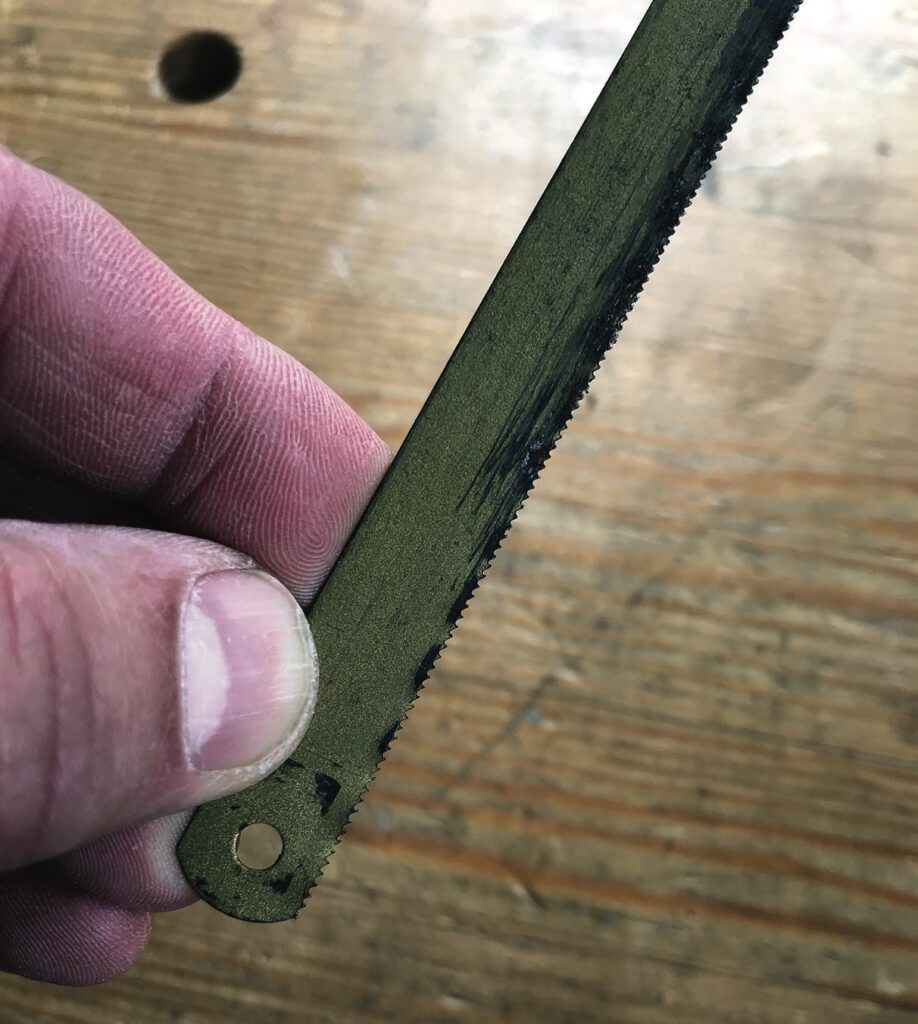
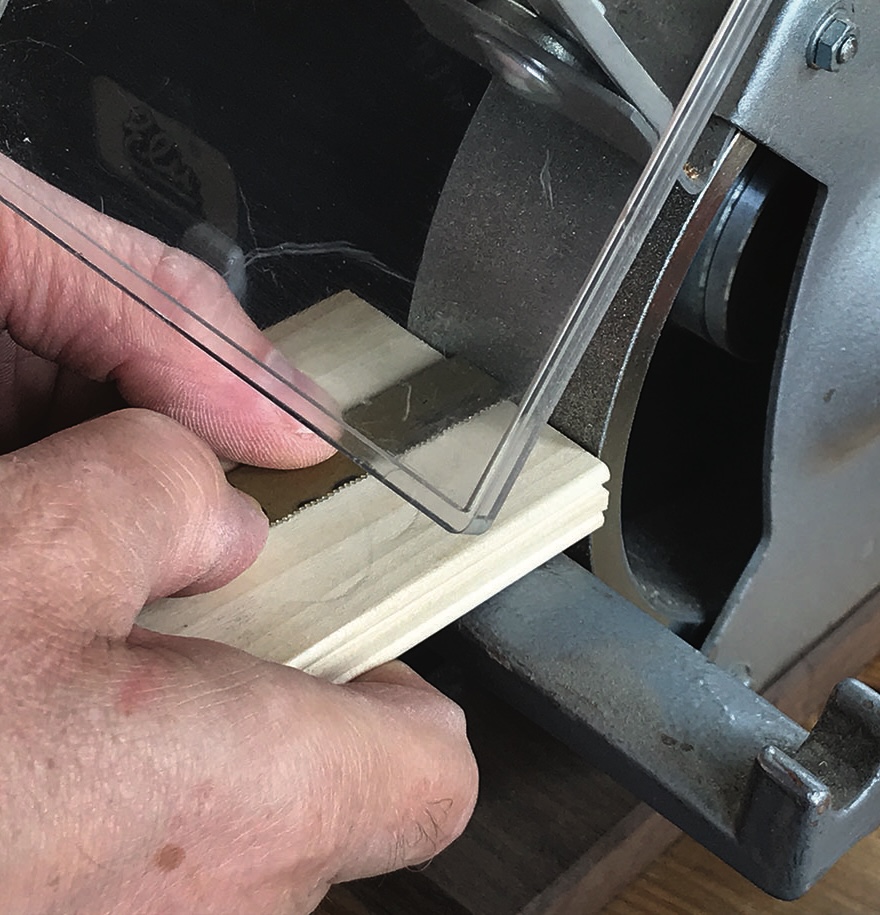
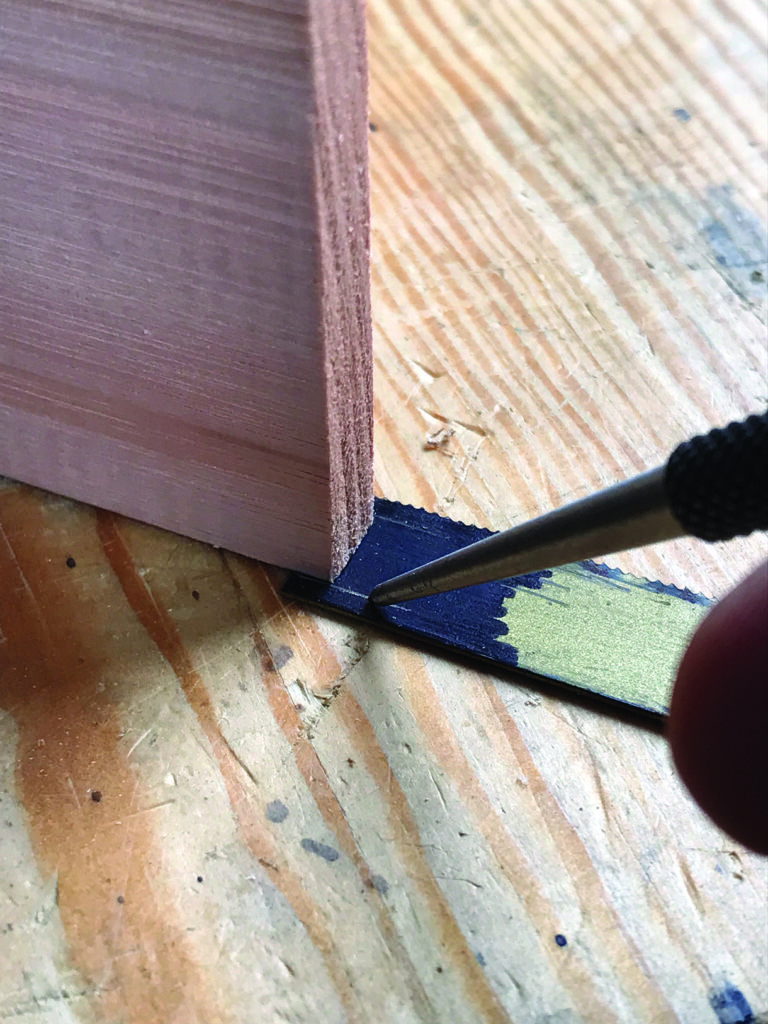
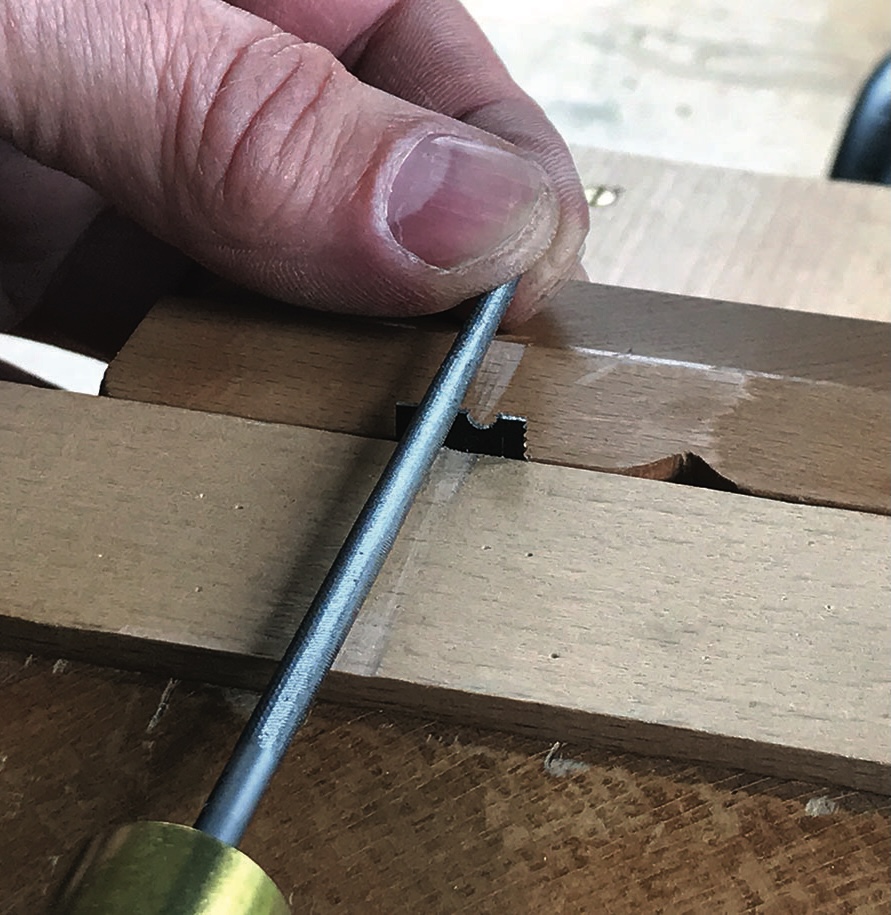
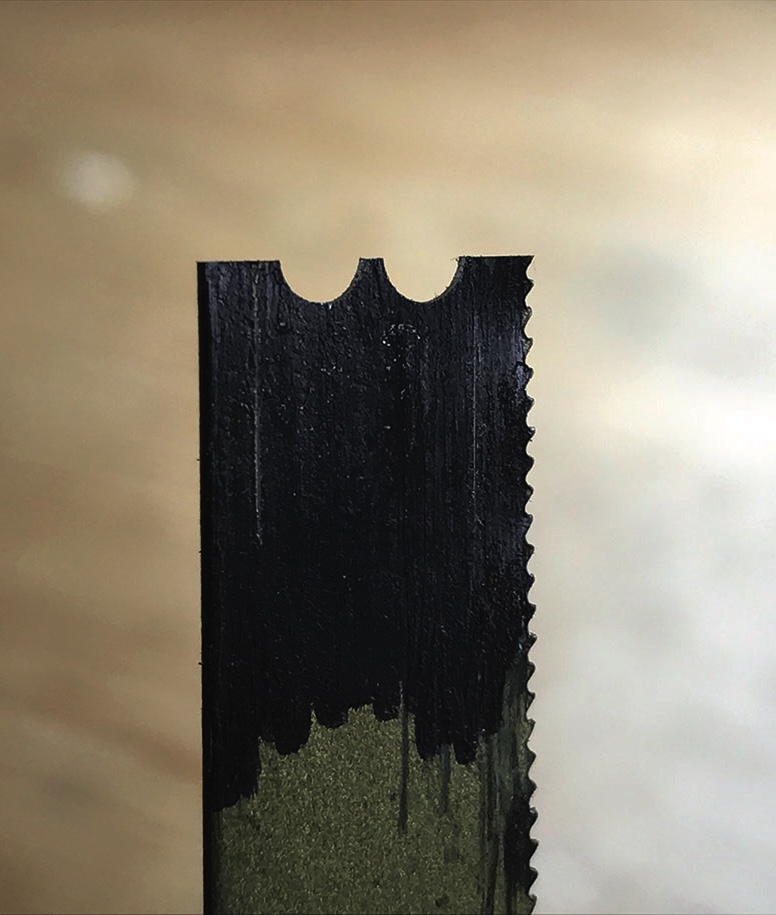
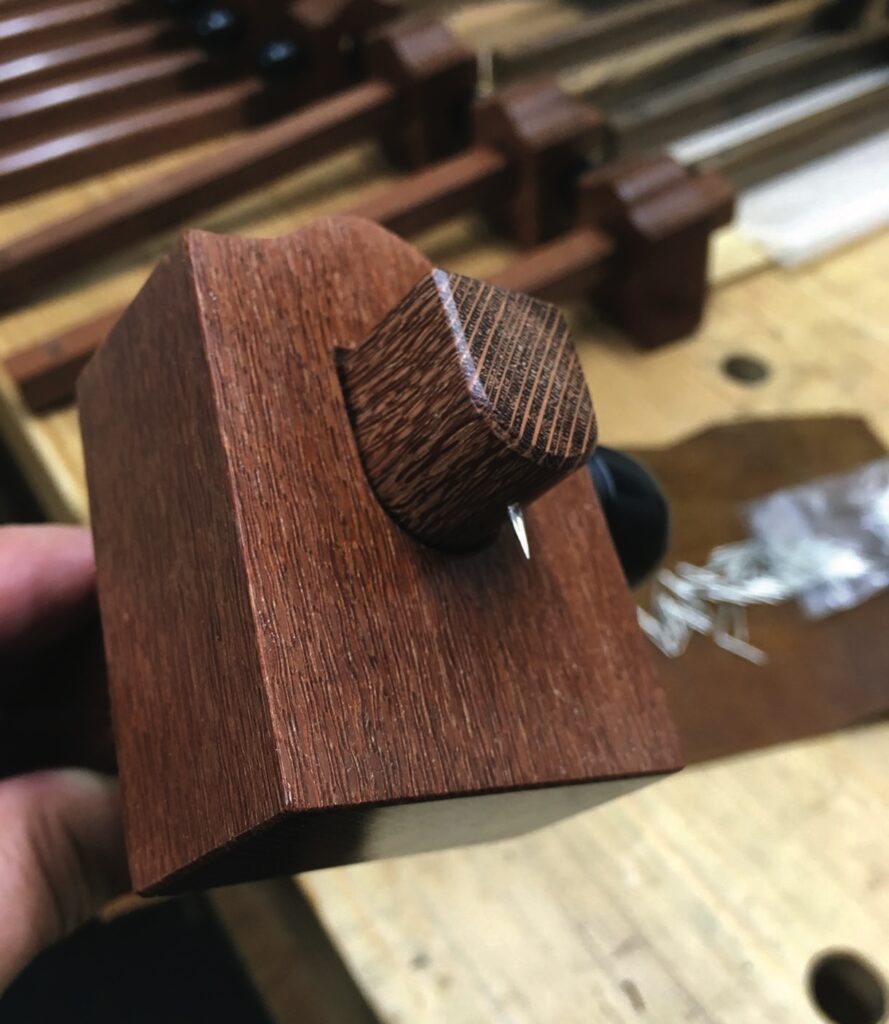
Scratch tools are one of the easiest and most effective tools to make and don’t take too long to put together either. The design is simple enough; just two pieces of hard wood screwed together with a thin piece of hard or spring steel sandwiched in the middle filed to the shape of moulding you want to produce. The cutting tool in this case is a small piece of hacksaw blade. Break off a small section and grind the end flat and square on a grinding wheel. If you don’t have engineer’s blue in your kit, use a marker pen to coat the tip of the blade. Using a scribe, capture the thickness of the gallery components on the blade and file your desired moulding profile onto the end of it. A good one to start with is a double bead. You’ll have noticed by now that we haven’t given much thought to the thickness of the material being used for the gallery components for the simple reason it’s not really an issue if you’re making it from scratch (no pun intended). You might be constrained, however, for restoration purposes and therefore take extra precautions when marking things out. Use a round tapered file to create two identical arcs with a square section in between. If your arcs are not identical it’s not the end of the world, it just means you will have to run the moulding from the same edge on every component making up your gallery. It’s possible to buy router cutters for use in an electric router to produce beads but as I alluded to earlier the results are often too perfect for a convincing appearance. The size of the tooling will also dictate the thickness of your gallery, which may not be to your liking.
Mitred top dovetails
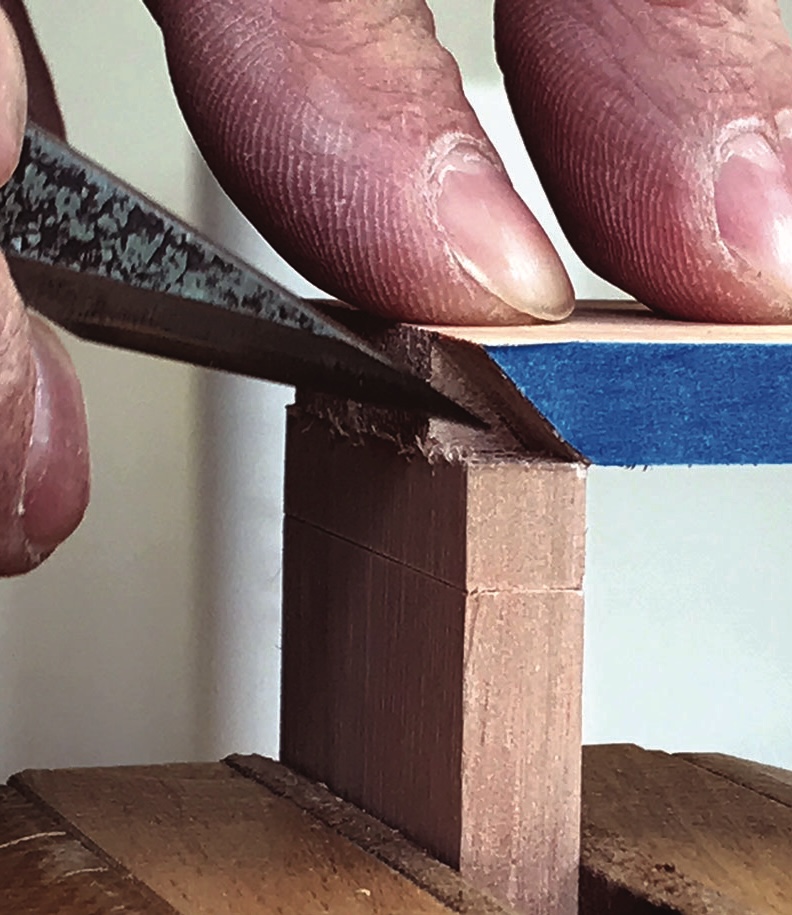
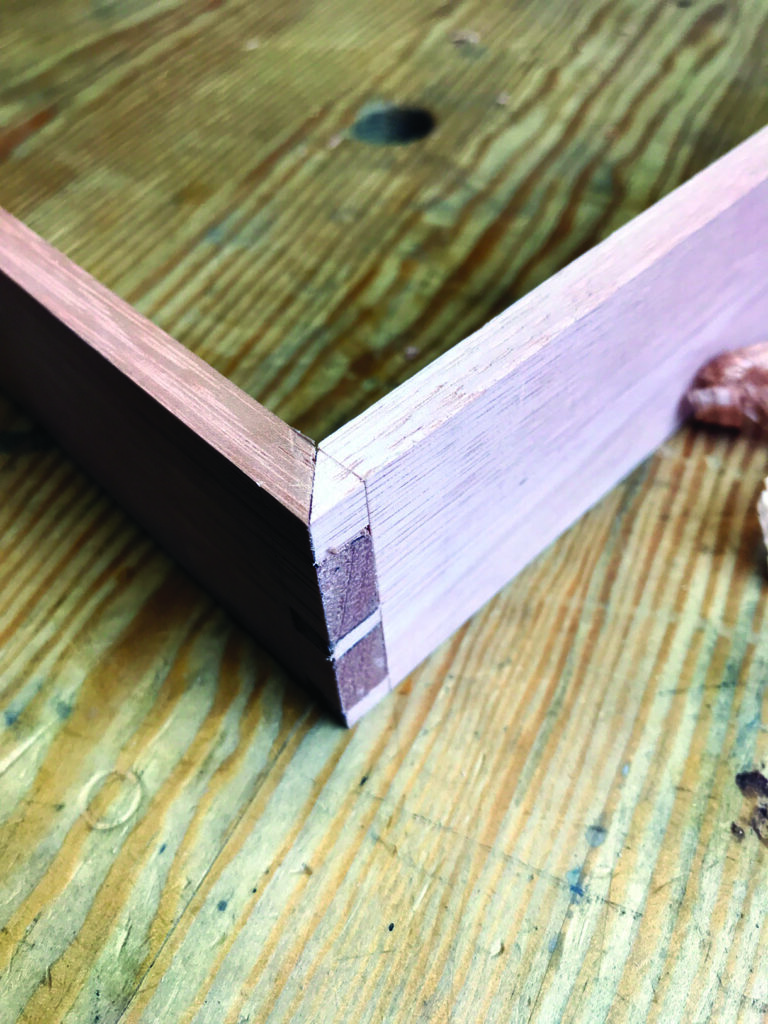
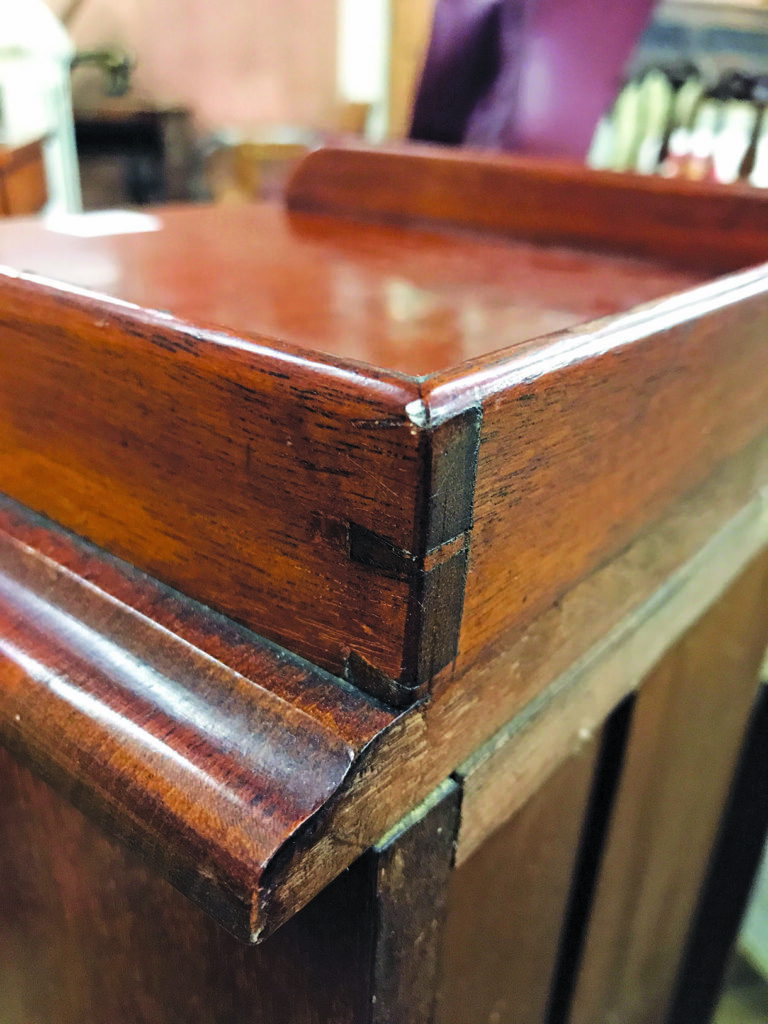
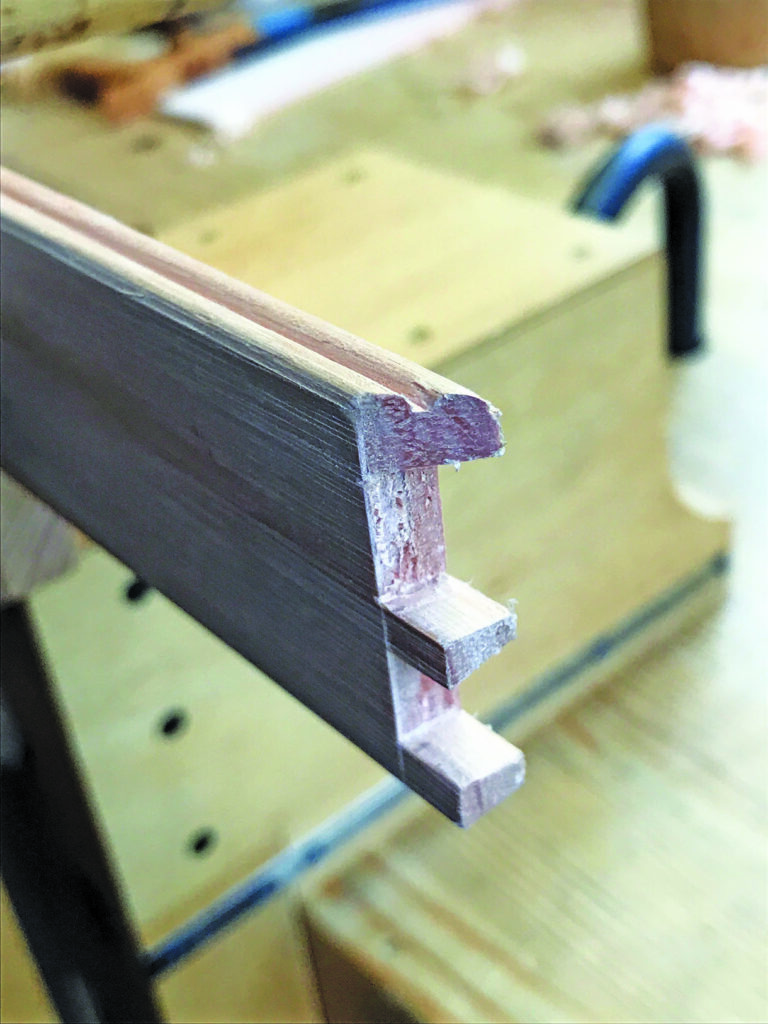
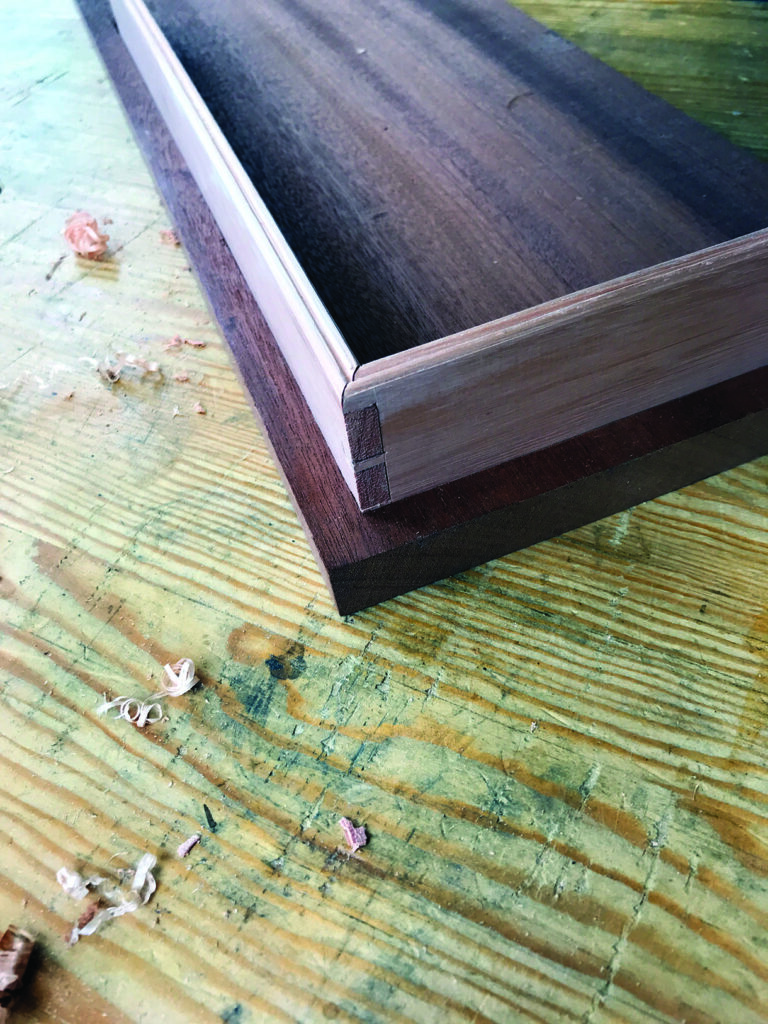
The joint most typically used to fasten the corners on a wooden gallery is a basic through dovetail but with a little twist to the half pin and tail on the top edge which are mitred. The joint needs to be cut in its entirety before you can progress with any moulding. You can use a mitre square to set out the mitre or just use your baseline gauge marks to identify the corner-to-corner mark. The mitred pin only needs to be cut down to the baseline on the inside of the component unlike the other pins which are cut down to the line on both faces. It will help if you have a marking knife with a blade that’s less than 45° at the point to transfer the mitred tail to the pin board. Unless you’re super confident about sawing to the line don’t attempt to cut your mitre straight from the saw, leave a little bit of material to pare away with a chisel so you can creep up to a tight fit. When disassembling the joint, take care not to rock the parts back and forth as this will round over the tips on your mitres leaving a gap on the outside when the joint is put together. And if it all goes horribly wrong, you can take comfort knowing that you weren’t the first to make a mistake, as seen on the period example below.
Applying the moulding
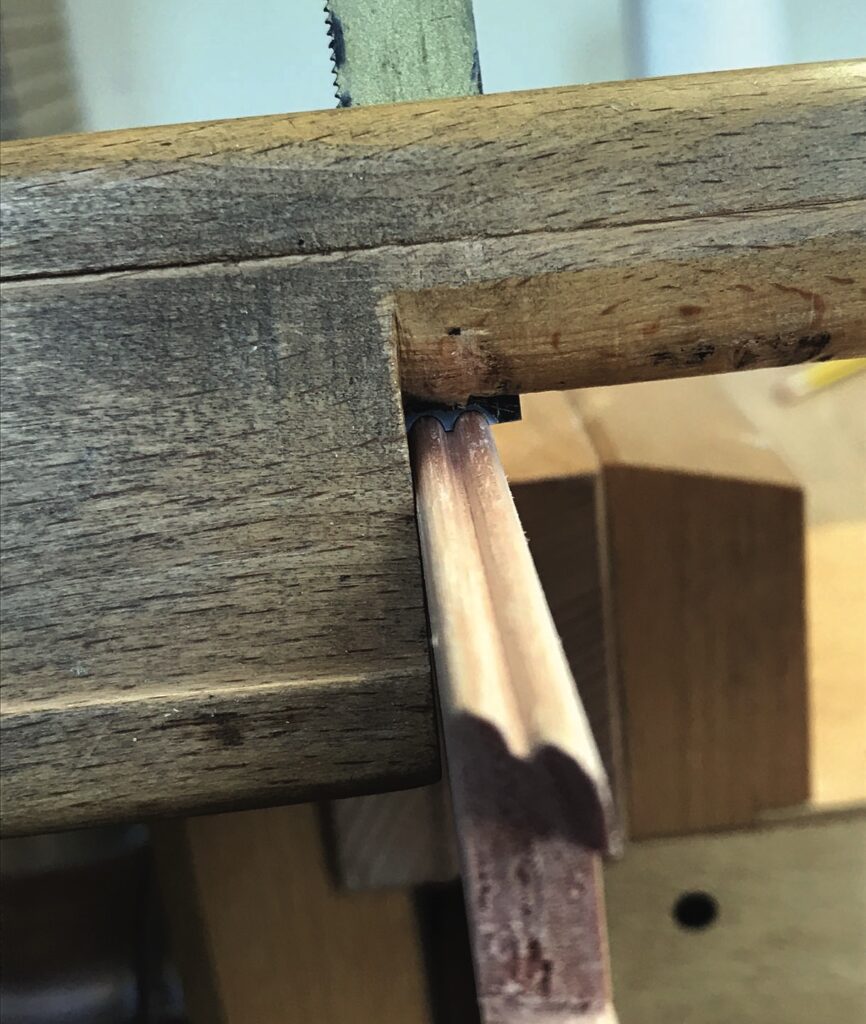
You’ll find that some woods and mouldings work better if some parts of the shape are defined first by a gauge line. I used a pin-style marking gauge, for example, to establish the groove between the beads on this profile. Hard woods such as oak and ash and soft woods like yellow pine or Douglas fir can be particularly troublesome. The lines of hard resin found in these timbers have a knack of steering the scratch tool towards a path of least resistance, i.e. the soft material, and ruining your day. Other timbers like walnut and the mahogany used in this example with its tight, straight and consistent structure are generally easier to work. The scratch stock is used in much the same way as a marking gauge by angling it towards the direction of the stroke. This action allows the profile to be cut, or scratched, in slight increments in either direction until the tool won’t remove any more material. The blade needs to be set in the tool with the deepest section level with the bottom of the tool holder, in this case the top of each bead. The tool holder is effectively your depth stop. You’ll need to take care not to destroy the mitred corners of course when starting and ending a pass but that’s all part of the risk of craftsmanship; nothing ventured etc.
Once complete you can take out any irregularities with a little fine abrasive and prepare to glue the gallery together at the corners using the trench to keep it in shape but not gluing it in place. The internal corners are hard to finish neatly without build up of product so are better done first before gluing the gallery in place.
Room for manoeuvre
You’ll need to make allowances for future movement across the grain if you’re attaching a gallery to a solid wood worktop. This can be done by cutting your trenches short and leaving a small amount of the side components to extend beyond the end of the trench above ground.