Duane Cartwright carves a fun, shelf-climbing mouse
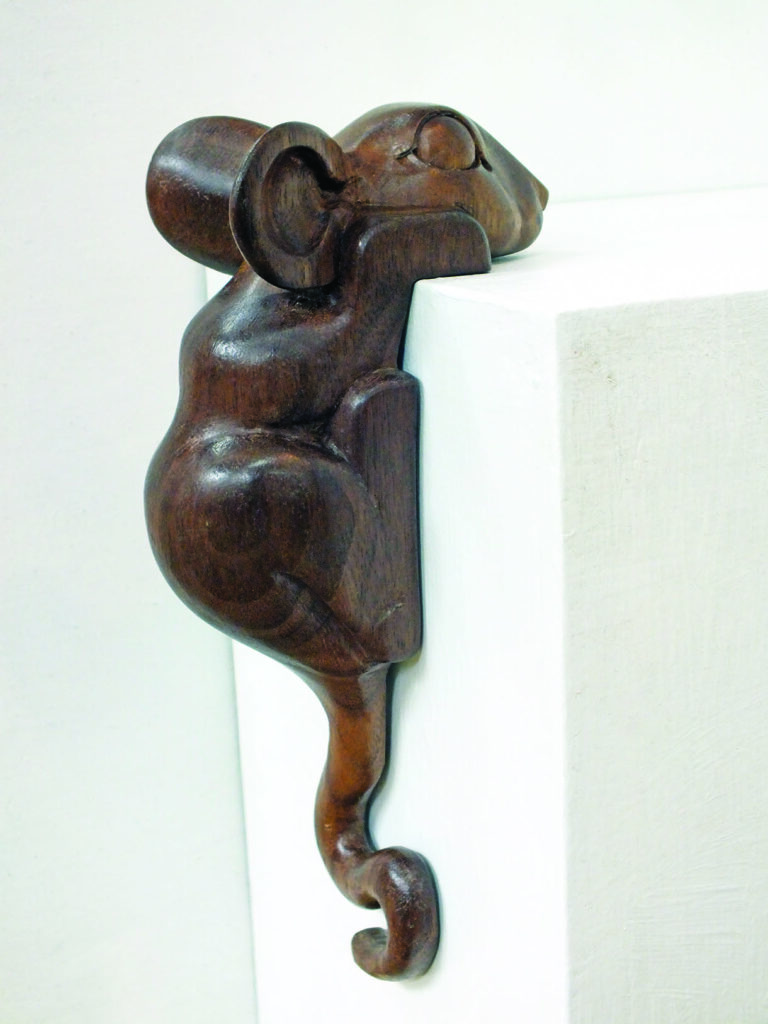
I have carved this fun little shelf-climbing/sitting mouse in walnut, which is the most popular timber I carve these mice in, though I also produce them in cherry and lime. You could carve these mice in any of your favourite timbers – a wood species with a nice grain pattern would look great. As these little mice climb up and look down they look great when you carve two and have one climbing up the corner of a book case or shelf etc. and the other looking over the opposite edge.
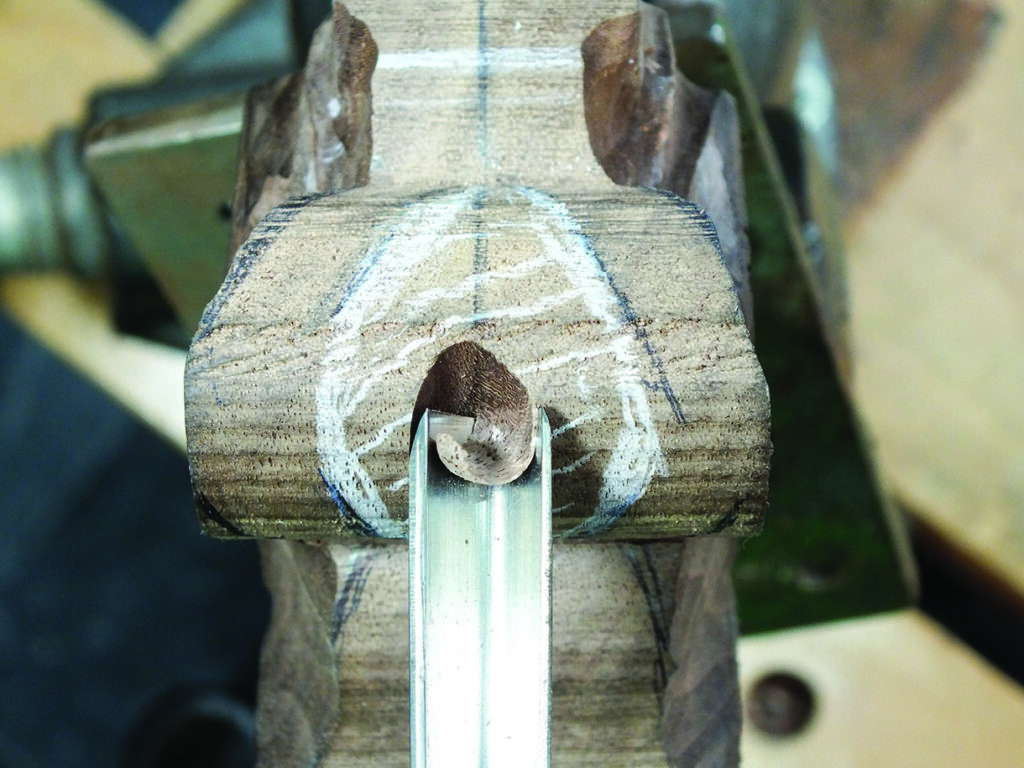
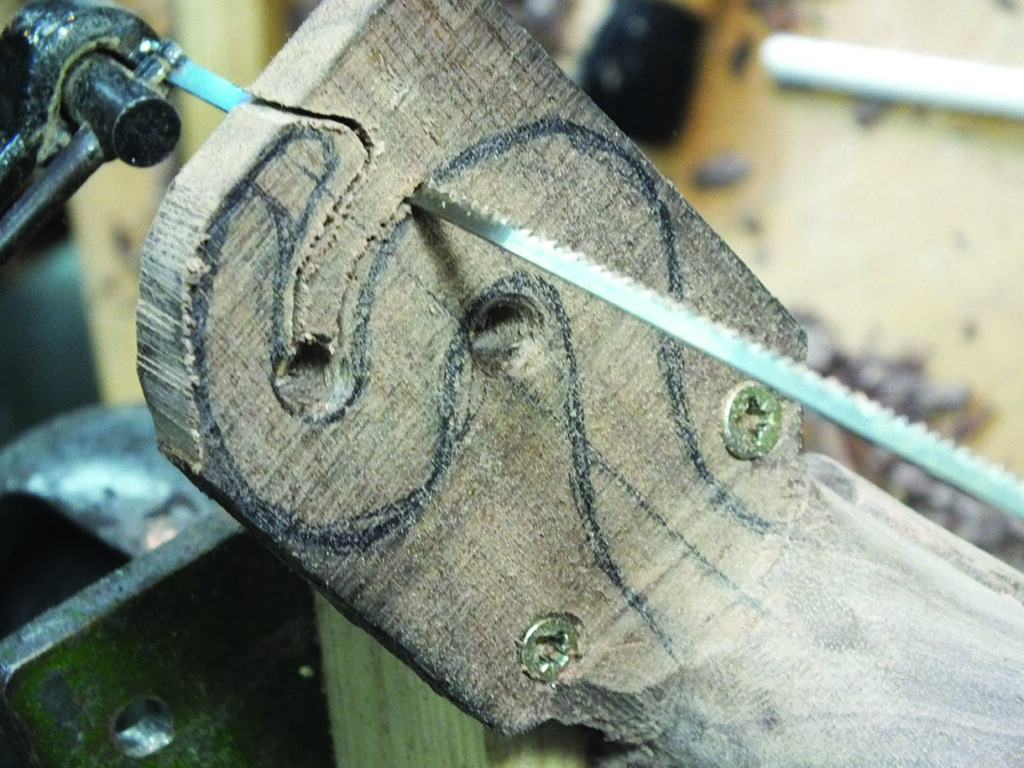
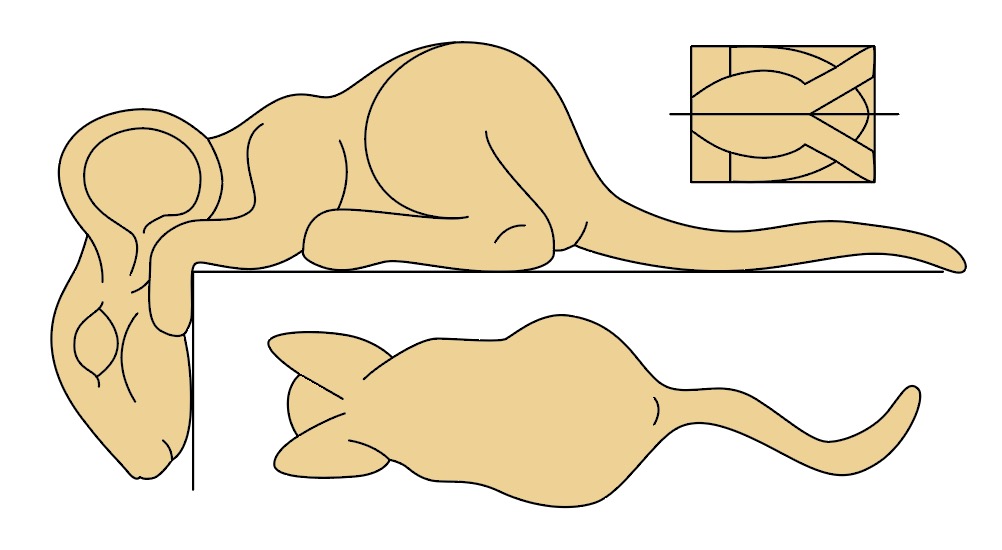
As the mouse will climb up and rest on the corner of a shelf, the underside needs to be flat and the body needs to be at 90° to the head and front feet. To help keep the underside flat and at the right angle, cut the whole pattern profile out on the bandsaw, then draw on the shape of the tail – giving it some curl will add character to the mouse and to the overall look. Then drill a few 3mm holes in the waste areas around the tail. Now rest the mouse on a scrap block of wood and screw a few screws through the pre-drilled holes around the tail, fixing the mouse to the scrap block securely. Then you can attach the block of wood to a carving vice, or use a longer/bigger scrap block with a G-clamp or similar to hold the project securely to a table while you carve.
Things you will need
Tools:
• Bandsaw & coping saw
• No.11, 3 and 6mm
• No.9, 5 and 15mm
• No.6, 4 and 7mm
• No.3, 6mm fishtail
• No.3, 10 and 20mm
• 2mm V-tool
• Carving knife
• Riffler
Supplies:
• Piece of wood, I used walnut (Juglans regia) 50 mm thick x 185mm long x 90mm wide
• 120-240g abrasives
• Sanding sealer
• Wax
Drawing
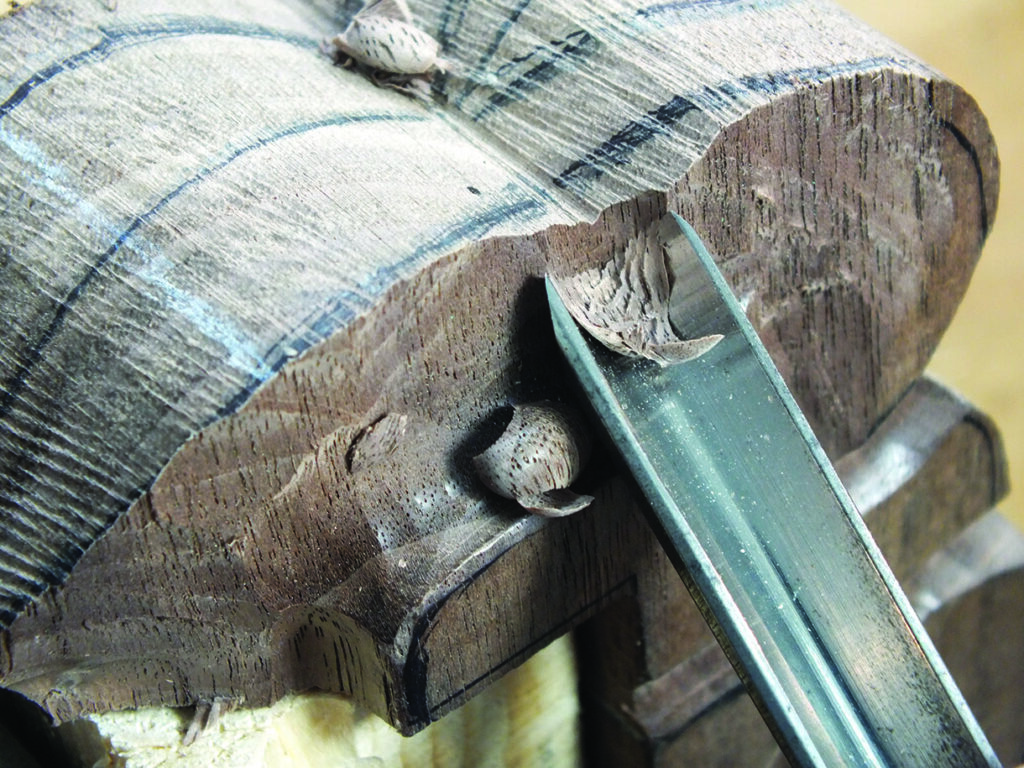
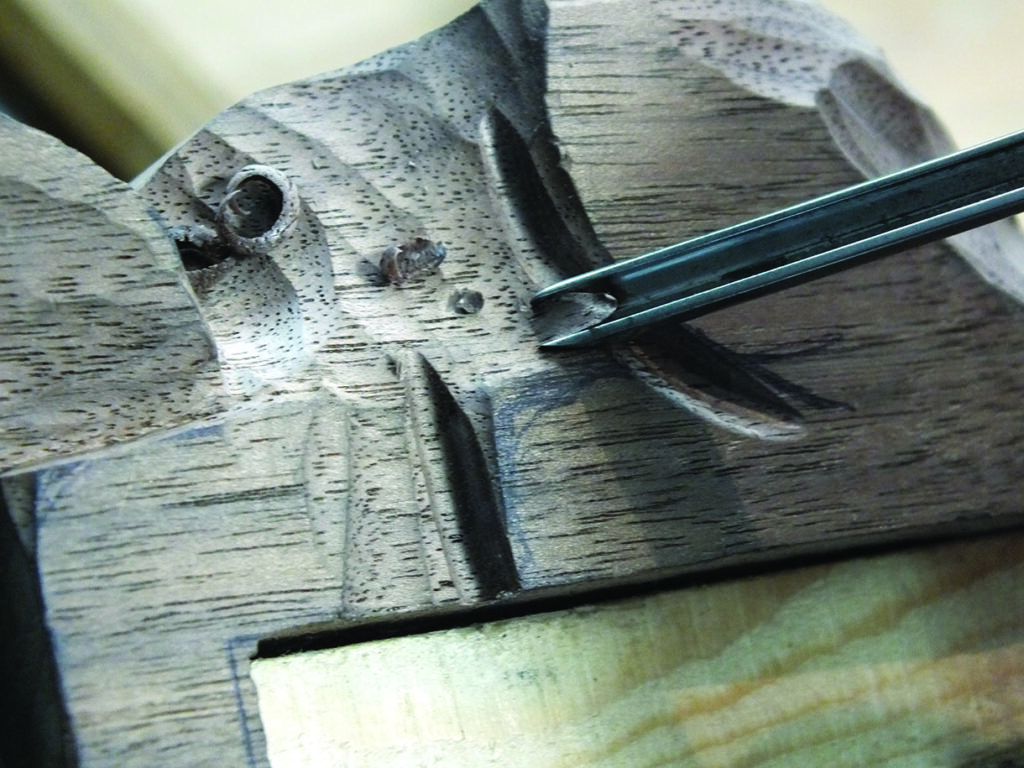
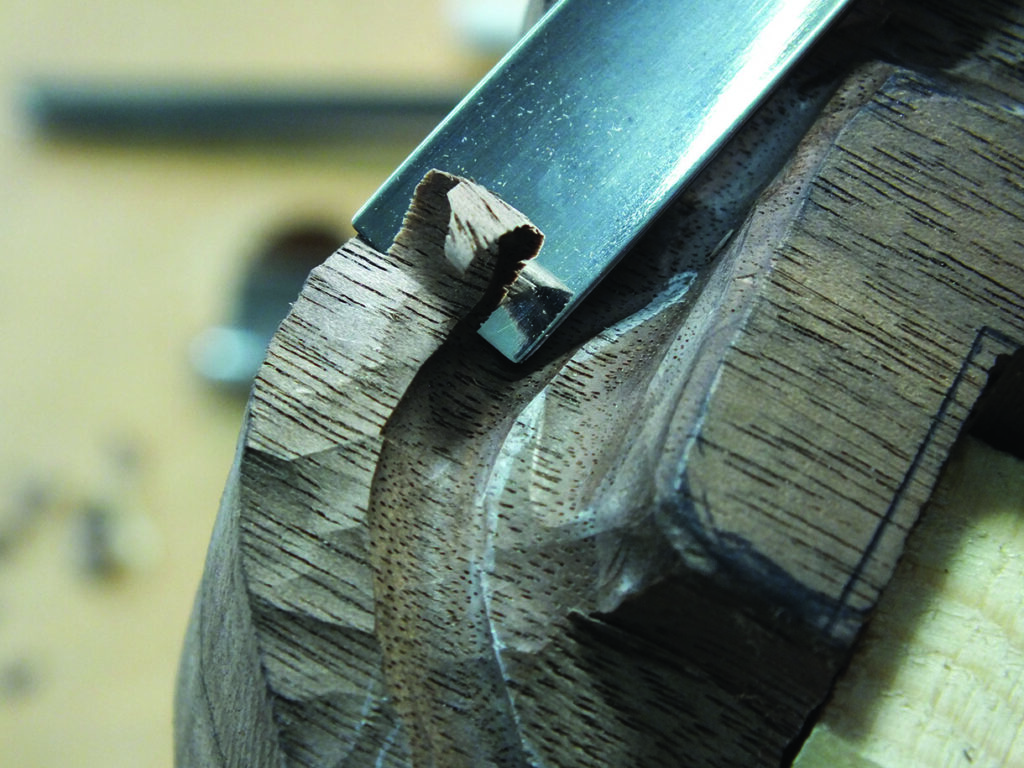
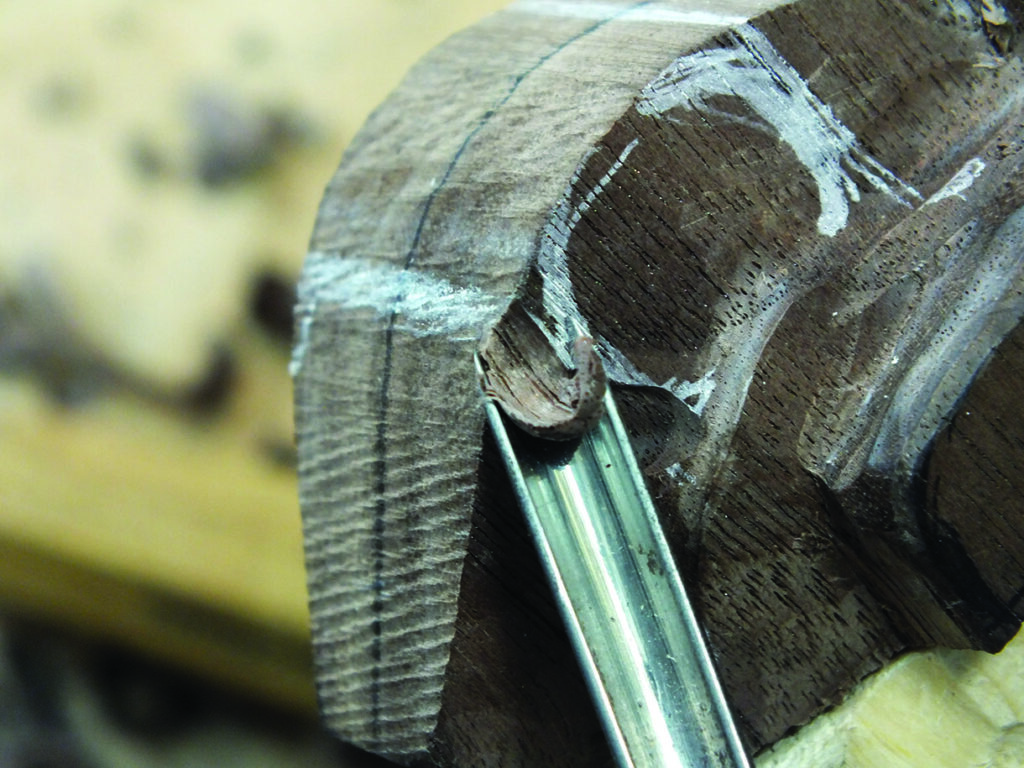
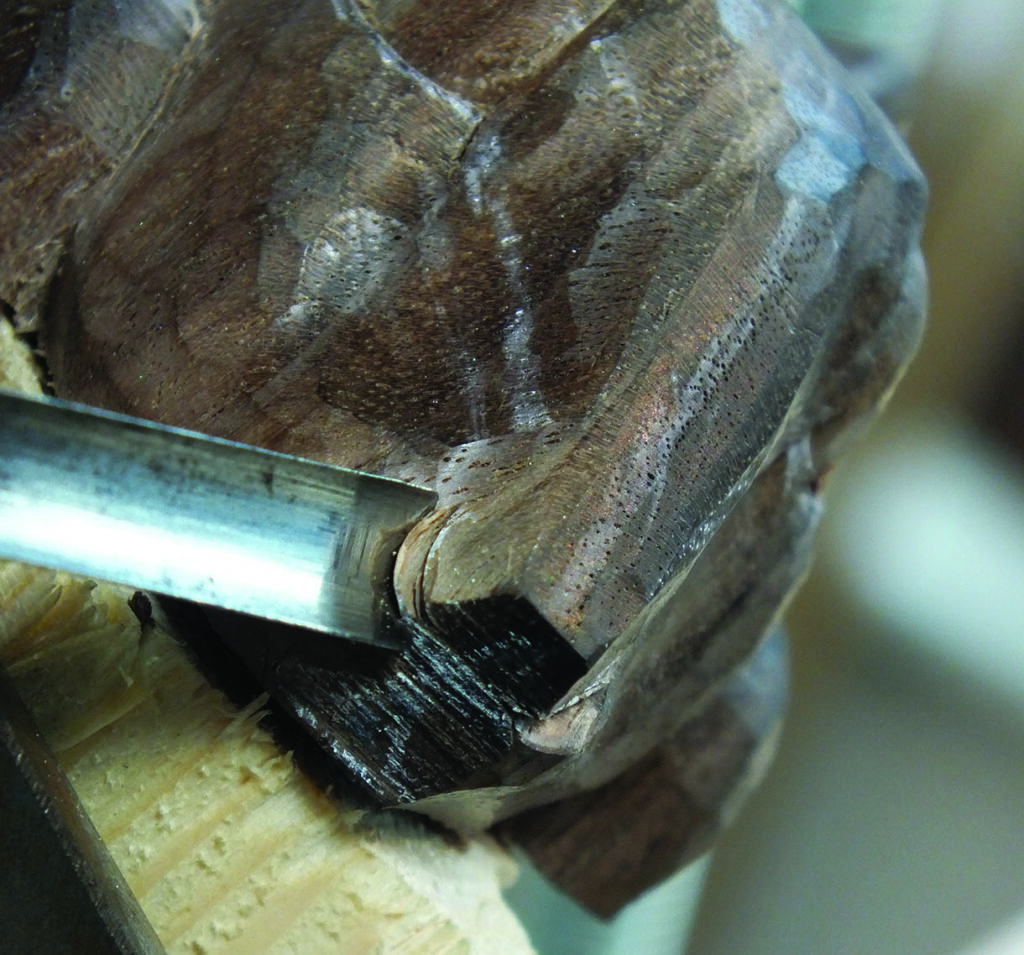
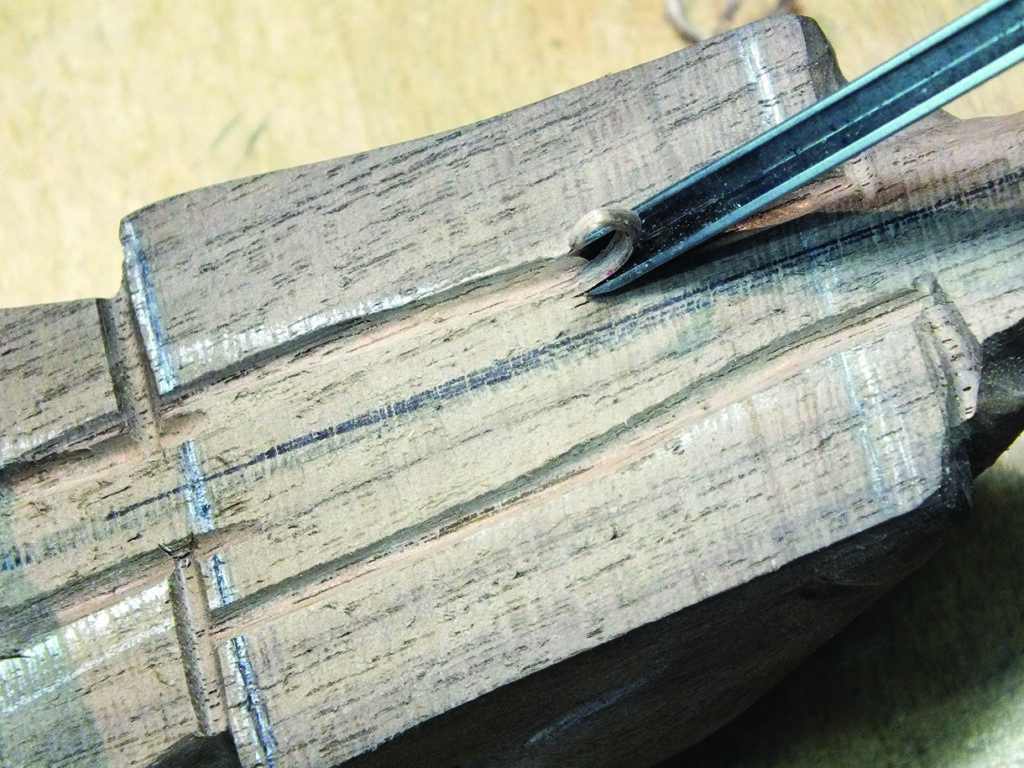
Step-by-step