
Andy Coates looks at forms with wide shoulders and the tools and techniques required to achieve them
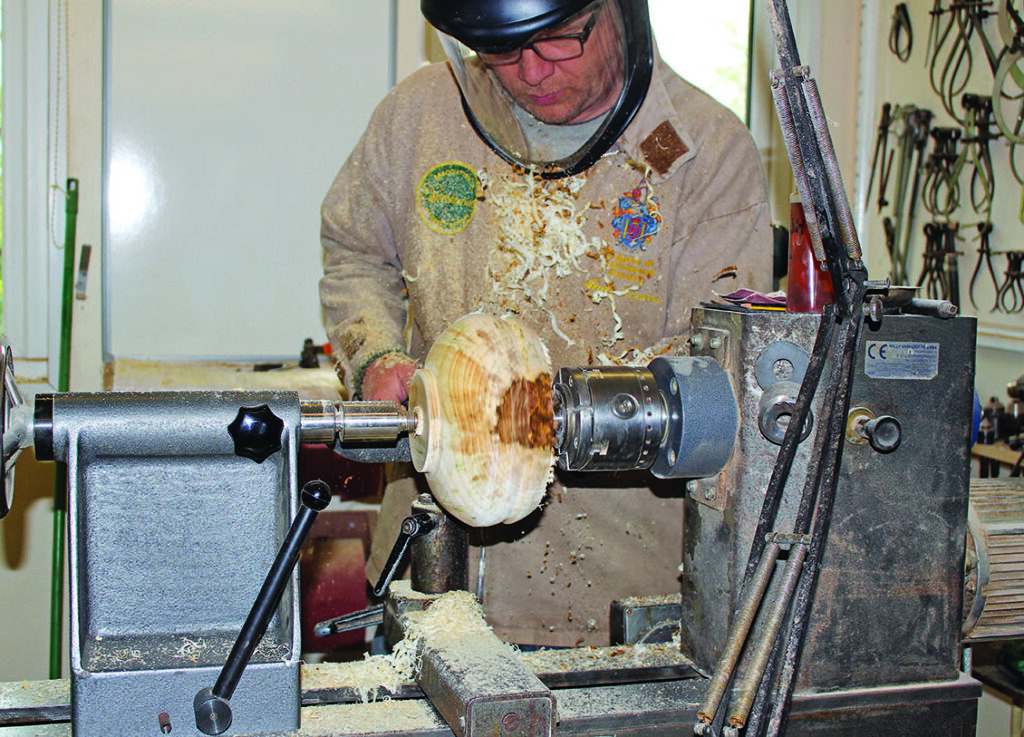
The blank I used to produce the images is larger than I would recommend for those attempting an extreme-shouldered vessel for the first time, and was only used in order to allow for clear photographs to be taken. So alternatives based on smaller blanks are detailed in the diagrams.
The physical stresses on the body have already been mentioned, and these points are arguably more relevant here than previously. The nature of the extreme undercut is such that the stresses are magnified significantly, far greater control of the tool is required, and consequently more care and attention. These factors can result in hollowing sessions being physically and mentally exhausting, so be prepared.
The hollow vessels detailed in the previous two articles have all used end-grain blanks; for this article I will introduce turning a cross-grain blank. There is little discernible difference between turning end and cross grain hollow vessels and all the techniques from the previous two articles are applicable here but, because the grain orientation is different, you have to cut from widest to smallest on the inside rather than smallest to widest as used on end grain items. The only other notable difference relates to turning forms from wet wood. As the wood dries on a wet-turned cross-grain form the opening is likely to distort far more than that of an end-grain form, so if a lid or stopper is desired the form should be part turned, dried and then finish turned once the wood has dried.
Tools and wood selection
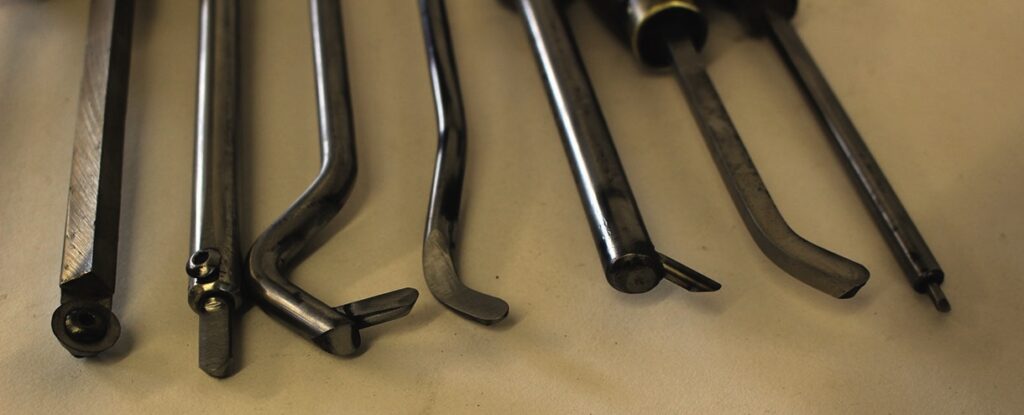
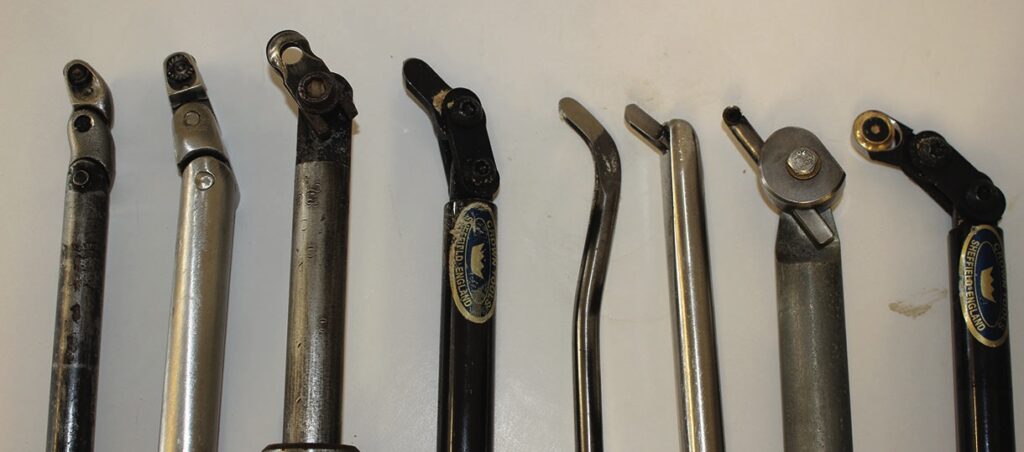
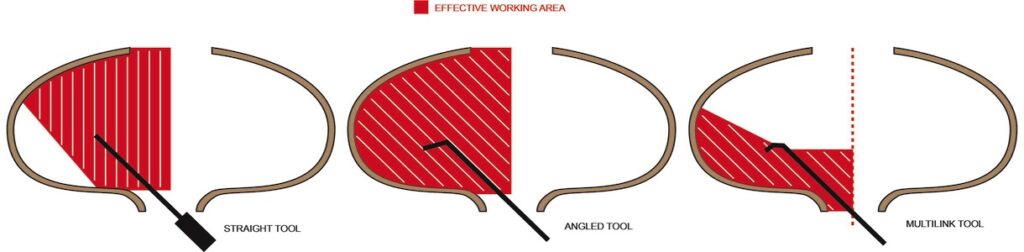
The tools used for forms with a dramatic shoulder are essentially the same as for the forms discussed in the previous articles, with the exception of the extremely cranked, articulated, or multi-link tools. Straight tools cannot reach around to remove wood from the undercut, and here a cranked, bent, articulated or multi-link tool is essential.
There are a number of reasons you might wish to turn a hollow vessel from a piece of cross-grain wood:
• To have end-grain ‘eyes’ or ‘bosses’ on the finished piece
• To take advantage of the different grain pattern
• To display medullary rays in appropriate species
• To display other features usually only apparent on end grain
• To provide a larger diameter blank than you have available as an end-grain log
Whatever your rationale, a cross-grain form will result in a very different-looking piece to that of a similar sized end-grain form. With an end-grain form the grain runs up the finished piece, except for any area of shoulder you have created, and the end grain is, usually, only visible on the base of the piece. With a cross-grain form the grain is running across the piece and the end grain is visible on two sides. This can result in some stunning features, and where the grain is attractive, or there is some other feature you wish to accentuate, this style serves you well.
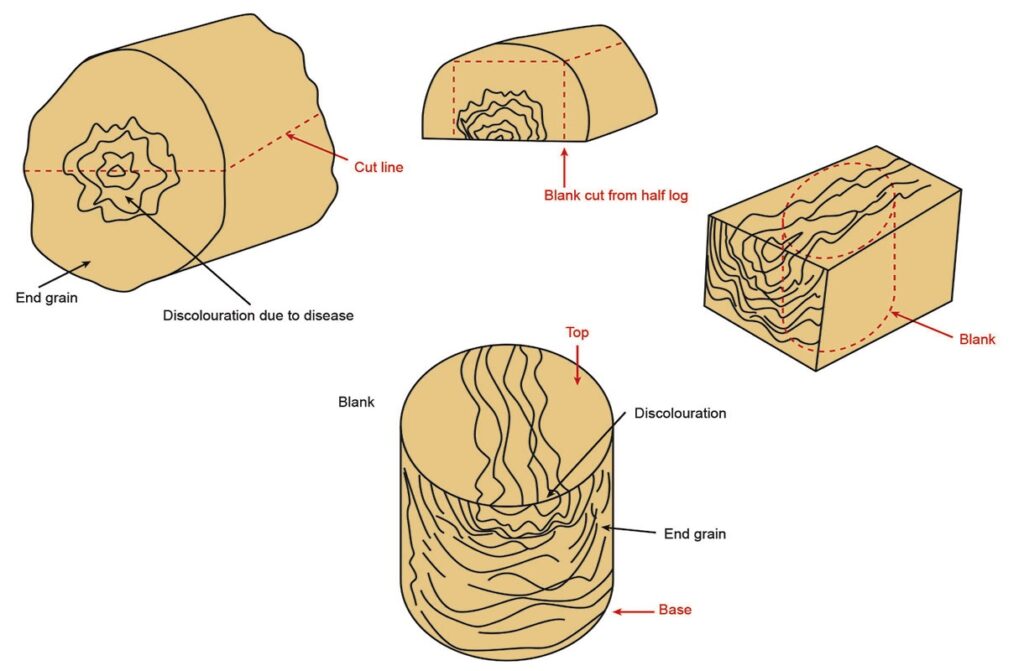
The log I chose to cut the blank from was of sycamore (Acer spp) and the tree had been felled due to disease. This resulted in significant discolouration around the heart of the tree, but did not extend more than a couple of inches out from the pith. By cutting the blank (see diagram 1) in the manner I did, I would be able to display the dramatic colour. While this may seem wasteful, it does make best use of the features available.
Give some thought to the orientation of the blank. Is there a more appealing side which would be better as the top face? Also check for faults in the wood, as hollowing puts considerable stress on the blank and a fault could be worsened by the process. If in doubt, discard the blank for hollowing.
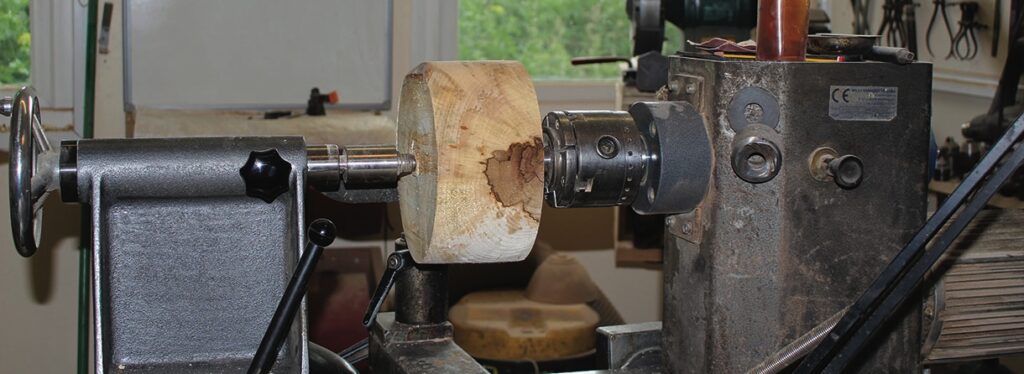
Mount the blank between centres with the top facing the headstock and the base at the revolving centre in the tailstock. Mounting between centres allows for adjustment of the blank during roughing out, which can be useful if faults are uncovered at the early stages.
Starting the process
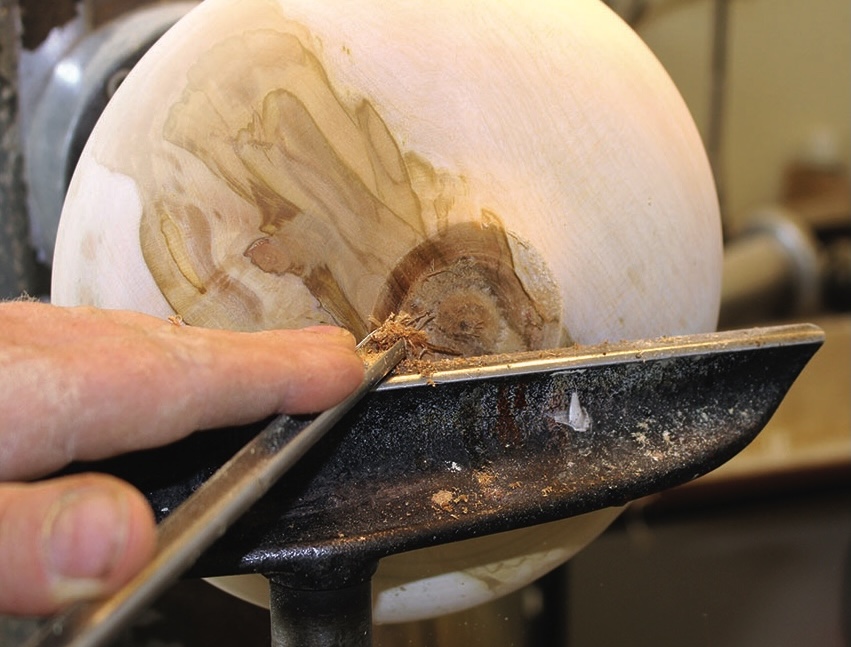
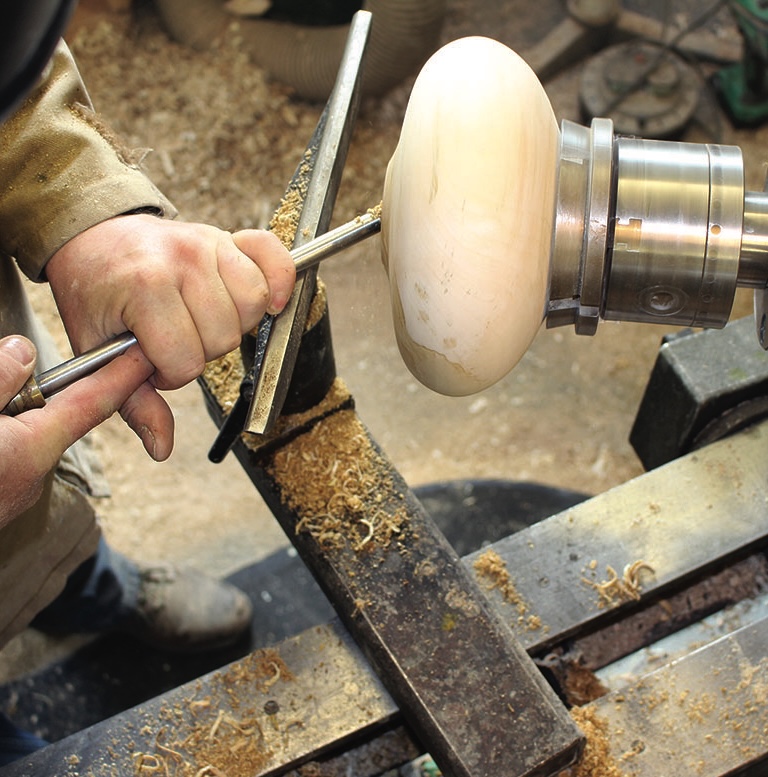
The shaping process is no different from any other form you might turn. With the blank securely mounted between centres and the quill locked off, begin shaping with a bowl gouge with a fingernail grind. If the blank is relatively true there is little point in roughing down to a cylinder, as the blank will true very quickly during initial shaping.
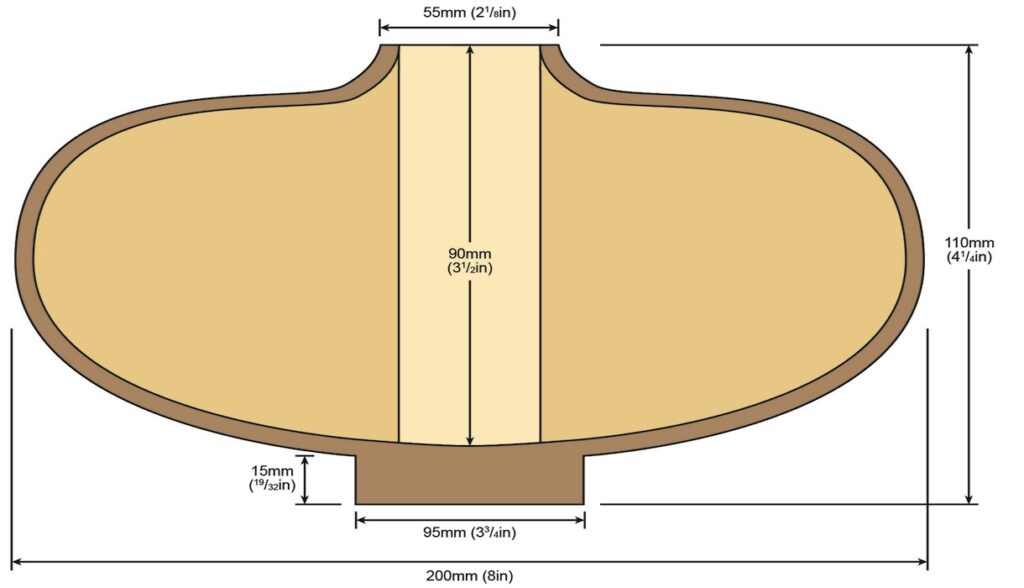
For this form we want a dramatic wide/undercut shoulder, so keep this in mind when initially forming the lower shape. Rough the lower shape first, working towards producing a large 95mm by 15mm tenon for the gripper jaws. Not only does this provide a more secure hold, but the large tenon may also serve to provide the material for final shaping of the form later. In the meantime, it provides much-needed support during the hollowing process.
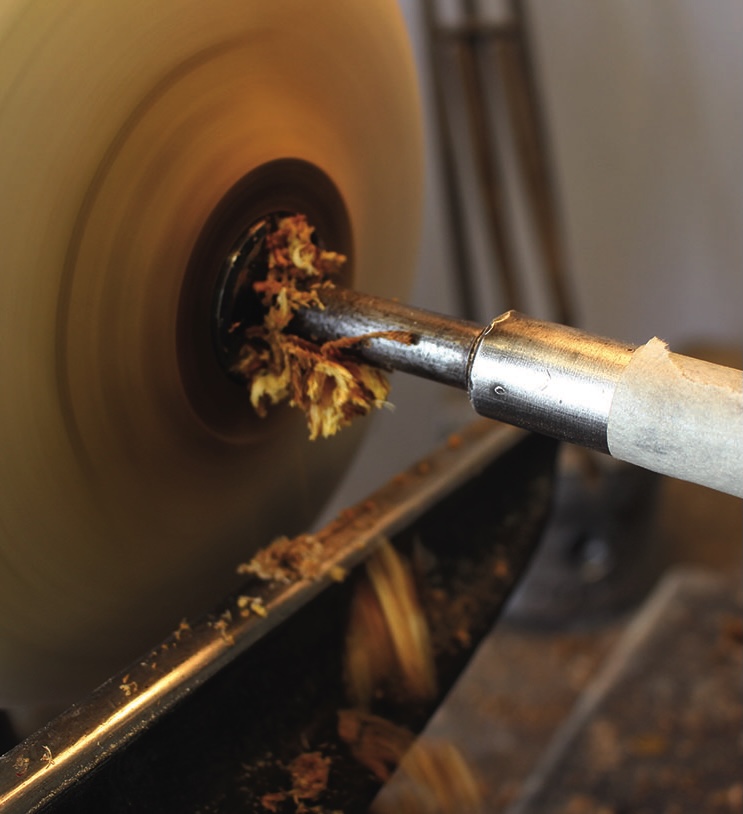
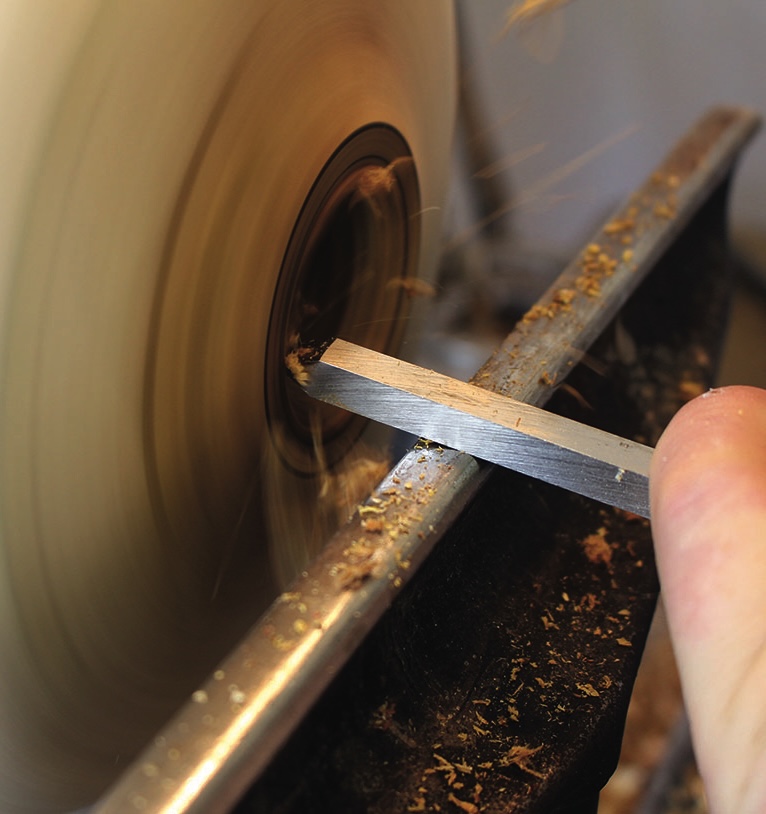
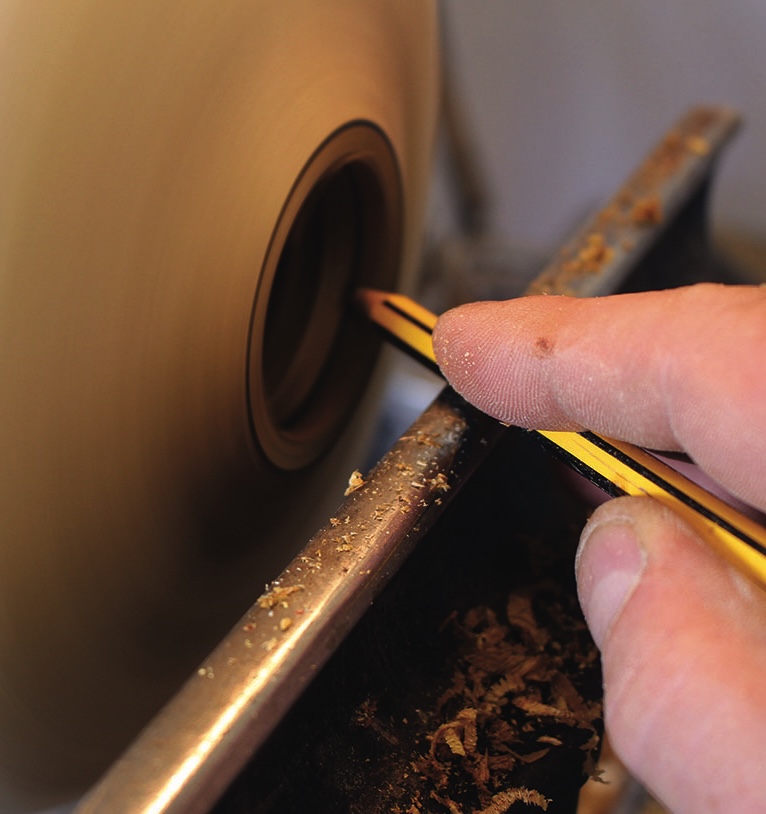
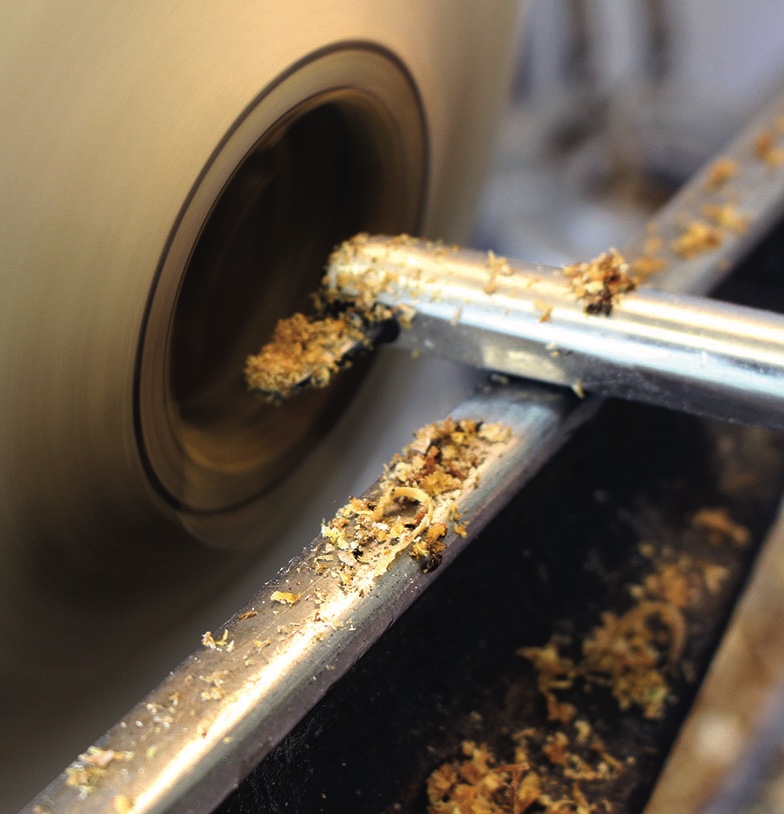
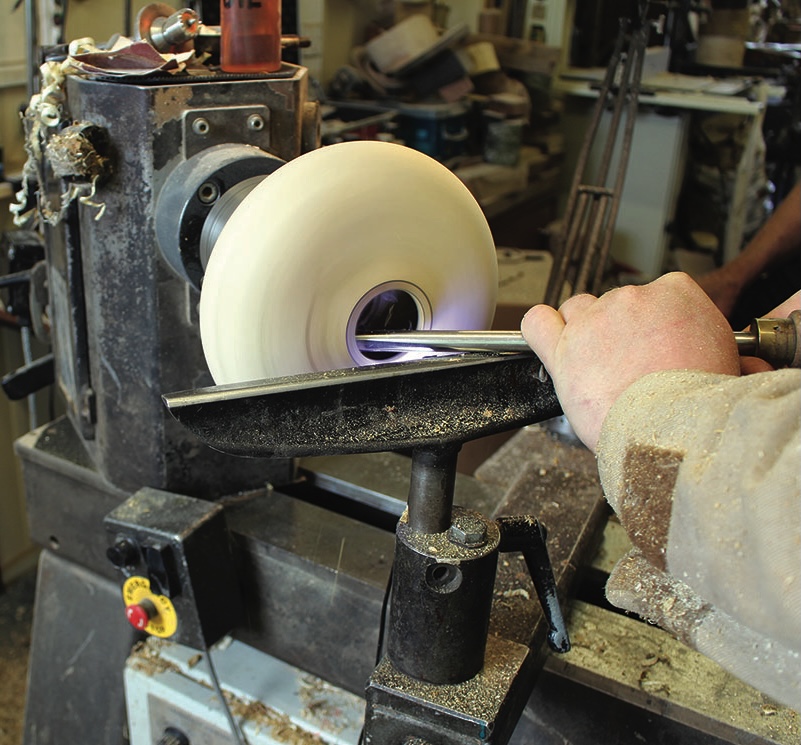
Remount the blank in the gripper jaws and proceed to bore out the central core to depth. Diagram 2 shows the rough shape of what is required and the central bore hole. Ensure lathe speed is low, and withdraw cutter frequently to remove the wood swarf.
Hollowing process
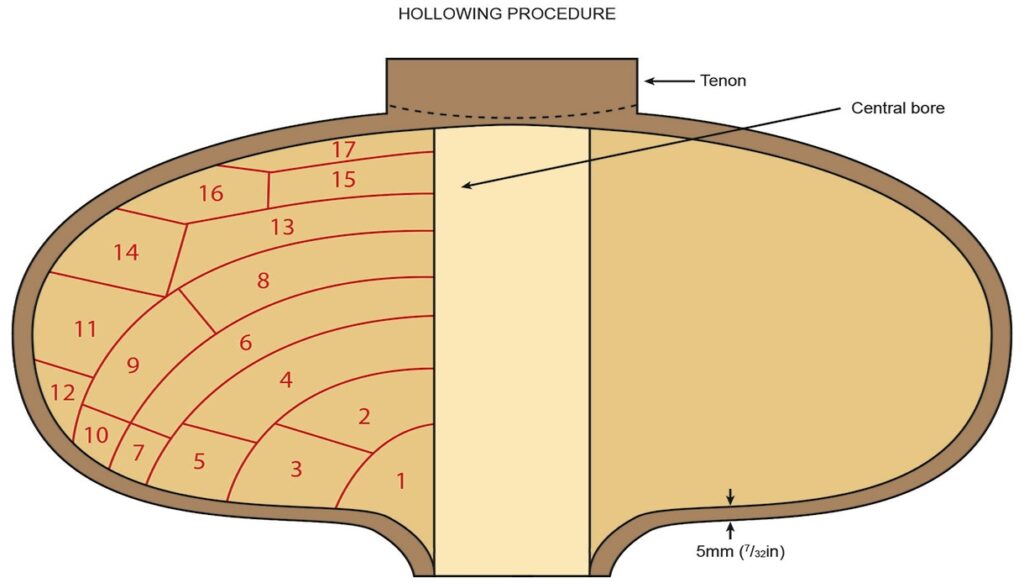
In time you will arrive at a process that suits you and the way you work, but when first starting out it can be useful to have a process in mind to aid the removal of material inside the form. The basic process is quite simple: remove material from the more central area to make room for the tool to work up to the wall. By adopting a regular process the whole exercise becomes easier to cope with as each step is defined and purposeful. Diagram 3 provides one possible series of steps you might reasonably follow.
Beginning to hollow
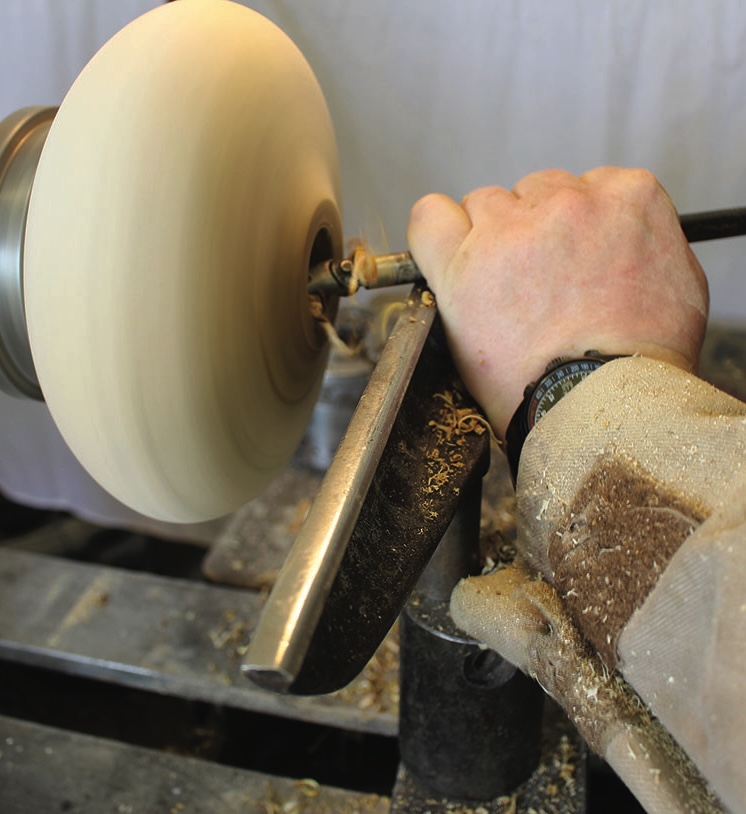
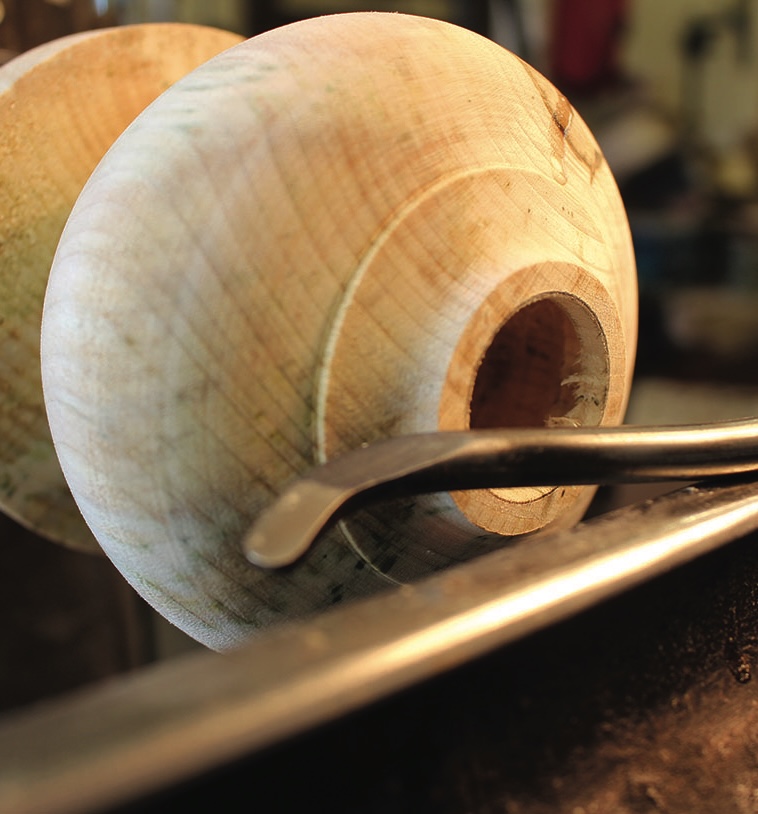
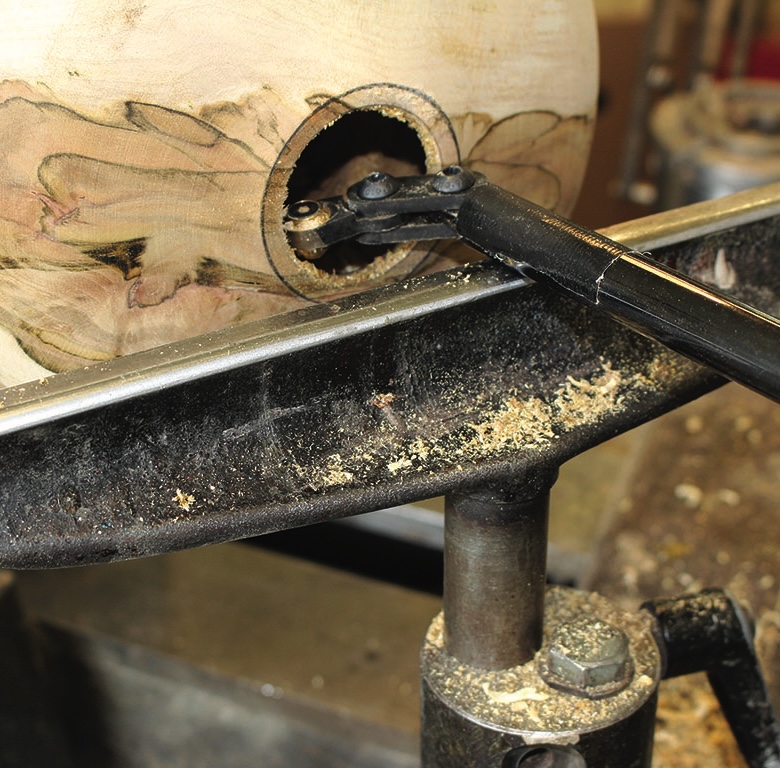
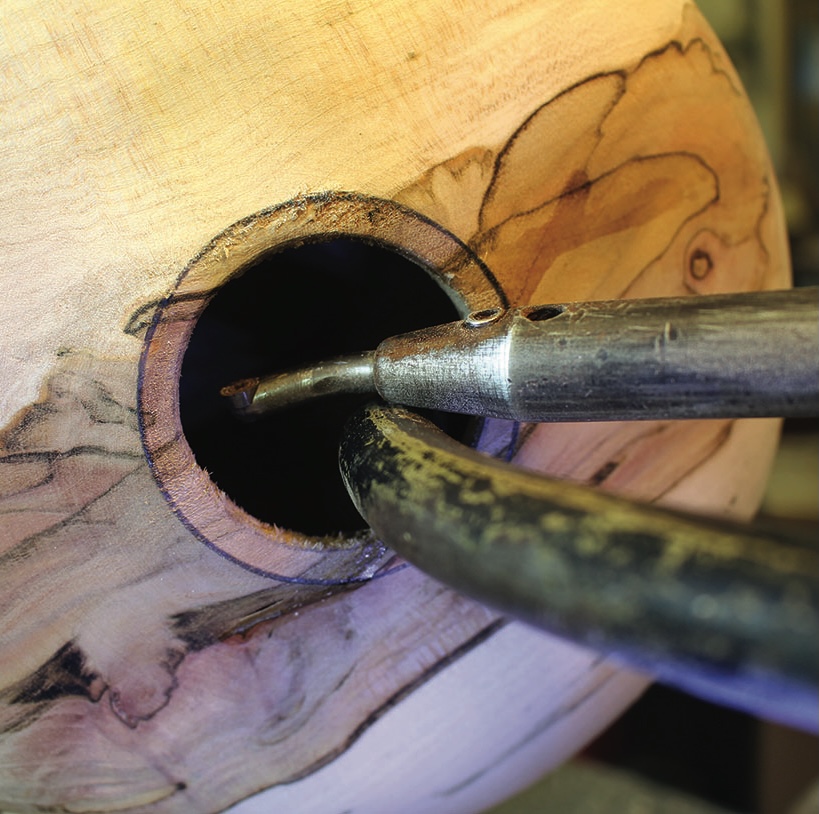
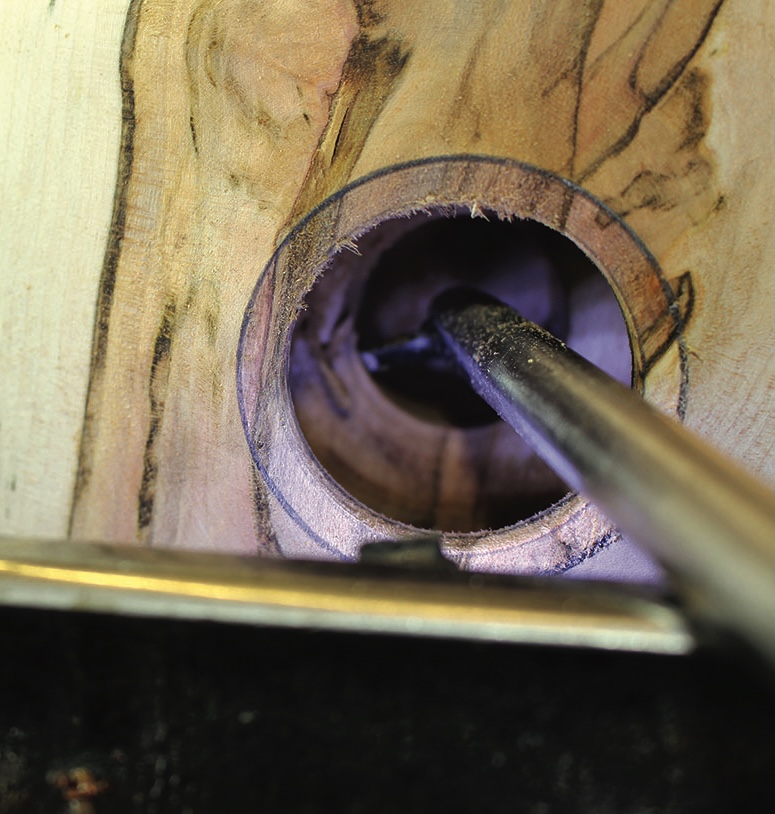
After boring out the central core you can begin hollowing. Diagram 4 shows the effective working areas for the three most common types of hollowing tool you are likely to use. The initial cuts are to remove wood to create an opening for the tools to work in. Cut off the shoulder created by the Forstner bit and swing the cut left towards the inner lip. Once you have room to work a tool with a set angled tip, or an appropriately adjusted articulated tool can be used to work from the mark you made earlier at the inner lip. This sets the wall thickness right from the start, and all subsequent hollowing should follow this thickness. The bent or articulated tool should be able to work around the shoulder, but firm tool control is a must. To reduce the torque at the tip of the tool the handle can be rotated left to allow a trailing cut.
The remainder of the hollowing process will require a combination of straight, angled or adjusted articulated tools in order to progress. A severely angled tool would be prone to catching deeper into the vessel, and at this point either adjust the articulated cutter to a straighter form, or revert to a fixed, straight-tipped tool.
Techniques for reducing stresses
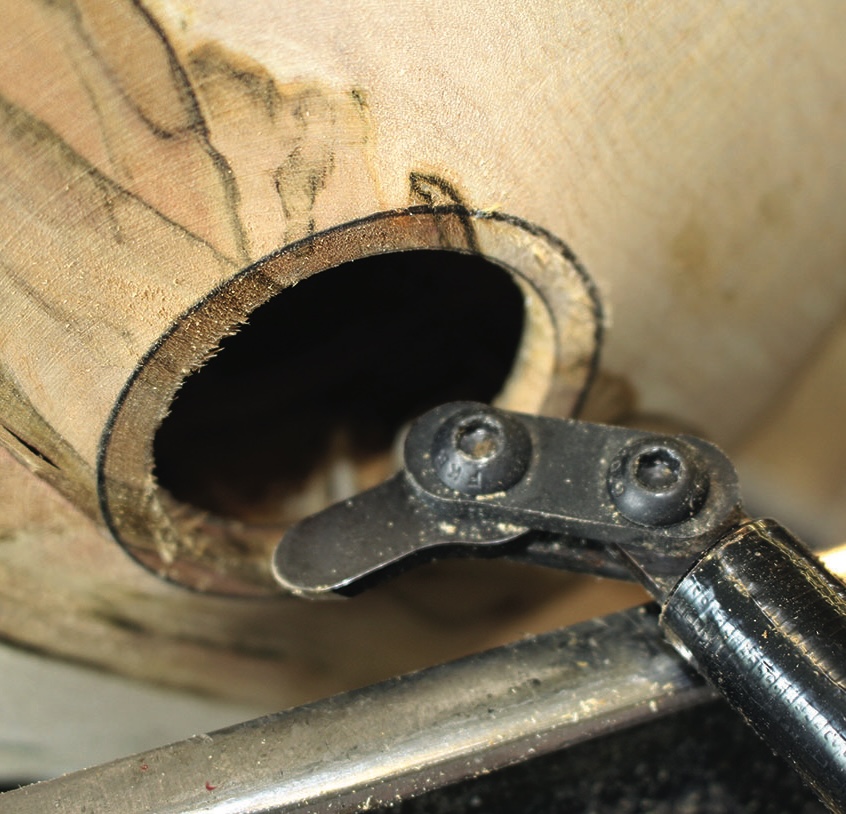
Having access to appropriate tools is a must for forms such as this. The severe shoulder could not be worked through a narrow access hole with a simple straight tool. Articulated tools give far better versatility, but bent or angled tools offer a reasonable, and often cheaper, alternative that works.
If your lathe has the facility to adjust the position of the headstock this can be an enormous boon. Placing the headstock at 45° to the bed enables you to stand directly in front of the workpiece, which will dramatically reduce the physical stresses to your body. The improved stance also allows clear sight of where the tool is positioned inside the vessel. This can improve safety considerably.
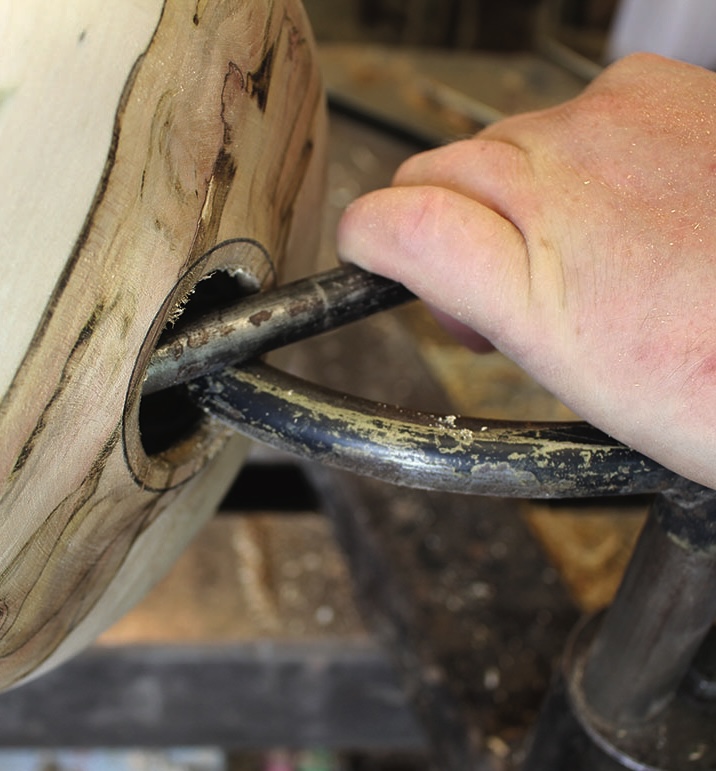
One of the major issues with deep hollowing is tool overhang. The further over the rest that the tool tip is working the more stress and torque is exerted on the tool, resulting in physical exhaustion and loss of control of the tool. One method of reducing the overhang, and consequently the stress, is to take advantage of specialist tool rests. A round-bar curved rest can be angled into the form, which reduces the overhang here by about 25mm. One consideration here is the potential for the shavings to bind against the internal portion of the rest, but frequent stopping and vacuuming out of the shavings removes any potential problem.
Finishing the form
Once the shoulder has been cut, clean the surface to a finished state. You can use a small teardrop scraper at a shear angle to achieve this, but a small carbide tool can be used to great effect as the cutting point is so small. A curved version allows access to the shoulder and will result in a very clean surface if used at a trailing, shear angle, taking very light passes.
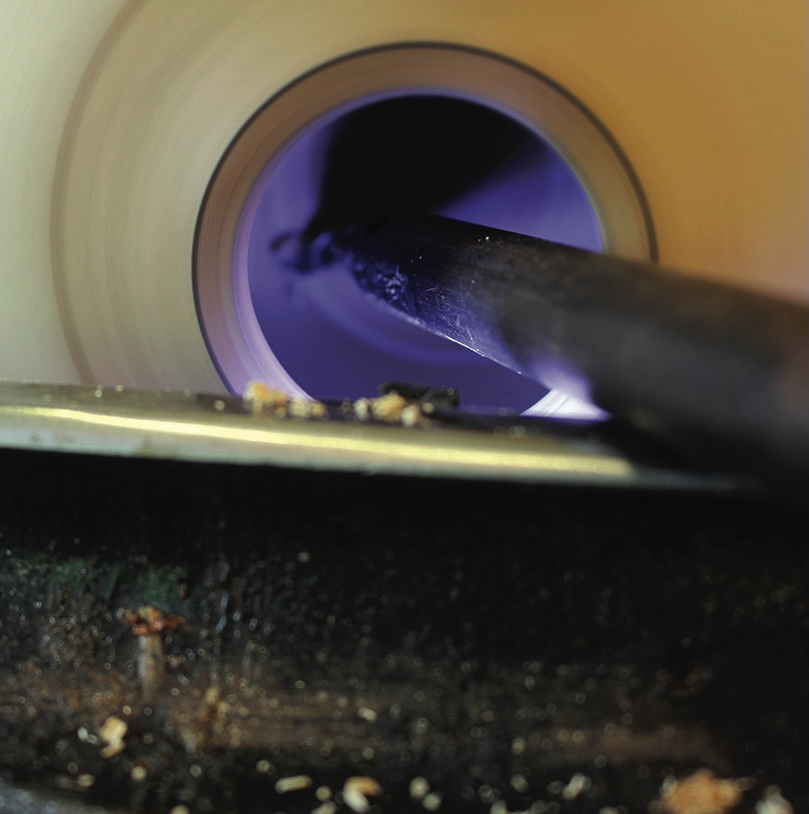
Once you have finished the main portion of the hollowing you have only the base to hollow. As this requires the greatest overhang for the tool, you need to take every precaution against a catch. Close control of the tool is a must, and if you have a straight tool with a very small tip, be it a scraper type or carbide-tipped tool, this will help to reduce the torque on the tip of the tool. Blend the curves between the wall and the base.
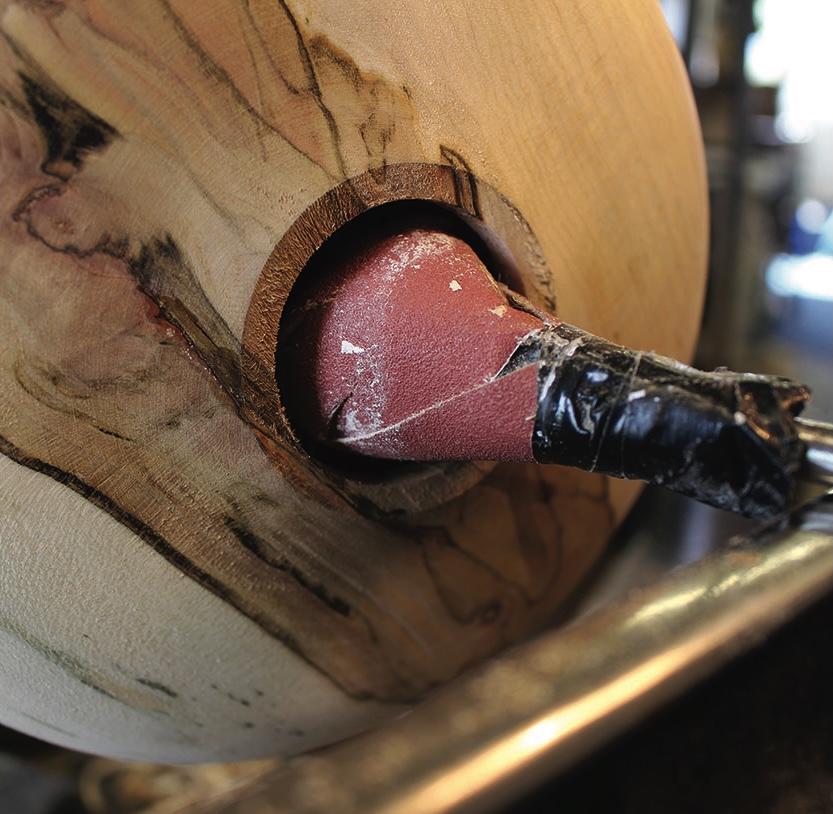
The same tool can be used in place of a scraper to clean up the last section of interior wall. Address the wood with the cutter at a shear angle and take light, controlled cuts to a good finish. If you wish to abrade the interior a simple abrasive tool can be made by wrapping some foam around a wooden dowel and taping abrasive to it. Take care while abrading and remember to vacuum the dust away as you go.
Completing the form is best achieved by reverse-turning the base, but you could also carefully part
off, finishing by cutting the stub with a pull saw and hand-finishing the base with abrasive.
Considerations
• If using scraper-type tool tips keep them honed for the best possible cuts with reduced resistance to the cut. Using a blunt tool is more likely to result in a catch.
• If using wet wood and it is not possible to complete the form in one session, wrap the form in a plastic bag filled with damp shavings until the next session. This will almost certainly reduce the amount of warping and make the second session less stressful.
• If you notice faults in the wood during the turning or hollowing process you must either attend to them with glue, or reject the piece. As you hollow the form you remove all the supportive wood and losing a piece to a blow-out when a fracture leads to the tool tip vibrating is not uncommon.
• Take your time. Deep hollowing should not be rushed. A rushed hollow form is usually the one on the firewood pile.
• Take regular breaks if hollowing for a prolonged period. Back and upper body stresses are considerable, and this should be fun, not painful and damaging.
One Response
Great presentation thank you