Derek Jones looks at a few techniques to help tone down the appearance of new hardware
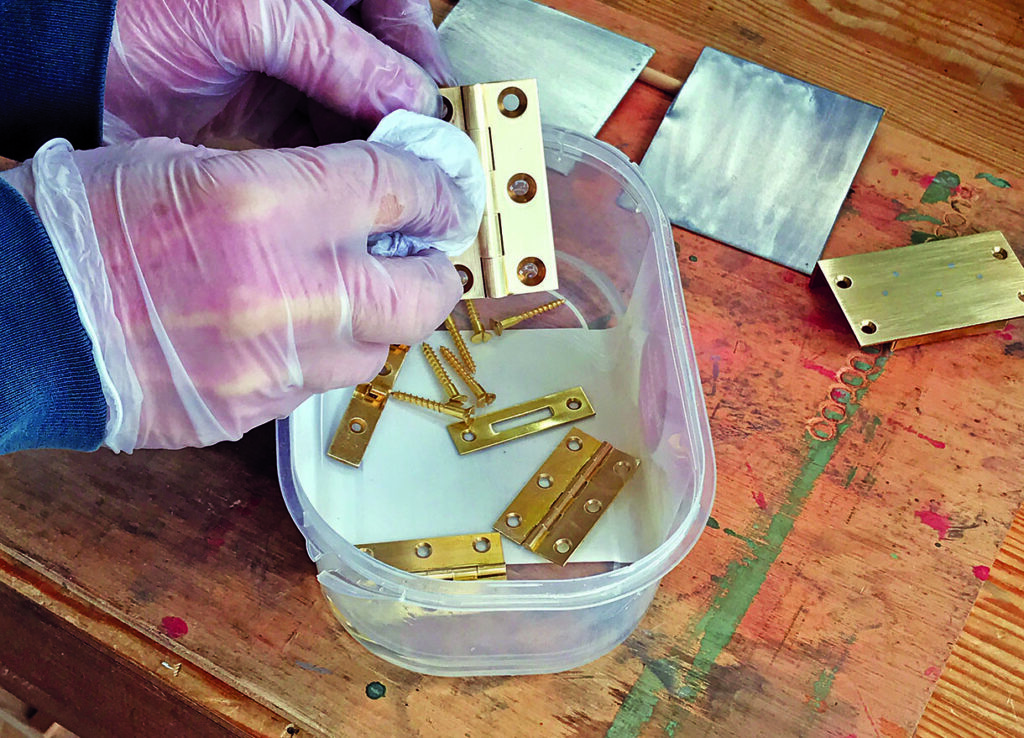
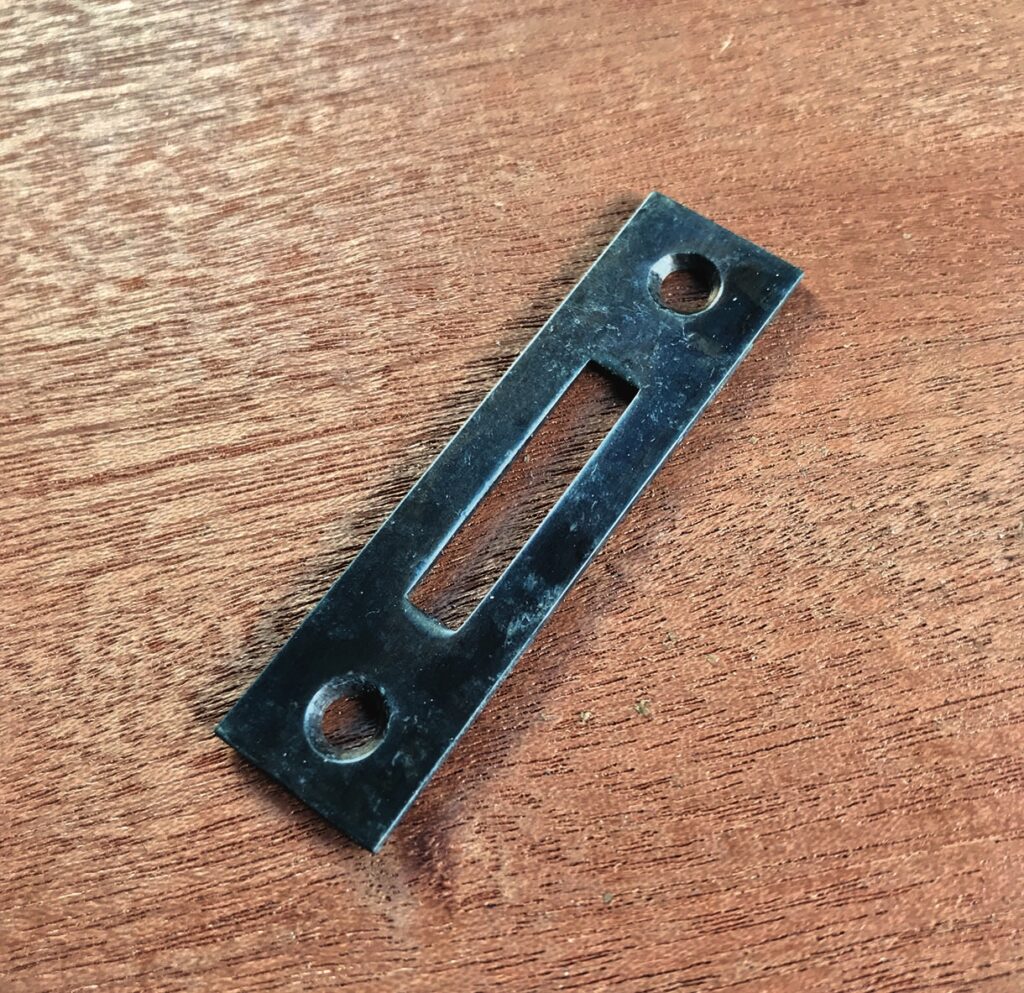
I’ll be looking at how you might go about altering the appearance of items through the use of chemicals. The term most commonly associated with the process is patinating and there are several brands that carry a range of products to do precisely this; a short list can be found at the end of this article. The primary reason for wanting to change the appearance of hardware is to make it look much older than it is, something that restorers will be familiar with. When such a need arises, there really is no substitute to actually finding and fitting a genuine, correct period example but as you might imagine, that’s not always as easy as it sounds. Antique furniture is often either missing its original hardware or sporting later versions and it takes a dealer with a good eye to spot the difference. In the right circumstances, however, replacing missing parts with new hardware is often the best choice if the work can be identified as such and does not require further intervention or alteration to the groundwork, and it is from this perspective that I will be focussing.
The right precautions
Some of the products used in this article are highly corrosive and are not suitable for disposing in domestic waste after use. Read into this that you cannot just pour them down the sink when you’re done. Most local authority waste recycling sites are able to accept hazardous chemicals including solvent-based paints, corrosive chemicals and batteries so as a precaution it’s worth investigating where your nearest depot is located. The handling of hazardous chemicals should only be carried out with the appropriate safety equipment, which includes hand and eye protection and a suitable respiratory mask. It’s also worth noting that the immediate work environment may become contaminated with substances that could be harmful to the user and other equipment after the process has been completed. It’s therefore important to take extra care when cleaning up afterwards if you cannot create a dedicated space for these procedures. Sweeping up debris during and afterwards should be avoided, a vacuum is the most effective means of maintaining a safe working environment. Good ventilation is also important but should not be considered an alternative to any of the aforementioned recommendations.
Good preparation
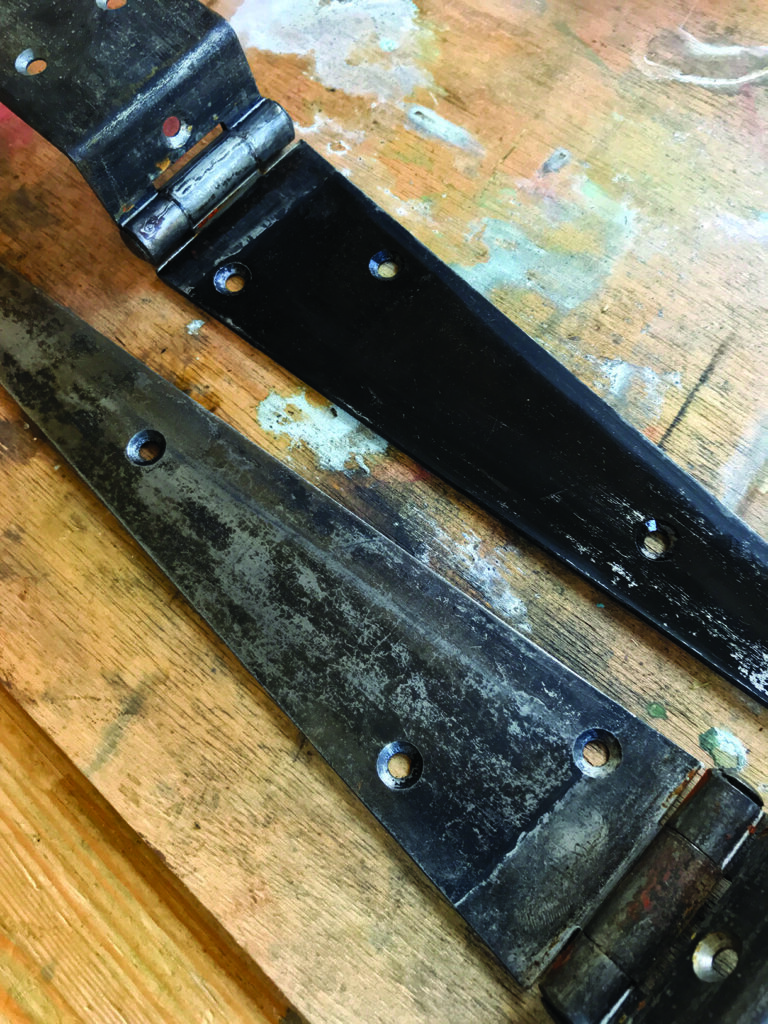
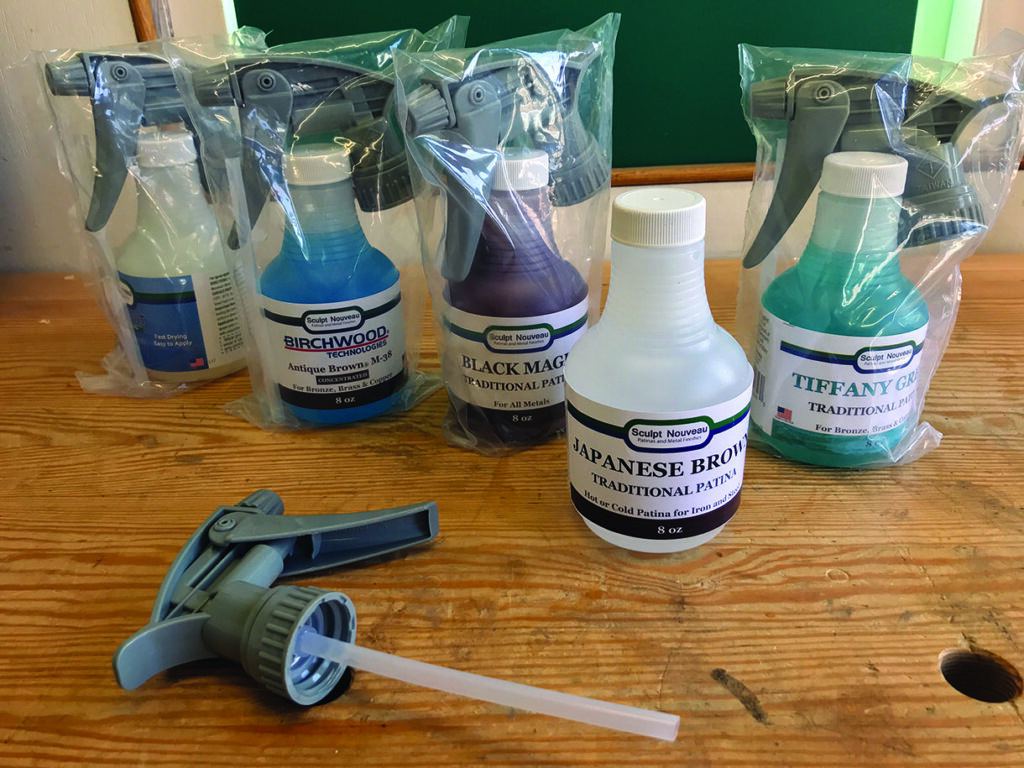
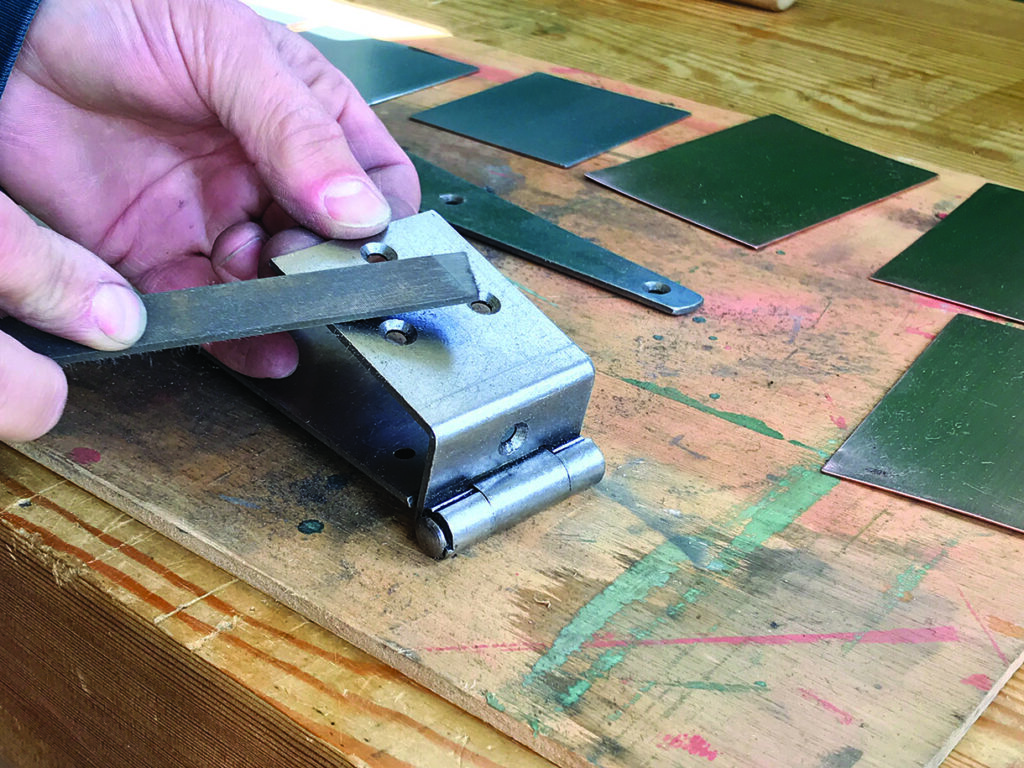
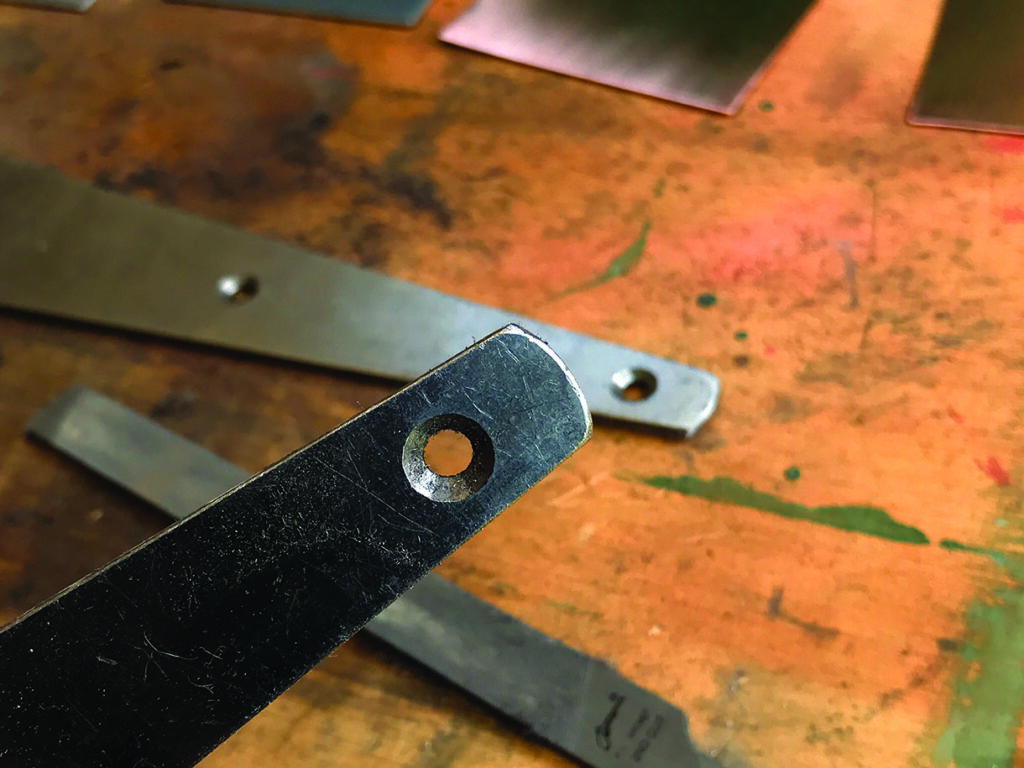
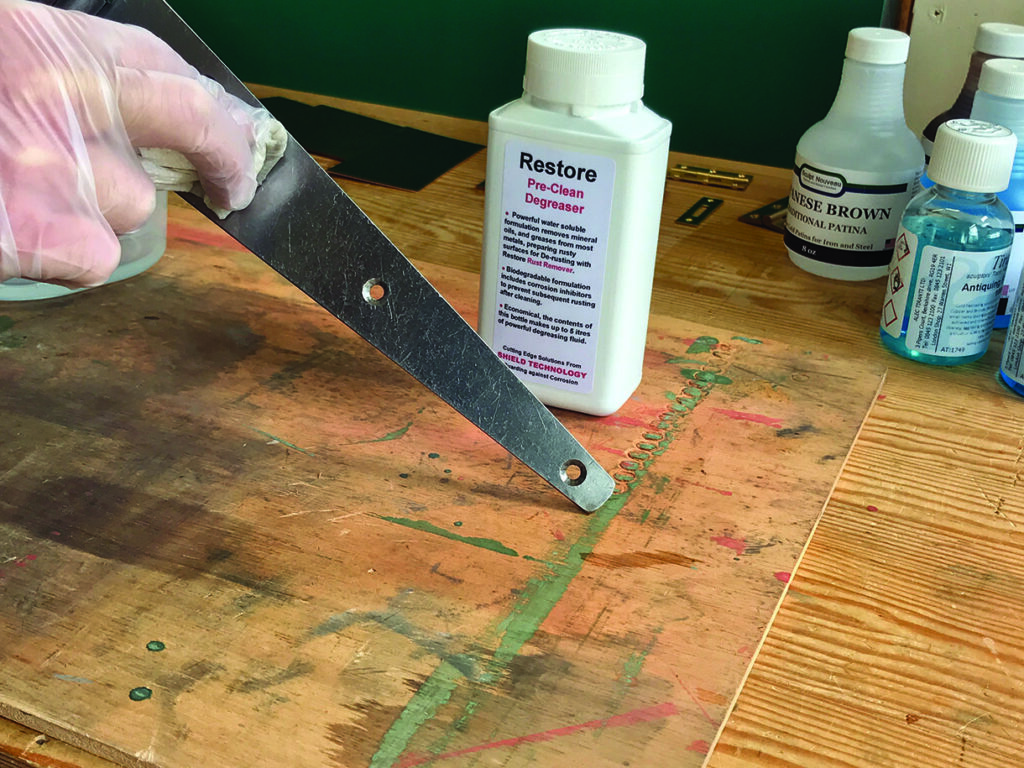
The range of products used in this article came from specialist sculpture suppliers tiranti.co.uk. As well as a comprehensive list of products and equipment the company also has an excellent technical department able to answer any questions you may have – a service I made good use of. Where appropriate the products come with a spray dispenser making application easy, others can be decanted and diluted with water to make a bath for immersing the objects being treated. Without exception all of the products require the components being treated to be clean and free from any traces of grease. I used a degreasing cleaner from Shield Technology for this. The 250ml bottle will make up to 4.5L of cleaning solution. New hardware invariably comes with sharp edges and all the signs of modern mass production so prior to cleaning you may want to carry out any reshaping. These strap hinges, for example, require all the edges to be softened with a file and where possible the edges of the countersinks rounded over slightly. I’ll explain why that’s important later. Smaller items can be soaked in the cleaning solution and rinsed off in clean water afterwards. Remember to wear gloves whenever handling the items, especially after they have been cleaned as the grease from your fingers can act as a resist to patinating fluids.
Where there’s muck
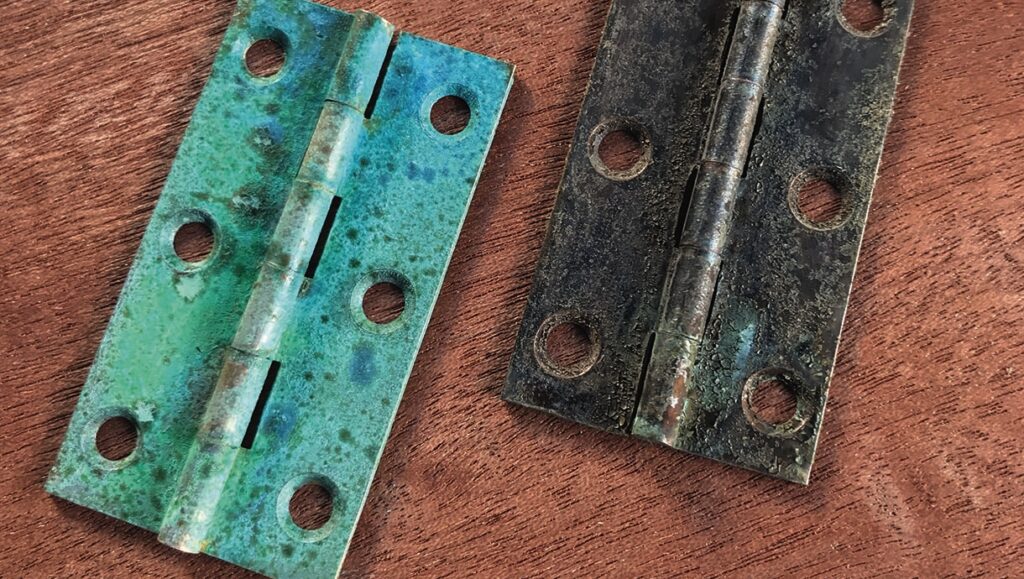
A realistic patina is as much about texture as it is colour and although the Tiffany Green is unmistakably green, it does create an authentic looking gunge that can be coloured with a second solution to give the appearance of old fittings.
Working with samples
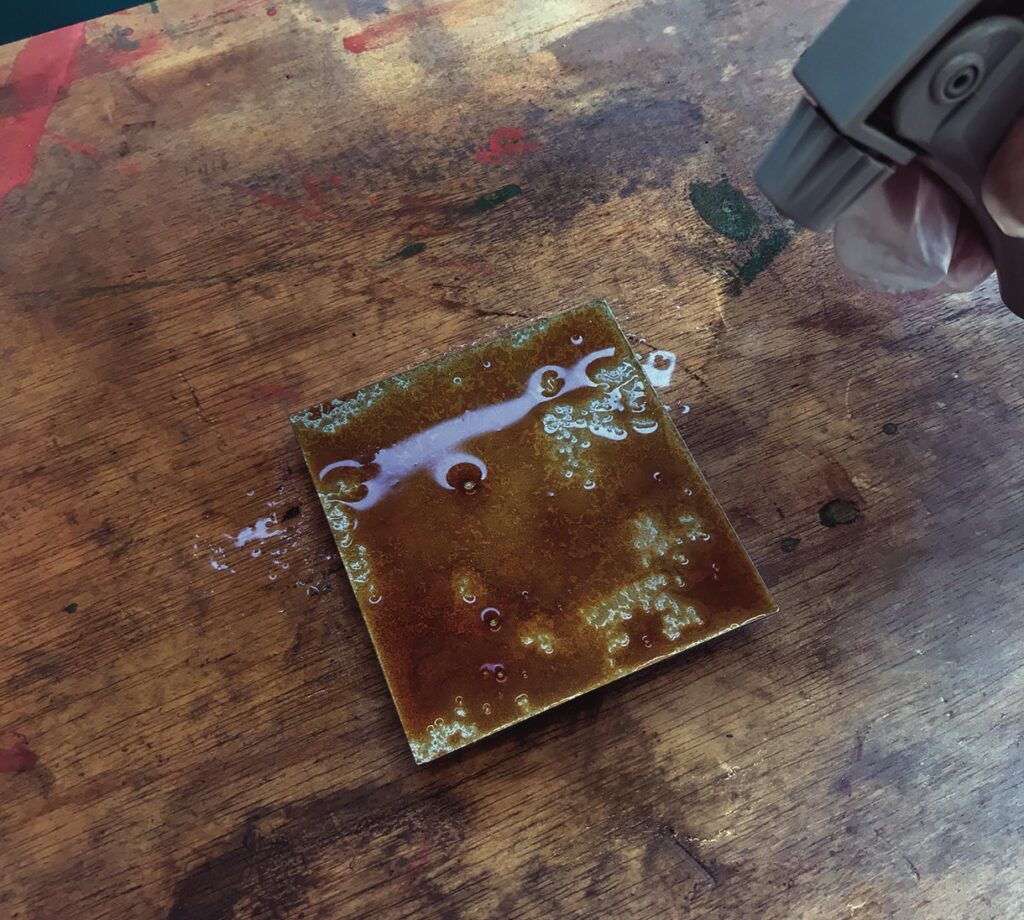
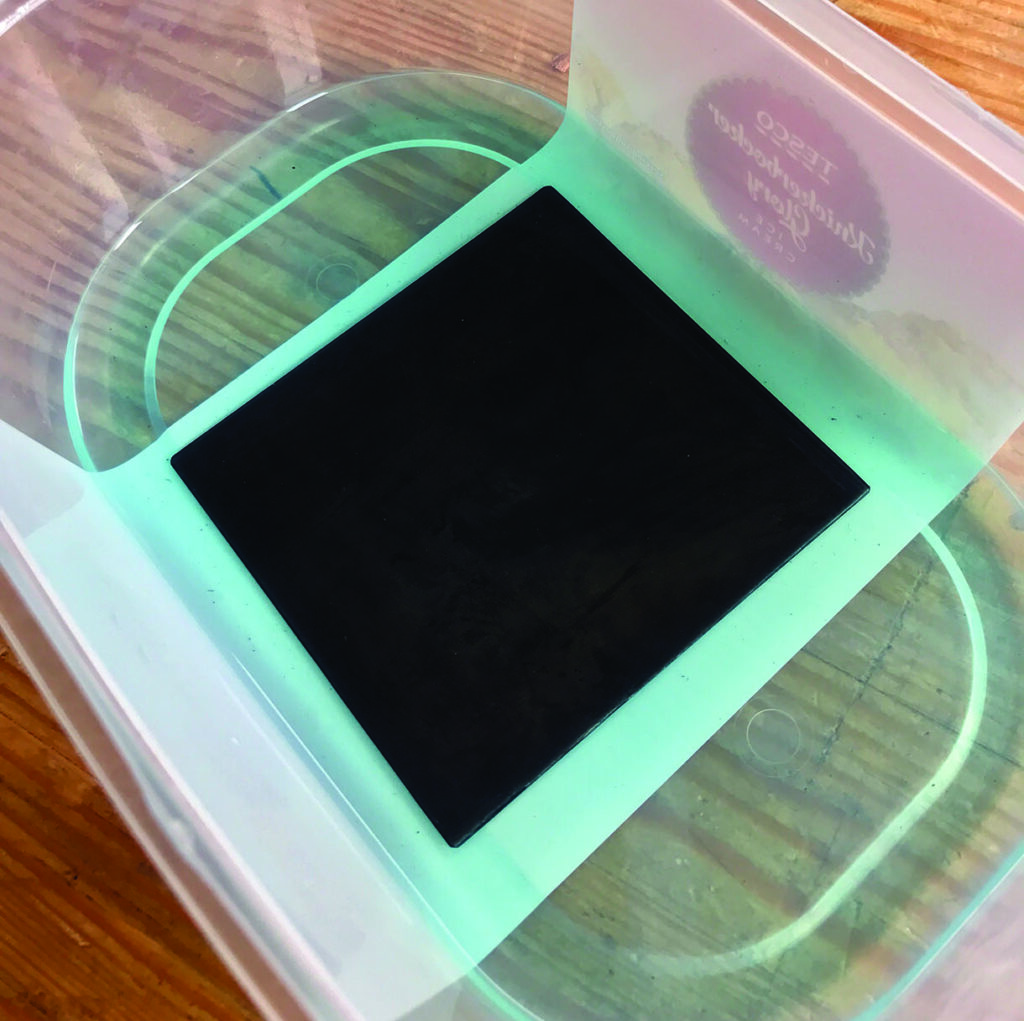
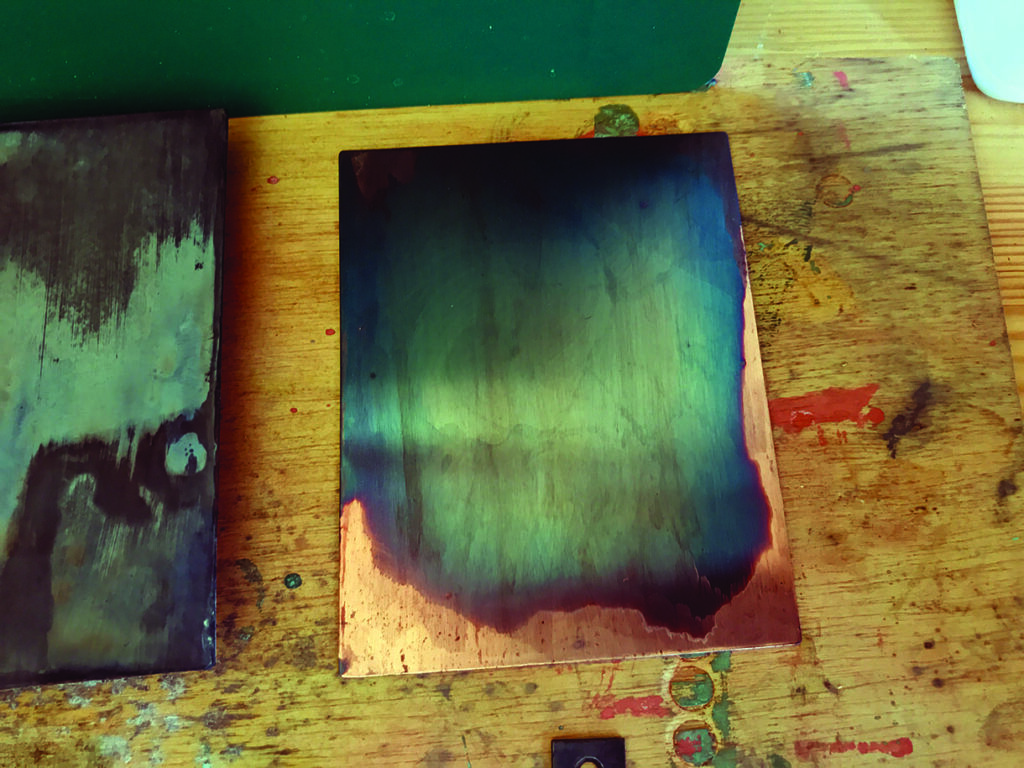
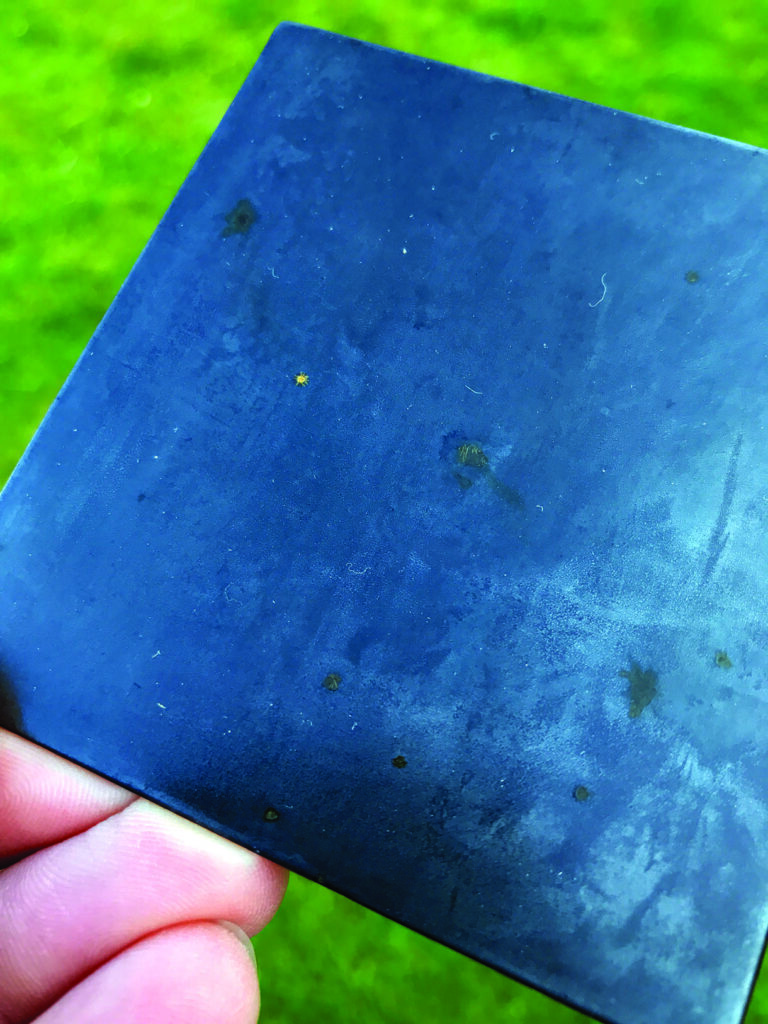
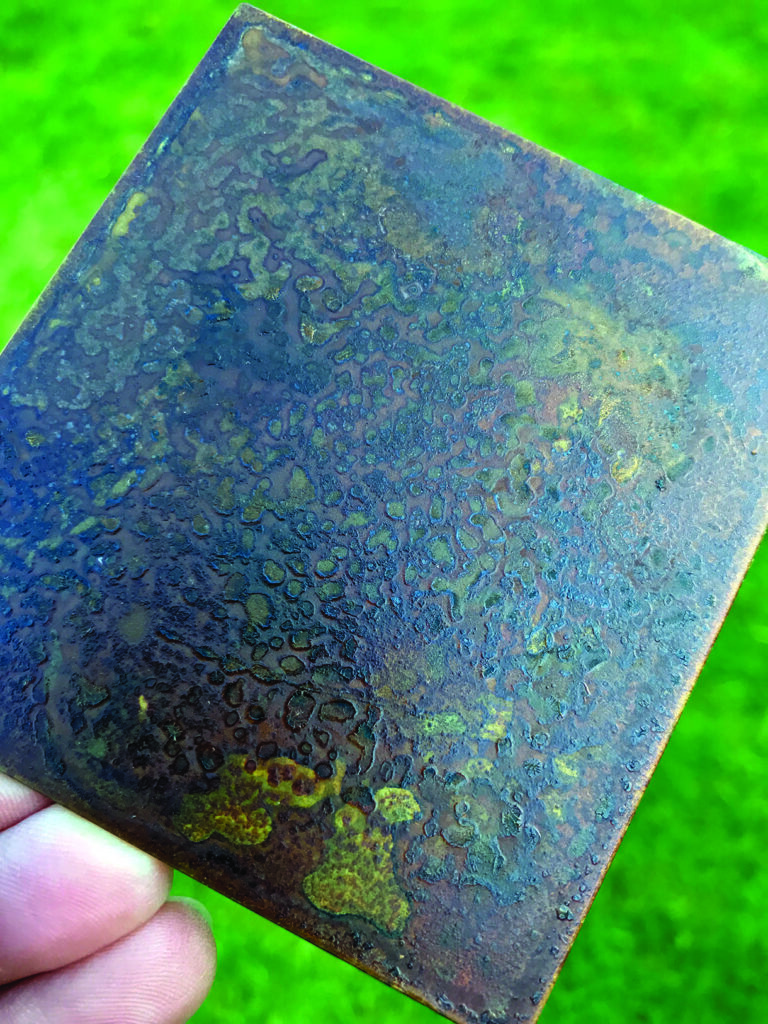
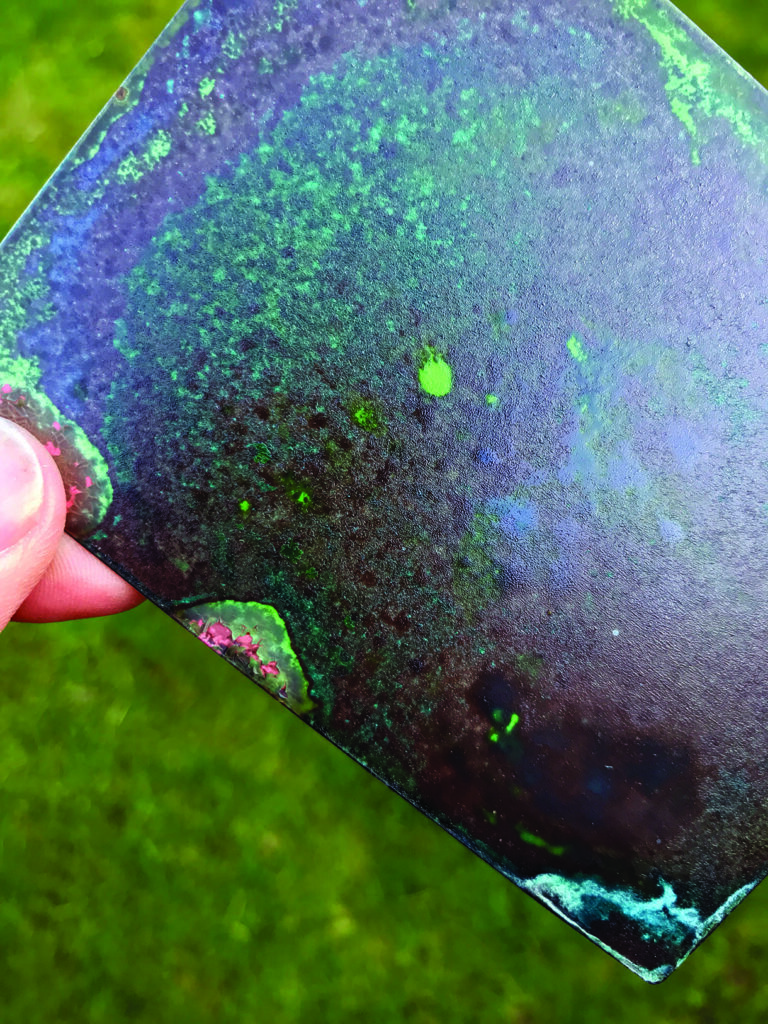
When you’re experimenting with a new technique it’s worth considering making samples with other materials as well as your immediate requirements, you never know where it will lead and who knows you may make a wonderful discovery! At worst you’ll find out what doesn’t work, which is often half the battle. I included a couple of squares of copper as well as ferrous metal samples for good measure. It’s a metal that’s easy to work and lends itself to a number of decorative possibilities. The products that feature the spray dispenser can be applied to a hot surface to speed up the process but the effects will be the same as a cold application. This typically requires the object to be heated to around 200°C, something that can be done in a domestic oven. I found that the act of spraying created a pattern of its own, whereas full emersion resulted in a more even finish. The success of the finish will to some extent come down to personal taste if you are looking for a decorative effect. As far as recreating a period patina, all of them are effective in their own way. For the ferrous metal I preferred the Haematite bath, which resulted in a flat and consistent colour. The Japanese Brown solution developed into an orange-peel effect that, while not unattractive, is not consistent with the majority of metal fittings used on western-style furniture. The Tiffany Green developed some striking hues of blue and green but again perhaps not a typical representation of what you might see on a piece of furniture.
Best for brass
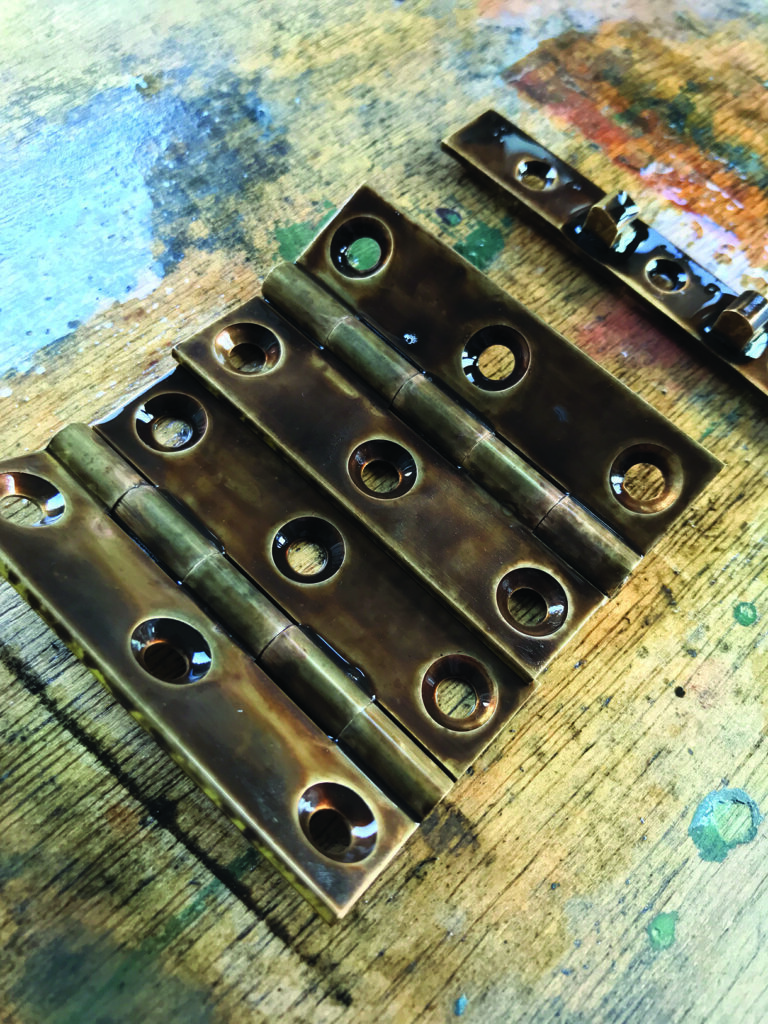
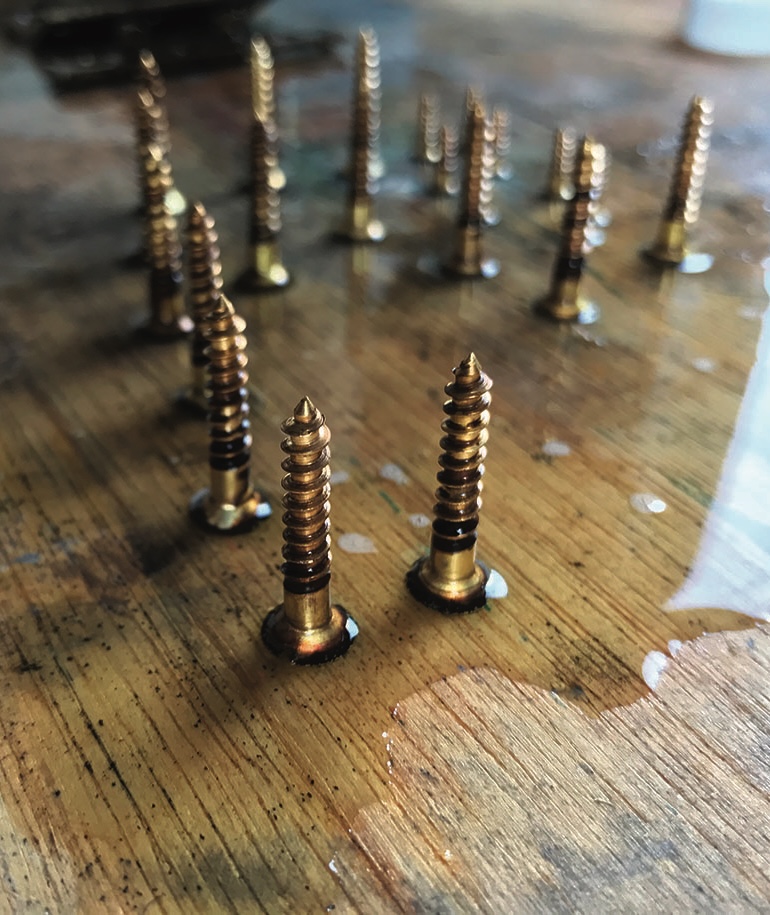
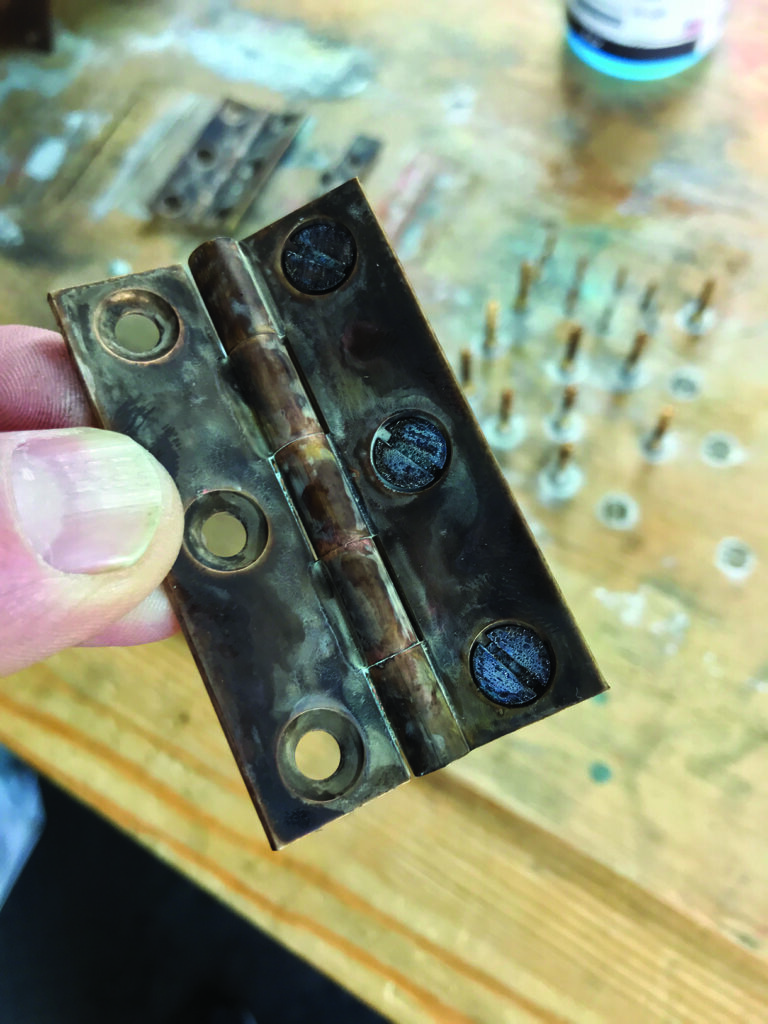
I used two products to patinate a suite of brass hardware, Antiquing Fluid Black and Antique Brown. The Antiquing Fluid was mixed up to use in a bath while the Antique Brown was sprayed onto the surface. As before, the emersion technique resulted in a more even colour. The sprayed-on product pooled away from the sharp edges on the hinges (most noticeably around the countersunk screw holes) on the first application but a second coat seemed to even things out. I found that a second application creates random tones that add to the overall appearance of age. It’s tempting to drop the screws into a bath of the solution but as the heads are the only part visible when in position I found that standing them up on their heads in a shallow puddle had much the same effect. Not much fun if you have a hundred to do but for a dozen or so it’s a viable technique.
Low-tech solution for brass
One low-tech solution for colouring brass that came my way courtesy of Jason Thigpen at Texas Heritage Woodworks was to use a bath of vinegar. Place the items to be coloured in a small vessel and the vinegar in a second larger one. Place the smaller one in the larger one and put them both in sealed food bag or similar container and let the fumes from the vinegar do the rest. It can take a few hours but the results are perfectly acceptable and the vinegar can be disposed of easily.
Finishing up
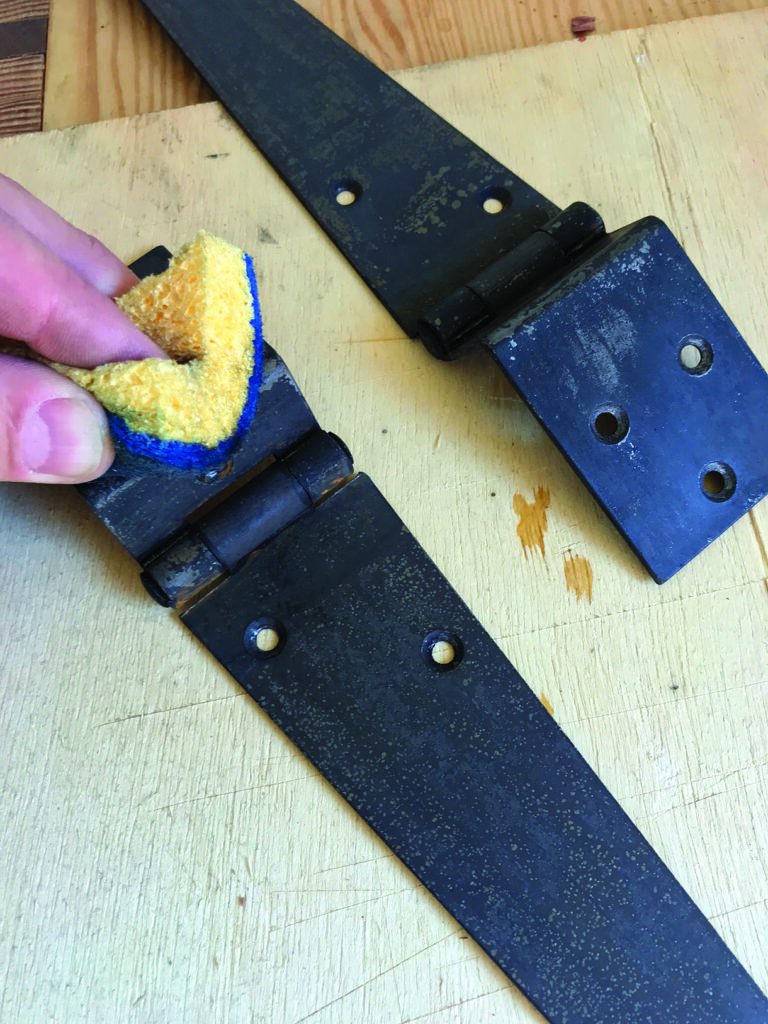
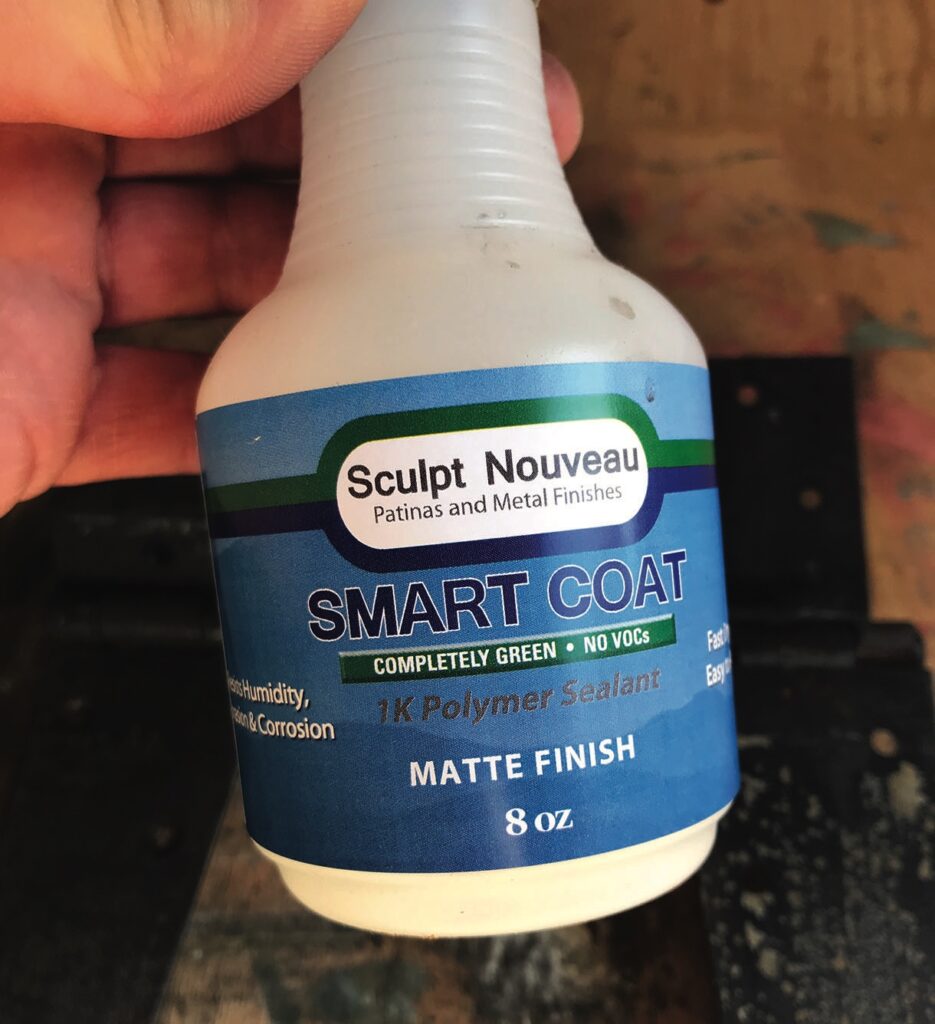
Unlike genuine patina, forced results are not nearly as robust and may require fixing or coating with a lacquer to protect them. For the steel strap hinges I gave them a light scrub to remove the loose particles and to create a more random appearance before spraying with a matte finish water-based lacquer. The finer the coat the better in my opinion for furniture fittings. Heavier coats will result in a level of protection suitable for exterior use. While the list of products used in this article are by no means exhaustive they will enable you to achieve some excellent results for prematurely ageing metal fittings and perhaps lead to experiments for creating decorative details for future projects.