Using a biscuit jointer in static mode has many advantages

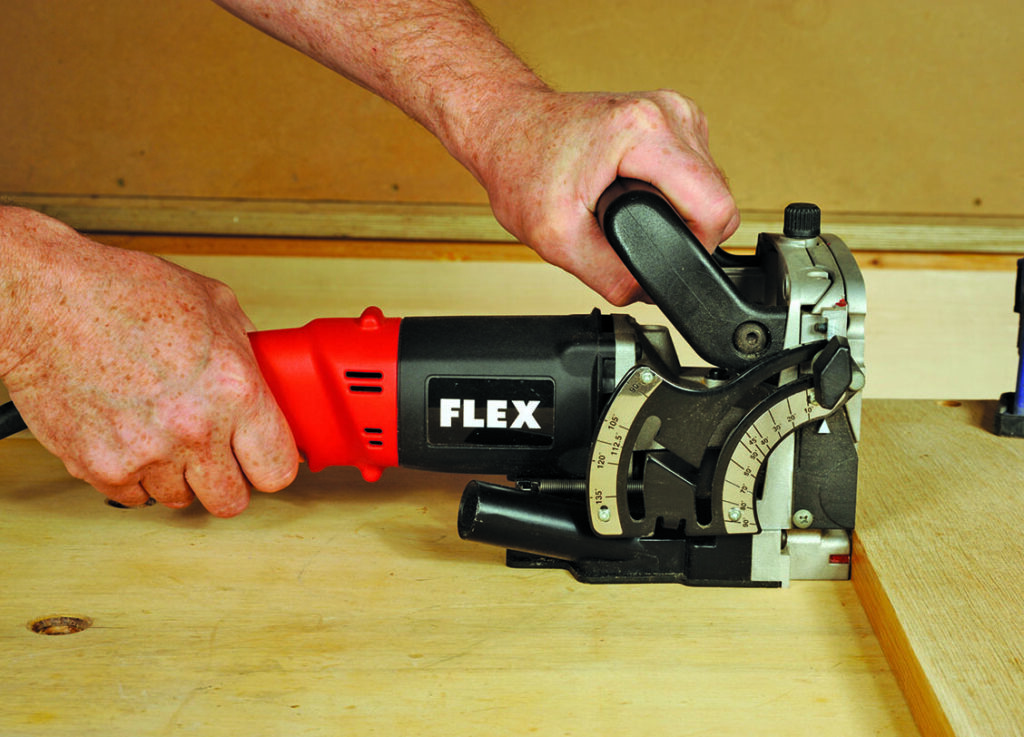
Biscuit jointing has to be about the easiest, quickest and strongest method of carcass building there is. I suspect most users will fit the fence and work freehand, but there are ways of making the job safer,
more reliably accurate and quicker if you know how. Typically a jointer is used for a project where there are repeat operations. It may be that a jig is worth making because it means you can machine all identical components faster and more predictably than you could without it. Such jigs are quick to make or adapt.
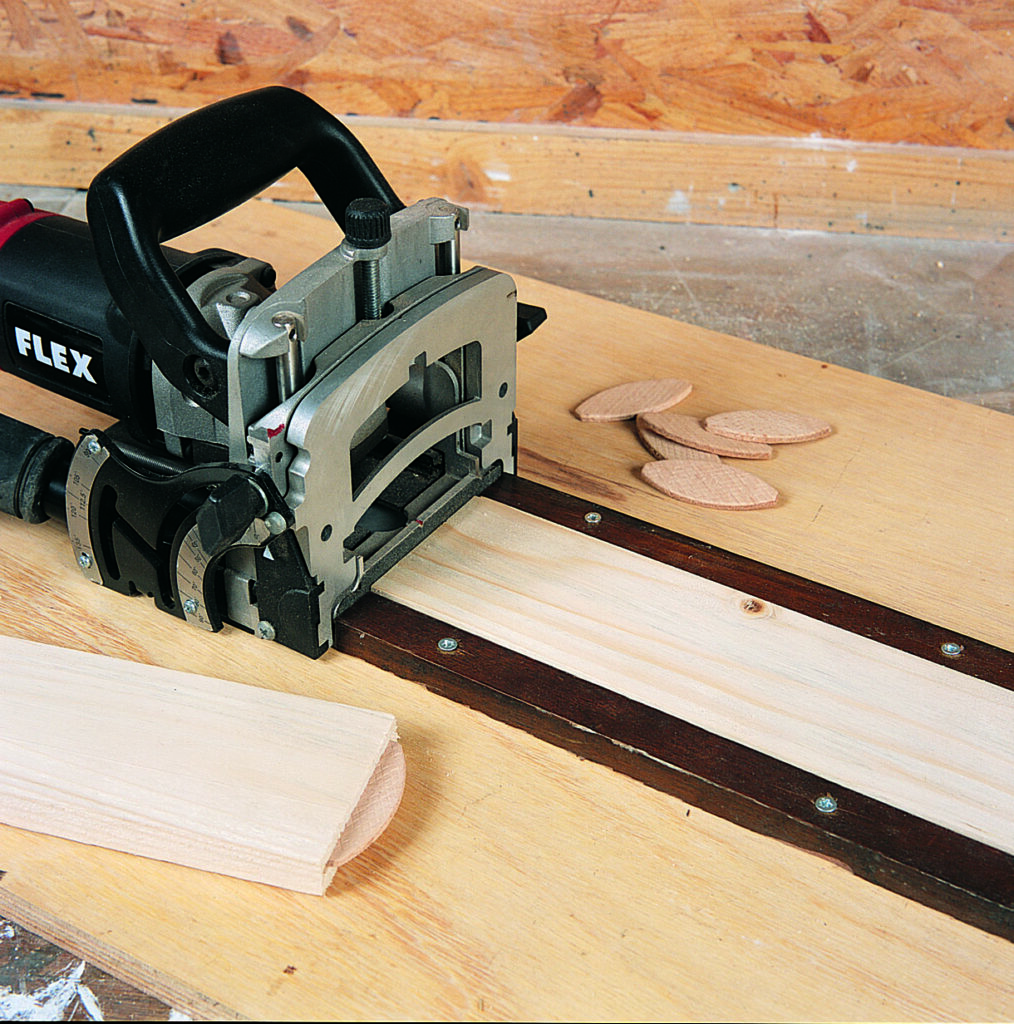
The first problem is the fence on a jointer. For most purposes it is adequate but if you want repeatable precision, trying to return to the same fence setting later may be hard to do, also the fence may not always sit quite square if you aren’t careful. The base of the machine is accurately machined and should be parallel to the blade sitting above; therefore the base is ideal as the datum surface. The old adage is: fix the workpiece or fix the tool, one or the other must be held firmly. What we are going to do is create jigs that effectively allow that to happen for safety and reliable results.
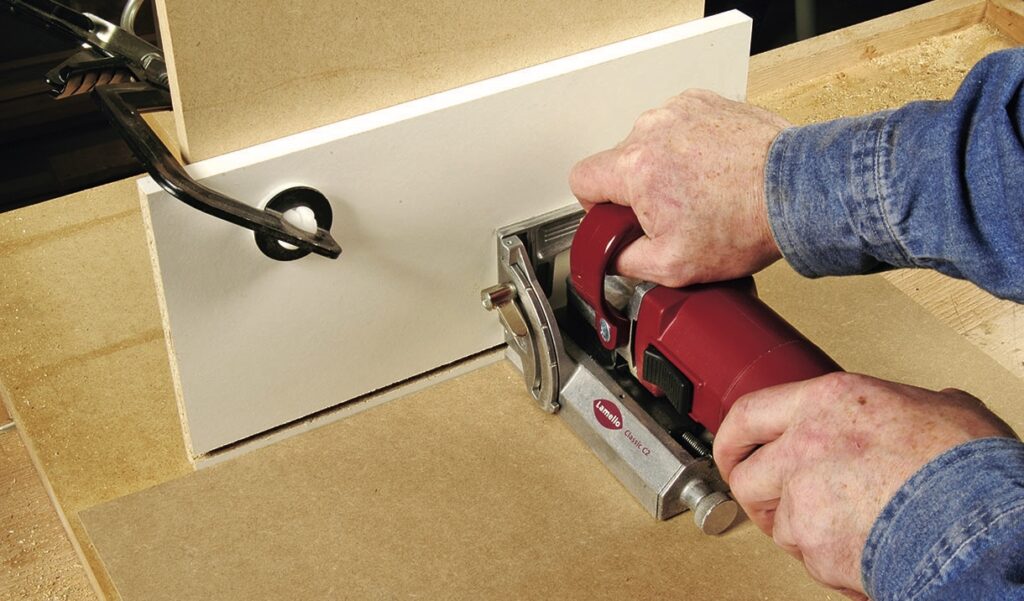
Biscuit jointer bench hook
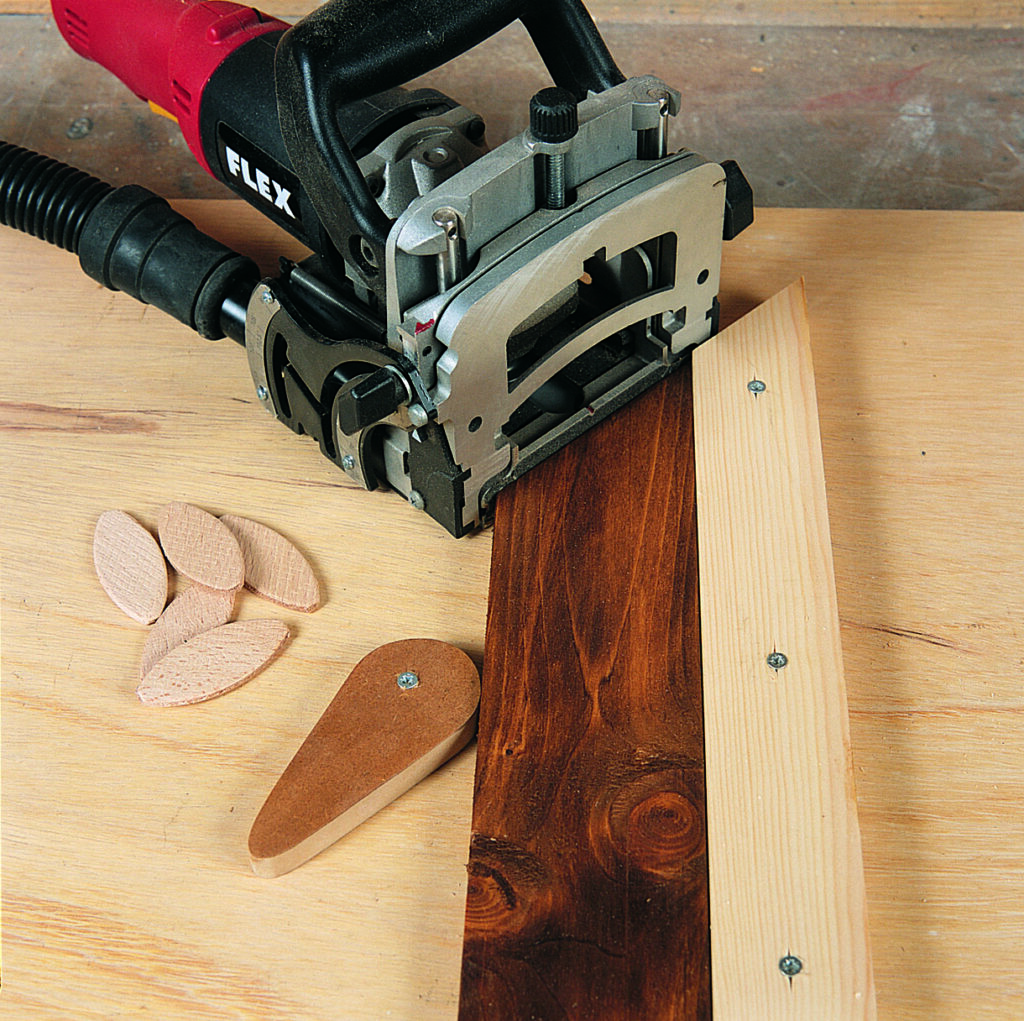
The bench hook is for using a tenon saw to crosscut, right? Well no, not if you make a much larger one as per the photo. It rests against the bench or clamped in the vice and is big enough for a medium size workpiece to lie on. The workpiece rests against the upstand at the back and the jointer has room to sit in front for edge slotting. The workpiece is effectively fixed by holding down with your other hand, without the need for clamping and the jointer base rests on the reference surface of the jig. It is so simple and easy and yet confers reliable, repeatable accuracy. Two points to note though, first the height of the biscuit slots is unlikely to be centred on 19mm thick board; this may not be a problem except that components have to lie ‘face’ down as that is the reference surface.
So care in marking out with repeated biscuit ‘strike marks’ on the ‘wrong’ – i.e. top – side, are necessary. As with any carcass building operation it is this care in setting out and marking which is important to avoid mistakes.
Drawer bottom jig
Making drawers with a jointer is incredibly easy so long as you have the right setup. The drawer base needs a slot which can either be done on a router table with a 6mm groover or use a biscuit jointer, in which case the 4mm blade won’t be quite wide enough for a 6mm thick panel. You can overcome this by bonding several thicknesses of veneer to form an approximately 2mm+ thick sheet big enough for the jointer to move around on, an alternative might be something like a large piece of thick cardboard. You will then, in theory, end up with a groove a fraction wider than is needed for a 6mm board, but it won’t be obvious. The jointer’s spring grips or rubber facing need to be removed or withdrawn so that while the workpiece is clamped, the jointer can be pulled across in the direction of cutter rotation to make the groove without the packer, then do a second pass with the jointer sitting on the packer. This will then give the correct width drawer bottom groove. To perform this operation you need a special L-jig so the workpiece is upright. It can be made from 19mm ply or MDF with a base and vertical face and a bracket piece behind to hold the components at 90°.
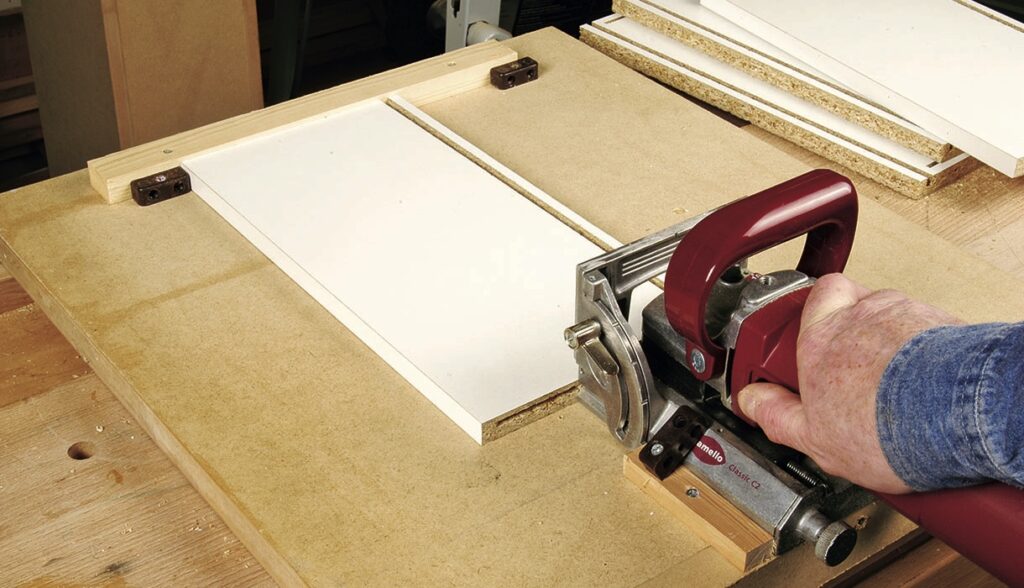

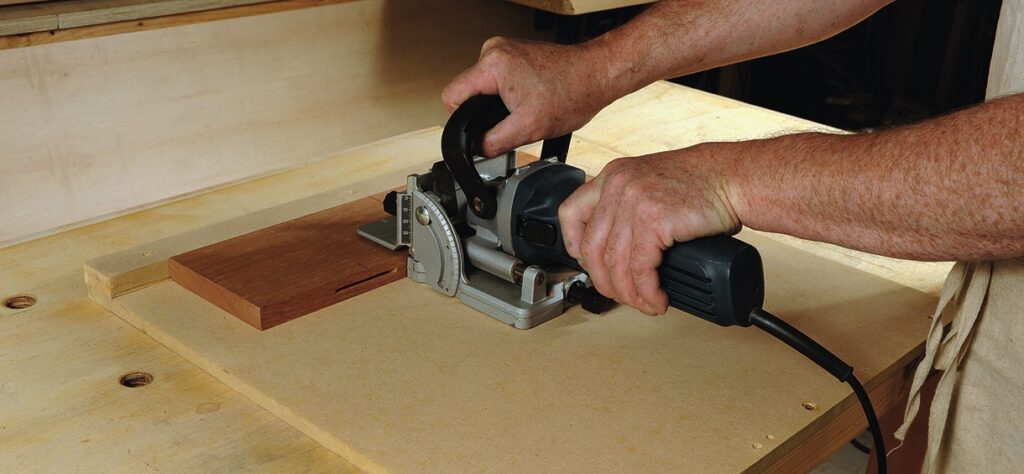
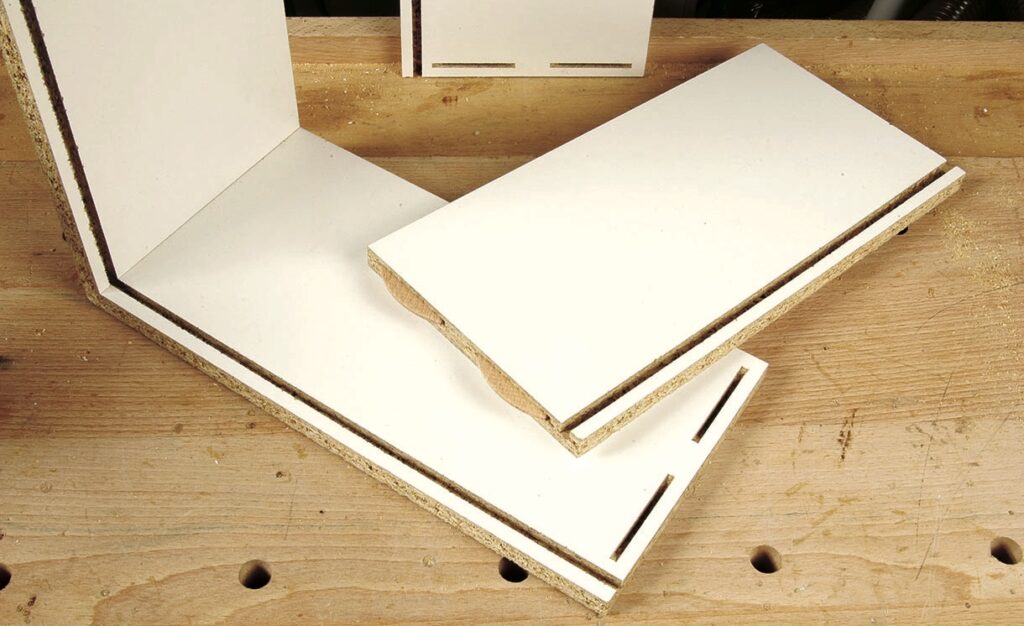
Drawer box jig
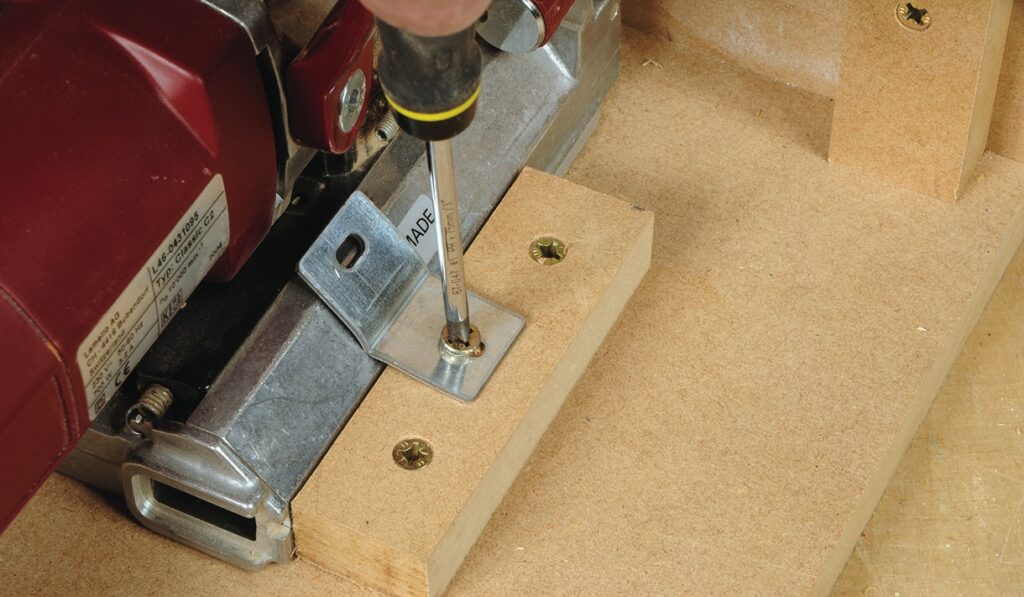
A narrower version can be used to do the drawer box corner joints. The back and front components are machined lying down, but the sides which sit outside the back and front need the L-jig because they are slotted on the inner face at each end. You will notice the slot for the drawer bottom affects where the corner slots go. To overcome you need to do two things: one, the vertical face of the jig needs two battens screwed to it in positions so the workpiece can slide across in front of the jointer for making the second slot; and two, the jointer must be fixed down with its fence pressing against the workpiece. There are ways of fixing any jointer down using a combination of plastic blocks, bent steel brackets, fillets of wood or screws and washers. The exact method will vary according to which machine you own.
The procedure then is simply to plunge slot usually on the No.10 biscuit setting, slide the workpiece across and plunge again. This works for one half of the joints, either left or right. The battens on the vertical board need to be moved across for the other-handed joints to avoid accidentally slotting right through the groove.
End slotting jig
If you want to put slots in the end of workpieces such as bed slats for example, then two battens need to screwed to a board either side of one of the workpiece for a snug fit. The ends need to be level so the face of the jointer meets them correctly. The jointer needs to be fixed down as before. Now you can start slotting; just push the workpiece up to the jointer and plunge the jointer into the end. This process is quick and easy to repeat as many times as you wish. As an alternative you can use one batten and have an eccentric cam lever to grip the workpiece. This also works if you want to make mitred picture frames, etc. The end of the jig is mitred at 45° and the jointer fixed in position centred on the end of the workpiece. You will need both a left and right hand jigs so it pays to use this technique for batch production to make best use of changeover time.