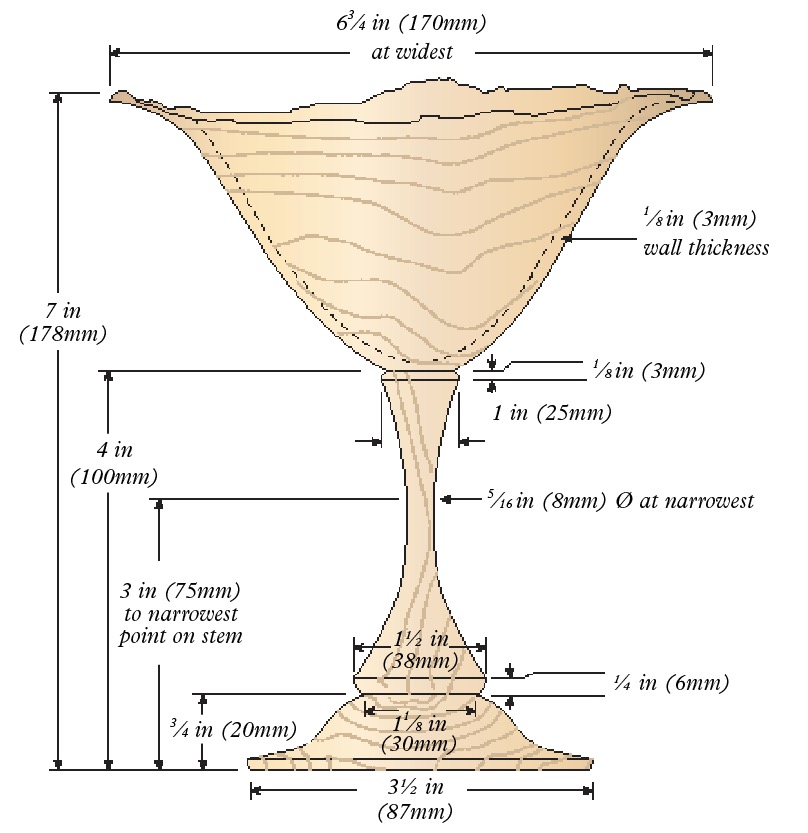
At some time or other every turner wants to work with either branches of timber or bowl sections with the bark still on it – a process known as natural-edge turning. There are some basic principles associated with this, the most important of which is protecting the bark (or natural edge) at all times. I have used alder for this project. Some timbers, such as yew, elm, sycamore and beech, are better-suited to natural- edge turning because their bark is close to the sapwood and therefore more likely to stay intact. Other timbers, such as some fruitwoods for instance, have a large soft and spongy area underneath the bark and between the sapwood, which makes it more difficult to keep the bark intact. Don’t worry if a section comes away, you can stick it back with superglue or, if something goes badly wrong, remove the whole bark section completely and keep the underlying wavy edge intact. It is a challenge, but with a few simple steps and key stages in mind, you will be well on the way to mastering the technique. This endgrain vase (which could be a goblet), made from a log section, is the perfect project for practising it.
• Bowl gouge • Beading and parting tool • Spindle roughing gouge • Spindle gouge • Thin parting tool • Revolving centre • Drive spur • Chuck • Sanding block • Abrasives down to 400 grit • Finish (oil was used on this project) • Callipers • Paper towel • Personal protective equipment (PPE): faceshield, dust mask and extraction
Drawing
Things to consider
1. The log section selected for this project has not been felled long, maybe a month or so. The wood is still wet, which means you must make the thickness of the walls as even as possible. Failing to do this will mean the timber dries out at uneven rates, which will cause stresses that may lead to cracking.
2. You can expect movement when the wood dries. Choose a design that works even if the piece warps and changes shape a bit. This is the fun part. You never know wholly what will happen but you can give everything the best chance of success and then wait for the magic to happen.
3. You do not want the pith of the log, which will eventually become the stem of this project, to be in the exact centre, otherwise it could create a weak area that may not be stable during cutting. Ideally the pith should be off to one side.
4. Err on the side of caution with the lathe speed. If in doubt, slow things down, especially when working with thin sections.
5. Before switching on the lathe, always spin the work by hand to make sure everything is clear of the rest. Never move the rest when the work is revolving.
Starting to turn
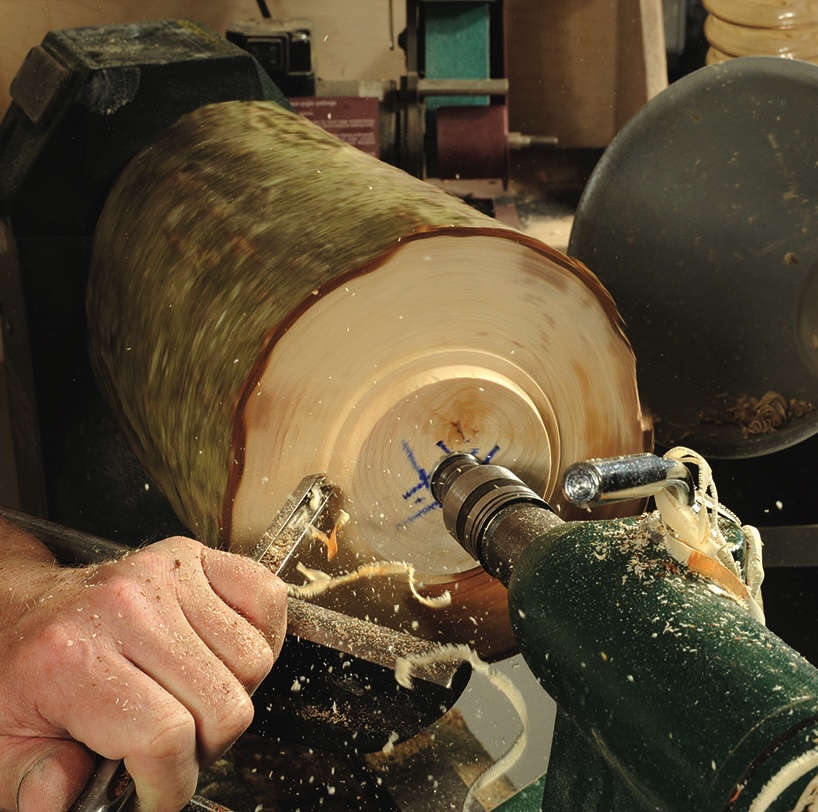
1. Mark the centres at each end of your chosen timber and then secure it in place between the centres with the pith off to one side. This means that the log may be off-centre. Use a bowl gouge to clean up the end nearest the tailstock and then a beading and parting tool to cut a spigot to suit your chuck jaws. The spigot should be close to or larger than one-third the overall diameter of the log to ensure stability. Once cut, remove the timber from the lathe, reverse it, fit the spigot in the chuck and bring up the tailstock
2. Now use a bowl gouge to clean up this end too. A bowl gouge is the best tool for this because of its strength and also because, due to the uneven surface of a typical log, the rest can at times be some way from the work, resulting in a large overhang of the tool over the rest. The extra strength of the bowl gouge is handy in this situation
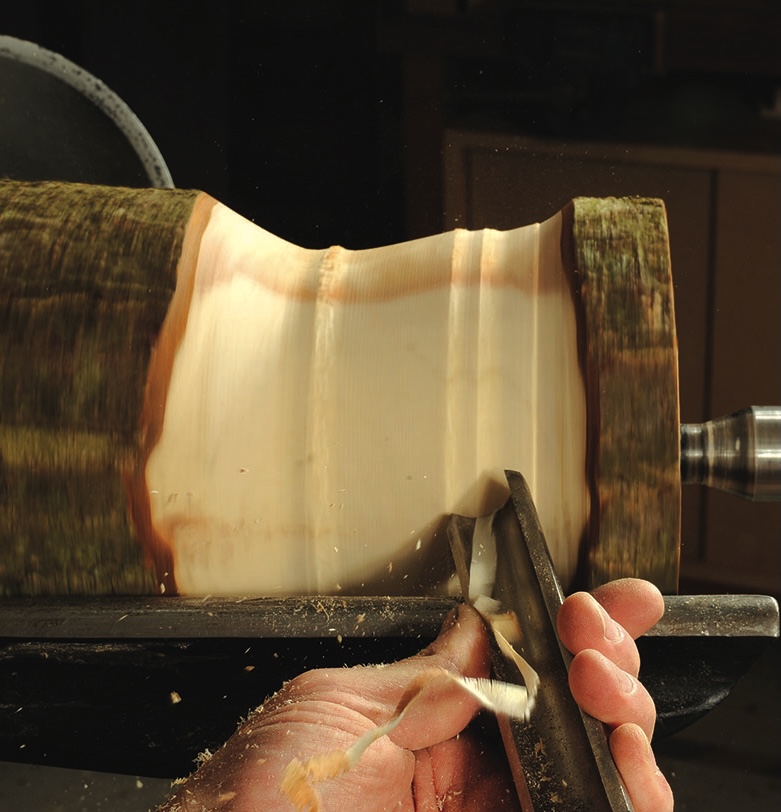
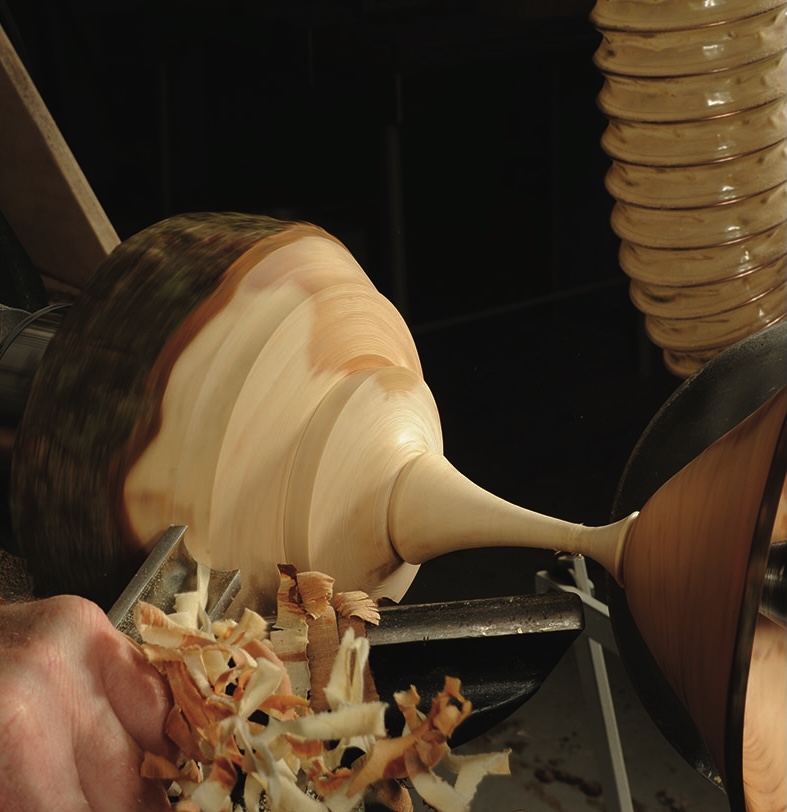
3. After cleaning up the end, use a spindle roughing gouge to remove some of the waste timber from the middle section of what will be the stem area. Note that I have left a wide section of bark near the end that was just cleaned up. All that is needed at this stage is to define the parameters of the rim and body section, so don’t take too much away
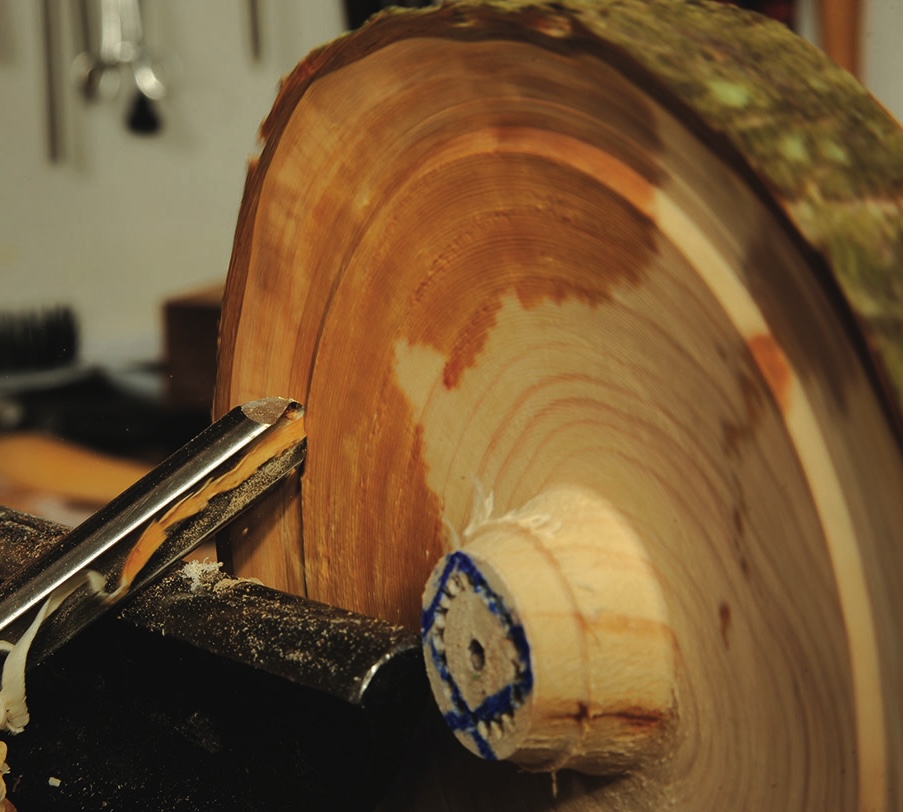
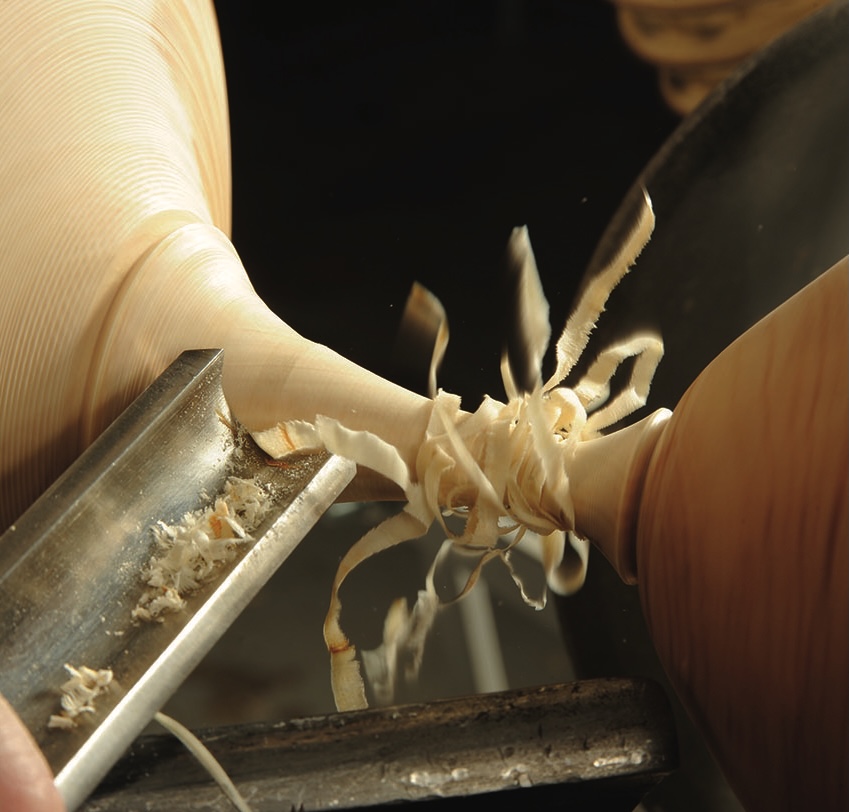
4. I want to keep the tailstock in place as long as possible, so I am making a push from the outer edge to a point close to the tailstock. Regardless of grain orientation we need to cut into the bark from the outer edge in all circumstances to avoid or minimise the risk of pushing off the natural edge, even if this means working against the grain. The key is to use a gentle and controlled cut and try to angle the cutting edge to slice or peel away the fibres of the grain
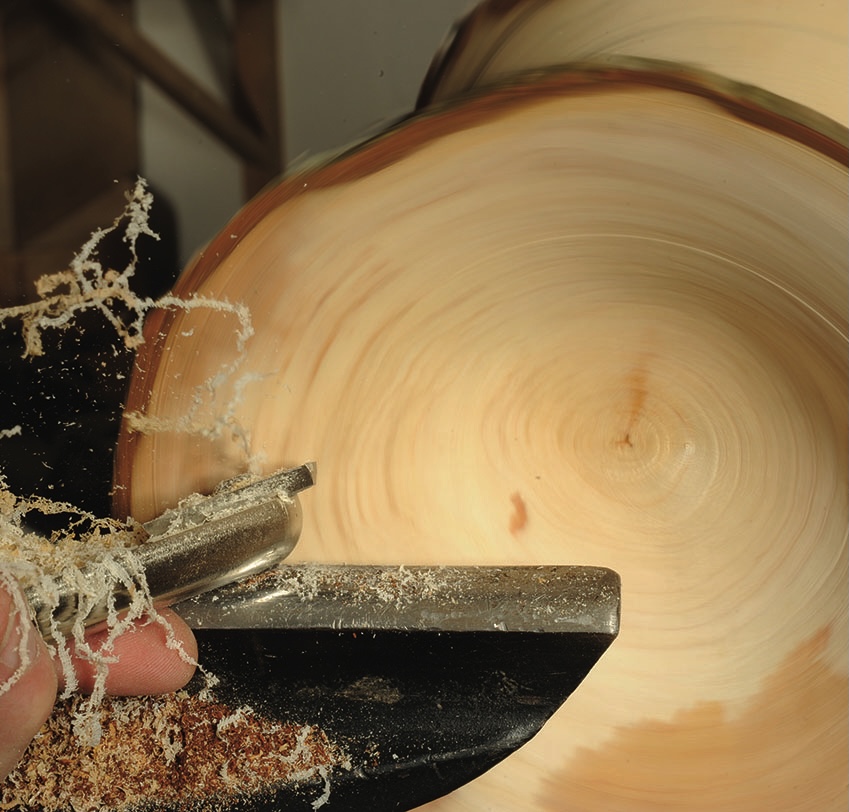
5. You can see the presentation angle of the gouge and the cut better here, even though I am cutting against the grain. The flute is not pointing at the normal 2 o’clock position; instead it is nearer the 4 o’clock. This presents an elongated cutting edge to the work, thus peeling the fibres
6. Technically, because the wood is endgrain-orientated, we should be working from the centre out to the edge. A spindle gouge can be used to do this easily. Be sure to stop well short of the bark
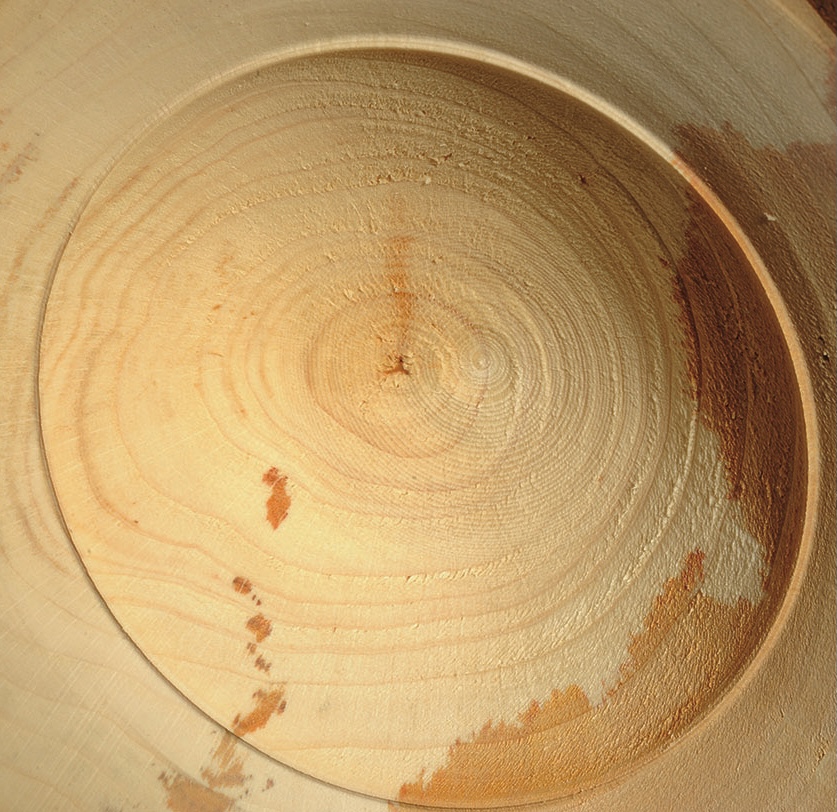
7. Note the damage on the inner area and also the fluffiness of the surface
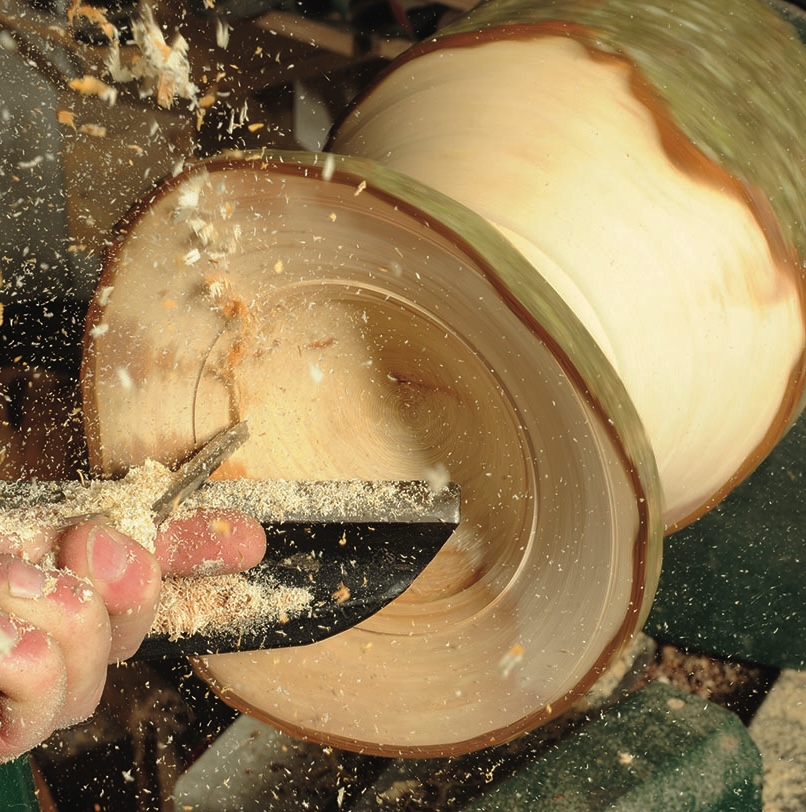
8. Work out whether to use this cut or the one used earlier, where we had a slicing/peeling action cutting against the grain to get the best surface finish. I found that the slicing cut against the grain worked best on this timber and a spindle gouge coped easily with this
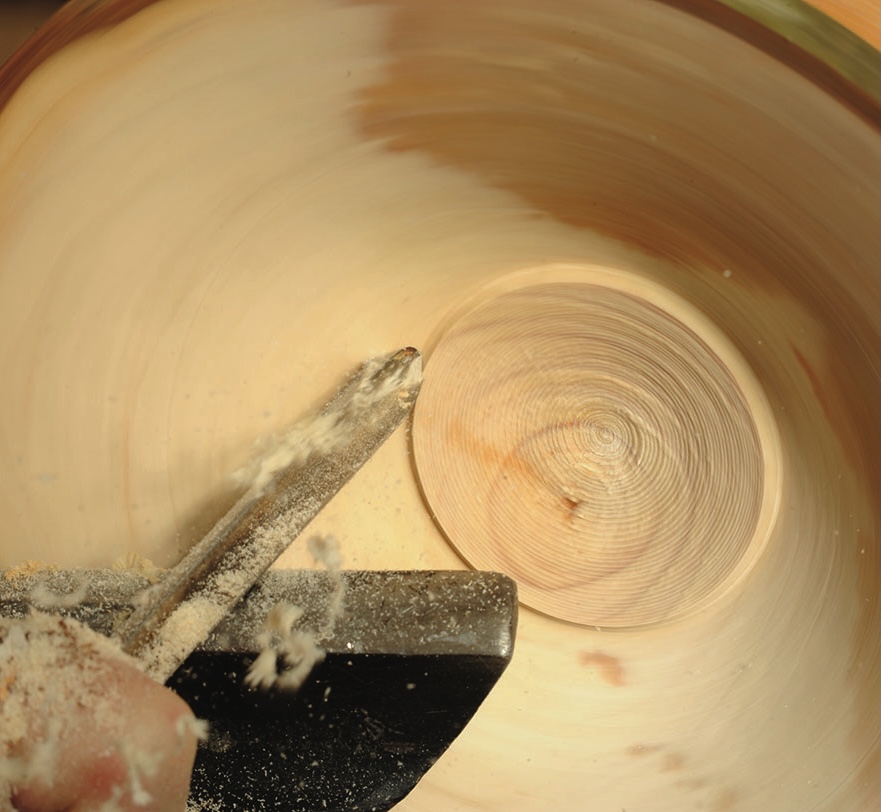
9. Depending on how clean the surface is, you can use a scraping tool to refine it. Work from the centre of the inner hollow outwards, stopping short of the bark
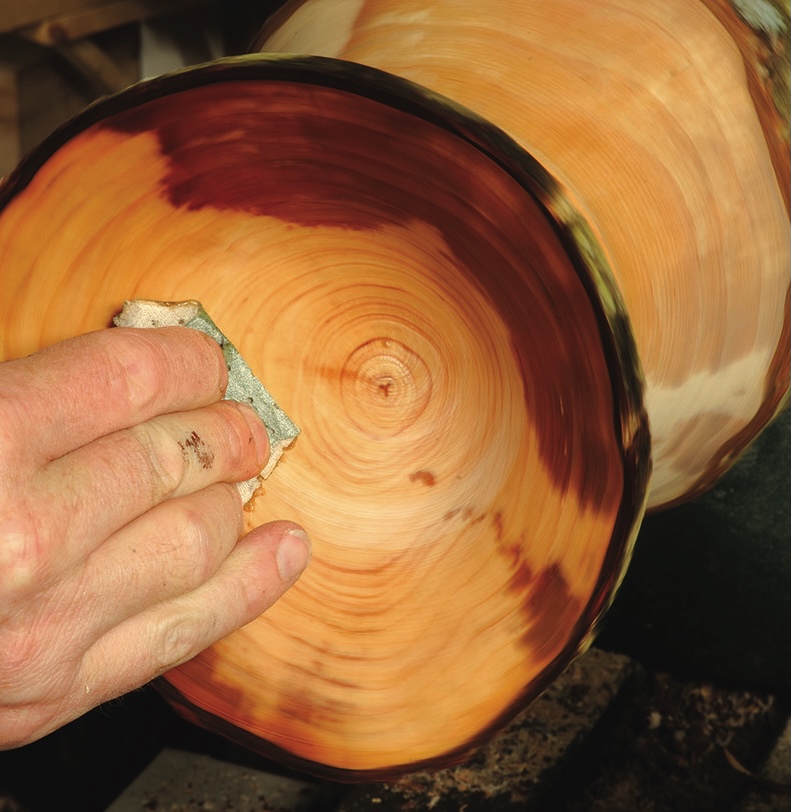
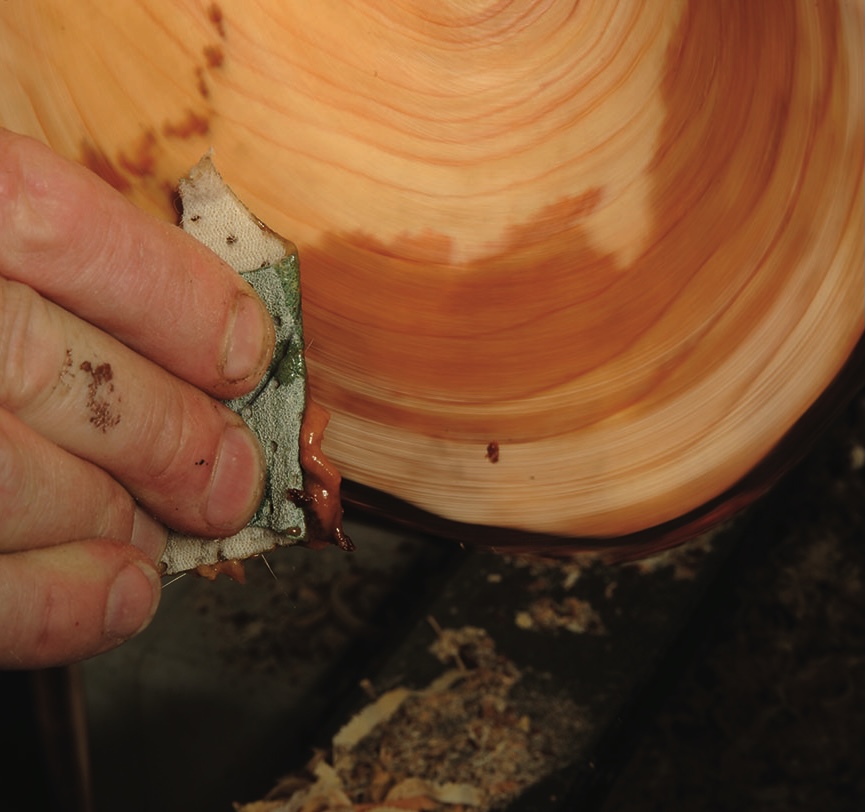
10. If you find that the scraper tears the grain, go back to a gouge then use abrasives. Whichever way you go, abrasives are the next stage. The wood is wet and needs to remain so in order to avoid splits occurring due to the wood drying out when sanding. So having decided to use oil as a finish, I coated the whole surface with it and sanded while it was wet. You can of course use water. Work through the grits, only applying more oil if you see airborne dust or if the surface becomes dry
11. Wet sanding creates a slurry that may darken the wood slightly so this method should only be used on timber of a uniform colour. If you have a dark heartwood and light sapwood there will be colour contamination
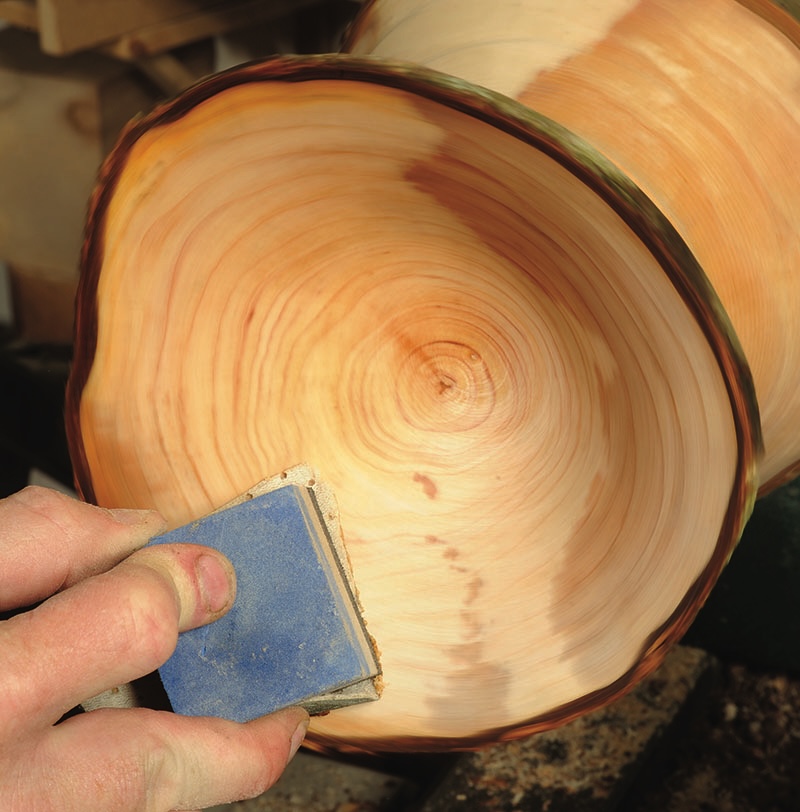
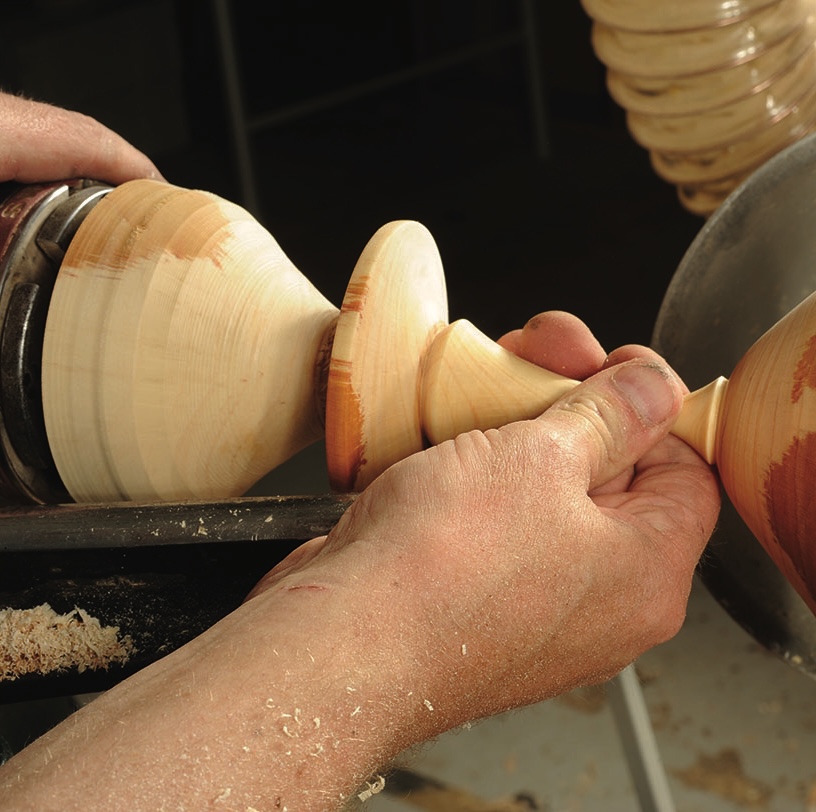
12. Natural edges may be very uneven. If this is the case it might be prudent to use a sanding block to minimise the risk of your fingers touching the natural edge, which should be avoided at all costs. Make sure you trail the block and sand using the lower section of it so you do not have a leading edge coming into contact with the oncoming timber. If the higher edge touches the wood it is likely to grab into it
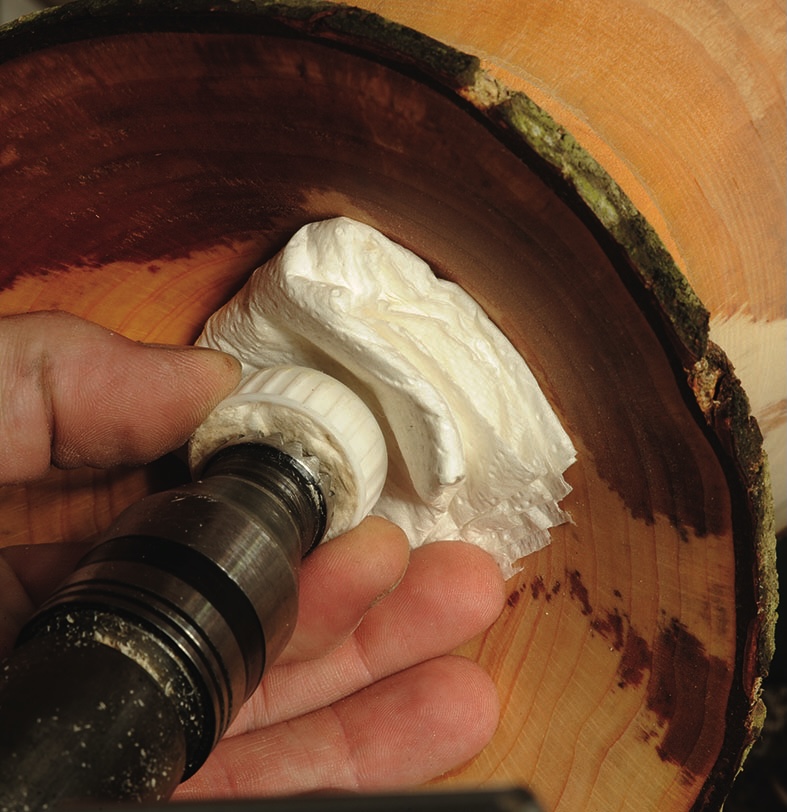
13. After sanding, wipe over ith fresh oil to clean up the surface of slurry and then bring up the tailstock to provide support when turning the stem. Take care that the point does not damage the fresh surface. Here I am using a drinks bottle cap stuffed with paper towel to slide over the revolving centre and more paper towel between it and the wood to prevent damage
14. Tighten up the assembled parts and then have a light source, in this case a multi-bulb LED light, shine on the inner wall while working on the outer one. Note that the LED is a cold light so doesn’t dry the wood out
15. Using a bowl gouge, gradually remove the excess wood on the outer section of the cup form. Gradually work back to the final thickness. You can see that the light from the other side shines through the thinner section. This is one way of gauging wall thickness on wet wood. When the light appears to shine evenly through the wood you have an even wall thickness. Of course, you can double-check this with calipers after stopping the lathe16. Work down in stages by removing more waste and then creating the even wall thickness required. A bowl gouge suits this well. At some stage we need to sort out the height of the stem. For this we need to know the depth of the cup section – a homemade gauge will help, as would a ruler
17. The bottom section should be as thin as the side walls. Now refine the bottom and the top of the stem section using a spindle gouge. When cutting into deep sections such as this, remember to rotate the blade as you reach the end of the cut so that the flute points horizontally (i.e. sideways). This will help ensure you do not end up with a catch
18. Once cut, finish it off by oil sanding (as done on the inside) before you move on to creating and refining the lower section. A spindle roughing gouge is then used to remove the bulk from what will be the stem section
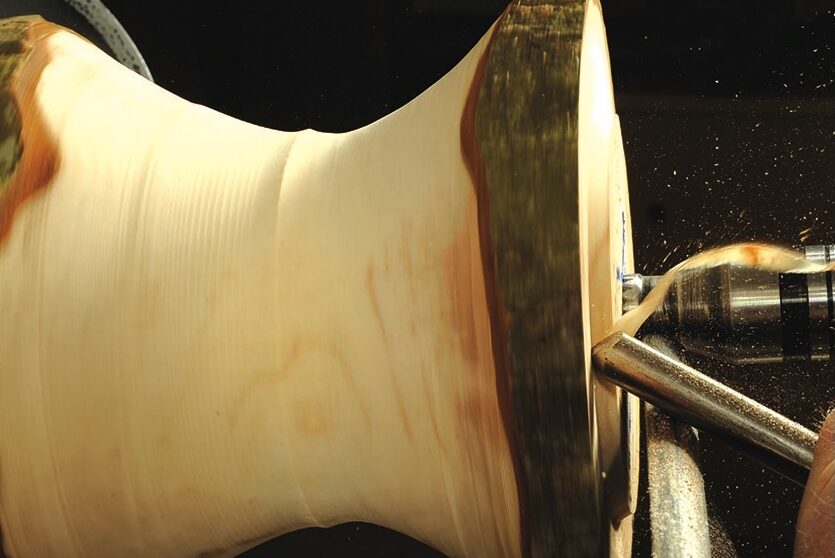
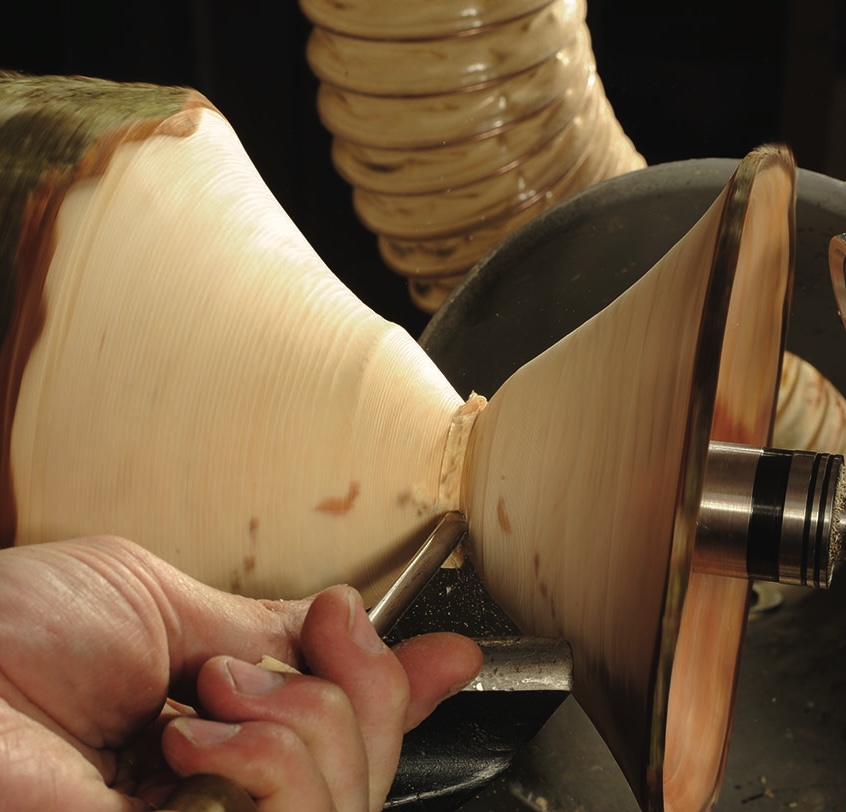
19. Note that the shoulder section on the cup is similar to what you have done before. The thinnest section of the stem is about one-third of the way along the stem and the lower section near the foot gradually flows to the lowest part. A spindle roughing gouge is best for bulk removal of wood and a spindle gouge for refining
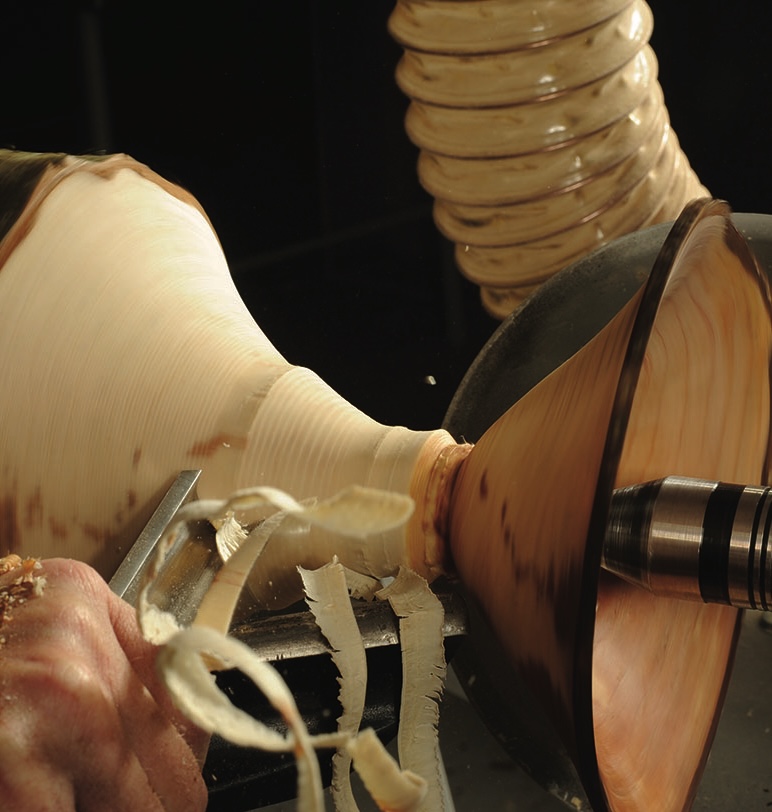
20. When you have achieved more or less the desired shape, refine the top part of the stem where it meets the cup by rolling over the edge to create a rounded section. Then shape the stem further working from both sides down to the lowest part
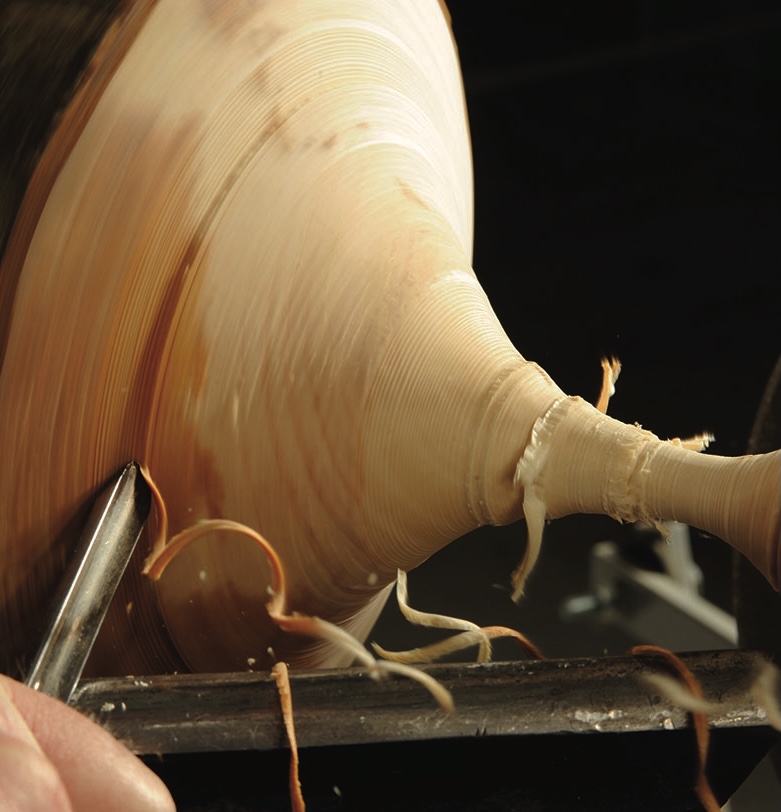
21. Once the stem is shaped, refine the lower section where it meets the base to mimic the upper section detail but be a bit wider. The width can be adjusted in order to get the balance of the piece just right
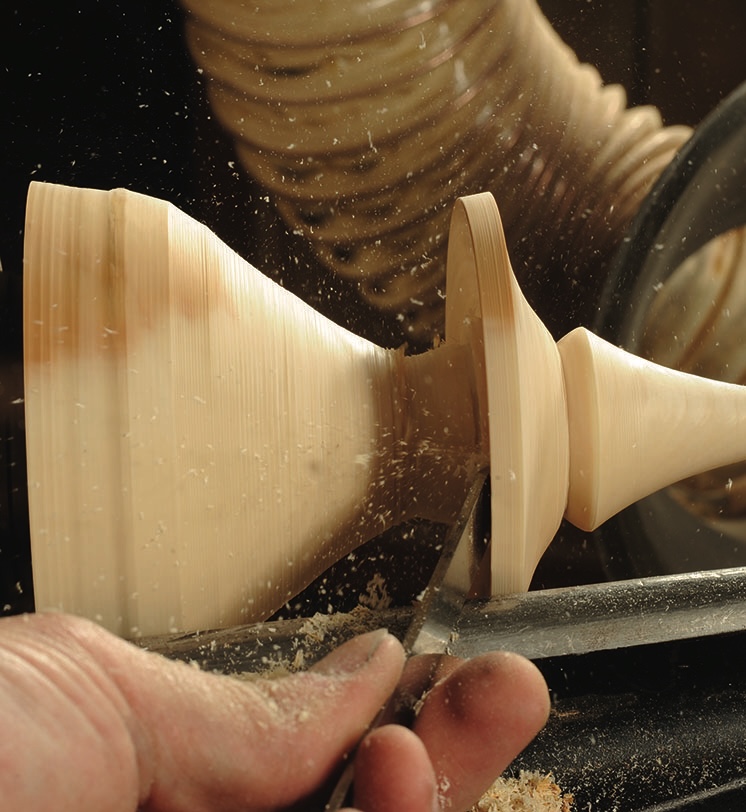
22. A spindle roughing gouge is then used to remove the remaining bulk from the base area
23. Refine the shape of the base with a spindle roughing gouge you will see it is an ogee form (an S-shaped curve) rising up to the lower section of the stem. Use a parting tool to undercut the base part way, to create a more or less even wall thickness. Before you go too far, wet sand the stem and top of the base
24. Now part almost through the underside, stopping just short – around 1⁄8in (3mm) or so. Remove the tailstock and the piece from the lathe, carve off the pip and then sand and oil the bottom
To provide the best experiences, we use technologies like cookies to store and/or access device information. Consenting to these technologies will allow us to process data such as browsing behaviour or unique IDs on this site. Not consenting or withdrawing consent, may adversely affect certain features and functions.
Functional
Always active
The technical storage or access is strictly necessary for the legitimate purpose of enabling the use of a specific service explicitly requested by the subscriber or user, or for the sole purpose of carrying out the transmission of a communication over an electronic communications network.
Preferences
The technical storage or access is necessary for the legitimate purpose of storing preferences that are not requested by the subscriber or user.
Statistics
The technical storage or access that is used exclusively for statistical purposes.The technical storage or access that is used exclusively for anonymous statistical purposes. Without a subpoena, voluntary compliance on the part of your Internet Service Provider, or additional records from a third party, information stored or retrieved for this purpose alone cannot usually be used to identify you.
Marketing
The technical storage or access is required to create user profiles to send advertising, or to track the user on a website or across several websites for similar marketing purposes.