Ramon Valdez’s auxiliary router fence comes with accuracy, safety and extraction built in
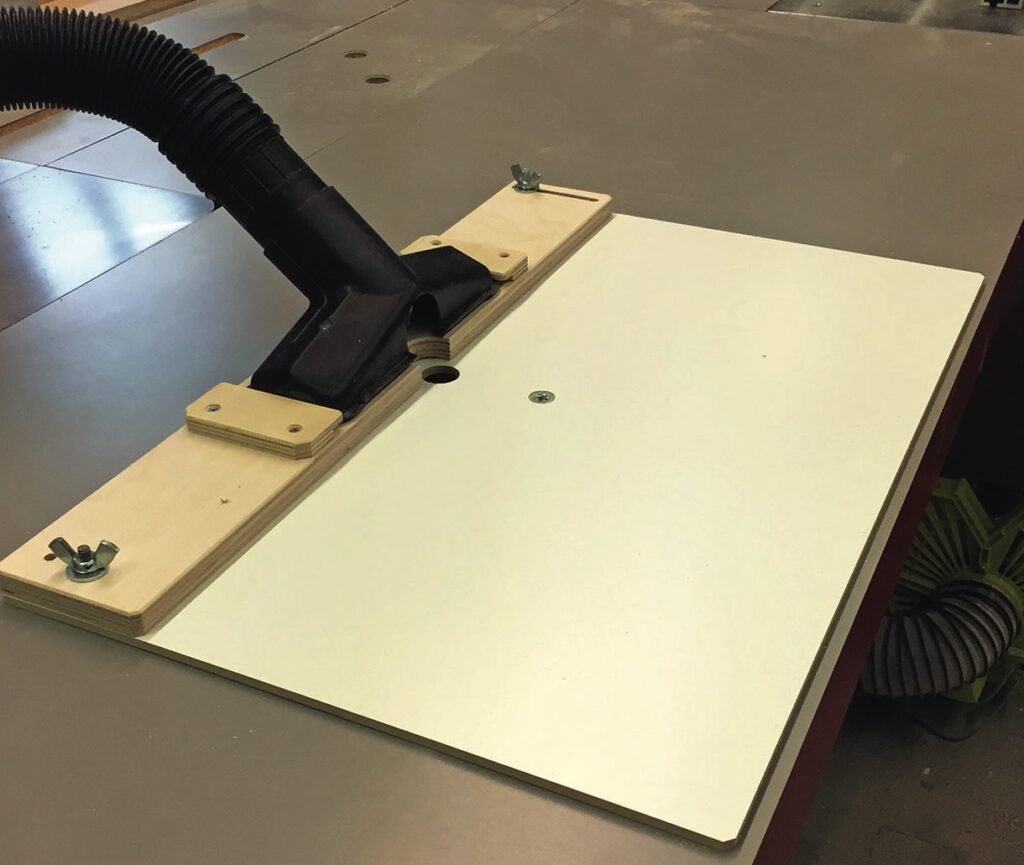
There is no doubt that a router table is a valuable addition to any workshop, I use mine all the time. However, there are many instances where I need a smaller/shorter fence, a smaller router bit opening and an easy and adjustable fence. For instance, I was recently making my own Dominoes and I wanted a contrasting and exposed tenon. Routing small radii on the router table with my auxiliary fence is quick, easy and safe. Here is how I made it.
Matching the bases
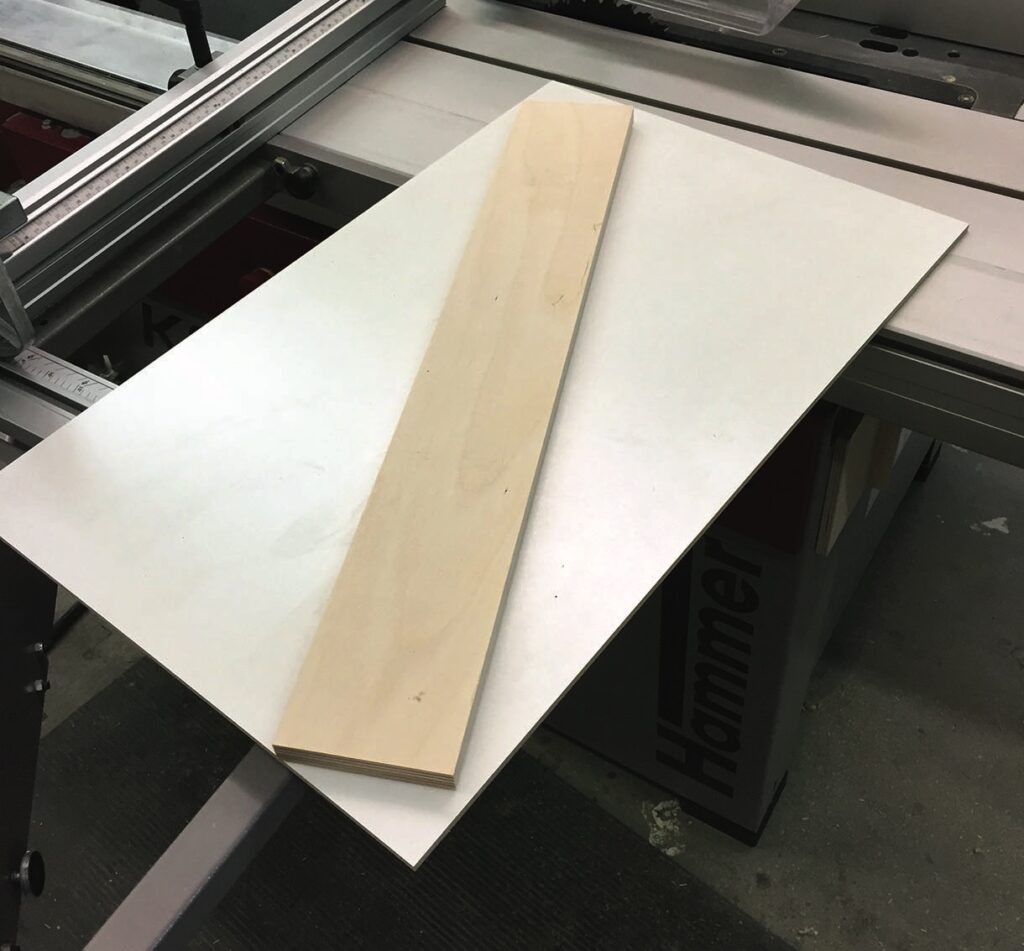
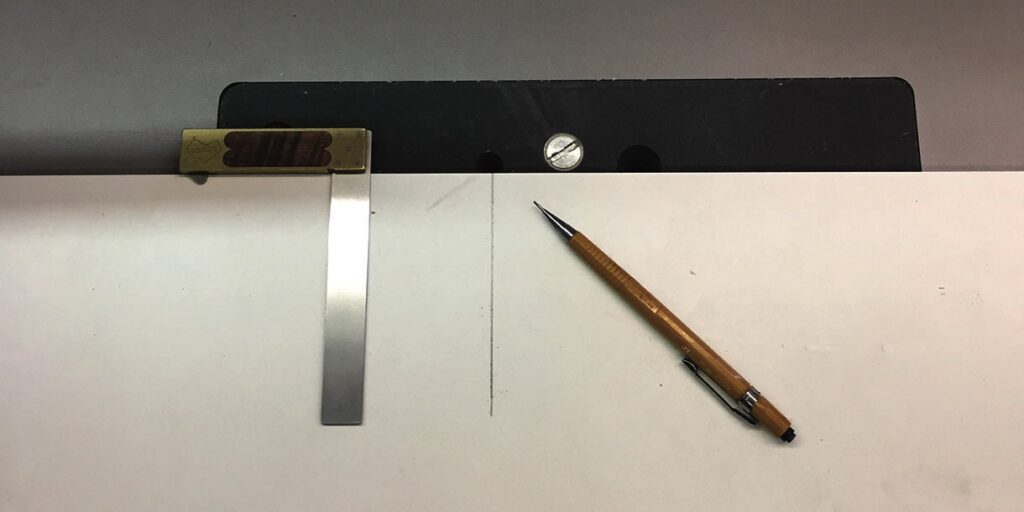
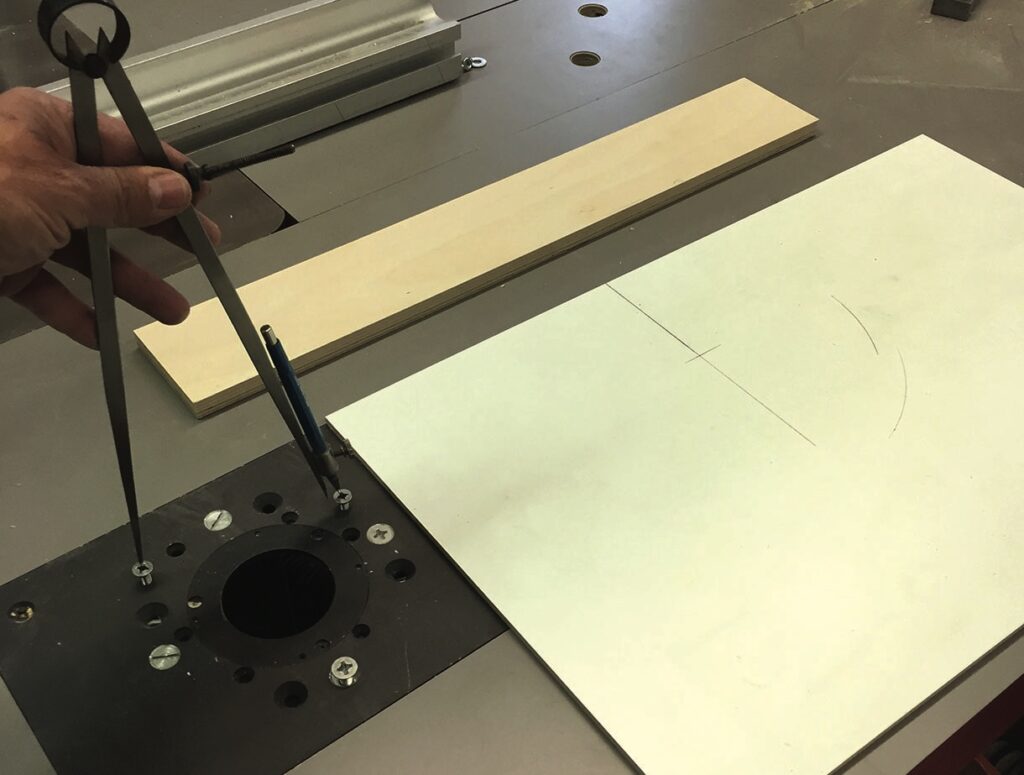
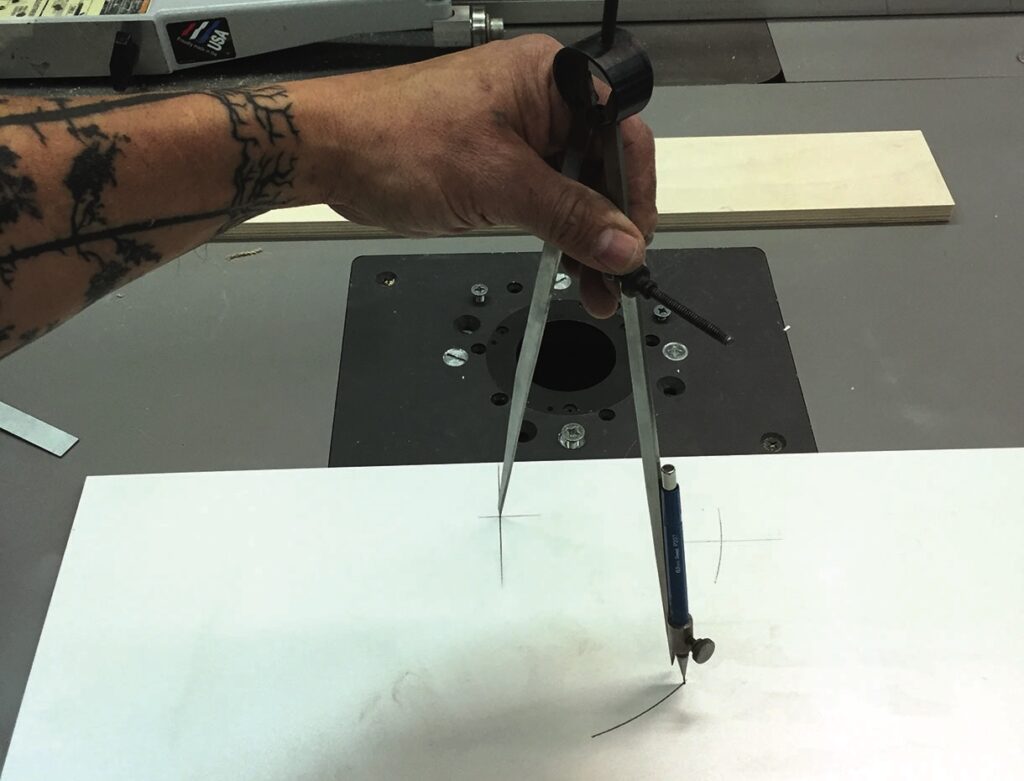
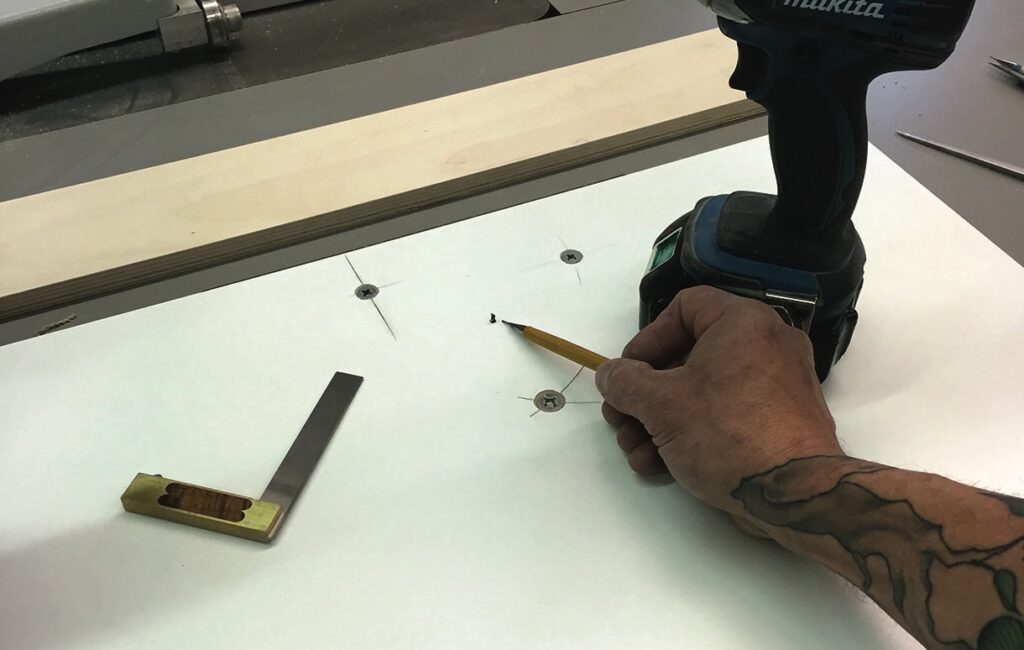
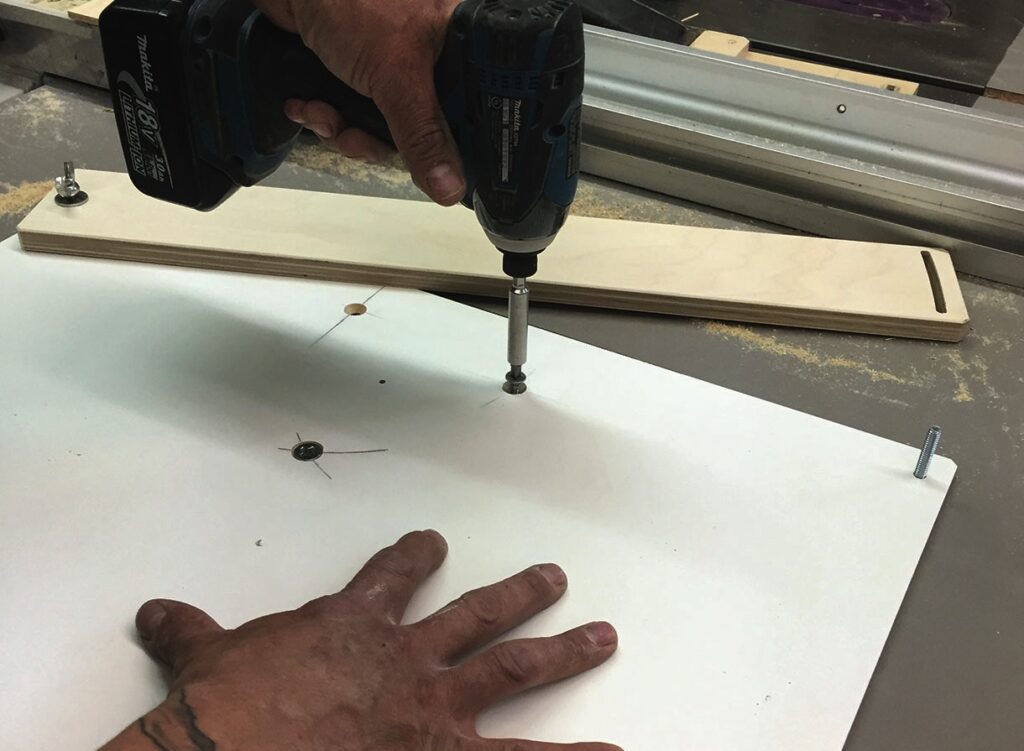
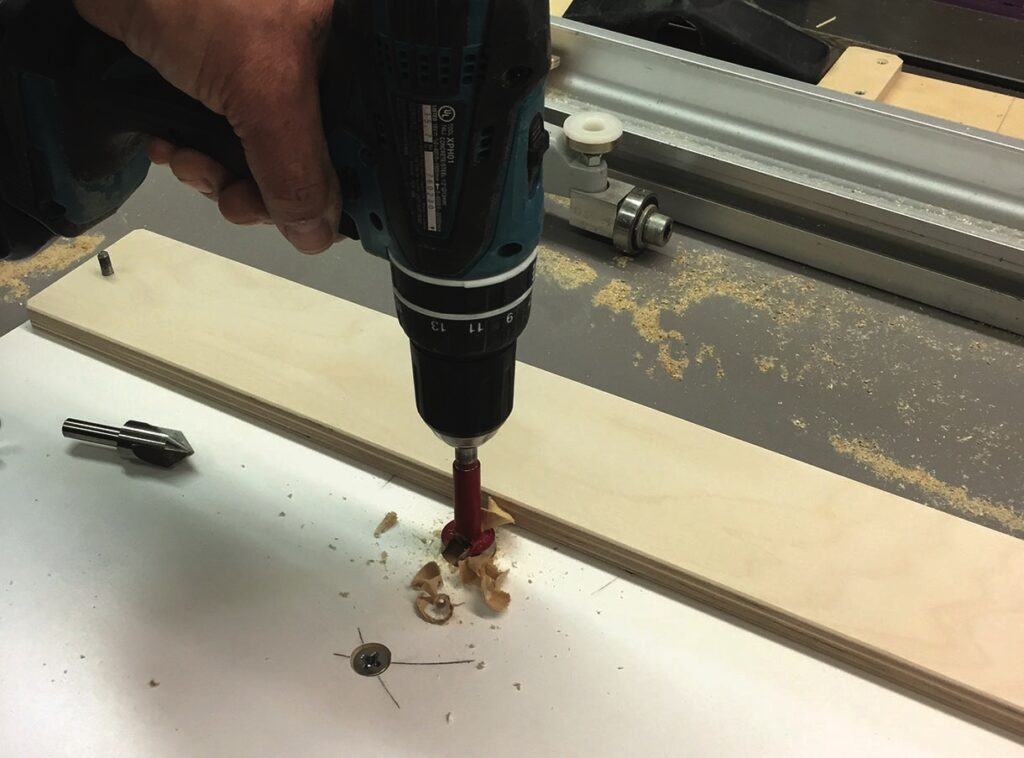
I start with a length of Baltic birch plywood in a 16mm (5/8in) thickness. Straight edges are important here, so I ‘straight line’ one edge, then rip it to about 90mm (3½in) x 610mm (24in) and square cut the ends. I also cut a piece of 6mm (¼in) MDF, mine is covered with ‘cold roll’, which is similar to melamine. This section I made about 390mm x 610mm. These dimensions aren’t critical by the way, just cut your pieces to suit your needs. My Bench Dog router base plate has several machine thread holes that I use to anchor down the MDF. I centred the MDF on the router base plate side to side, then made a mark at one of the threaded holes. I transferred this location down a bit and made a cross hair mark. Then, using this location as a pivot point for my large compass, I transferred the other locations of machine thread screw holes to the MDF. One could easily just remove the router base plate and overlay the MDF to mark these hole locations. I then drilled the appropriate sized holes and used a countersink bit to set them slightly below the surface and screwed the MDF down.
Create the pivot point
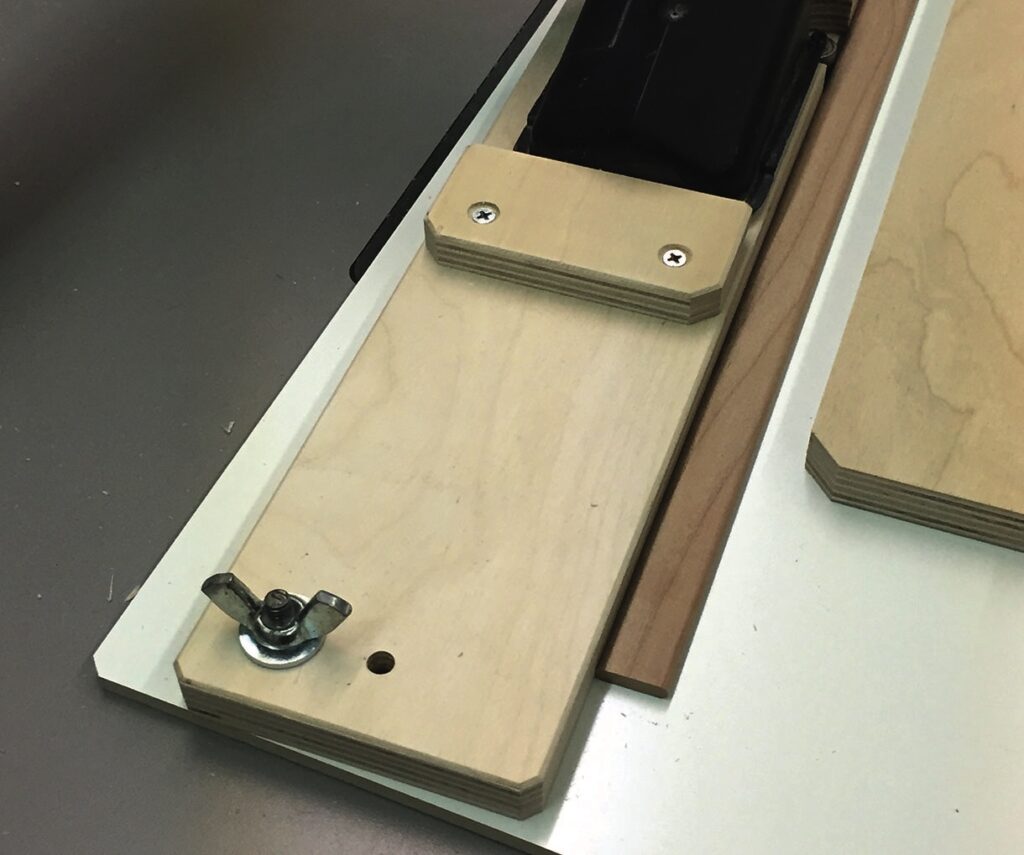
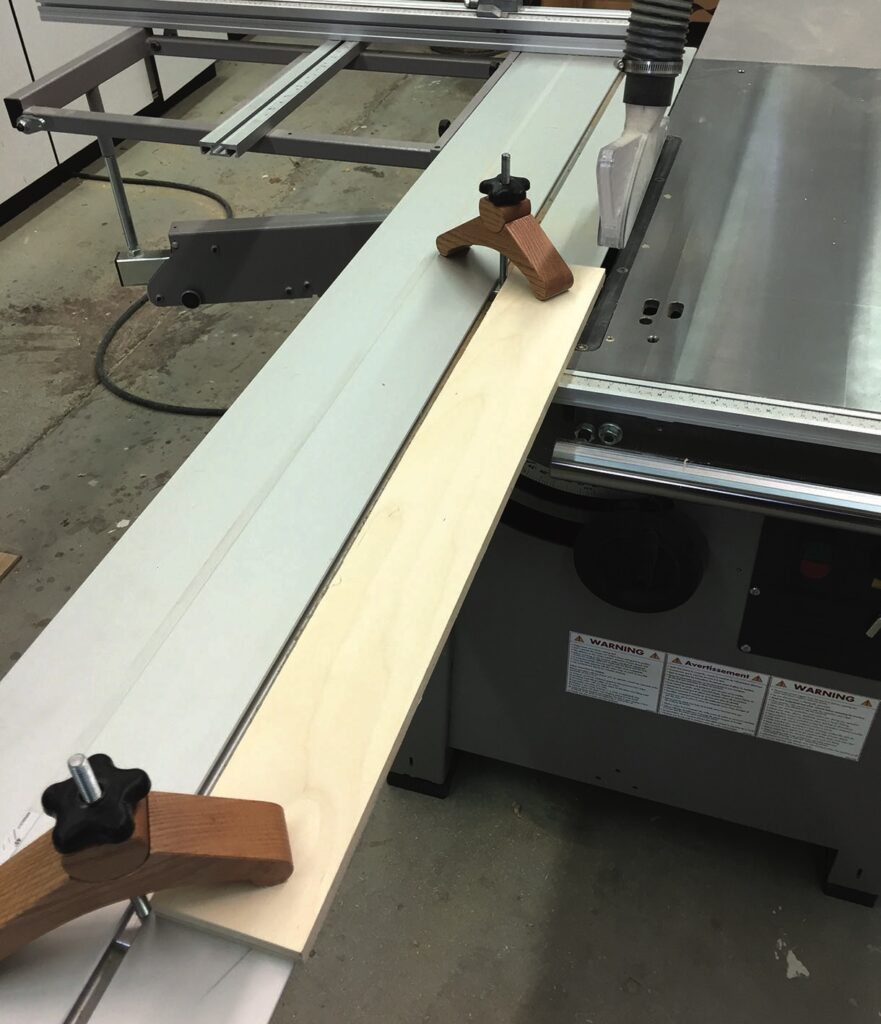
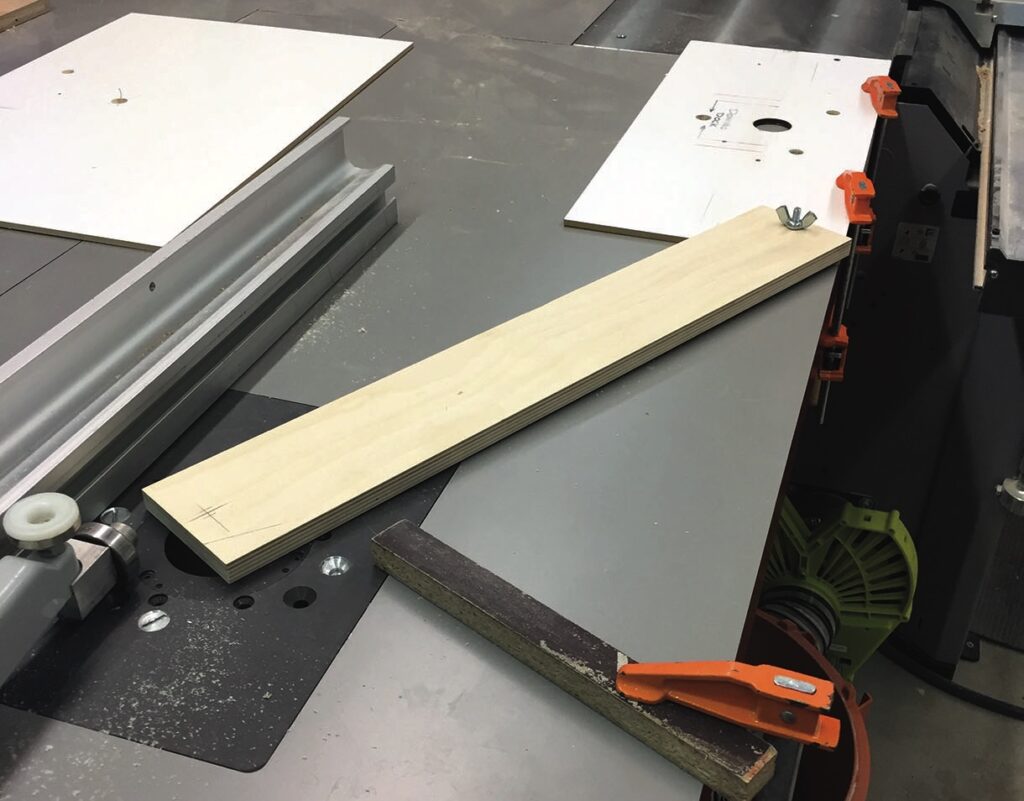
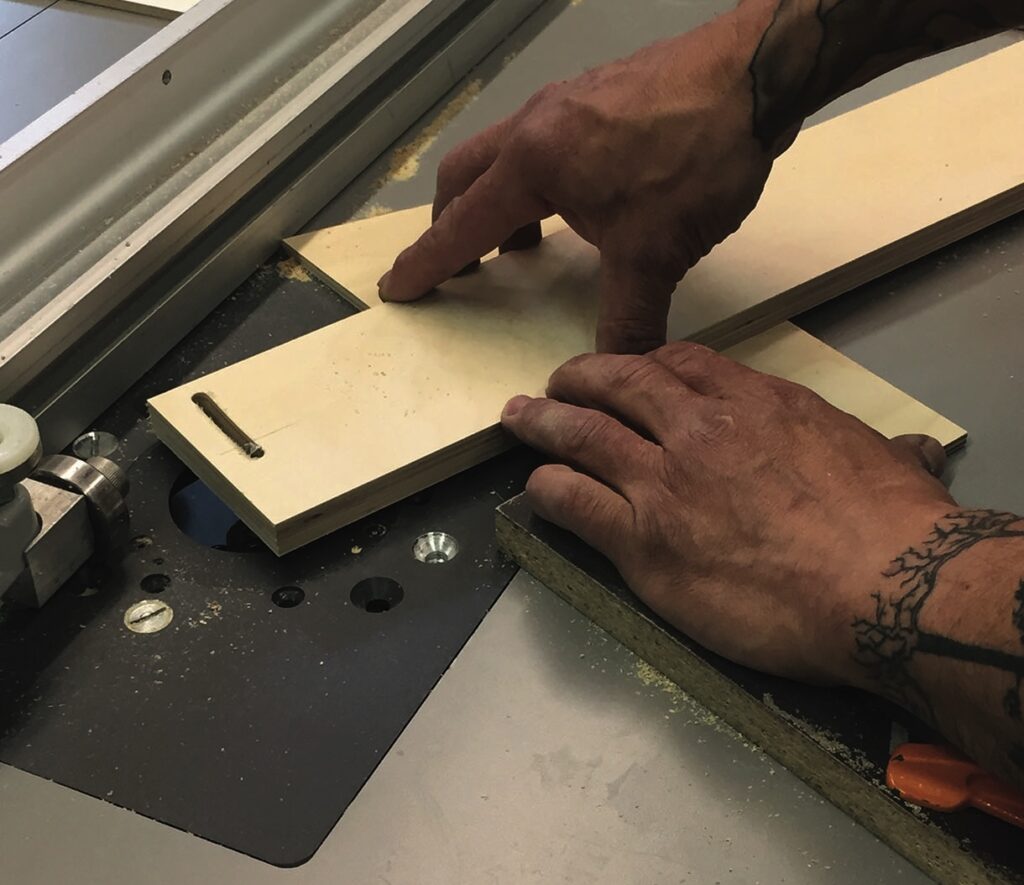
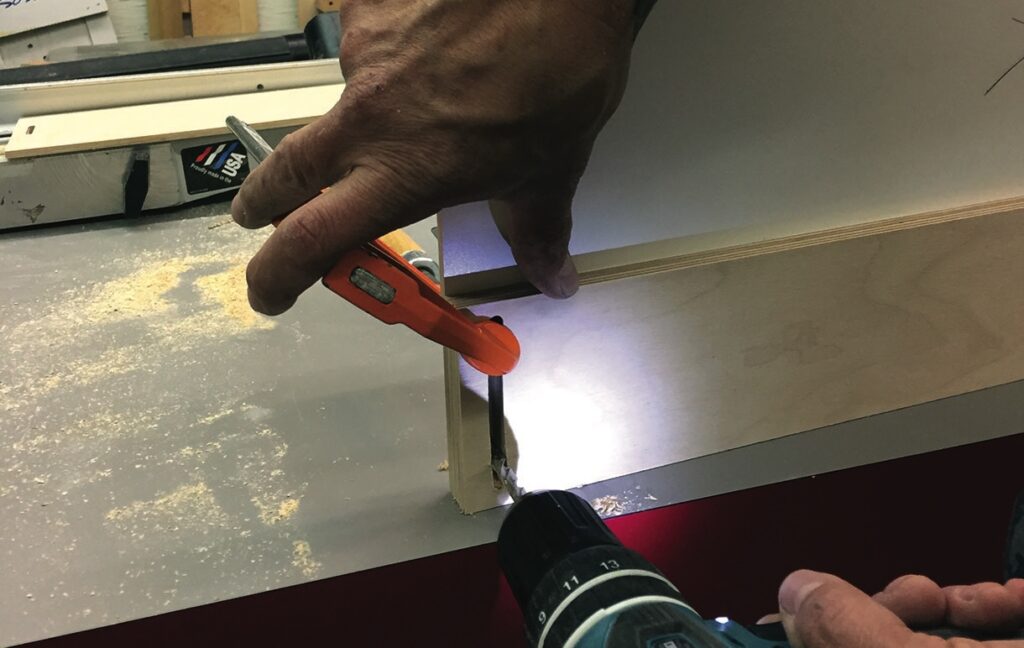
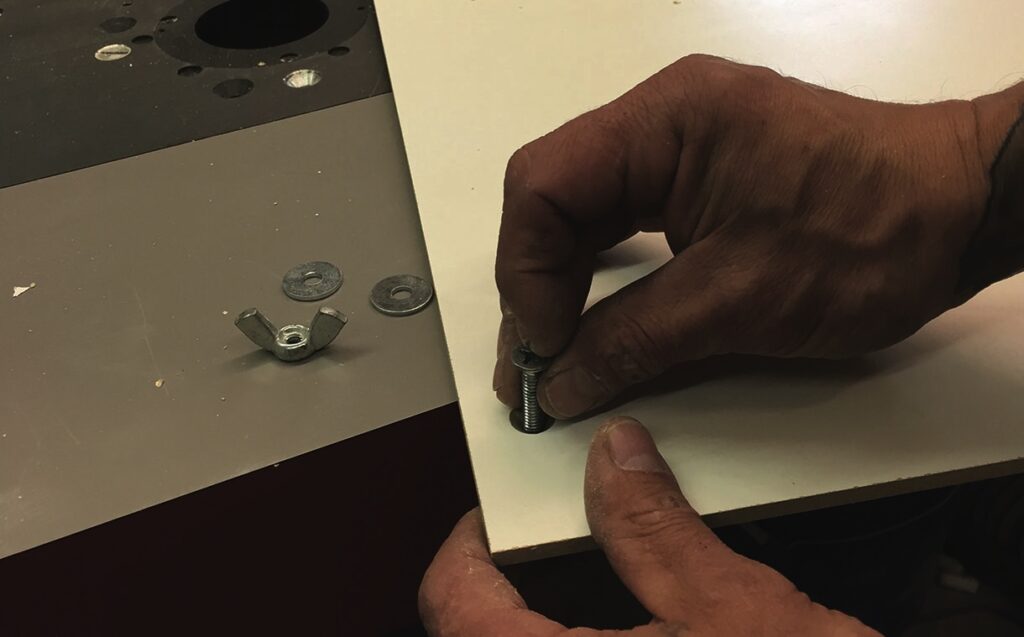
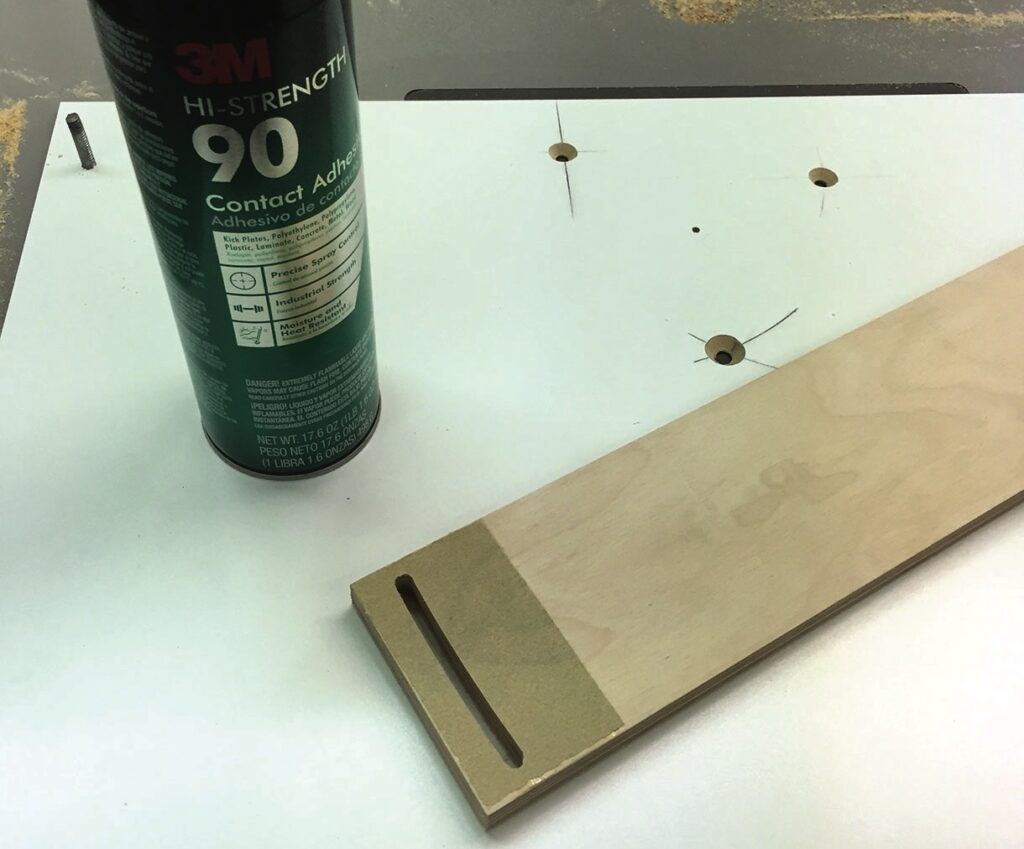
I installed a small straight bit and plunged through the MDF creating a point located in the centre of the MDF base. The fence is designed to pivot at one end for accuracy and ease of set-up as much as anything and I keep a good selection ¼in bolts and wing nuts in the workshop for this type of project as they always come in handy. To begin with thlough, let’s cut an arced slot and pivot point in the fence. Install a ¼in straight bit in the router, drill a ¼in hole in one end of the fence and slip the fence with this hole over the ¼in router bit. At the other end of the fence drill the same size hole and use a ¼in bolt and wing nut to establish a pivot point. I added a stop block/clamp and my table saw fence to create a pre-determined arc length. A few passes did the job. Using the slot and the other ¼in hole in the fence as a guide or template, I drilled corresponding holes in the MDF. Now, simply attach the adjustable plywood fence to the MDF base with machine screws and wing nuts. I also added flat washers on top. Check to make sure everything pivots smoothly, then disassemble, ease all the corners and sand smooth. I then added a bit of sandpaper under the plywood fence at the arced slot. Once the wing nut is tightened at this location, the sandpaper grips firmly and without having to over tighten the wing nut, which helps prevent the plywood fence from moving.
Fine-tune and fit
Secure the assembly back in place after drilling a larger hole at the centre of the router. You can also cut a partial circle in the fence to accommodate most small router bits. Over time this cutout gets bigger every time there’s a need to use a bigger cutter, but all of this is simple and quick to make if you need to return to a
smaller opening.
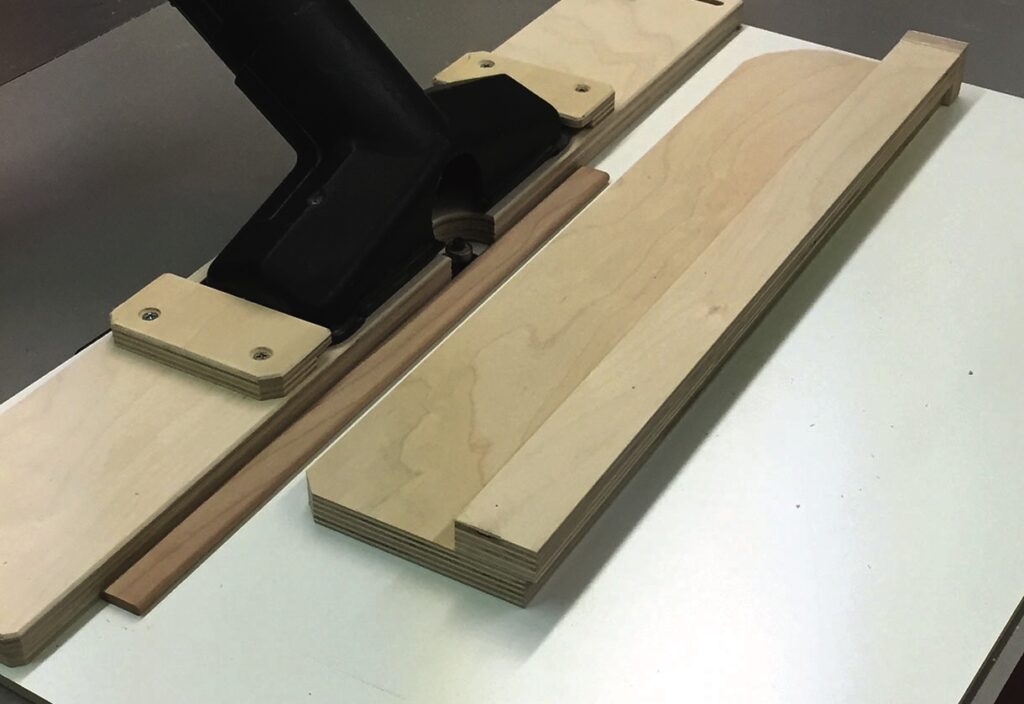
I routed small round over profiles on four corners of a 5 x 19mm Cherry ‘Domino’ section and made a dedicated push stick that captured the moulding, allowing me to safely run it past the router bit. This set-up feels much better than a conventional router table fence. I use this fixture more than my regular router fence for its ease of use. I keep the machine screws that hold it down, close by and stuck to a magnet when not it use. Perhaps, you have a router table with inserts that surround the router bit and a good fence already. If not, give this easy project a try, you may be surprised just how often you reach for it.
Topping off
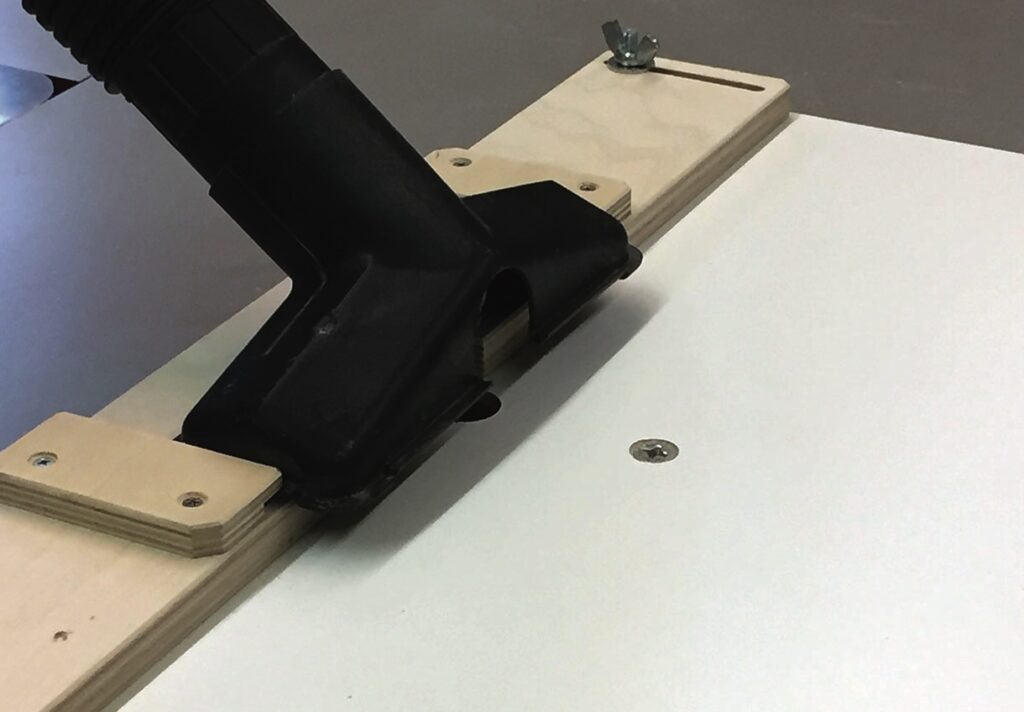
One other thing, let’s add a simple and effective vacuum. I used one of the floor sweep accessories from my shop vac, used a hole saw to cut out a section over the spot where a router bit will be. I cut a small rabbet in two sections of Baltic birch plywood to secure the floor sweep down to the fence, using screws so it can be adjusted easily for optimal vacuum. I drilled another hole in the plywood fence, near the original pivot point for even more adjustability.