
Ramon Valdez builds a custom adjustable fence
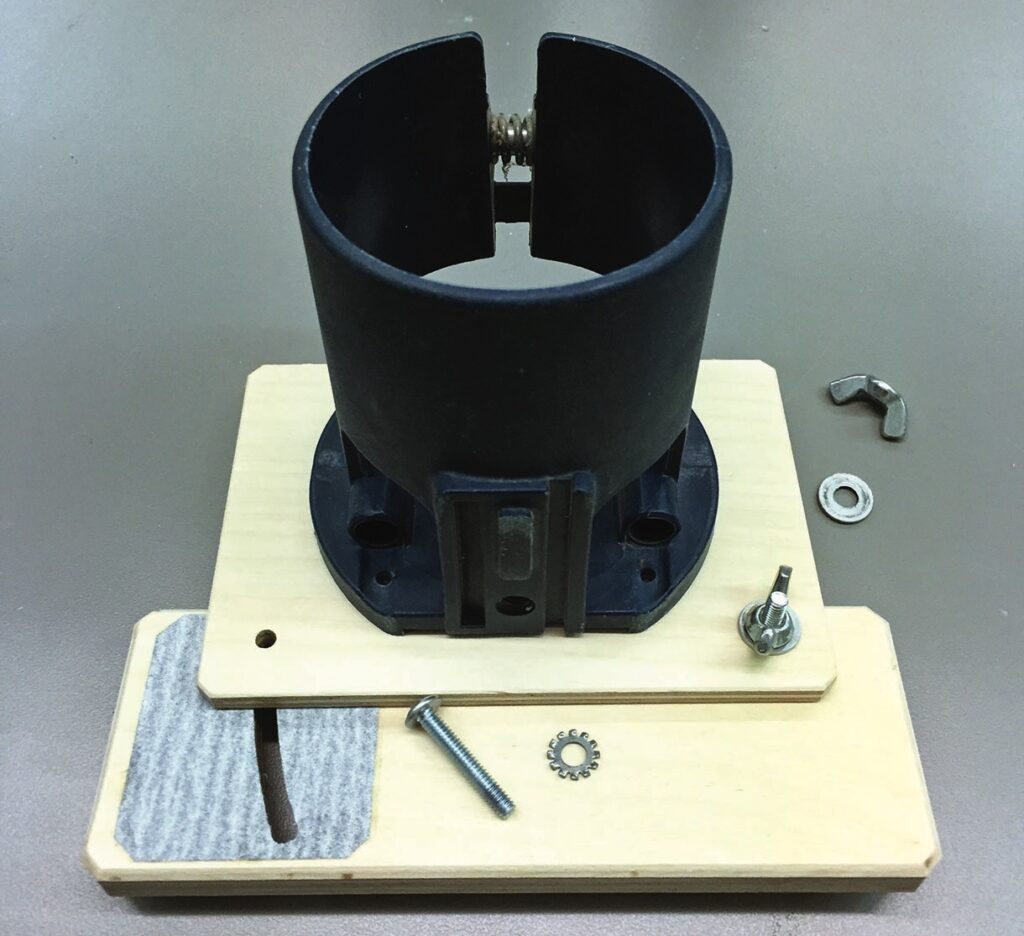
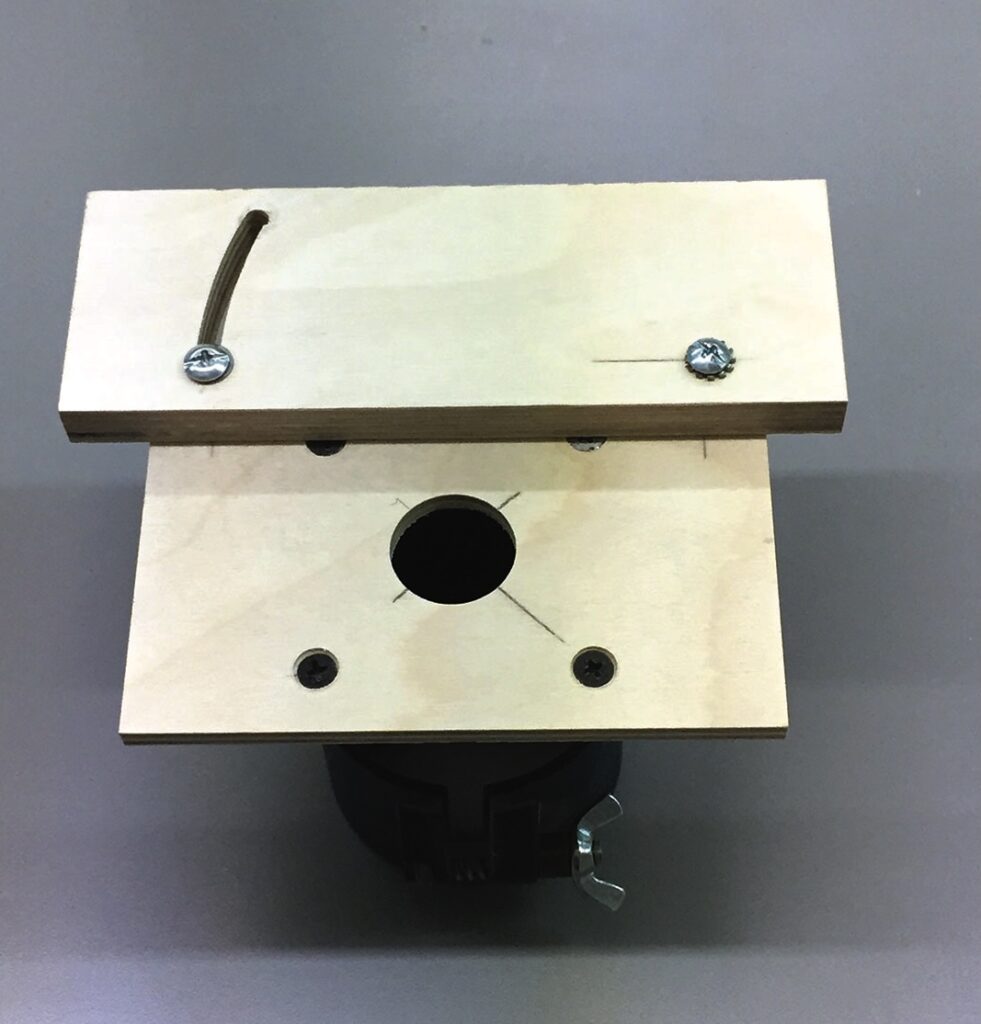
The router is undoubtedly one of the most versatile tools in any wood shop. OK… maybe I should just be speaking about my own shop! For me, there are many times when I need a simple fence that is adjustable on the fly. I want it to be quick, accurate and able to lock into place easily with no chance of movement. I’m not a fan of fences clamped to a router base; to me, they’re cumbersome and awkward to use. So, I recently made another (and better than my original prototype) adjustable fence for my small Ryobi laminate trim router. There are many ways to create a fence for a router, here is my solution.
Making the router fence
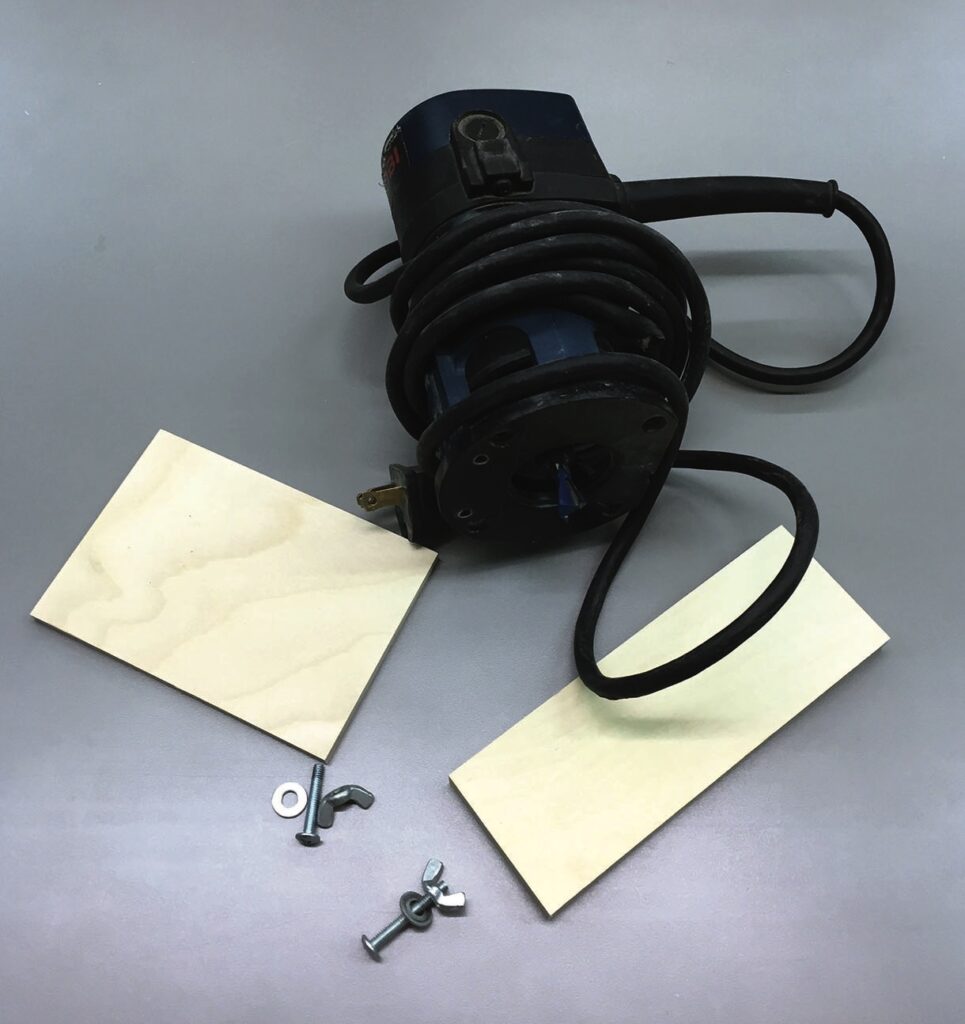
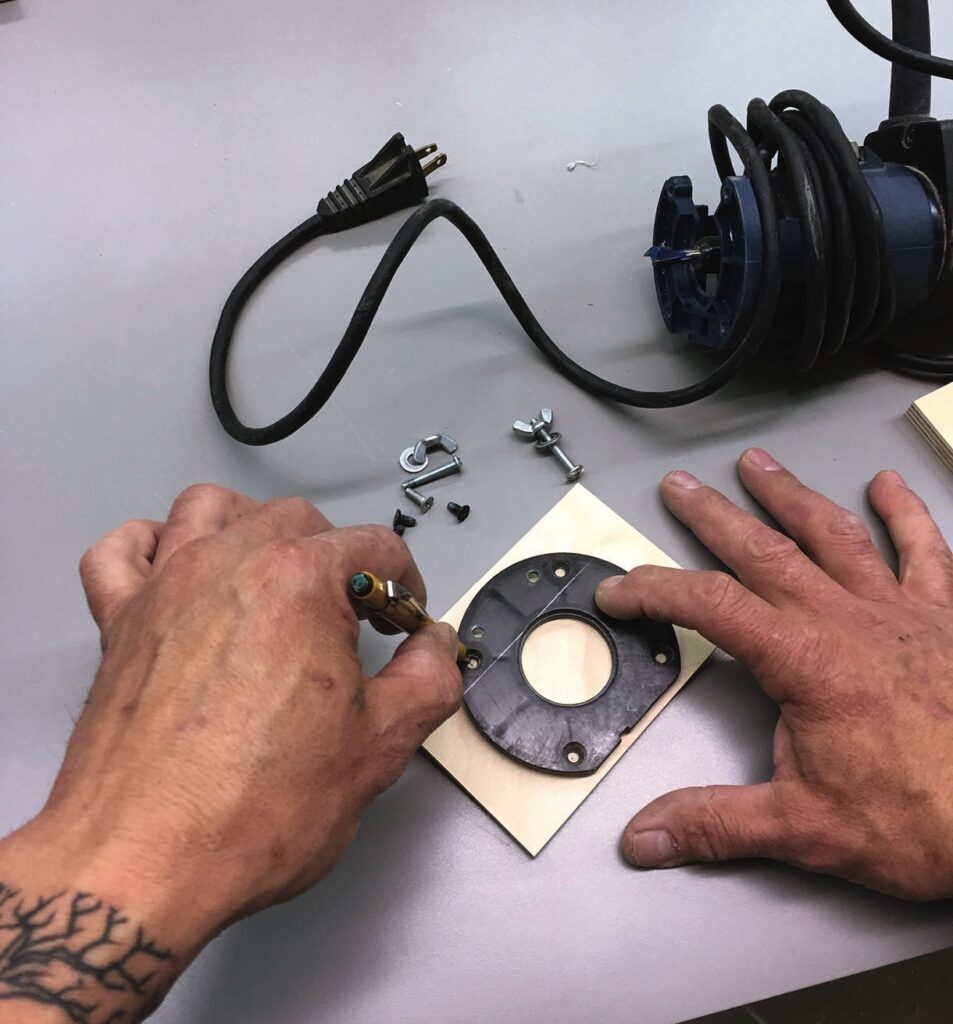
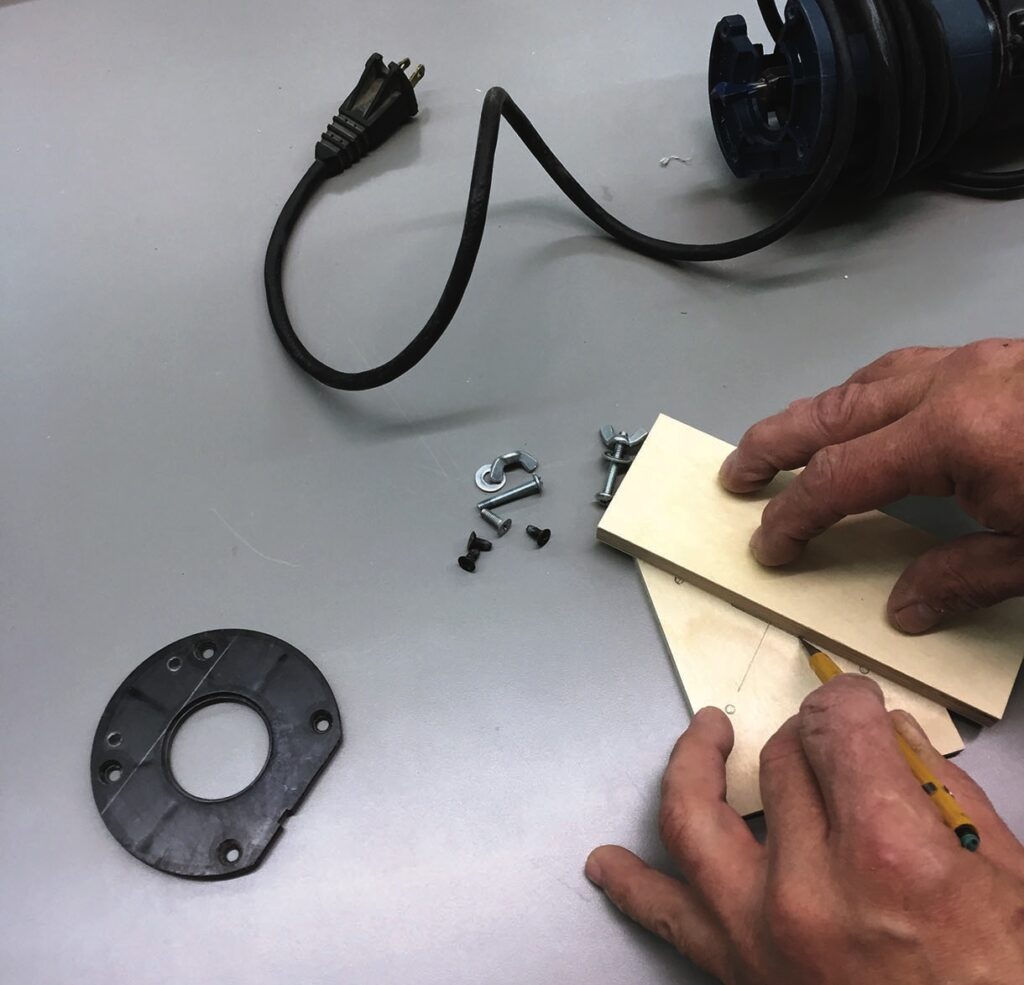
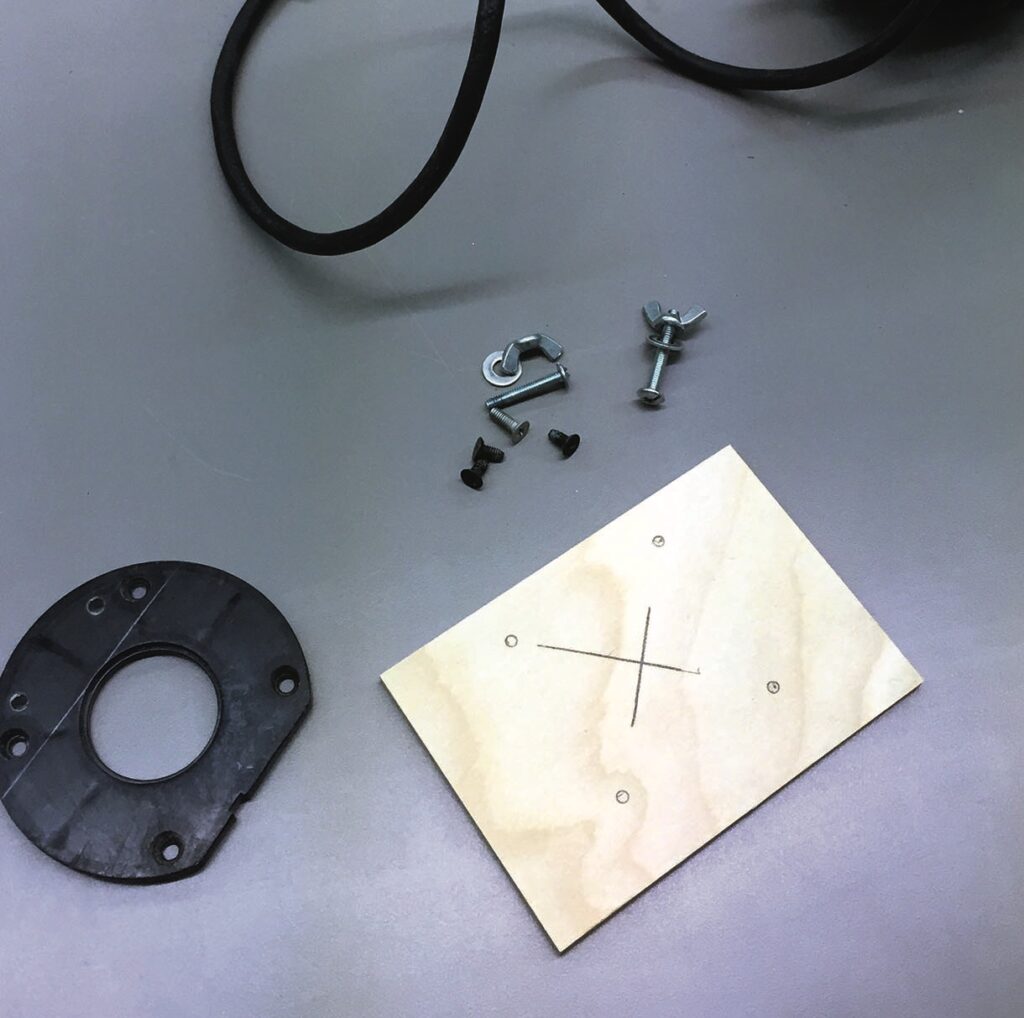
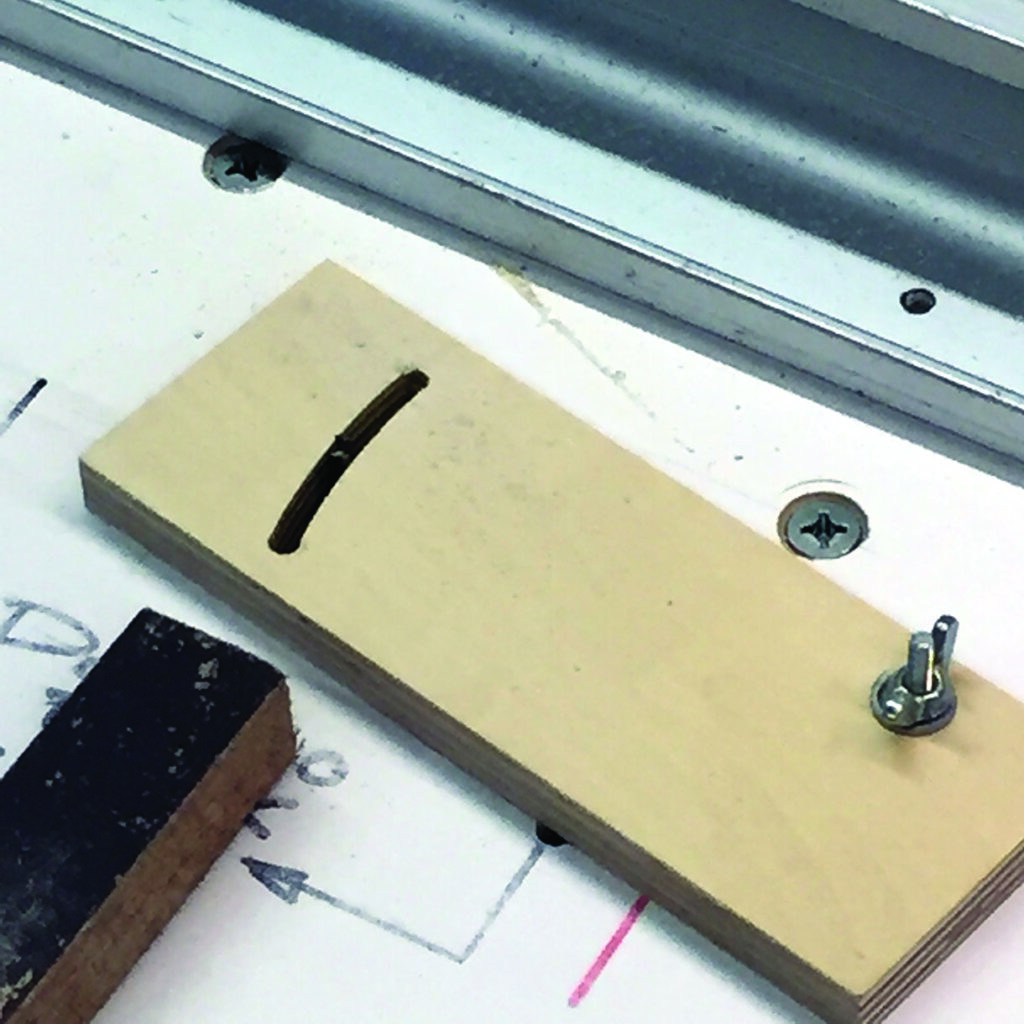
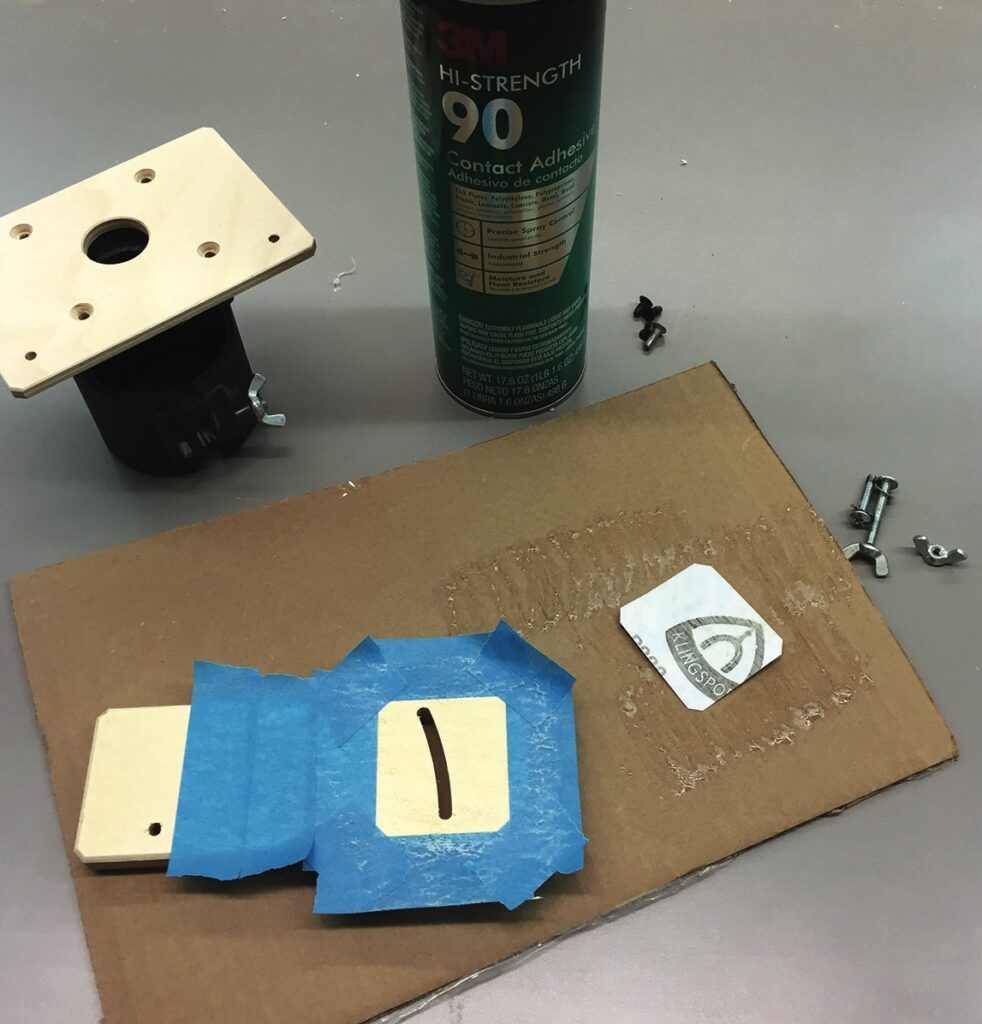
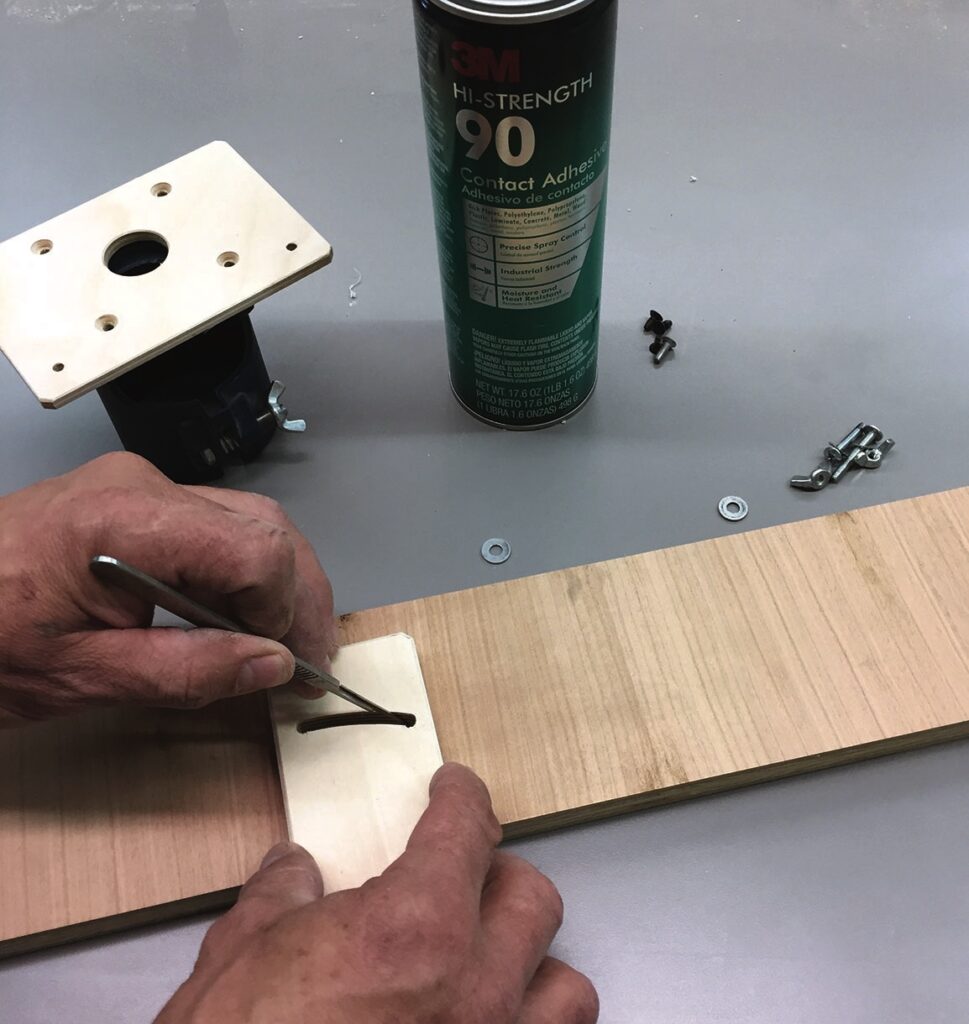
I started with some scrap of Baltic birch plywood in a 6mm (¼in) and 14mm (½in) thickness. I used 6mm for the base and some 14mm ply for the adjustable fence. After removing the original base plate, I marked the screw locations. From those marks, I simply marked diagonals to find the centre. I wanted the fence to be able to adjust from being over the router bit at times, to a bit of space between the fence and whatever router bit I have installed. (I didn’t notch the fence yet, I’ll do that as needed.) After determining these parameters, I used a scribe to pencil in location marks and drill holes for the pivot and the length of the arc. I found some short machine screws with wing nuts or thumb screws. After attaching the pivot end with these screws and wing nuts, I marked through the hole in the base plate, the location for the arc, including the start and end points.
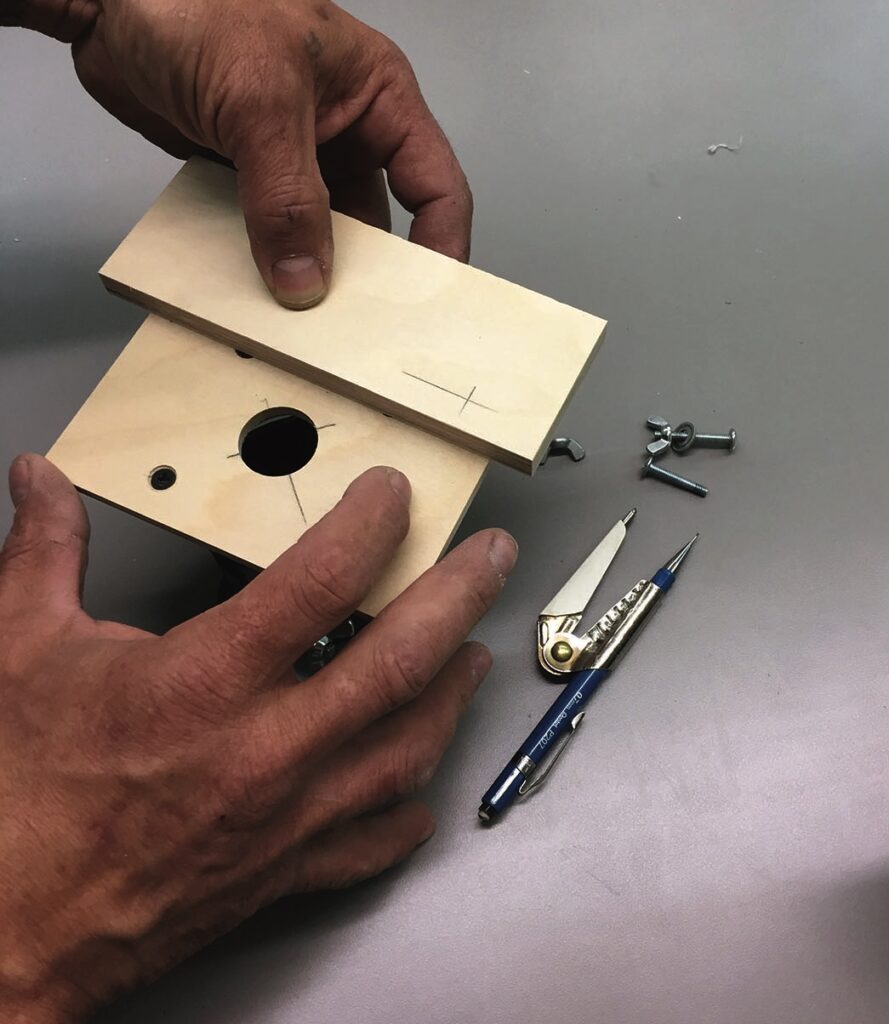
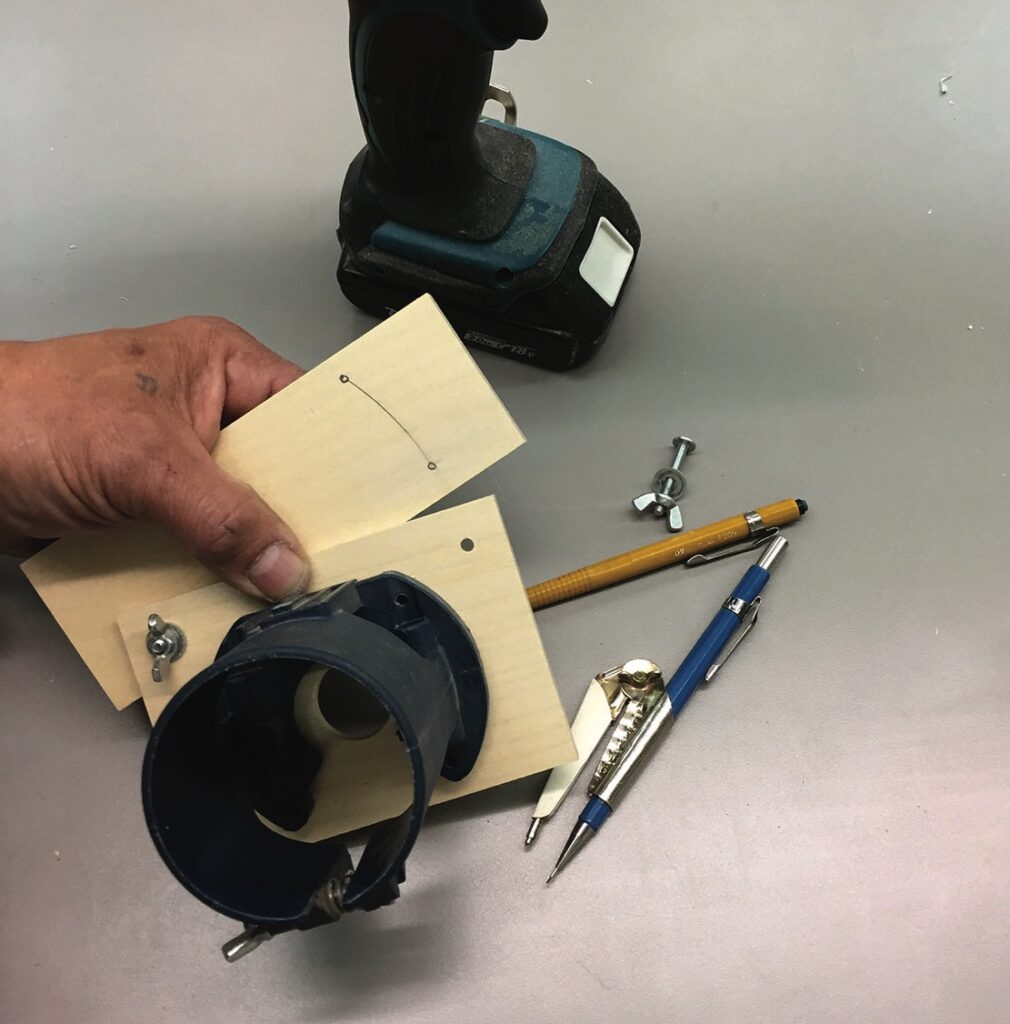
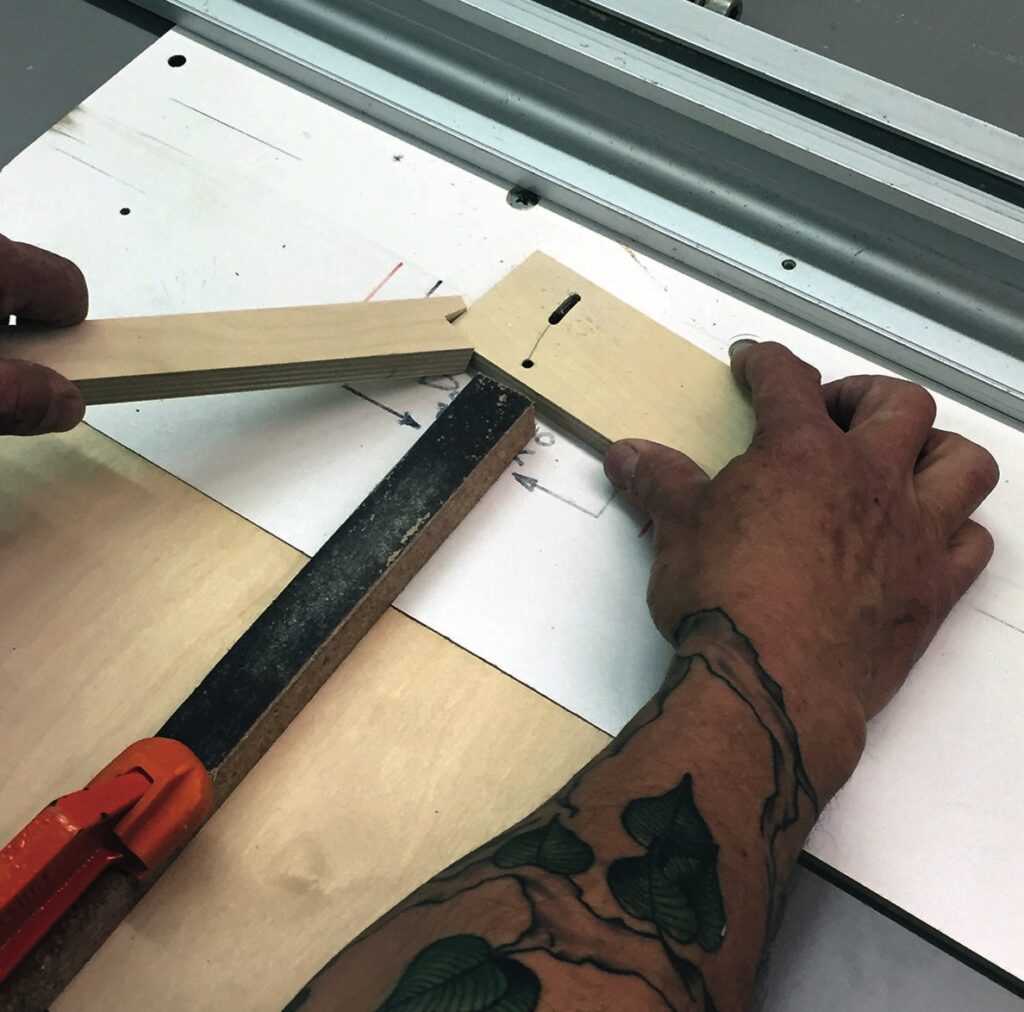
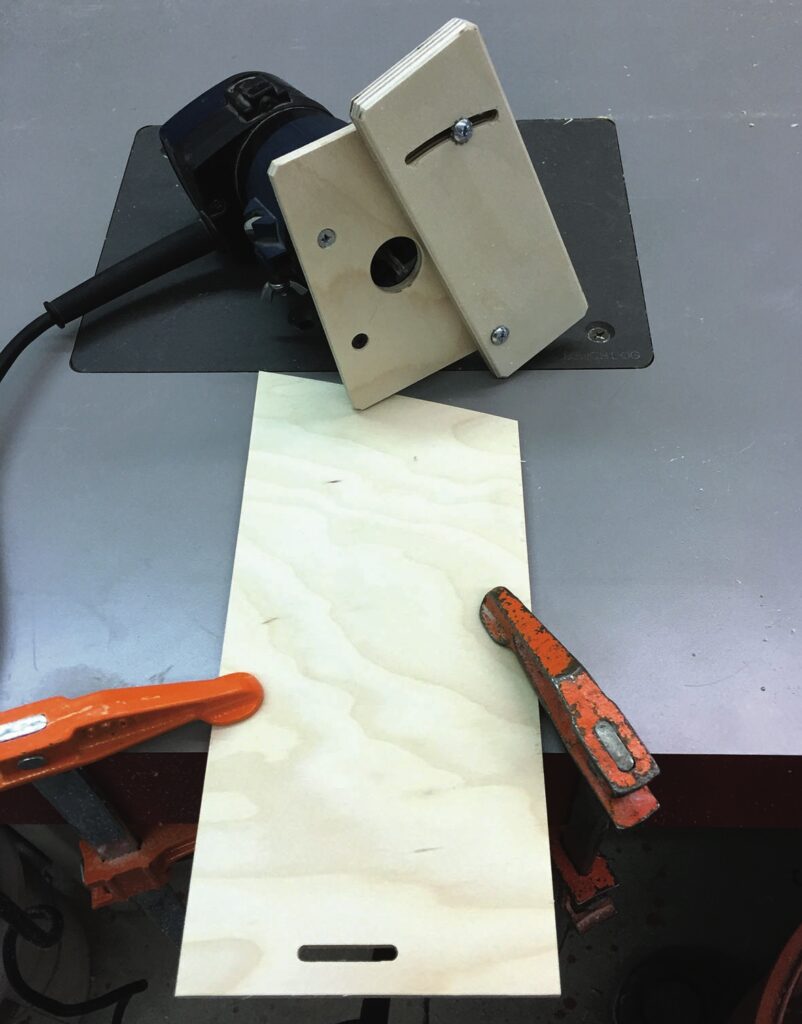
At the router table, I used another similar fixture (this one attaches to my router table base with machine screws) to anchor the pivot point, still enabling the new fence to pivot to make the arced cut. I took several light passes for safe, clean cuts. In addition, I clamped a sandpaper block and used my tablesaw fence to act as stops, creating finite points and a smooth, clean arced slot. I then attached it back onto the base, just to double-check the function. I disassembled the fence from the base once more and add some sandpaper between the two for better gription. I also added two ‘star’ washers underneath the base plate. These two additions help tremendously to provide easy torque when making adjustments.
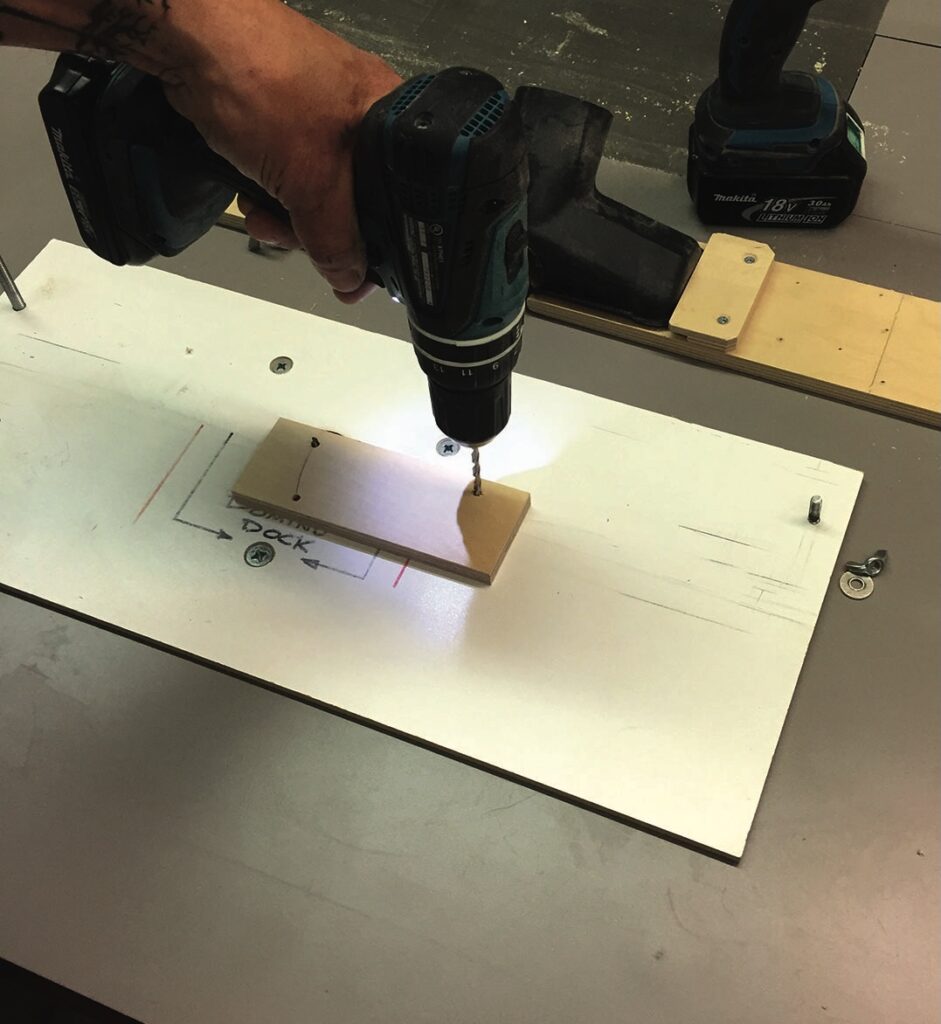
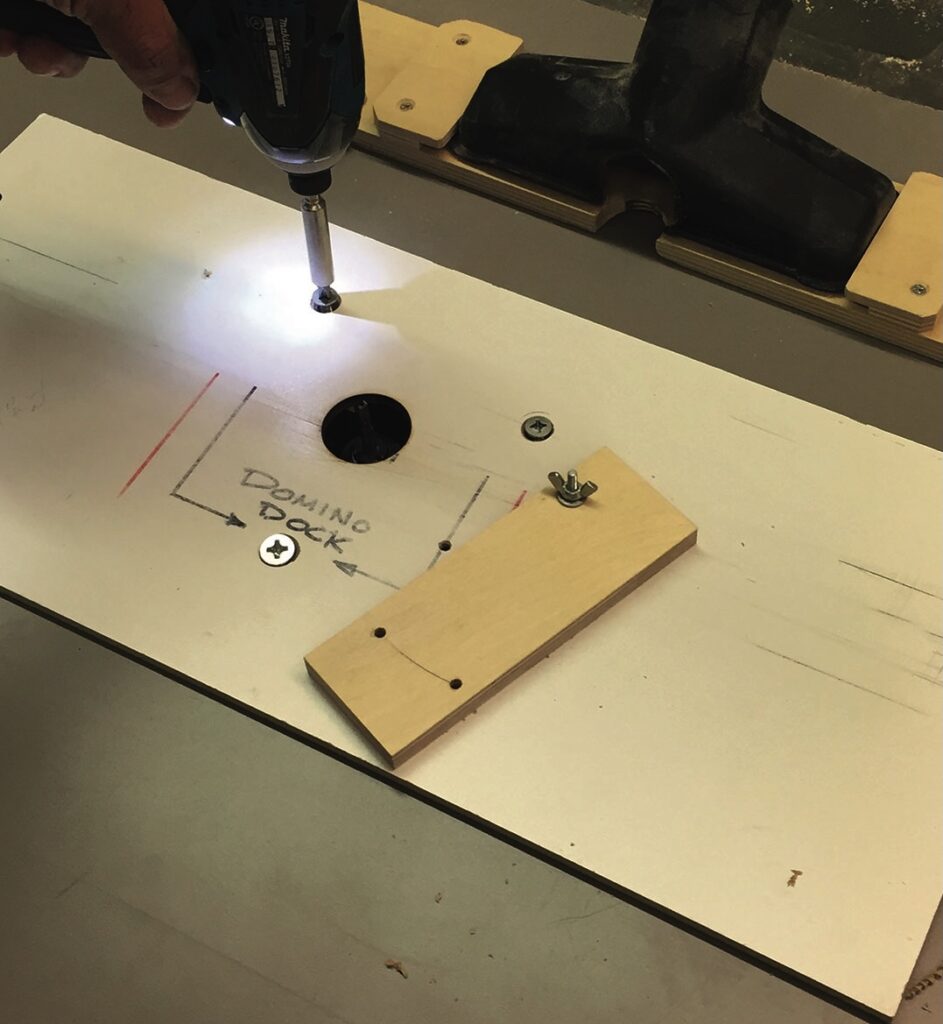
and wing nut
Using the router fence
The uses for a fence on a small trim router (or any router for that matter) are many. Not all router bits have bearings, so a built-in and adjustable fence makes a fantastic edge guide. Plunge cuts to make small slots are quick and easy. Another use for a fence on a small router would be for inlay of banding around the perimeter of a box lid, for instance. I leave mine set up on this little router so it’s always ready to go, although switching base plates would only take a few seconds to change.