
You can buy Turned Toys for only £13.50 (+P&P)! Usual RRP £16.99
🇬🇧 For UK readers visit giftstome.co.uk and use offer code R6213
Offer ends 27th November 2026
In his book Turned Toys, Mark Baker makes a fun wintery game
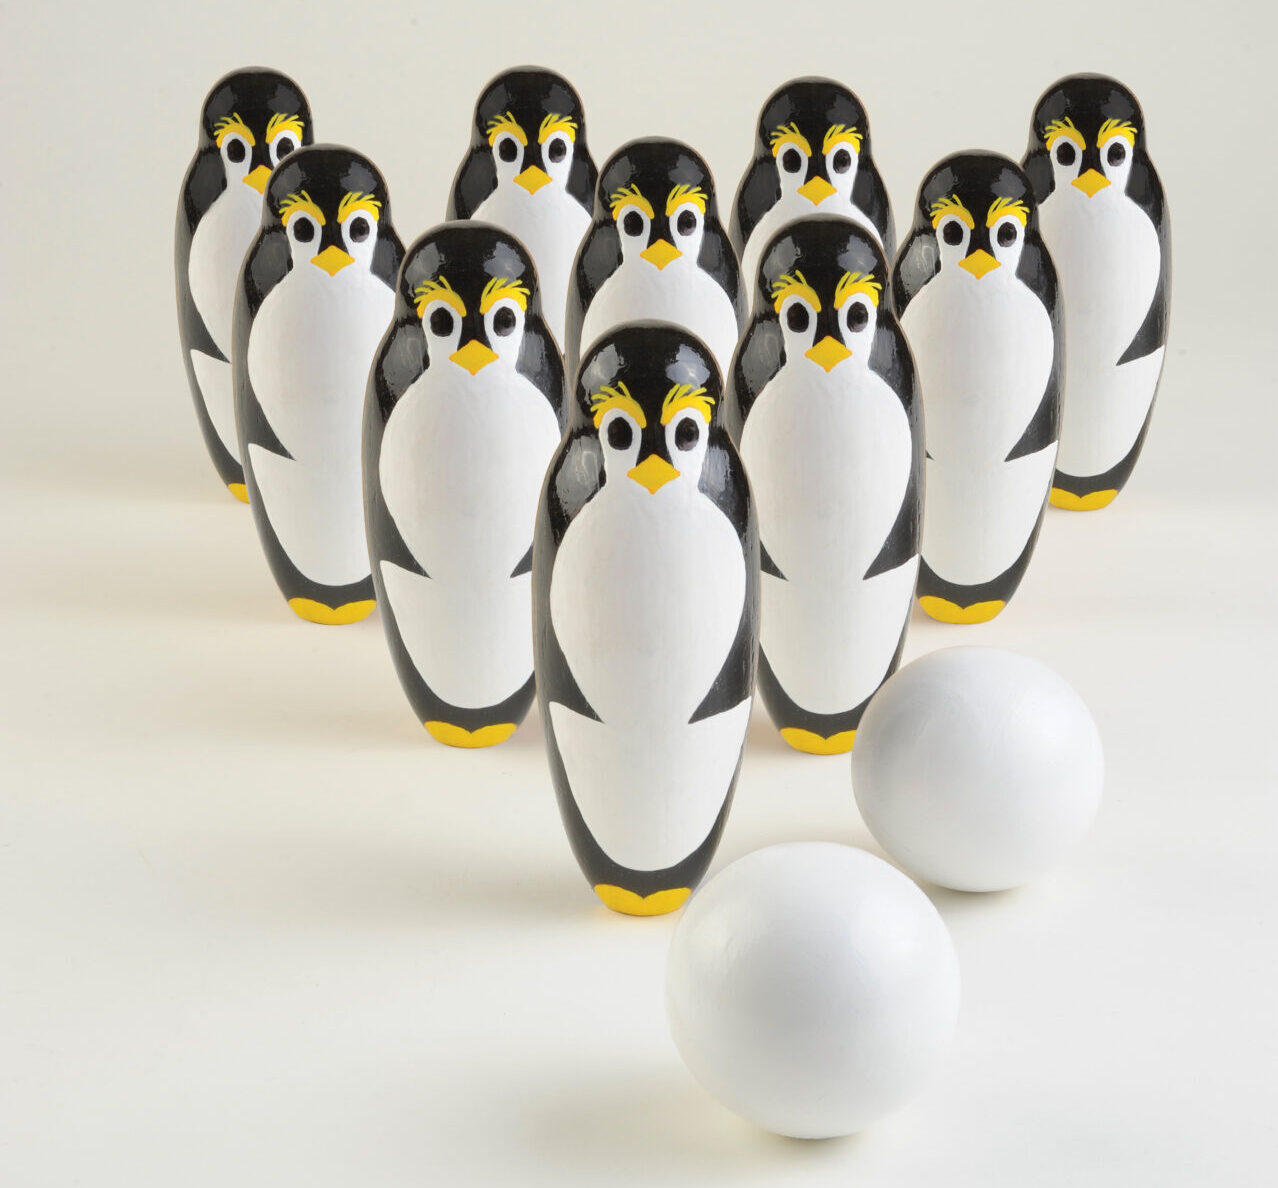
Skittles is a game that has remained immensely popular through the years in its different forms. Whether it’s in a skittle alley, fairground or ten-pin bowling complex, there’s something compulsive about setting them up and knocking them down. A nicely turned set of wooden skittles means you can enjoy your own indoor or outdoor games at home.
Creating ten skittles is an excellent exercise in copy turning. I used ash (Fraxinus excelsior), which is more open-grained than the other woods but can withstand repeated hammering. The skittles are spindle-grain orientated work.
I thought it would be difficult to be original with the shape of skittles. They have to be top heavy, narrowing down in the lower section to a small base area that ensures the skittle will wobble easily or topple over when knocked. However, the basic shape suggested the idea of a penguin, and I developed a paint scheme to convey this comical bird. This in turn suggested ways in which I could alter the design a little, while still maintaining the necessary shape and balance. Paint and colour are key factors in personalising your work, so feel free to experiment. Watch the penguins at the zoo, then create your own stylised version.
All skittles need to have balls rolled at them, and snowballs seemed appropriate companion pieces for penguins. You can create the spheres by hand turning or using a purpose-made jig. Both methods work equally well. The snowballs are spindle-grain orientated projects, and should be turned from a close- grained hardwood: sycamore, beech, maple
or similar.
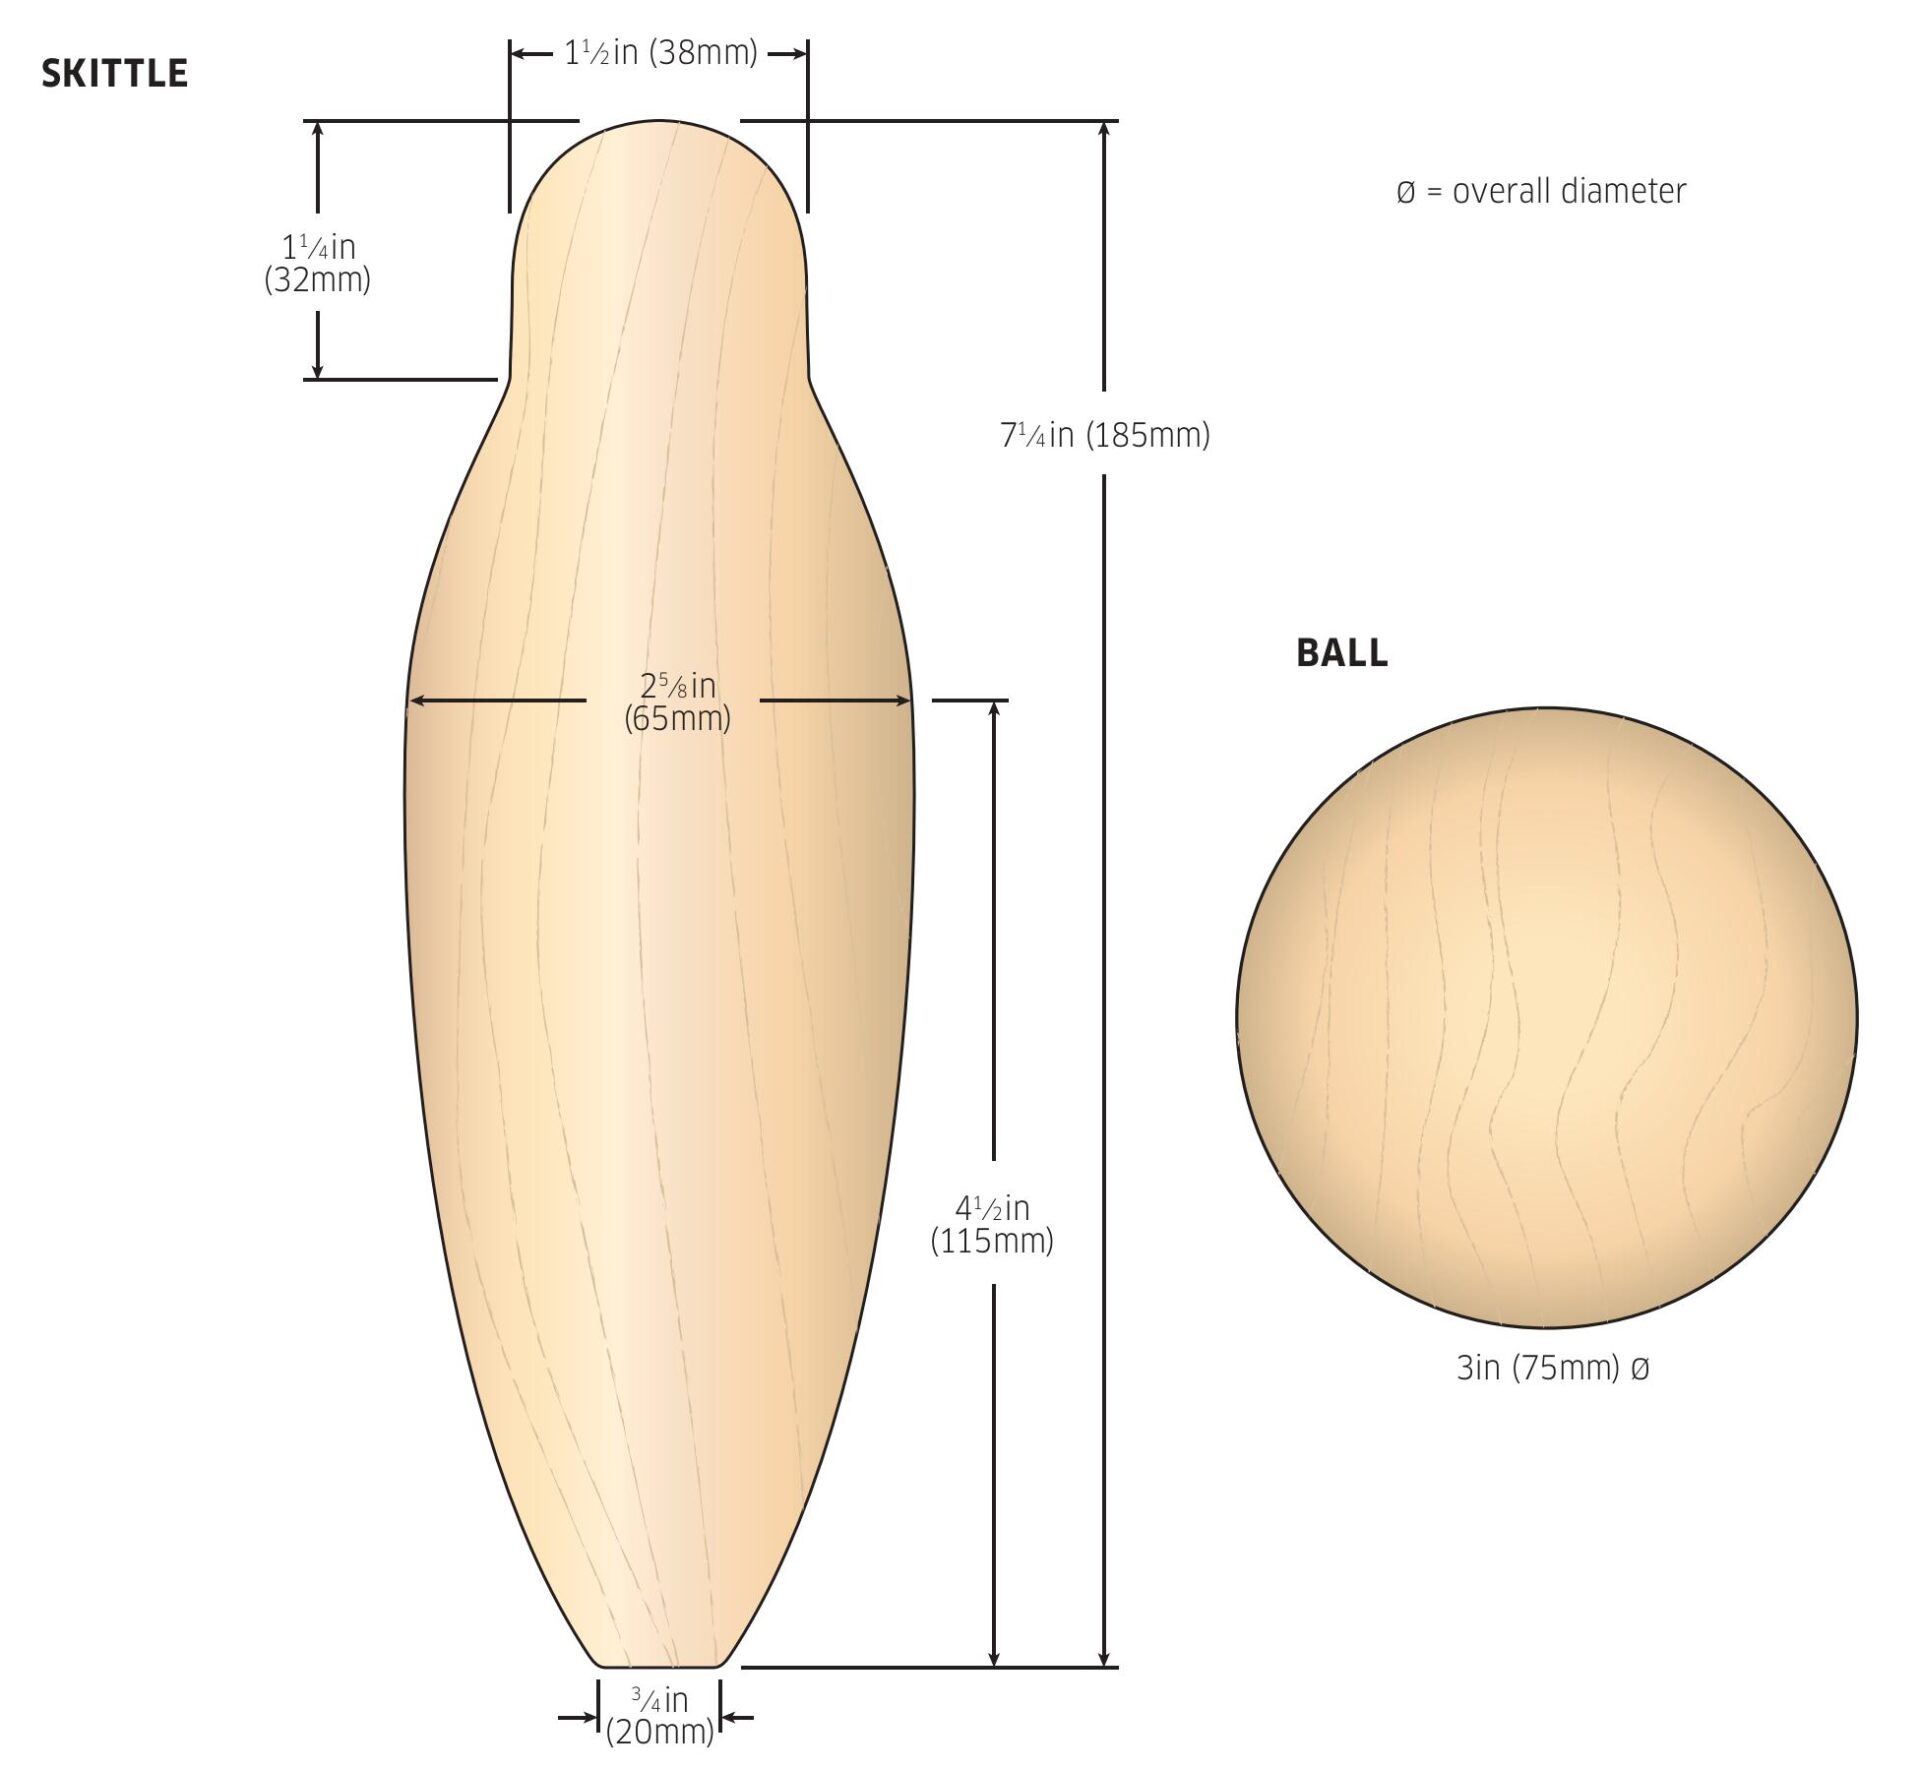
Plans & equipment
Top Tip
The paint offers sufficient protection to make splinters rare, but they can occur if the wood is hit hard. If this happens, just sand them off and repaint as necessary.
Tools & equipment
- PPE (facemask/respirator)
- Drive spur and revolving centre chuck
- Callipers and gauges
- Spindle roughing gouge, beading and parting tool, spindle gouge
- Abrasives, 120–400 grit
- Thin parting tool
- Handsaw
- Hammer
- Pencil
- Panel pin
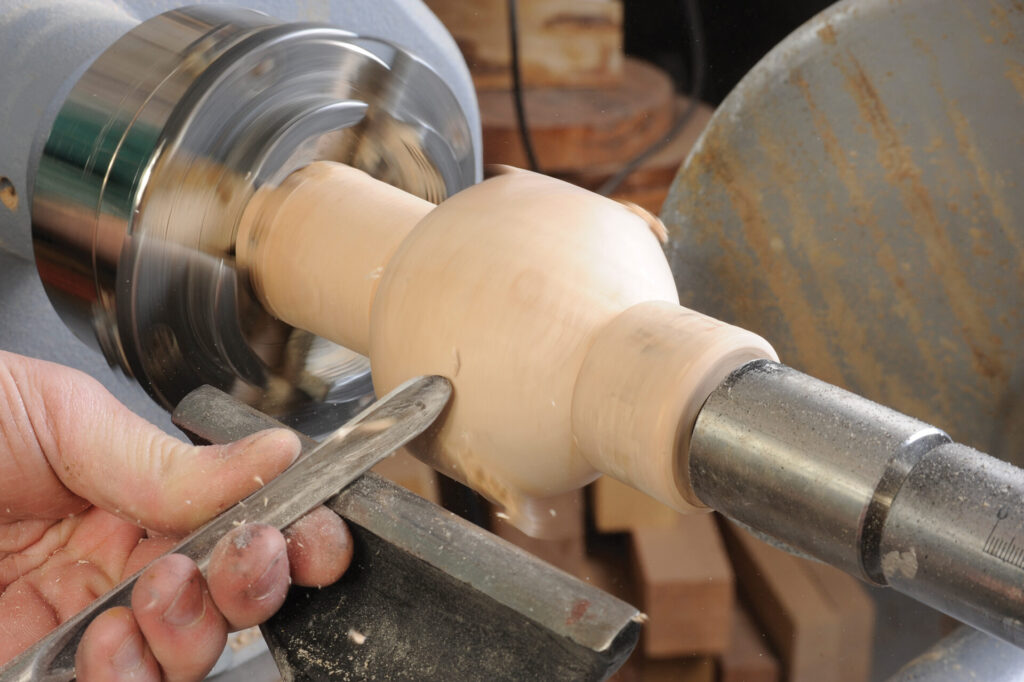
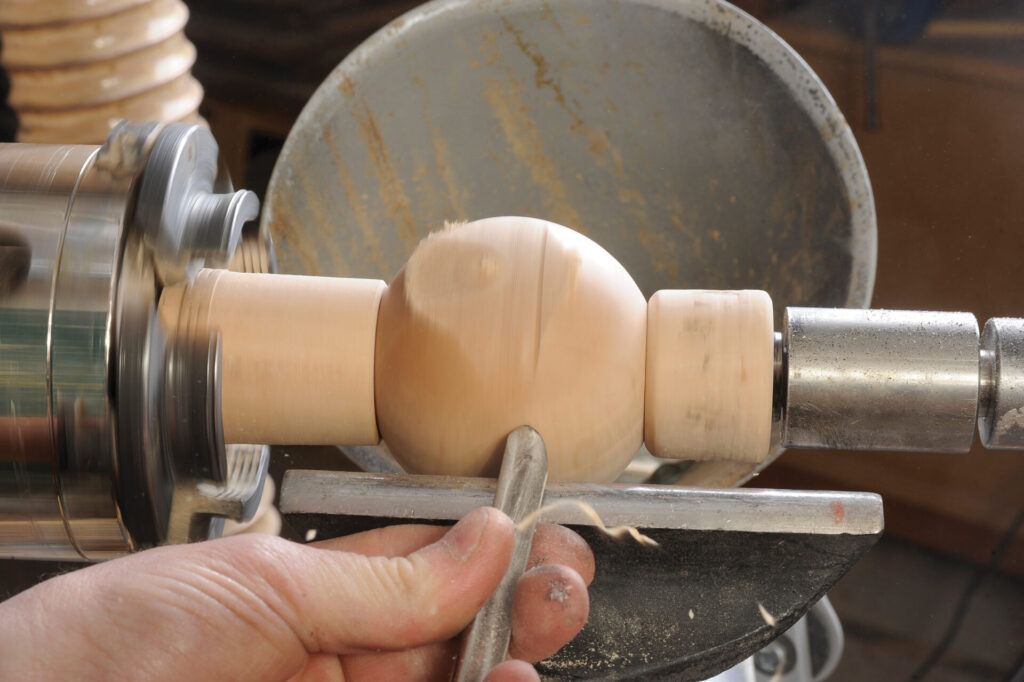
- Drill and bit
- Paintbrushes
- Primer undercoat
- Gloss paint
- Toy-safe pen
- Angled scraper or skew chisel
- Sphere-cutting jig (optional)
Making the skittles
1. One way to ensure accuracy and measure quickly is to cut a cardboard template or wooden stick with all the key positions marked. Cutting your first skittle to a pattern, however, is always tricky. I started by turning a skittle close to what was required, thenI made some quick measurements and refined the shape to match the pattern as closely as I could. Once this first piece was created, I placed it up against the tool rest and marked the key body positions – length; the point where the head meets the shoulders; and the widest part of the skittle.
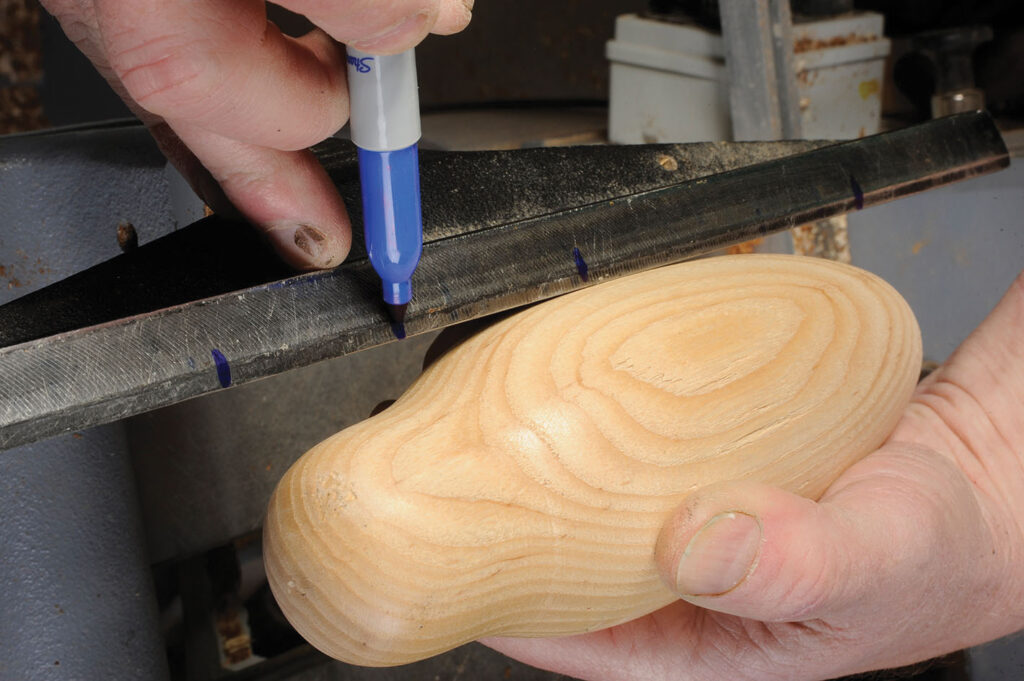
2. Use whatever callipers and gauges you have and set them to the relevant diameters, so that you can quickly work on the remaining skittles.
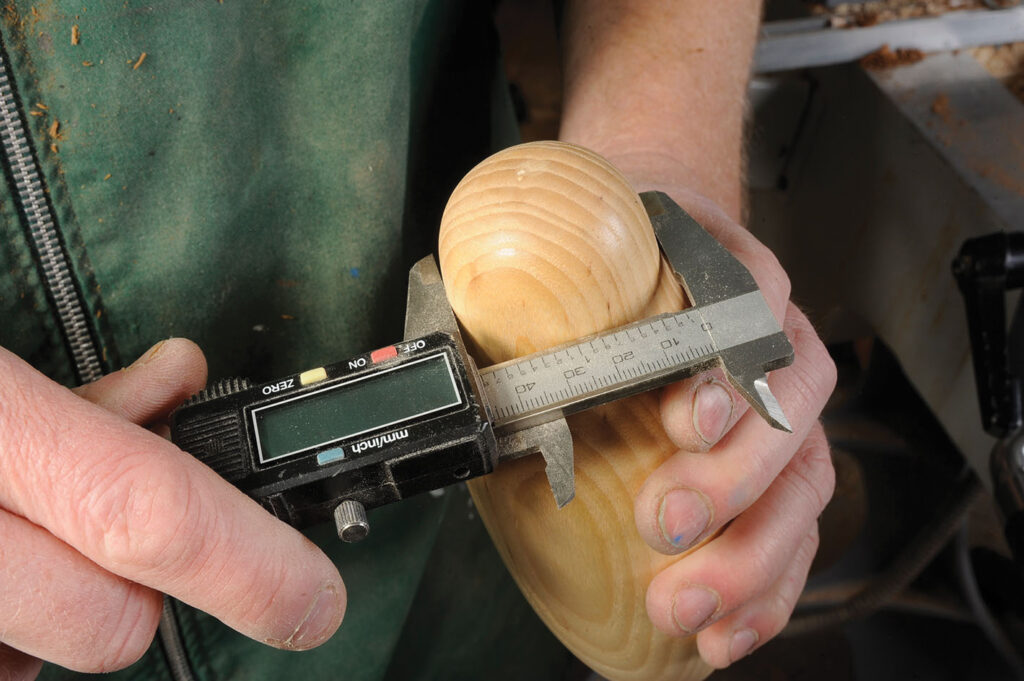
3. Mount your wood between centres. Use a spindle roughing gouge to create a cylinder just wider than the diameter required. Cut a spigot on the headstock end, and mount it in the lathe. Adjust the tool rest so that the marks fit inside the overall length of the timber used. The pieces I cut were too long, but any waste can be used for friction drives or jam chucks in other projects.
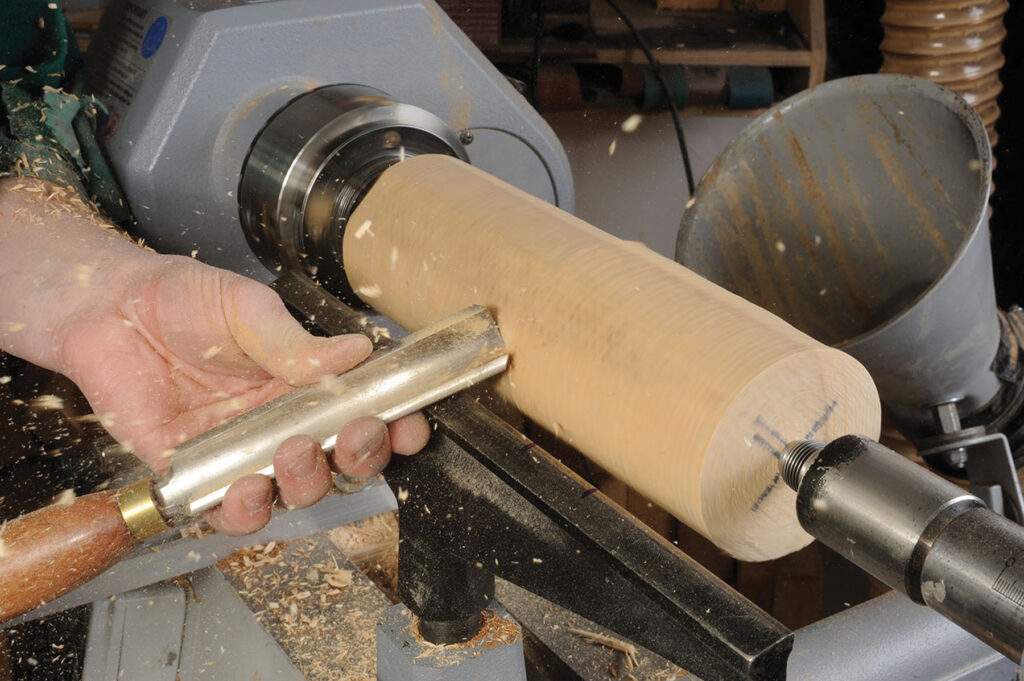
4. Use a beading and parting tool to create a tenon to suit the diameter of the penguin’s head. Adjust until you have the right size, then elongate the tenon to match the mark on the tool rest that shows where the head meets the shoulders.
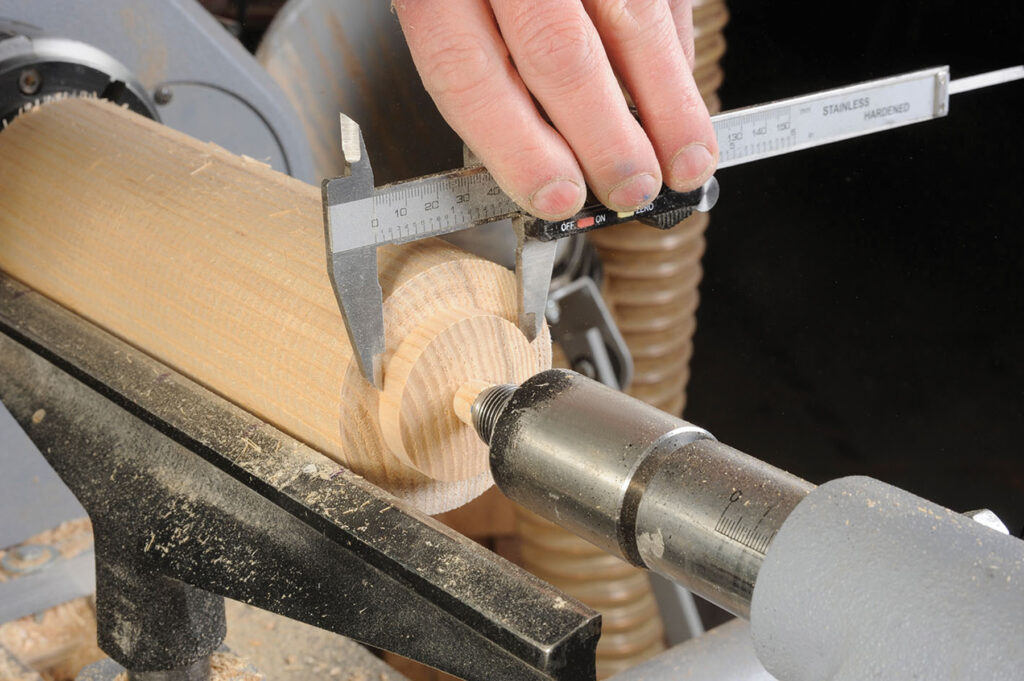
5. Use the beading and parting tool to make a parting cut to the depth of the widest part of the skittle, in line with your mark on the tool rest.
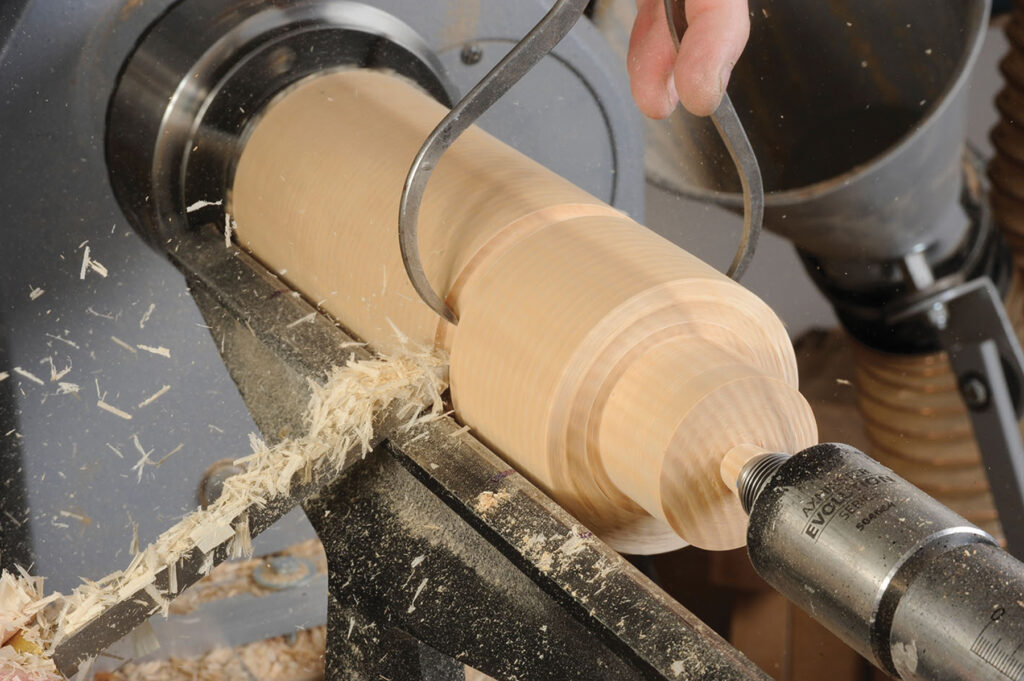
6. The last cut will be the one that defines the lowest section of the skittle. The right-hand side of the beading and parting tool is where the end of the skittle will be. The tenon is cut just larger than the diameter required for the base of the skittle. Don’t cut this section any narrower, as you will need to clean up the head with no tailstock support before parting off the skittle.
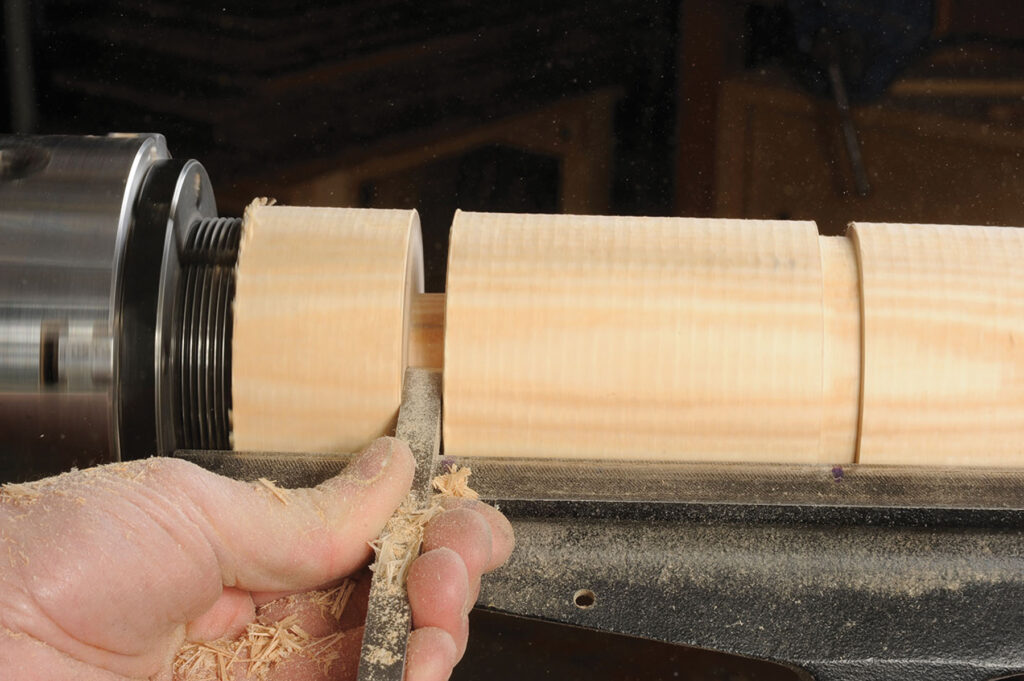
7. Use a spindle gouge to adjust the area between the widest part of the body and the head. This should get the piece much closer to the shape required.
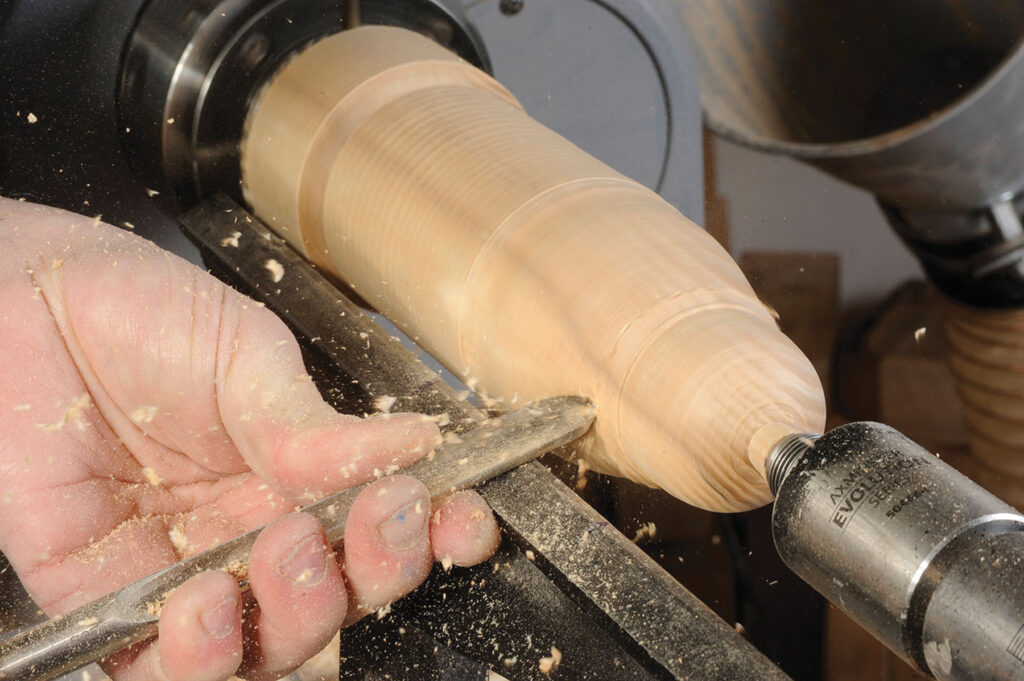
8. Once the top section is shaped, use the spindle roughing gouge to start removing the waste wood on the lower section.
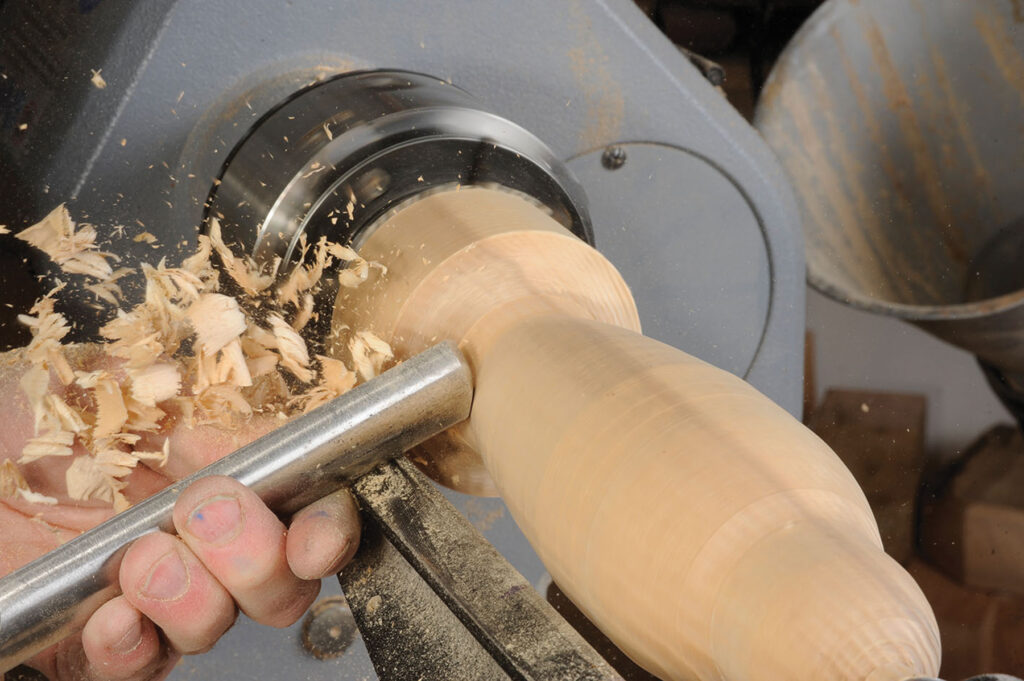
9. Refine the lower section with the spindle gouge. Once you have formed the main shape, refine as required. The area where the penguin’s head meets the shoulders needs to be slightly more defined than shown here. If you are not that confident with a spindle gouge, you could use an angled scraper or a skew on its side in scraping mode to refine the shape. The finish isn’t as good as that from a gouge, but it will sand easily.
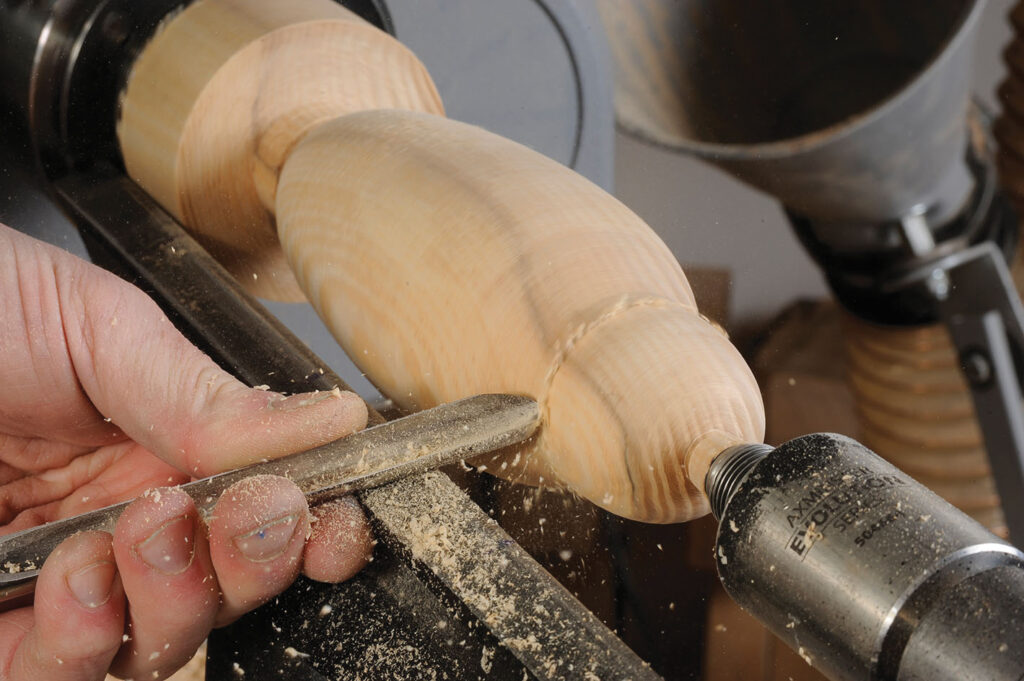
10. Once you are happy with the overall shape, remove the tailstock and revolving centre. Clean up the head, then sand the skittle all over.
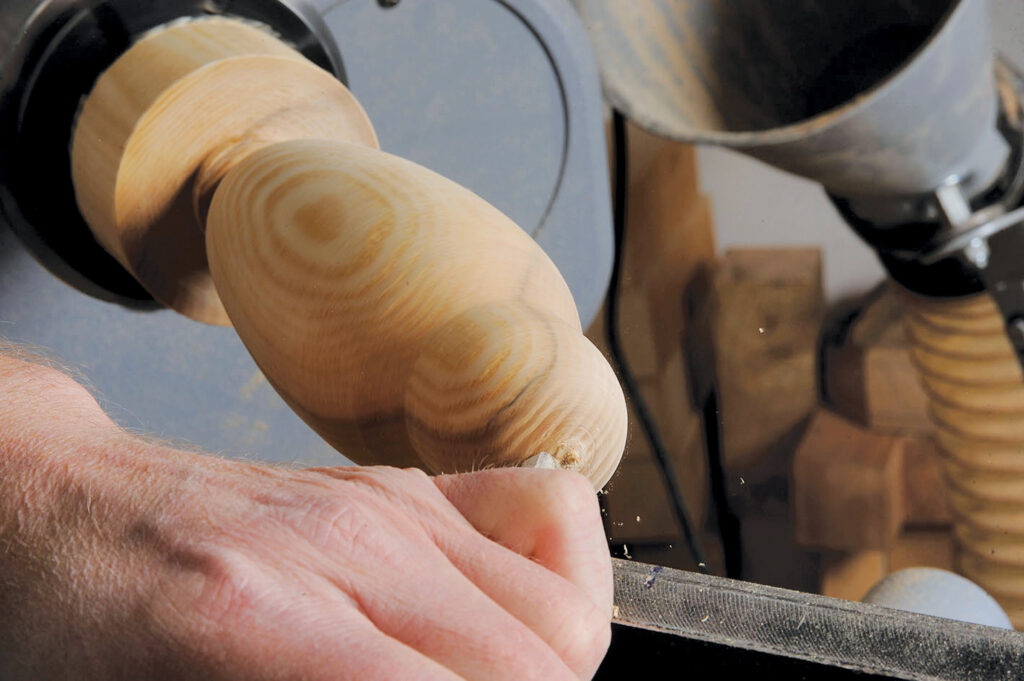
11. Reduce the lower tenon to the size required for the base. Refine the lowest section of the skittle to match the diameter of the tenon.
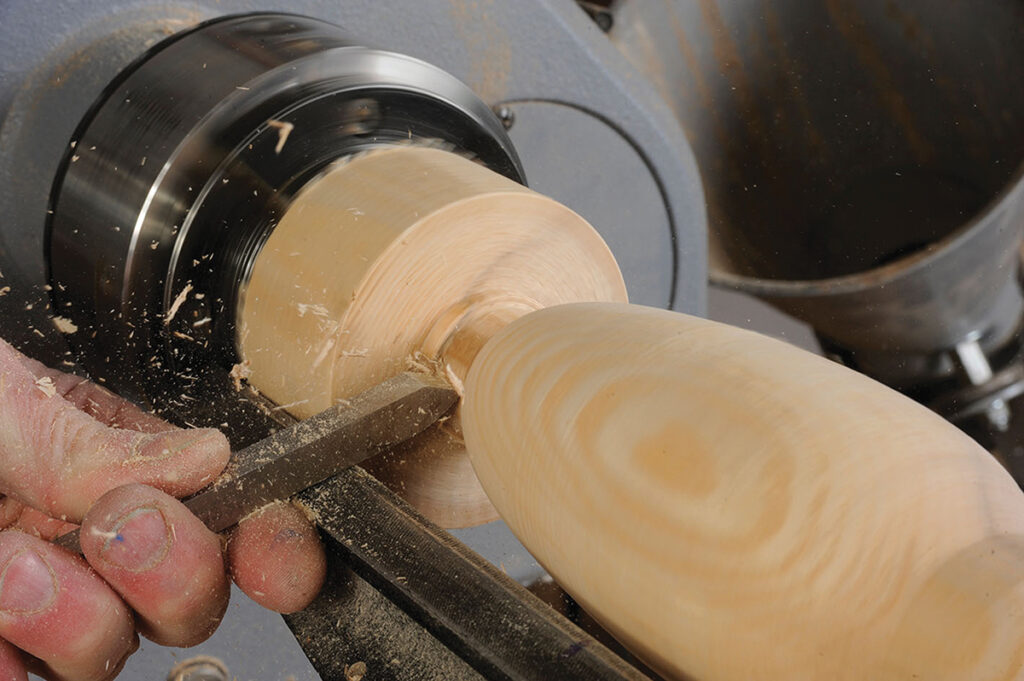
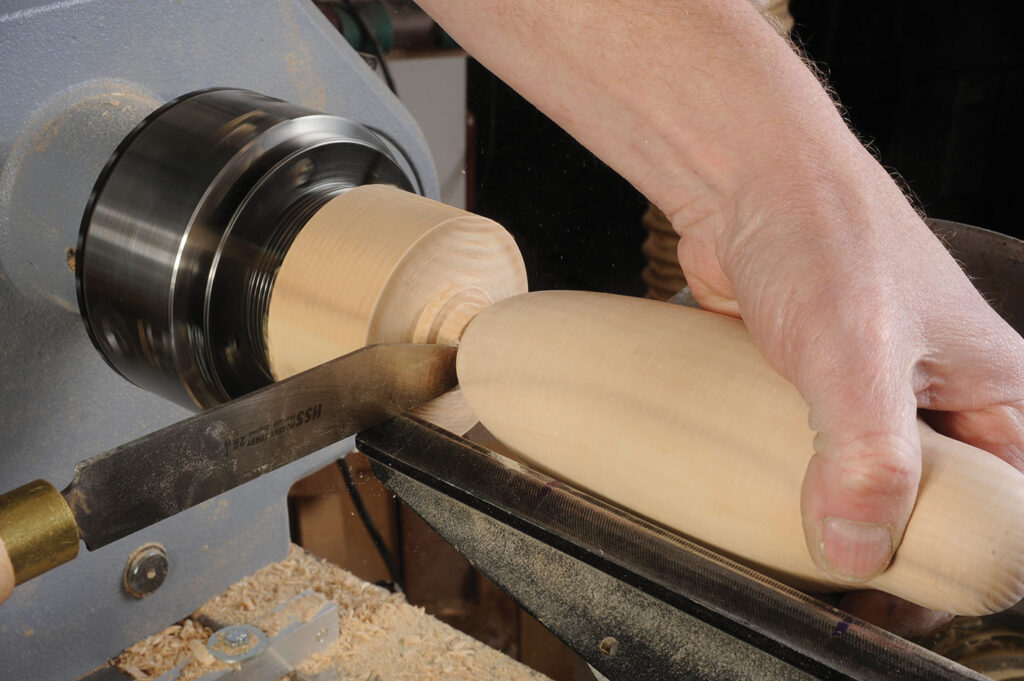
12. Part it off using a thin parting tool, or cut through with a handsaw while the lathe is stationary. Using the parting tool, I undercut very slightly so that the skittle sits on the very outer rim of the base. Create more skittles, as required.
13. Prime and undercoat the piece.
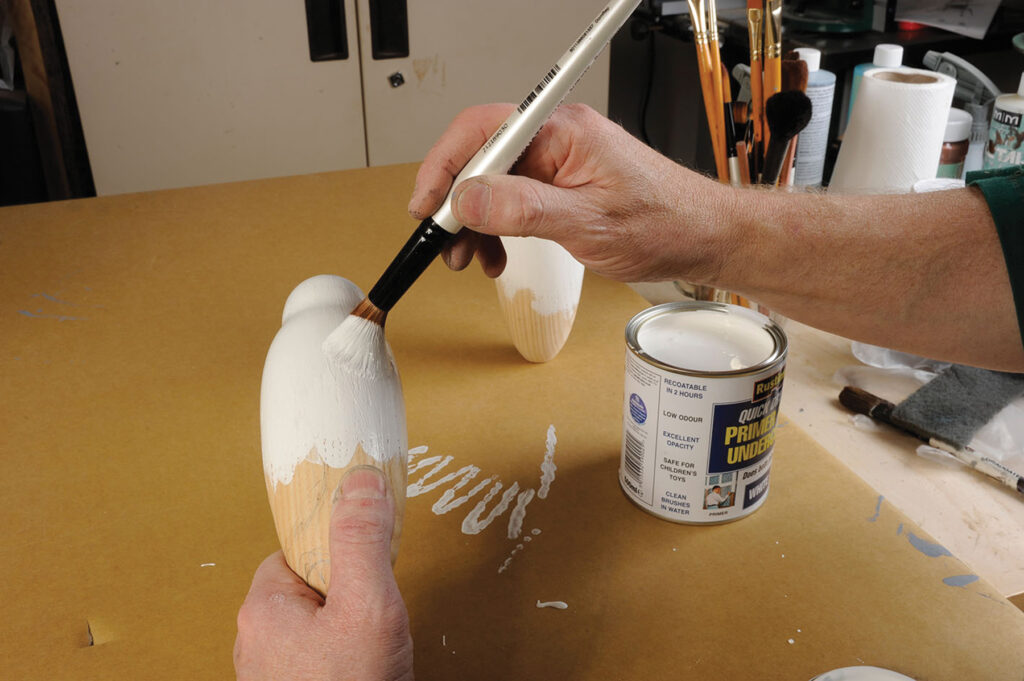
14. When dry, use a pencil to mark out your basic penguin paint design.
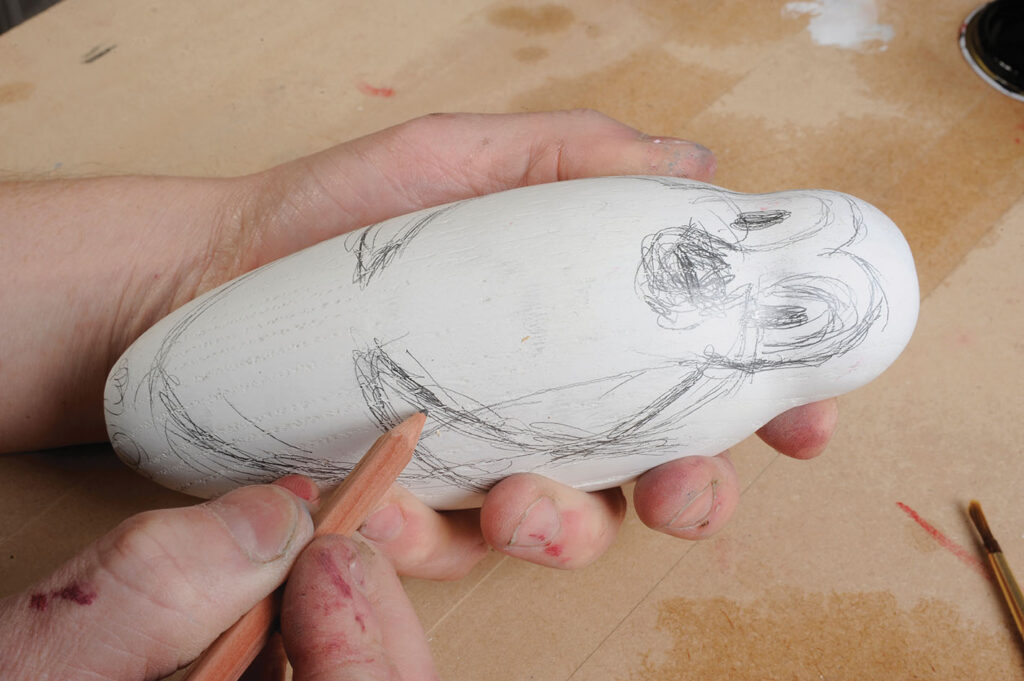
15. Nail a panel pin in a waste block of wood. Drill a hole in the base of the skittle the same diameter as the panel pin.
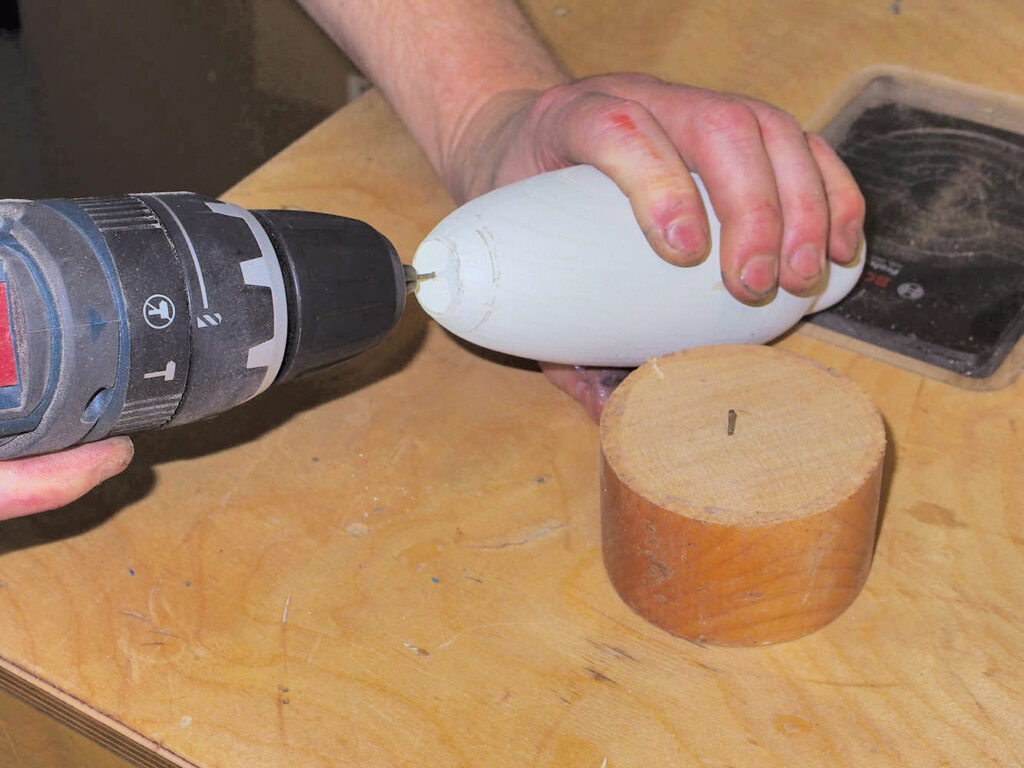
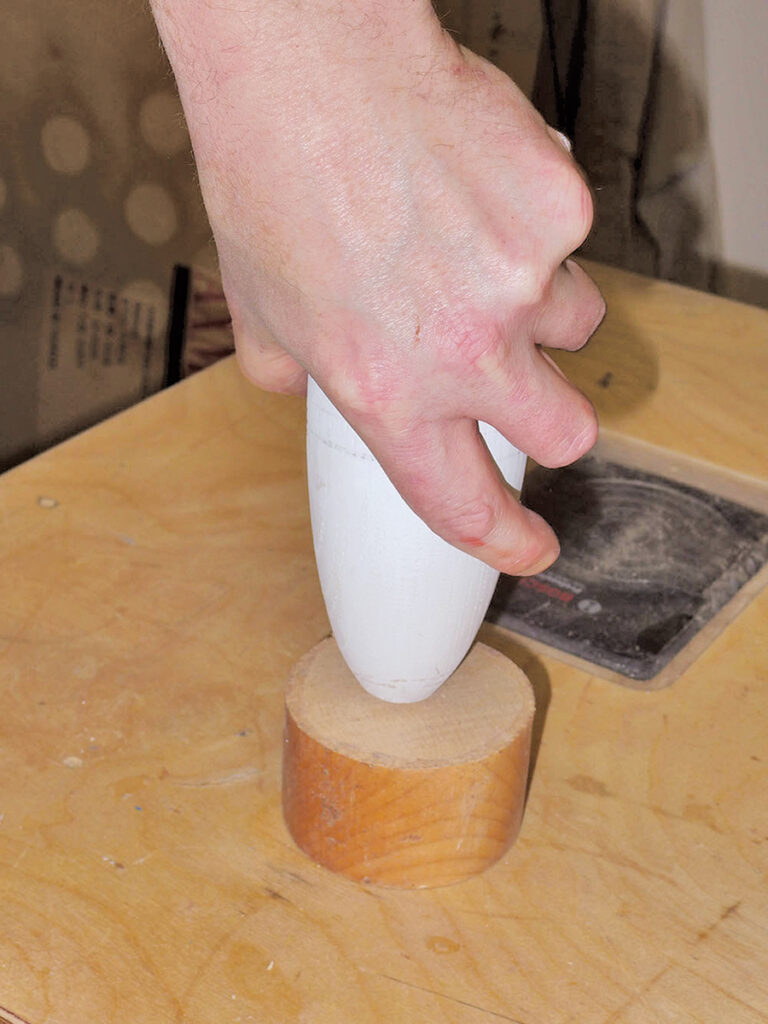
16. Mount the skittle on the waste block with the pin in it, so that you can paint it easily.
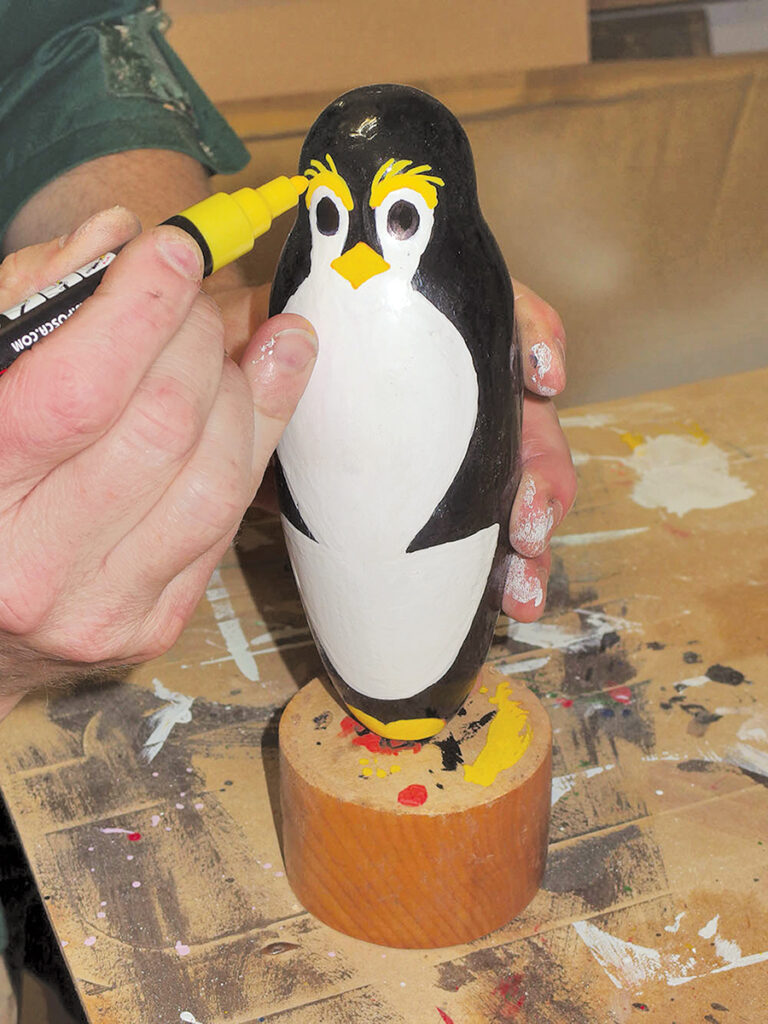
17. I used gloss paint for the main colours, followed by a toy-safe pen for the detail.
Making the snowballs
18. Turn a cylinder of wood to 1⁄8in (3mm) more than the diameter of sphere required for the balls. Cut a spigot on the end. Mount in a chuck on the lathe. Measure the diameter and mark on the cylinder. Mark the halfway position with a pencil, then mark halfway again between these halves. This will enable you to make the cuts to roughly shape the spheres.
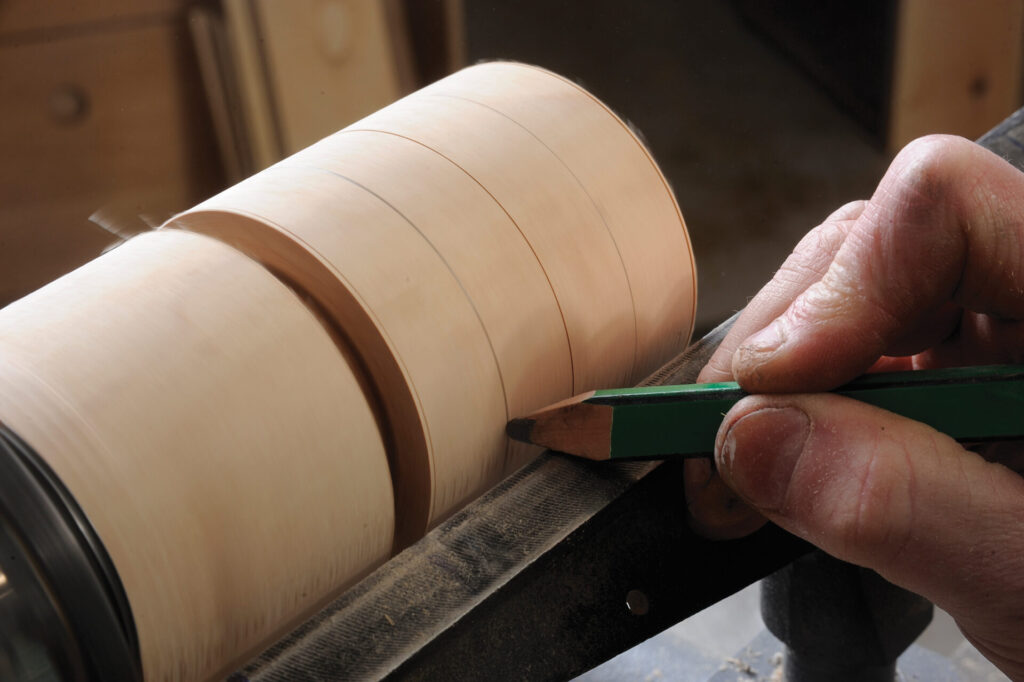
19. The image above shows a piece mounted up with two spheres and their sections marked. On the left-hand sphere you can see the cuts that will enable you to refine the shape. On the sphere on the tailstock end, you can see how the cut form on the left half will guide you in creating the shape shown on the right half.
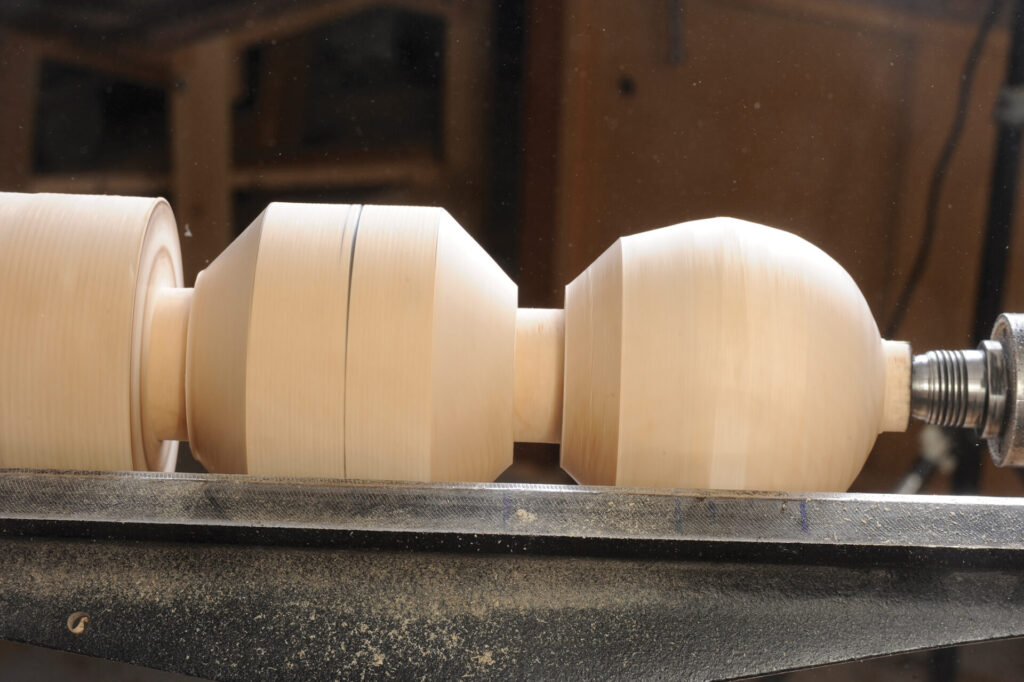
20. Use the spindle gouge to refine the shape of the sphere. Just be careful not to take too much off or the shape will be wrong. But if you leave too much waste wood in place, it makes the adjustment and final refinement later more tricky.
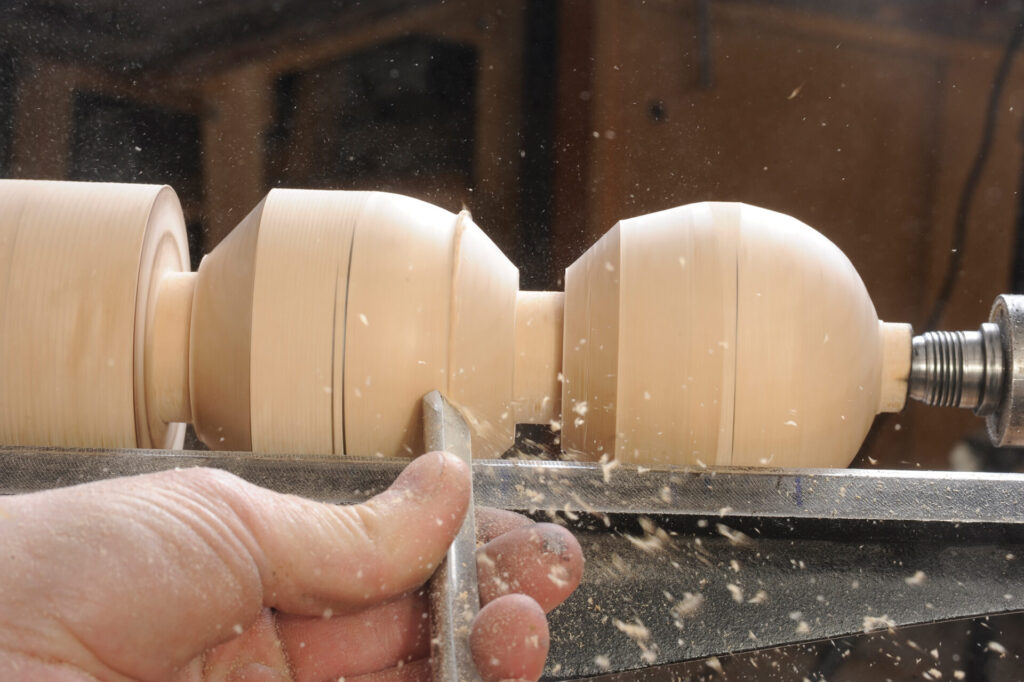
21. The handle movement, working from the centre down to the lower sides, is quite pronounced. Once your sphere is roughly to shape, but just oversize, part it off.
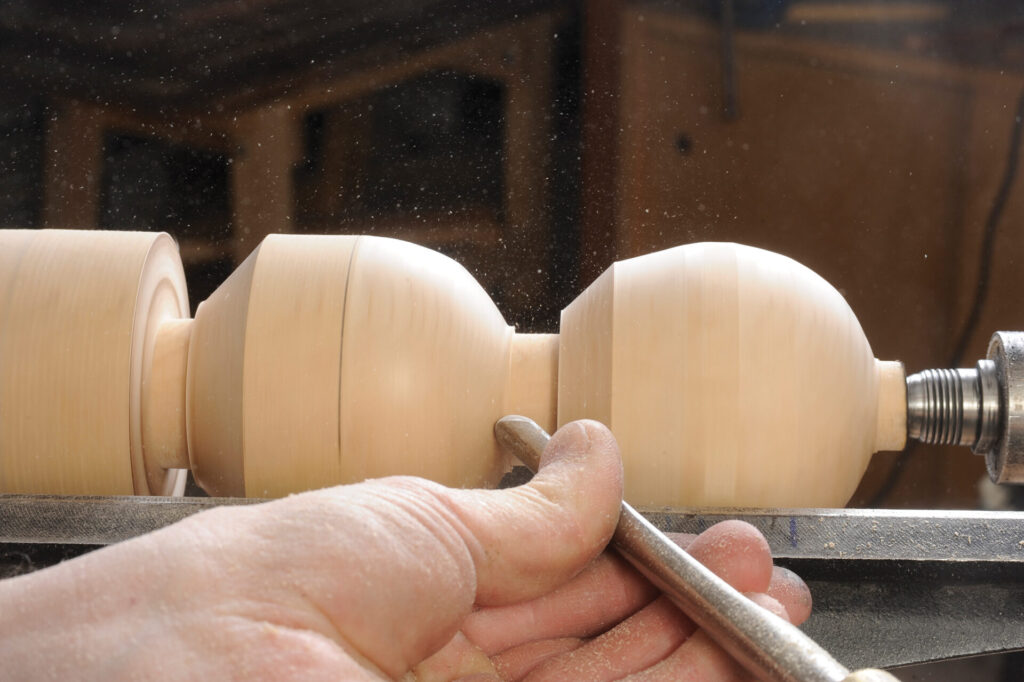
22. Use a friction drive on the chuck and one on the tailstock. Depending on the revolving centre, you can have an over-fit or a screw-on version of this support. As long as they run true and support the sphere properly, it doesn’t matter. Use the spindle gouge to refine the shape of your sphere.
23. As the sphere rotates, you will see a fuzzy outer shadow shape where the sphere is uneven, and an inner solid section. Remove the fuzzy shape when you are cutting so you cut to the solid section. Once done, stop the lathe, release the pressure between centres and rotate the ball so that a fresh area can be refined.
Top tip
Using a sphere-cutting jig
To create a sphere from a cylinder of timber, you can use a sphere-cutting jig like the one shown here. However, you will still need to use the friction drive method to hold the ball (see Step 5) to clean it up.
The beauty of using a specialist jig is the accuracy; the ease of use; and the knowledge that, once everything is set up, micro-adjustments are easy, with everything locked in place and controllable. This minimises problems such as catches. Which route you take is probably dependent on how many spheres you are likely to cut. Whatever method you use, you can still end up with the same result.
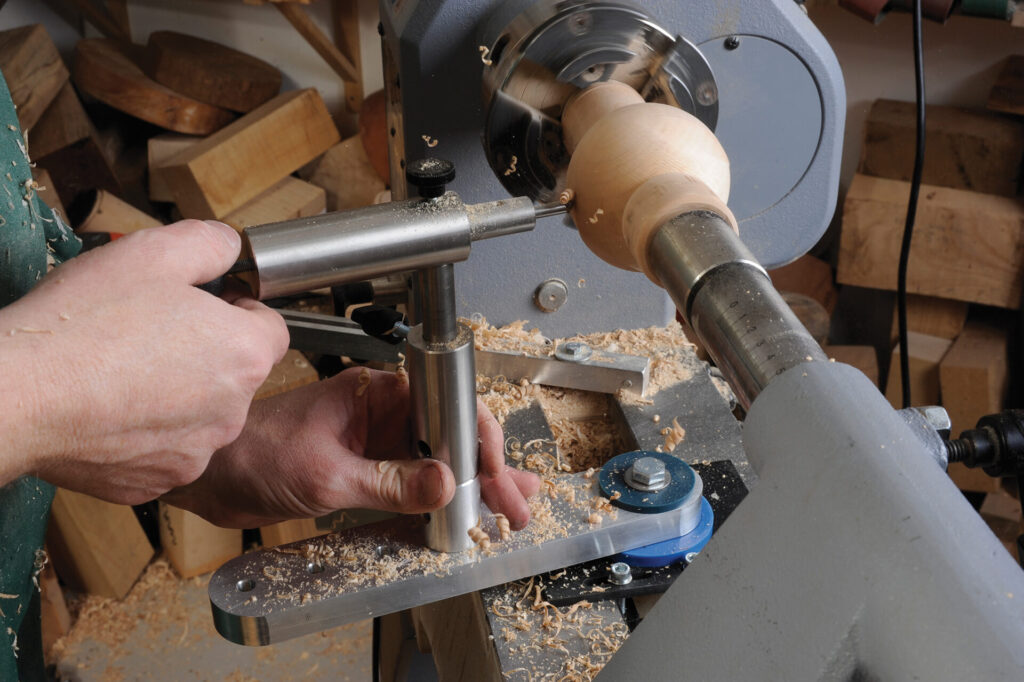
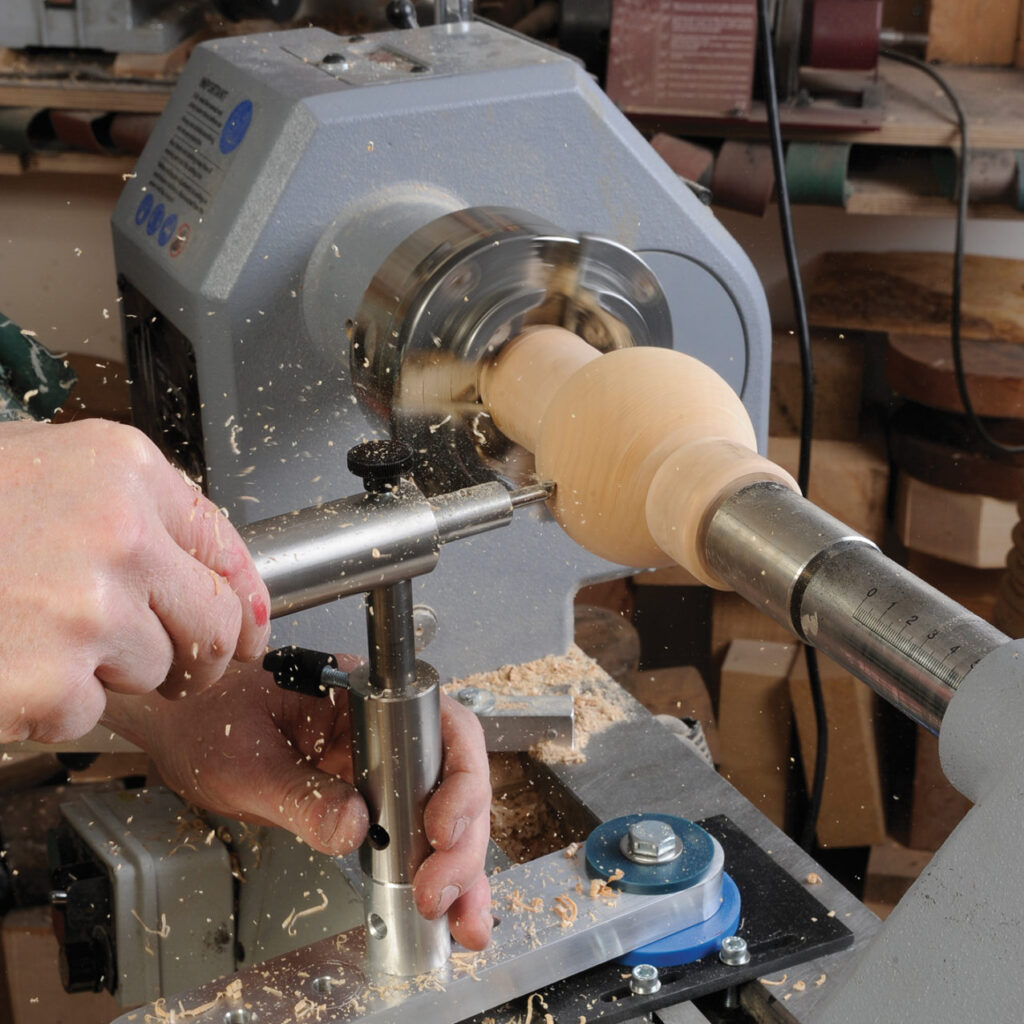
With a jig, the process of cutting a sphere is almost identical to hand turning, but it allows for precise micro-adjustments, making the final refinement much easier.
24. Here, you can see how I had some waste wood to remove due to there being a shoulder of timber. This was the flat area that had been left when I parted it off.
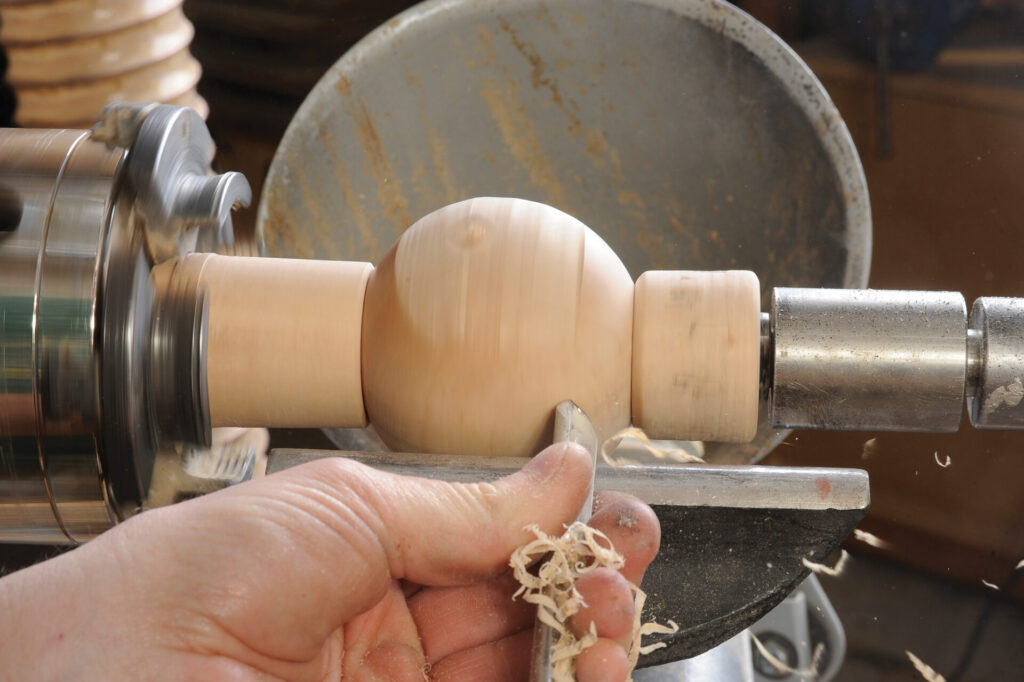
25. It doesn’t matter whether you use a gouge or a scraper, just work a section. Rotate the ball all the way round until you have your perfect sphere.
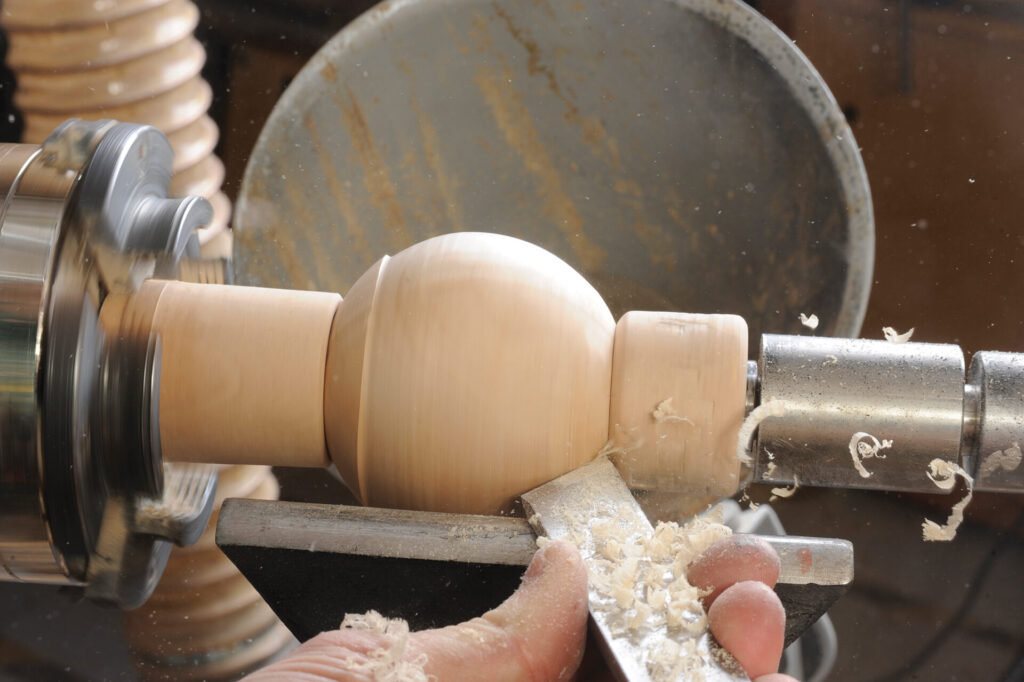
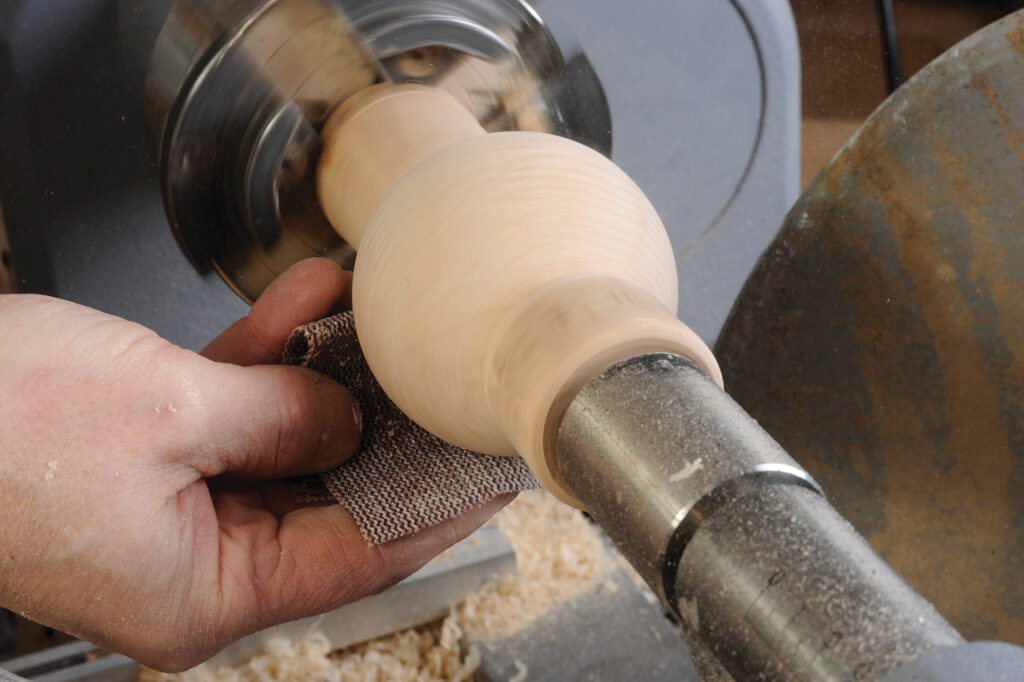
26. Sand the ball, rotating the sphere as each area is finished. Once complete, repeat this whole process for the other balls.
Health & Safety
Any paint, coloured pens, clear or coloured finish must be child-friendly, so opt for ones which specifically say toy-safe, non-toxic or food-safe and are certified for the country you are in, for example in Europe Certified Toy Safe (EN 71-3) and in the US ASTM F963 (the mandatory U.S. toy safety standard). Certain species of timber contain toxins, while others contain elements which pose a nuisance hazard to people intolerant of them.
It is our responsibility to use only ‘safe’ timbers when making toys such as ash, sycamore, beech and maple.