The Woodworkers Institute

We bring you the very best of woodworking!

“Make it with us”

Useful workshop tools

Colwin Way shows how to make a bradawl, marking gauge and a mallet
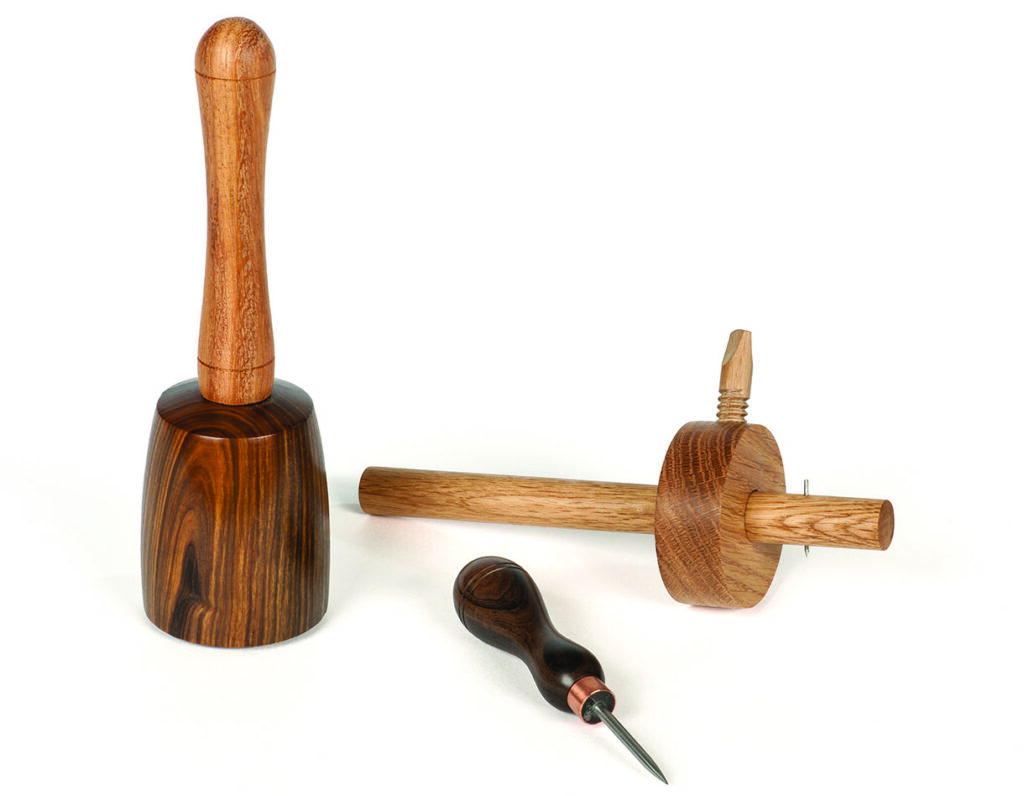
Woodworking tools: mallet, marking gauge, scratch awl.

I think it’s time to give something back to the workshop and make some of the most useful tools for us to use in our upcoming woodworking creations. I’m choosing the common marking out tools I use most of all in the workshop, outside of actual turning tools, of course.

The bradawl, marking gauge and mallet are used together to centre, mark up and tap home our centres prior to turning. They tend to stay on my workbench permanently as they’re used so often. I’m using a selection of timbers for these tools, some to look good but some because of their working characteristics. I will also be using some workshop bits and bobs to complete the tools and make them look the real deal. You can,
of course, take these tools and expand on the idea for all manner of gadgetry in the workshop and completely customise your toolkit. What better gift to the turner who has bought every tool in the tool shop than a handmade heirloom tool?

OK, so we’re going to make these tools in order of difficulty and start with the bradawl. The bradawl is used to mark a small hole in the centre of the workpiece before tapping in your centre prior to mounting on the lathe. You can use the process we’re about to use to re-handle your turning tools and customise them to the timber you like, or buy unhandled tools for this reason and handle them yourselves.

Tools and materials

• PPE & RPE (personal and respiratory protective equipement)
• Skew chisel
• Parting tool
• Bowl gouge
• Spindle gouge
• Spindle roughing gouge
• External callipers/dividers
• Four-jaw chuck
• Drive spur
• Friction drive
• Pointed revolving centre
• 20mm Forstner bit 
• 10mm drill bit 
• 4mm drill bit 
• Drill chuck to fit in lathe
• 13mm wood thread kit
• 15mm copper pipe offcut
• 2mm x 30mm nail 
• 4mm x 90mm nail
• Finishing oil
• Acrylic lacquer
• Adhesive
• Sanding disc
• Timber of your choice to suit project drawings

Drawings
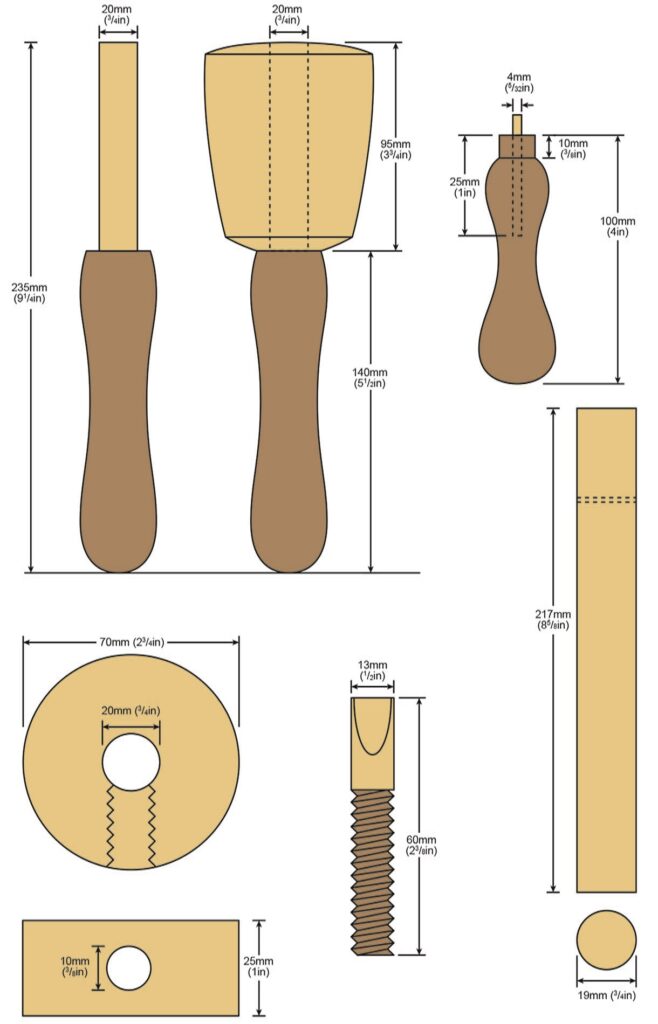
Woodworking tool diagrams with detailed measurements.

Top tips

• Soak in oil – if you’re finding thread cutting difficult and continual breakout occurring, try soaking your timber in finishing oil for 24 hours to soften the fibres. 
• Chuck as a vice – holding nails and pipe to be cut can be hazardous. However, using your chuck frees up your hands and keeps them out of harm’s way, allowing you to lock the spindle and hacksawing with ease. 
• Sand with water – Lignum vitae or any oily timber can be very difficult to sand as the oil continually clogs up your abrasive, but if you keep the project wet while sanding no slurry can build up or cracks appear, leaving you to sand with a fine abrasive with ease. 


The bradawl 
Person sanding wood on a lathe
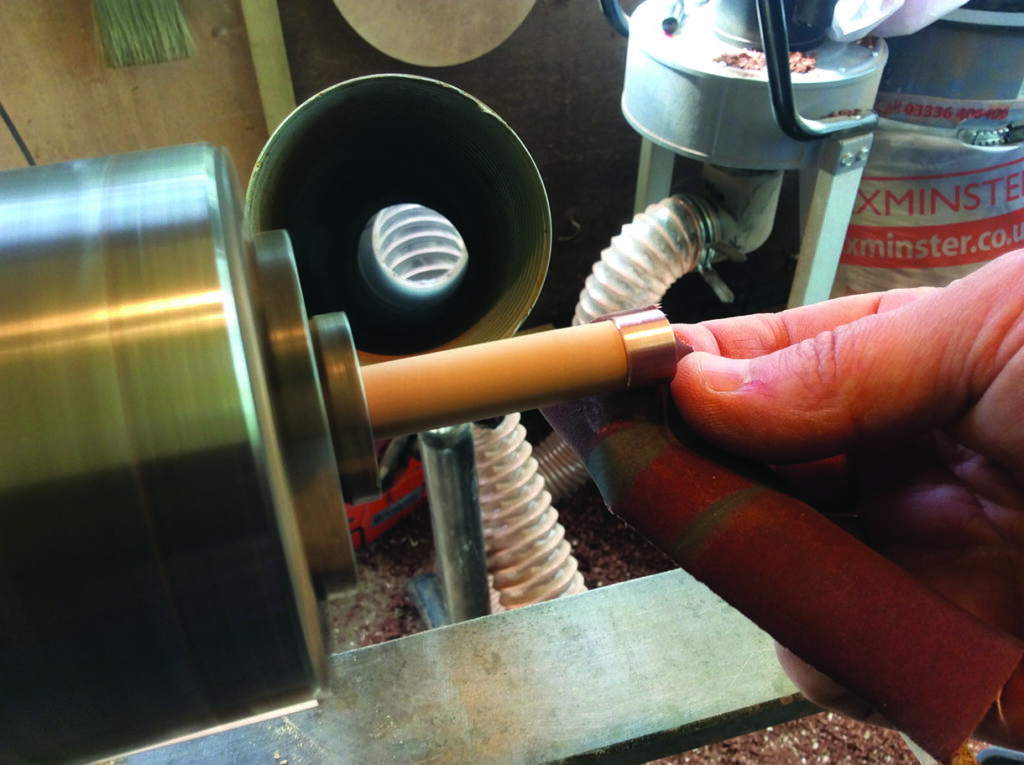
1. To start the bradawl you need to create a ferrule and the point. For the ferrule you can use offcuts of 15mm copper or you can buy one ready made. If you are making your own, cut off a 10mm long piece. There will be a ragged edge so cleaning up is an important step – and if you’re doing one you may as well cut off a few more and make some for future use.  Put on your PPE & RPE, mount a scrap of wood in your chuck and rough down to a size that makes a snug fit inside the piece of copper. Slide your soon-to-be ferrule on to the wood. Once secure, sand it down until you have a tidy and shiny ferrule
Hand holding metal nail near lathe machine.
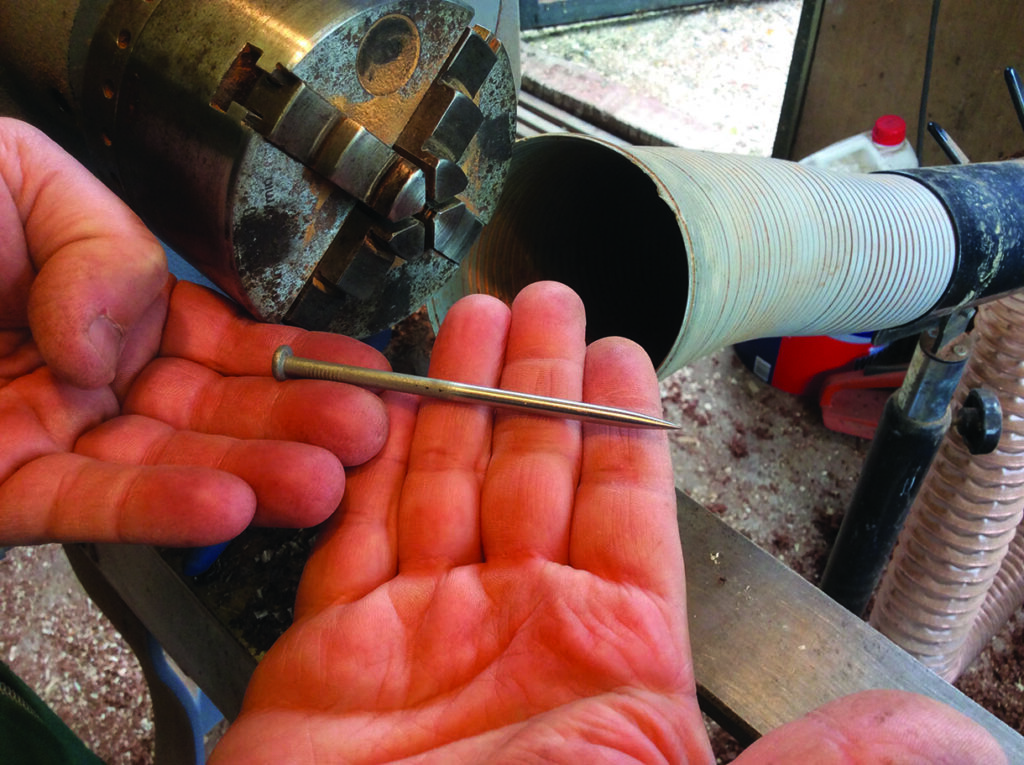
2. Now make a point using a 90mm x 4mm nail. Carefully grind the nail to a clean point. You can do this by holding the nail in a cordless drill and rotating it over abrasive – a disc held in the chuck works well. Alternatively, use a bench grinder or belt sander. Be mindful that there can be sparks so be careful to clear away sources of ignition such as fuels or wire wool before you start. When you’re happy with the finish, cut the nail to length
Woodworking with lathe and clamp
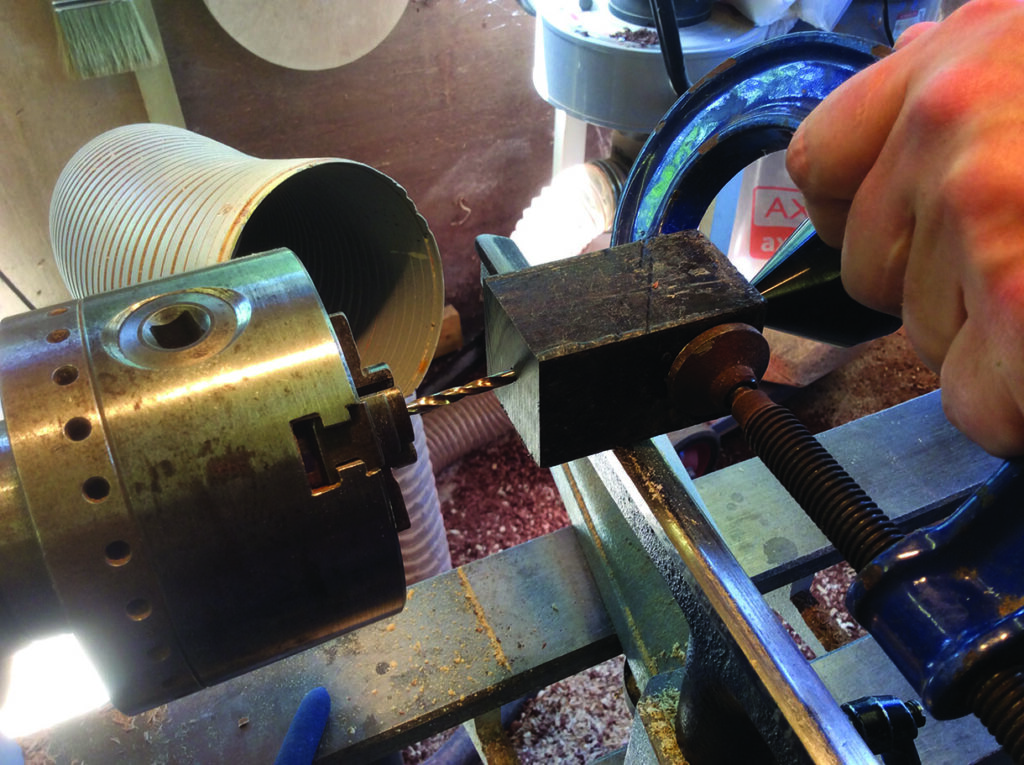
3. Now it’s time to tackle the handle. I’m using a piece of ebony (Diospyros spp) for this. Start by drilling a hole for the point at 4mm diameter and a depth of 25mm. Use your chuck or a drill chuck to hold the drill bit while you use the tailstock to push the blank on to the bit. Since this is a very small hole and not deep I am using a very low lather speed. Bring up the toolrest to sit under and along a corner of the wood to prevent the wood spinning if the bit jams. As always, make sure you extract the bit regularly to prevent jamming. Using this method of drilling gives perfect central location markings for turning between centres later on
Using lathe machine for woodturning craftsmanship
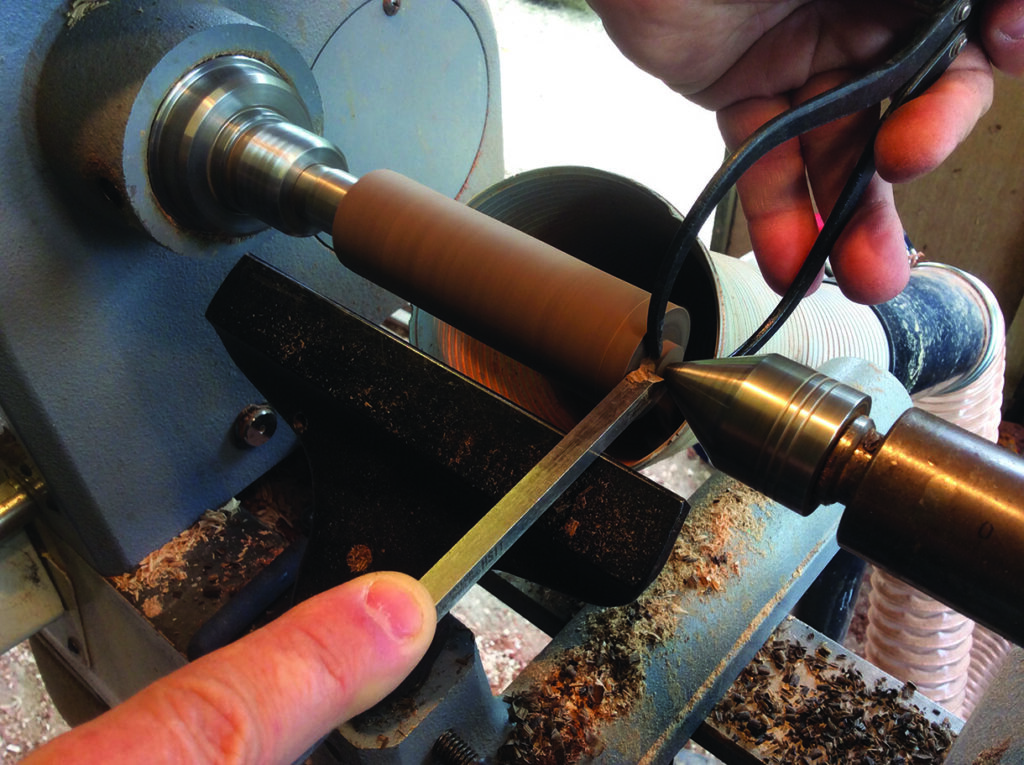
4. Hold the blank between centres with a single pointed tailstock centre resting in the hole you’ve just drilled. Now start the tenon for the ferrule with a set of callipers and a parting tool
Woodturning with lathe and chisel in workshop.
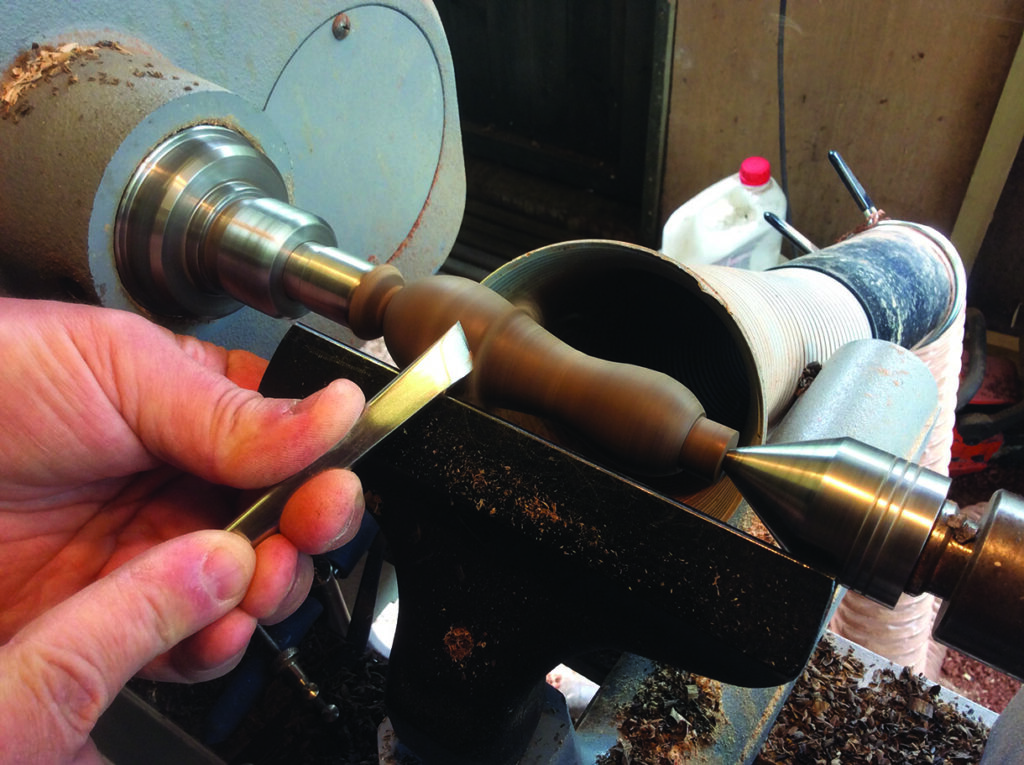
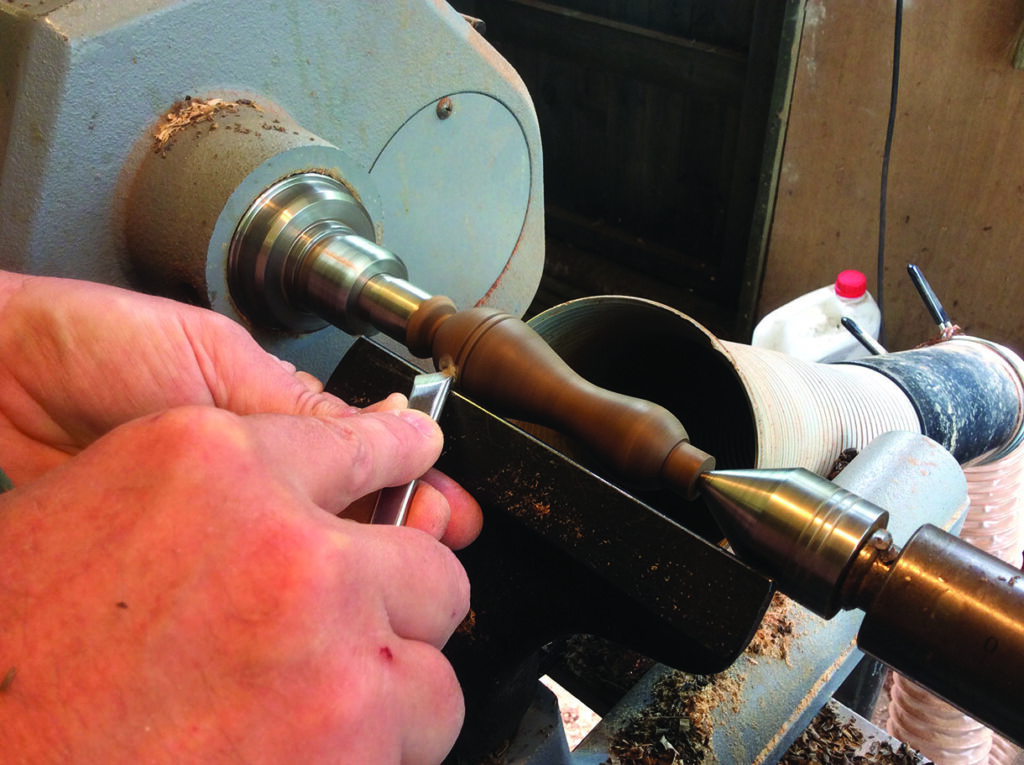
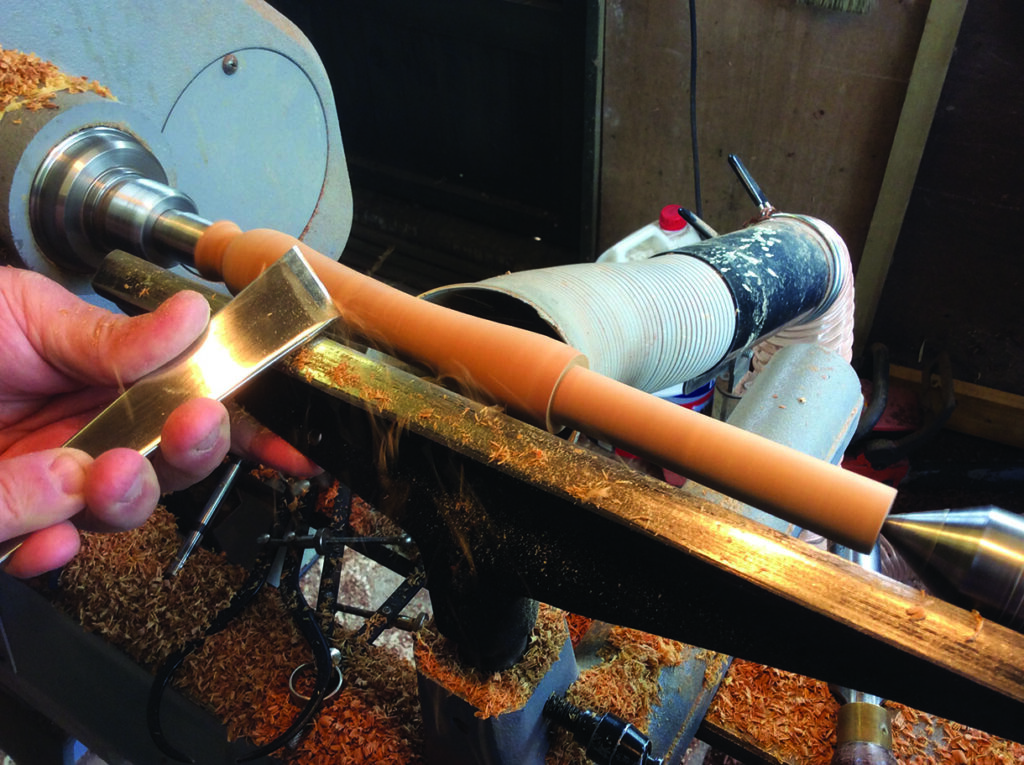
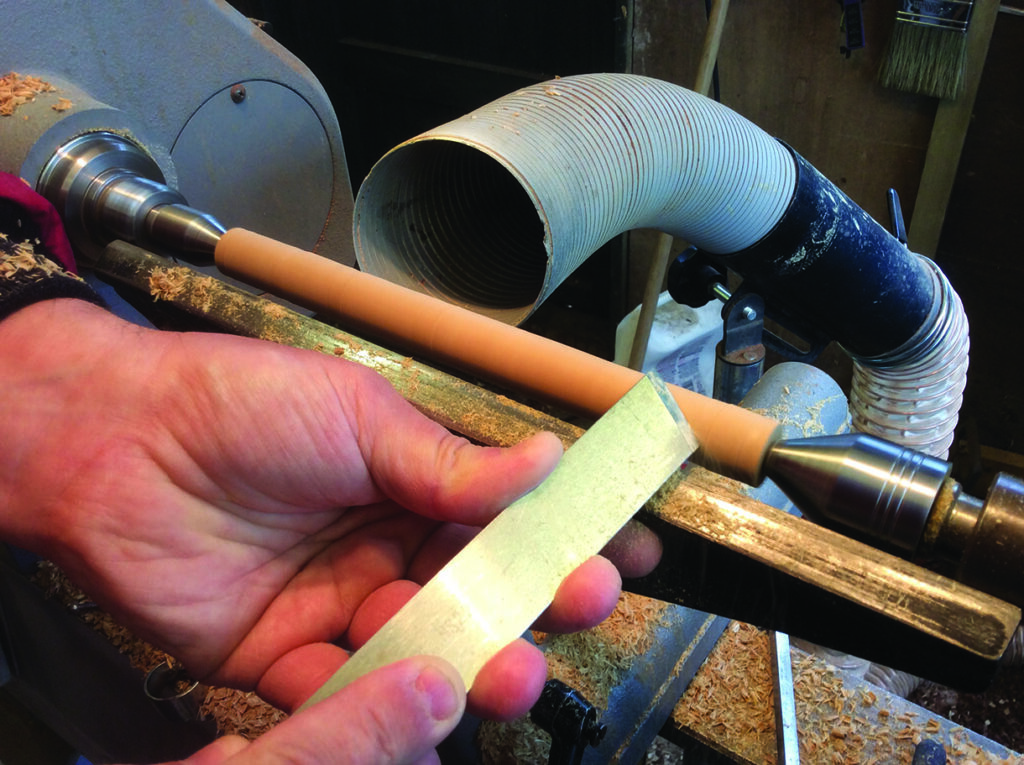
5. When the tenon fits both the diameter and length of your ferrule, start your shaping, I’ve gone for a classic, easy-to-hold bradawl shape, using the skew chisel to give me a nice clean finish before sanding
Woodturning a spindle on a lathe machine
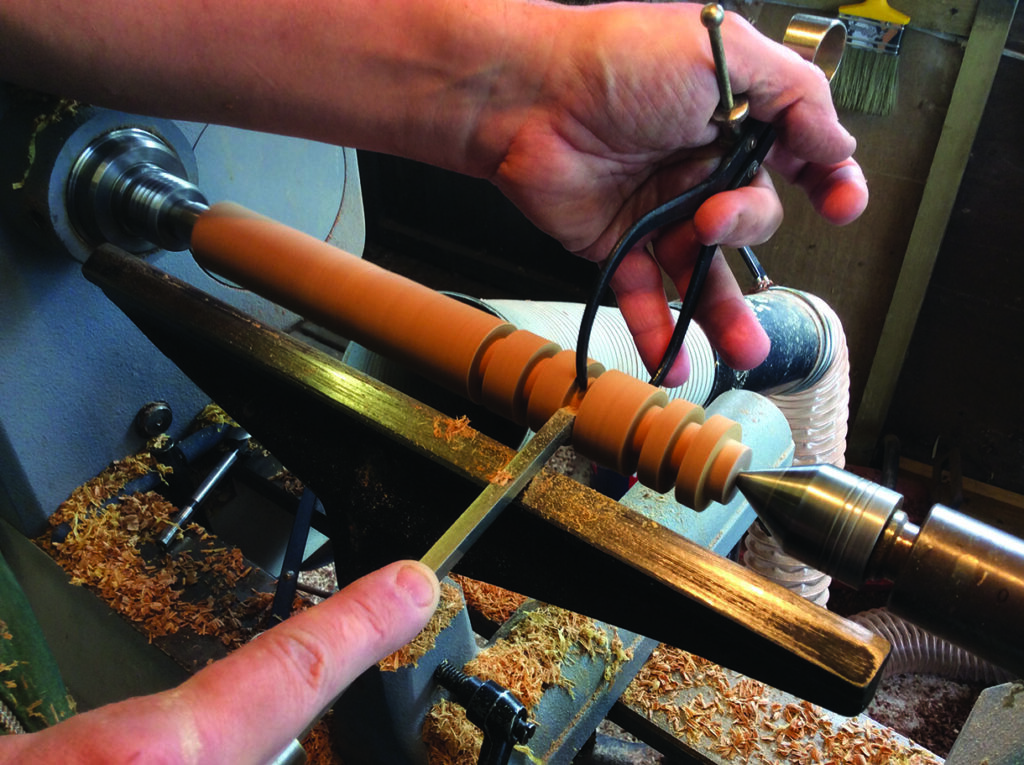
6. Now it’s time to add a little decoration in the way of a couple of V cuts, simply added with the skew laid down on its side to scrape the lines in. Add as much decoration as you want to, but remember it needs to be comfortable in the hand so don’t go crazy
Varnishing wooden handle with spray lacquer.
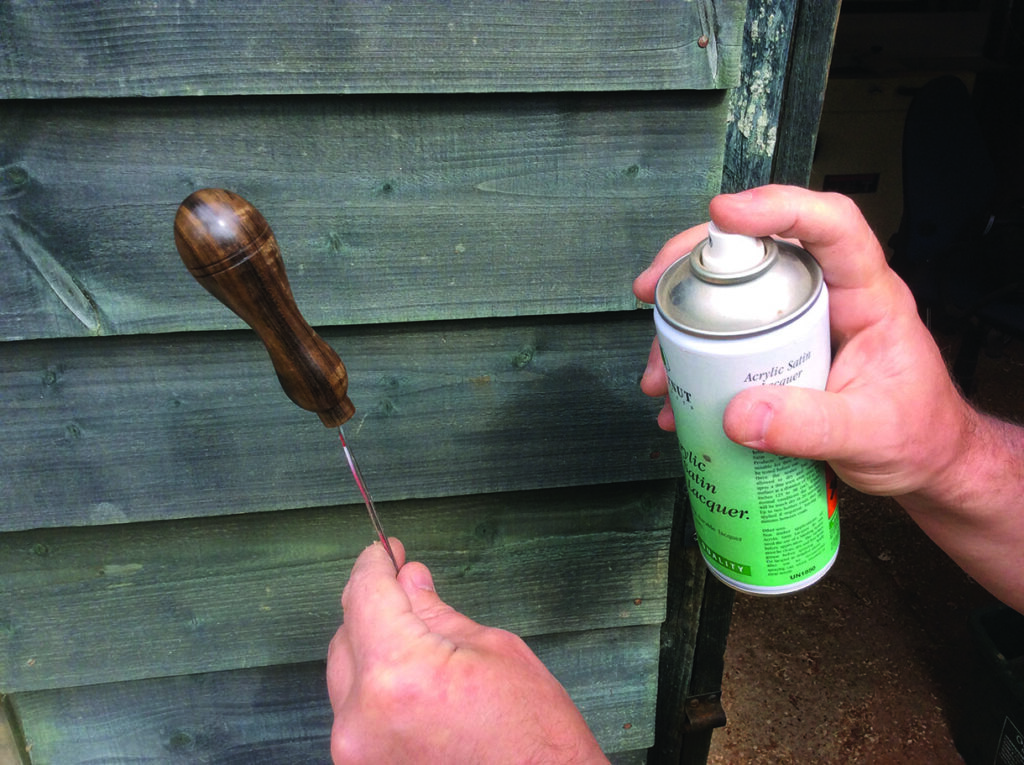
7. When you’re happy with the handle shape and the ferrule fits snug you can sand before applying your finish – I’ve chose acrylic lacquer. The first coat will need to be very lightly sanded back before a second coat. Usually three coats will be enough
Person holding a wooden-handled awl tool.
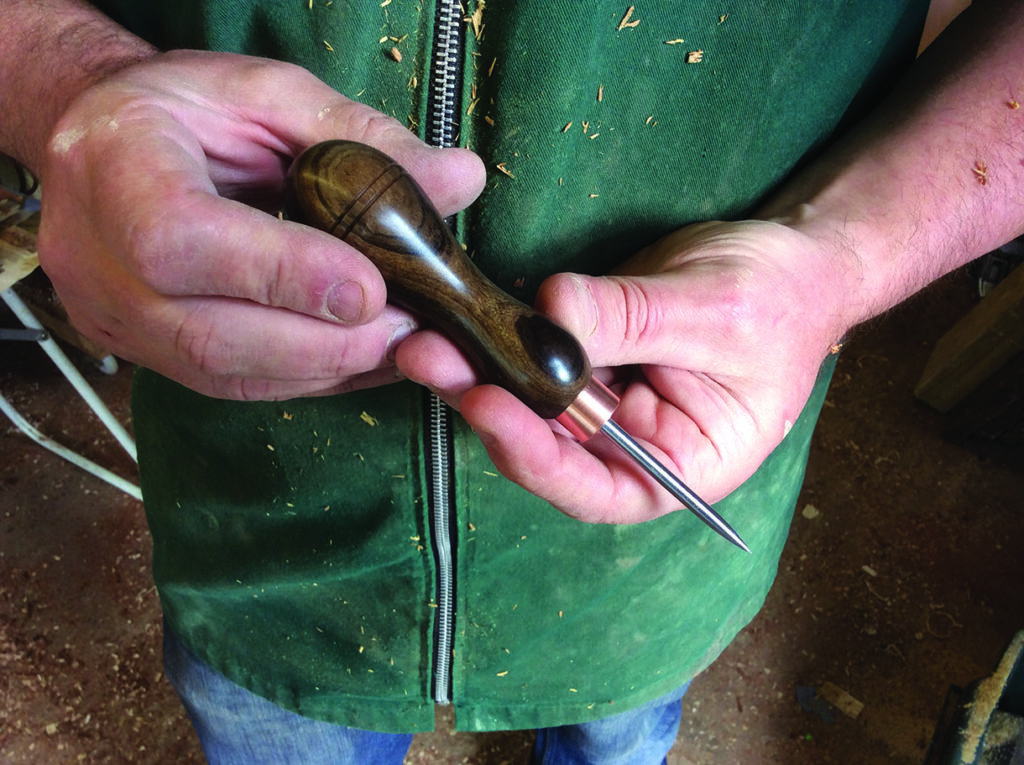
8. There we are – the finished bradawl and a really nice piece. The point is glued in using epoxy resin that is left slightly proud to give a neat finish

The mallet 

Drill press cutting into wooden block in workshop.
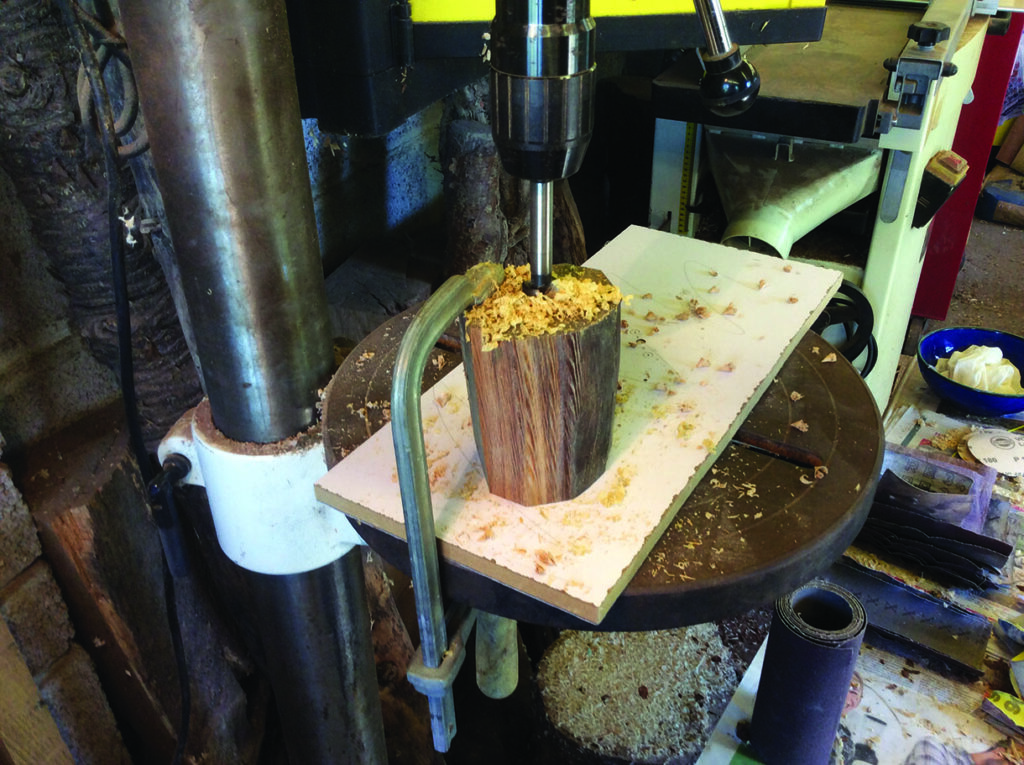
1. I’m making my mallet in two pieces, but to simplify the project you could make it out of one piece. For the head I’m using a piece of old lignum vitae (Guaiacum officinale). A good source is old bowling balls. This timber is incredibly hard and heavy and ideal for a mallet head. The handle is a piece of mango (Mangifera indica). All will be held together with an ebony wedge. Start by drilling a 20mm hole all the way through the blank to accept the handle shaft later. A pillar drill is ideal for this but, since you are drilling quite a long way, you will need to clamp the blank when drilling such a large hole. Remember to extract the cutter regularly to remove waste and so minimise the risk of jamming
Woodturning process creating wood shavings
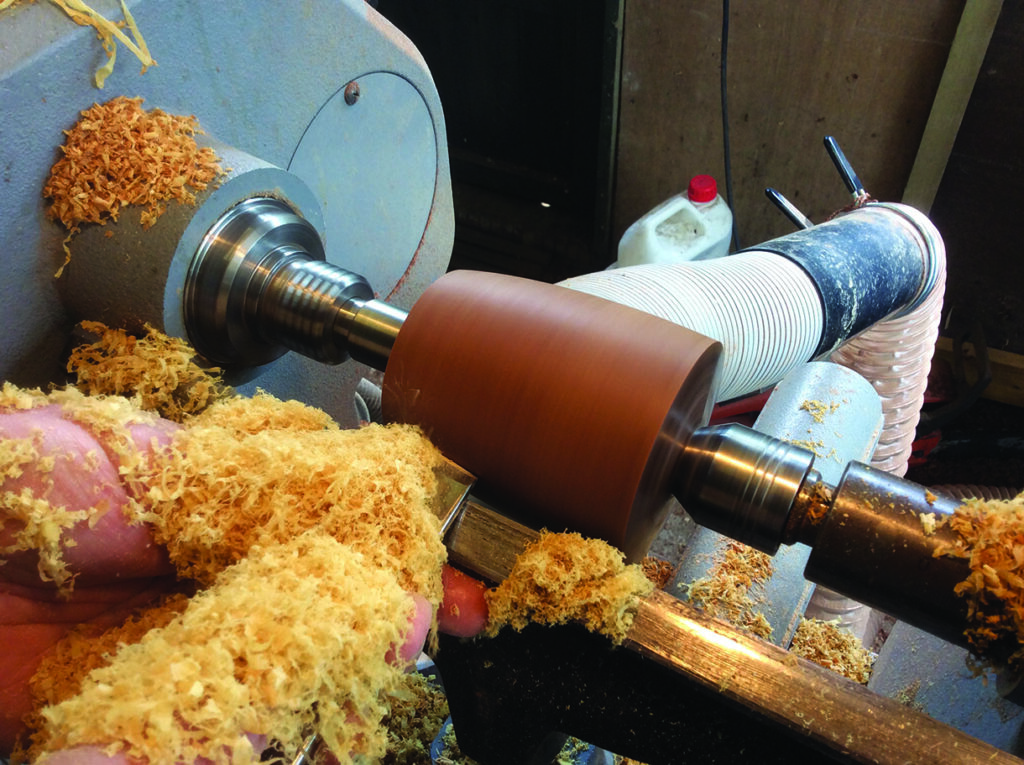
2. Hold the blank between centres between a friction drive (either bought, or homemade out of waste wood) held in the headstock, and have a pointed revolving centre in the tailstock. This ensures that the blank is always centred around the hole. Lignum contains a large amount of oil, and even using a gouge often creates chips rather than shavings. That said, scraping can produce wonderful ribbons of shavings, but usually very fine dust is produced. Use a gouge to rough shape and then use a skew chisel in scrape mode to refine the shape. Tidy up the ends as well
Woodturning on a lathe using calipers.
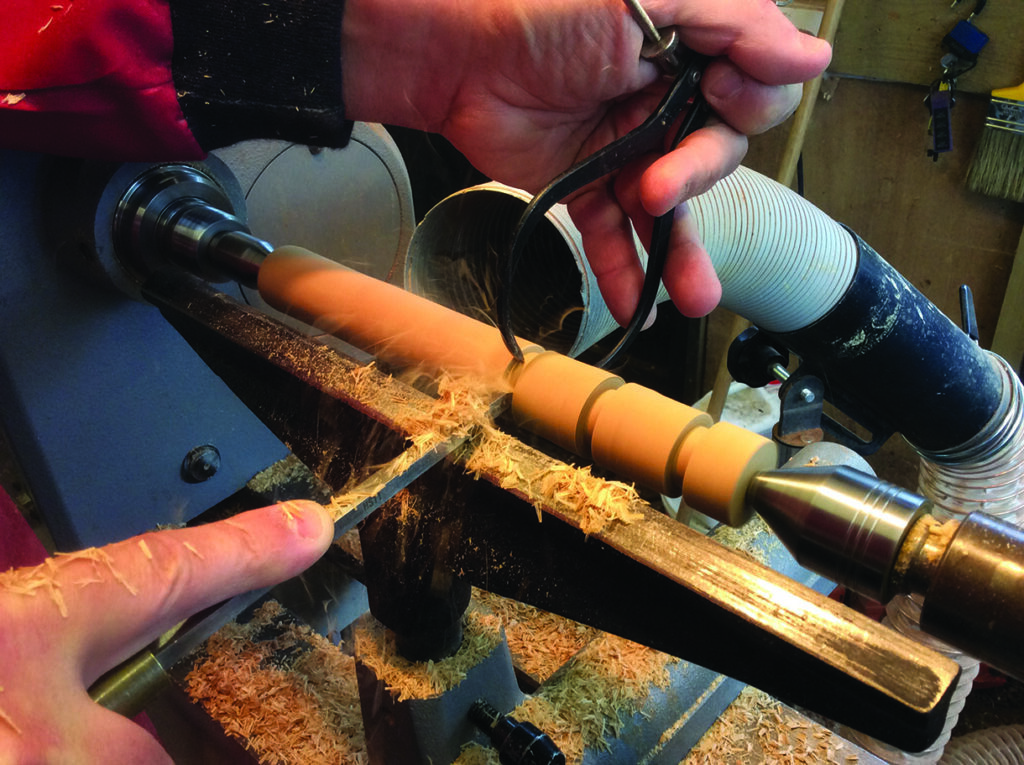
3. I’m using mango for this handle but ash (Fraxinus spp) or similar resilient timbers can be used. Mango is an easy-to-turn timber and will stand up well against rough treatment. Mount the wood between centres and size the tenon. Use a parting tool and callipers set to the drill size used earlier to check the measurements as you go
Woodturning on a lathe with chisel tool.
4. After sizing the tenon, shape the main shaft to the shape you need but don’t make it too thin. It needs to be comfortable in the hand so stop the lathe regularly and check for comfort. Once shaped, sand and then remove the wood form the lathe. Then sand off the waste at the end of the handle 
Woodworker holding carved wooden pieces
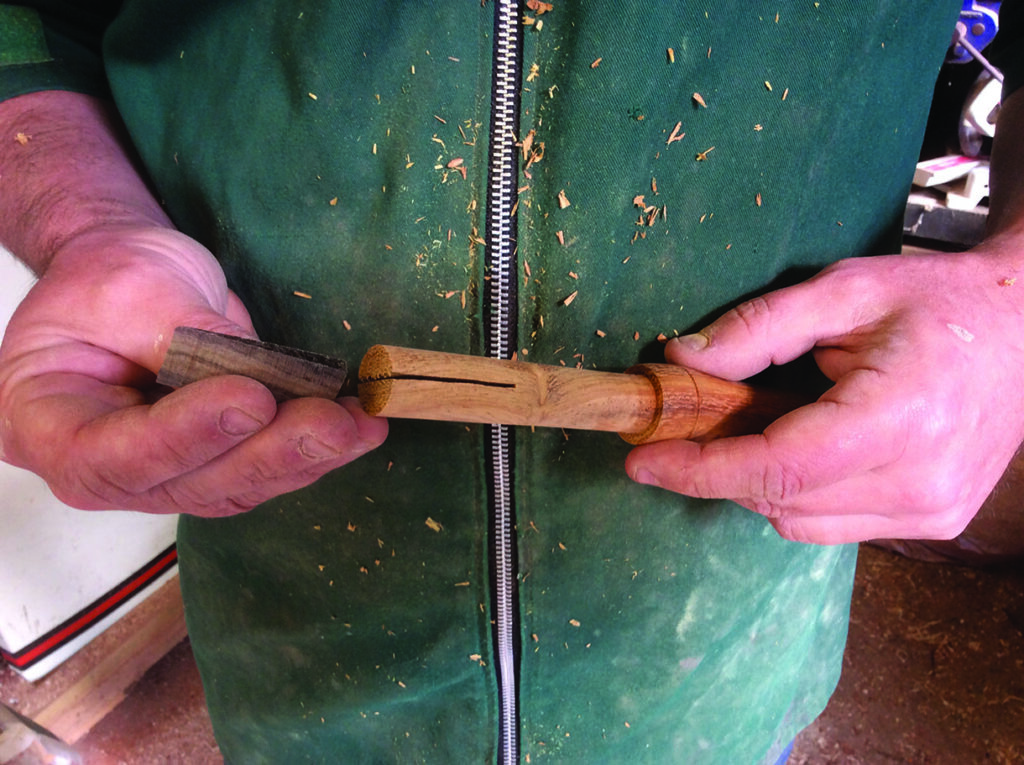
5. To ensure the handle stays put, glue and wedge it in place. Here I’ve cut a slot on the handle tenon, about half its length, and into that you eventually drive the wedge. The wedge matches the diameter of the handle tenon, 20mm
Person chiseling wood with a hammer.
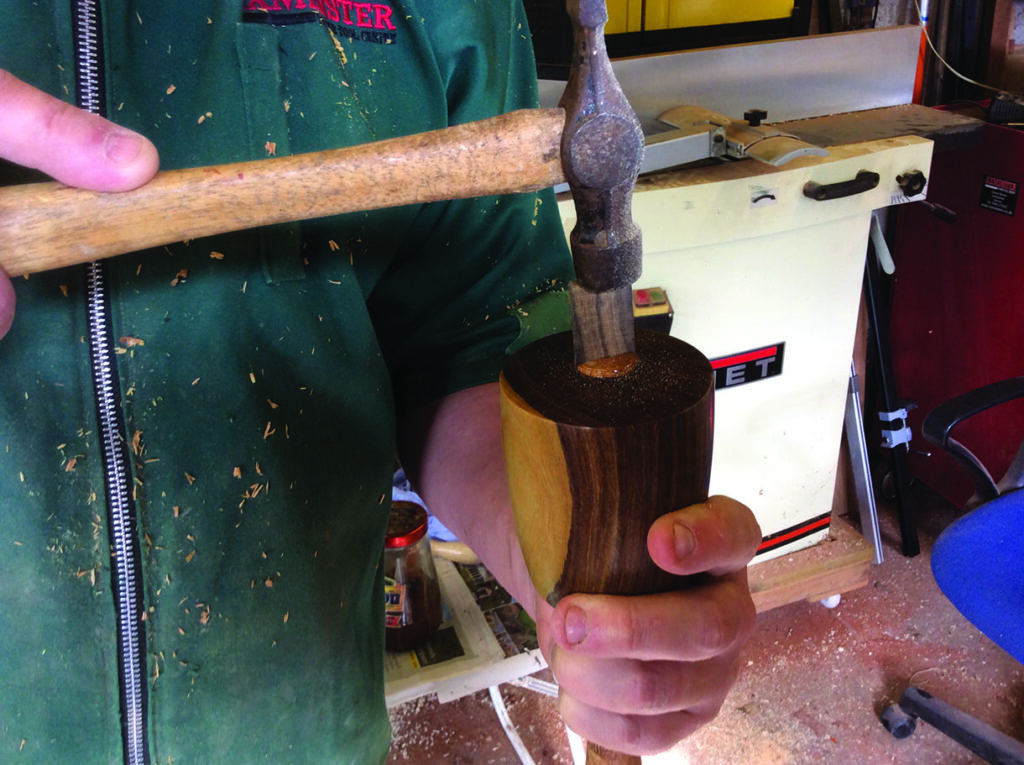
6. Now apply glue to the tenon, insert the mallet head on to the tenon and orientate the grain of the mallet head so that the wedge runs across the grain of the head, not along it so as not to split it. Once aligned, gently tap in the ebony wedge until everything is firm
Person holding an intricate wooden cylinder
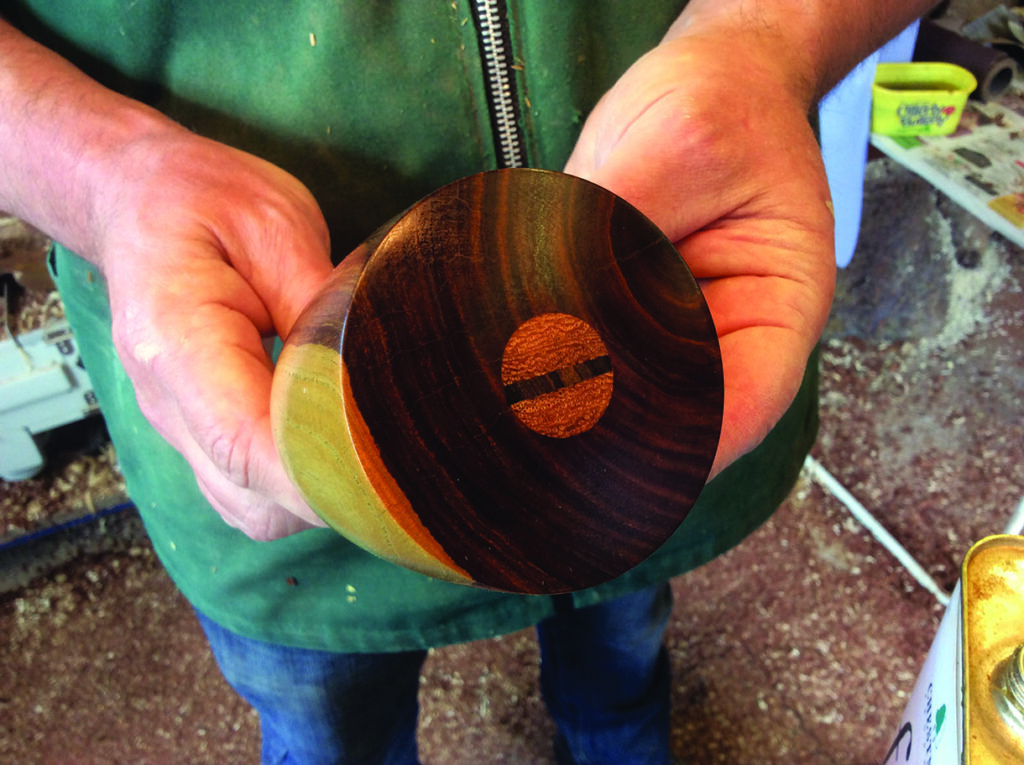
7. When the glue has set cut the waste away before sanding to a clean finish. You can see the wedge is running across the grain of the head
Craftsman holding a wooden mallet in workshop.
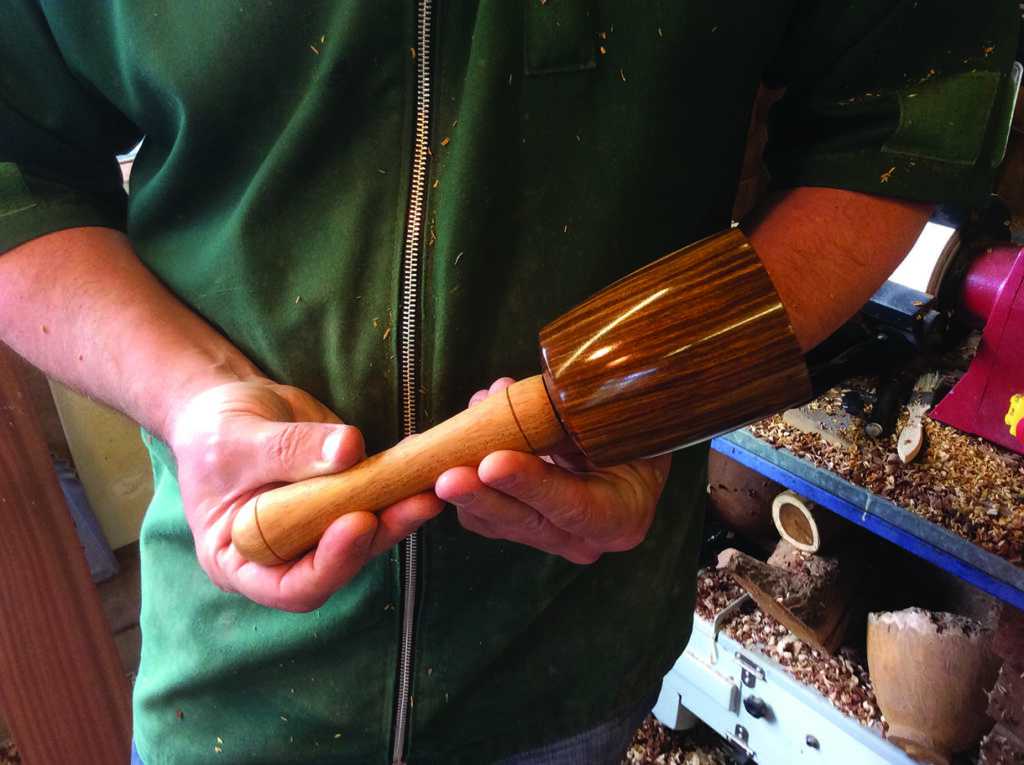
8. Here’s the finished mallet with a coat of finishing oil applied to it. I’ve chosen oil simply because lignum vitae is so oily some finishes struggle to adhere to its surface. Wax would work brilliantly too, some just burnish the wood and leave it

The marking gauge 

Person woodturning on a lathe, creating shavings.
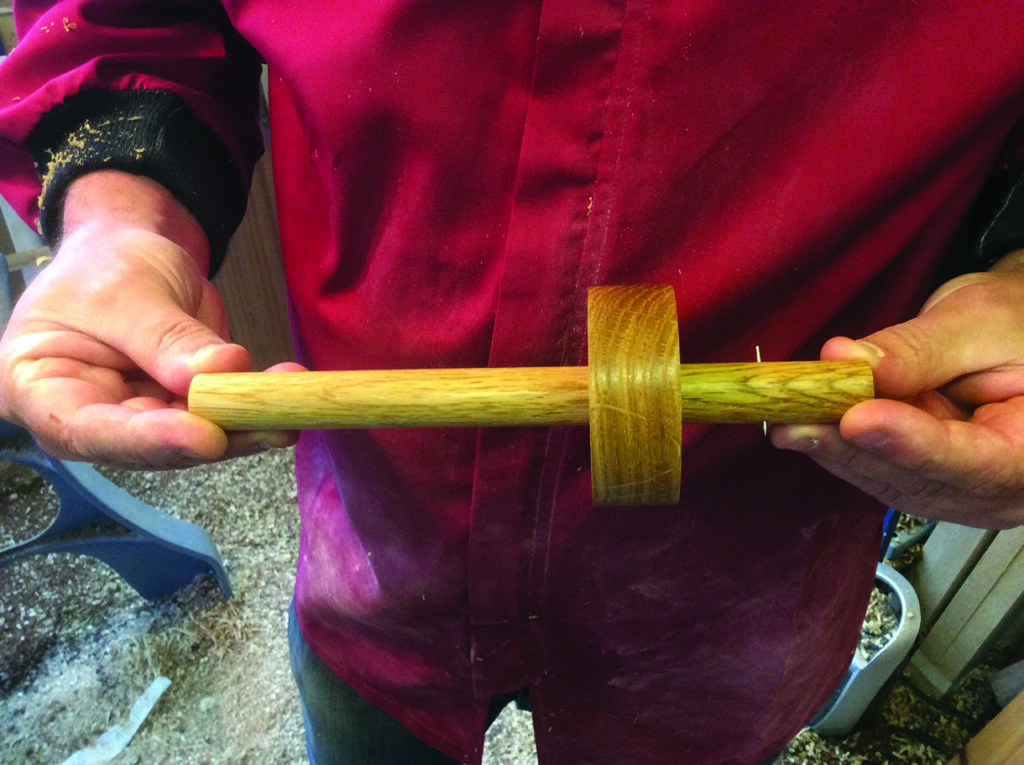
1. Start by making the handle. I used oak (Quercus spp) for this project. Using the same technique as used to create the tenon on the mallet handle, create the main shaft of the gauge The diameter of the handle will eventually be 19mm, slightly smaller than the hole we will later drill in the gauge head, as they will have to easily pass through each other
Woodturning process with lathe and tool.
2. Once sized, make a small cleaning cut with the skew to allow a nice sliding fit through the head of the gauge. Now trim the ends with the skew and sand all over down to 400 grit
Drilling hole in wooden handle with drill press.
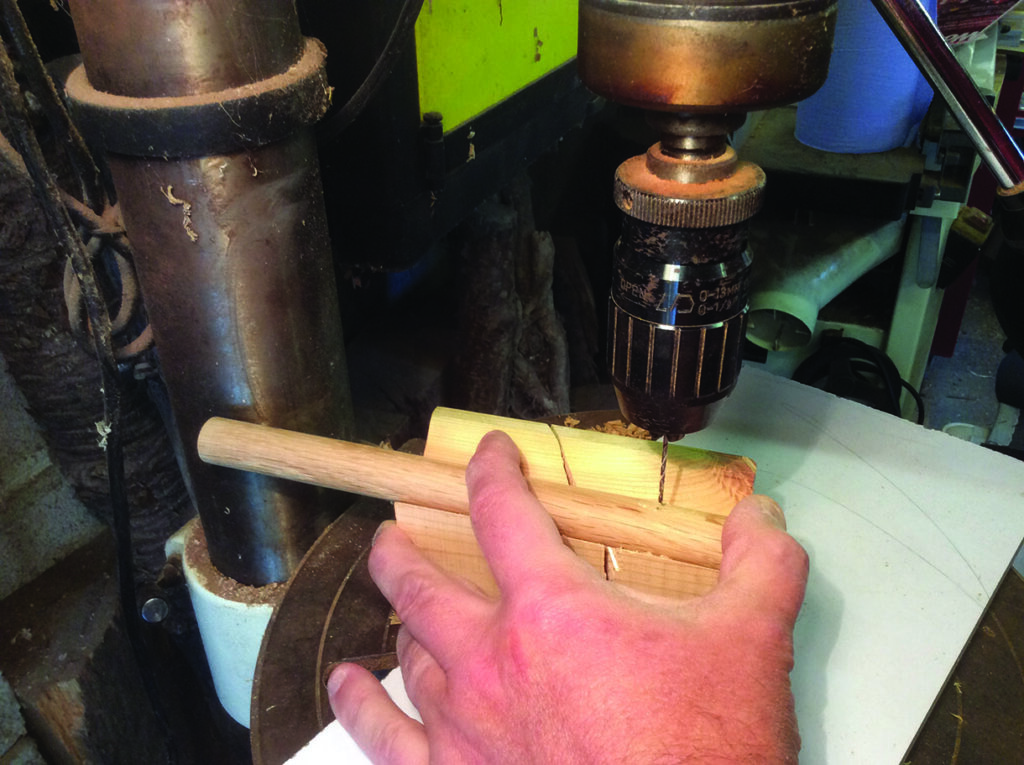
3. After sanding, clean off the waste wood left by the centres with a disc sander. Drill a small hole at one end of the handle to take the scratch pin, this is positioned 30mm down from one end. For safety and accuracy use a V block when drilling any circular section. I’m using a nail to create the gauge spur. A small 30mm x 2mm nail with its head ground off is tapped into the hole in the handle to give you the scratching spur
Drill press working on wooden block in workshop.
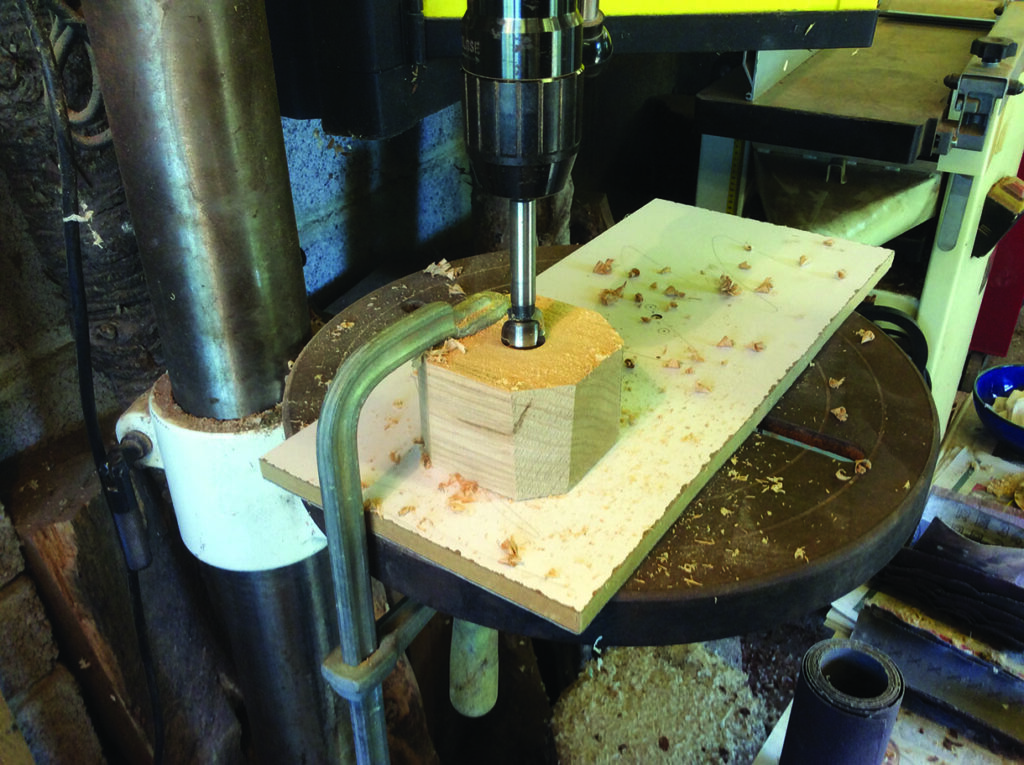
4. Now start working on the gauge head. Oak is also used for this. Drill out the main handle hole to a diameter of 20mm. Use a vice if needed and, as it’s side grain you are drilling into, use a Forstner bit to drill with
Woodturning on a lathe machine in workshop.
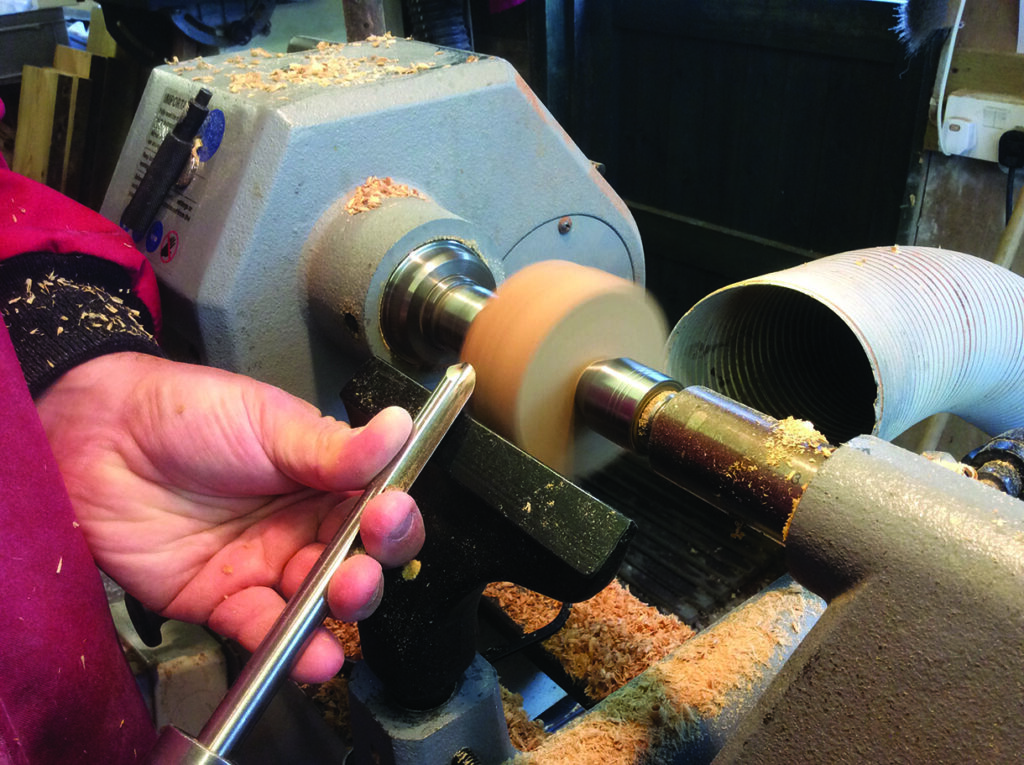
5. To drive the gauge head, use a between-centre friction drive method in the holes you’ve just drilled. Turn the head down to your desired diameter before cleaning up both faces with a side scrape from a parting tool, then sand it
Hand threading a screw on wooden tool
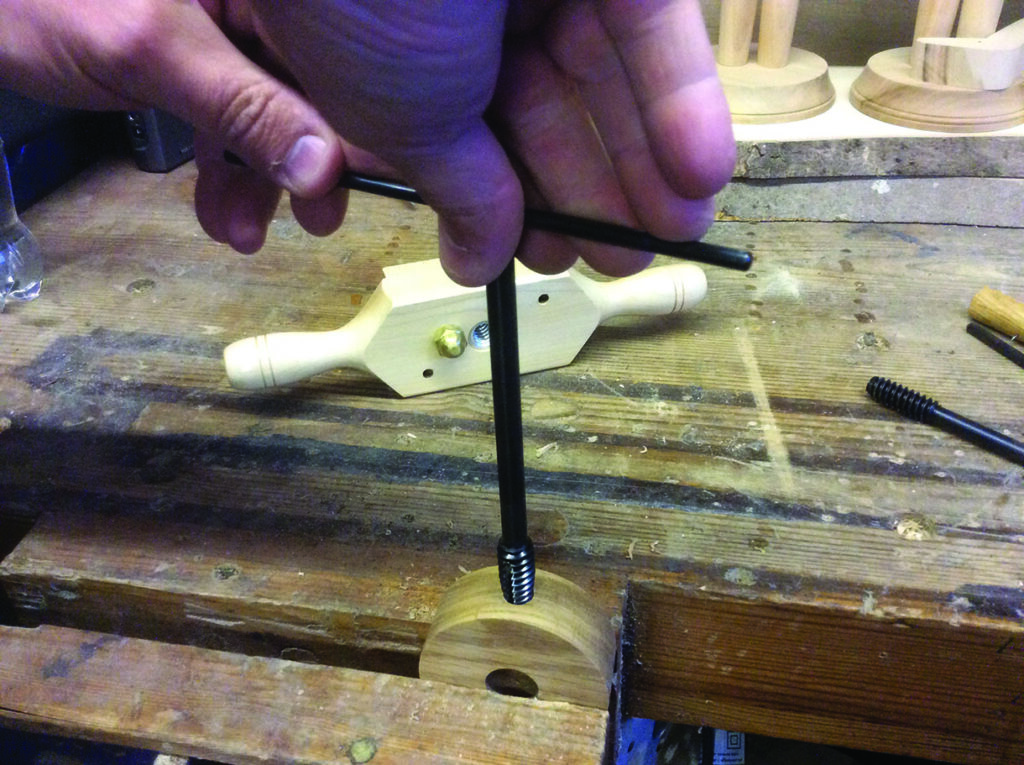
6. Now cut an internal/female thread in the head you have made to accept a threaded lock screw. The threads need to be big and coarse and I’ve found the easiest way to do this is by using a bought 13mm wood thread cutting kit comprising a tap and die. These are easy to use and, in readiness to tap the hole, you need to drill a 10mm hole
Wood lathe with wooden thread tool in workshop.
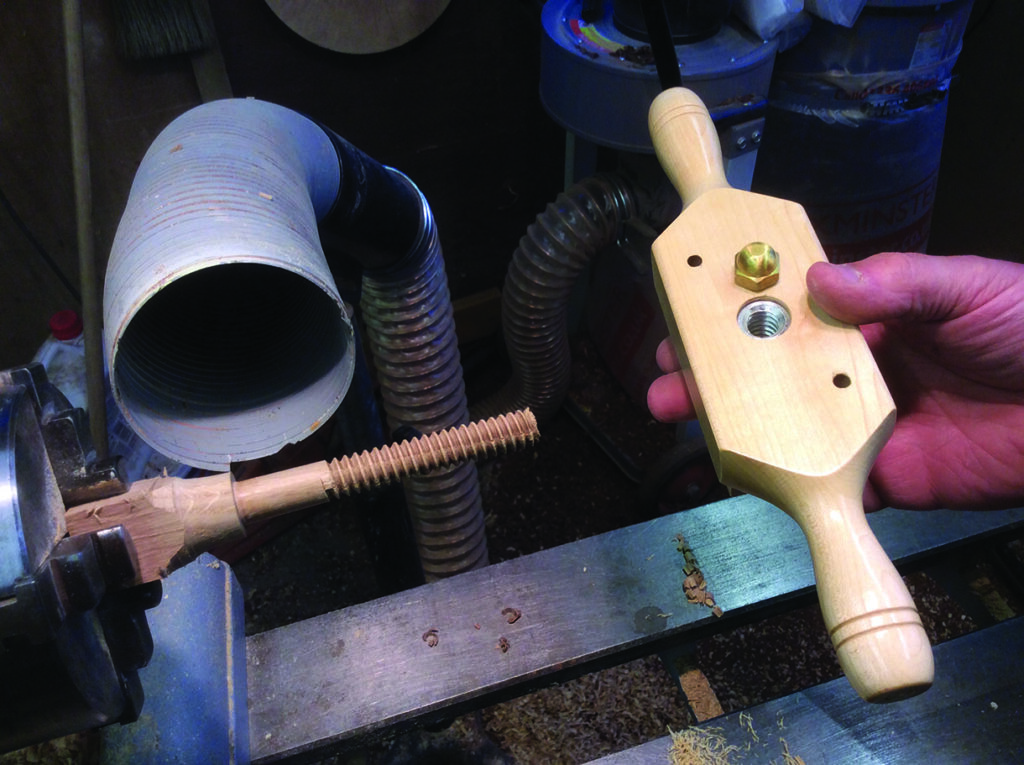
7. For the lock screw, hold a 20mm square length of timber in your chuck and turn it down until it small enough to start threading through the screw box – this is usually about 13mm. I used oak to match the shaft but this can be brittle and the crowns of the thread can chip if you’re not careful. When cutting the thread the wood should be easy to pass though the hole as it is threaded. If you’re having to force the box on to the wood the spindle is a little too big and needs to be turned down a bit. When the thread is cut, cut off a long enough section to fit, lock on the shaft and extend out of the hole a bit. Shape the end so you can readily tighten and loosen it with ease. I just sanded a couple of angled micro flats for this
Person holding crafted wooden tool in workshop
8. So there we are – the finished gauge, which I’ve given a coat of finishing oil. This helps stop moisture in the air from swelling the timber in the wetter months and stopping free movement of the gauge. I hope you’ve enjoyed making your workshop tools as much as you’re going to enjoy using them

Leave a Reply

Your email address will not be published. Required fields are marked *