Chris West looks at getting started with turning a mill, using a CrushGrind Shaft mechanism.
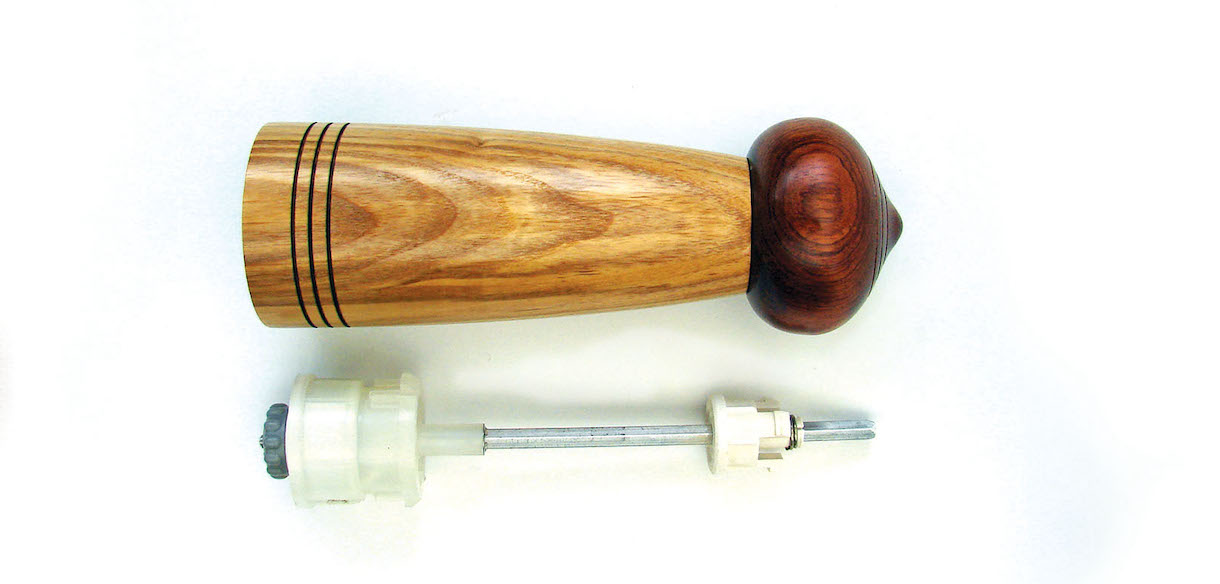
The CrushGrind salt and pepper mill mechanism, developed by IDEAS Denmark A/S, became available to woodturners back in 1994. The difference between it and other mechanisms at that time was it had a ceramic grinding mechanism. It was developed as a multi-purpose ceramic grinder suitable for not only salt and pepper, but also for herbs and spices. Over the years it has become particularly popular with commercial condiment manufacturers.
Anatomy of a CrushGrind shaft mill
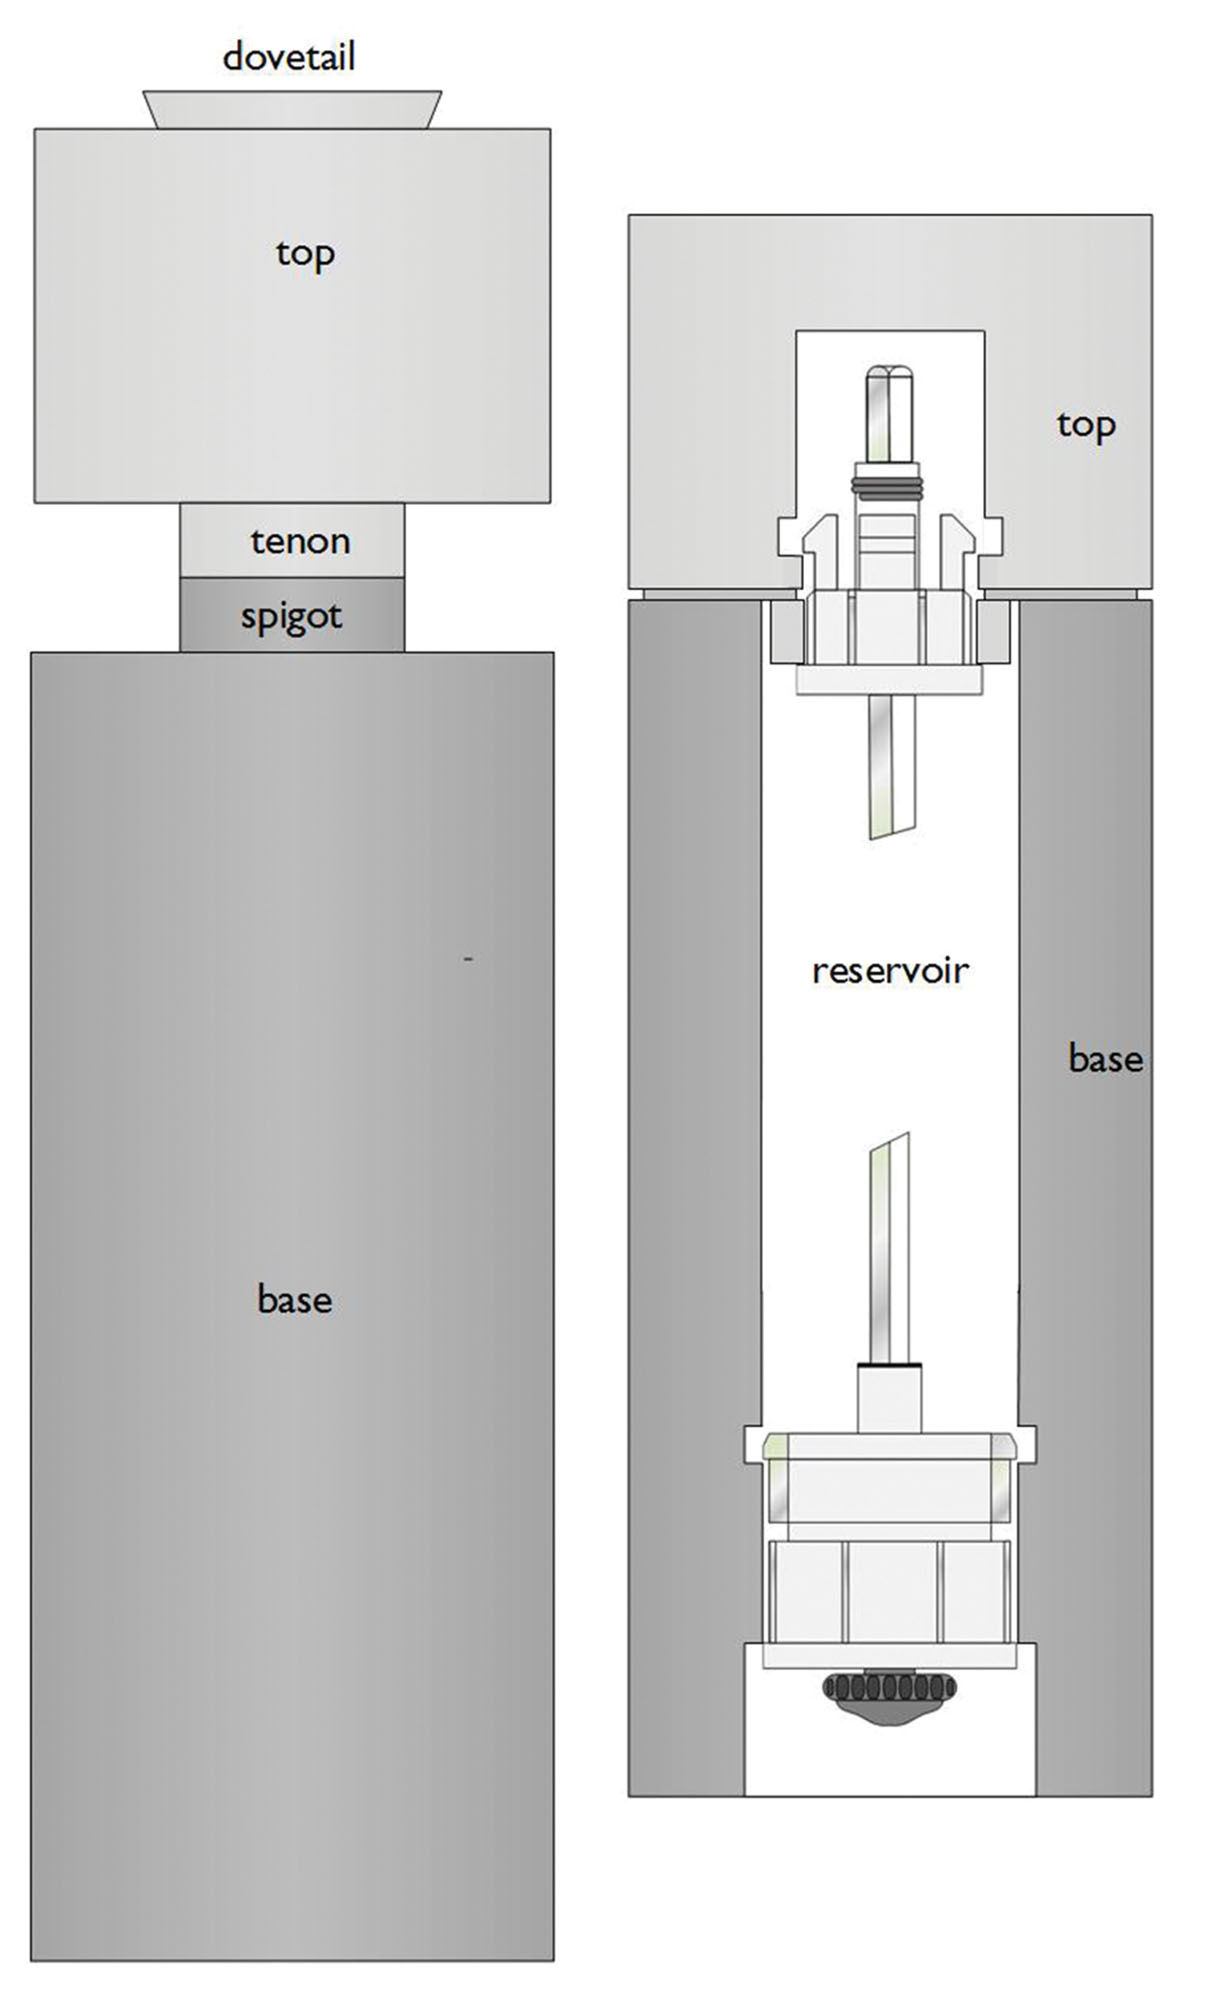
Fig 1. shows the anatomy of a Crushgrind Shaft mill. A recess tool (see Fig 2.) is required to form a recess in the base and top for three lugs, which hold the mechanism parts in place.
Lengths
CrushGrind Shaft mechanisms are mostly available in the following lengths: 195 and 255mm. A mechanism with a shaft length of 463mm can be bought.
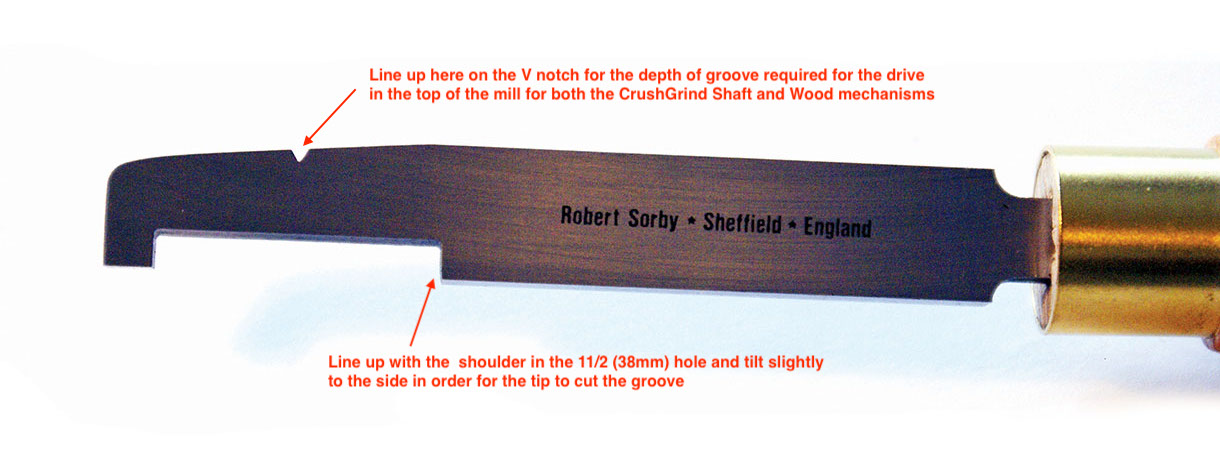
CrushGrind recess tool
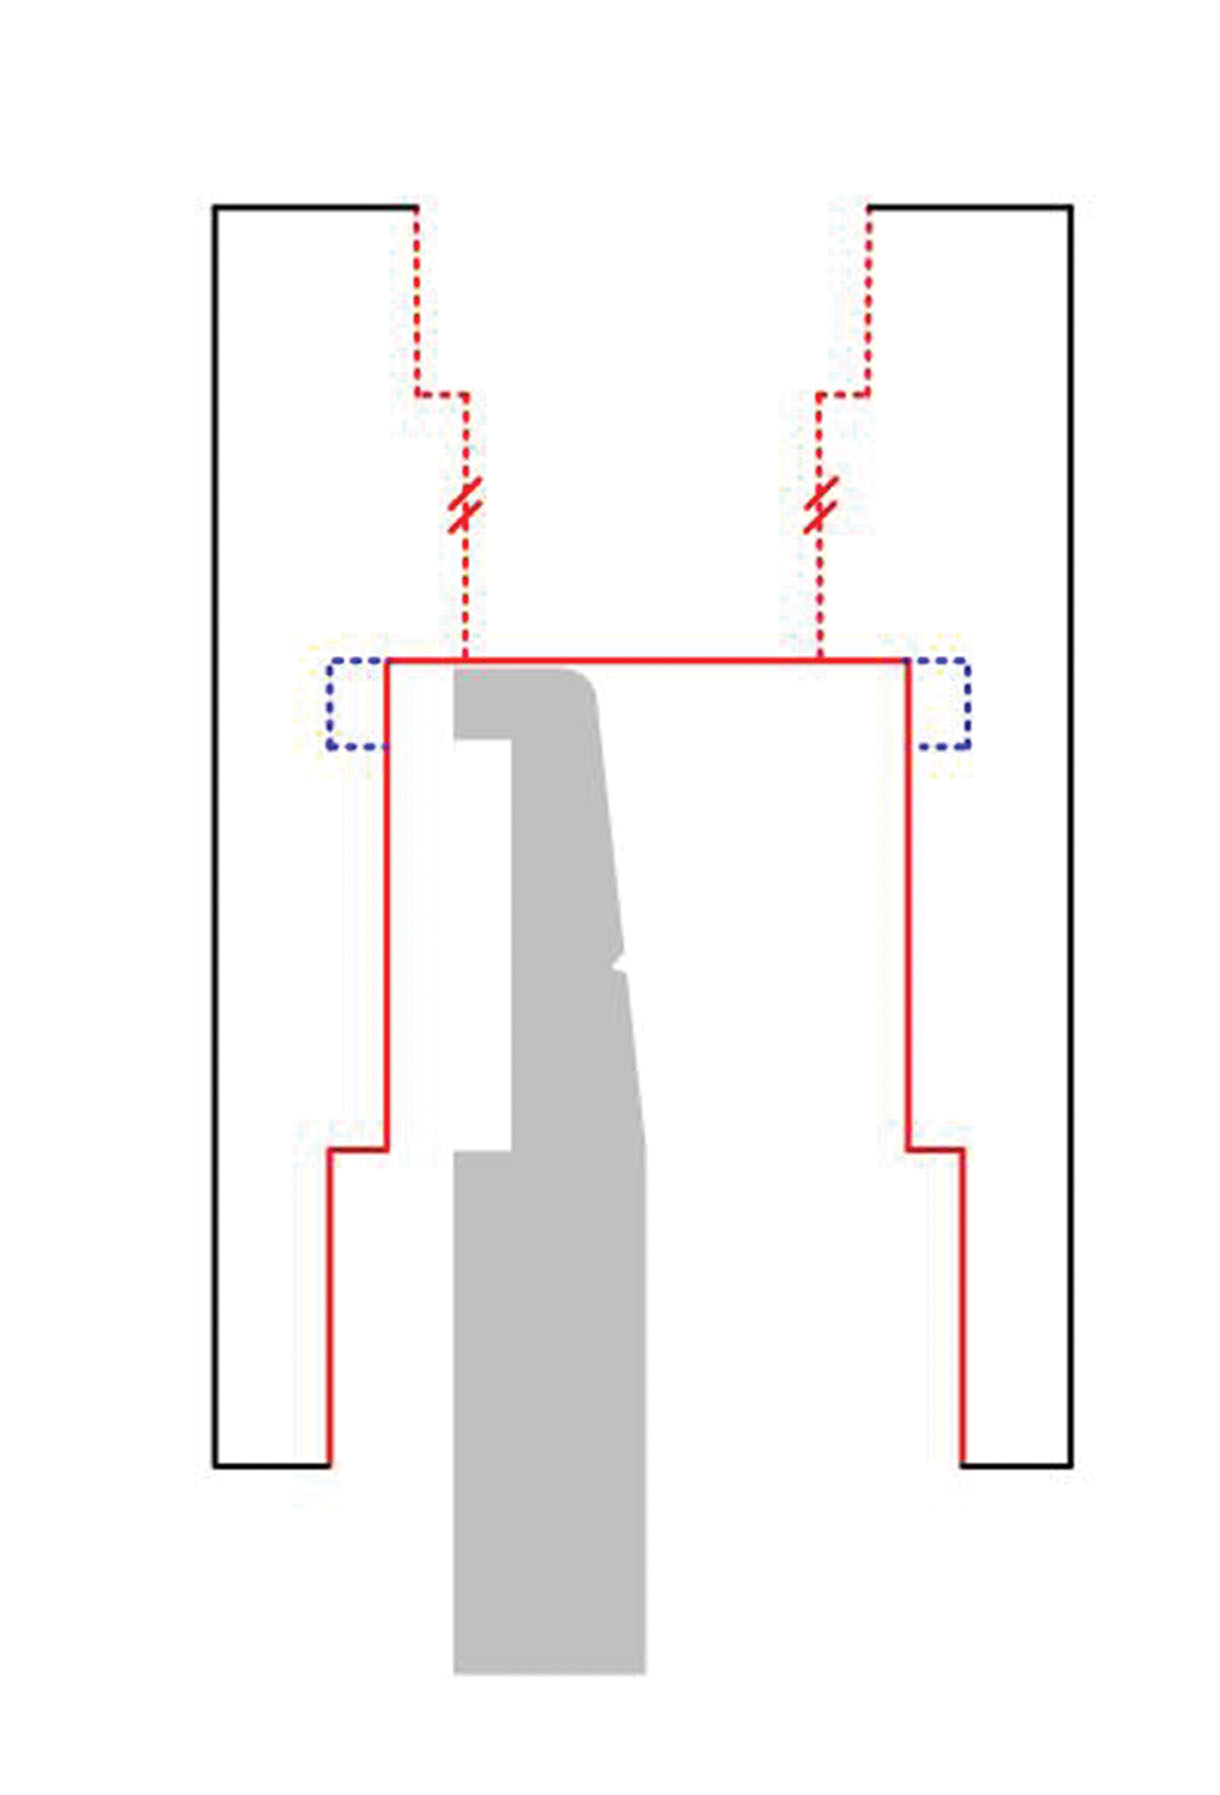
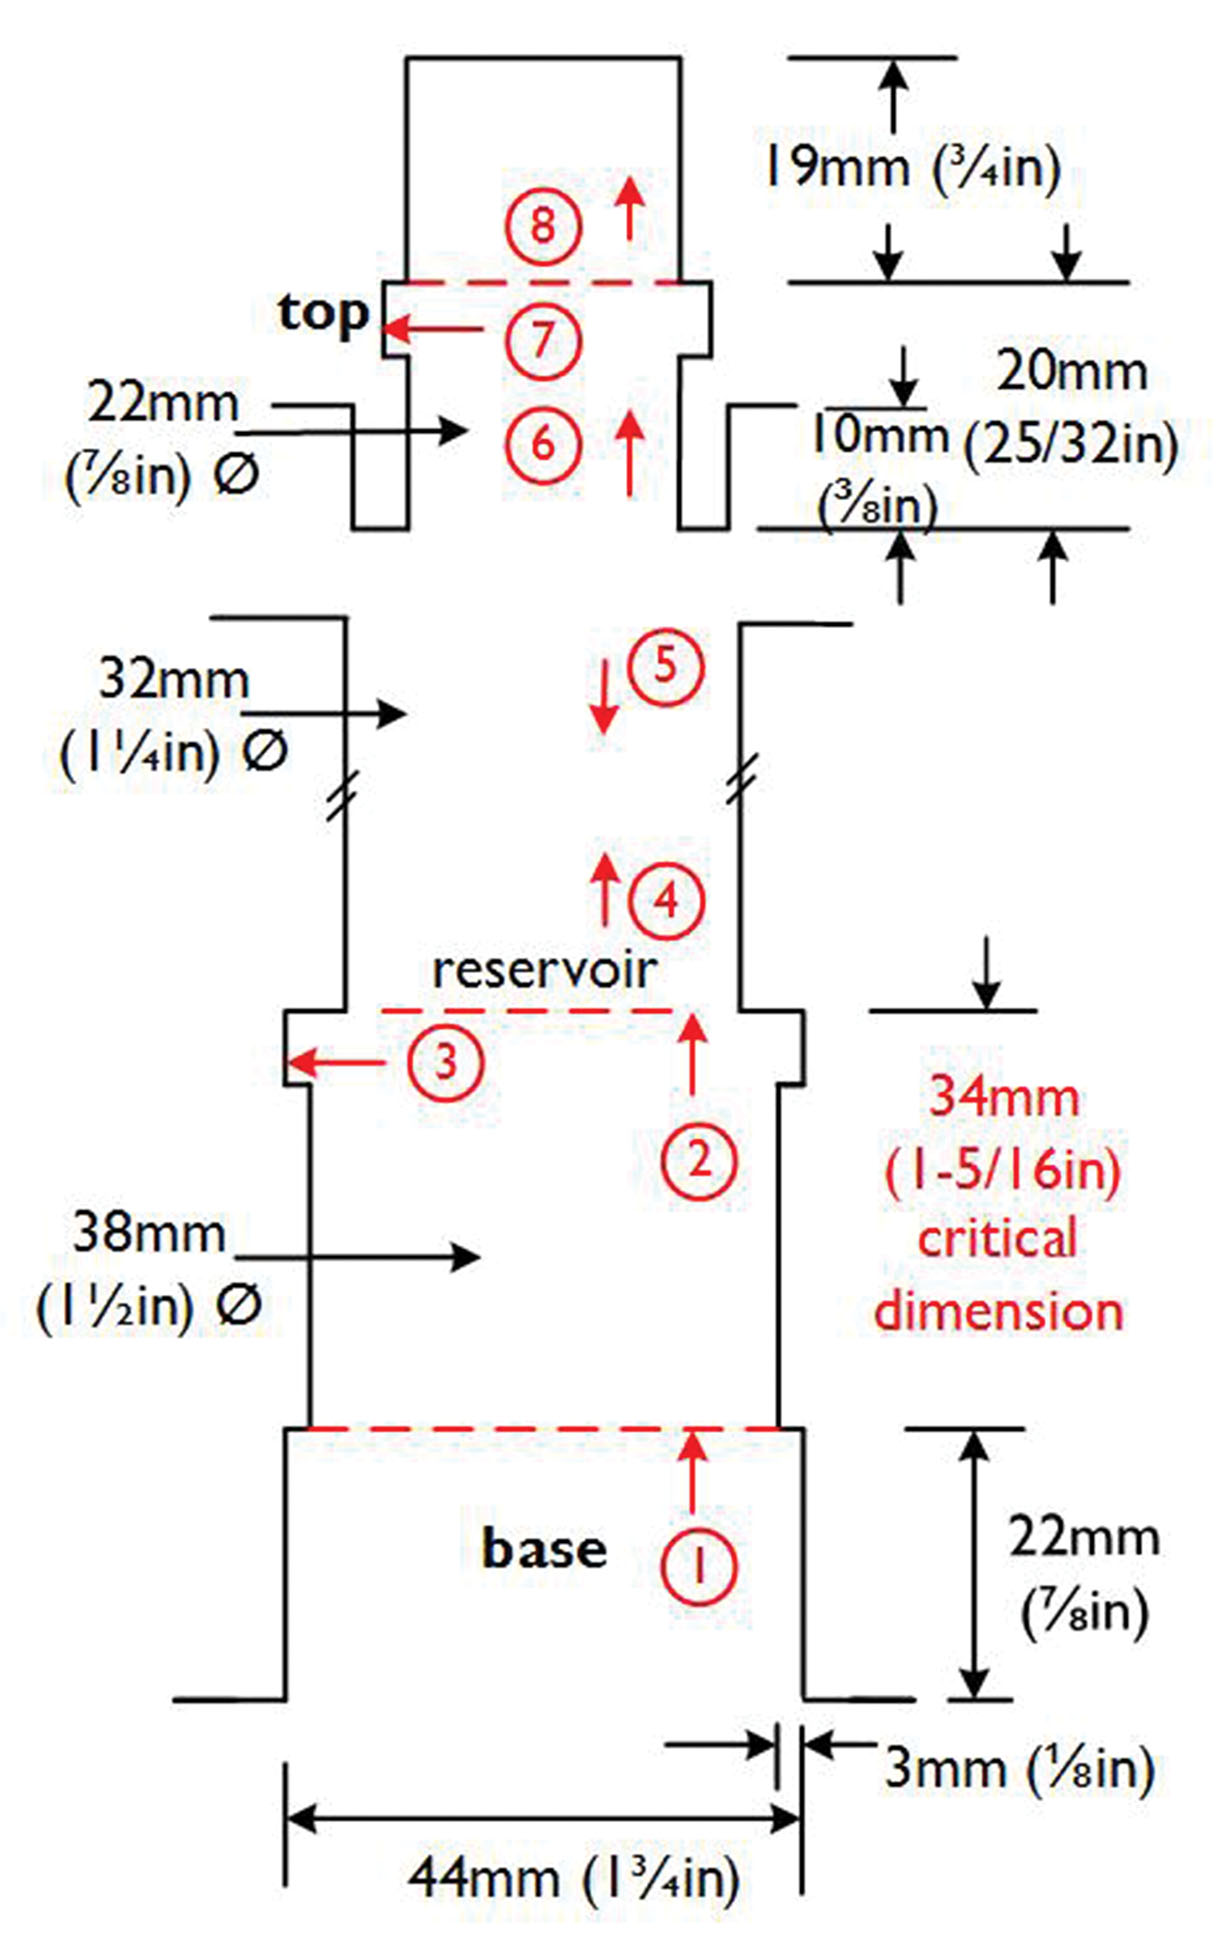
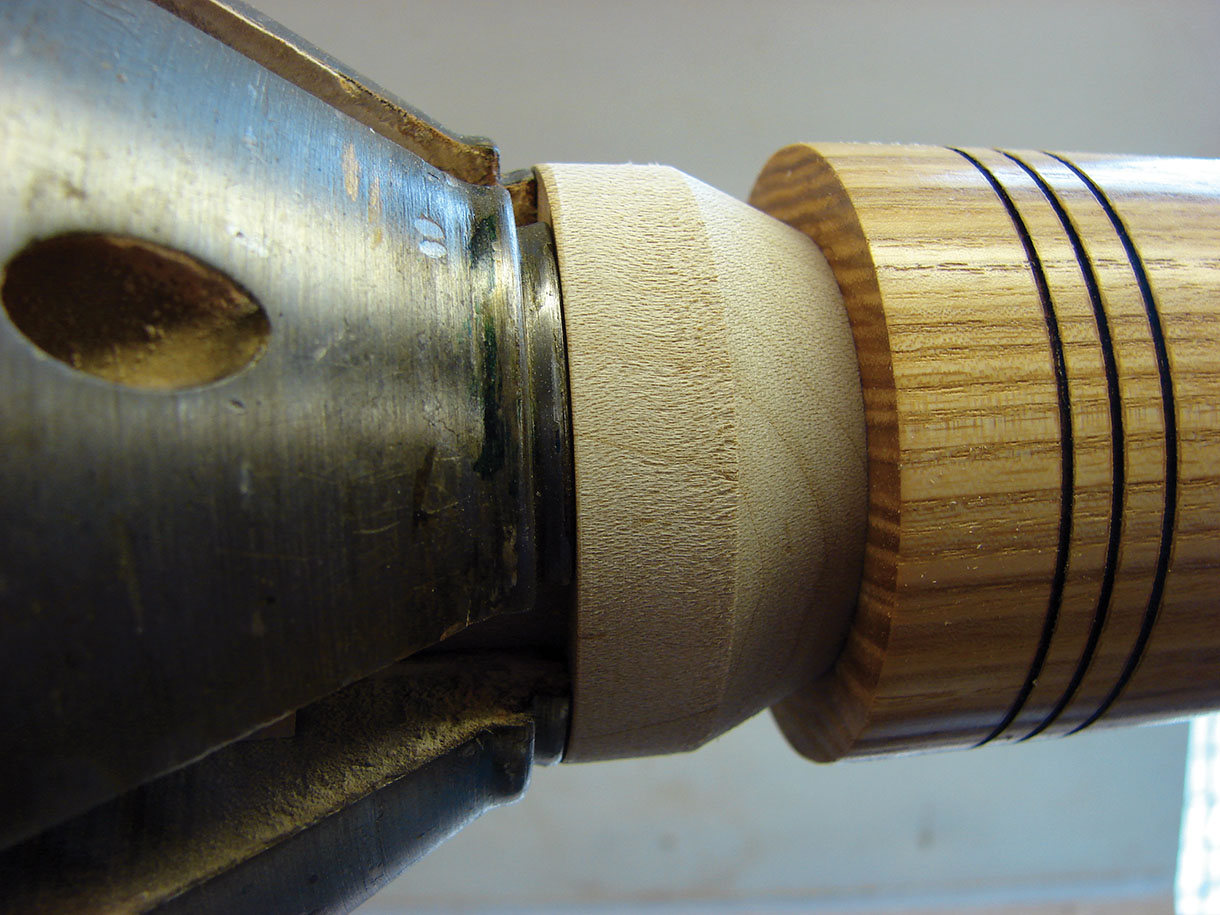
The CrushGrind recess tool is critical to the process of fitting a CrushGrind mechanism. It forms a recess, 5mm wide and 3mm deep inside the mill for the three retaining spring lugs to sit in. The lathe speed should be between 450–500rpm with the toolrest placed at 90° to the bed, approximately 20mm from the blank with its height just above centre. Fig 3. show the recess tool being placed on the toolrest, with its end touching the bottom of the 38mm diameter hole. The tool is then pulled towards you. The recess is cut to the correct depth when the side of the cutter touches the side of the hole. Carefully move the cutter back towards the centre of the hole and remove.
Turning a pepper mill with a CrushGrind shaft mechanism
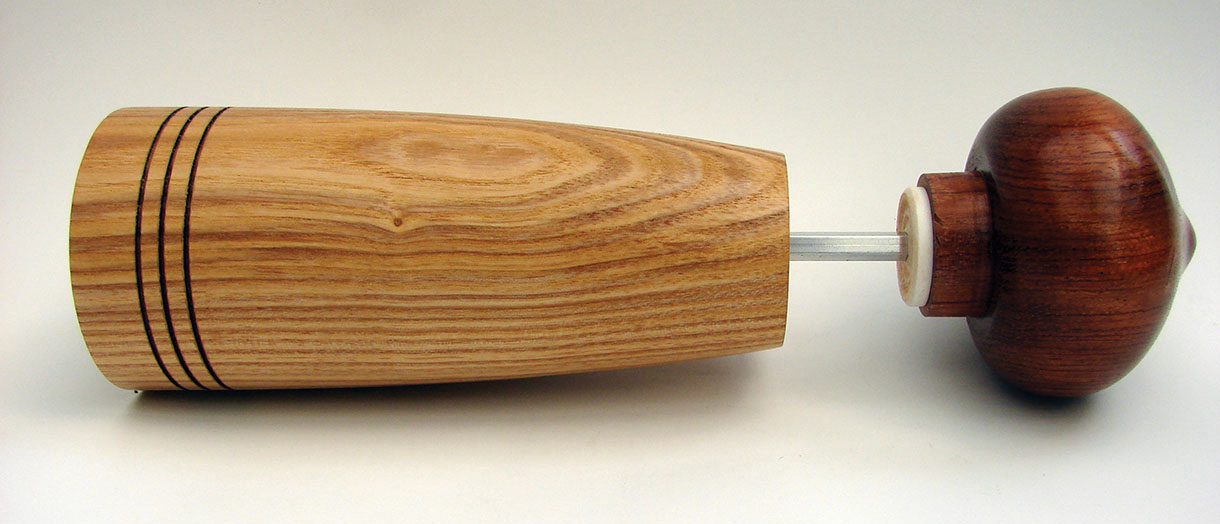
This mill uses a 190mm CrushGrind shaft mechanism. I chose to turn the base from ash (Fraxinus excelsior) and the top from bubinga (Guibourtia demeusei). You may choose to use another combination of woods which you feel may well look even more effective. The finish I applied was two coats of a 60:40 mix of cellulose sanding sealer and three coats of melamine gloss lacquer spray. After waiting 24 hours I buffed the mill using first, tripoli, then white diamond and finally buffing with carnauba wax. The drill bits used for this mill are Sawtooth bits.
Preparing and drilling the base
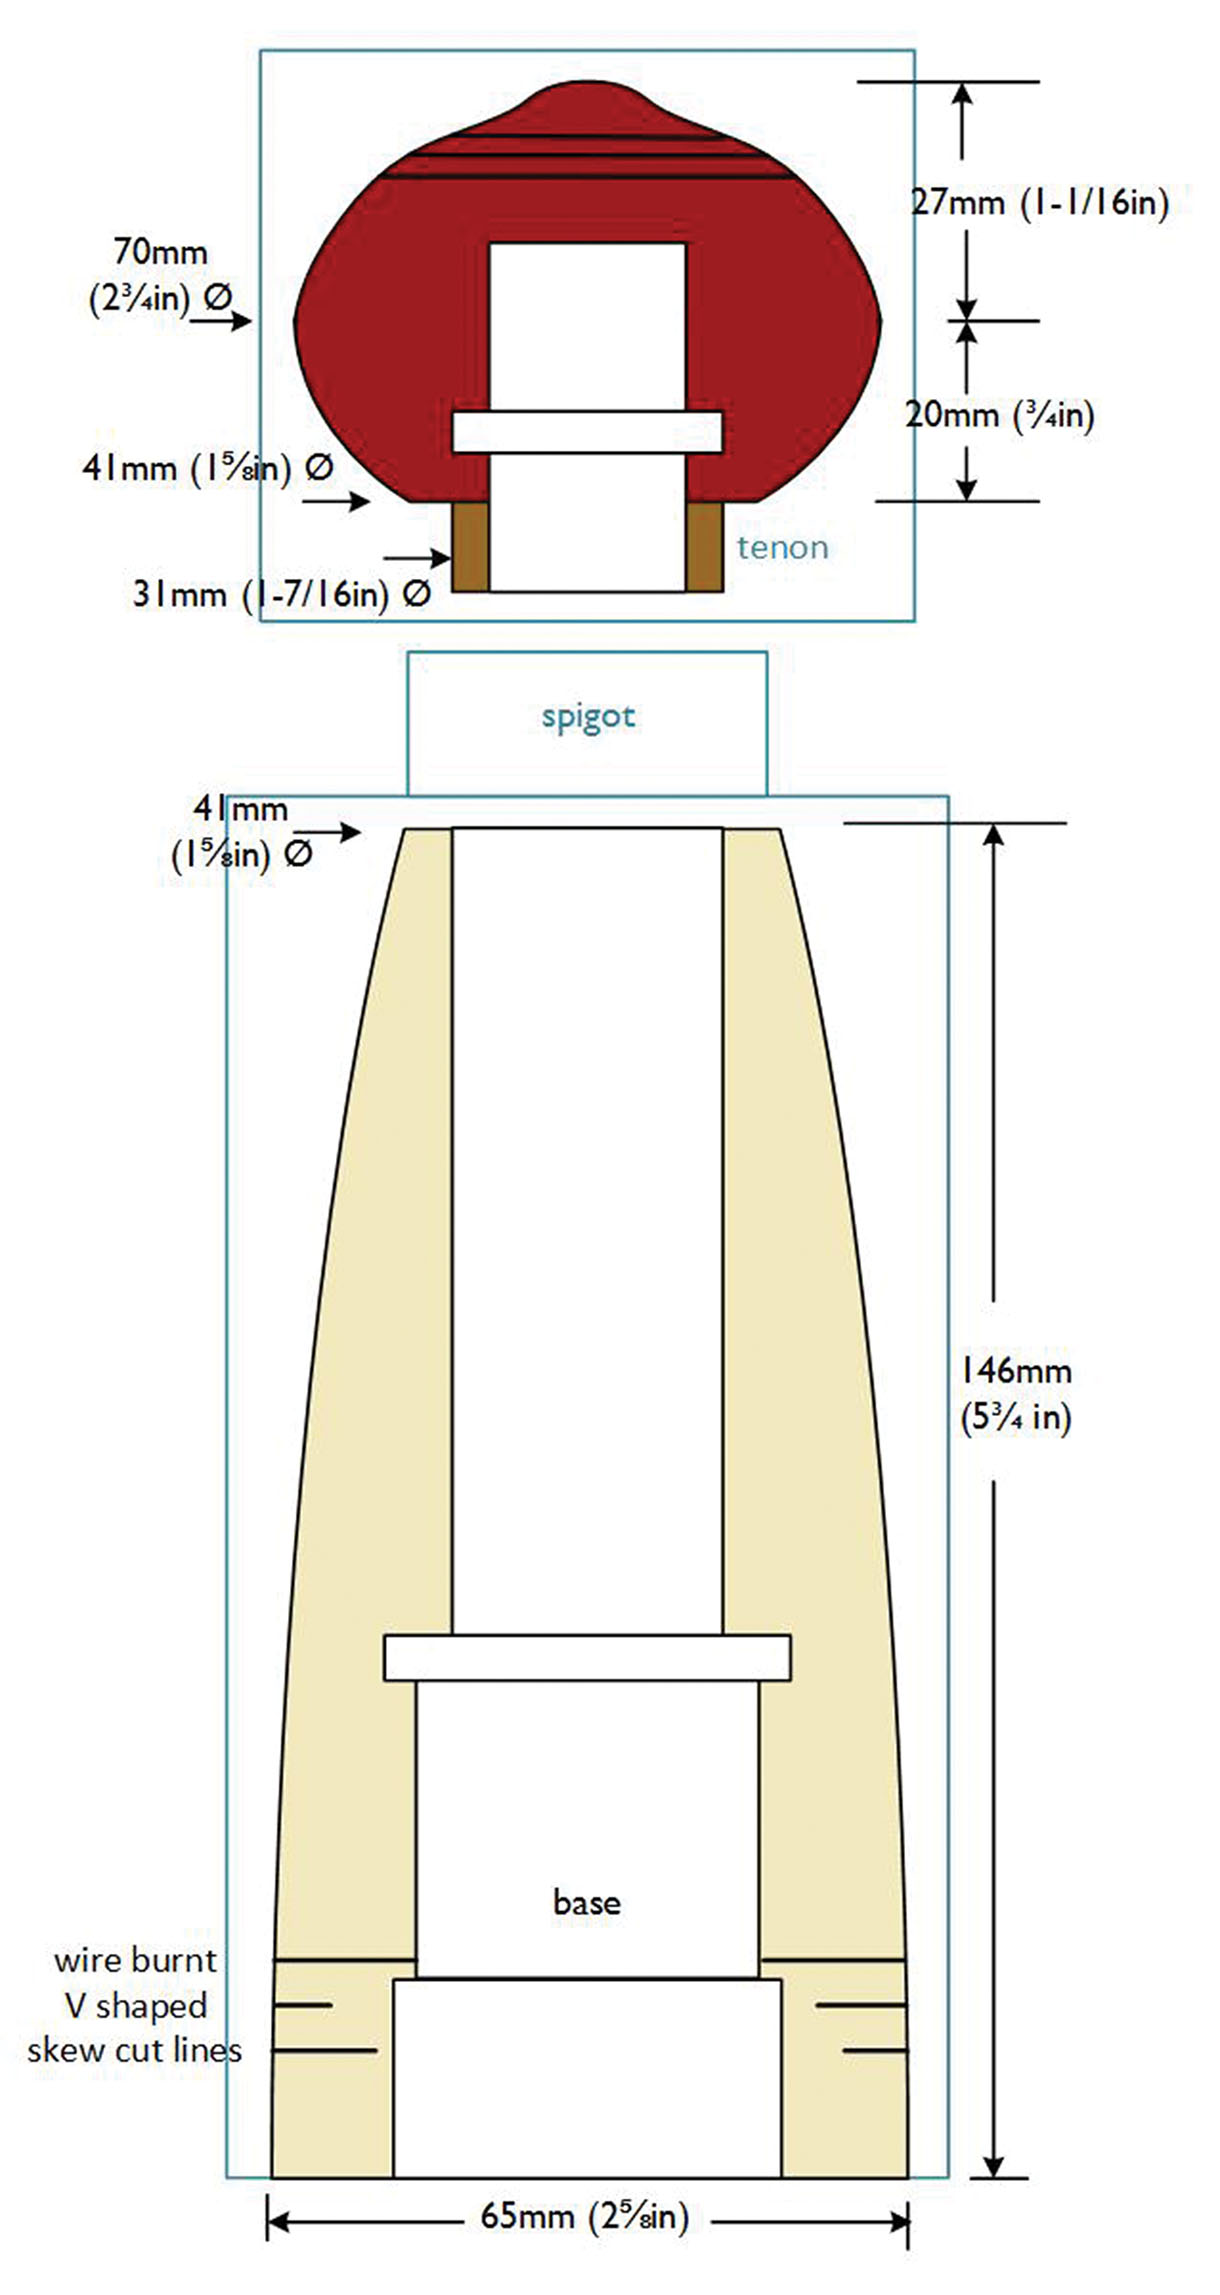
The mill’s base uses a blank 70 x 70 x 165mm. Turn the blank as shown in Fig 4. Hold the base’s spigot in compression jaws and clean up the bottom. Measure and mark the length 146mm. Reverse the blank, holding the bottom of the base in expansion jaws. When running true and with a live tailstock in place, and face off at the marked line and remove most of the spigot leaving the centre point in place. Remove the tailstock and drill five as in Fig.5.
Handy hint
If you do not have all of the bit sizes shown, a 25mm sawtooth bit can be used in the base and to increase the diameter of a hole, the long point of a 13mm skew chisel laid sideways on the toolrest will achieve this.
Multi-purpose jig
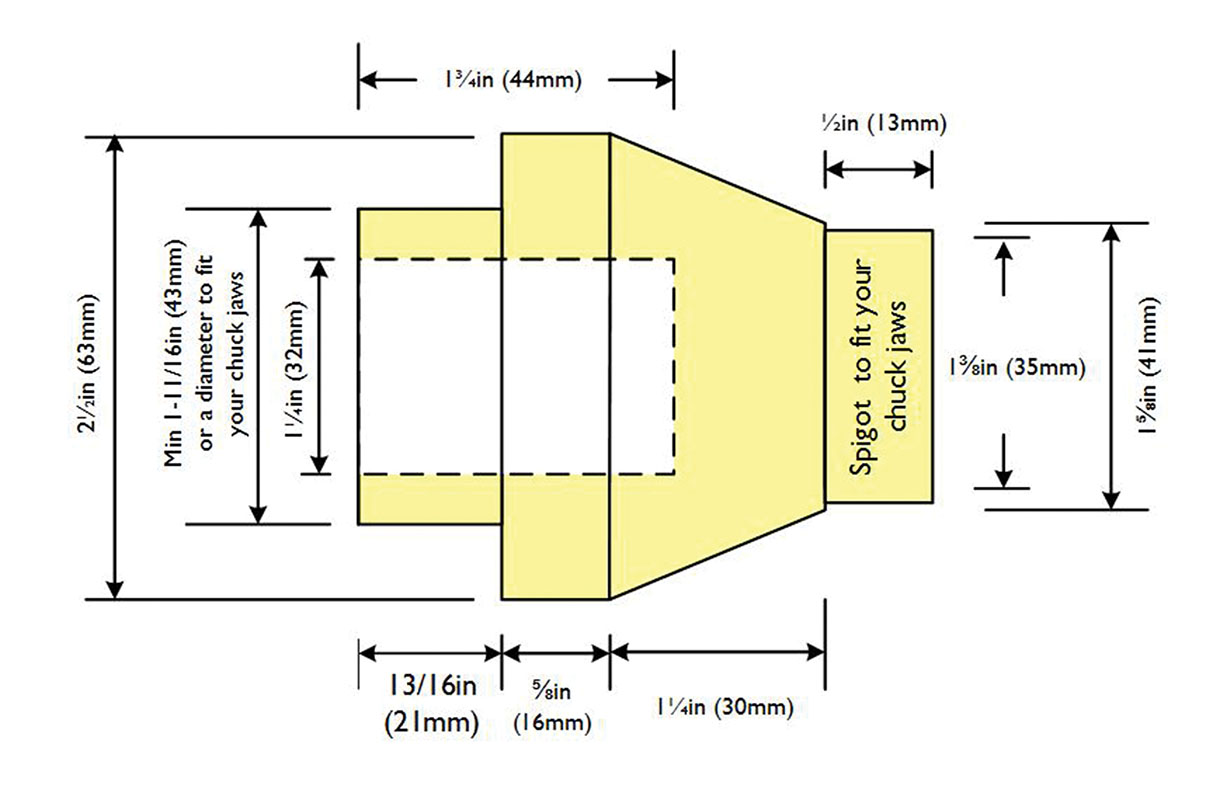
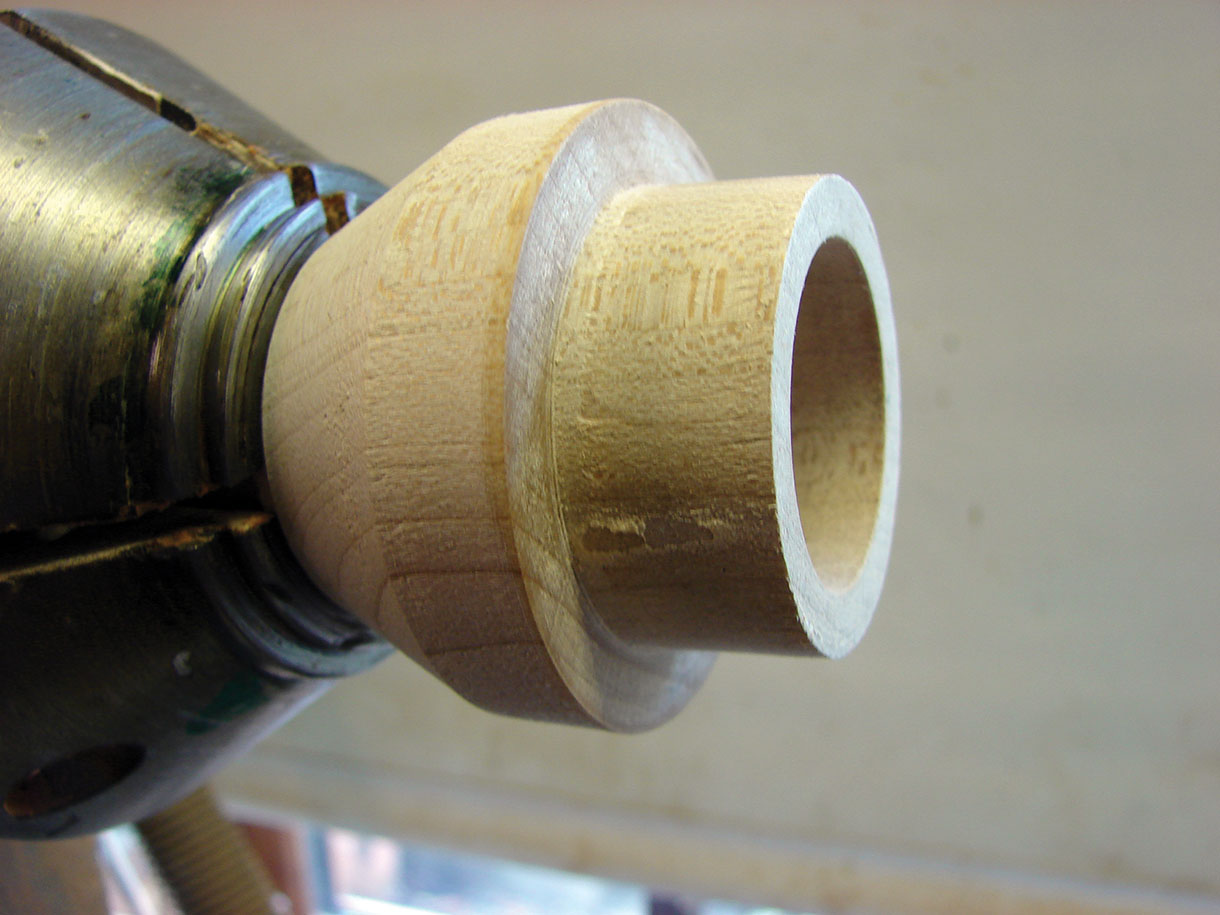
Turn the jig as shown in Fig 6. The multi-purpose jig has two roles; when placed in the base of the mill and with a live centre in the tailstock, the mill’s outside can be shaped. When reversed and the grinding mechanism is placed in the hole it can be forced into the mill by winding the tailstock barrel in.
Turning the base
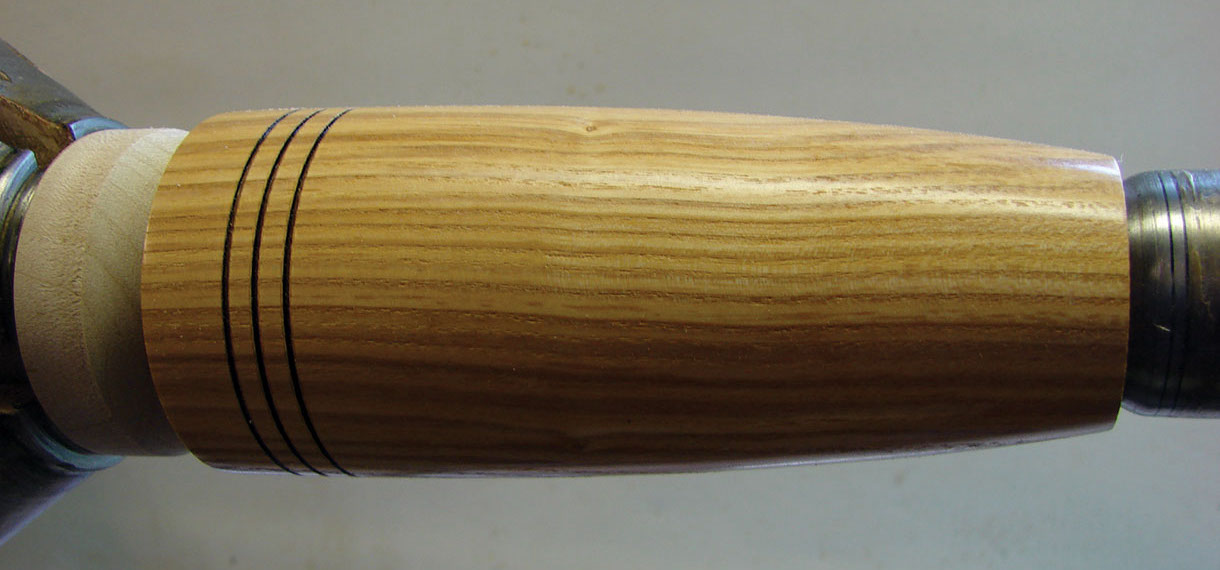
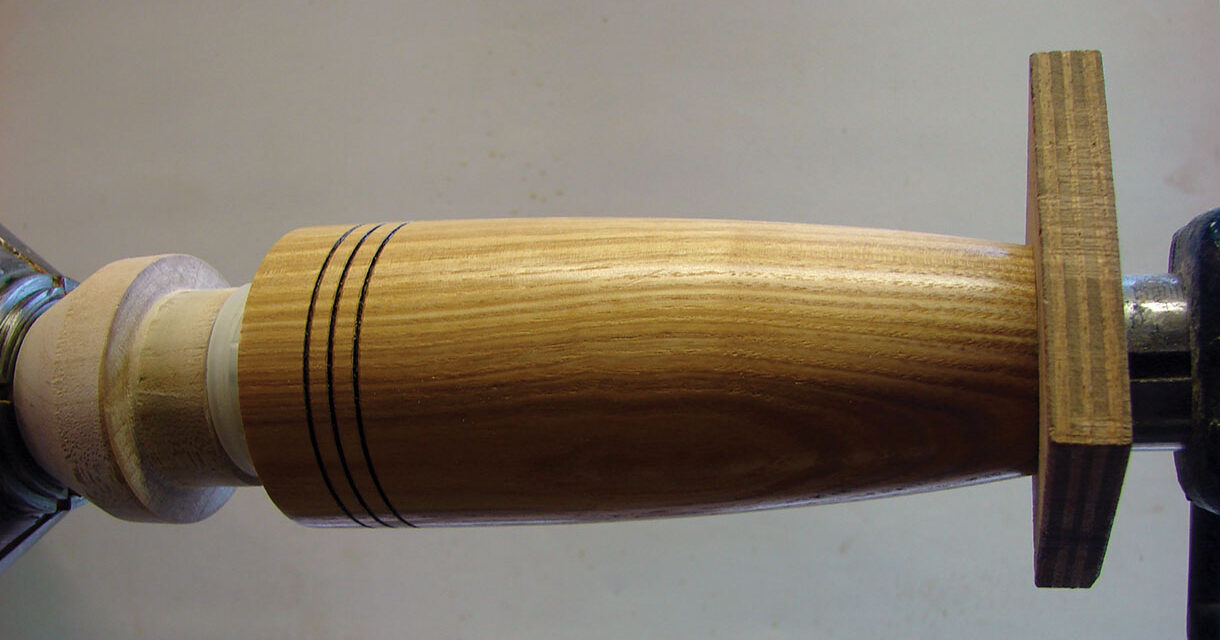
Hold the multi-purpose jig in chuck jaws as shown in Fig 7. Position the bottom of the base over it and support the top with a live centre as shown in Fig 8. The base can now be shaped using your favourite gouge. Sand, seal and finish as described earlier.
Preparing, drilling and turning the top blank
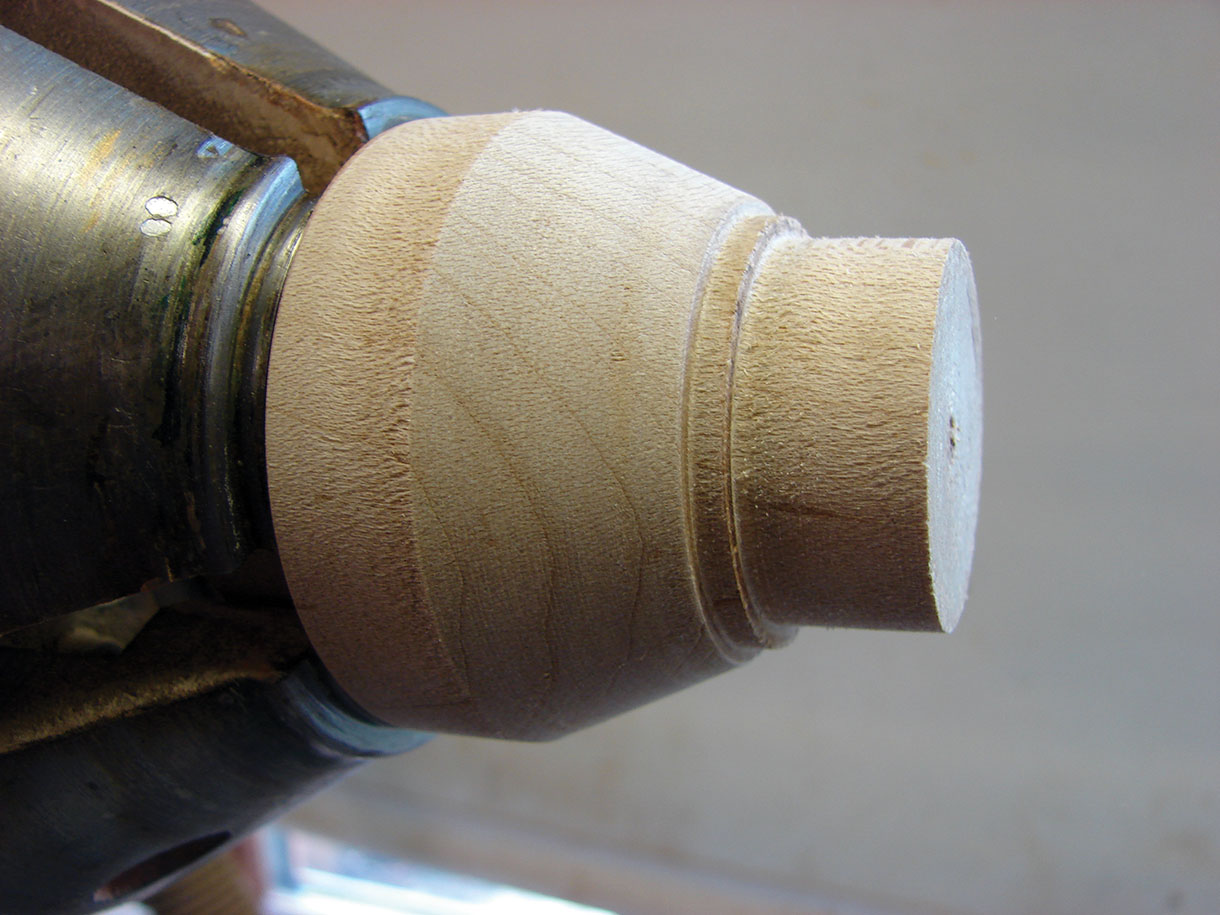
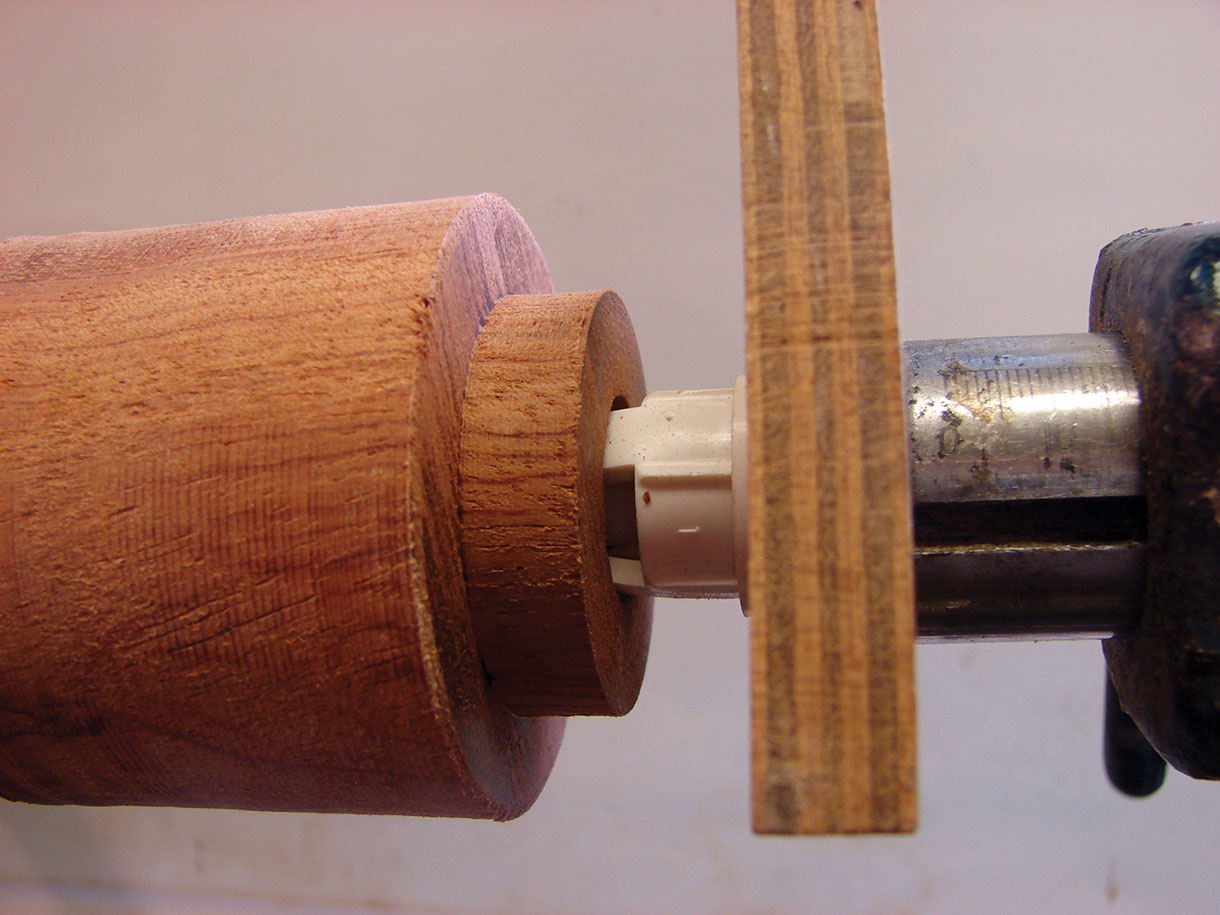
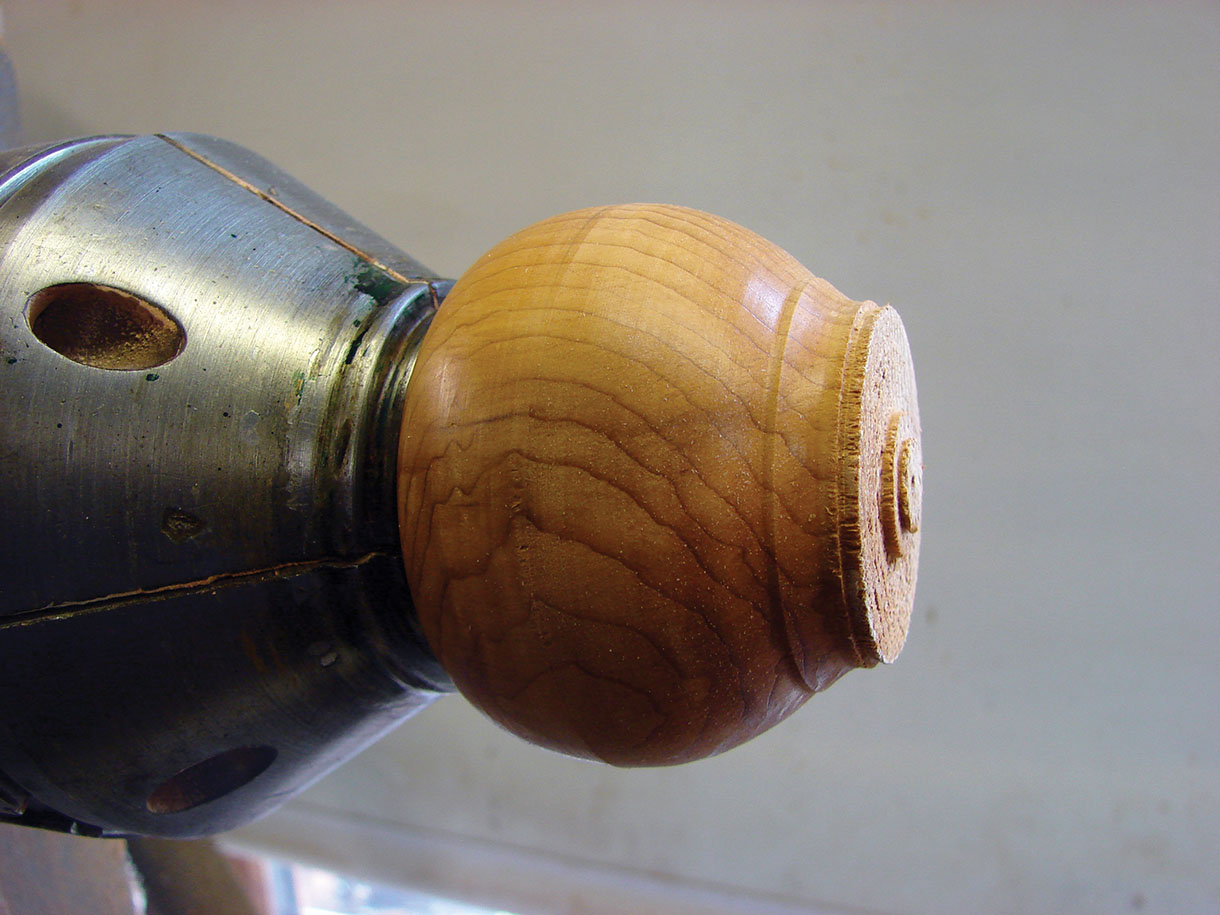
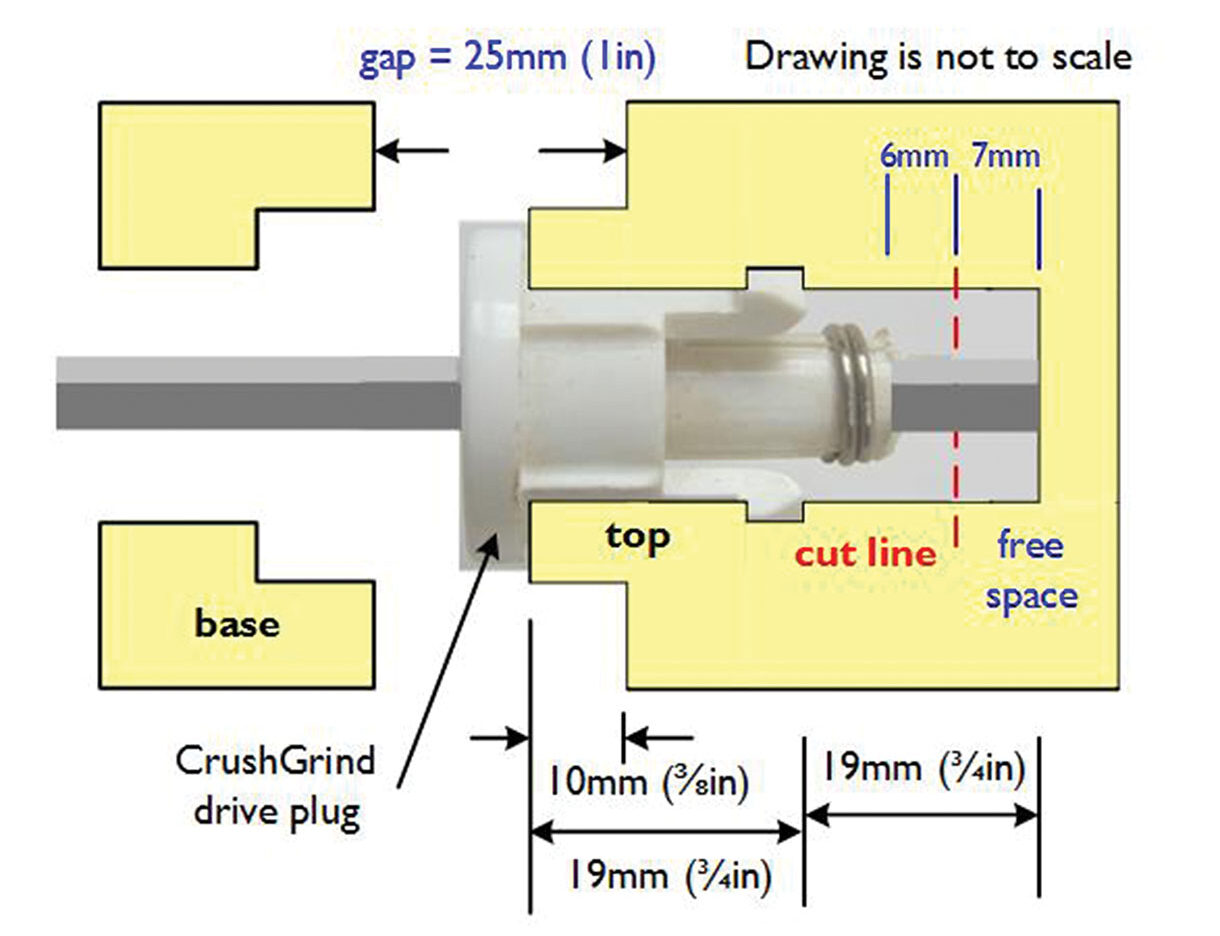
The mill’s top uses a blank of 70 x 70 x 76mm. Turn the blank as shown in Fig 4. Hold the base’s dovetail in compression jaws and face of the bottom of the tenon. Referring to Fig 5. drill number six. Number seven uses the recess tool and drill number eight. Reduce the tenon to a diameter of 30mm with a length of 10mm. This should be a slack fit into the top of the base. Begin turning the top by shaping the bottom curve. Sand to 400 grit. This is the time to fit the drive plug (Fig 9). Push the drive plug into the hole a short distance before placing a piece of plywood between it and the barrel of the tailstock. Wind the tailstock in until the drive plug is fully inserted. Remove from the lathe, wrap masking tape round the tenon and hold in compression jaws. When running true the overall length, 47mm, can be marked and parted, removing the dovetail as you go (Fig 10). The rest of the top can now be turned and sanded, finishing in a similar way to the base.
Fitting the grinding mechanism into the base of the mill
Fit the multi-purpose jig into compression jaws ready to accept the CrushGrind mechanism (Fig 11). Place the mechanism into the base of the mill and position the body of the mill and mechanism into the jig such that everything is square. Bring up the tailstock and lock with the piece of wood central over the tailstock barrel (Fig 12). A 13mm hole in the centre of the plywood is required to allow the CrushGrind shaft to be pressed through it and into the hollow barrel of the tailstock. When everything is parallel and the tailstock locked, wind in the barrel to force the mechanism into the mill’s base (Fig 13). The lugs need to have clicked into the recess. This can be seen visually from the top of the mill’s base. Finally the shaft of the mechanism needs to be shortened.
Further reading
PHOTOGRAPHS BY CHRIS WEST
