In the first of a two-part article, Colwin Way looks at supporting and giving lift to work
The word ‘pedestal’ refers to a stand or base to support structures or vessels but the shape, size or purpose of the supported form will have a great influence on the pedestal in different ways.
For instance, a goblet will have a pedestal base that forms part of the goblet’s shape, whereas a statue’s pedestal is there purely to elevate the subject and give it some gravitas. The phrase to ‘put on a pedestal’ springs to mind. Apart from these there are several questions to ask when thinking of pedestal projects and they are concerning design, size, functionality and material used, all of which need addressing to get things to work and look right.
I want to break a few key elements down and look at what options we have when taking on either a single- or multi-piece pedestal project. I want to also look at surprising sources of inspiration, either present or historical. You won’t need to look too far to find a pedestal form somewhere.
Thoughts
When I started thinking about this article I was heavily influenced by my idea of a pedestal, which was a separate base elevating an ornament or statue. But actually, when you understand the meaning of the word, the range of projects able to be turned increases dramatically – from goblets, tables, plant pot holders and bowls through to garden structures and such like. Some items will have a one-piece construction but some – due to the differing dimensions of the base, stem and top – may need to be made from several pieces.
Tazzas
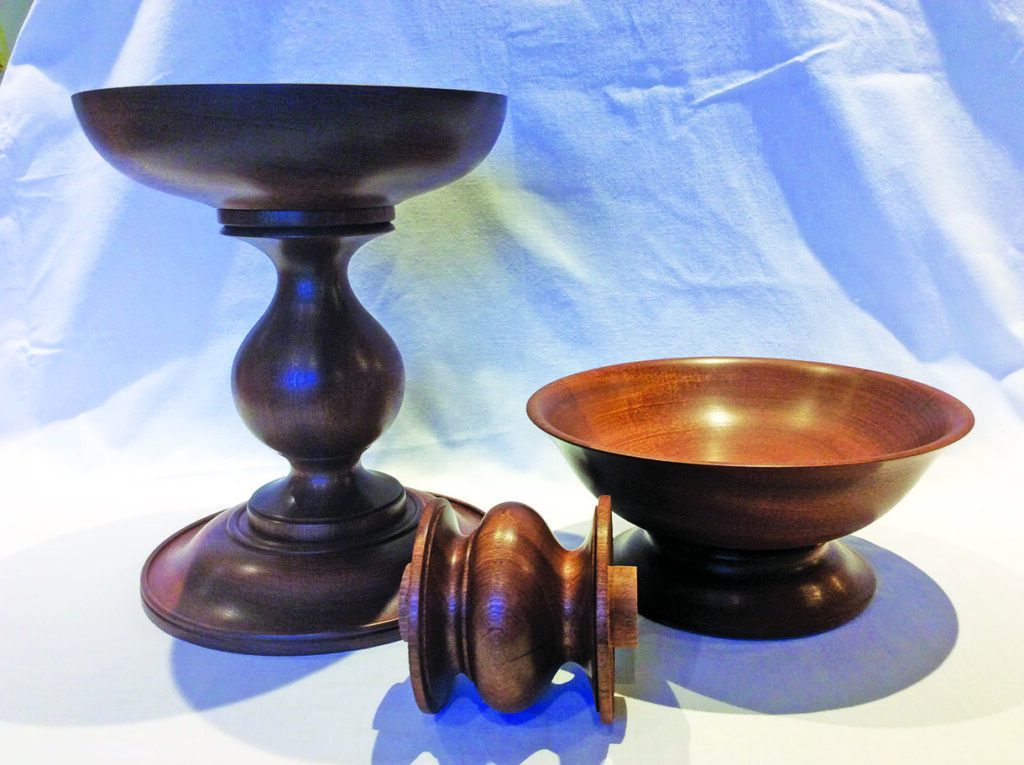
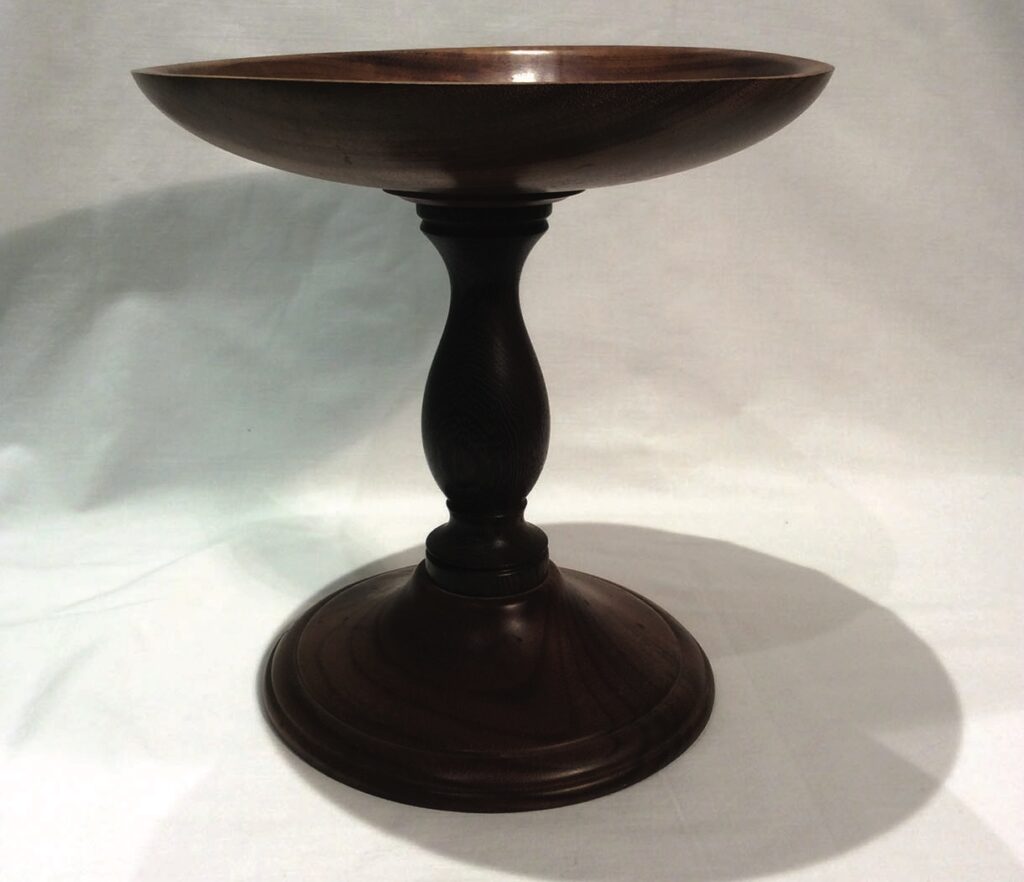
Tazzas are a great example of a pedestal project. A tazza is a shallow bowl either mounted on just a foot like a conventional bowl or a stem and foot, elevating the bowl for serving food or displaying things. The pedestal foot needs to be of adequate size to support the contents. If you look at the picture you will notice how much bigger the foot is on the raised tazza bowl compared to that of the low tazza. These forms are really nice to make and transform a normal bowl into a completely different project.
Multi-part constructs
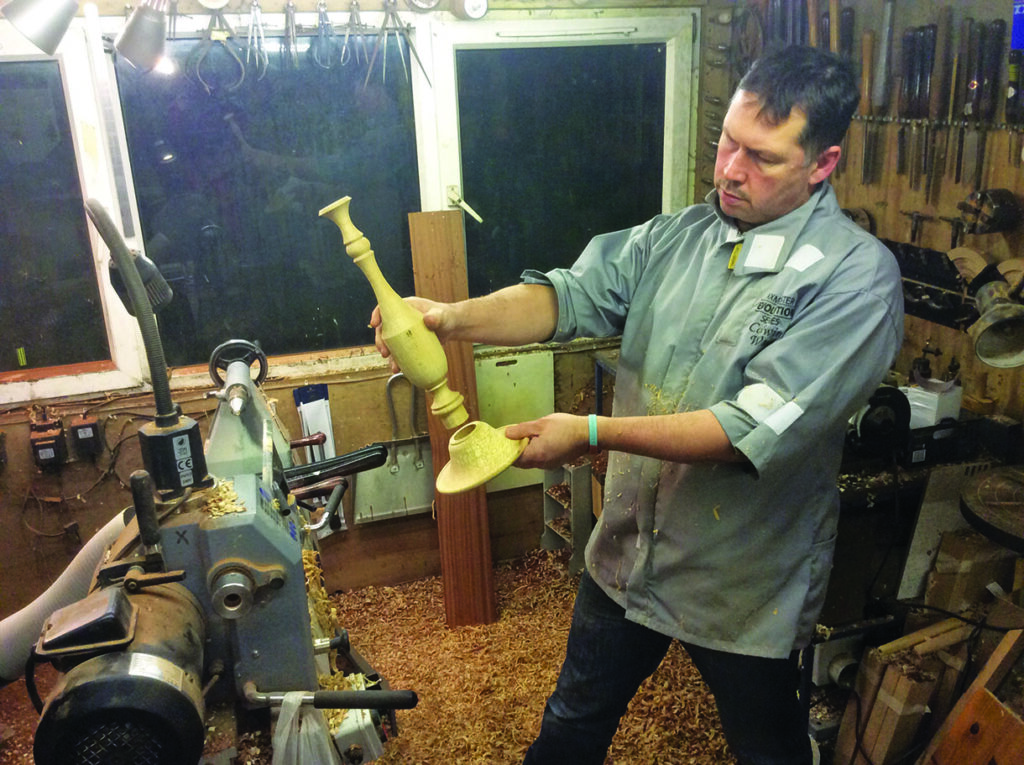
A raised tazza, due to its dimensions, really needs to be made from several pieces of timber for two reasons. First the grain orientation, as the bowl and foot will have the grain running from side to side while the stem will have the grain running up its length. Second there would be an awful lot of waste if you turned from one solid section as well as movement and potential splitting.
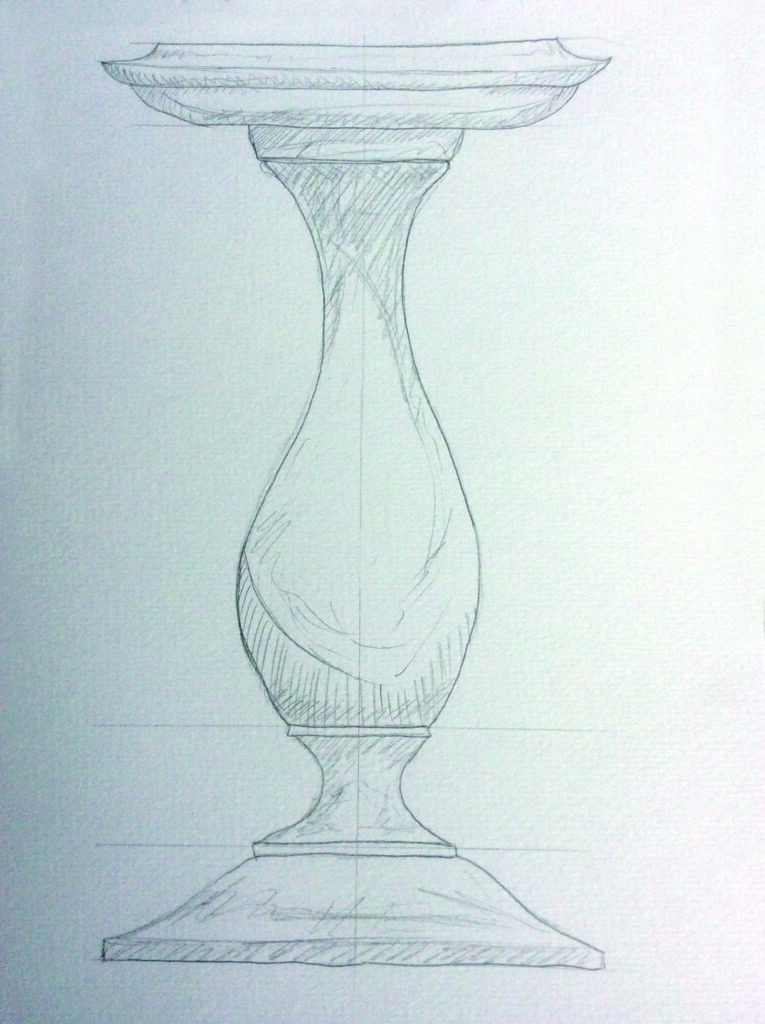
If you take the idea of a tazza and keep stretching it we can start to see how we get into other structures such as plant pot holders. The pedestal here will now start to get so tall it may be the case that the base may need to become larger in diameter than the top section. Its job here is to allow a potted plant to cascade down below the level of its foot and that extra size and weight reproportions the overall design of pedestal and plant together. However, it wouldn’t take much imagination to alter this proportion again, making the top larger in diameter before ending up with a wine table. If you were going to do this you could also replace the round base with a tripod base.
Goblets
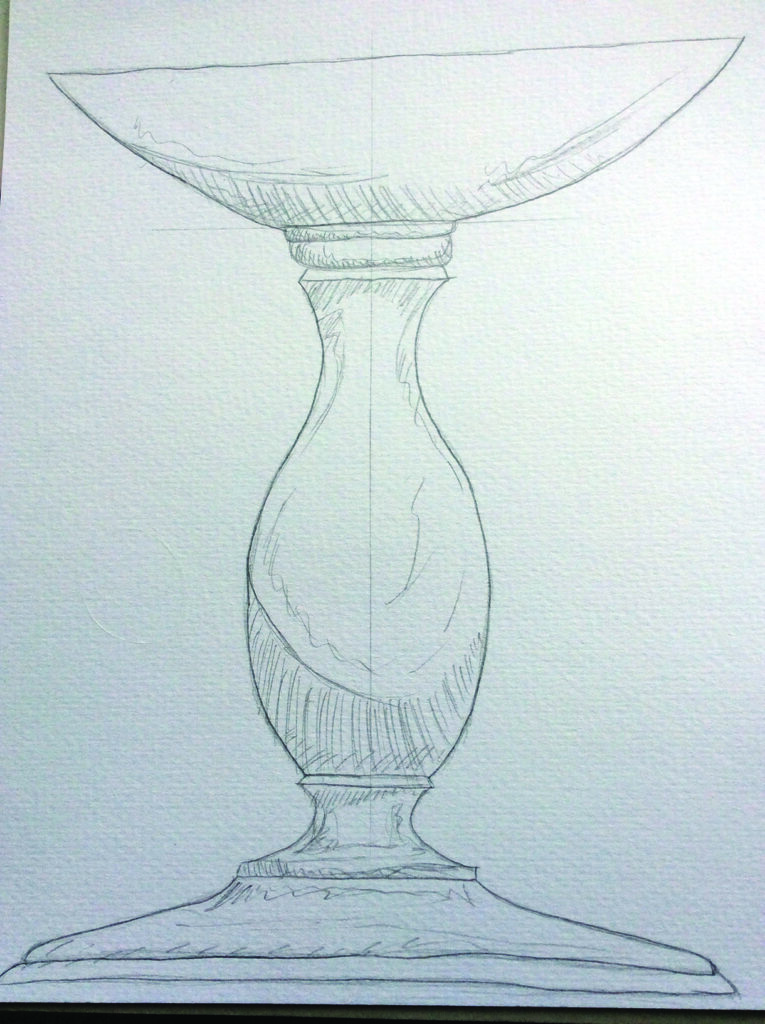
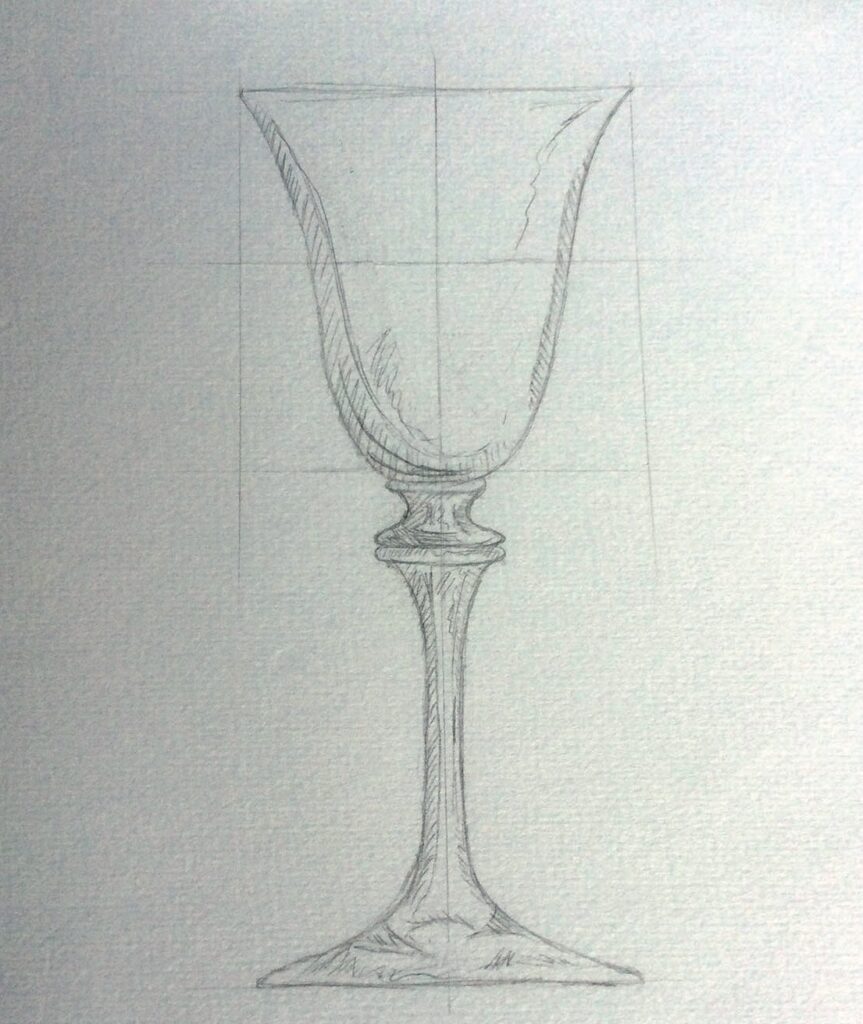
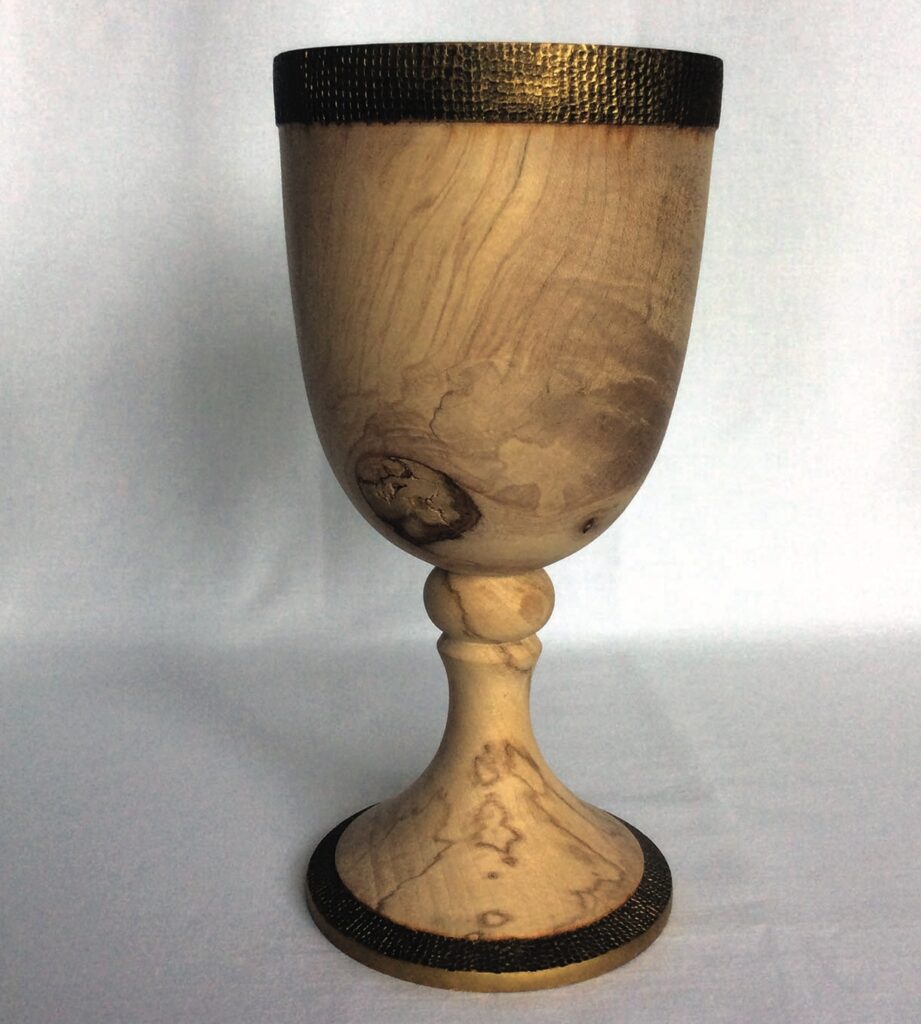
If we think literally about the meaning of pedestal, goblets are an obvious option for a project. Most of the time goblets can be turned from a single piece of timber as the grain direction supports a form of this size, with just a suggestion by the turner that it’s made from three parts – base, stem and cup. It’s easy to see how you could use this form as practice for a larger project and break it up by turning everything separately. Goblets also give you a lot of options in design in all areas, such as flutes, ogees and flares. Have a look in the drinks cabinet if you have one and see how the foot size will vary depending on the shape and size of the cup.
Two that spring to mind would be the tall slender cup and foot of a champagne flute against the large bowl and foot of a brandy glass.
Functionality and design
Just because a piece of work is intended to be functional doesn’t mean we have to forget about a balanced design. However, it does mean sometimes it will dictate certain criteria. Take two examples here, which are completely different projects. One is a functional raised tazza bowl intended for fruit, and the other a beautiful ogee-style laburnum bowl, designed as an object to be looked at and ornamental only.
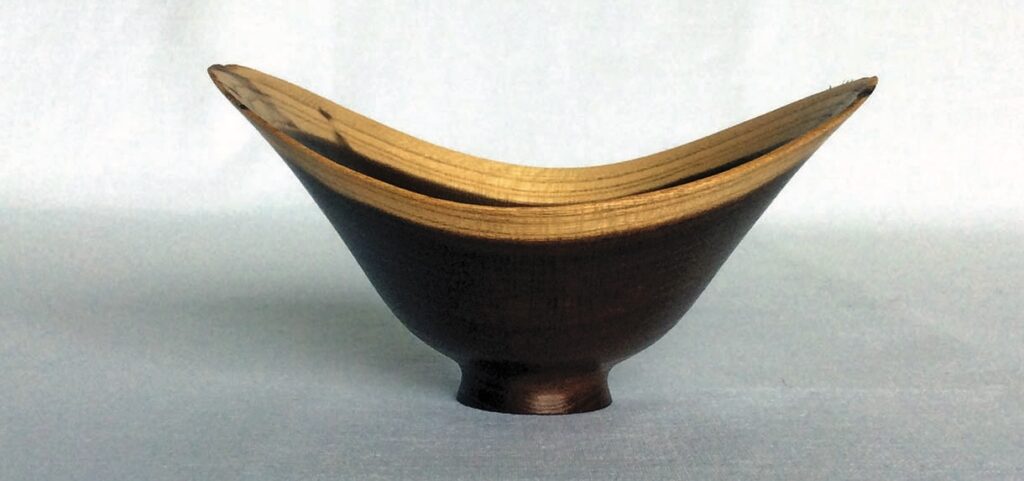
The ornamental bowl has no need for a large footprint, it’s extremely light and will never be used to hold things. Its small base is more than adequate to support it and the perfect size for the shape to elevate the bowl and show off its flowing curve, demonstrating a description of a pedestal.
But imagine the fruit bowl with a foot of this size. It has to support itself and the weight of the fruit, plus people reaching in and taking pieces out. For this reason the base needs to be much wider to support this width.
I would always try to add some height to incorporate some shape to raise the piece. As you can see here the base has an ogee profile drawing the eye up and presenting the bowl.
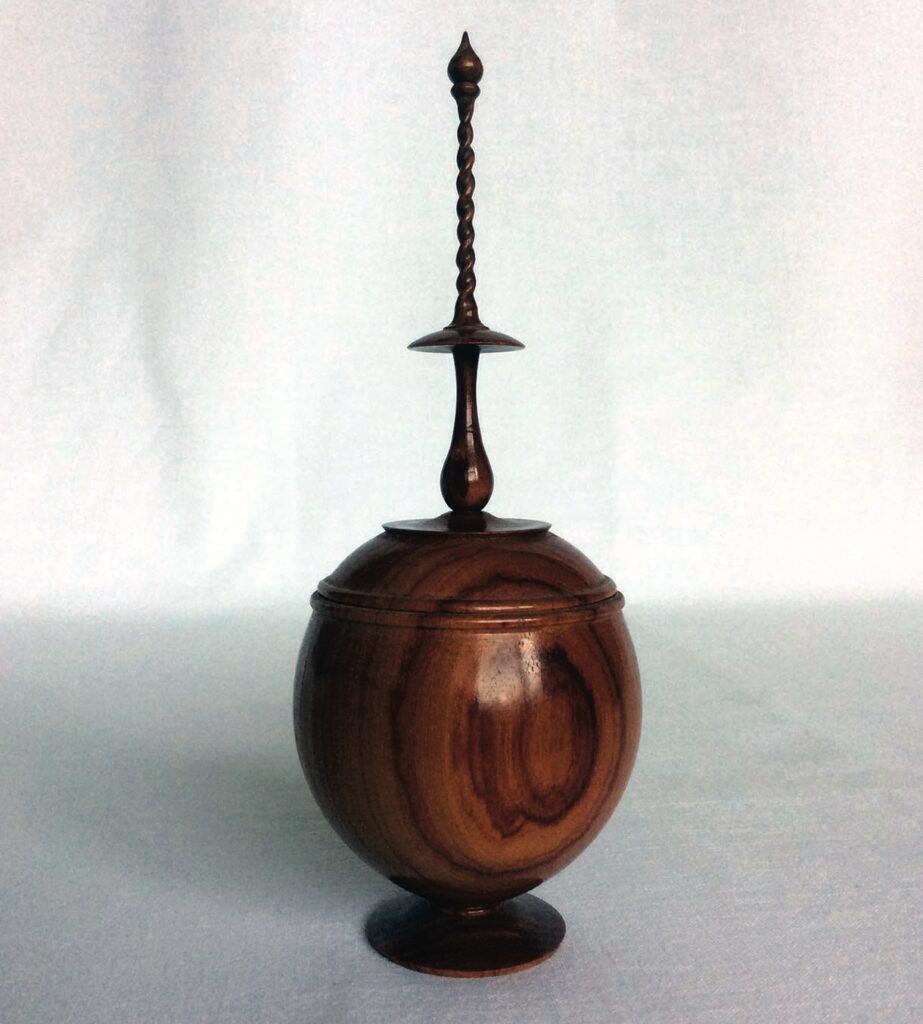
It is not just bowls that use pedestals to elevate the form – see this stunning tulip wood finial ring box. Most of its weight is at the bottom so the need for a large foot isn’t as important. It’s both functional and decorative, designed for keeping rings in, but will be picked up to open it meaning the foot or pedestal can be kept small.
Inspiration
It doesn’t take much to find inspiration for our shapes. They can be taken from historical sources by visiting museums or looking on the web. You will very quickly learn that most of the shapes we use and think of as being current are, in fact, ancient designs. I love looking at the older forms – they have a certain beauty which translate so well on to timber, as most pottery does.
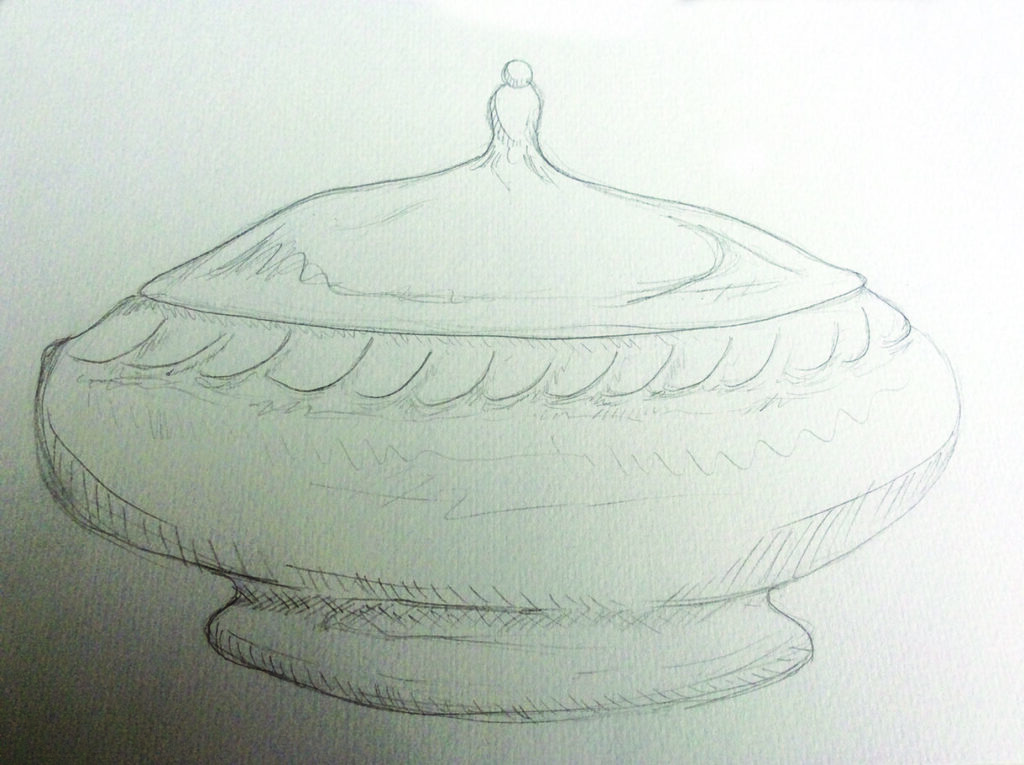
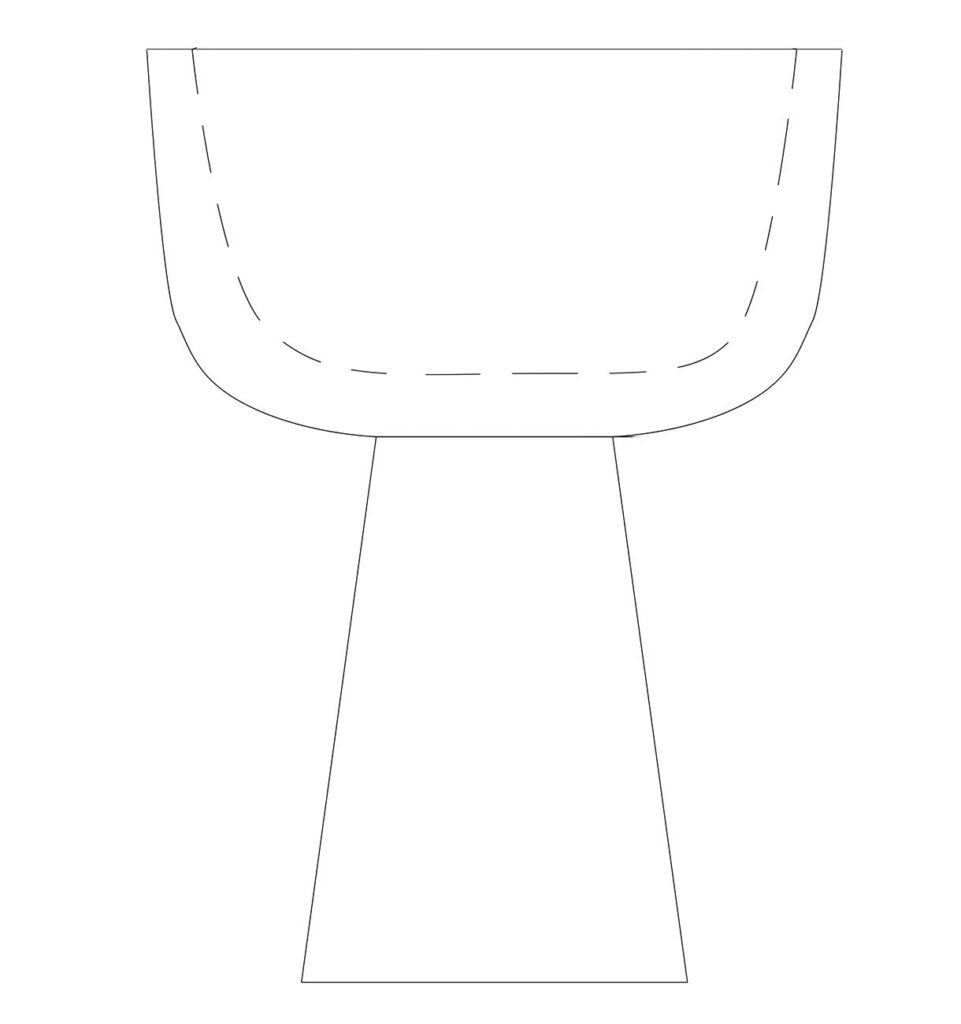
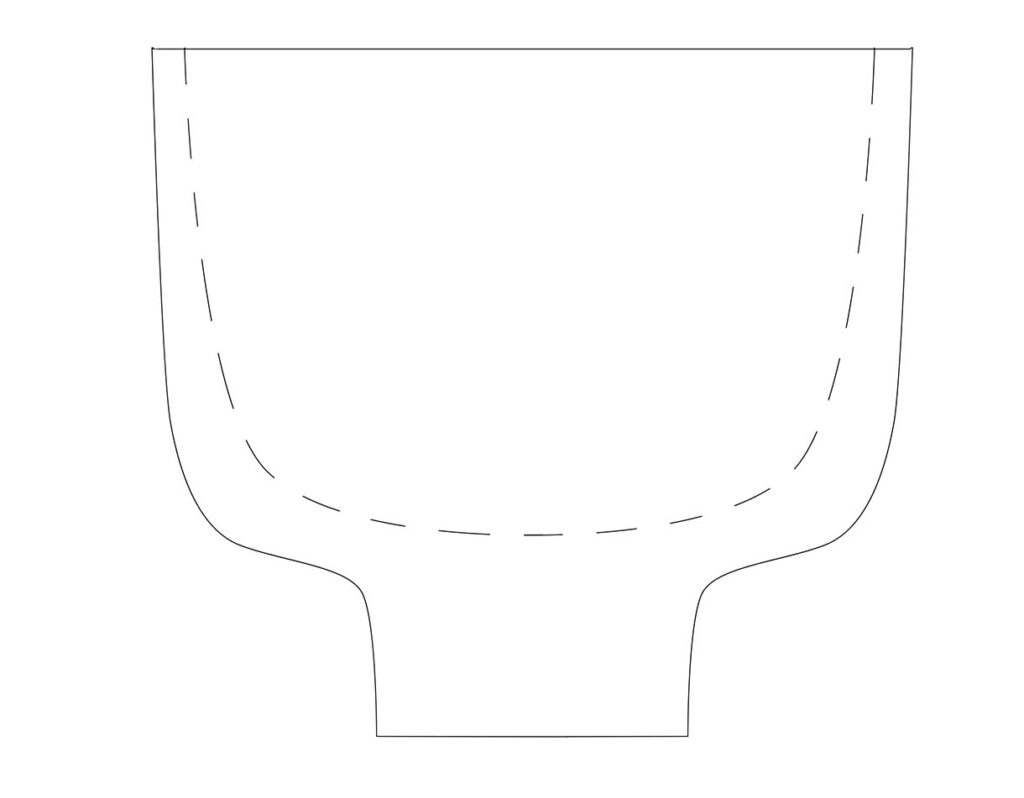
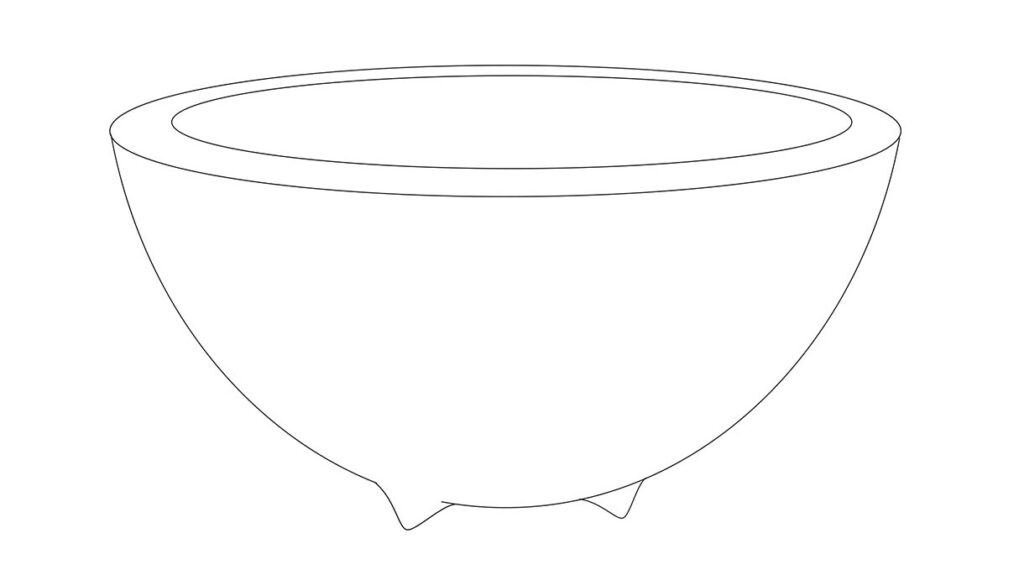
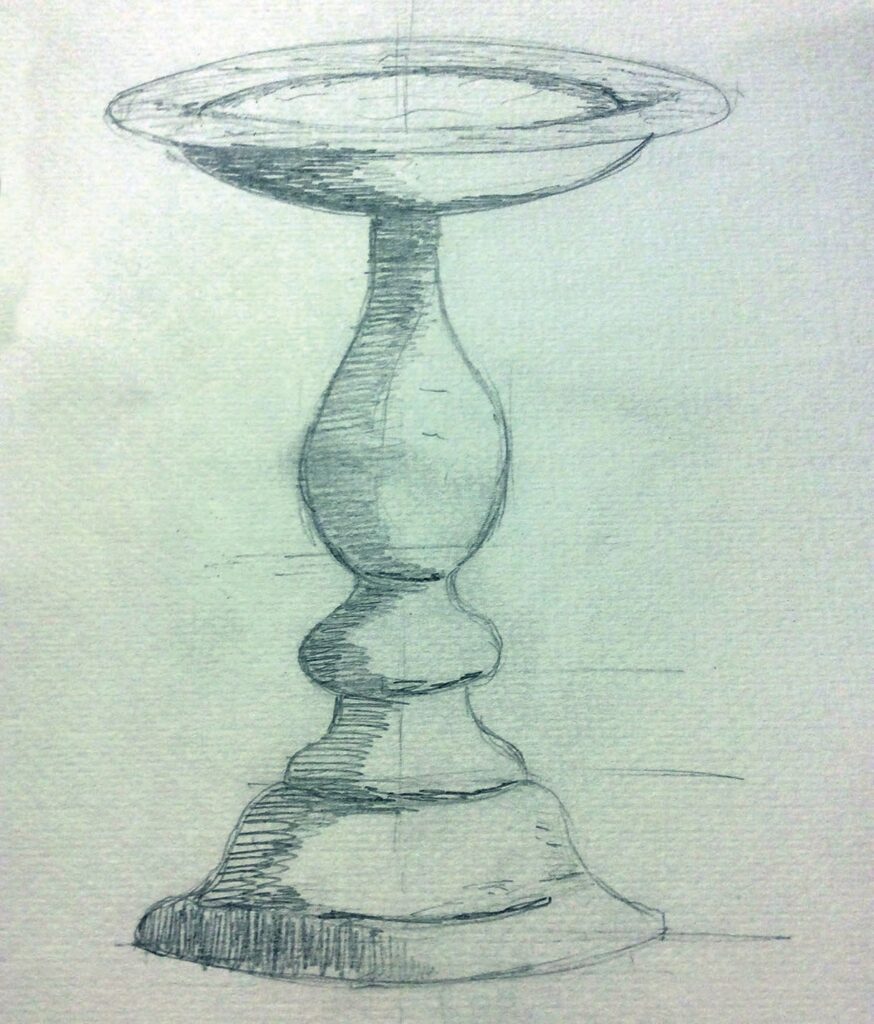
Look at pottery and ceramics. Bowls and vessels thrown on a wheel or hand-shaped from clay really flow and seem to follow all the right design rules. They have to support themselves as gravity is trying to collapse them while they are being made. The drawings here have three different and distinct pedestals which can be stretched, compressed and manipulated to size. One has a very tall pedestal, is very heavy and a cross between a bowl and a goblet. If you scale this foot down you come to a more bowl-like vessel intended to be picked up when used or decorative in nature if the right timber is selected. Finally a carved pedestal where part of the turned foot has to be carved away to create three individual tiny feet.
Each of these bowls has a completely different foot size but all work against the bowl their supporting, yet a certain degree of manipulating also works either by stretching or compressing which is something we’re going to be looking at next month. One of my biggest sources of inspiration for bowl or pedestals projects is pottery, either by looking in books, antique shops or simply your own pottery items. Of course as a woodturner you get to see an awful lot of bowls and you soon start to get a good eye for design which at first may be a bit of a struggle when learning how to use the tools properly. If you like a design it’s worth noting it with a drawing and keeping for reference, take photos if you have permission and build up a scrapbook. You will also find that you probably go through phases where a piece inspiration takes you on a journey, I really like this and looking back through my work can tell you exactly where inspiration started with the work I was doing at that time, but also with my turning friends, seeing a series of work start and evolve in different ways, taking a basic idea and adding their own unique twists.
Historical forms
Carrying on from sources of inspiration we can look to historical architecture both in buildings and the ornament structures adorning them.
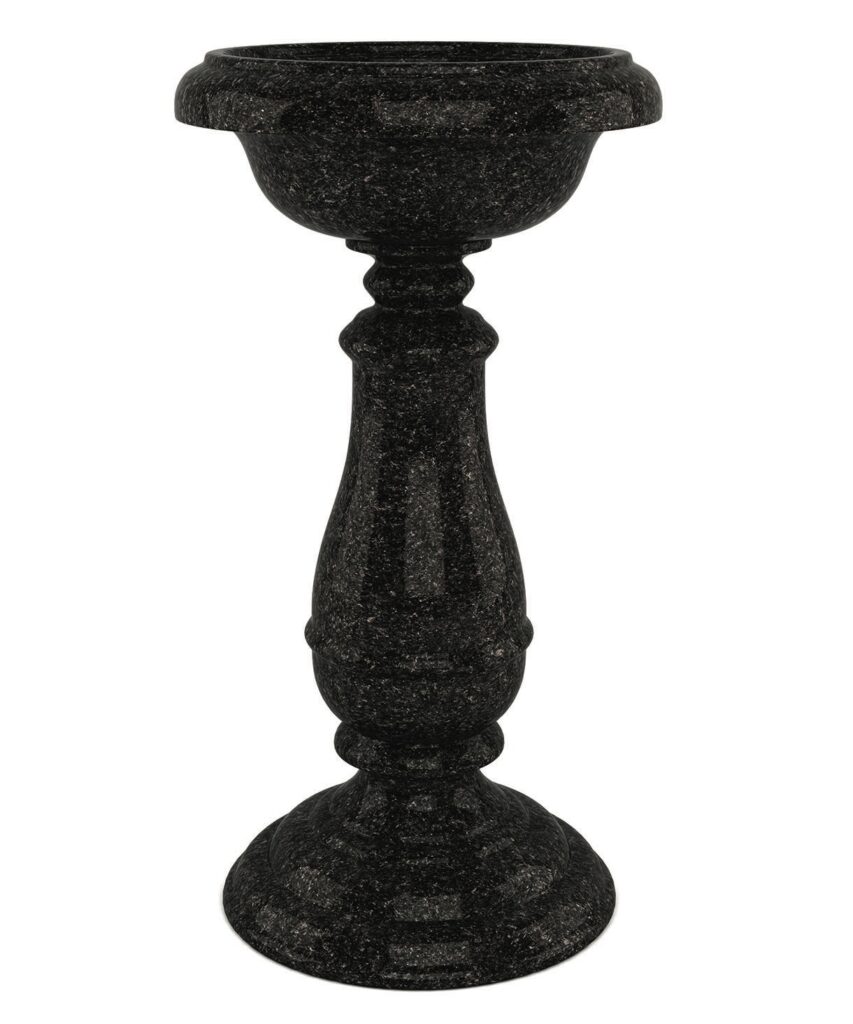
For instance, if you think of one of the oldest buildings in most towns it is often a church and there are plenty of objects to look at in there. The font is a great structure, usually visible toward the front of the building, it’s a very strong, robust structure, often much bigger than the bowl it supports and, in most instances, carved in stone.
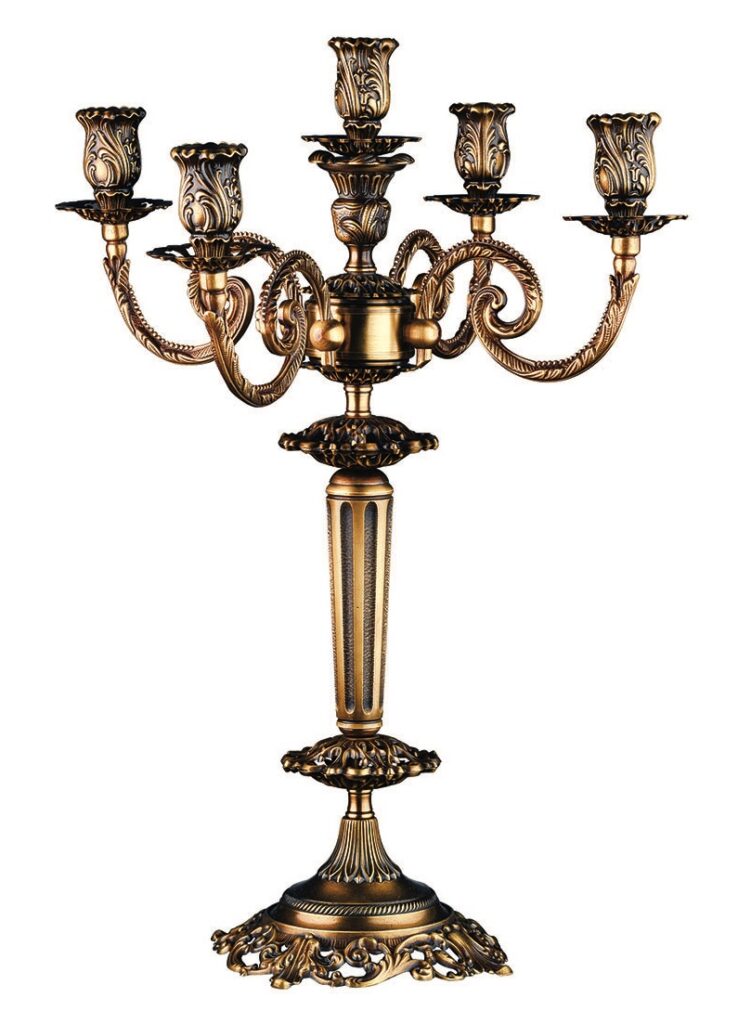
Moving further into the church, candlesticks and chalices are all great examples of pedestal forms and very rarely plain. These items are made mainly of metal but it’s easy to see their potential as a source of inspiration.
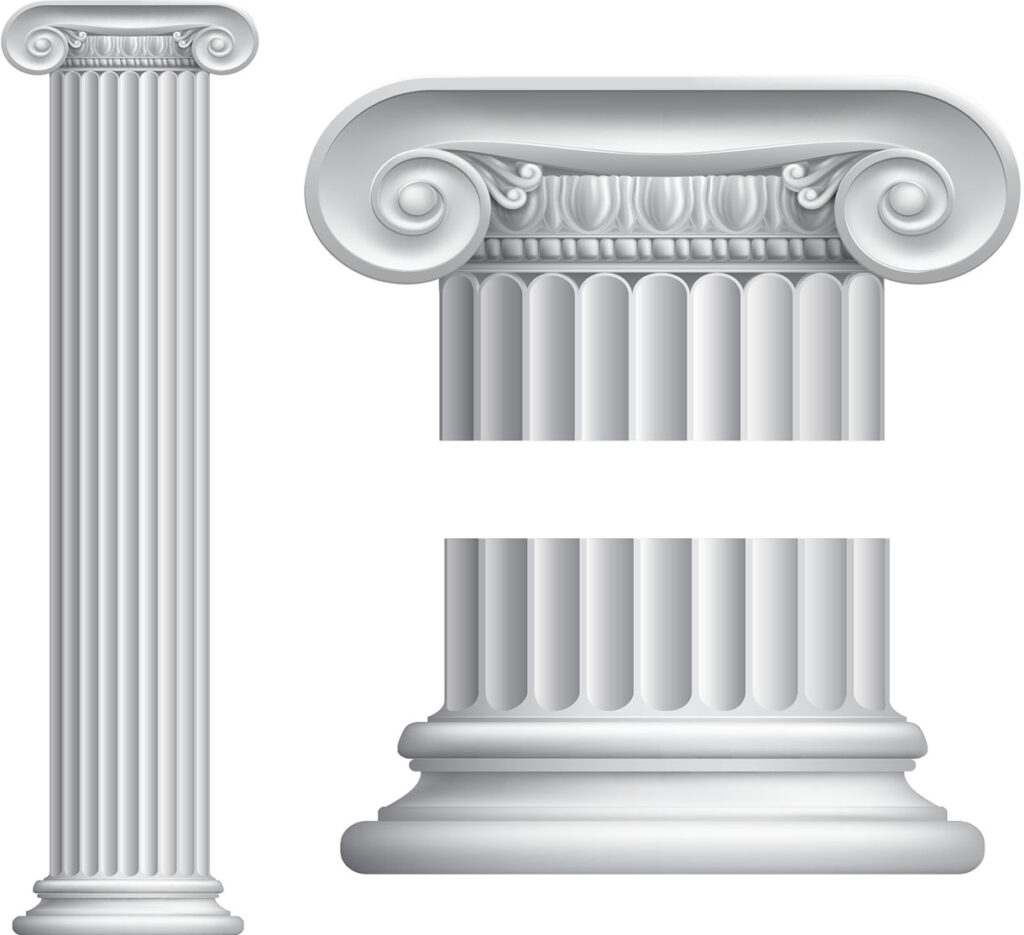
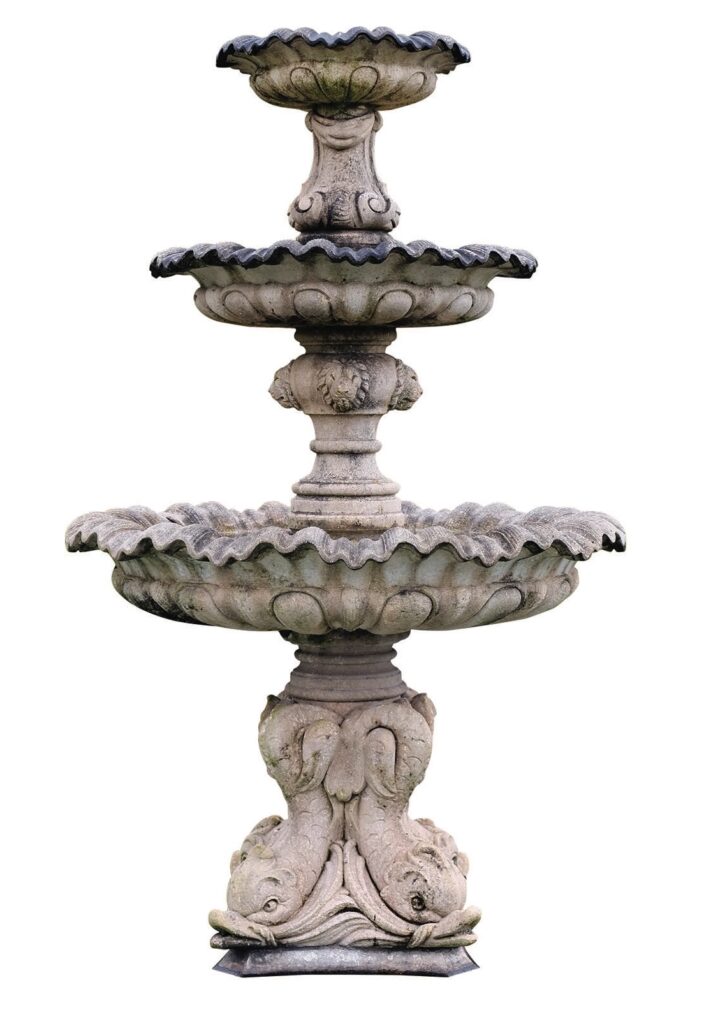
Just a quick walk around your town centre or park the next time you’re walking the dog and it won’t take you long to find something using a pedestal. The fountain in the picture below shows how these forms can be tiered up to form interesting cascades – against all the design theory we’ve be talking about so far as this form starts large at the bottom and slowly decreases in size as you get to the top. And of course really recognisable forms such as Roman or Greek columns can often be seen scaled down as pedestals for plants and sculptures.
Pros & cons with material choice
This is a woodturning magazine after all, so I think it’s appropriate to assume that most of you will be attempting a pedestal project in timber.
I say most of you because it’s not unusual to turn certain soft stone. Only five miles from where I’m writing now there is a stone being quarried and turned on a daily basis called Beer stone, taking its name from the village in which it’s situated.
The stone is turned with similar tools to those of the ones we’re used to and turned into the exact forms we’re looking to create in these pages – candlesticks, tazzas and bowls, as well as carved forms from historical buildings.
As woodturners, our choice of timber is a vital part of getting things right. If we want to make a bird bath outside, the timber has to be able to be used outside. Also, the finish applied has to protect it from the sun and weather and possibly be suitable for constant water contact.
Some timbers, such as oak (Quercus spp) and chestnut (Castanea spp.), are great choices for pieces to be used outside and will last for years even untreated, whereas tulip is a great choice for larger structures to be painted due to its close grain and ease of work. However, all of them will lose their colour if the sun gets to them and all will revert to the same grey colour after time.
However timber as a material is relatively easy to source and shape compared to the other options, we just need to consider its weaknesses, for instance a bird bath made from oak with a lead or copper liner would compliment each other really well and last for years while weathering beautifully.
Types of pedestal
So far we’ve talked about conventional types of pedestal but let’s have a look at some alternatives, such as squares, tripods and rings. Square pedestals can be seen in a variety of different projects or to display pieces in galleries. If you’ve ever entered any of your work into a woodturning competition at your woodturning club I suspect it would have been placed on a square pedestal to raise it to show its whole form.
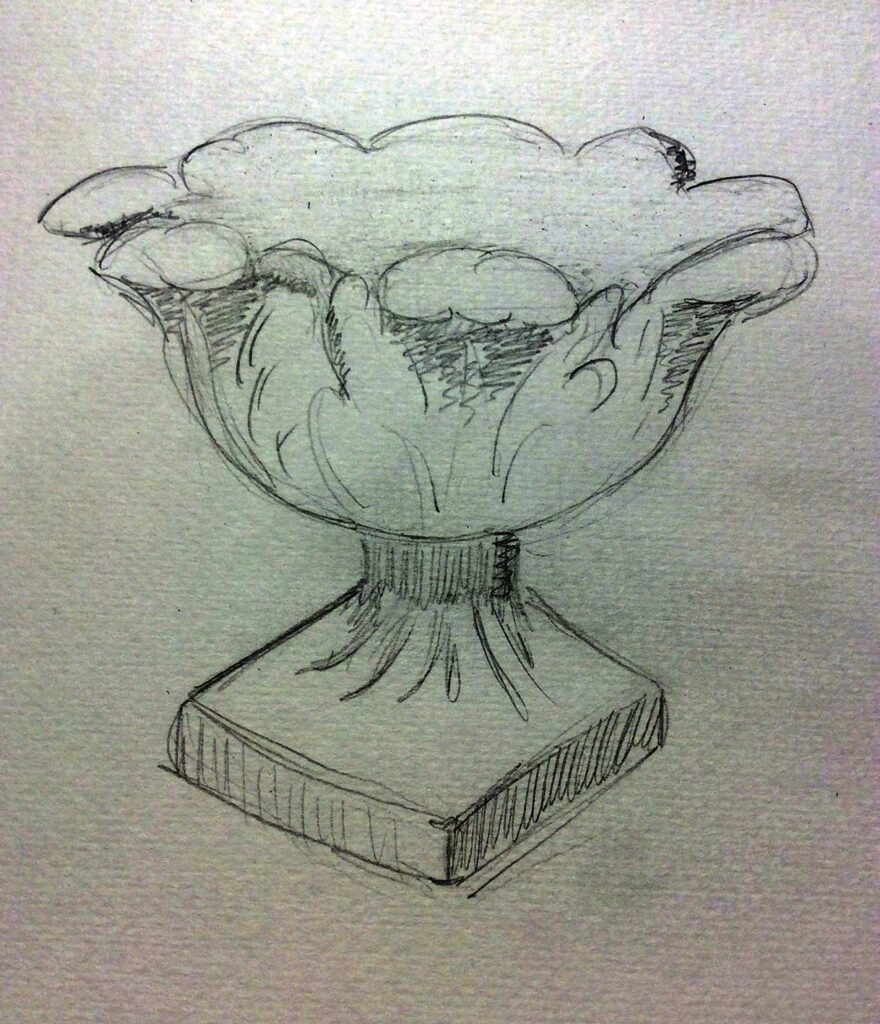
That type of pedestal is separate from the main project, however integral square pedestals on a round base also give a well balanced design if used in the right proportions – see the drawing below of the stone plant pot, the integral square base leads up to a leaf design pot and works really well for garden structures or urns.
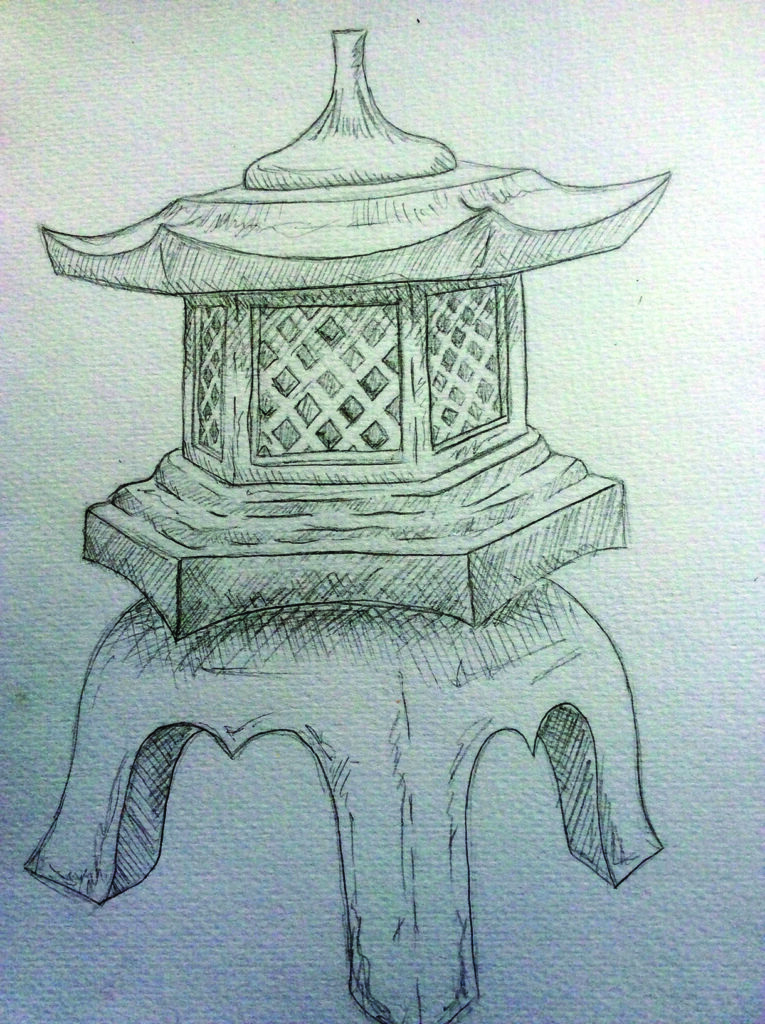
Tripods are also well used in woodworking projects and in a previous article I used this form of tripod on a wine table. However, I’m choosing another garden structure to demonstrate the object in the form of a Japanese pagoda lantern. This is a bit harder to form for a woodturner as it involves a bit of joinery skill, but on the
right project is a really pleasing part of the build.
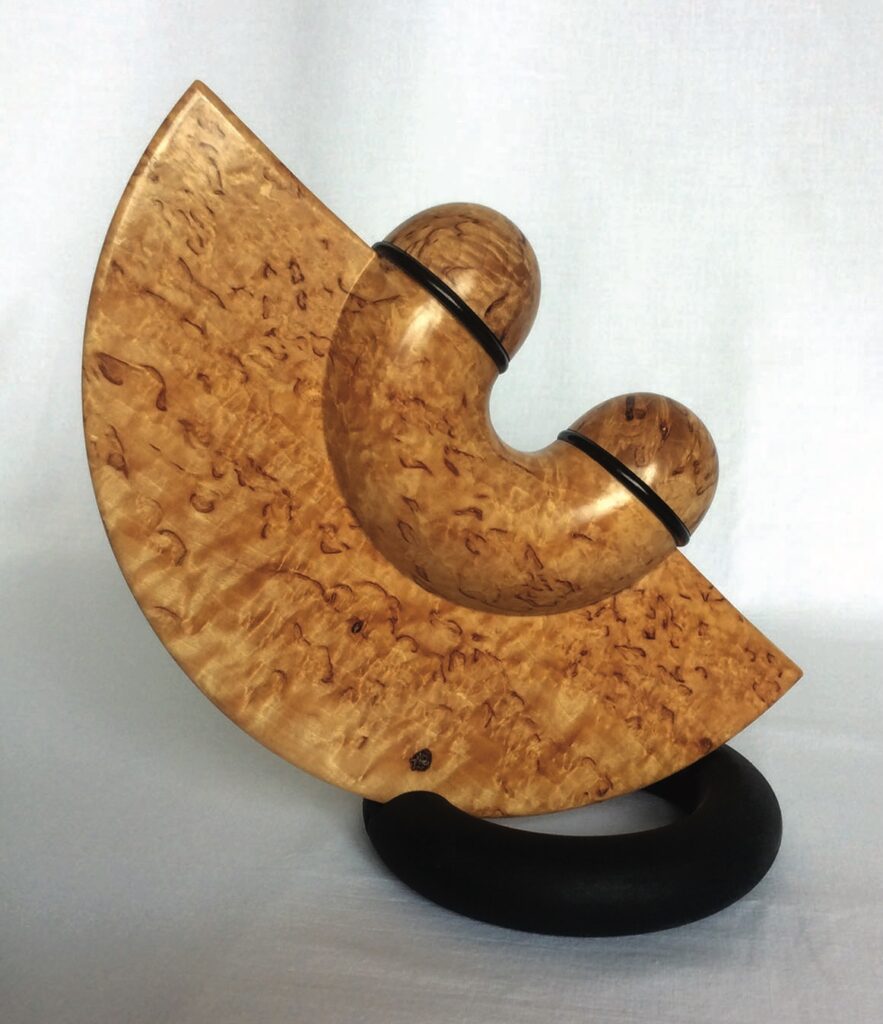
Finally, the simplest pedestal of them all and easy to overlook as even a pedestal – a ring. Rings are simply that and can be seen here with one of Jason Breach’s wonderful orbital arcs, supported on a custom-made split ring. It is an unusual use of a ring pedestal as the item sits upright and is not laid flat as would be expected.
Putting things into practice
Ok, so that’s some of the theory and, to be honest, a lot has been covered here regarding design ideas. Next month I want to take a couple of these projects mentioned but make them able to be interchanged, just to demonstrate the variations to be had with altering the dimensions.
I want to also look at how we can join these forms together. We can then take these techniques and start playing with scale, stretching and compressing the dimensions to suit the project. I’m really excited to crack on and make the first form. I have a timber and design in mind, so get designing, do your research and join me next time for the hands-on version of our pedestal projects.
Top tips
• Draw it out. Sketching is a great way of getting things out of your head so you don’t forget them later. They can be as detailed or as basic as you want. You don’t have to be an amazing artist but carry a jotter around with you – you never know when you may be inspired.
• A simple piece of string moved around on the table can be formed into interesting shapes, giving ideas in form.
• Make a scrapbook. Again, like sketching, this is a great way of keeping ideas and spurring on new ones. Designers use this for many projects which would include the design brief swatches of material, types of finish, texture and potential hardware to be used.
• Cut outs. Make a series of card shapes in all aspects of the design, base, stem and bowl to be able to move around to form different design variations.
Next time…
A sapele tazza with a selection of different bases and spindles giving a range of pedestal ideas