
We give you the plane facts about machining timber flat and square, safely
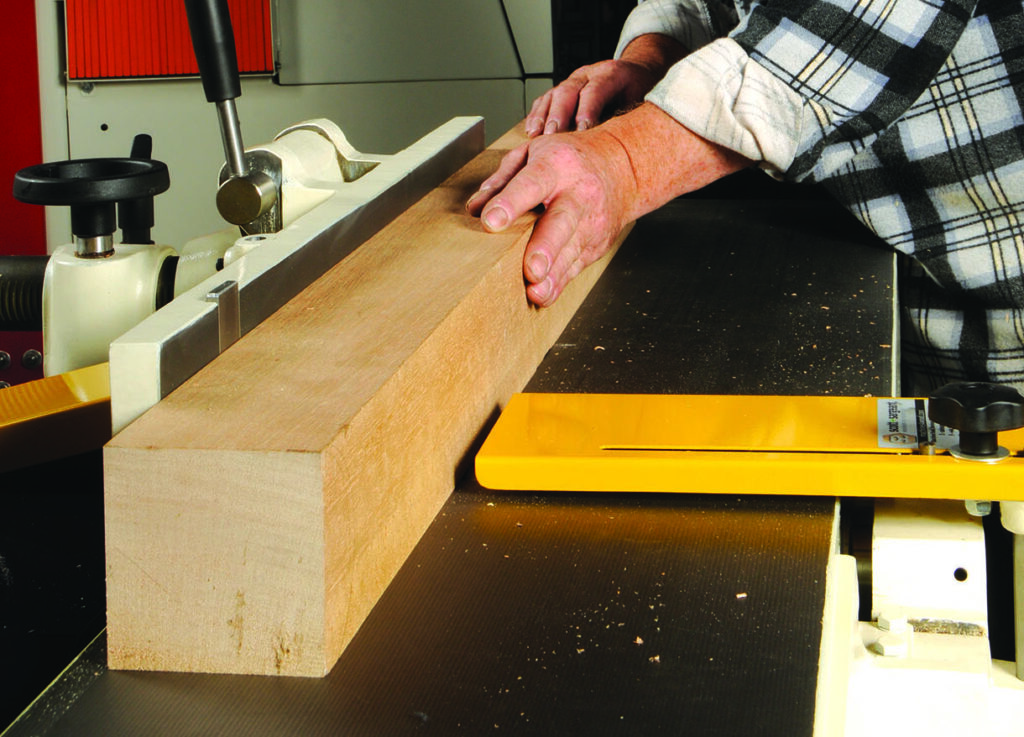
Planer/thicknessers, surface jointers and thicknesser cabinets have various things in common. They have a bed or beds for the workpieces to move across, a cutter block fitted with knives and a fence to run against in the case of surface planers and some form of guarding. Vintage machines can have slow ‘run down’ times when switched off, while modern machines have braking to bring them to a halt quickly to improve safety. Like all machines they need to be correctly setup and treated with respect. Isolate your machine before carrying out blade changes or altering extraction hood positions, etc.
1. Very small bench-top machines are usually very noisy and not particularly accurate. I’ve tried them and don’t care for them really. At this small scale of operation it is probably better to learn good old fashioned hand planing techniques and take pleasure from developing those skills.
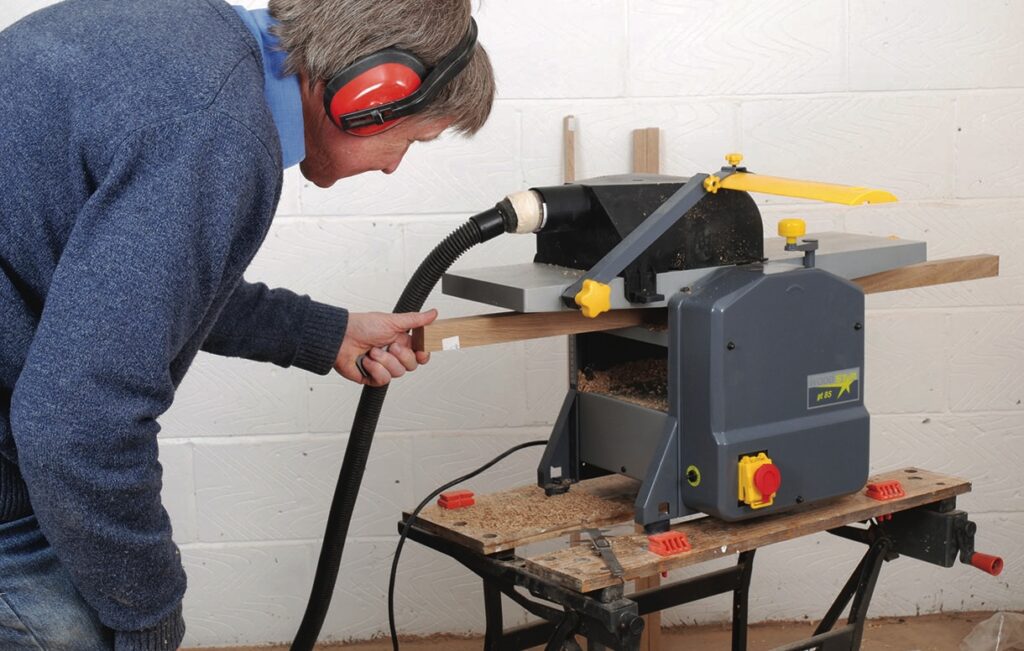
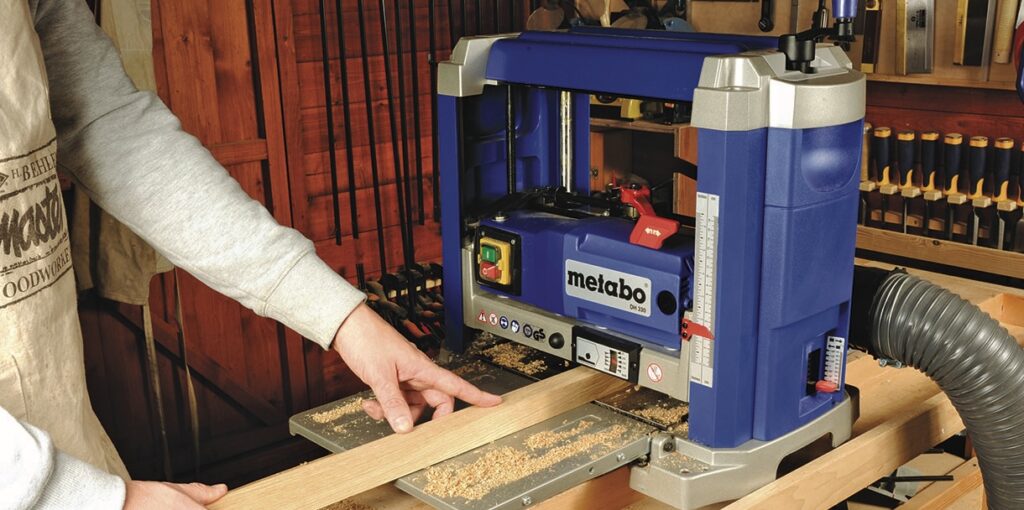
2. Bigger home workshop machines are capable of quite decent results and will be quieter as they are fitted with induction motors. The exception noise wise are compact cabinet thicknessers, which have noisier brush motors, but correctly set up can work very well.
3. On a surfacing planer the infeed and outfeed beds need to be level to each other i.e. not tilted at all. They should be supplied in this condition but check before starting to use the machine. An accurate straight edge will show this, just sighting along the beds is not precise enough. Never lift a planer by the beds as this can cause misalignment.
4. The planer knives will be factory set and ready to use. However, it is instructional to use a piece of prepared softwood with a pencil mark to do a manual ‘pull-over’, taking care to avoid getting cut on the blades. Mark at one end of the block where the wood is moved to and at the other end as well. It is unlikely they will be identical positions. Repeat with all the knives.
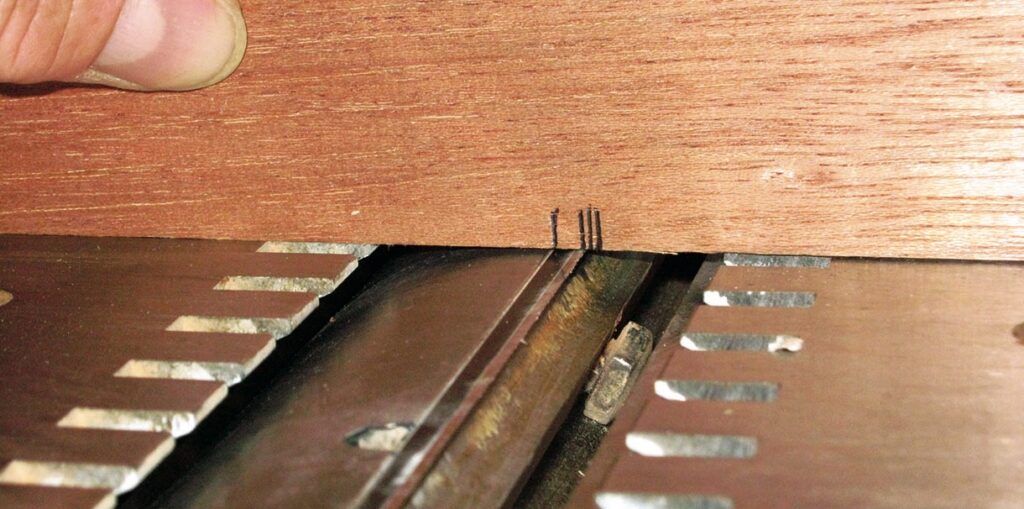
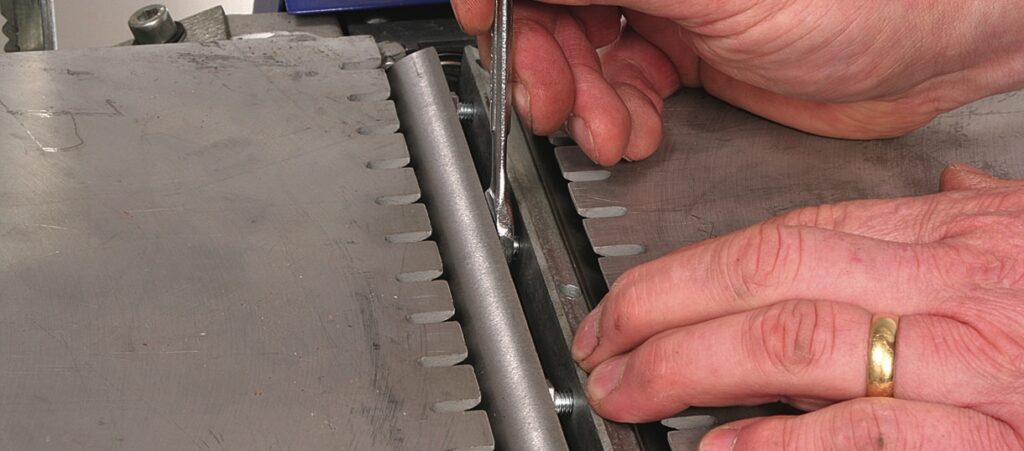
5. Changing planer knives is the thing that causes more problems than anything else. Knives should be changed once they get damaged or blunt, not left because changeover is awkward and inconvenient. Follow the guidance in the manufacturer’s manual about releasing the blades and then replacing one at a time rather than emptying the block of knives and clamping blocks.
6. Clean out the cutter recesses and the step where the slightly wedge shaped clamping blocks are fitted.
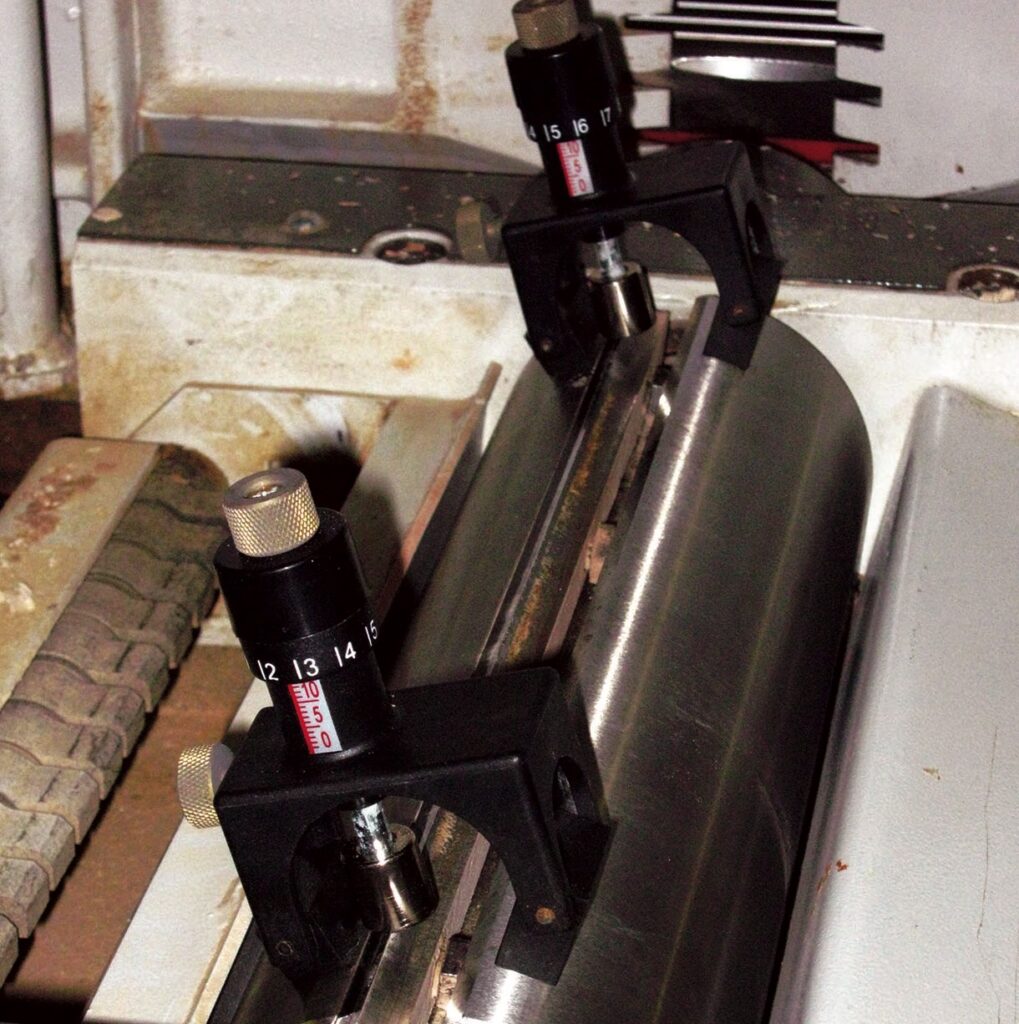
The best thing you can do is invest in a pair of special magnetic blade height setting jigs. These are loaded with rare earth magnets and ensure by setting the dials that the blade is parallel in projection from end to end. Again, check the setup procedure in the manual including the amount of blade projection permitted above the outfeed table. Note these blade jigs do not work on aluminium table surfaces because they rely on magnetic attraction.
7. Blades may be single edge or reversible. The general rule is to tighten starting from one end, or work from the middle rather than both ends as the blade steel may become stressed under pressure of tightening. Make sure before you start blade changing that the toolkit is complete. Note that cabinet thicknessers are usually self-setting for height.
8. Once the blade change is complete check the blades don’t catch on anything when turned by hand, wearing armoured gloves. Lower the planer beds and lock them down as appropriate.
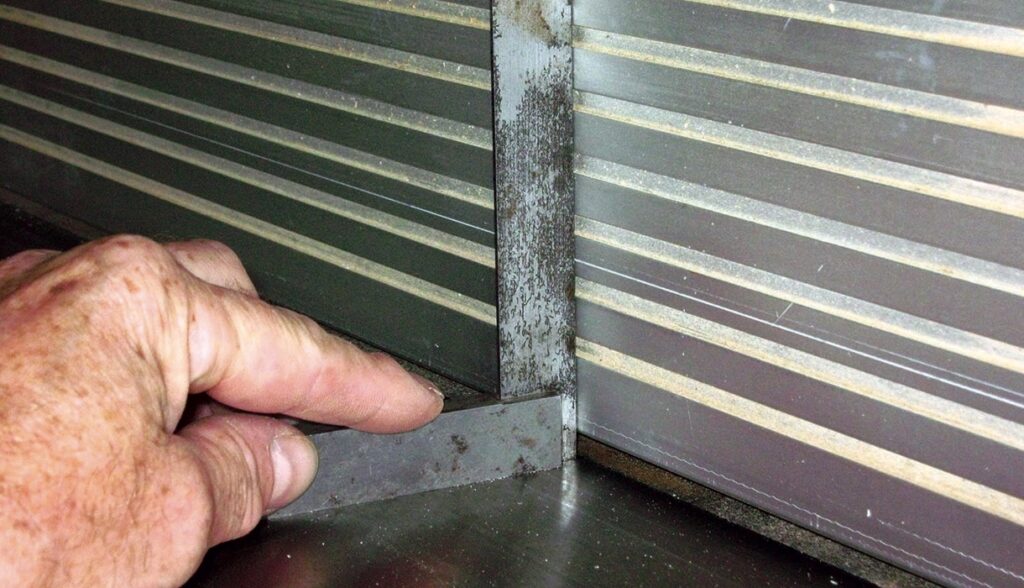
9. The next job is fence setting; most fences nowadays are aluminium extrusions which are seldom perfectly flat. Check for flatness and decide what is the most appropriate position for 90° using an engineer’s square and lock off. Adjust the zero setting bolt if fitted, so the fence can be quickly reset to 90° after bevel planing.
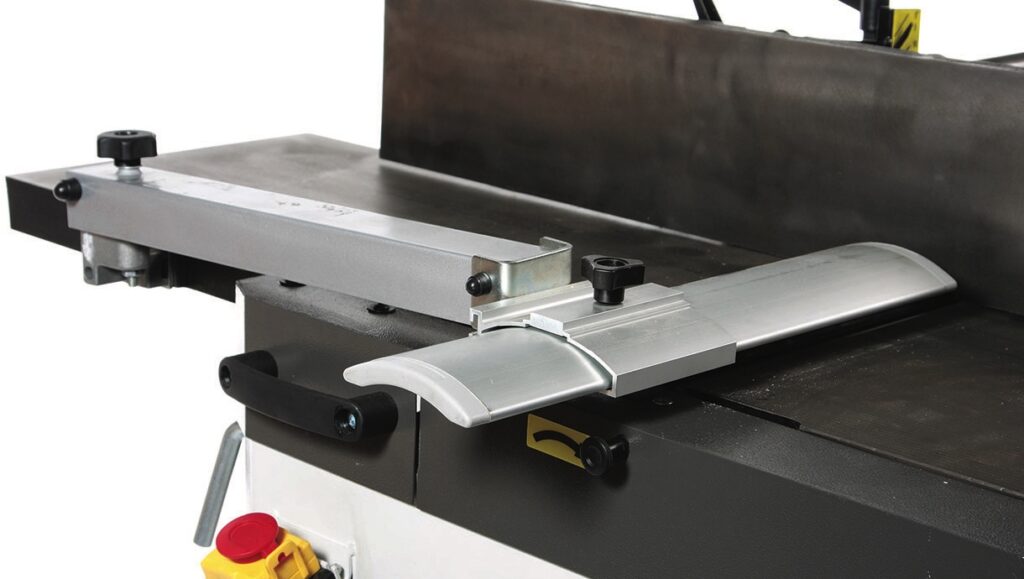
10. Check and adjust the guards to make sure they function within their adjustment range and do not catch on the cutter block. There must be a form of guarding in place behind the fence as well. Modern machines have a swing up guard and arm, whereas older machines may just have a bridge guard which slides up and down and must be easy to adjust.
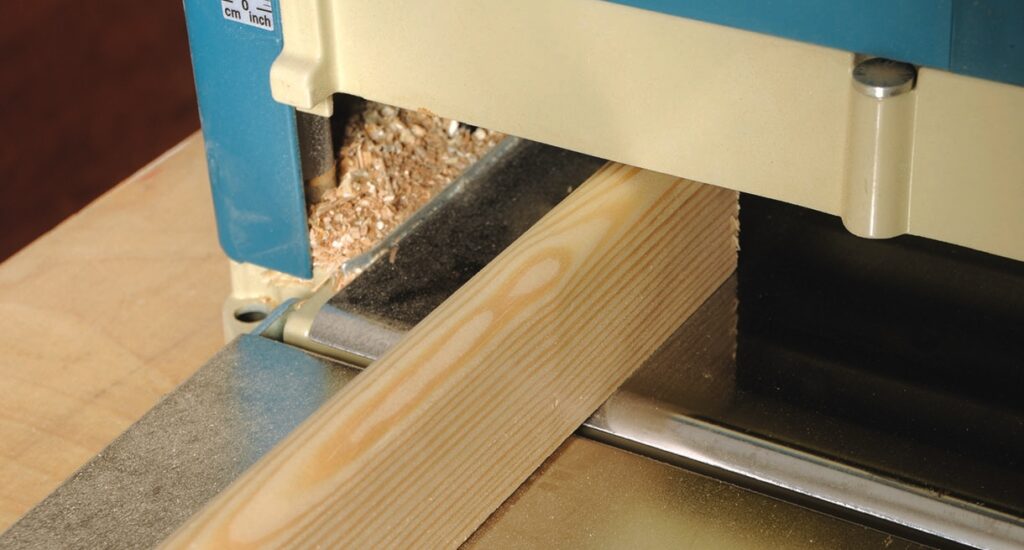
11. Thicknesser beds or in the case of a cabinet thicknesser – the motor head and cutterblock, must rise and fall smoothly and be capable of locking at any height. The latter machine type has folding infeed and outfeed beds which can be adjusted up or down to give better support and reduce ‘snipe’ – stepping at the ends
of a workpiece.
In use
12. When used from new or freshly maintenanced, a planer/thicknesser should be test run with guarding in place and ‘off load’. Then reset the guards to pass a piece of timber both ‘under and over’ the machine successfully. If everything works well it should be safe for general use.
13. When the machine is used when overhanding, the guards must be set close both to the workpiece and the cutterblock. Unlike some circular sawing operations where limited sight of the blade is an advantage, with planing the workpiece has to take its course and the result judged by examining the wood once it comes
off the outfeed table.
14. Only feed wood into the direction of rotation of the cutterblock. The infeed table should be set only a small amount lower than the outfeed table according to the depth setting scale, say 1mm. To start with when planing sawn and/or misshapen stock the initial cuts are minimal but as the down facing surface begins to flatten the blades will bite more and remove more wood at each pass. If necessary adjust the infeed table up or down as seen fit, dependingon whether too much or too little is being removed each time.
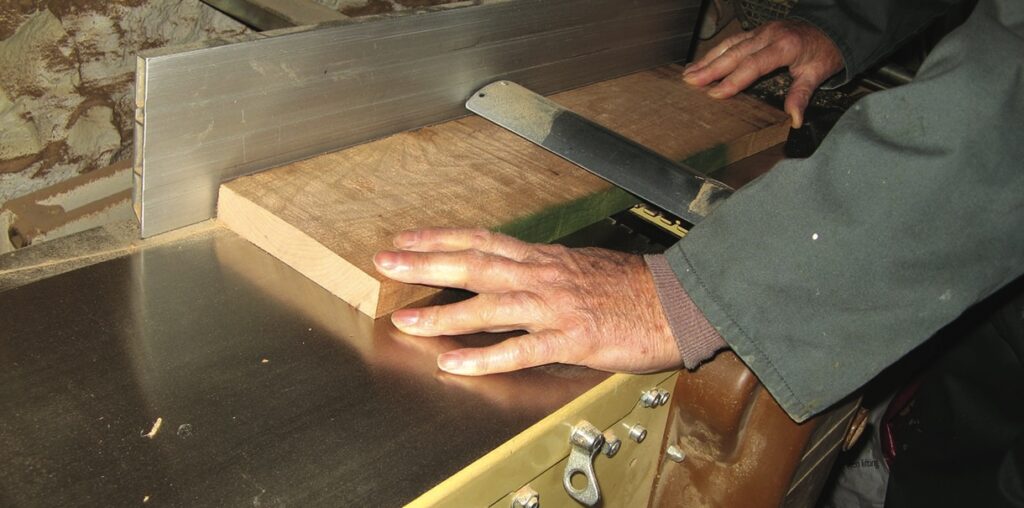
15. Hands should be kept well away from the cutterblock, one in front of the guard, transferring pressure to the other hand beyond the guard. Shorter sections may require a push block. Although it is possible to plane quite short pieces I do not recommend it, the risk of finger to blade contact or a workpiece being thrown back, is too high. Plane longer sections and crosscut to required lengths afterwards instead.
16. When thicknessing do not sight down the tunnel or opening in case of kickback or more likely, piercing shards of wood as anti-kickback fingers should hold the workpiece in place. Do not let your fingers become trapped under the surface tables if the thicknessed piece is moving directly underneath as you not be able to reach the emergency stop button or disengage the thicknesser drive.
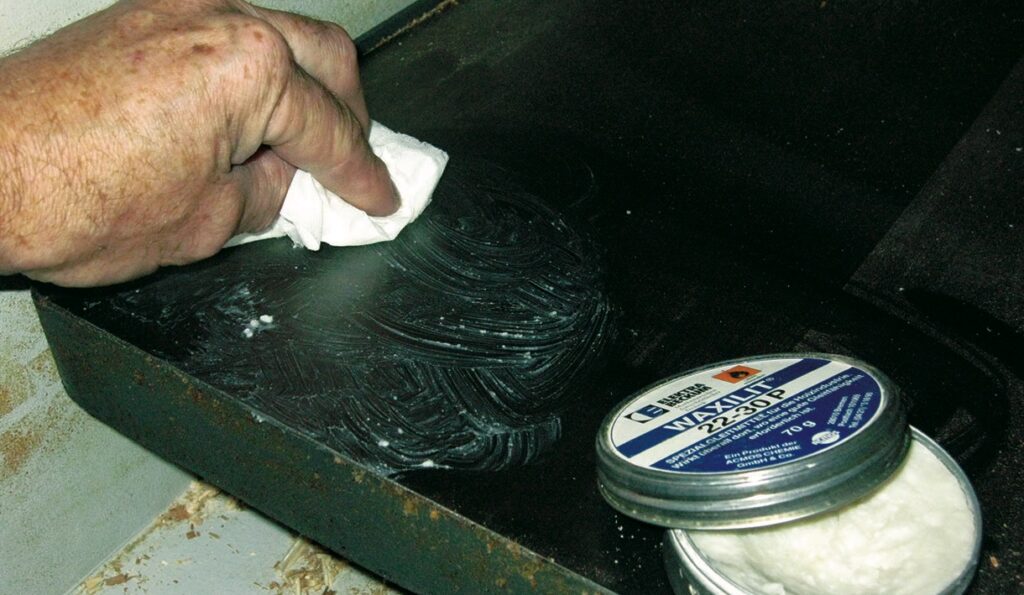
17. Thicknessing beds are often made of cast iron which can become quite dry and friction then stops the wood moving. My choice of lubricant is a clear hardening wax applied once the machine has been isolated.
18. Always feed the higher end of a component in first; that way the thicknesser need not jam. If it does smack the red off button immediately to avoid straining the drive or overloading the motor causing
it to cutout or fuse.
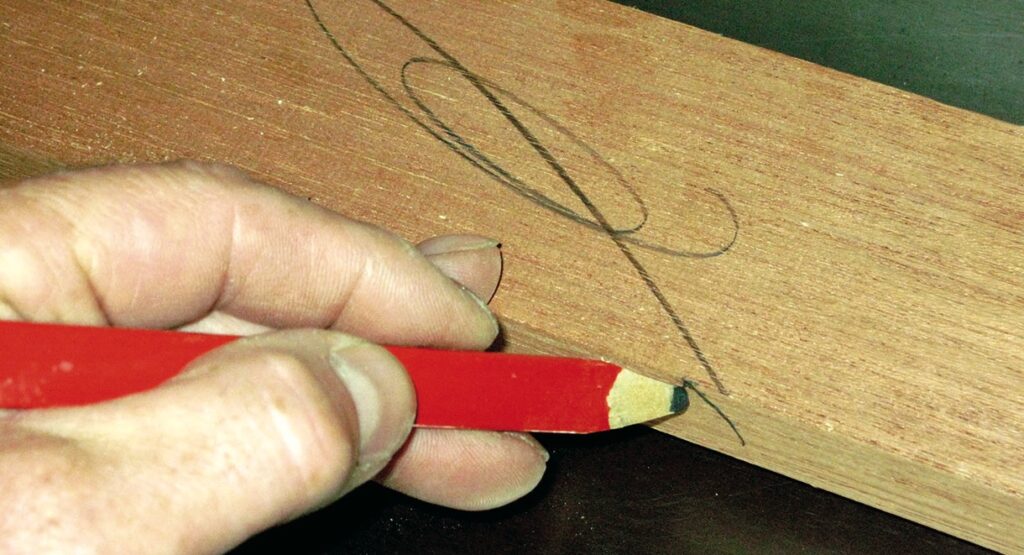
19. Adopt standard workshop practice for straightening and thicknessing wood, move the wood over the surfacer with the bow uppermost, i.e. concave face downwards. Then do the same to an edge and mark both with simple face and edge marks you can rely on. Check the first face and edge with an engineer’s square for accuracy. This must be right if the finished stock is to be truly squared all round. Now thickness the other face and edge and also rerun the first face and edge through as well so you get an improved finish compared to hand feeding which can leave light ripples on the surface.
20. You will need really good, capacious chippings extraction to deal with the outpouring of waste. Don’t try and work without it, especially when thicknessing as ‘printing’ of chippings on the surface will mar the wood.