In this article I will cover choosing wood and the best way to use the knife and any other tools that you might want to use when carving pieces that need to be held in the hand. This is commonly called knife carving, or whittling, and is a very good way to get into carving without breaking the budget.
Wood Choice
First of all, let us cover what woods are available and which are the most suitable to use for whittling. As a general point, it’s possible to carve all woods but the harder the wood the smaller will be the pieces you can remove and the more strength will be needed in your hands. A plus side is that the harder woods will generally give you a much better quality of finish and detail. This may be a more important issue when you get more experienced and have developed increased hand strength.
The woods that I have found the best to start with are jelutong, which is actually the wood from which rubber is obtained; lime or basswood, which are both varieties of tilia but come from different continents. Some carvers have used tulipwood and obeche with success, but I don’t feel that these are as good. If you intend to paint the finished product, then jelutong is your best bet as it is generally softer but with a very close grain with no real pattern to it. This means that it doesn’t really look that great when polished. Lime, on the other hand, although a bit harder, takes good detail and has some lovely grain patterns if left natural – many consider it sacrilege to paint.
If you are an experienced carver with hands of iron, there is nothing better to carve than boxwood, lemonwood or the various fruitwoods. The finish and detail possible are amazing. Just look at some of the wooden miniature carvings, especially netsuke.
I would definitely suggest that you avoid any old or dead wood as it will tend to be very hard and difficult to work, and, although sapele mahogany can be suitable to carve, many of the timbers used for windows and doors can be prettynasty. Test anything that you find before you carve it, and discard anything that is difficult to cut cleanly. Always use the best wood you can get hold of.
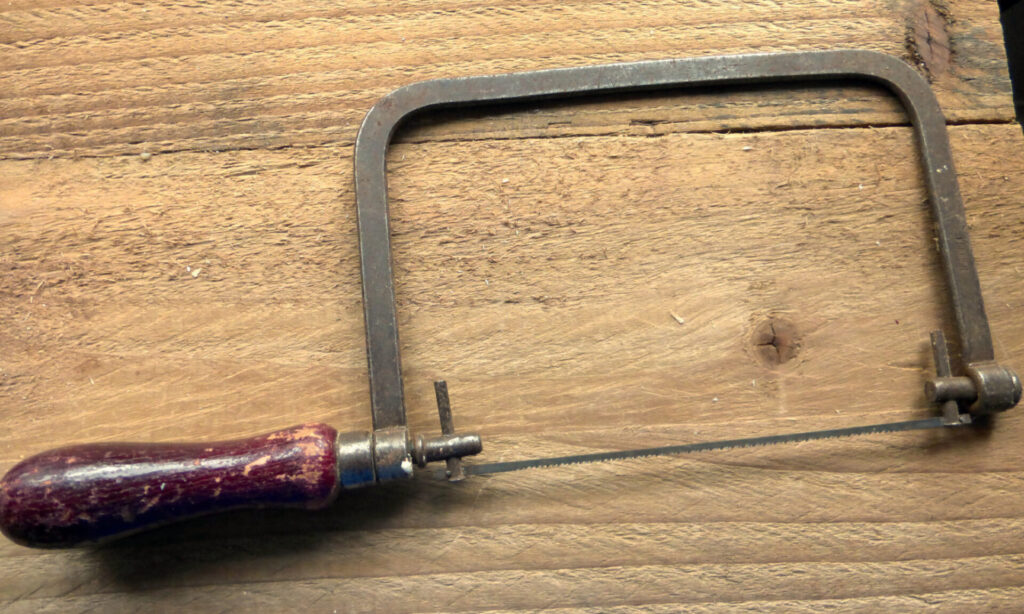
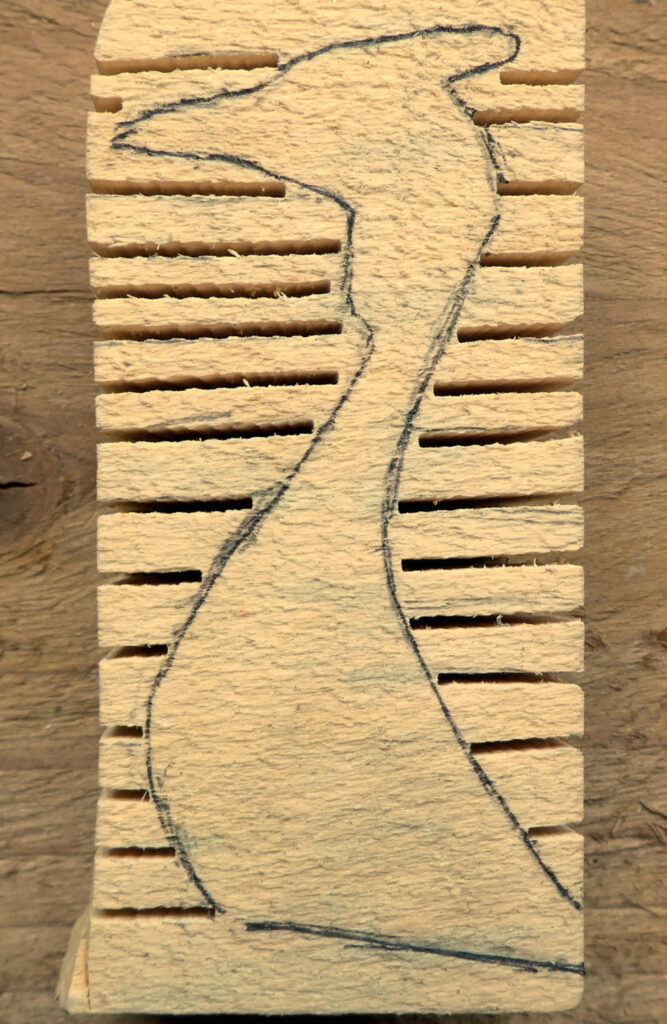
The only other thing that you need to consider before you actually put knife to wood is how best to remove the bulk of the waste wood. As you are doing the work with small tools and a knife, you won’t be able to do any roughing out easily. Ideally, a bandsaw gives the best result but, if you don’t have one, you can use a coping saw to cut out any outlines or even use a normal saw as shown in the picture.
Knife use
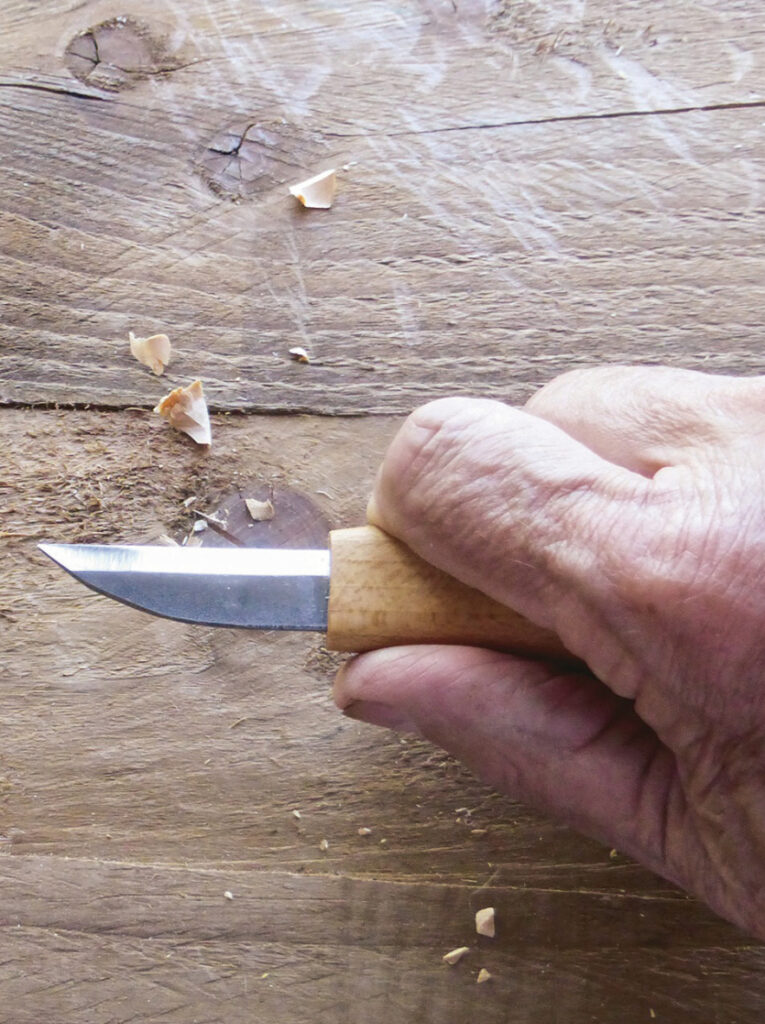
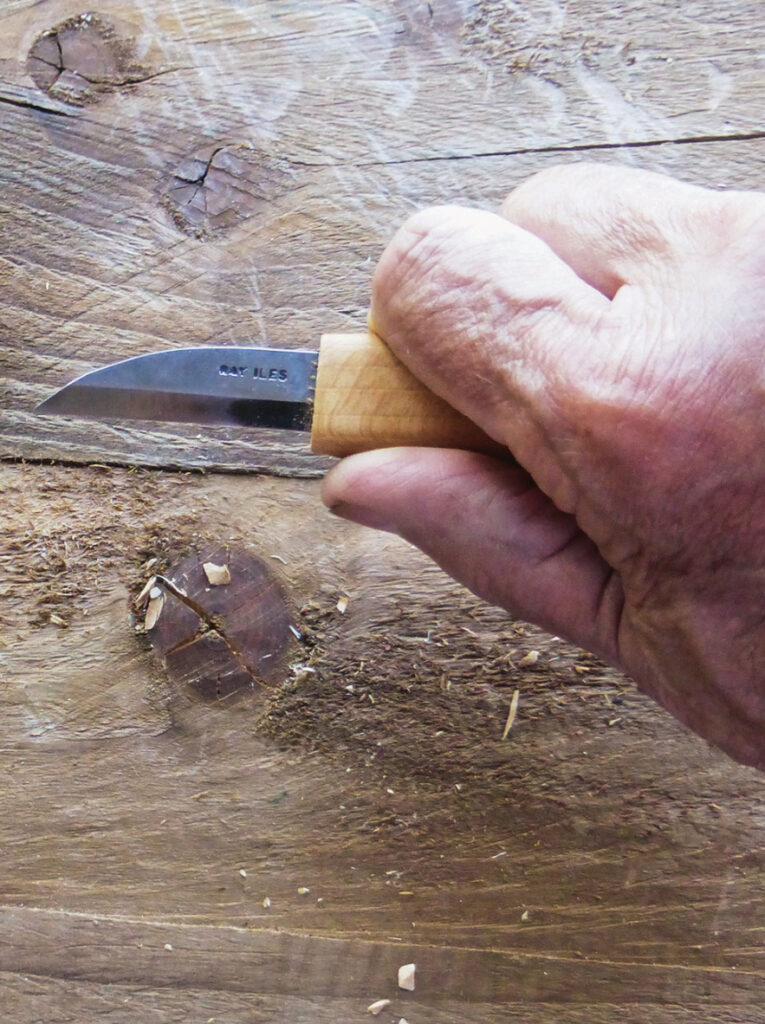
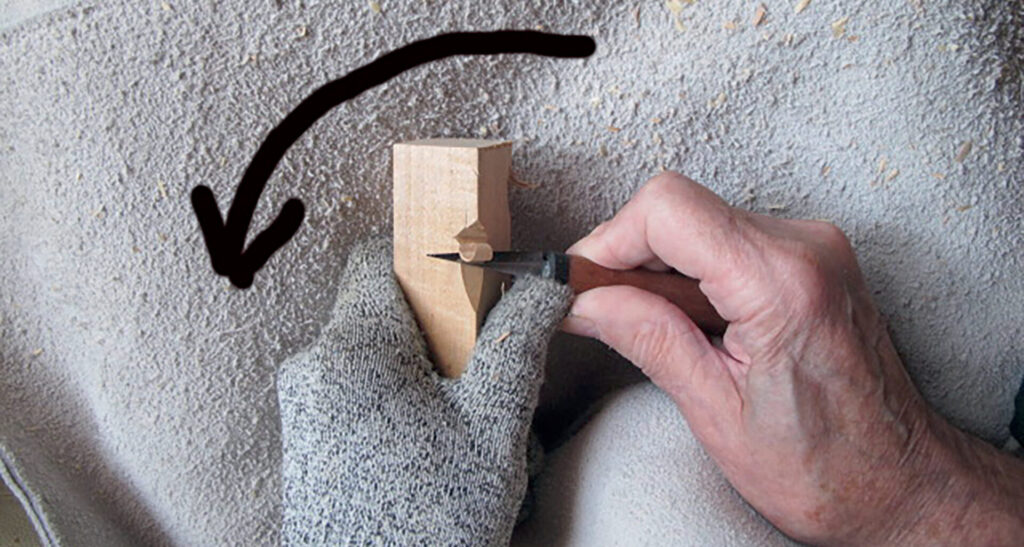
Right, you have the roughout in your hand (wearing a safety glove, of course) – what do you do now? How you actually cut away the wood is very much up to you as long as it is safe but, if you are new to knife carving, you might find the following helpful. Please note that I have described the various actions as for a right-handed person for simplicity. I apologise to all the left handers.
- Keep your arms as still as you can, limiting the movement to your hands only. This will make it almost impossible to cut yourself. Rest your arms on the bench or table, if you have one, or hold them firmly against your body. Before I learnt to do this I cut myself many times as a result of the knife ‘going wild’.
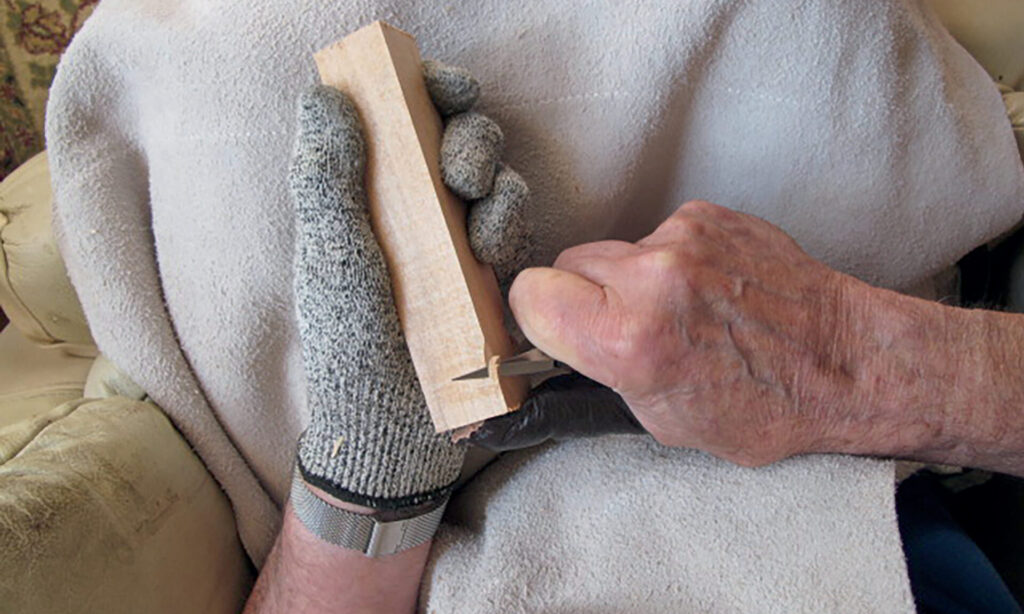
- I have found that a good tip is to keep your thumbs in contact with each other for as long as you can, holding the wood in the fingers of your left hand with the thumb placed on the back of the blade or handle of the knife.
- This will allow you to make the cuts by either pulling back with your right hand, meaning that the blade pivots on the thumb and thus slices forward through the wood, or pulling backwards with the wood giving the same result.
- As a general rule I would suggest that the cuts should be made away from the body for safety, although you may find that there are times when cutting towards you with a squeezing motion is preferable. If this is the case, you might like to wear the second glove or wear a thumb guard on the right hand.
- If you think about cutting bread or carving the Sunday joint, you will understand that slicing cuts are much more effective than straight push cuts. Therefore, try to slice through the wood rather than trying to force the blade through. You will find the whole process much more relaxing and will avoid the ‘white- knuckle’ approach that is so often evident and extremely tiring. Not only this but it can be very prone to accident.
- One thought that comes to mind here is that you can always practise the various cuts on a carrot or potato until you are comfortable with them. Don’t wait until you are working on your masterpiece to feel you have got it right.
- There are a few more important safety points that I would like to add here for your attention:
a. Don’t carve when you are tired
b. When you need to talk or pay attention to something else, put your knife down

c. If your knife (or any tool) drops off the bench or table, don’t try to catch it, let it fall
d. Don’t try to scratch your nose or touch your face with the knife in your hand – it does happen and can be very nasty
e. Keep your knife sharp, you are much more likely to cut yourself with a blunt tool
f. As a general rule, I find that by honing your knife around every half an hour of use, you will keep it in the best condition for carving and will avoid the necessity of any more drastic attention
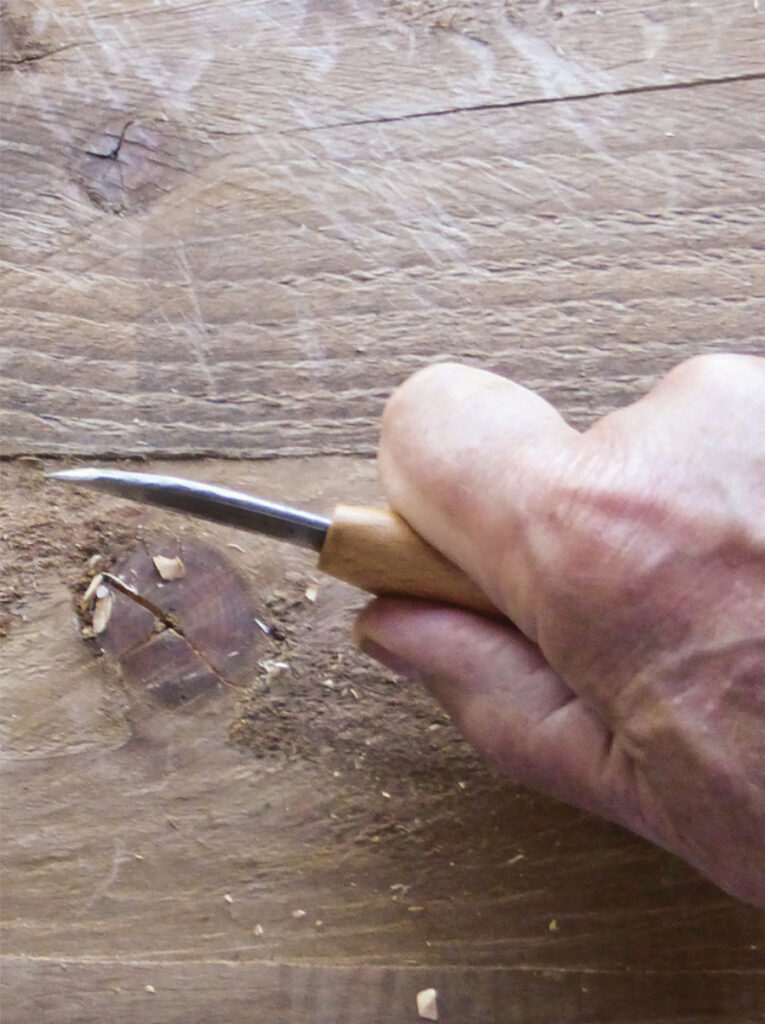
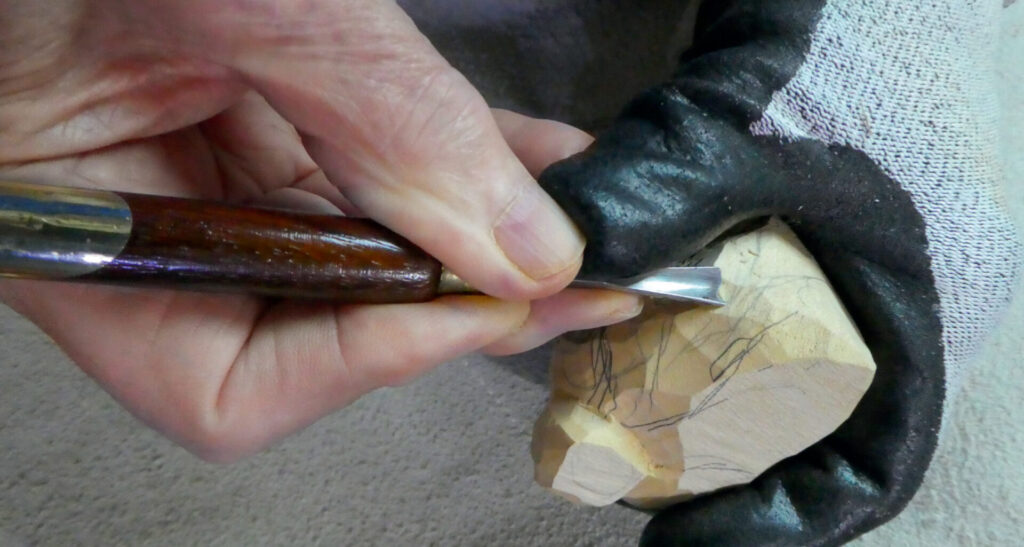
g. If using small gouges, choose palm gouges or blockcutters, as they are much shorter and easier to handle. Alternatively, there is now a wide range of micro- gouges on the market that are generally used by holding like a pen or pencil. A tip here is to work with both thumbs in contact with each other, as with the knife. This makes it almost impossible to slip and cut your hand
h. In general, the less you move the knife the safer it will be. A knife free in the air is a dangerous one. As long as it is in contact with the wood there is little chance of it cutting the user
In the next article we will look at designing, roughing out and adding the details to your carving. This doesn’t have to be difficult, you just need to have the confidence to carve pieces that you have designed yourself. Too many aspiring carvers only copy the work of others or try to carve from pictures they have seen that, generally, are not good enough to be able to make a half-decent carving. To produce something that you have created from your own ideas is really special and can make you feel a joy that is impossible when copying. Believe me, the joy you feel is nothing to do with the quality of your work, it is all about your achievement, and this grows as your ability grows and the quality increases.
PHOTOGRAPHY BY PETER BENSON