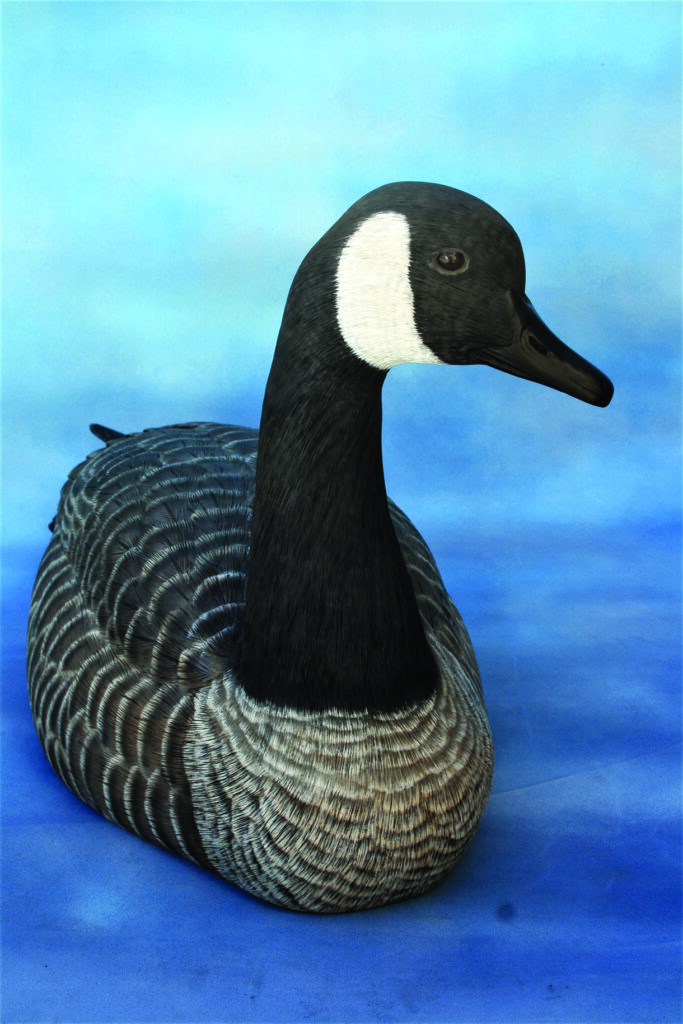
Mike Wood provides a step-by-step guide to carving this distinctive large bird
Introduced into the UK from North America, the Canada goose (Branta canadensis) is widespread across the country, with some 62,000 breeding pairs and around 190,00 UK wintering birds. With its distinctive black an white head and black, brown, cream, grey and white feather colours this large bird is easily identifiable and well-known for the V-formation in which flocks fly. They are thought to be able to travel more than 1000 miles per day during migration, usually at an altitude of around 3000 feet. Because of its ubiquity it is considered a nuisance in some areas where it gathers in large numbers. It is often seen in parks and around lakes and gravel pits all year round. The birds mostly eat a diet of aquatic plants, plant material, berries, seeds, and worms.
Canada geese – in common with many pother bird species – mate for life, beginning their search for a partner at the age of two or three. When the nesting season arrives they see an ideal spot for a nest on slightly elevated ground near water from where they can easily spot predators. The architect of the nest is the female, who gathers weeds, moss, grass and sticks and lines it with down feathers. The pairs produce one brood a year of anything from two to eight eggs. The young goslings can usually walk, swim, dive and feed after around 24 hours, although it takes twoto three months for them to learn how to fly. Like other geese, the Canada variety can be an extremely noisy bird, particularly if it feels threatened, when it extends its neck and honks loudly, possibly throwing in some hissing and spitting for good measure.
In other fun facts, Canada geese generally moult once a year, in warmer weather and around the time of breeding – which usually runs from March until May. Once this is done it won’t be able to fly again for another six weeks or so. Canada geese are thought to be caring birds, looking after their elderly and sick and raising their young communally, with both males and females playing their part.
Tools: • Personal and respiratory protective equipment (PPE & PRE) • Bandsaw, coping saw or fretsaw • Carving knife • Rotary power carving unit • Rotary carving discs or hand chisels • Coarse taper burr • Medium flame or taper burr • Bull-nose stone burr • Round-nose burr • Fine ruby taper burr • Drill and drill bit of for the feet • Sanding drum • Pyrography unit with scalpel-edge nib
Materials: • Lime (Tilia x Europea) or Jelutong (Dyera costulata) of a size to suit your project • Body: L530 x W230 x H200mm • Neck: H150mm – W80mm • Head: L130mm – W77mm • 3mm ply • Eyes & feet • PVA adhesive • Eyes or material for the eyes • Plastic Wood • Paint brushes/airbrush • Abrasives 120 – 240 grit • Acrylic colours as per the palette
Drawing
Rough-shaping the body and head
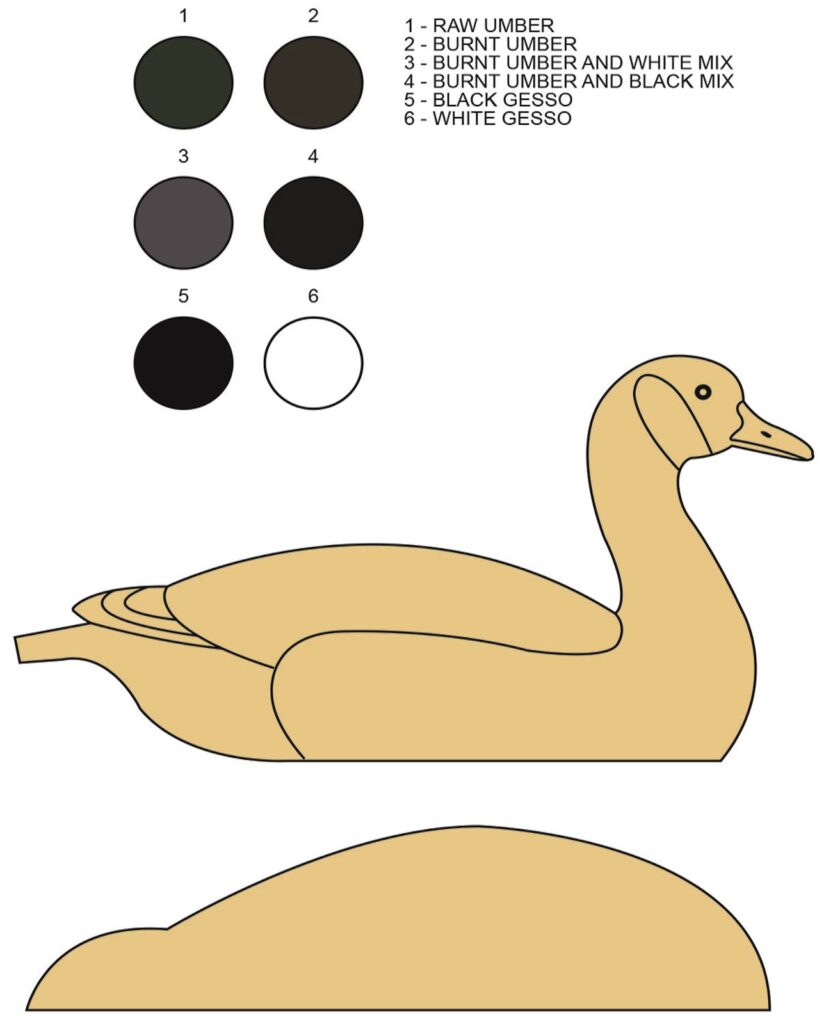
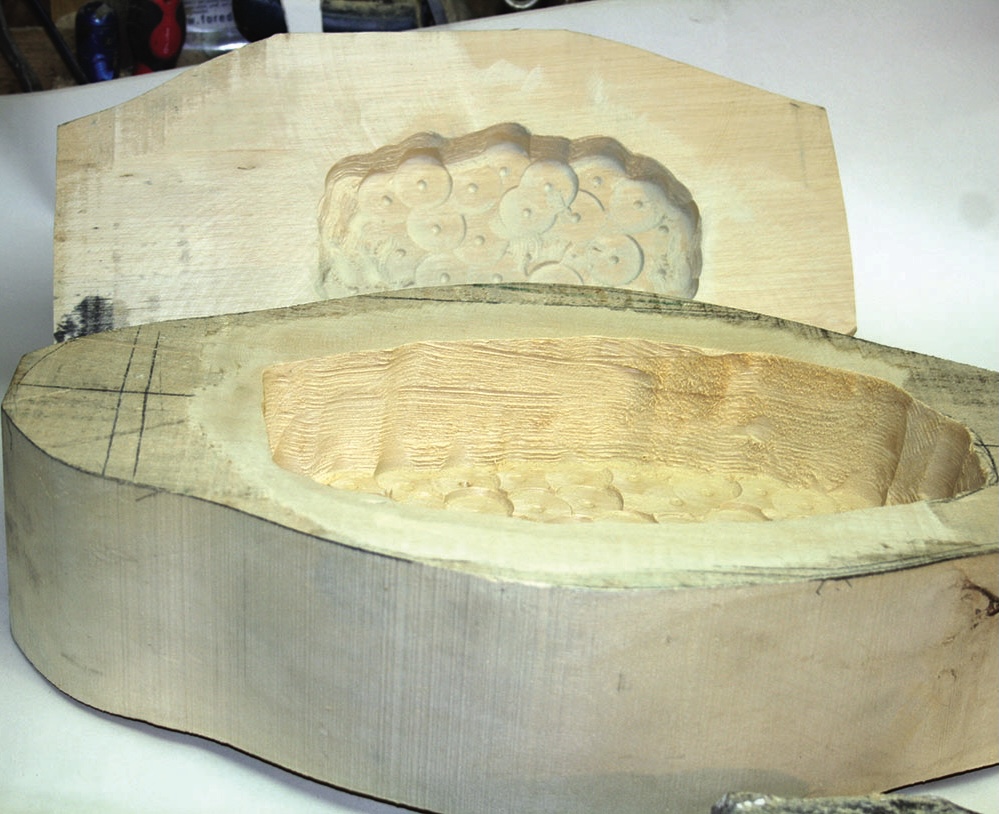
1. The Canada goose is a large bird and you will have to decide how big you are going to make it. Given that the goose can reach 1.5m or so in length this can be a large project. So, like I did, you might consider making a scaled-down version rather than a full-sized one. Photocopy and scale up the drawings provided as you please. Even at the sizes I used, there was still a lot of wood required so, to save cost and because it was a necessity regarding timber sizes available commercially, I needed to laminate two pieces together for the main body. I cut two sections of wood and rough-shaped them on a saw to reduce weight, I hollowed out the inside using a drill and 25mm drill bit to remove some waste and then used a rotary carving disc and sander to refine the internal form
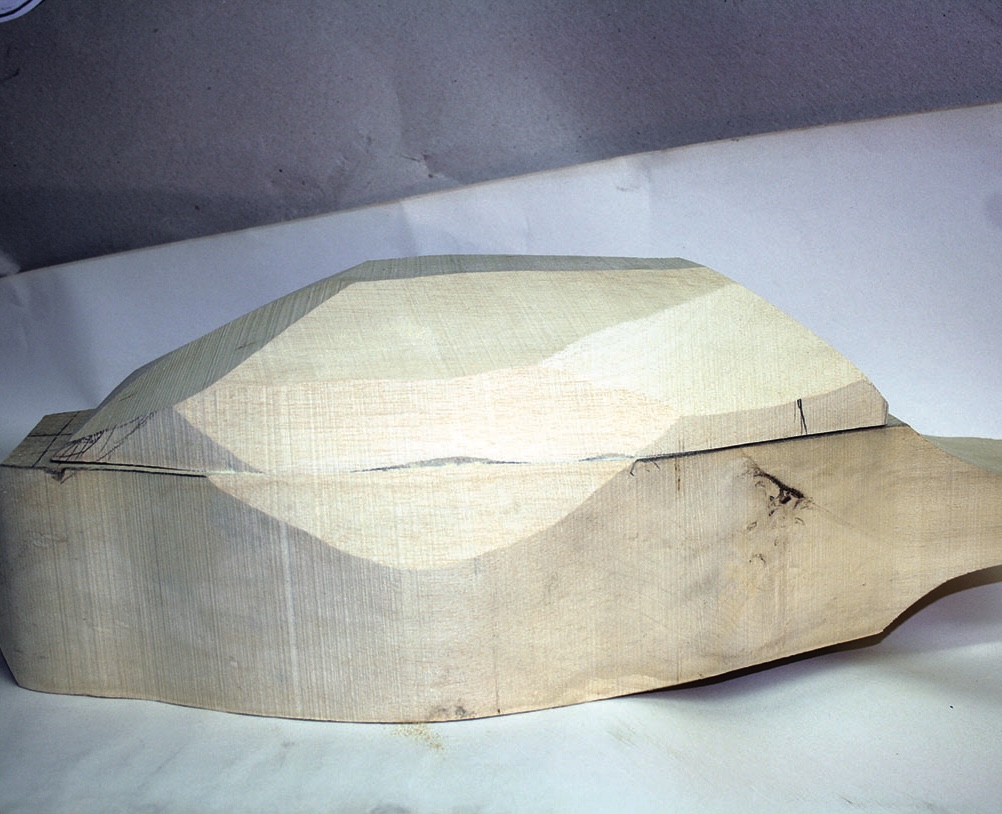
2. Since I laminated the timber I needed to glue it together. Whether you’re working with a solid piece or laminated body section, you need to have a rough-shaped body section ready to move on to working on the head and neck section
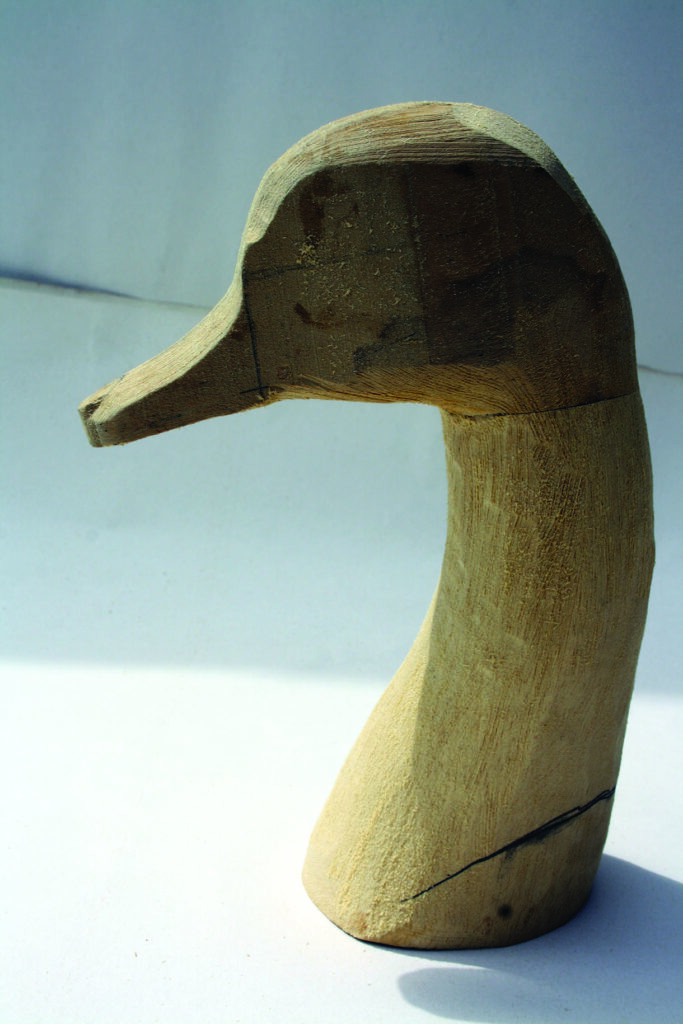
3. For strength, the head is created from two sections of wood. These are shown clearly in the picture. Once the wood sections are glued together, use power or hand carving to roughly shape the relevant main shapes. I typically use power-carving techniques on my work, which entail a combination of rotary burrs and sanding bobbins. But of course, you can hand carve it too – it just takes a little longer, but you don’t have to deal appropriately with dust, noise and the like from power carving
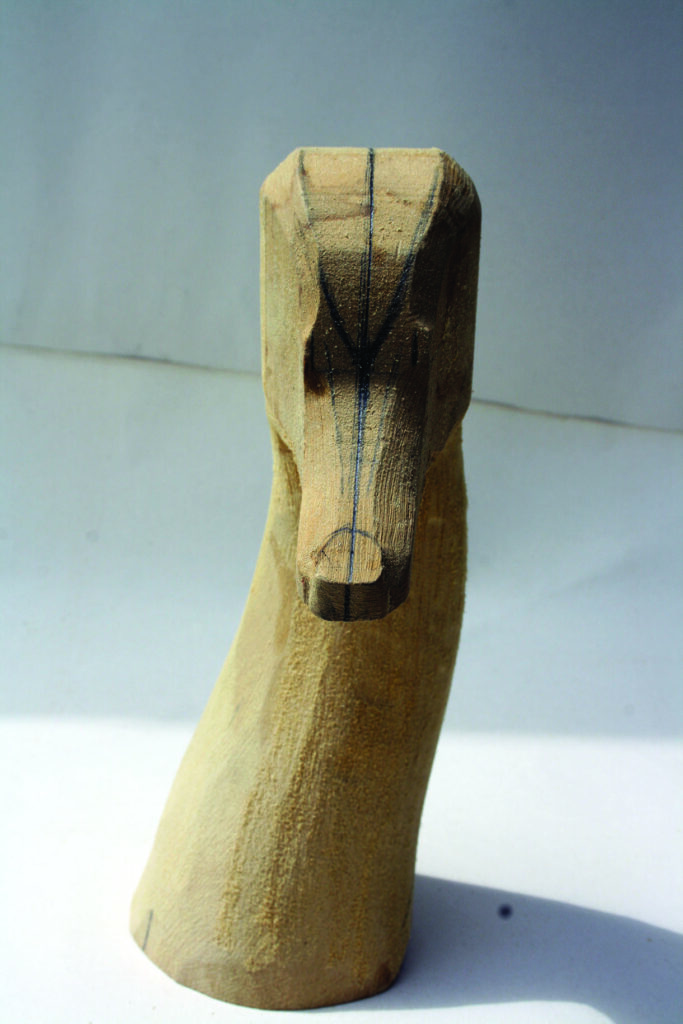
4. Here is a view of the head and neck from the front
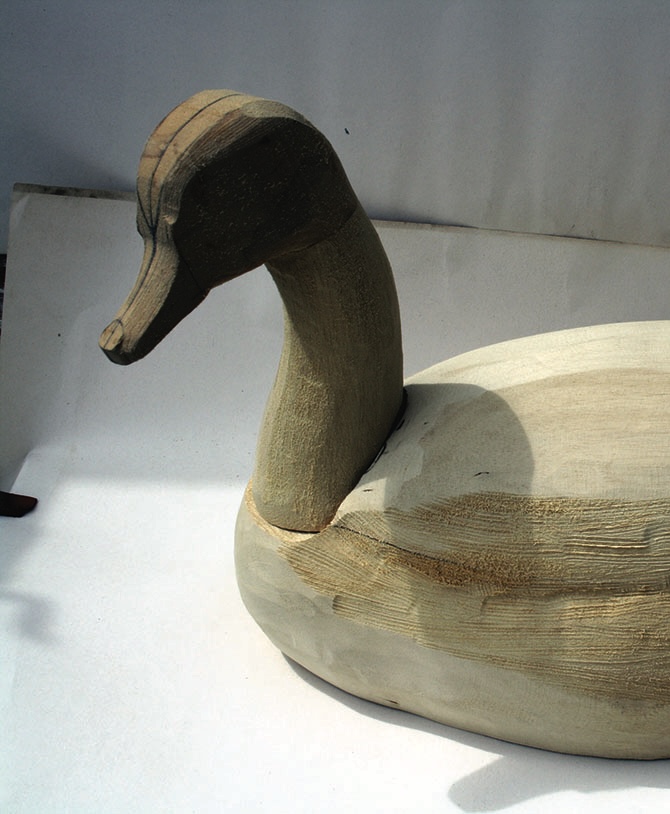
5. When ready, adjust the body to allow you to temporarily fit the head and neck to the main body. Adjust as needed to get the position you require
Feathers
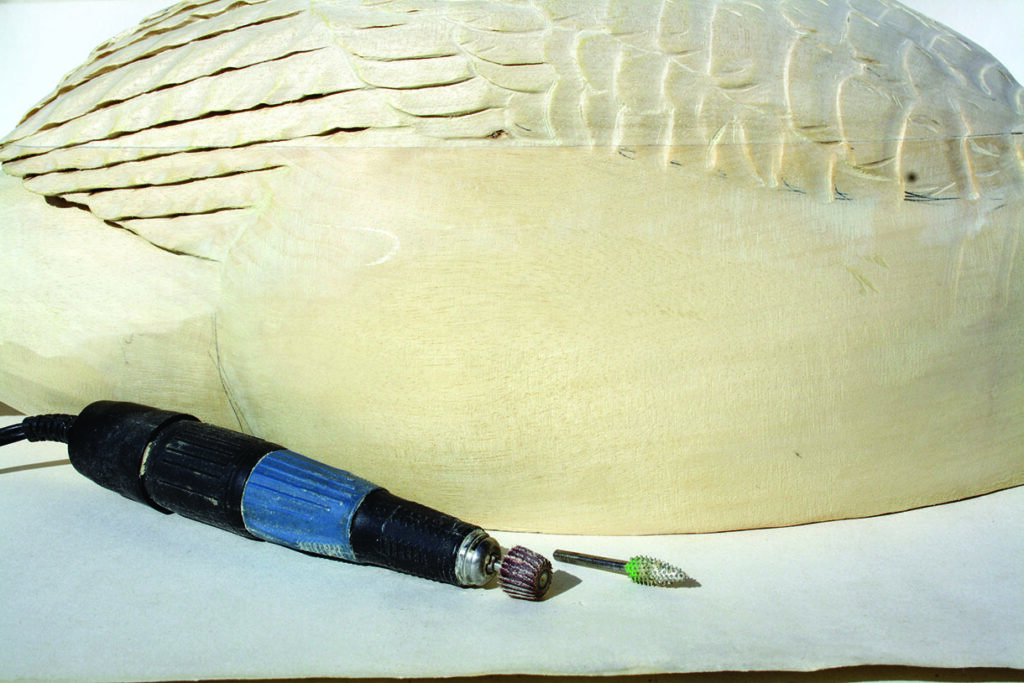
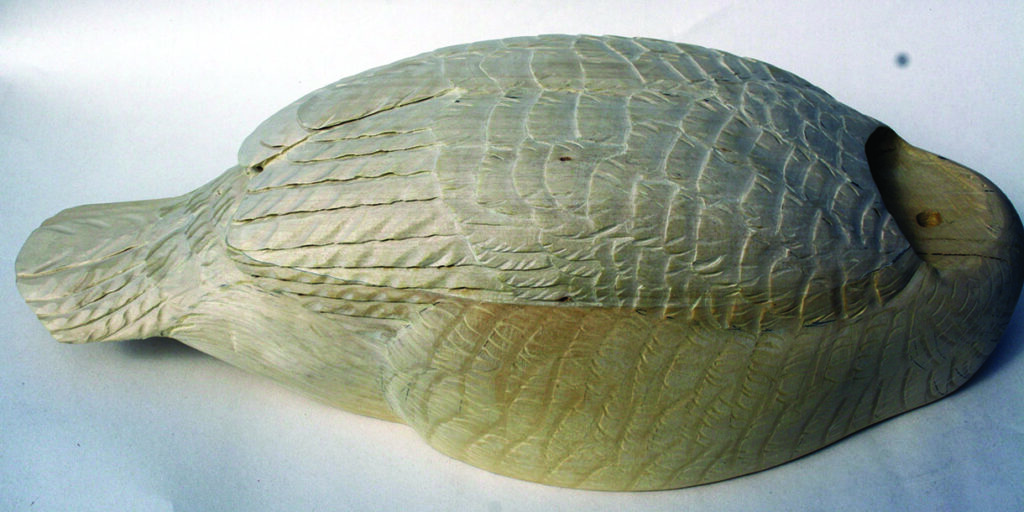
6. Draw in all the feather details on the back then carve them in place. I use a detail burr and a sanding drum/flap to shape the feathers7. Now draw in the side feathers and carve those in place. Note also that above the tail at the end of the wing feathers there are two slots cut into the timber. These are to accept the primaries later on. It saves time and timber to have these as separate pieces
Detail
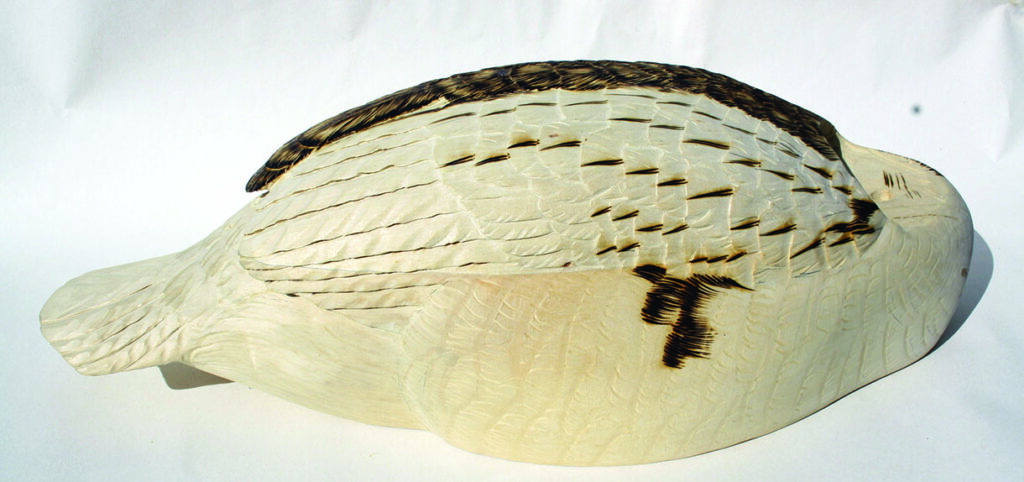
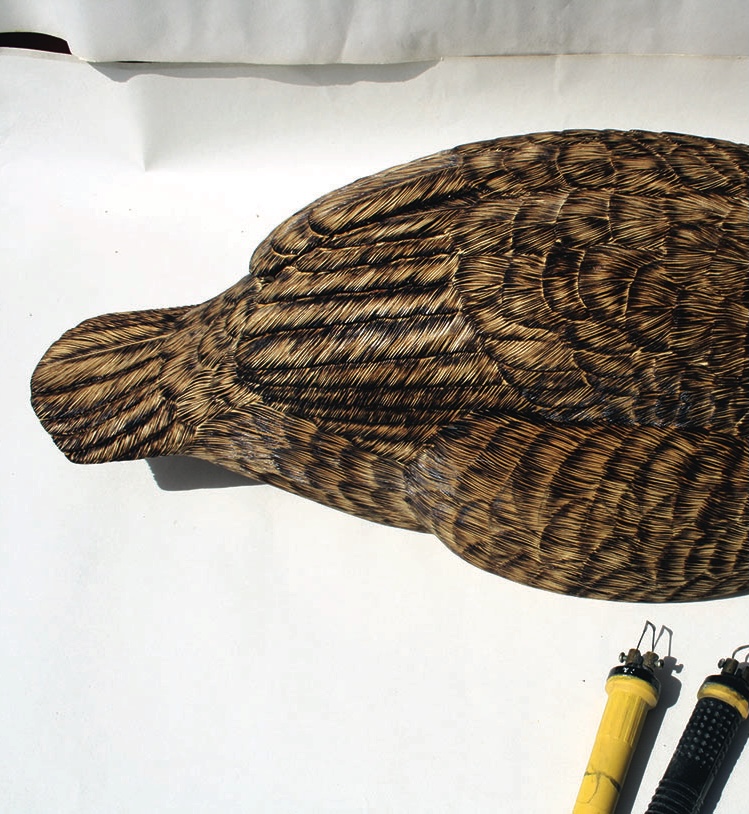
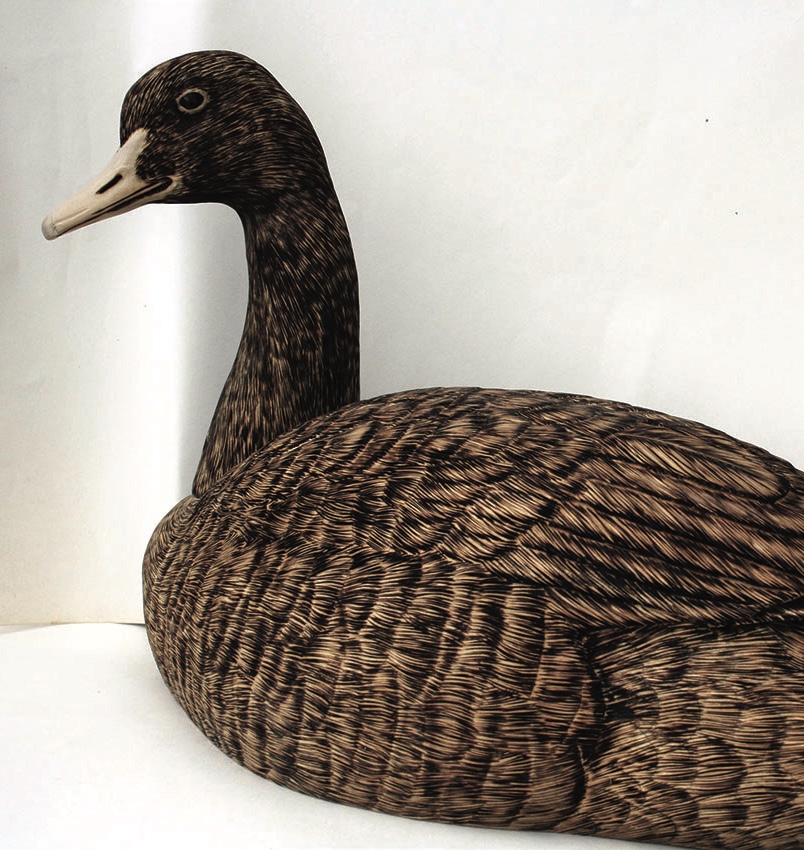
8. Once the feather positions are carved fully create the detail using a scalpel-edged pyrography nib
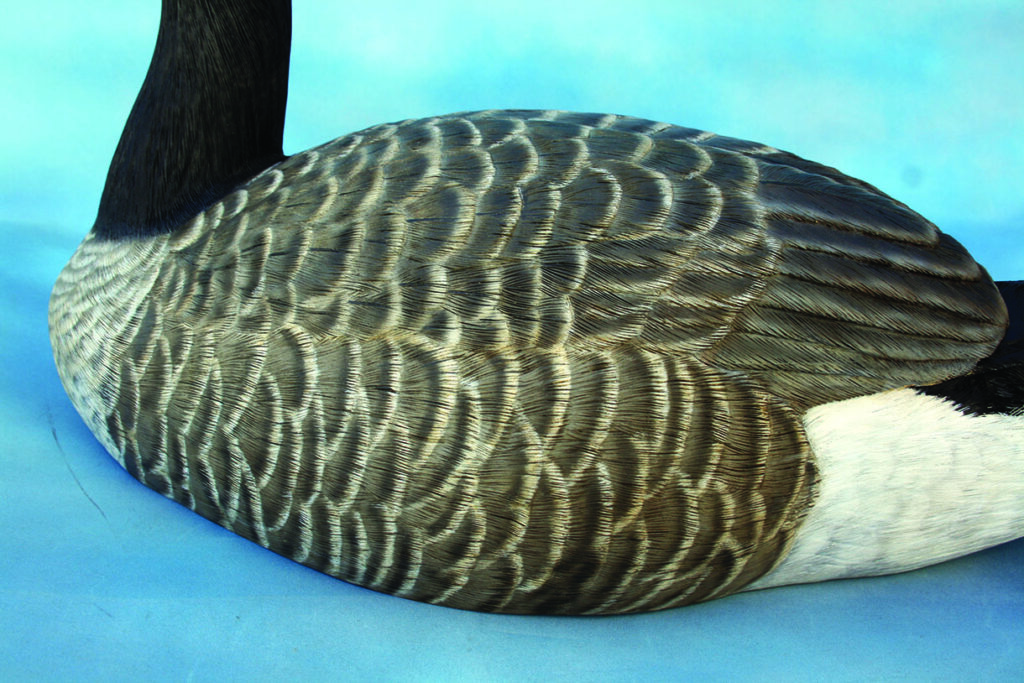
9. Continue this process over the whole body, keeping a close eye on the positions and detail required. Check your reference material closely to make sure you are getting it right
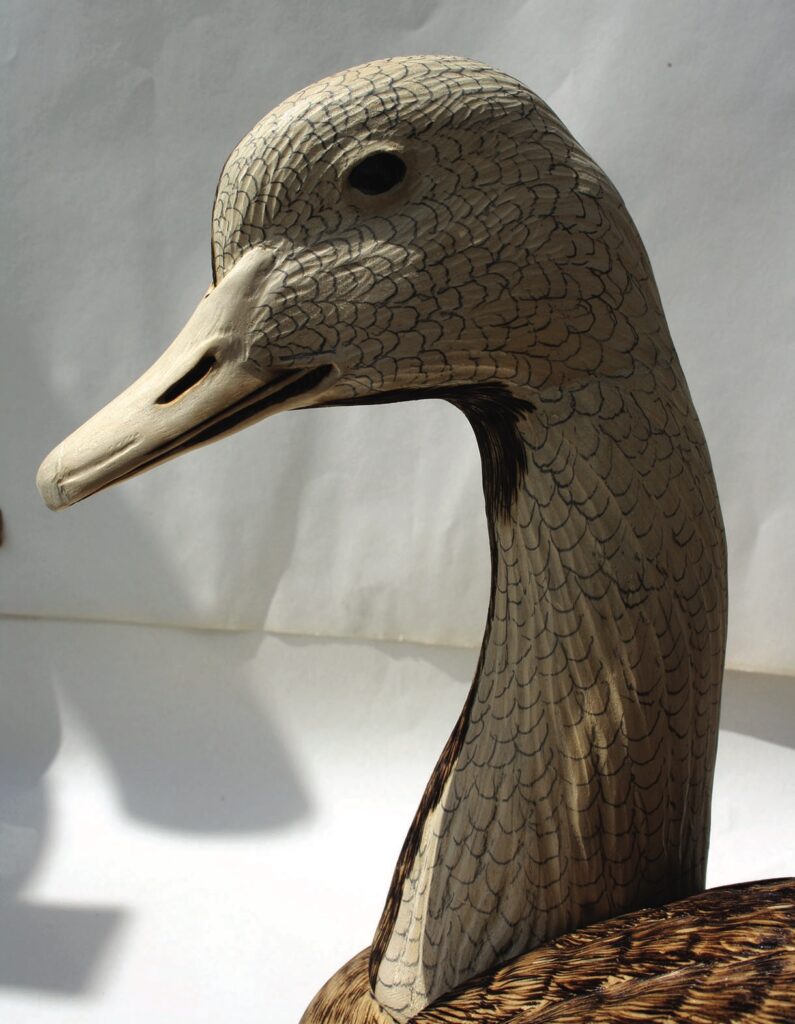
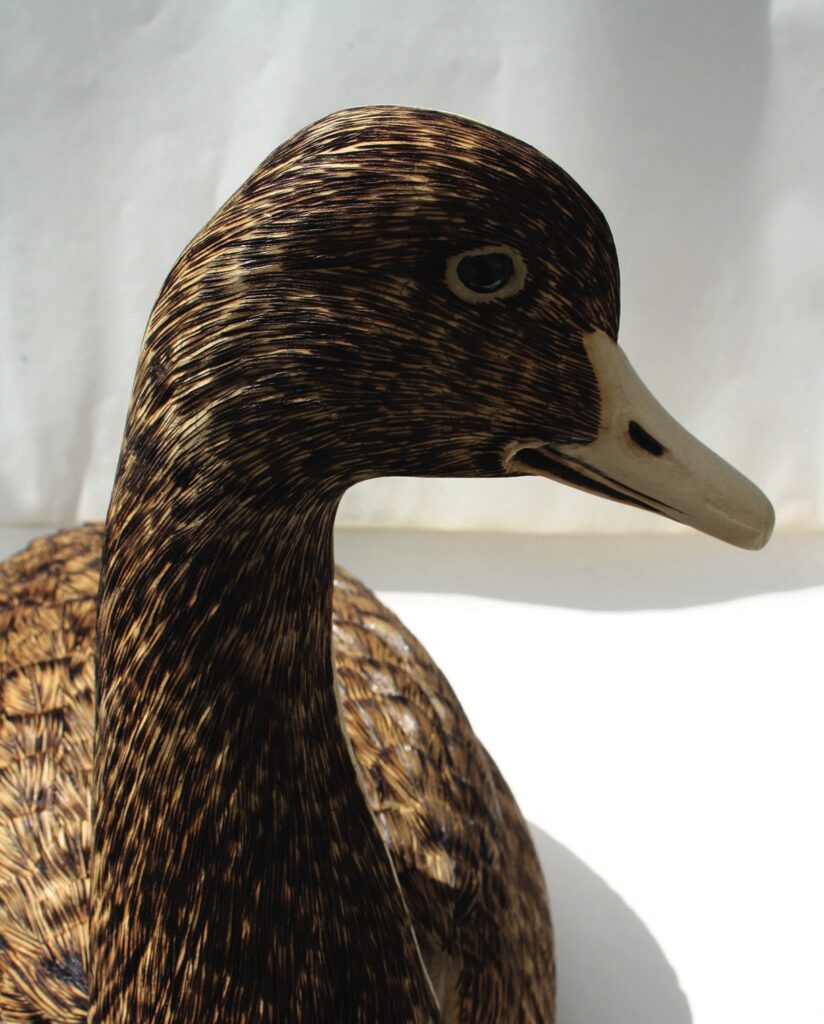
10. Once the body is done, move on to the neck and head. Cut two eye socket holes in the right positions and then insert either bought or made eyes into the socket, bedding them into plastic wood. Once pressed in place, shape the squeeze out then mark the feather positions and use a pyrography unit to create the detail
11. Here is the neck and head temporarily fixed to the body with the pyrography detail all in place
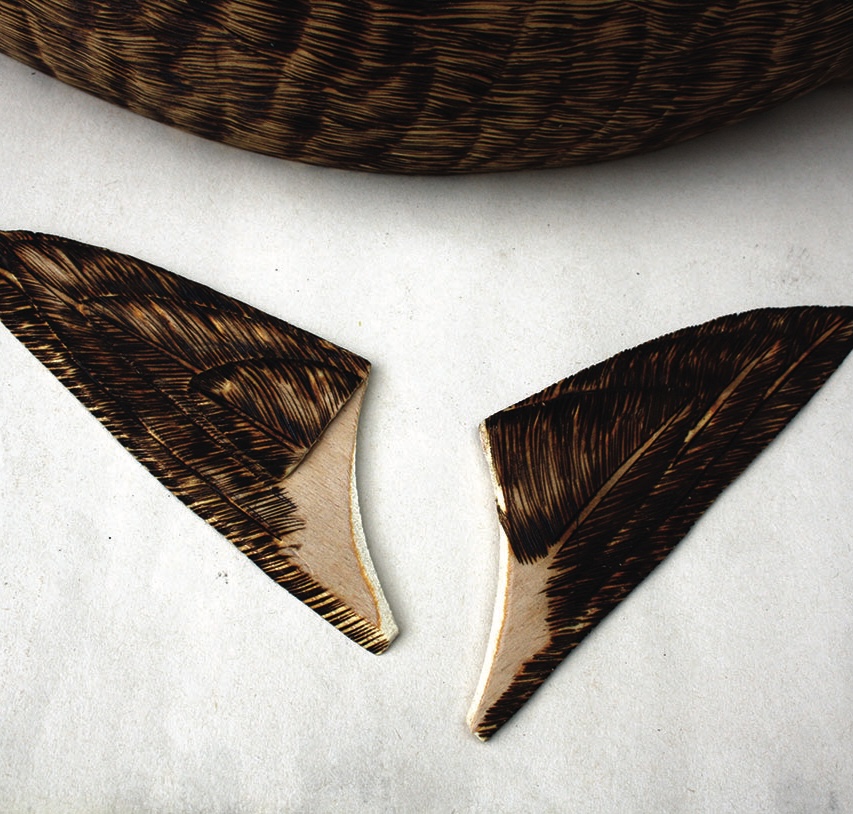
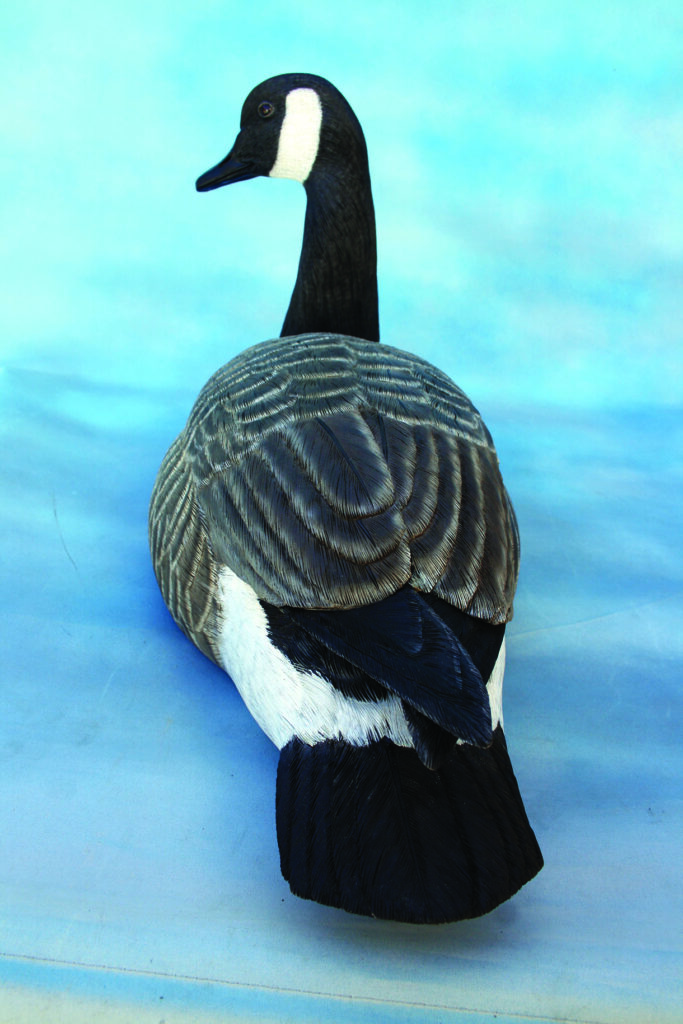
12. It is now necessary to create the primaries. Two pieces of wood are required for this. Due to these being delicate if made from lime or jelutong, I use 3mm ply. It is cheap and can be easily shaped and detailed. Once finished, fix them in place
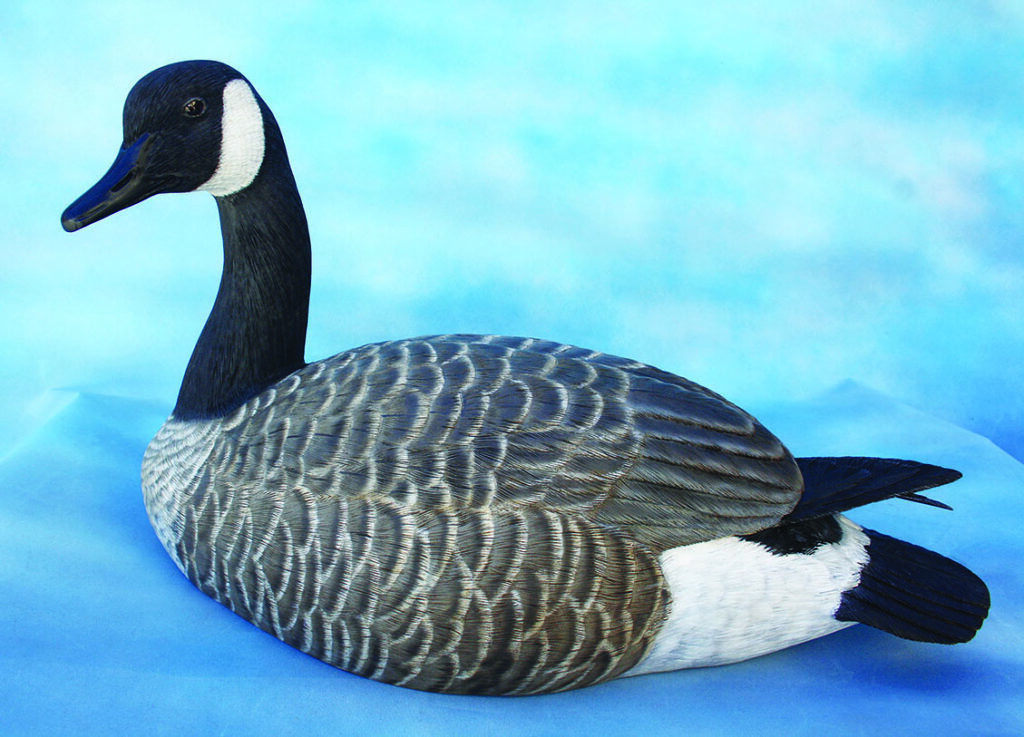
13. Here is the bird ready for colouring
14. Undercoat the bird using black gesso and white gesso
Colouring
15. Use a mixture of burnt umber and raw umber to create a thin wash. Once done and dry, add some white gesso to the mix and paint the sides
16. Now, using an airbrush or paintbrush – I am using an airbrush – edge all of the wing and side feathers with white. You can now see how the look is developing nicely
Top Tip
The carving, pyrography and colouring of the feathers is a necessary process for creating realistic birds. Practice these techniques on waste timber before committing to using them on your final bird. None of the processes are tricky, it just takes a little time to learn how to bring everything together well.
17. Once done, dry brush the edges of the feathers with white
18. Now, using a mixture of black and burnt umber, airbrush the dark markings. This can be done with a brush if needed
19. Coat the body with very thin washes of burnt umber
20. It is now time to paint the head and neck with white and black gesso as required
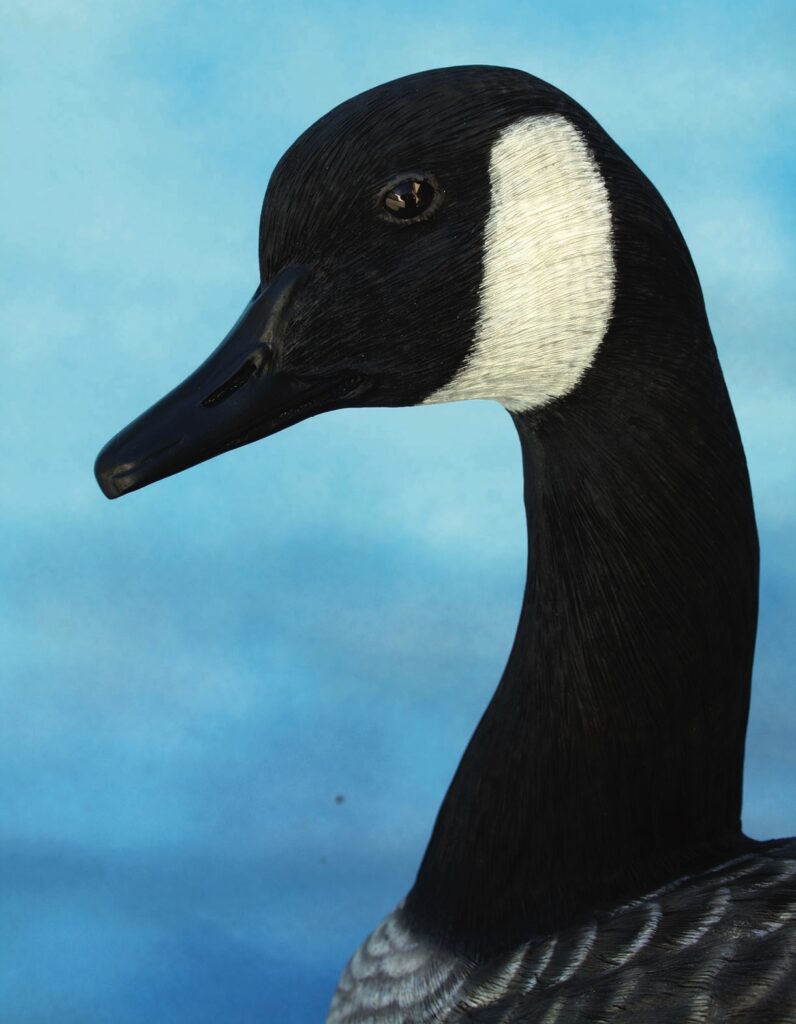
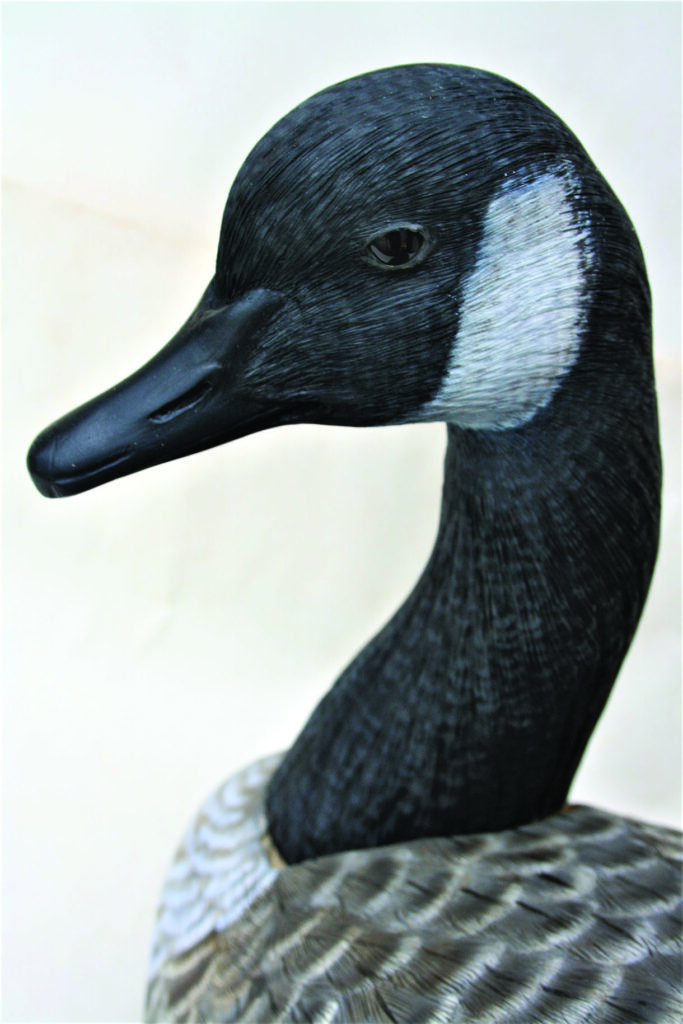
21. Edge the head and neck feathers with a mixture of light grey
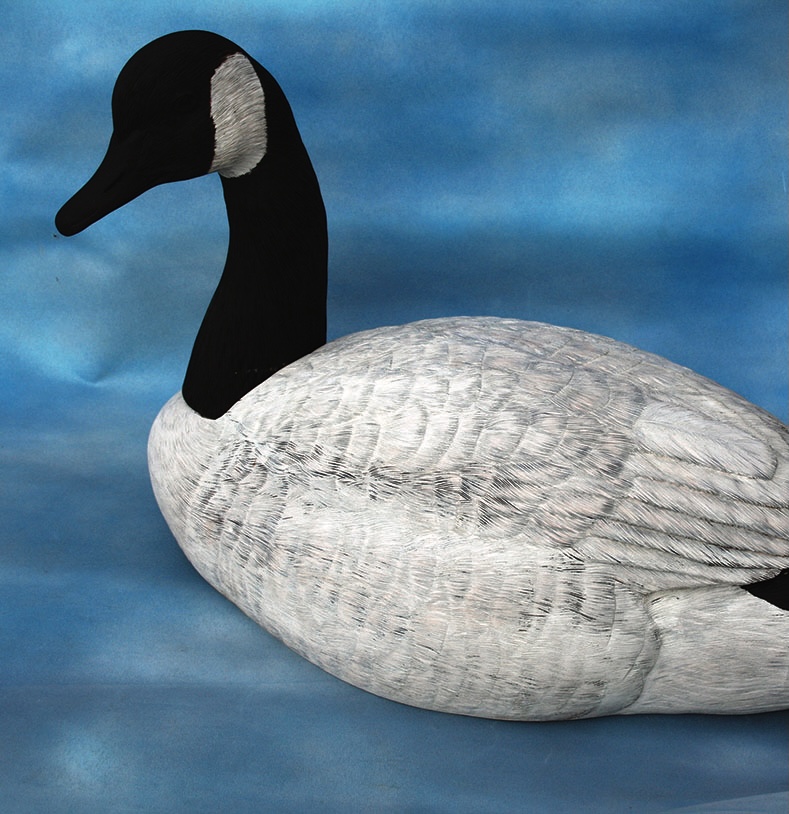
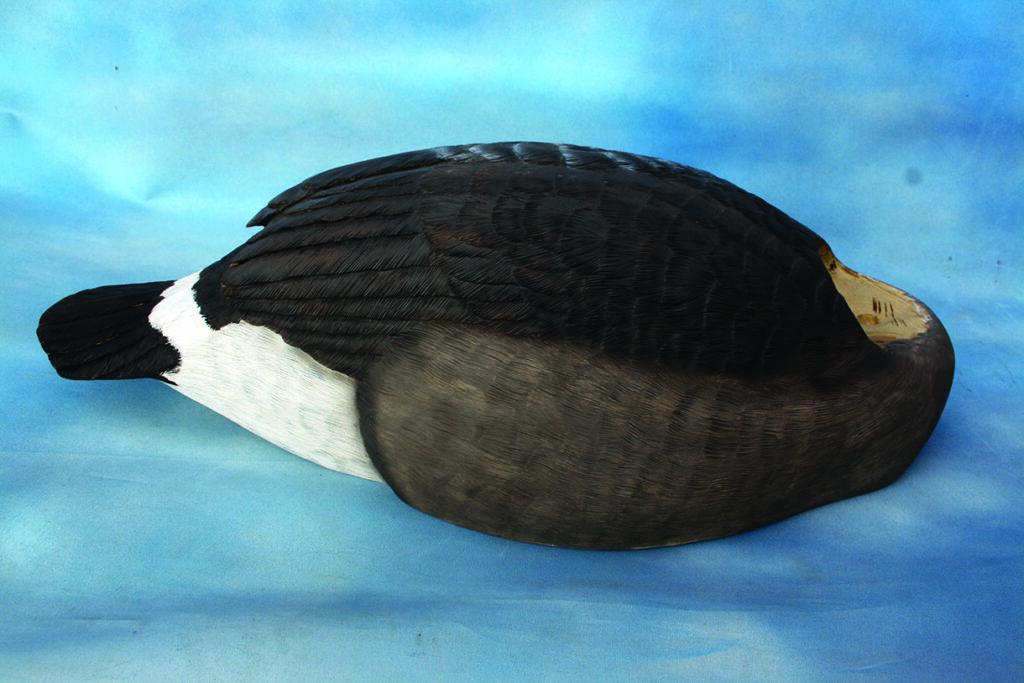
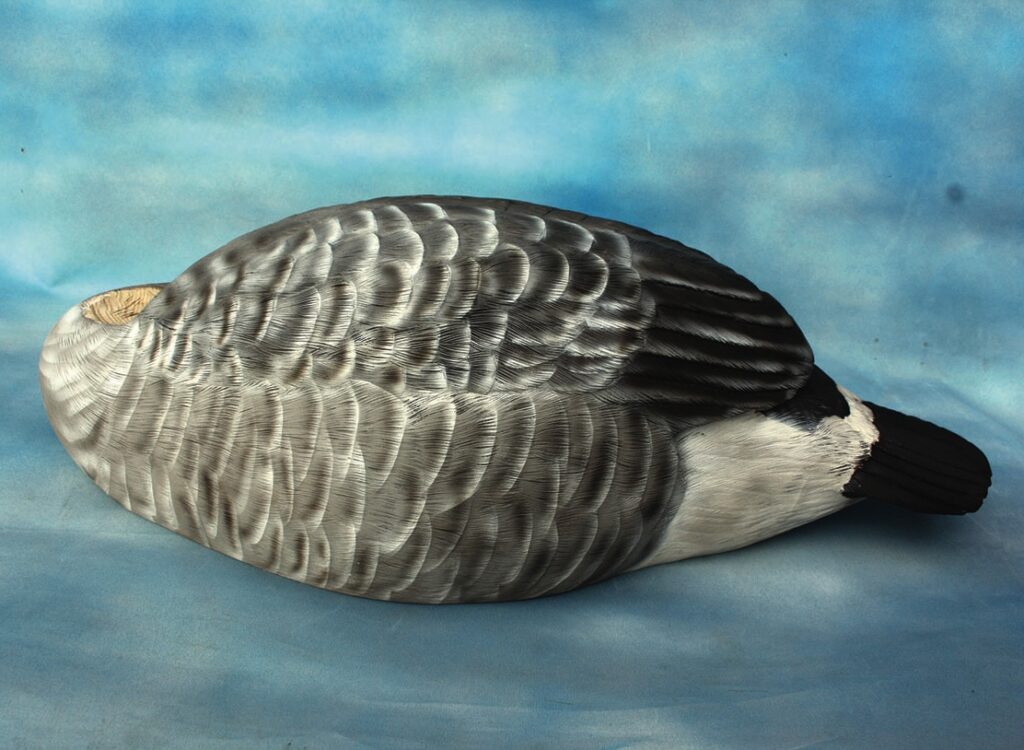
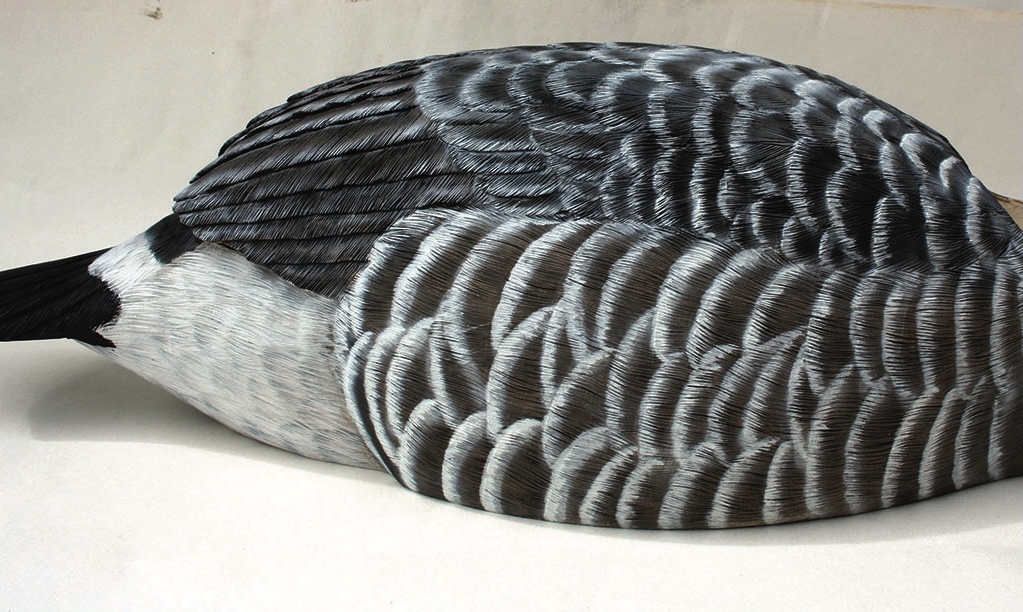
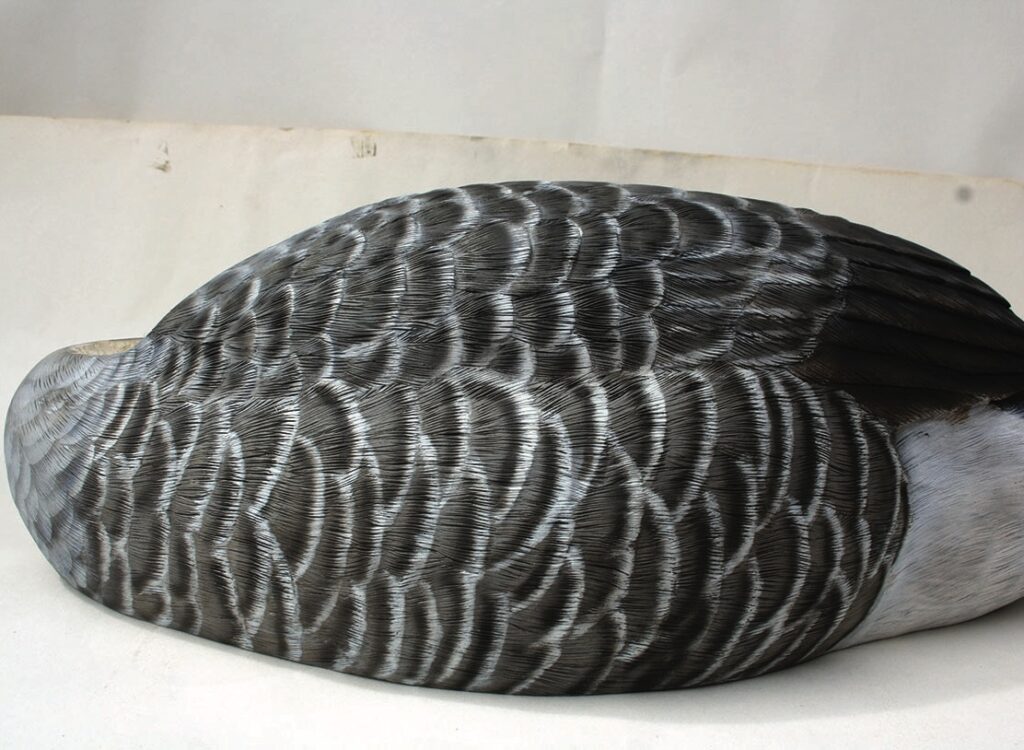
22 &… Here are a few other views of the finished bird
To provide the best experiences, we use technologies like cookies to store and/or access device information. Consenting to these technologies will allow us to process data such as browsing behaviour or unique IDs on this site. Not consenting or withdrawing consent, may adversely affect certain features and functions.
Functional
Always active
The technical storage or access is strictly necessary for the legitimate purpose of enabling the use of a specific service explicitly requested by the subscriber or user, or for the sole purpose of carrying out the transmission of a communication over an electronic communications network.
Preferences
The technical storage or access is necessary for the legitimate purpose of storing preferences that are not requested by the subscriber or user.
Statistics
The technical storage or access that is used exclusively for statistical purposes.The technical storage or access that is used exclusively for anonymous statistical purposes. Without a subpoena, voluntary compliance on the part of your Internet Service Provider, or additional records from a third party, information stored or retrieved for this purpose alone cannot usually be used to identify you.
Marketing
The technical storage or access is required to create user profiles to send advertising, or to track the user on a website or across several websites for similar marketing purposes.