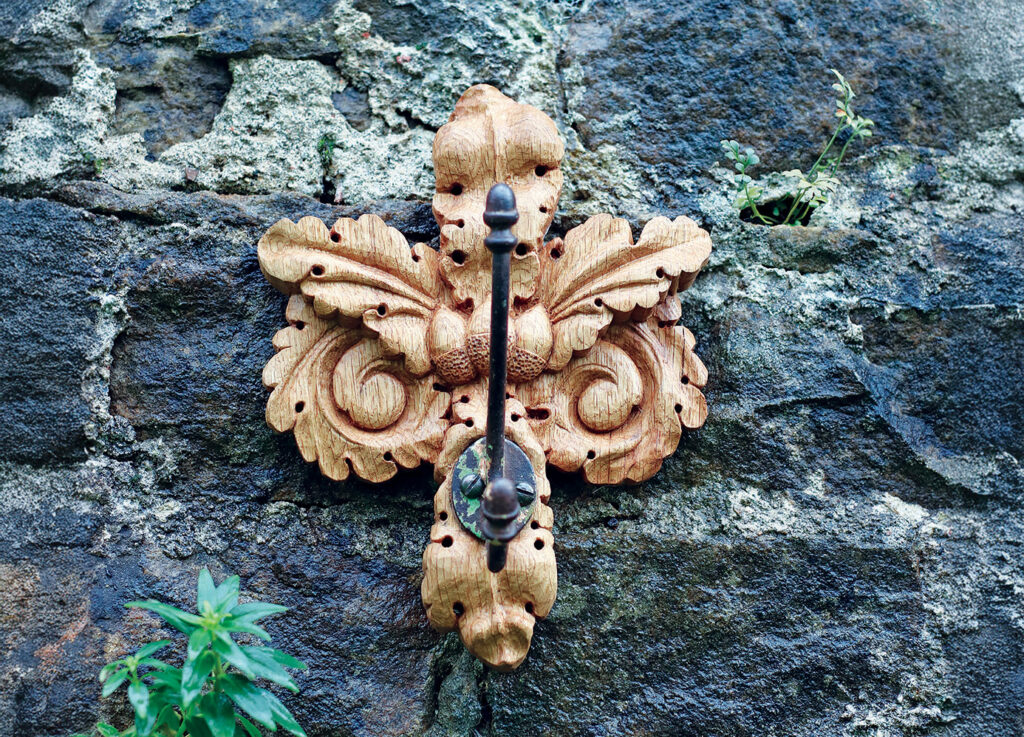
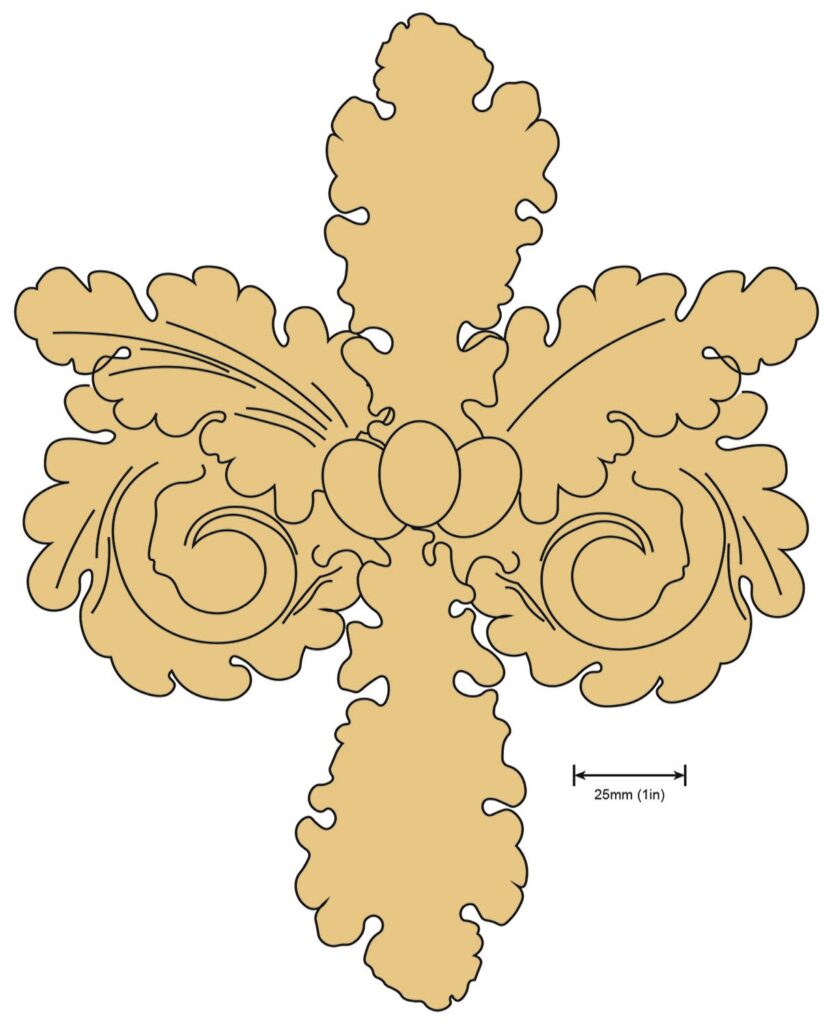
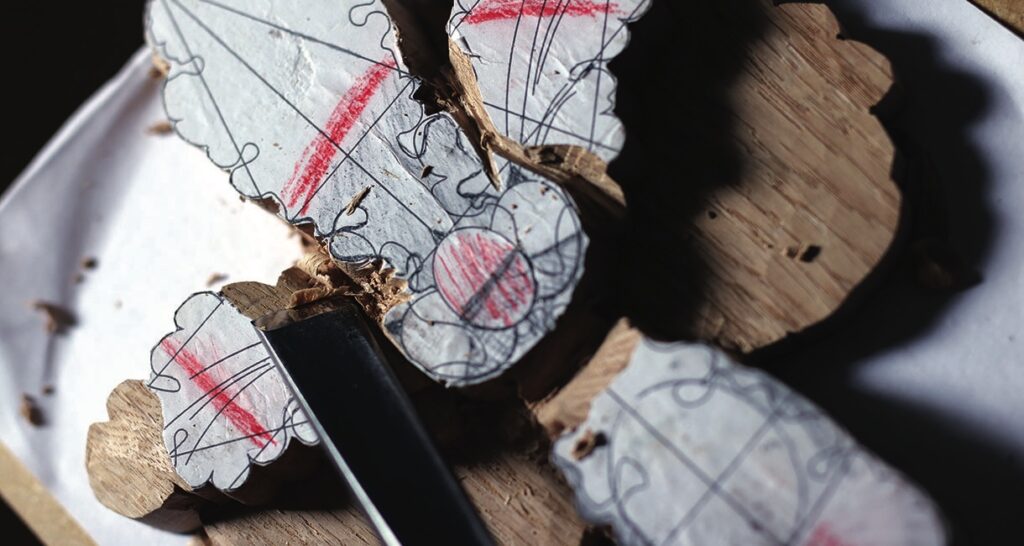
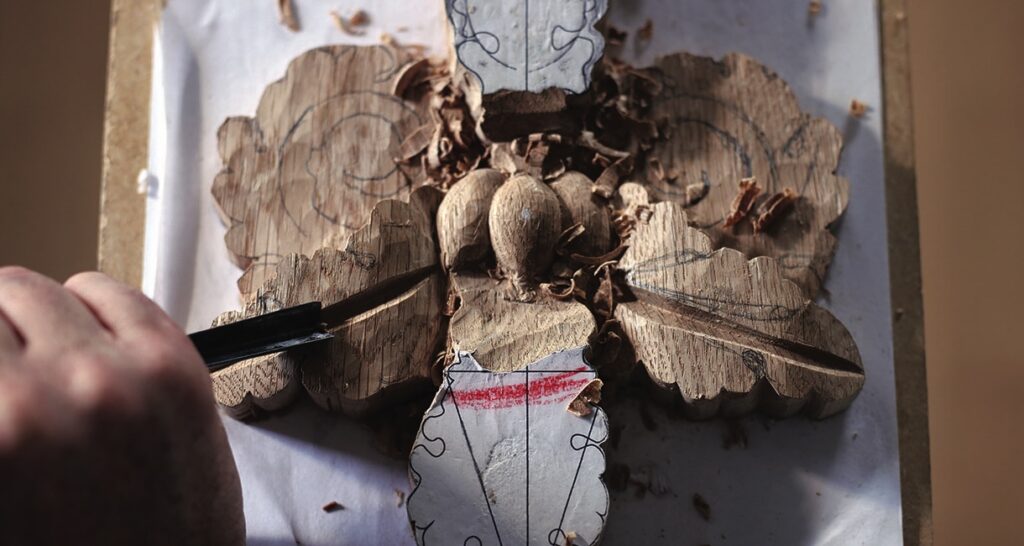
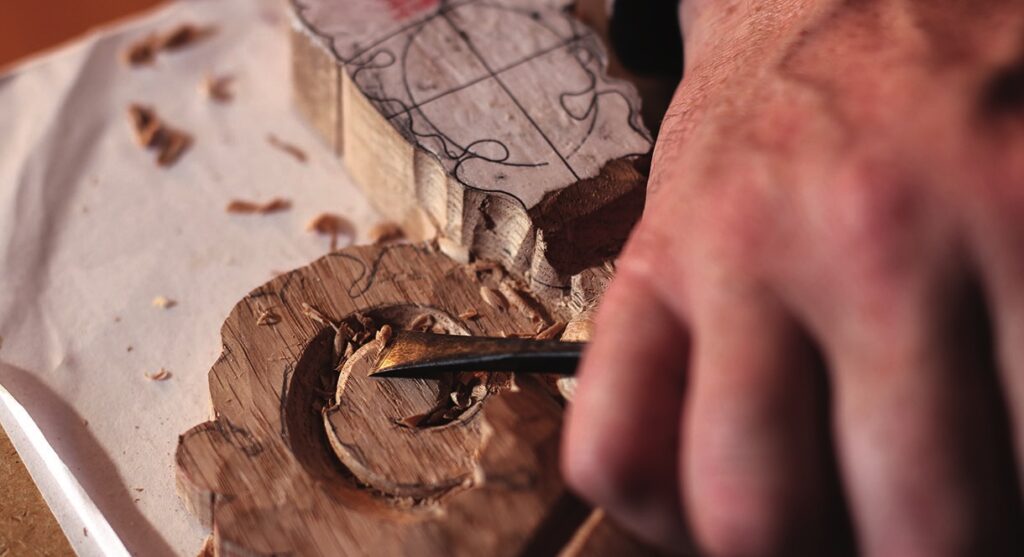
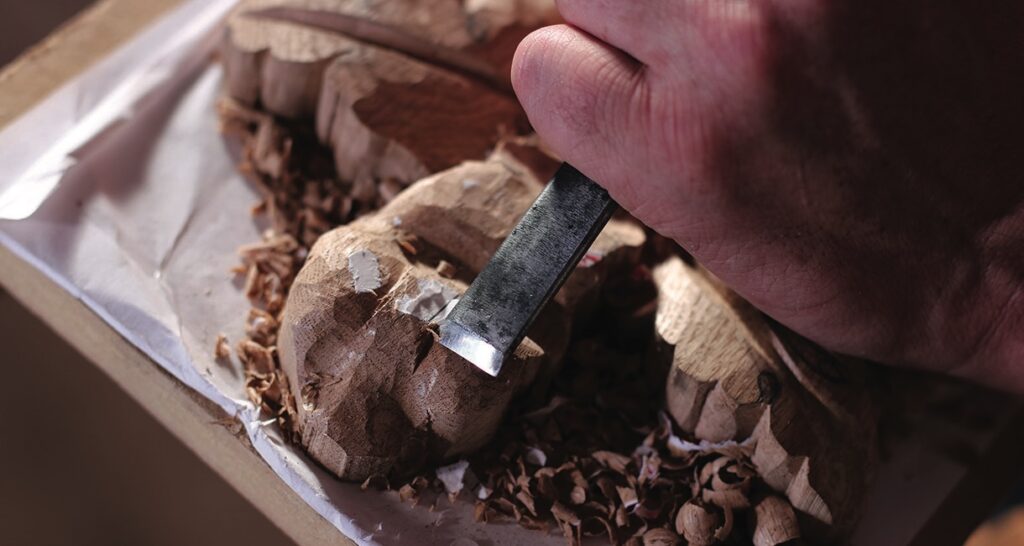
Mark Ivan Fortune carves an unusual decorative oak coat hook
The creative process of wood carving is not only a manual physical one, but more challengingly, it is an inner emotional process of artistic feeling. When one embarks on a creative endeavour one comes face to face with self-reflection and inevitably self-doubt. As the edge tools penetrate the wood, it is as if one is diving into unknown waters. To fully immerse oneself in the experience one must embrace this uncertainty as the essence of the art. From this vulnerable state comes an opportunity for one’s own self-expression while creating something genuine and true.
In a practical attempt to minimise the unknown, one may look to clay modelling, drawing and sketching; and be well advised to do so. But no matter how conclusive we are in our preparation, even when the ground work has been carried out by another hand; a certain liberty of execution must prevail to maintain the integrity and life of the carving. Photographic copying of natural leaves, clever as it is, holds little interest. Much more compelling is the delineation of subjects reimagined; stylised Gothic leaves of bulbous form; creeping and menacing. Or the rich frills of the Regency period. Here I have drawn from two distinct retrogressive styles of foliage and combined them to create a practical everyday item where the decorative aspects can still be appreciated when in use. Due to the inherent nature of the piece, the use of undercutting shall not be employed as it must remain practical and robust.
Things you will need
Tools:
• Personal and respiratory protective equipment
• No.11, 1.5 and 3mm
• No.8, 6 and 10mm
• No.6, 3, 13 and 22mm
• No.6, 16mm fishtail
• No.5, 8 and 10mm
• No.3 gouge
• No.1,10mm
• V-tool
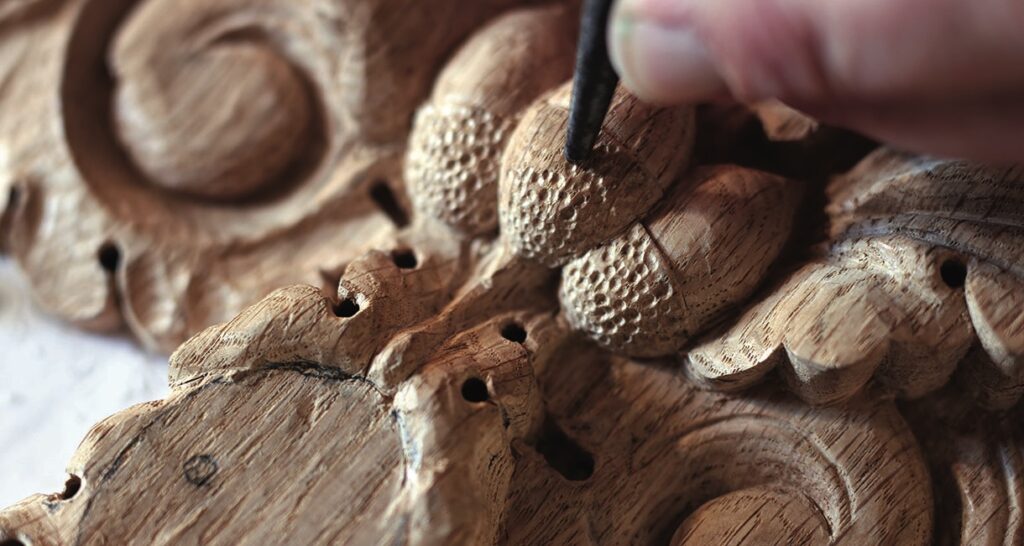
• Male punch
• Light hammer
Materials:
• Oak (Quercus robur) 240 x 190 x 32mm
• PVA adhesive
• MDF backing
• Screws
• Coat hook
Drawing
Mounting
Give some thought on where and how the piece will be mounted. Your local hardware store can offer practical advice on mounting that best suits your application. Adjust the drawings to suit the backing plate of your coat hook. Consider the practical and aesthetic qualities of the hook and the screws that fix the hook to the carving.
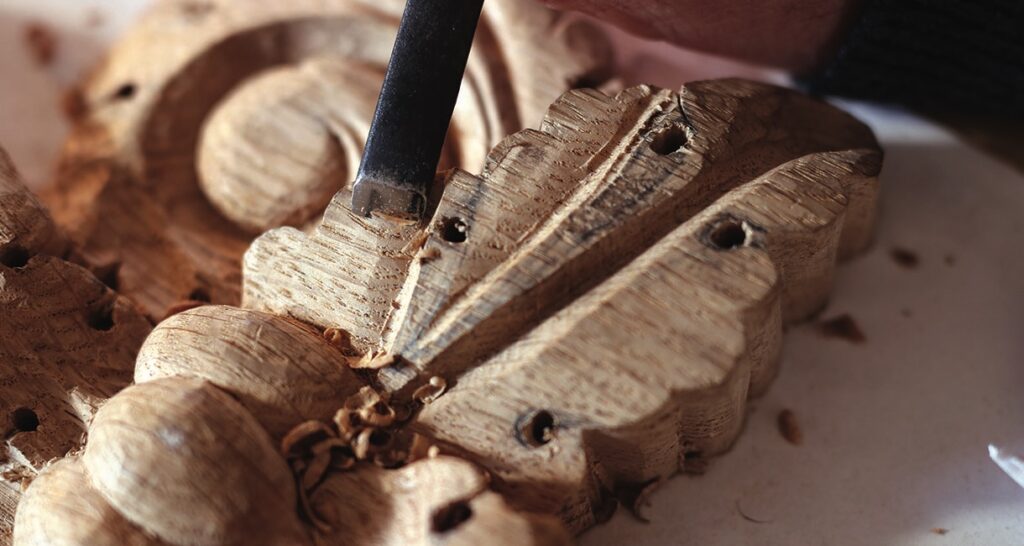
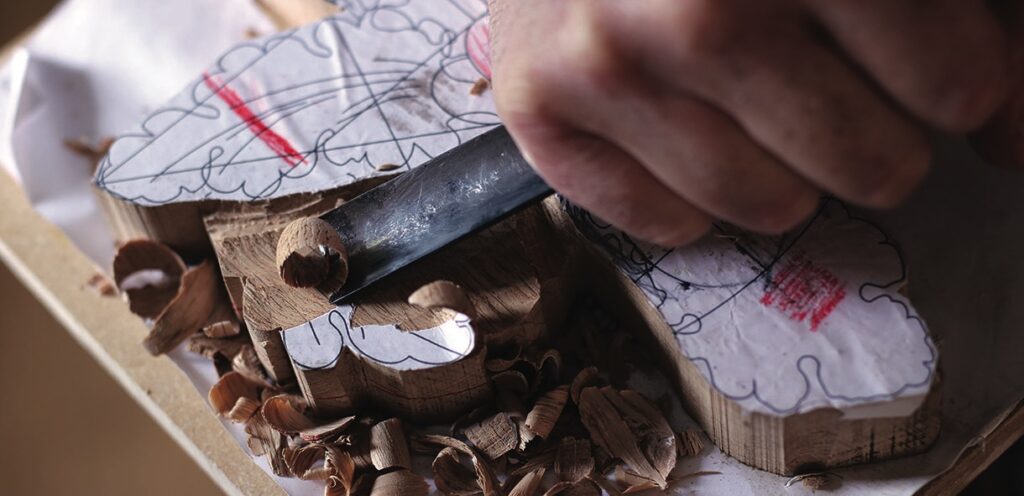
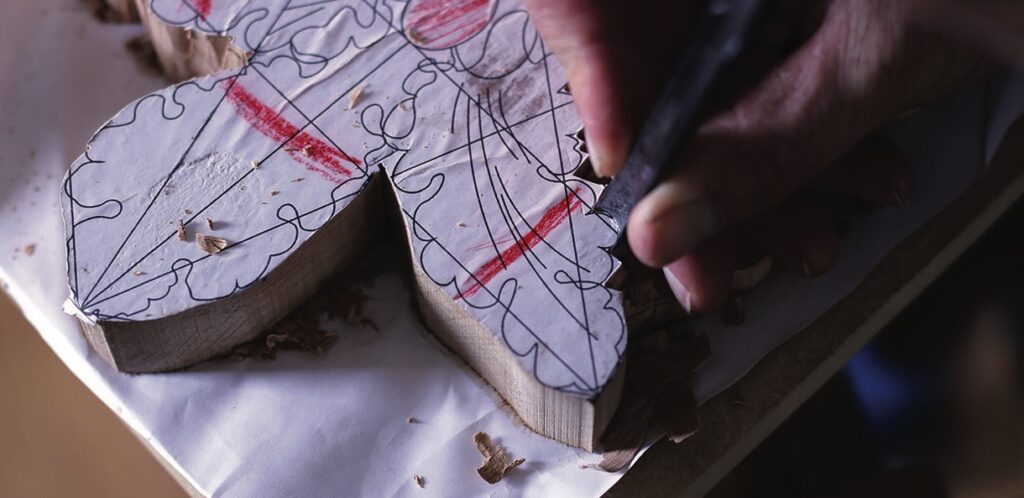
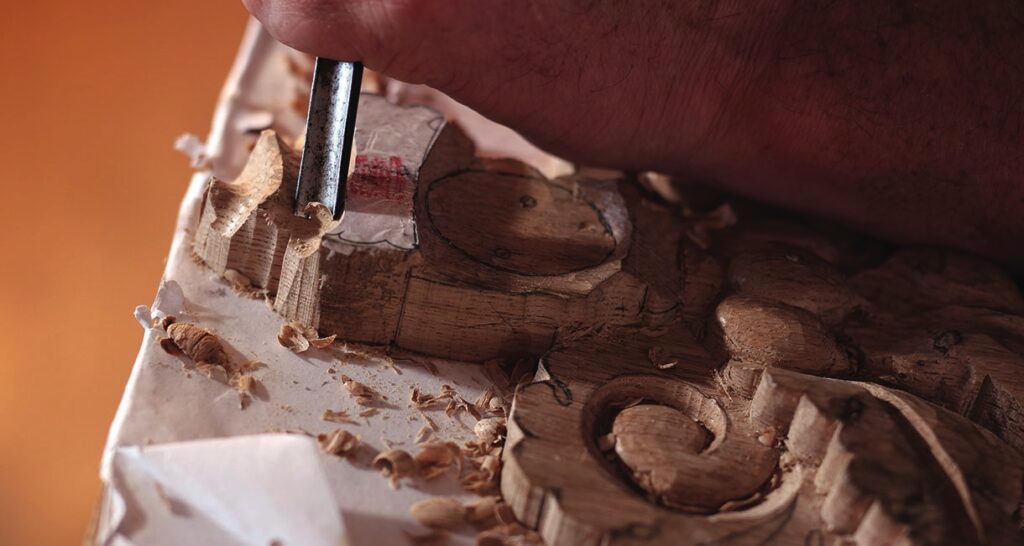
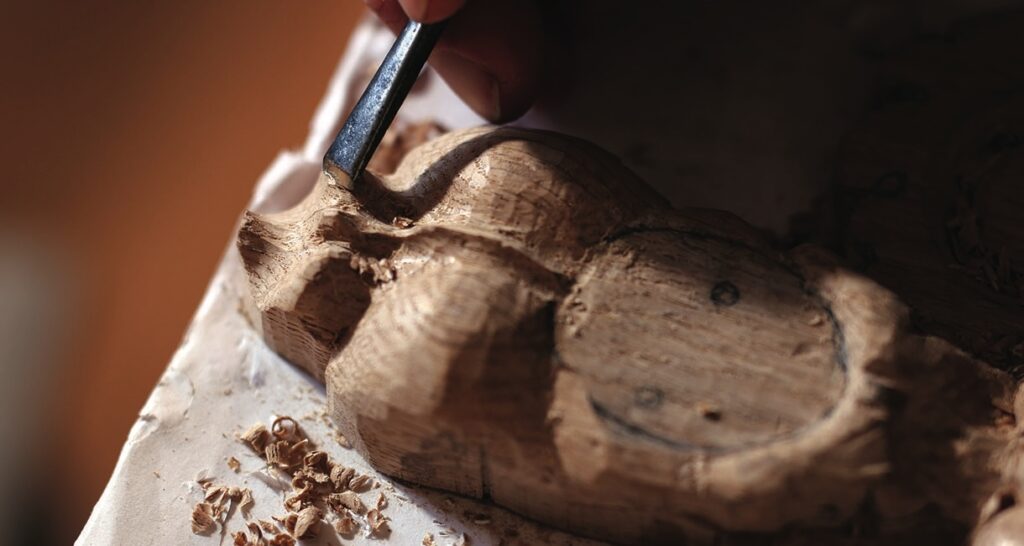
Carving
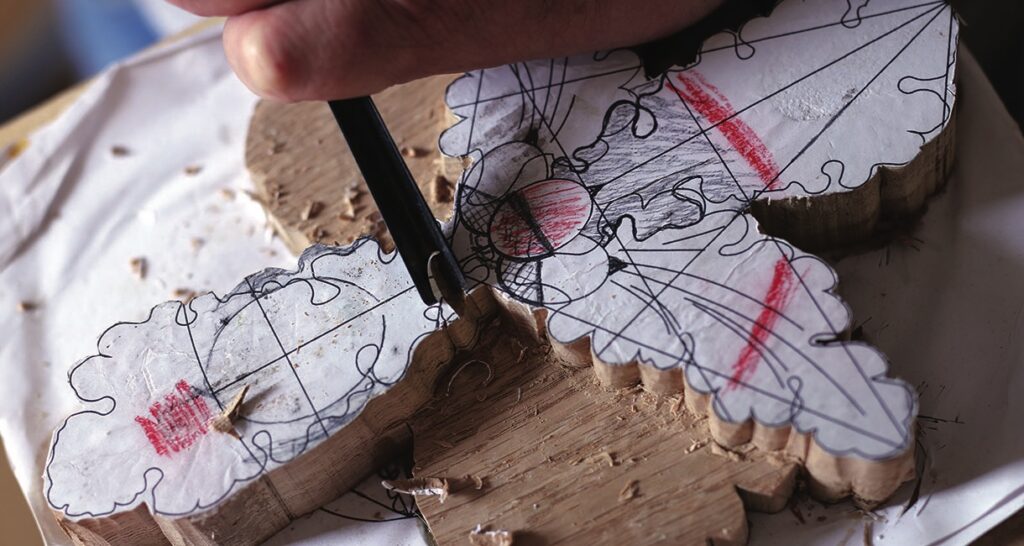
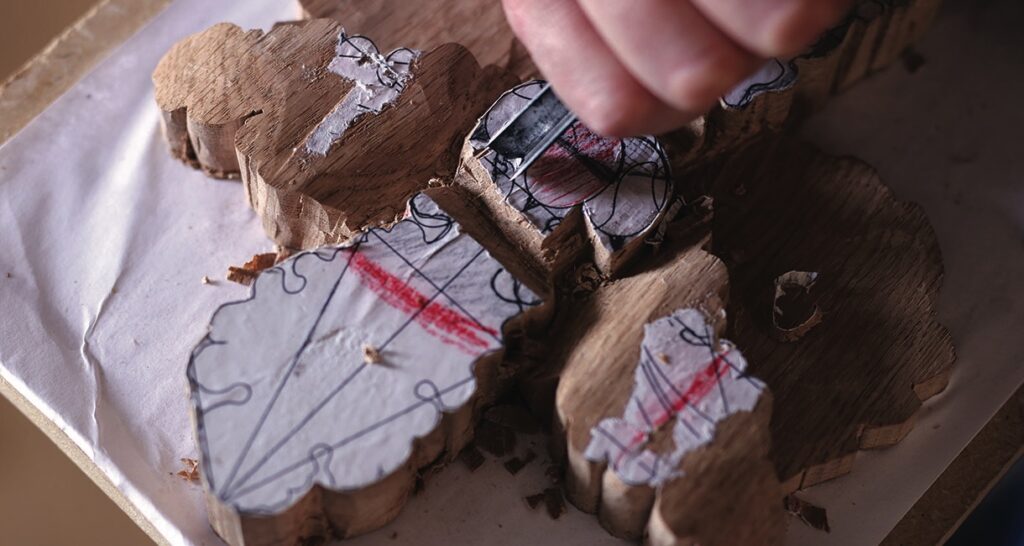
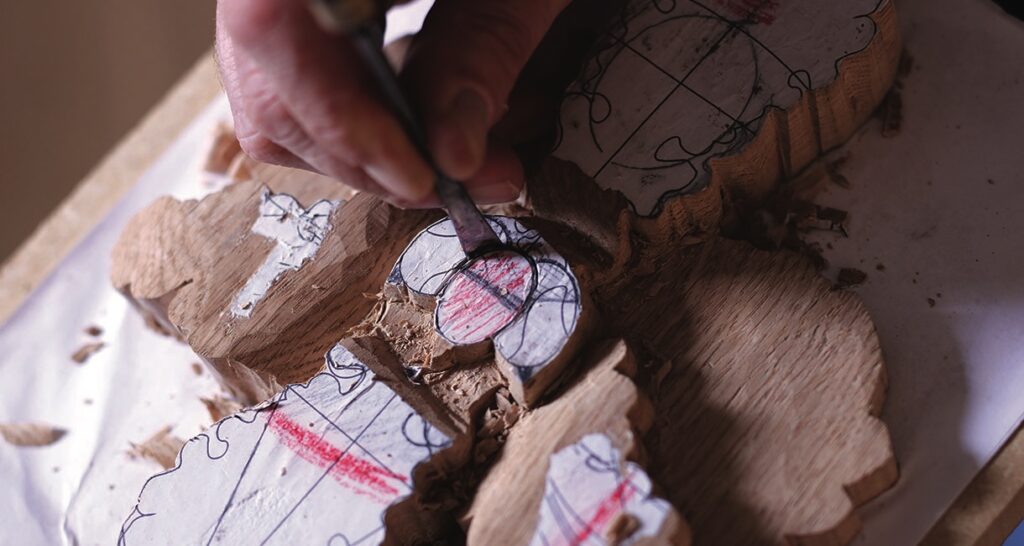
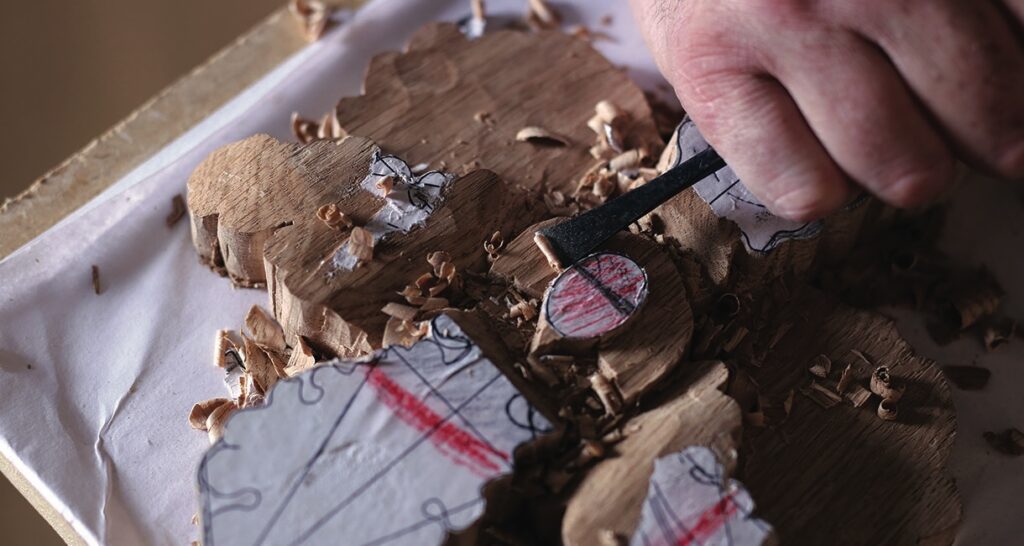
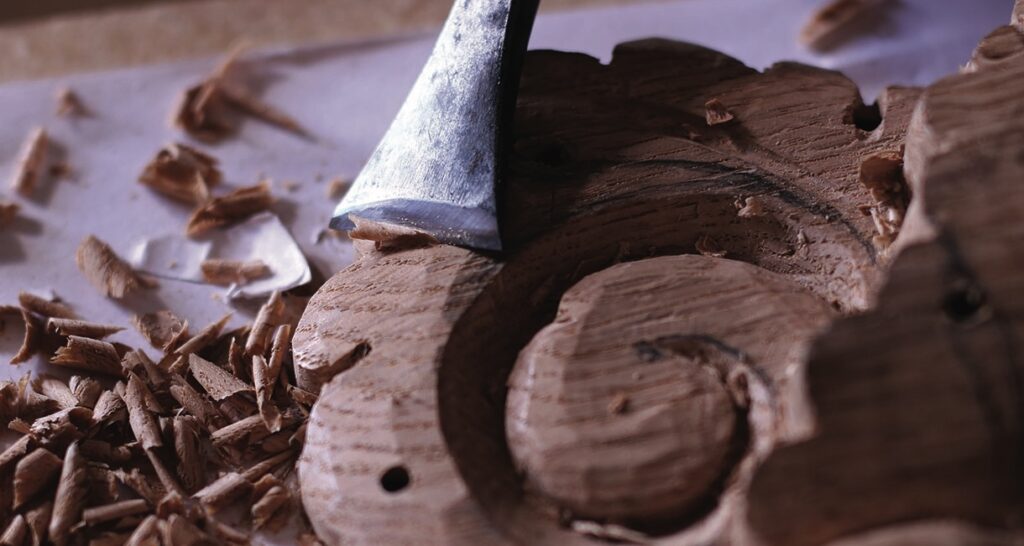
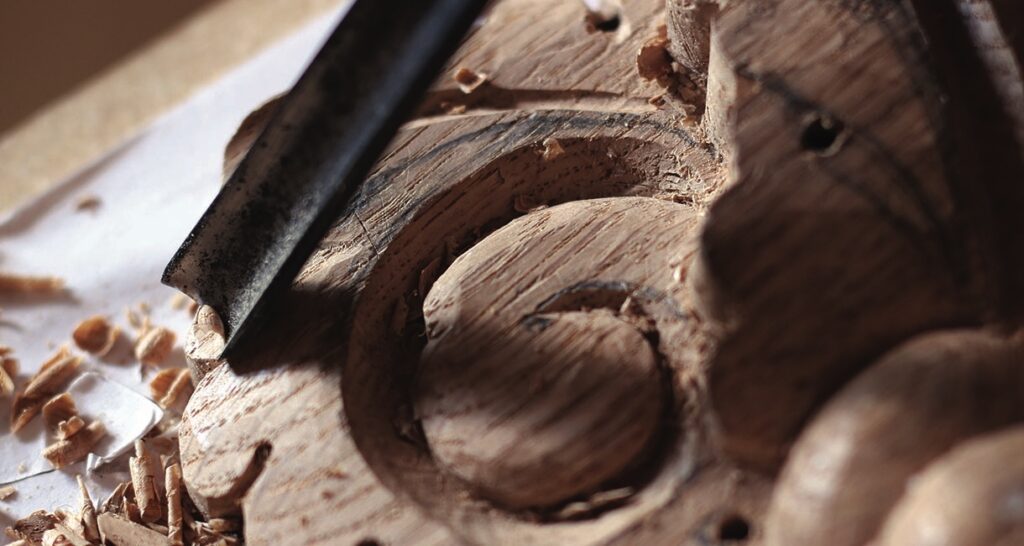
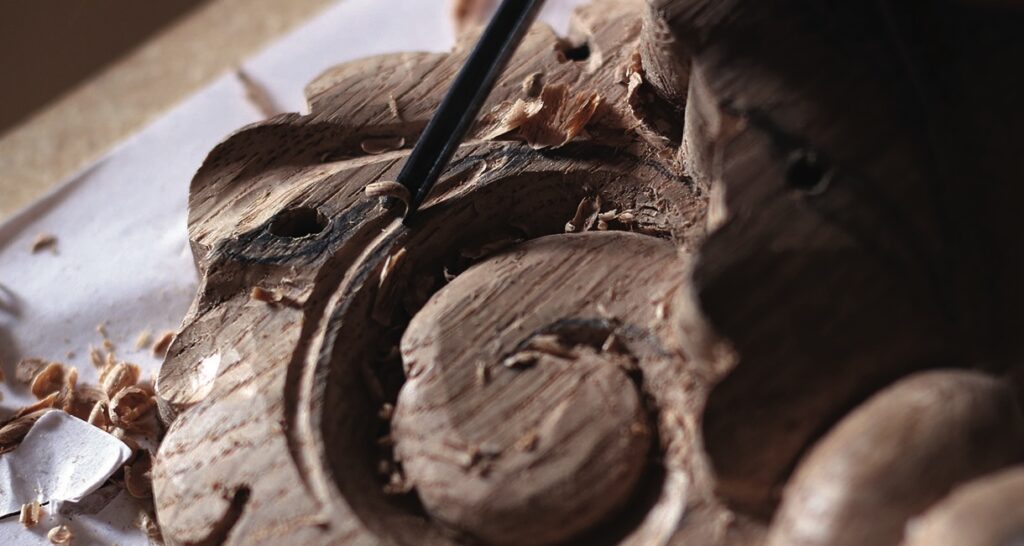
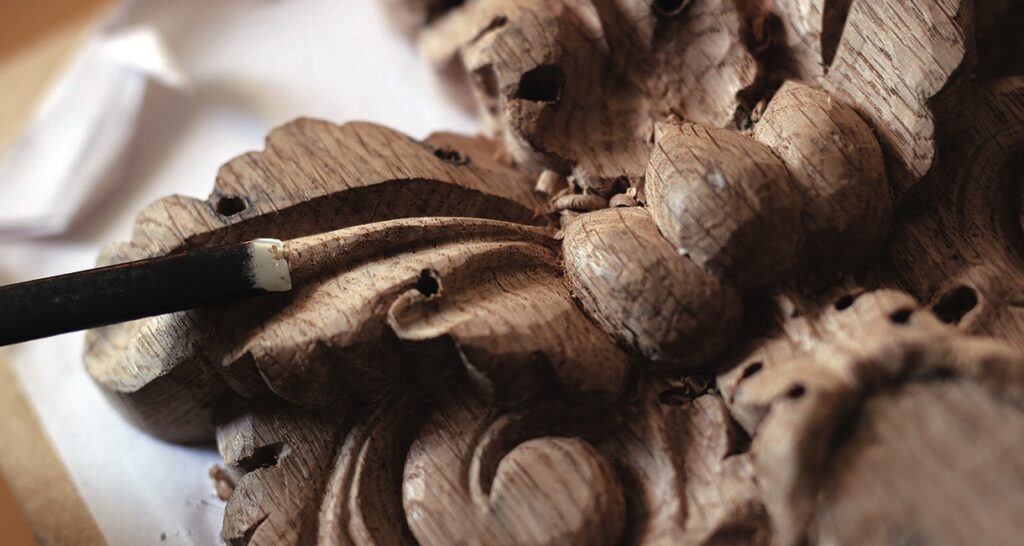
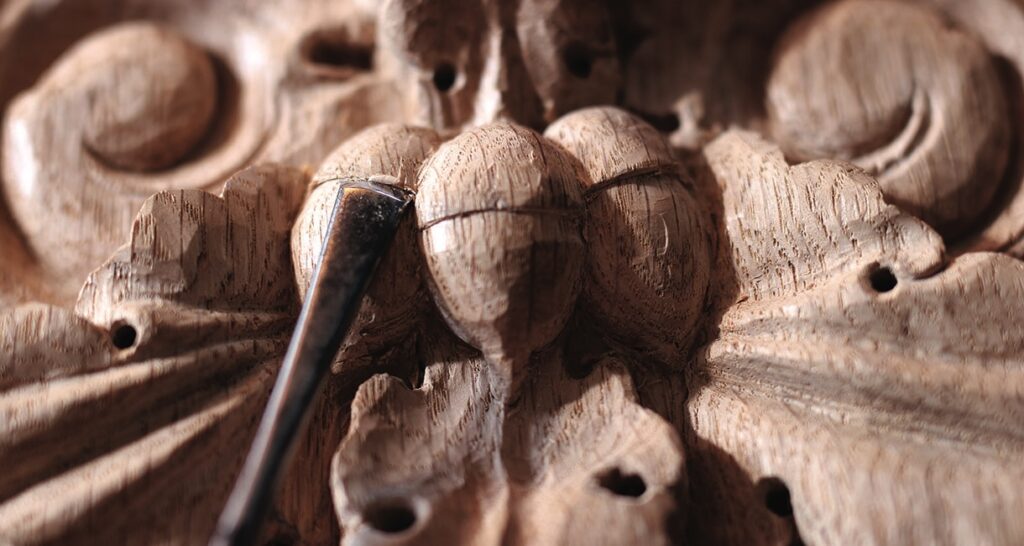
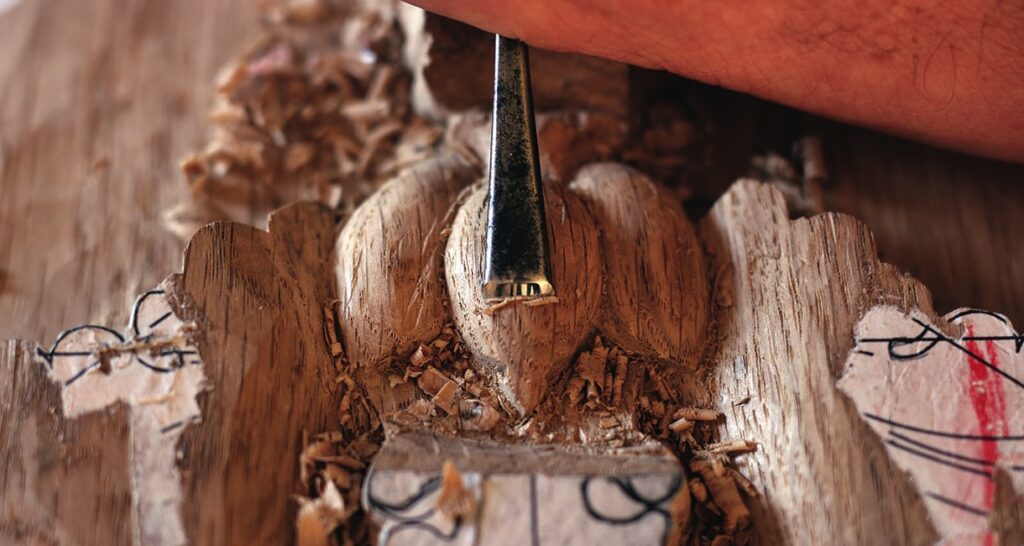
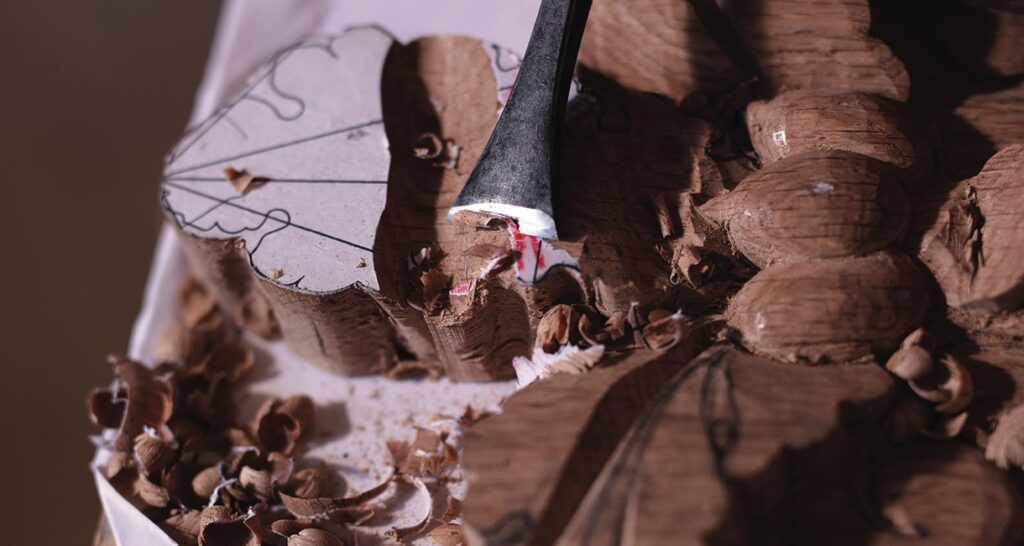
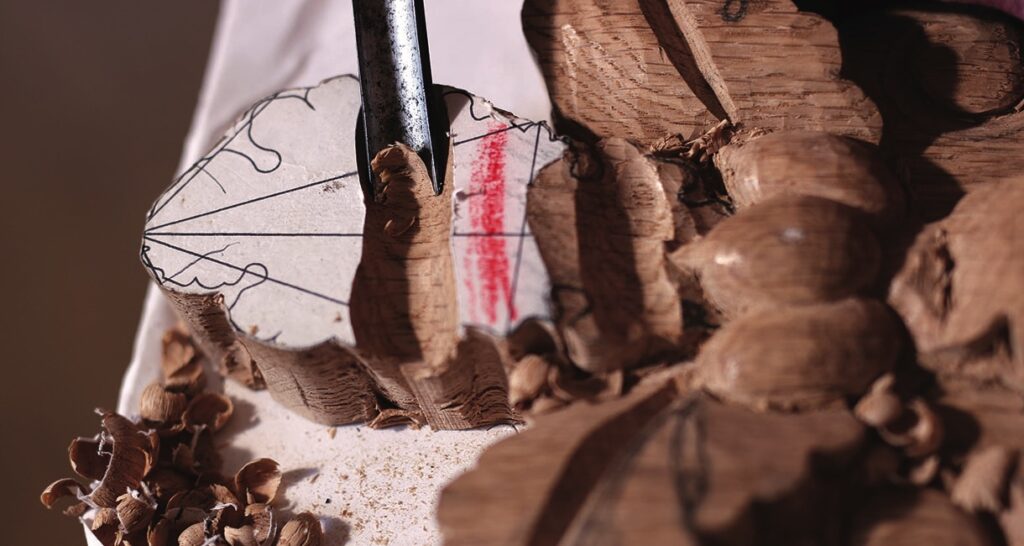
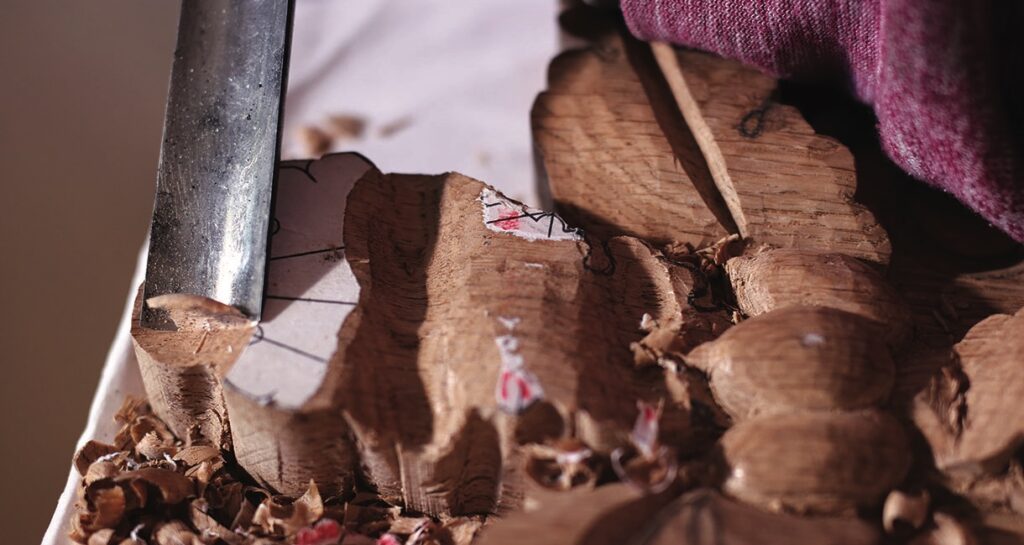
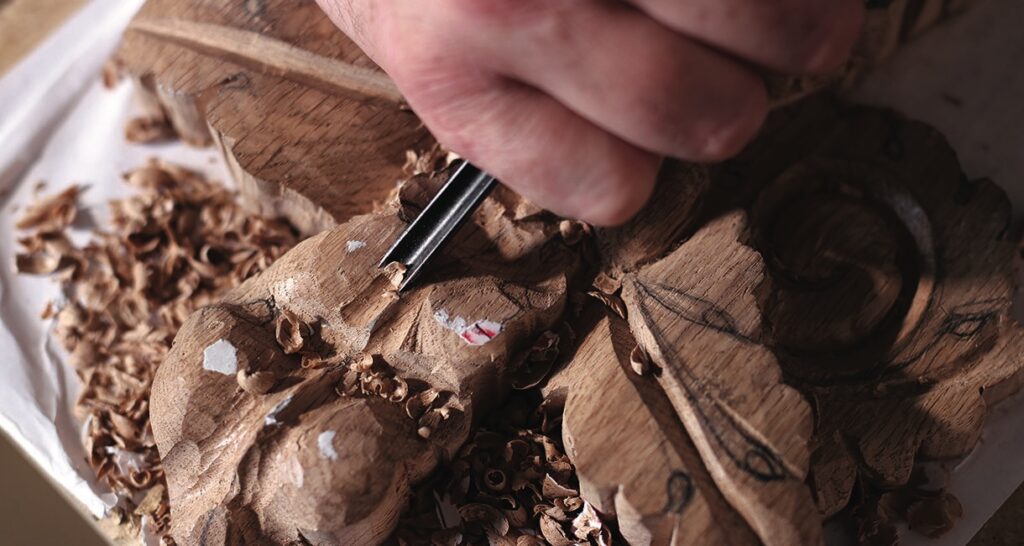
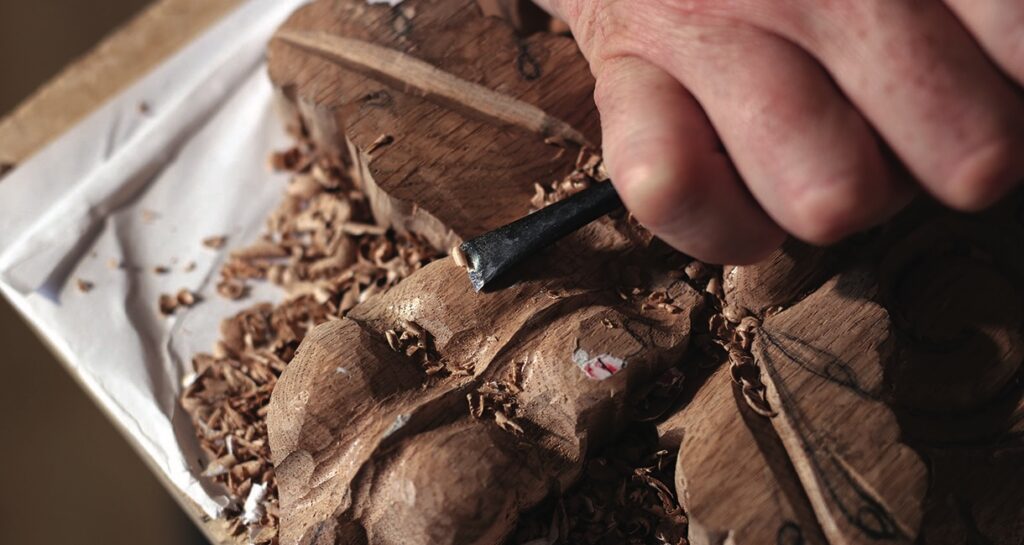
Carving Spheres
Carving clusters of any spherical forms that abut one another presents a unique set of challenges. It can be a great help to draw the acorns in section as three circles abutting one another or to model them in clay so as to gain a better understanding of how they relate to one another. Keep in mind the aim in this piece is to create a representation of three acorns abutting one another. They do not need to be geometrically correct.
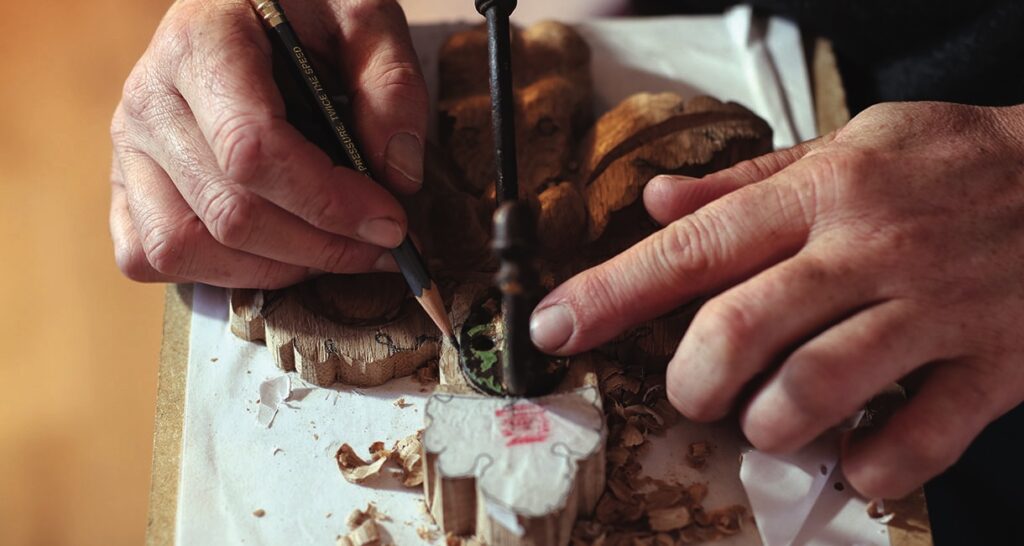

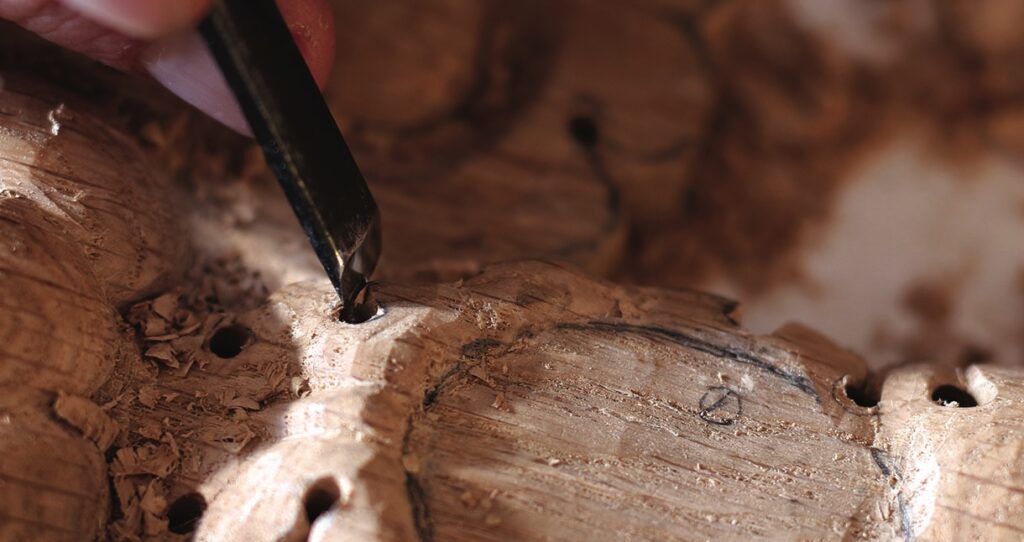
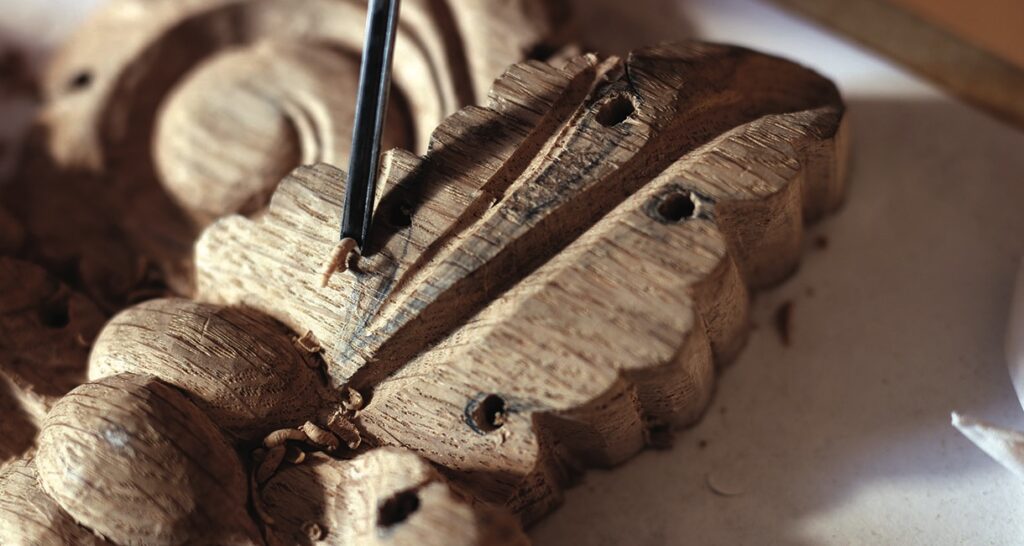
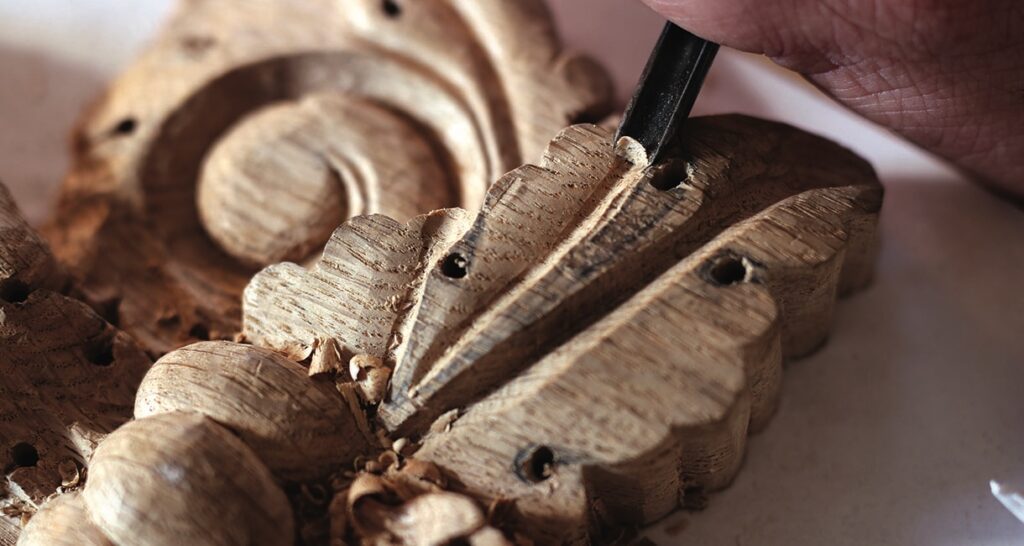
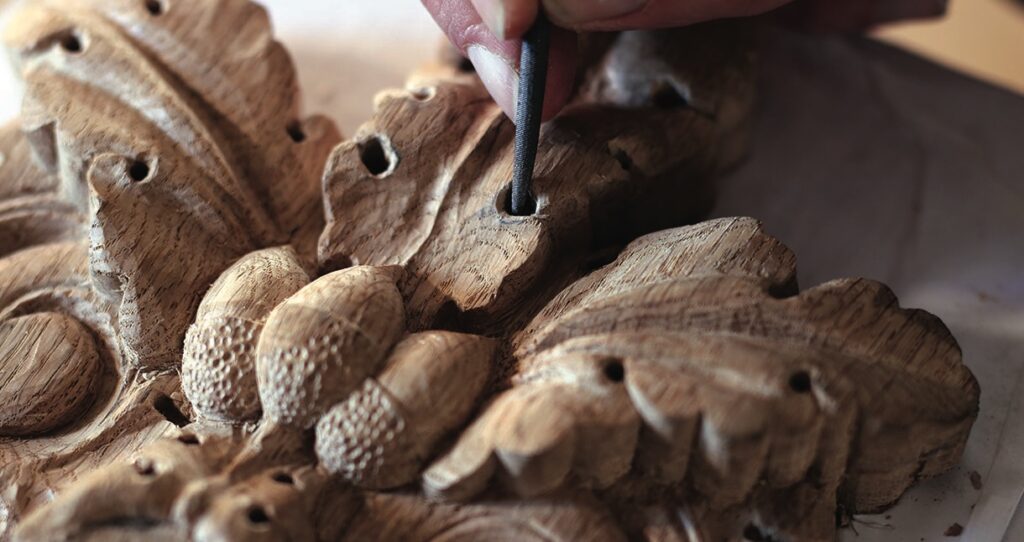
Drilling Accurate Holes
Drilling accurate holes on sloping ground can be greatly assisted by the use of an awl. They generally have a flat spade tip that is pushed into the wood between the fibres and twisted, pushing the fibres apart.