The Woodworkers Institute

We bring you the very best of woodworking!

“Make it with us”

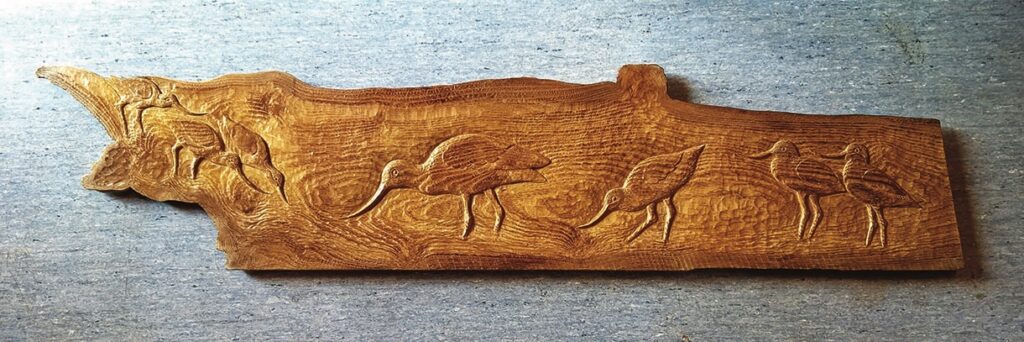
Avocets in relief

Zoe Gertner shows how to carve a colony of these birds in relief
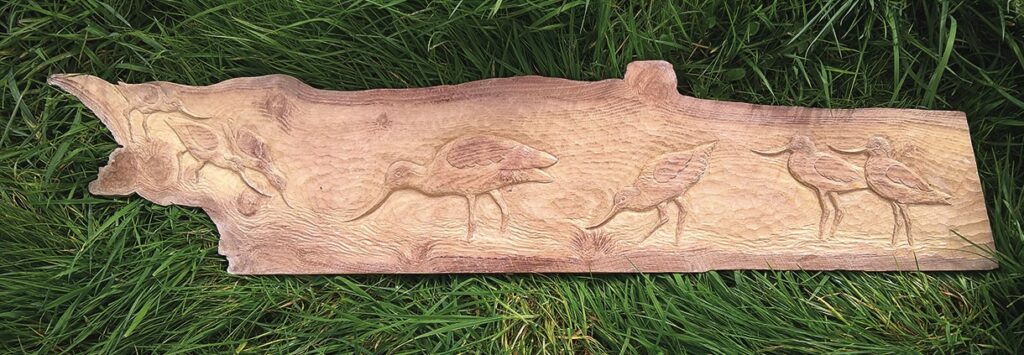
Wooden carving of birds on grass.

Every so often I sort out my store of carving wood, which reminds me of what there is waiting to be carved and sometimes gives me ideas for new carvings. Looking through my stock of randomly shaped boards, my false acacia (Robinia pseudoacacia) planks consist of some with bark still attached, plenty with burrs, knots and areas of wild grain pattern, and various flaws. Though they have great potential, these boards will be challenging to work. But some of the grain patterns could suggest flowing water, perhaps?

Leading on to water birds, perhaps? Distinctively shaped waders? Maybe avocets with their upcurving beaks, curlews, herons or egrets. The boards could be tricky to carve, but well worth the challenge in the end, and it’s surprising how pleasing an eccentrically shaped relief carving can be. 

Things you will need

Tools:
• Mallet
• No.39, 3 & 6mm V-tool
• No.3, 3-19mm
• No.5, 10-13mm
• No.9, 6mm

Materials:
• Waney/natural-edged board approximately 660mm long x 230mm wide x 25mm thick
• Chalk stick
• Non-slip router mat
• Stiff brush
• Colourless wax polish

Drawing

Ancient Egyptian carving of birds by water

Diagram 1

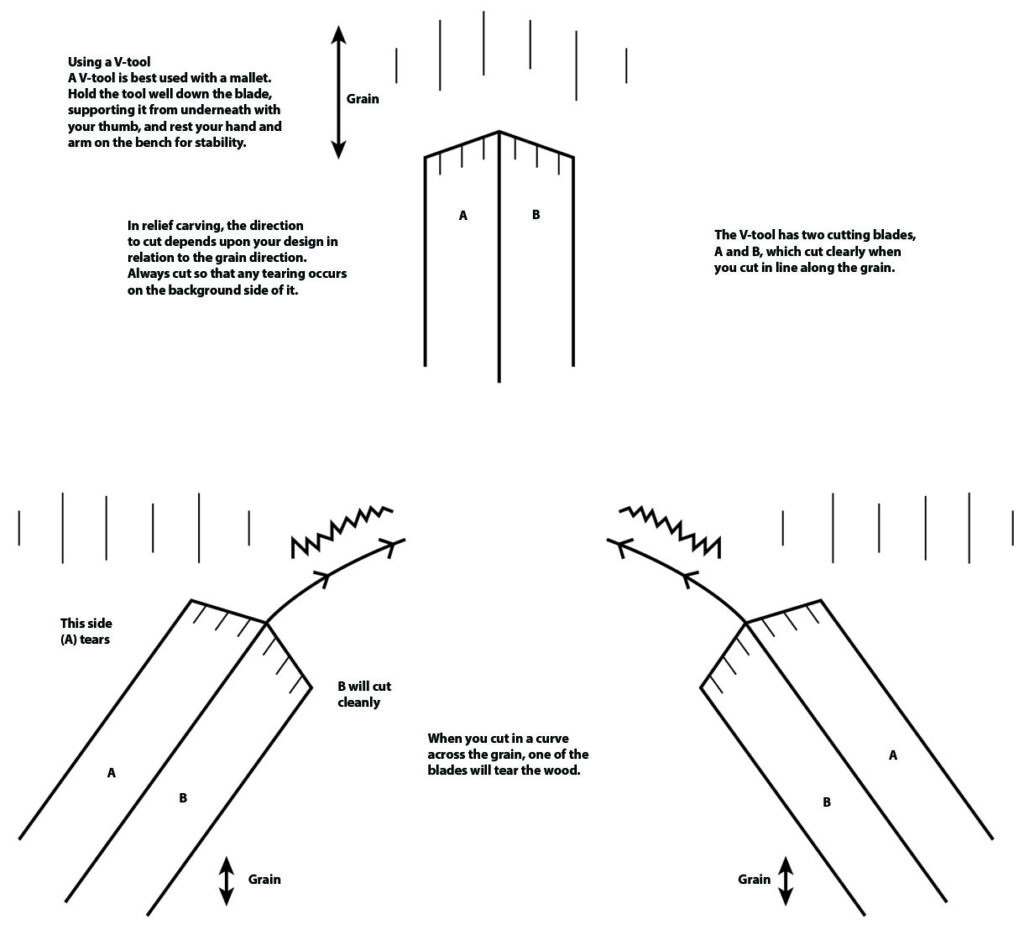
V-tool wood carving with grain direction guide.

Diagram 2

Colour by numbers bird illustration.
The numbers indicate the depth of the relief carving. The areas marked number 1 are the deepest down from the top surface of the timber and the areas marked number 4 area the highest areas
Wooden art panel with bird illustrations.
1. Clean up your board ready to work on. I laid my board on a non-slip router mat  so I could change the position quickly to  enable easy changing of the cutting direction. Having selected several different attitudes of avocets from my photos (which I took during a recent Bird Cruise on the River Exe, well known for its avocets), each was printed out on paper, cut out and glued on to light card as templates, then I arranged them on the board. Once in place they were drawn round to transfer the shapes on to the board
Bark removal in curling wooden grain surface
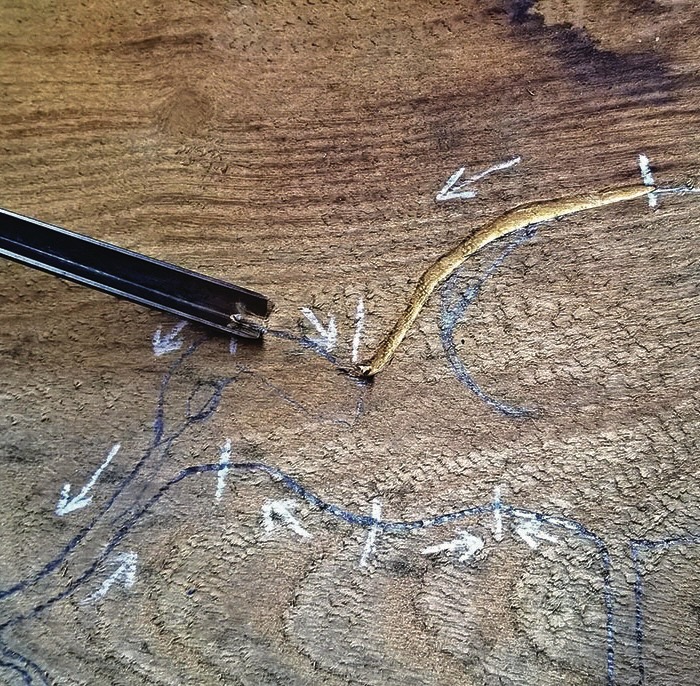
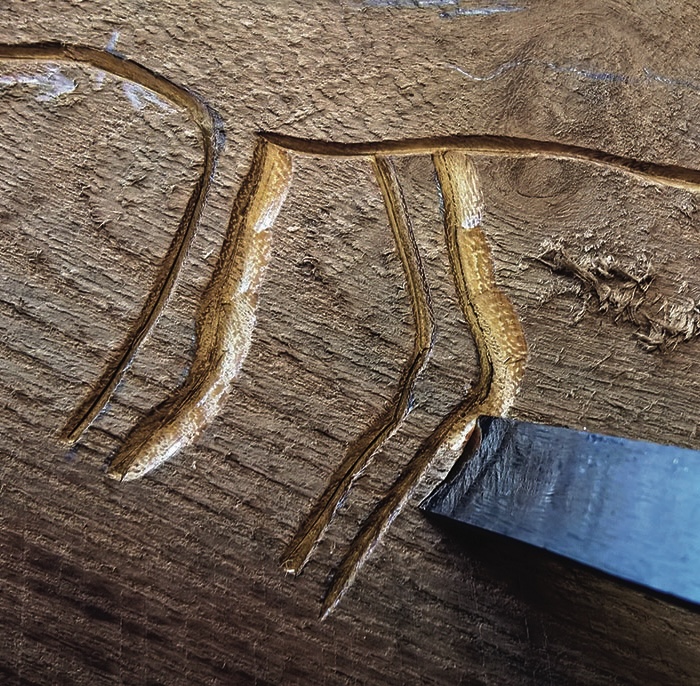
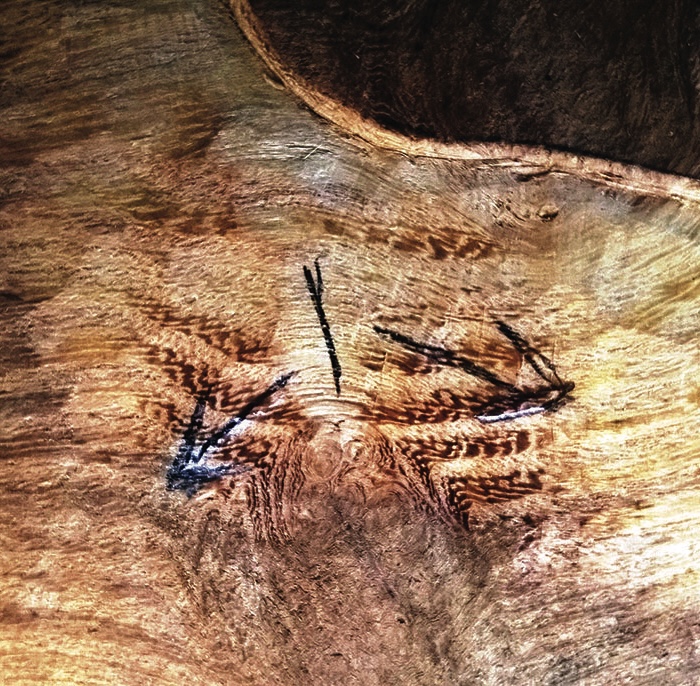
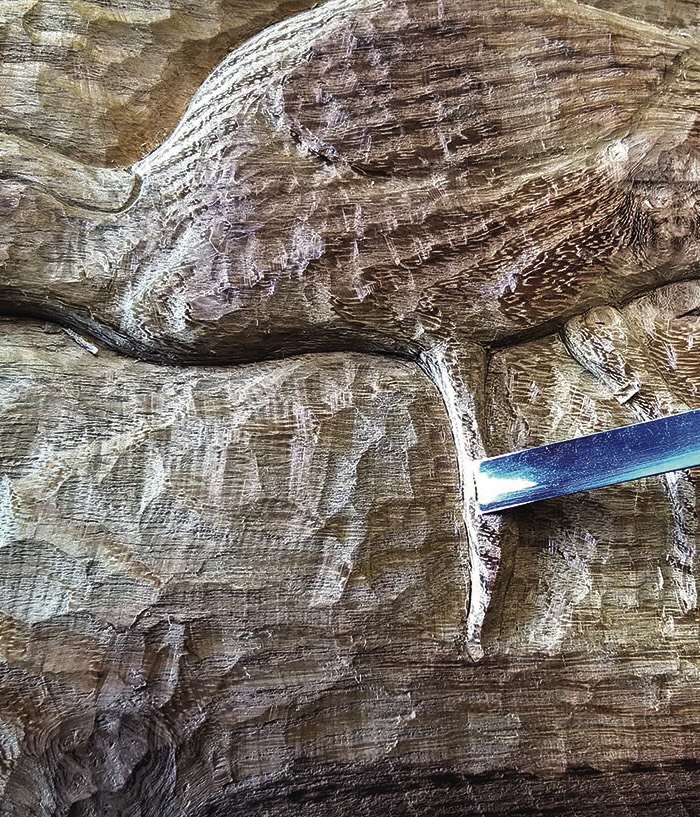
2. Cut round the outlines of the birds using a V-tool with a mallet. Cut in the correct direction to obtain a clean edge on the bird, (diagram 1). You may have to change directions frequently, meeting up and parting from the line with your cuts depending upon the lie of the grain. To avoid mistakes when cutting, mark the grain direction first
Close-up of carving tool on wooden surface.
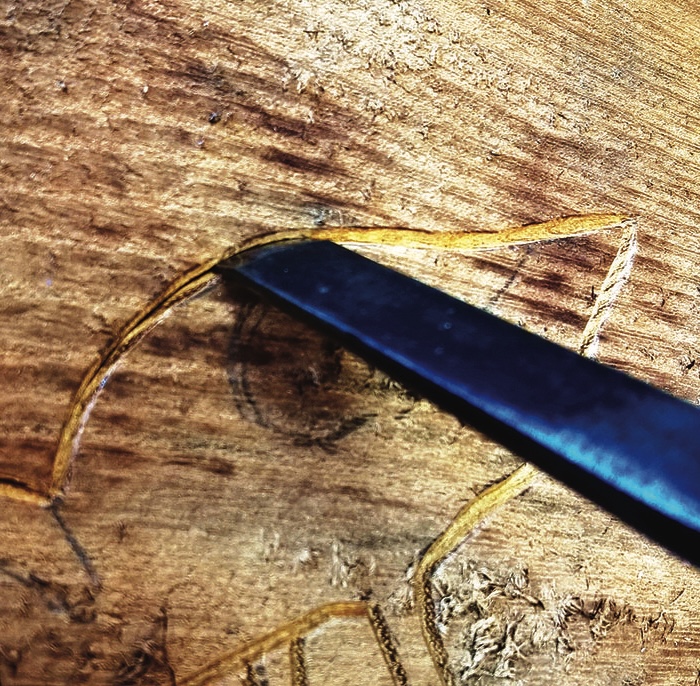
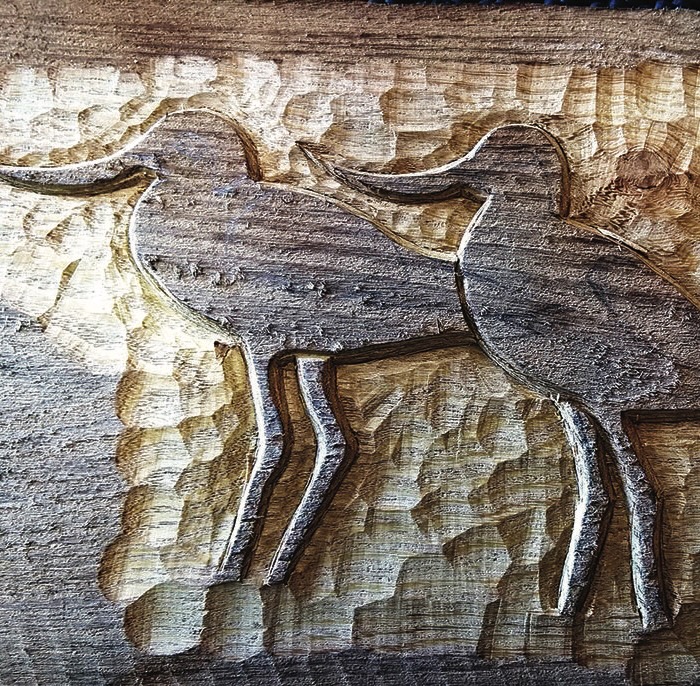
3. The V-cut is now deepened and widened using opposing cuts with a No.3 gouge of suitable width. Lean it against the edge of the outline at the same angle, so you continue the same angle down and outwards, away from the outlined bird. Turn the No.3 gouge so it corresponds with the curves of the outline, and for tighter curves, use a narrower one. For the first set of cuts you should always be cutting outwards from the outlines, never towards
Close-up of wood carving with chisel.
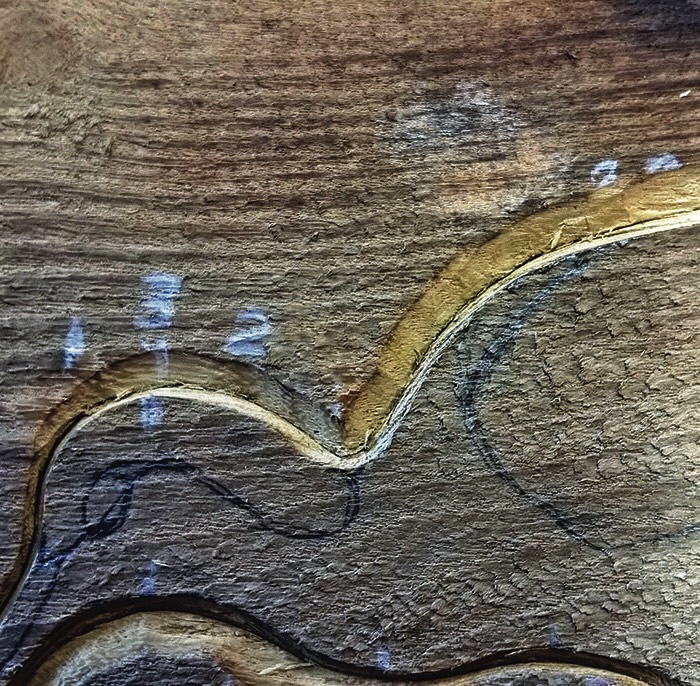
4. The second set of cuts is made by cutting downwards at an angle towards the first with the No.3 gouge, bevel down, from about 3mm away and meeting up at the same depth with the first set, thus enlarging the original V-cut
Close-up of carved wooden texture and grain patterns.
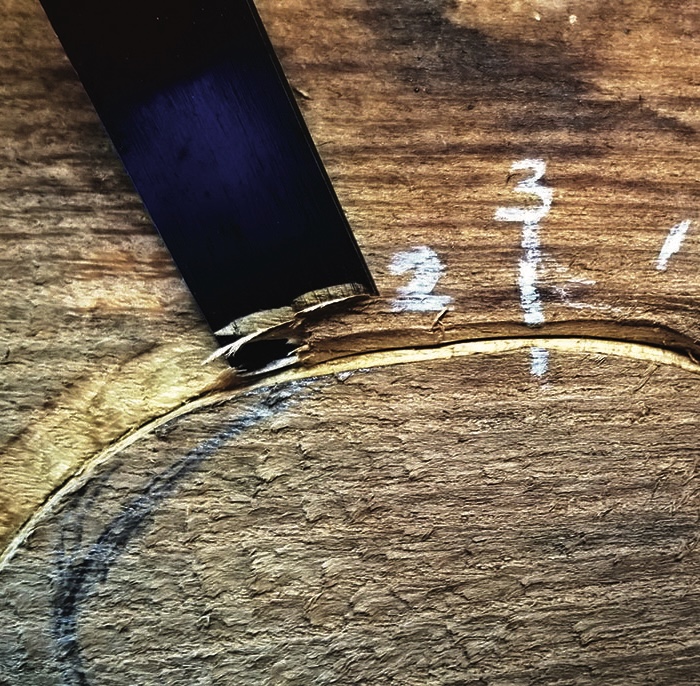
5a. To avoid splitting grain at the top of the head and wings, make alternate cuts from each side, finishing at the middle/top of the curve . Now repeat the sets of cuts around each bird, deepening and widening the original V-channel until it is about 6mm deep 6mm wide
Wooden surface with chisel and marked numbers
5b. Now repeat the sets of cuts around each bird, deepening and widening the original V-channel until it is about 6mm deep 6mm wide
Wood carving detail with chisel tool.
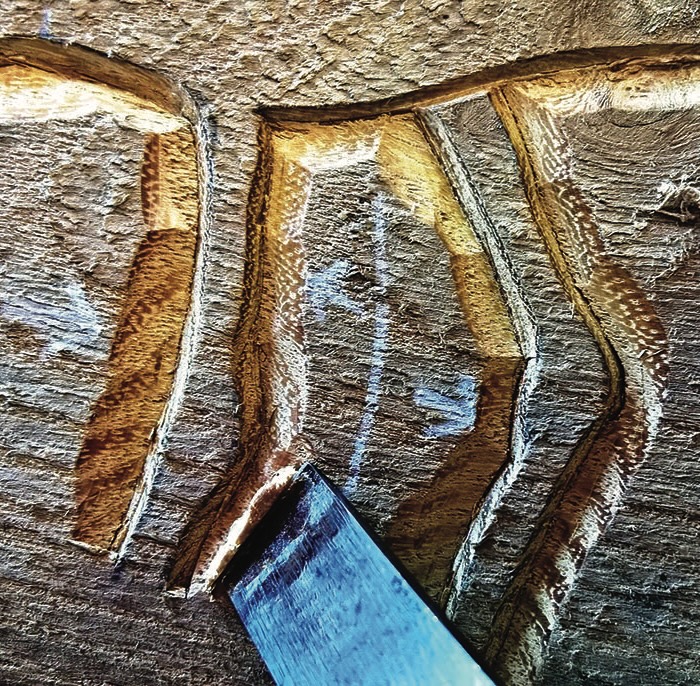
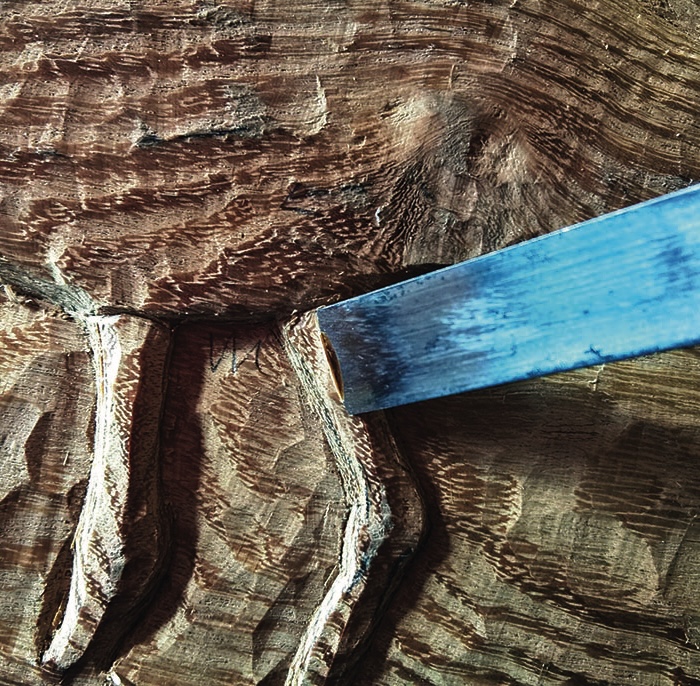
6. Next, remove the background using the No.3 or No.5 gouges. Start your cuts across the outer edge, finishing each within the enlarged V-channel. Extend your cuts outwards, still cutting towards the outline to produce a gentle slope to the bottom of the V until the channel is completely removed. In a confined area such as between the legs, divide the area to be removed and, in the same way, work towards the nearer channel from each side until these cuts meet up from each direction, then carefully remove the remaining raised area and flatten the whole area between the legs
Close-up of tree wood grain texture pattern.
7. The direction in which you should cut will be dictated by the lie of grain

Shaping the birds
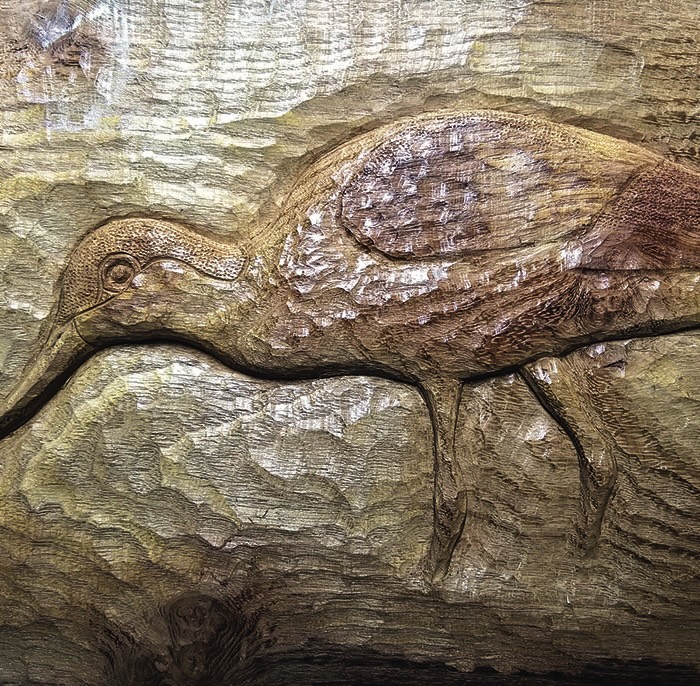
Wood carving of two animals in rustic style.
8. Shaping can be started when you have removed the background adjacent to each bird (see diagram 2). The easiest way to work out the different levels is by using numbers. The lowest background is level 1 and successive levels are denoted by successive numbers with the highest level being the highest number, which in this case is number 5. The numbers also denote the carving sequence, starting with 1 and then finishing with 5
Wooden carving of a bird with long beak.
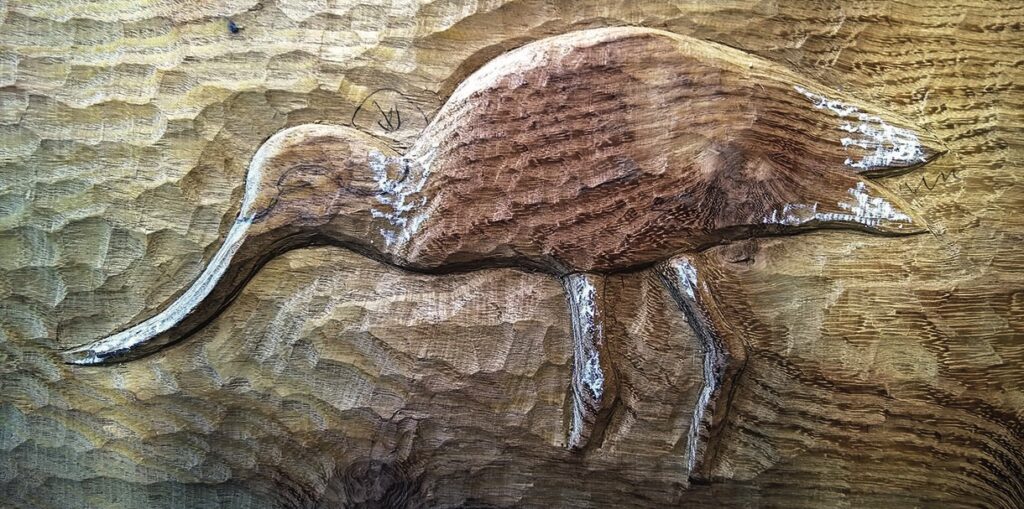
9. With No.3 gouges, reduce the lower end of the tail (no. 2 areas in diagram 2), and the beak, starting at the tip and tapering it from head to tip along its length. Then reduce both legs below the body, cutting the body line across the top of the furthermost leg ready to set it behind
Wooden carving of a bird on textured surface.
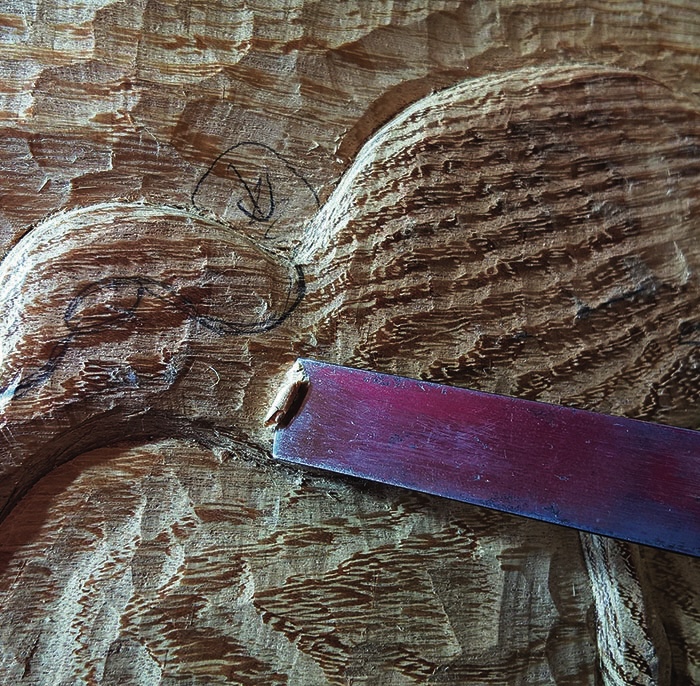
10. Next, hollow the base of the neck adjoining the body. By making shallow cuts that meet each other from opposite directions, gradually hollow the area then round the upper part of the wing into it. Now round over the edges of the bird, lifting your gouge hand over the edge to meet up cleanly with the background
Chisel carving wood with intricate patterns.
11. Reduce the furthermost leg so it is slightly lower than its foremost one. Using the wider No.3, gouge, round over the legs by lifting and rolling the gouge away from the centre of the leg, over the edge and along the length of them
Wood carving in progress with tool.
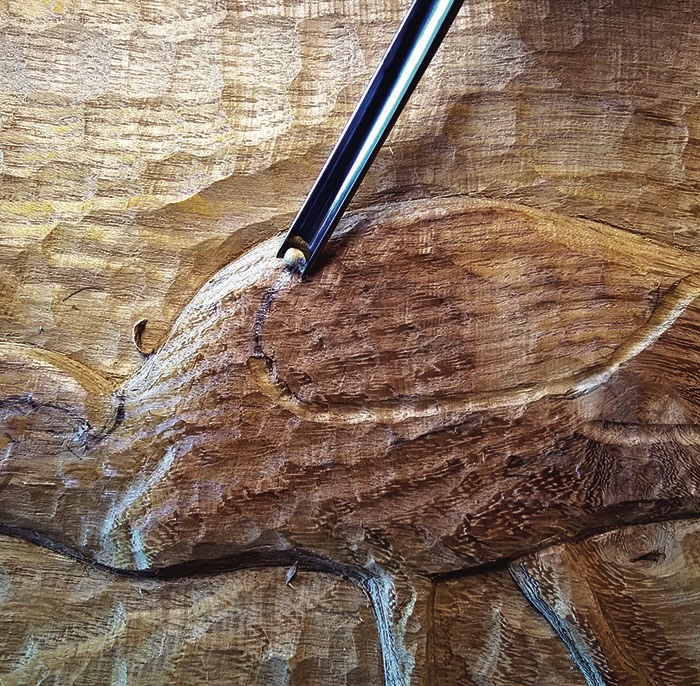
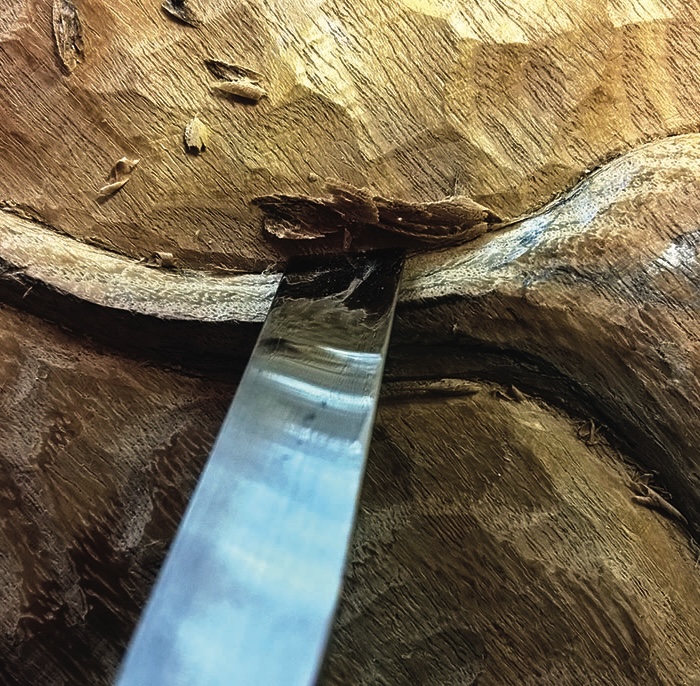
12. Now reduce the head so it is lower than the wing, blending the neck into head. If need be, further reduce the slope of the beak and begin to chamfer its upper and lower mandibles ready to make an apex along its length from the head to its tip
Carving tool etches intricate design in wood
13. Merge the upper surface of the shoulder into the hollow at the base of the neck, round over the upper edge of the body if you have not already done so, then mark the outline of the wing and tail using the No.9, 6mm or V-tool
Wood carving tool with textured wooden background
14. Now, using a No.3 gouge, remove the outer edge of the channel you cut around them, making them stand proud of the rest of the body
Close-up of woodcarving with chisel tool.
15. Refine the beak by cutting more vertically downwards along its edges. As you make the chamfer be very careful to cut in the correct direction so that a sharp apex is retained along its length
Wood carving with chisel in close detail.
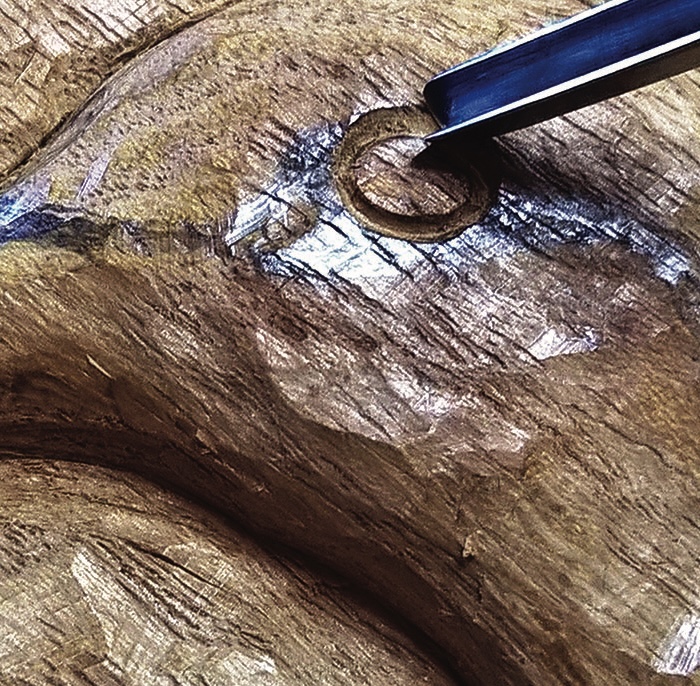
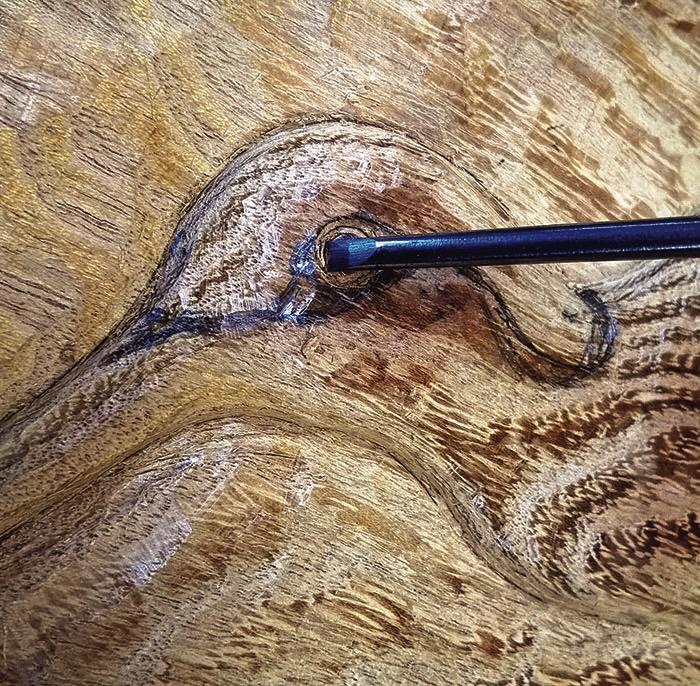
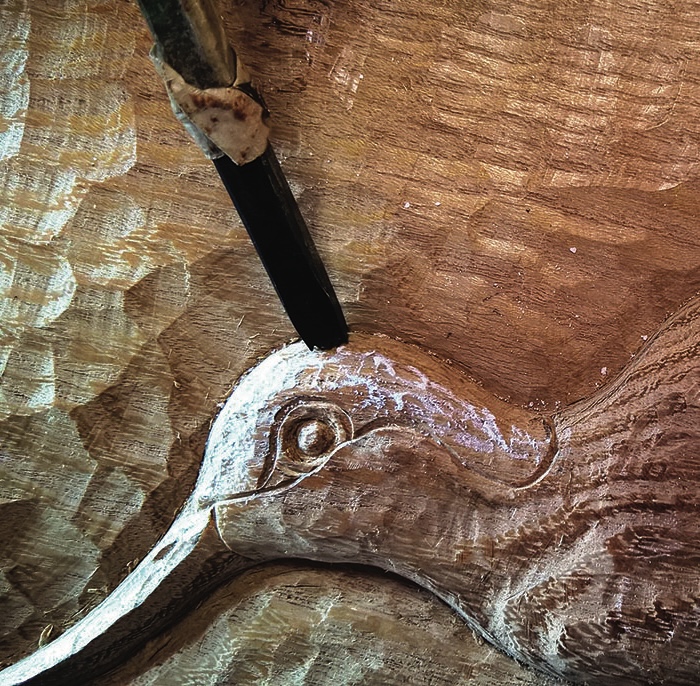
16. On the head, draw the eye and other details then, using the 3mm V-tool, cut round the eye, taking care to cut in the correct directions to produce a clean edge round it
Chisel carving wood detail with intricate grain pattern.
17. With the No.3 3mm inverted and matching the curve of the eye, cut outwards and around it. Then, with the gouge bevel downwards, remove the adjacent surface of the head. Repeat the two sets of cuts until the eye stands proud, then with the gouge inverted, round over the edge until the middle of the eye is at its highest point
Sculptor chiseling detailed bird design into wood
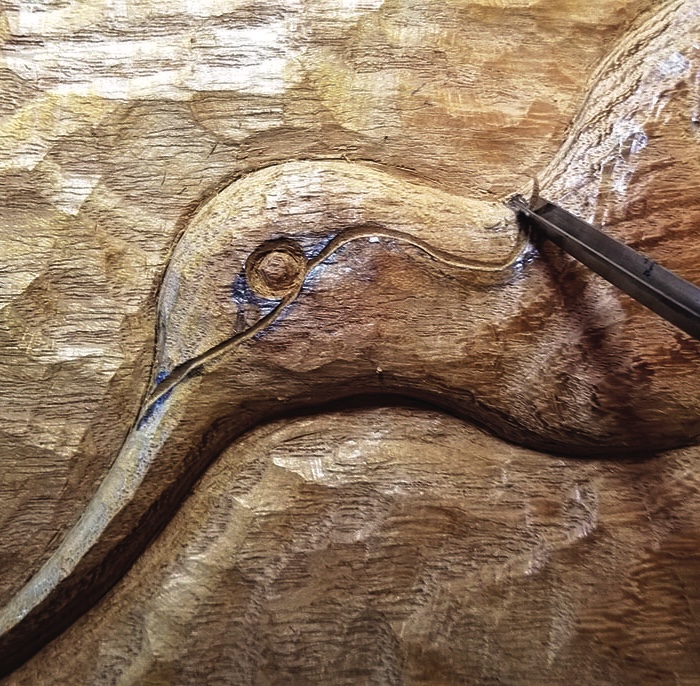
18. With the 3mm V-tool mark in the rest of the detail on the head and round the neck, the beak and around the eye. The nostril is shown by making a small nick with the V-tool. If you have a steady hand and a very sharp V-tool, you may wish to cut a line along beak between the upper and lower mandibles. However, a sharply cut edge along its apex should show this clearly, too
Wood carving in progress with chisel.
19. Above and below each knee reduce the width of the legs to make them more pronounced. Gradually reduce the lower end of the legs and merge them into the water in which the birds are standing
Wooden carving of a long-beaked bird.
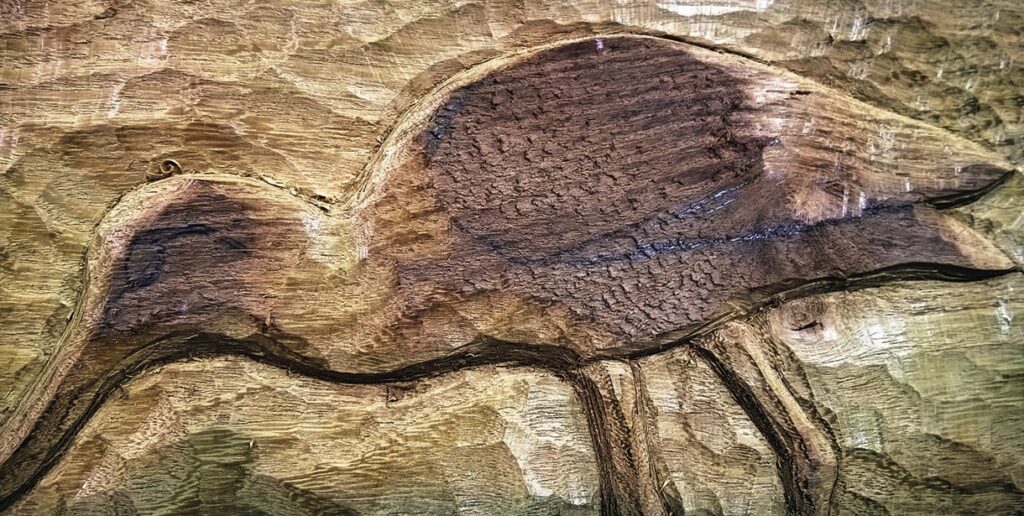
20a. Using a frosting/punch with a light hammer, the darker areas…
Wood carving of bird being detailed with chisel.
20b. …such as back of head and around the wings can be textured to contrast with the rest of the bird
Engraved wood with carving tool close-up.
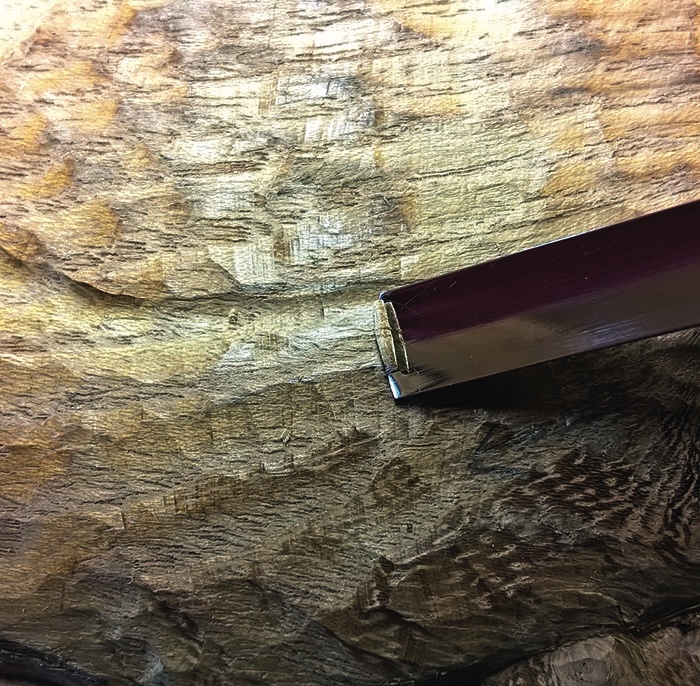
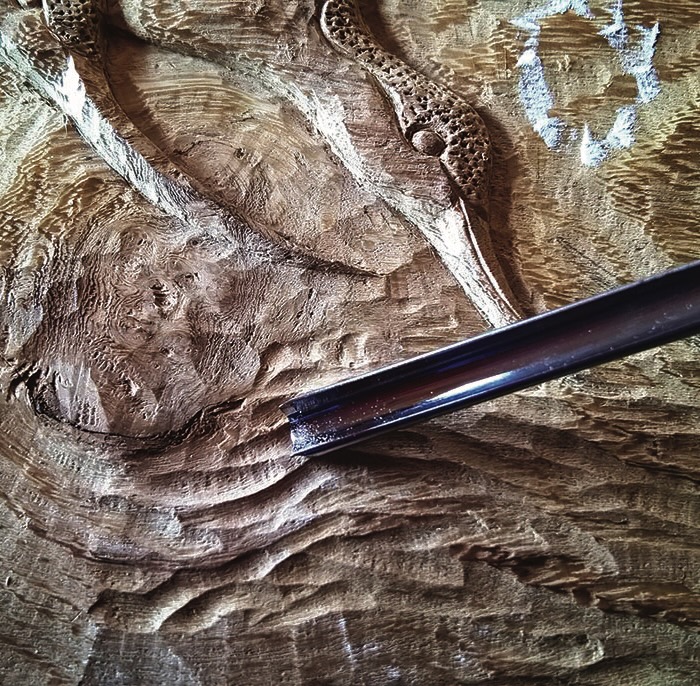
21. The water: Using the No.9, 6mm, cut flowing, curved grooves around the lower ends of the legs; in addition, using a No.5 gouge, areas of short, closely-placed cuts with peaks formed between them would give a rippled effect. Any remaining unworked areas of background can be textured in this way to finish the carving. It may be helpful to draw the flow lines with chalk beforehand
Wooden bird carving cleaned with a toothbrush.
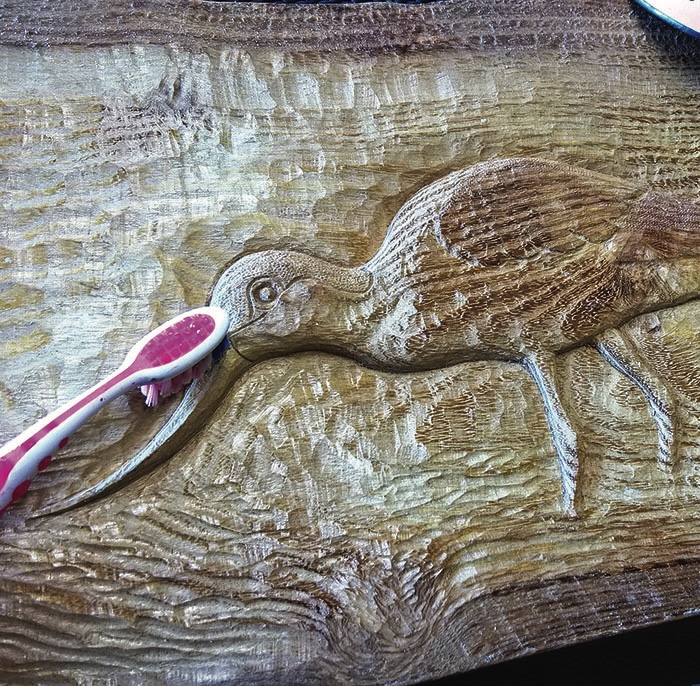
22. Complete the remaining birds and check all edges are cleanly cut. Carefully pare away any deep errant nicks, splinters or inadvertent cuts. Then use the finish of your choice – mine was a wax polish applied with an old toothbrush, rubbed in well and buffed up with a soft brush and lint-free duster
Wooden carving of birds on a branch.
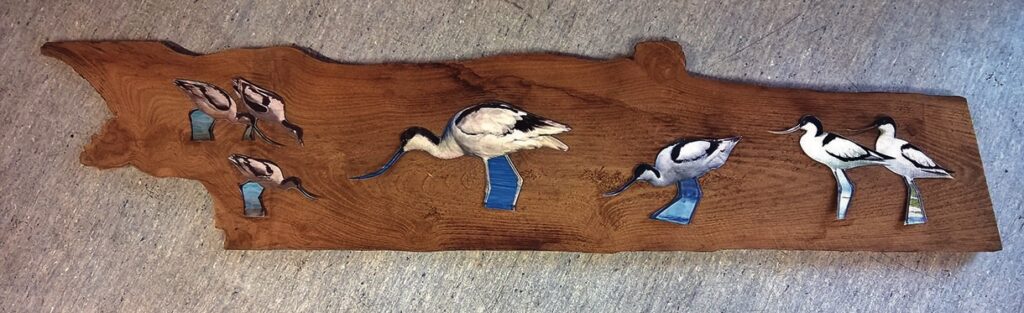
23. Finished avocets

Leave a Reply

Your email address will not be published. Required fields are marked *