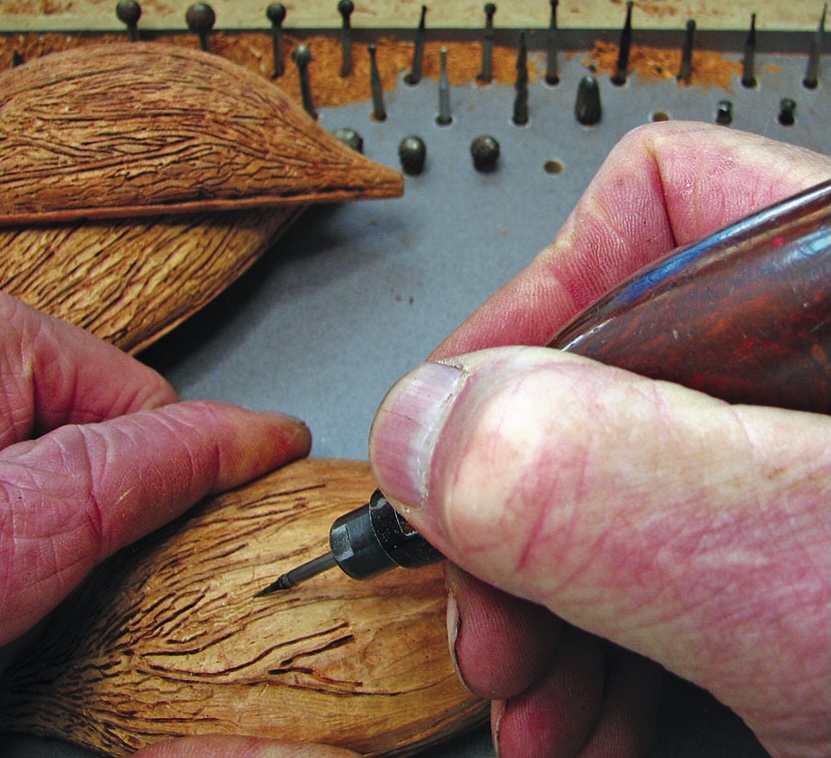
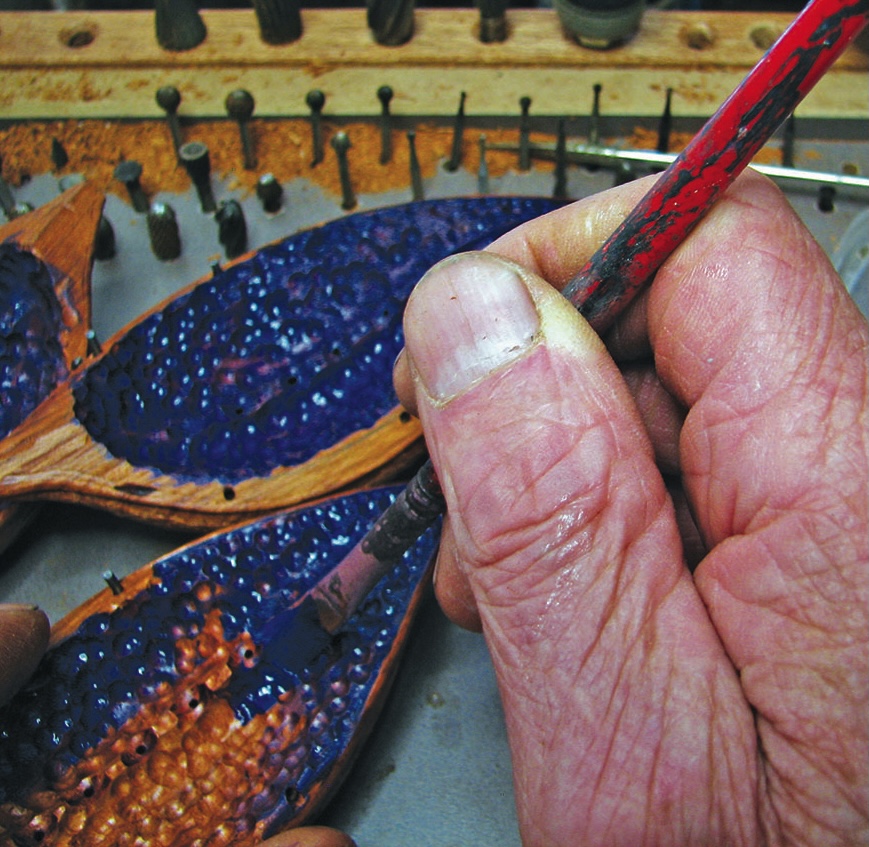
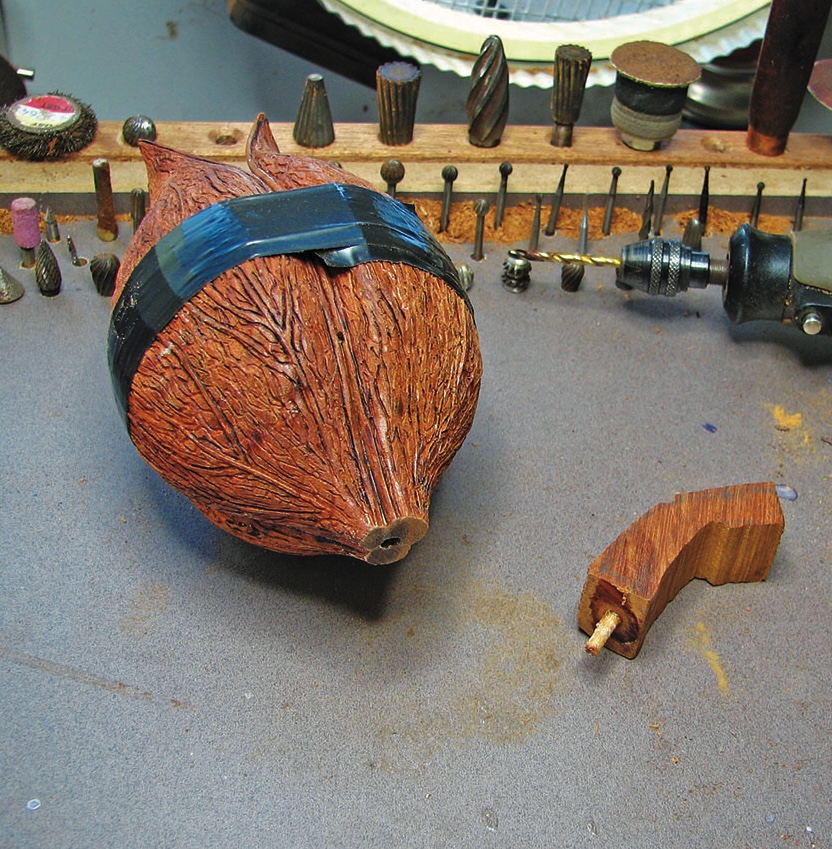
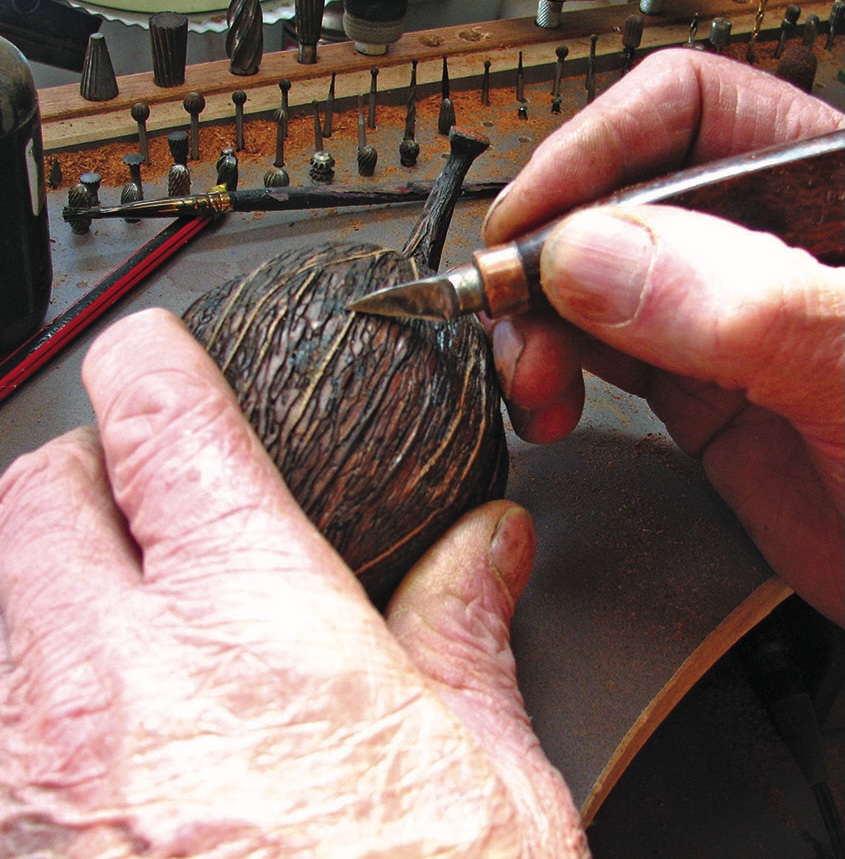
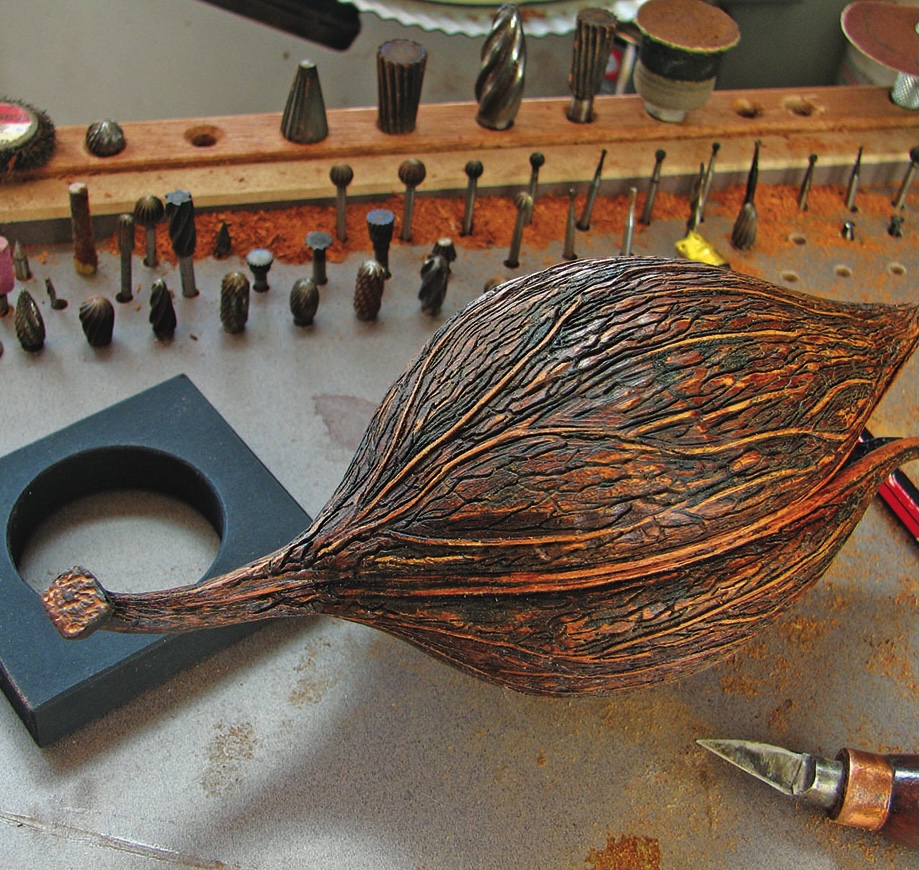
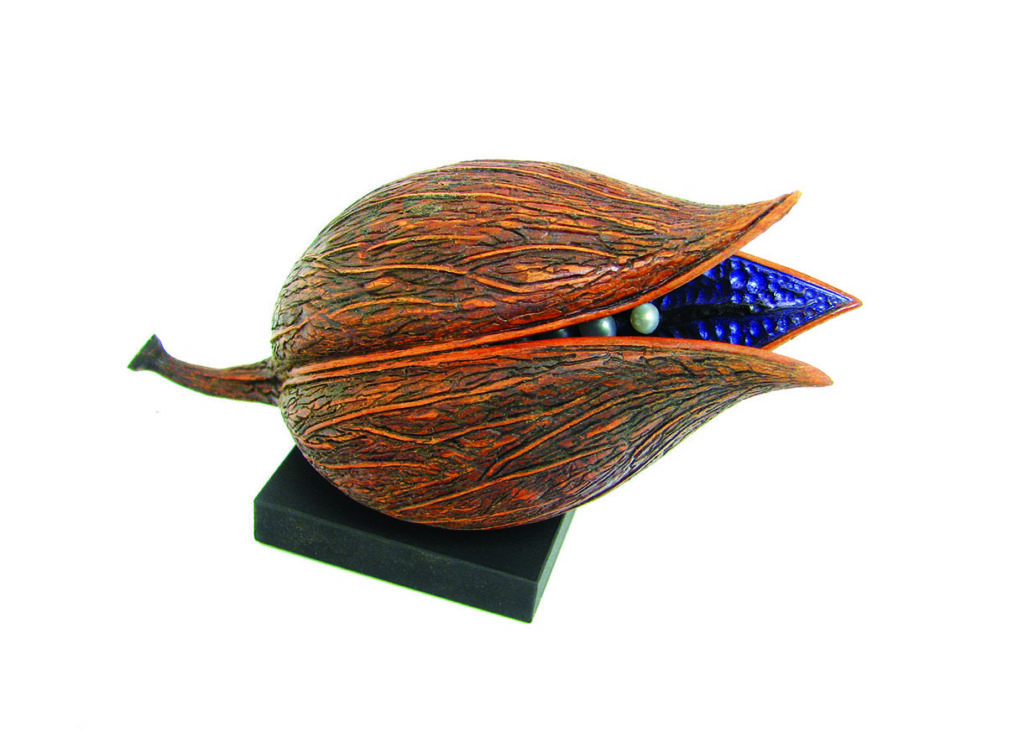
Taking inspiration from nature, Jack de Vos uses a variety of techniques to create this Trinitas seedpod
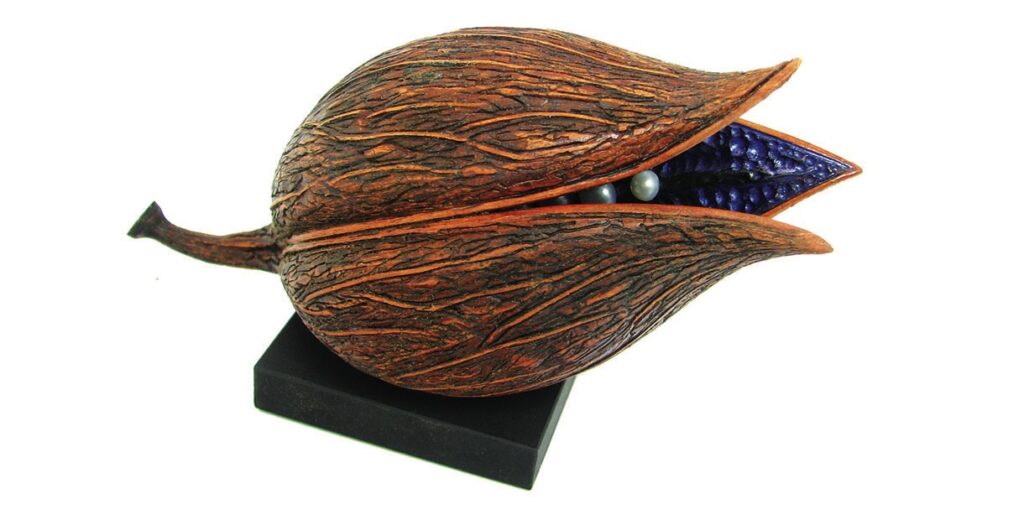
The Trinitas seedpod is the most recent addition to my seedpod series, which I have been adding to gradually over the years. I have been intrigued and preoccupied with seedpods for many years – the first one saw the light of day back in 2001. My Trinitas seedpod is a ‘flow-on’ from a previous pod, the Andromeda; the shape of the flower of that name inspired the seedpod. Having previously made a living off the land, I developed a strong affinity with nature. Inspiration is all around us: while at first you look for it, eventually you are so receptive to it that it will jump out and hit you squarely between the eyes.
Then it is a matter of having a system to retain the received information. Though most of us rely on our mental filing system, a note/sketch book is a safer way. A few of my pods are semi-copies of real pods, however, most of them are a far cry from the original inspiration and have taken on a life of their own. Most of my design work is a progression of ideas from nature, previous ideas from that source, and – last but not least – my mindset at that particular time.
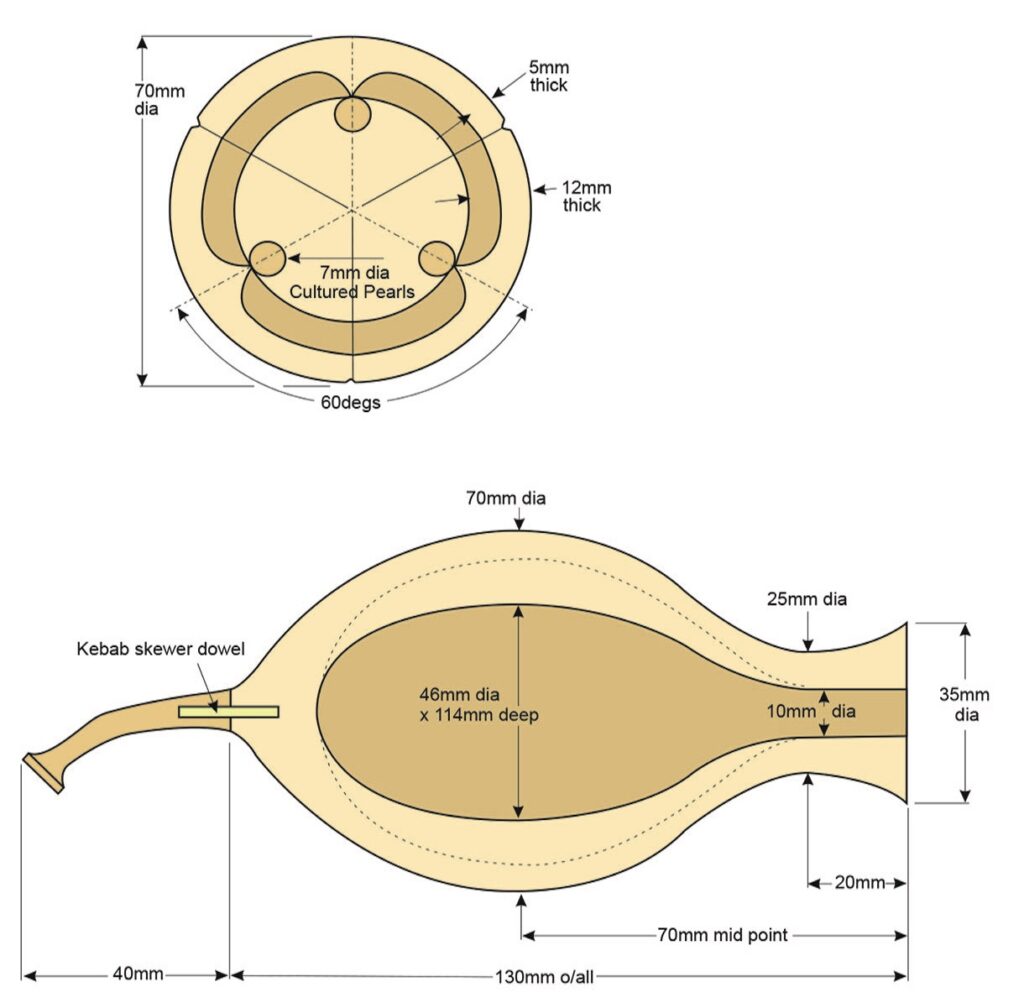
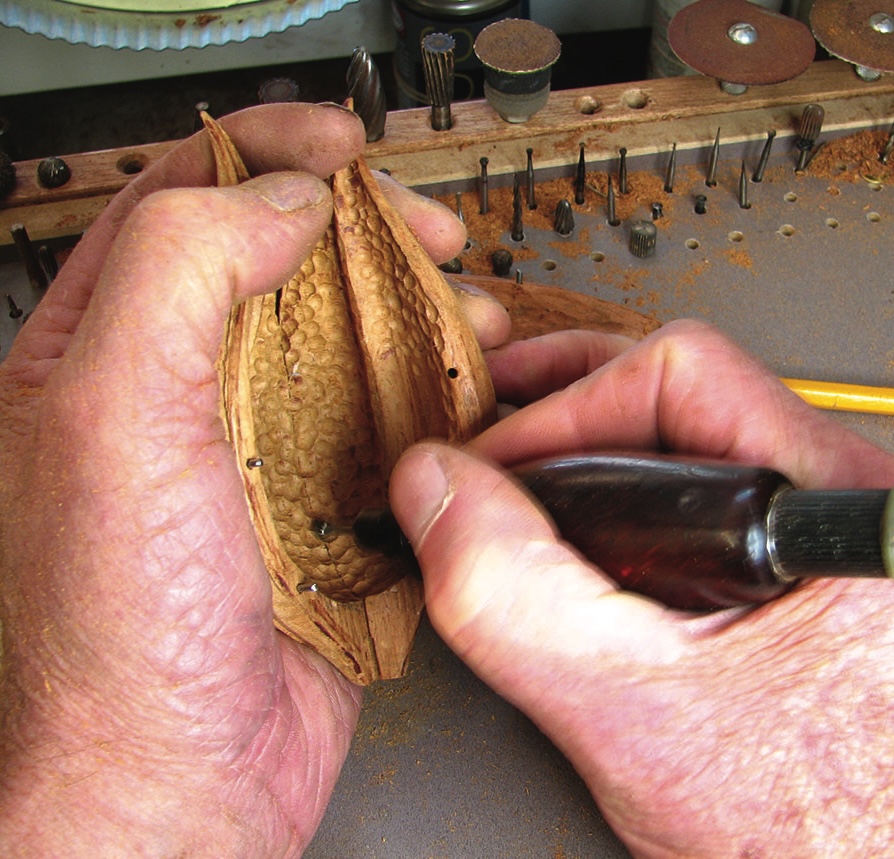
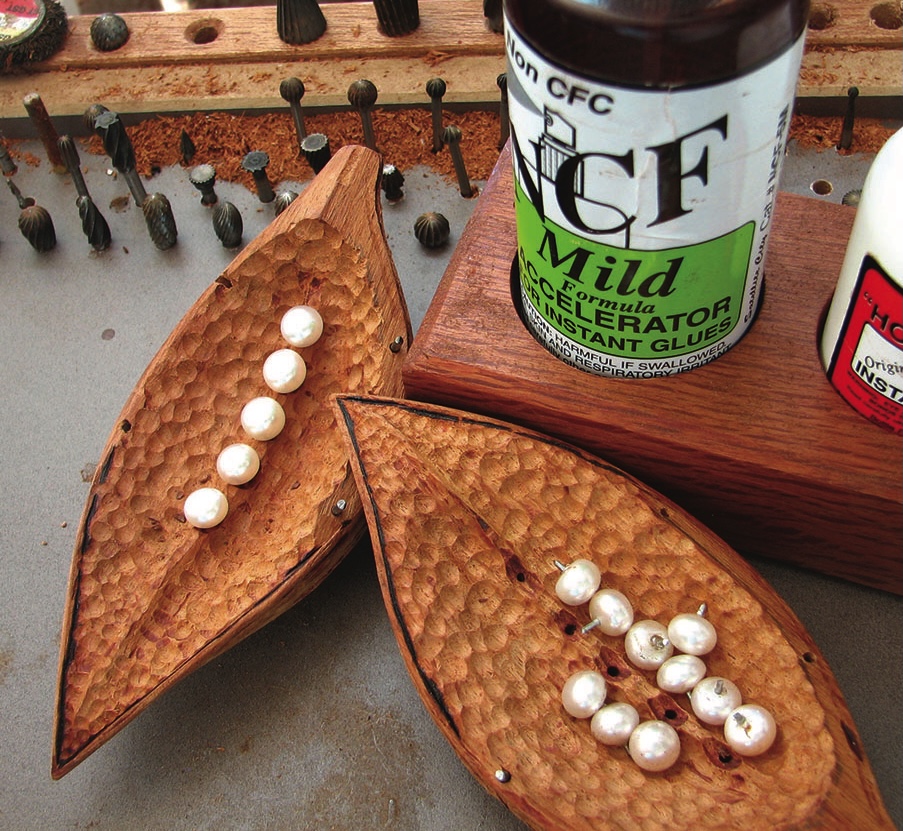
The wood I chose for the pod is our local sheoak (Allocasuarina fraseriana). This is quite a dense wood with a tight grain, it takes detail very well and is ideal for a small piece, such as a seedpod. Wanting to insert cultured pearls as seeds’ required some thinking about in order to get all the steps in proper sequence. Many sketches helped to visualise the end result.
Things you will need
Tools:
• Personal and respiratory protective equipment (PPE & RPE)
• Spindle roughing gouge
• Spindle gouge
• Hollowing tool
• Chuck
• Drive spur & revolving tailstock centre
• Rotary carving unit
• Pyramid-shape burr
• Cylinder burr
• Diamond disc
• Pair of compasses
• Compound drop saw (or bandsaw)
• Callipers
• Duct tape
Materials:
• Sheoak (Allocasuarina fraseriana)
• Acrylic paint
• Spirit stain
• Spray-on furniture lacquer
• Cultured pearls or imitation
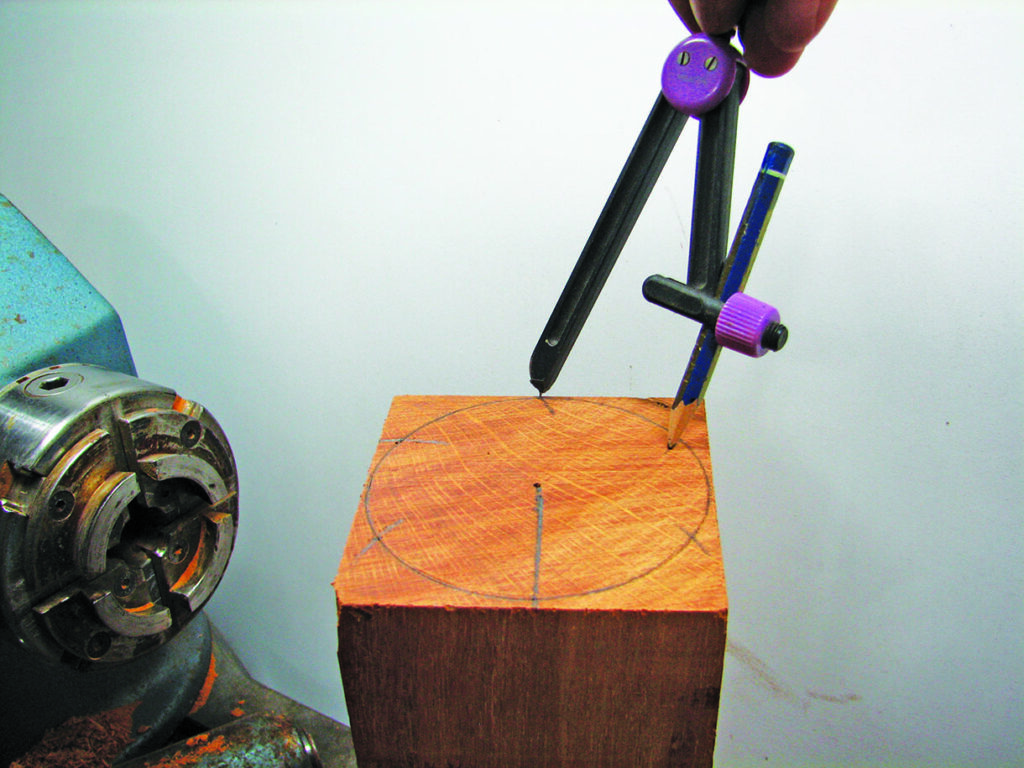
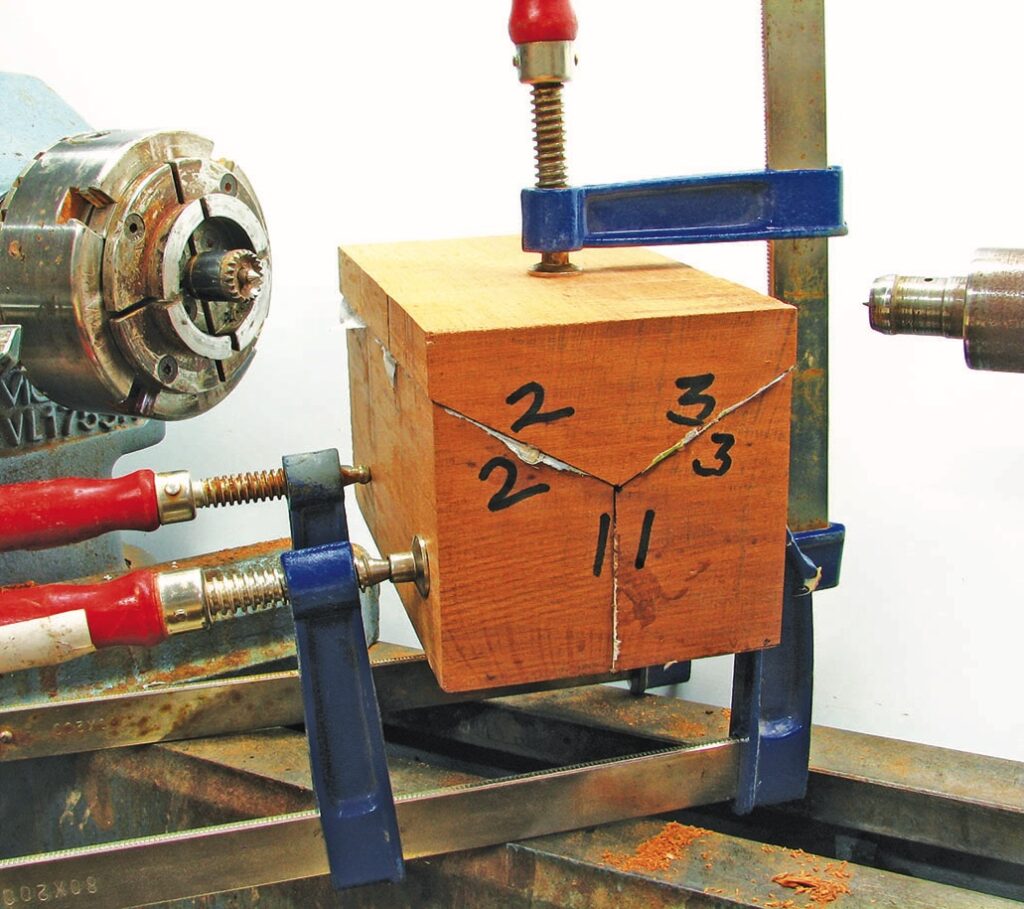
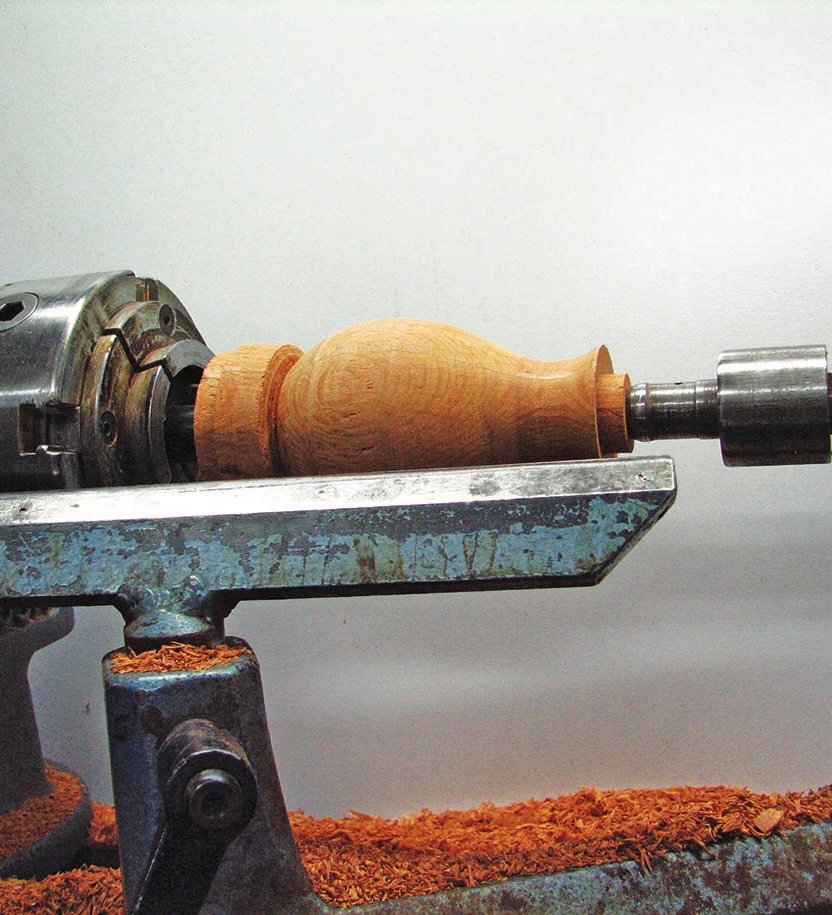
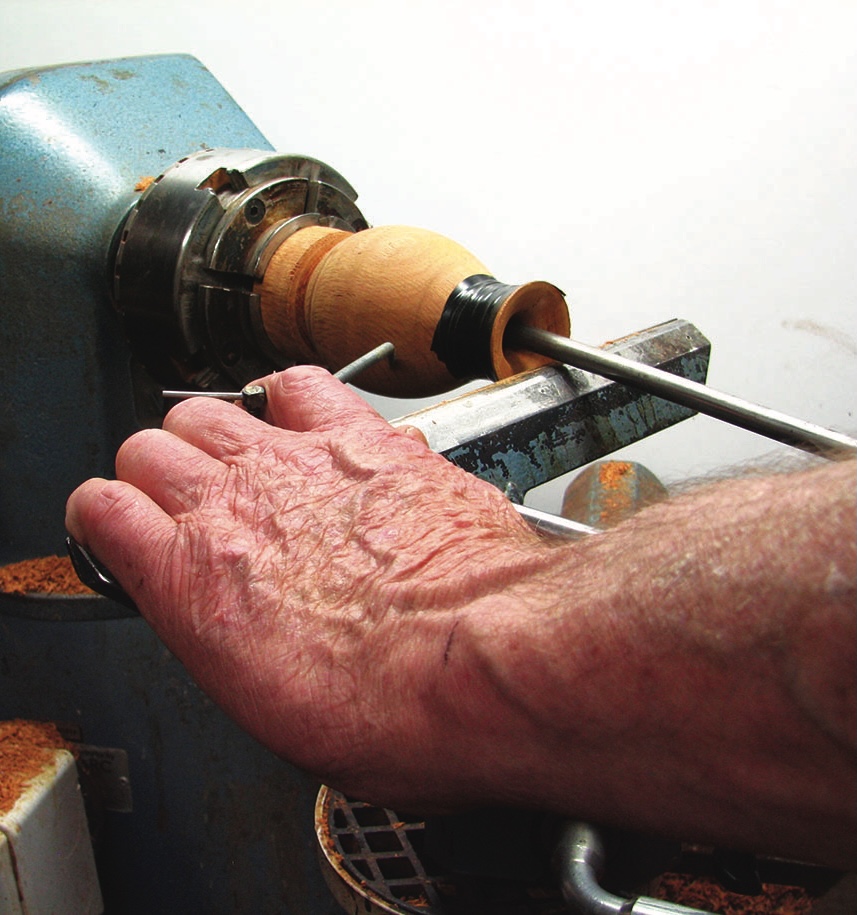
Drawing
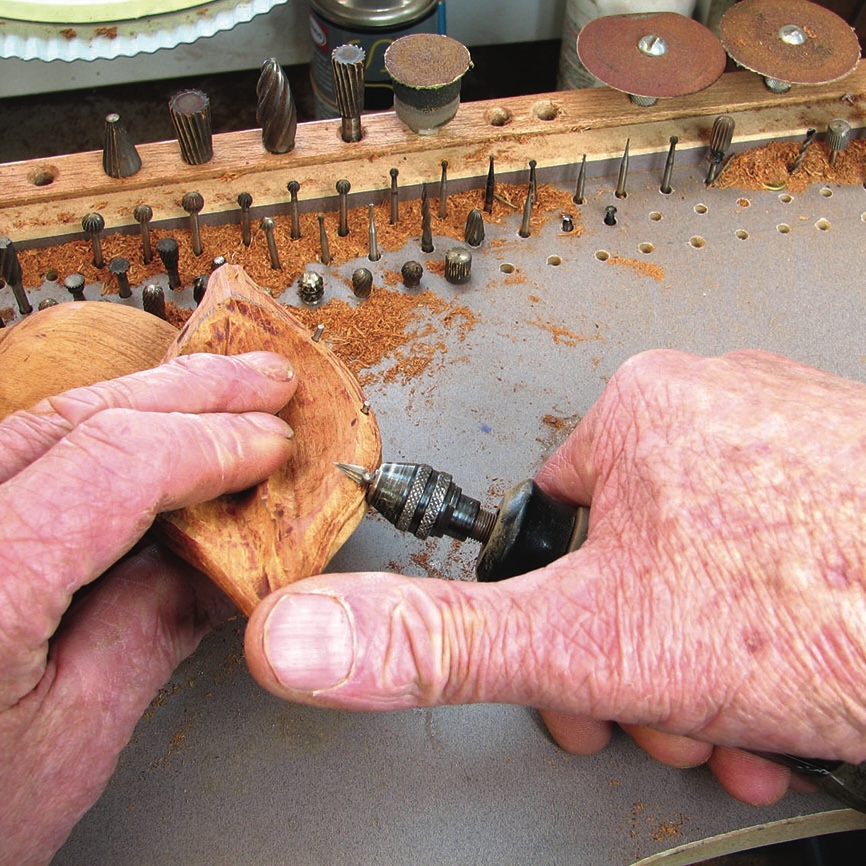
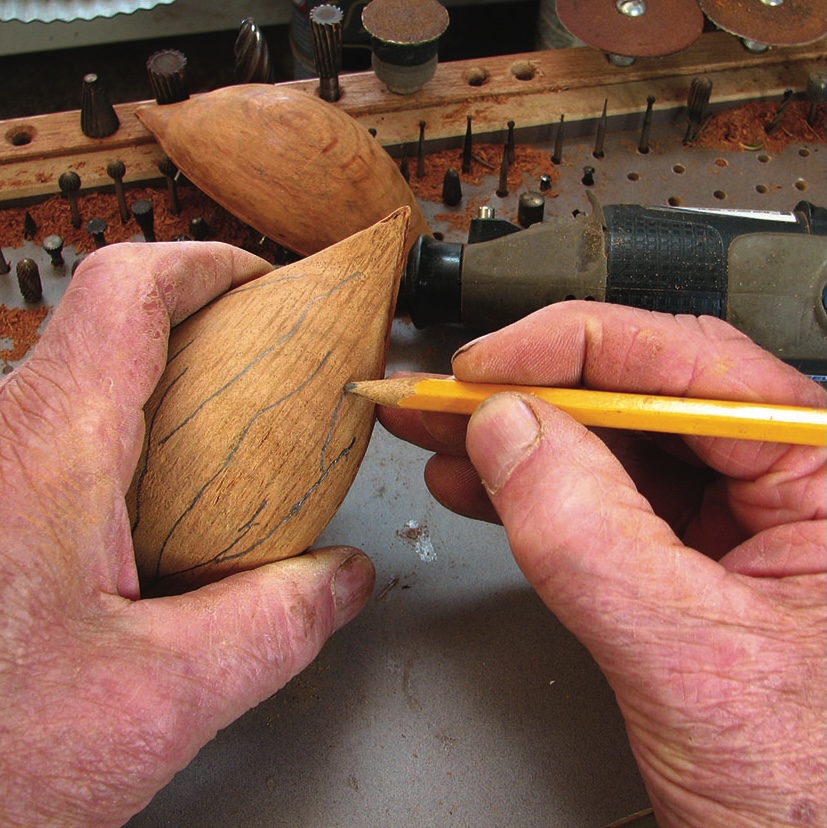
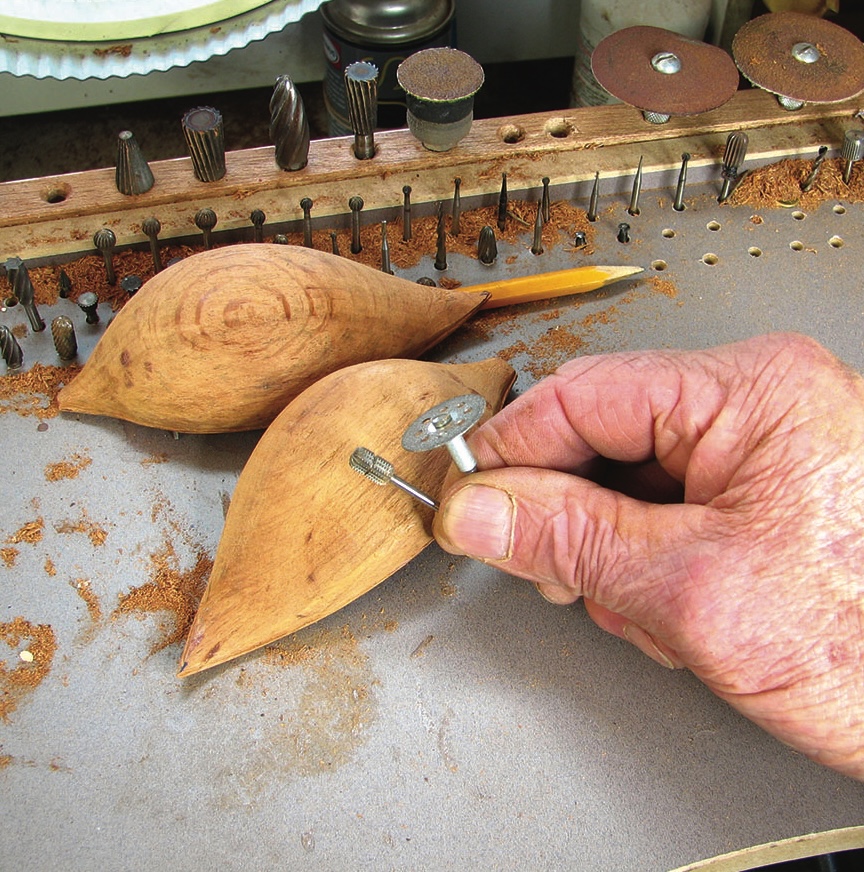
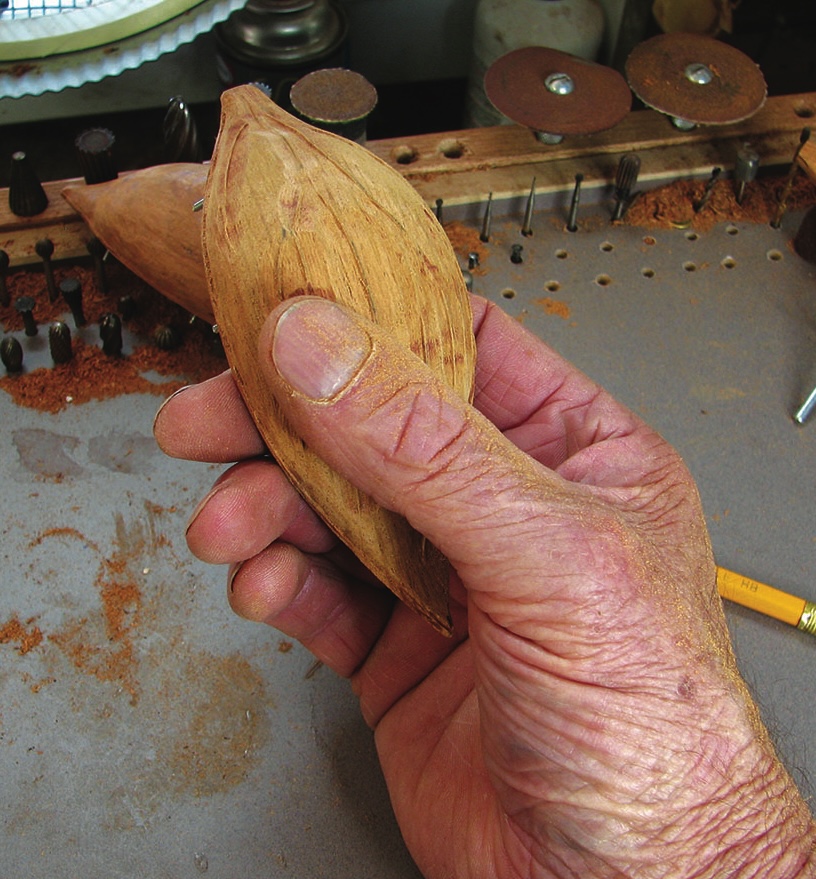
Top tips
1. While I do have a variety of rifflers to tidy up carved beads and ridges, my favourite tool is a 5mm square file, purchased at my local hardware store. To make it suit my needs, I ground one of the four sides completely smooth. By running the smooth side down you are able to tidy up the side of a bead without damaging the surrounding area. Conversely, by turning it cutting edge down you can flatten the surrounding area. This is also good for cleaning the internal corner without marking the bead.
2. A bland piece of wood can, with the right design, be made into a pretty piece of turning. Conversely a pretty piece of wood can be turned into ‘a nothing’ with bad design.
3. Better a small, well-thought out piece of turning than a large, badly-designed piece which is only good as a doorstop.