Ramon Valdez upgrades his belt sander to tackle concave curves with ease and precision.
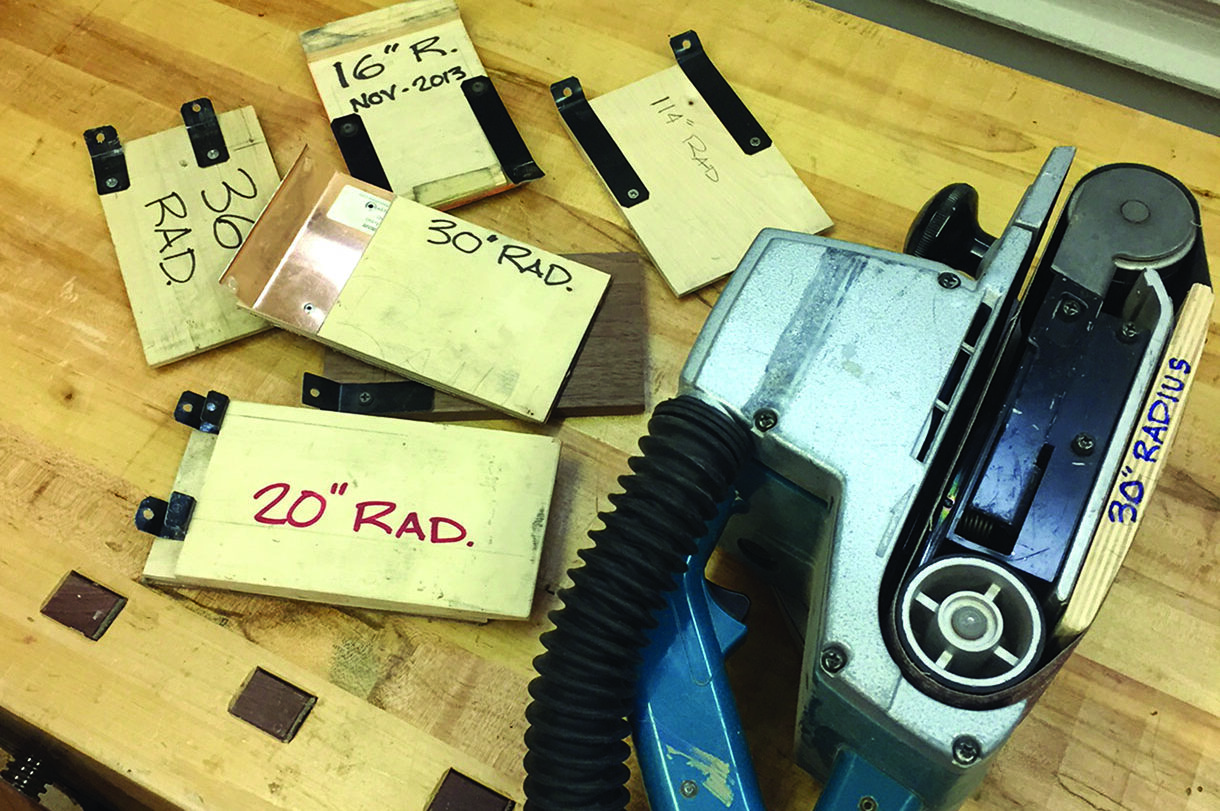
Sanding inside curves can be tricky to get smooth and accurate. I love the versatility of a 4 x 24in belt sander, and for years now I’ve been making curved platens with great results. I’ve made them with a radius as small as 16in, and as large as 201in. I like using Baltic birch plywood because solid wood tends to warp, especially when the friction generated creates a bit of heat. This latest version was made to correspond with the inside, or front face, of a set of chair backs that featured some decorative marquetry panels. The formers that were used to make the chair backs were a perfect consistent arc so it was easy to calculate the radius for this platen.
Making curved platens
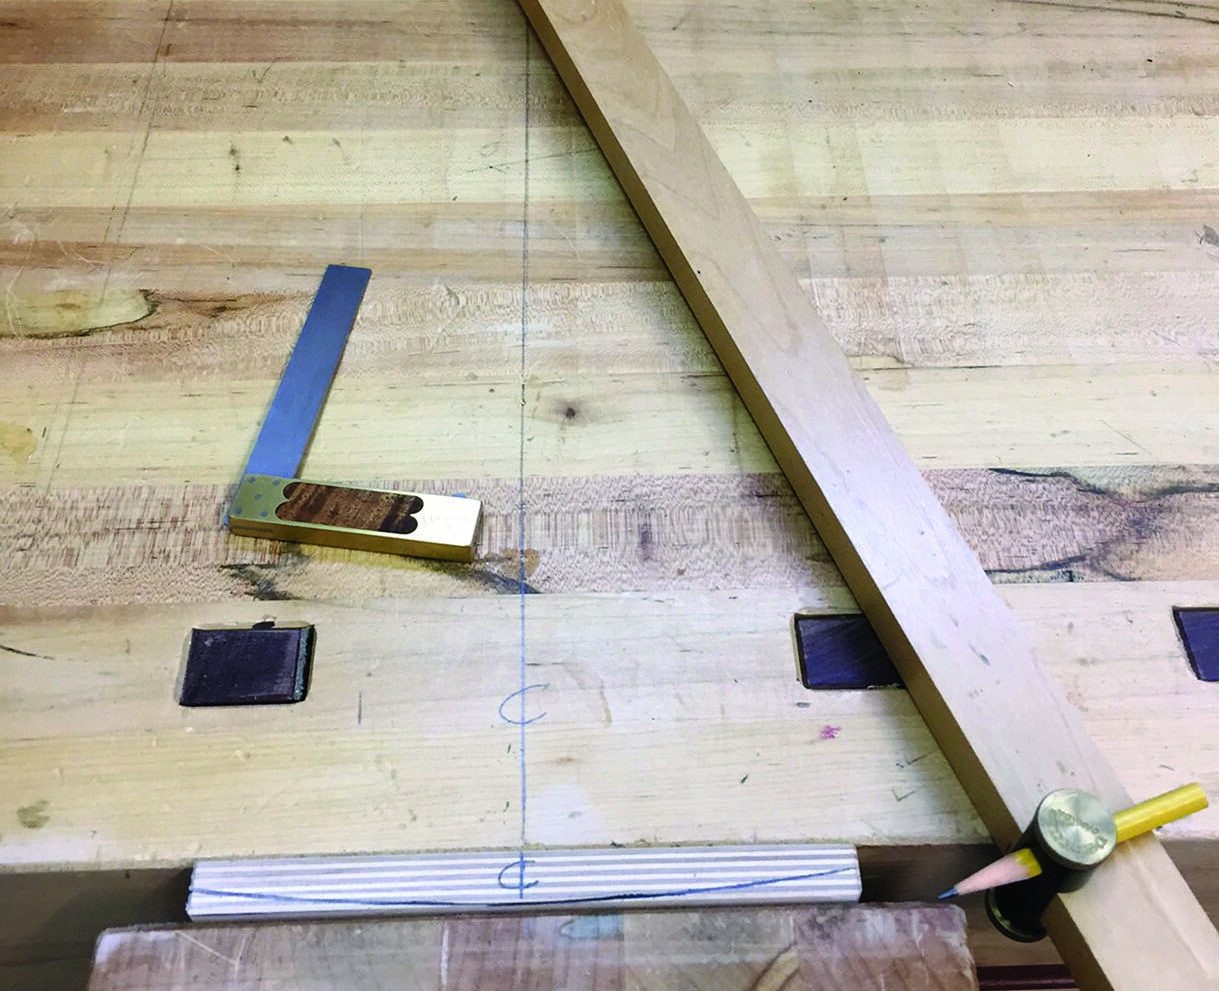
I start with a block that’s 4 x 6¾in, clamped in my vice so I can draw a radius. A set of trammel points can be used to mark curves greater than your compass or dividers. Avoid making the blocks too thick or you may find your belts won’t fit over the platen when it’s fixed to the machine.
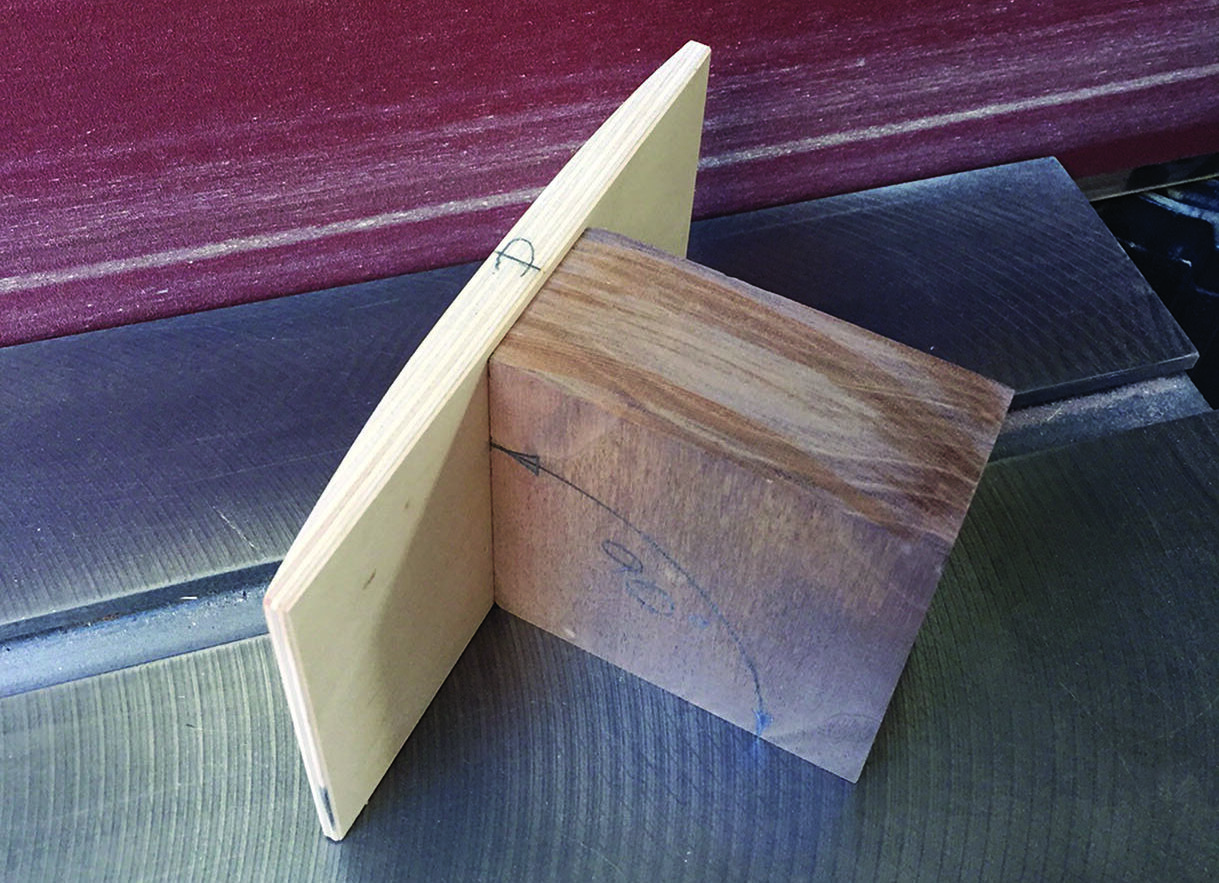
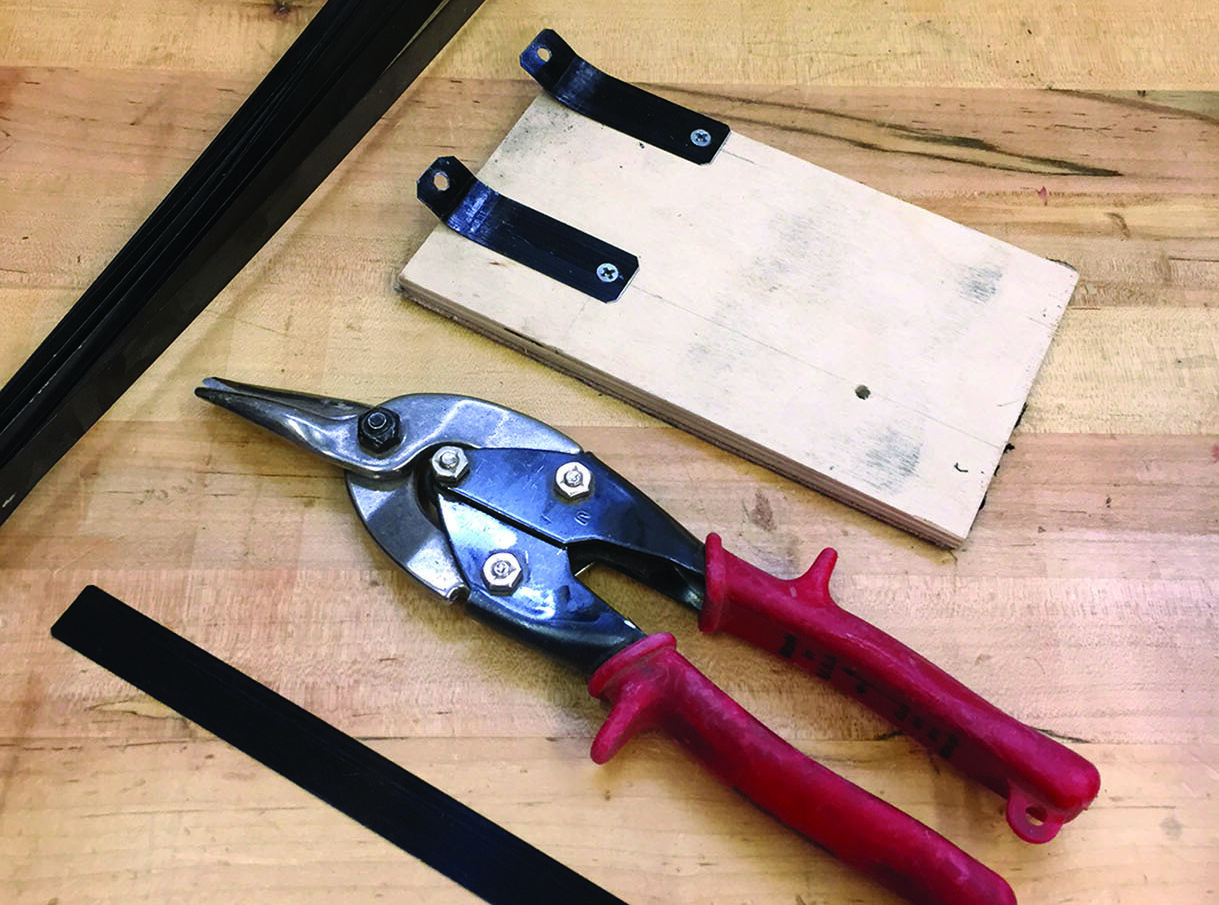
After cutting close to the line on the bandsaw, I smooth things up at my edge sander making sure to keep the curved face square across the width and free from any raised or flat points. I use steel banding to make the small bracket necessary to hold the platens in place. It’s easy to drill and cut with regular snips or shears.
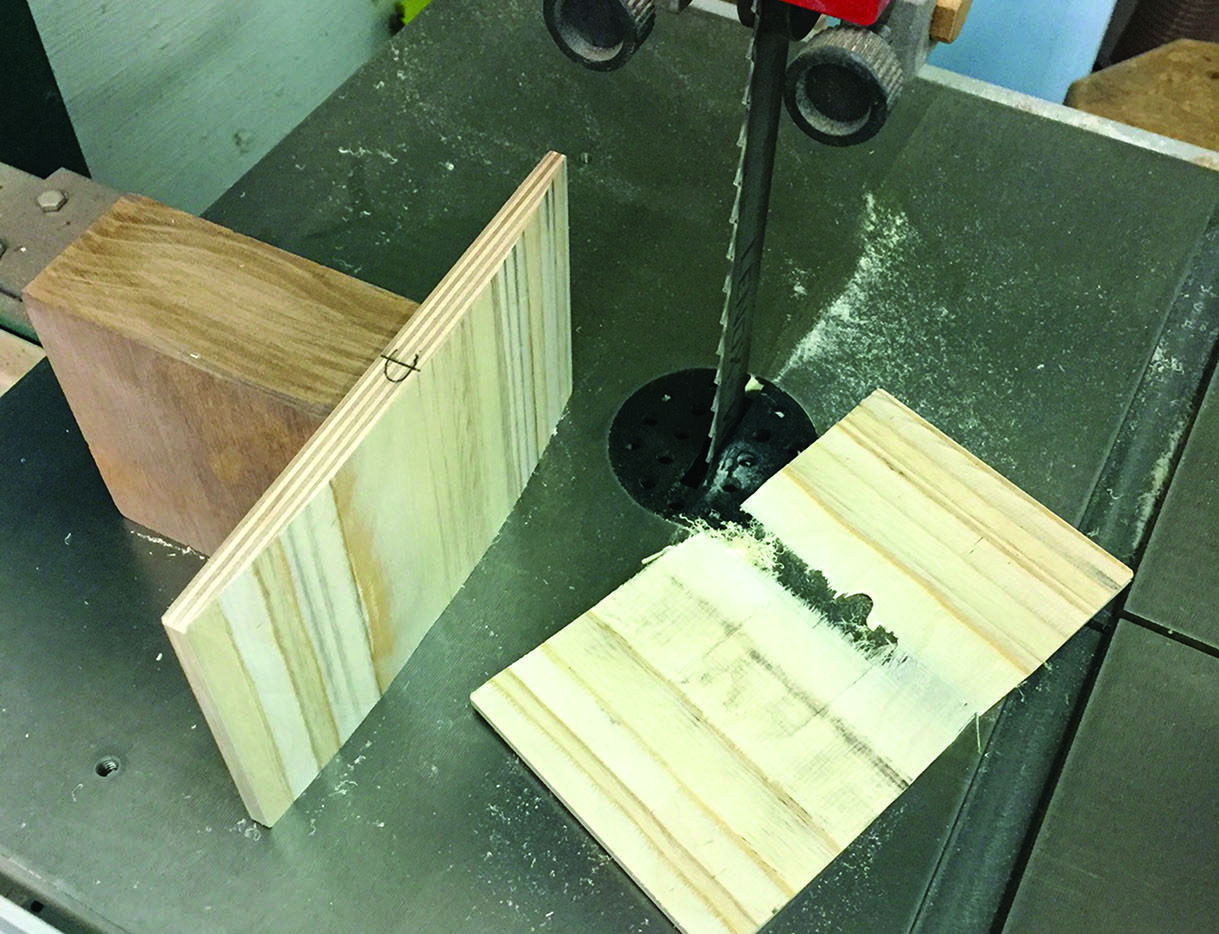
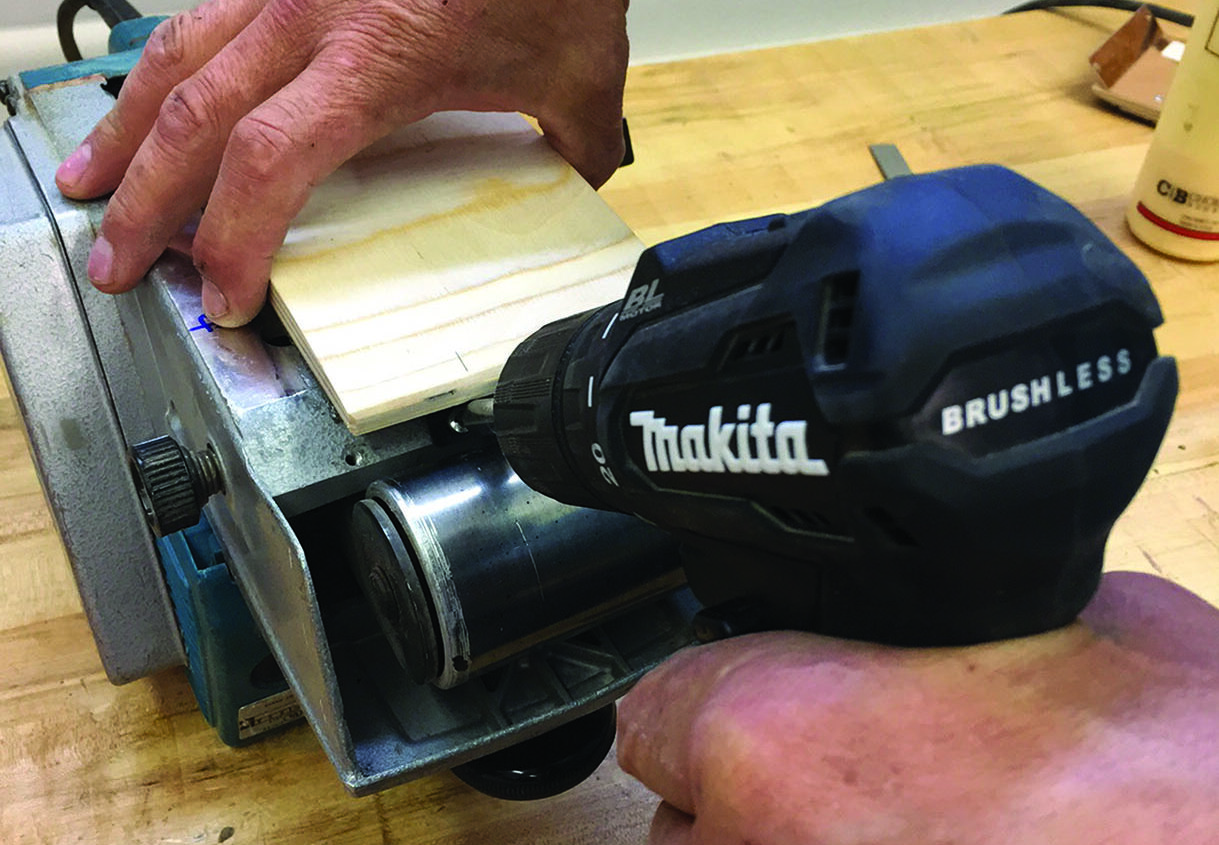
Making the cut at the bandsaw. The glued-on block provides safety and accuracy to keep things square and true.
Stay accurate by using a square, and carefully do your layout marks for locating and drilling the holes in the platen.
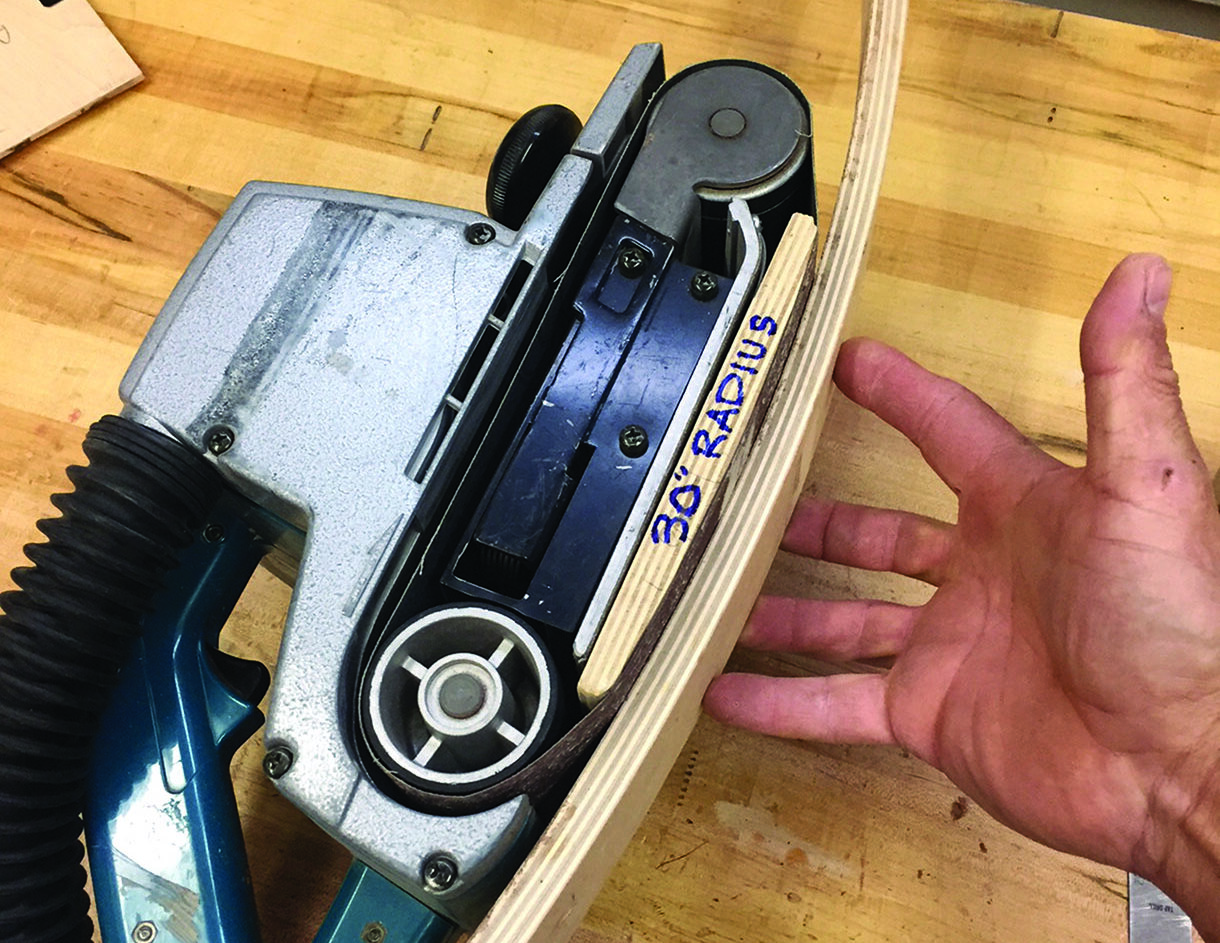
Attach the steel banding brackets to the plywood with small wood screws. Before attaching the platen to your machine you may have to remove any other material from the base plate – such as the graphite strip, and retain the original machine screws to attach the assembly to your belt sander. The factory-fitted graphite sheet performs an important task by reducing friction on the inside face of the belt and therefore wear. If you anticipate your platen will come in for a lot of use, it’s worth sourcing a self-adhesive graphite strip to fix to the face of the platen. You may find you need to factor the increase in thickness to your original radius setting.

Further reading
PHOTOGRAPHS BY RAMON VALDEZ