Murray Taylor on the art of creating a heraldic design
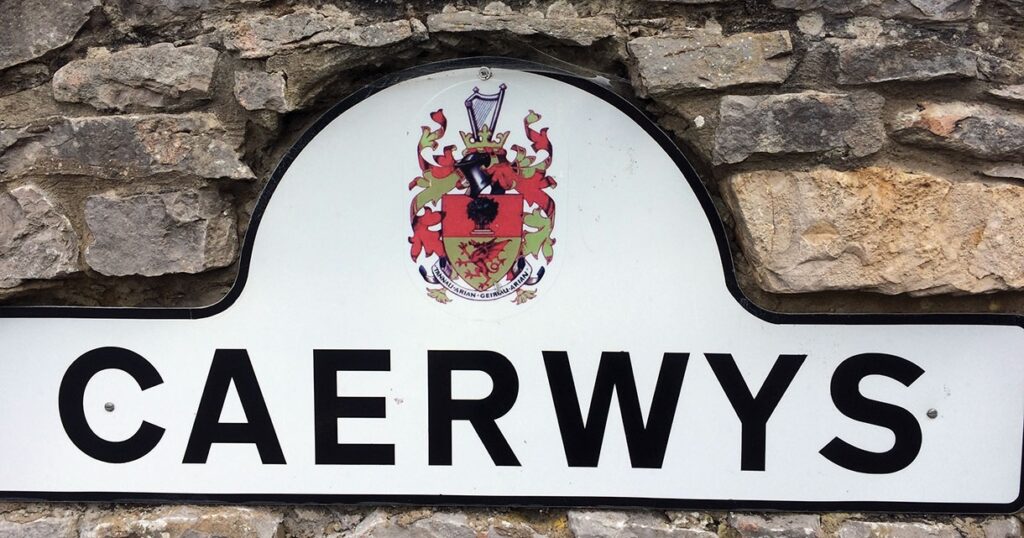
I live in a small place in North Wales, which you might be forgiven for thinking to be a village, but you would be wrong – it is, in fact, a small town called Caerwys. It was granted this status in 1290 by Royal Charter in the reign of King Edward I and as such has a coat of arms. This is depicted on several signs in the town and is represented on the Mayoral Chain of Office. The chain was brought to me for its annual checkover as I was a jeweller and silversmith in my working days. It was this that gave me the idea of writing about carving a coat of arms.
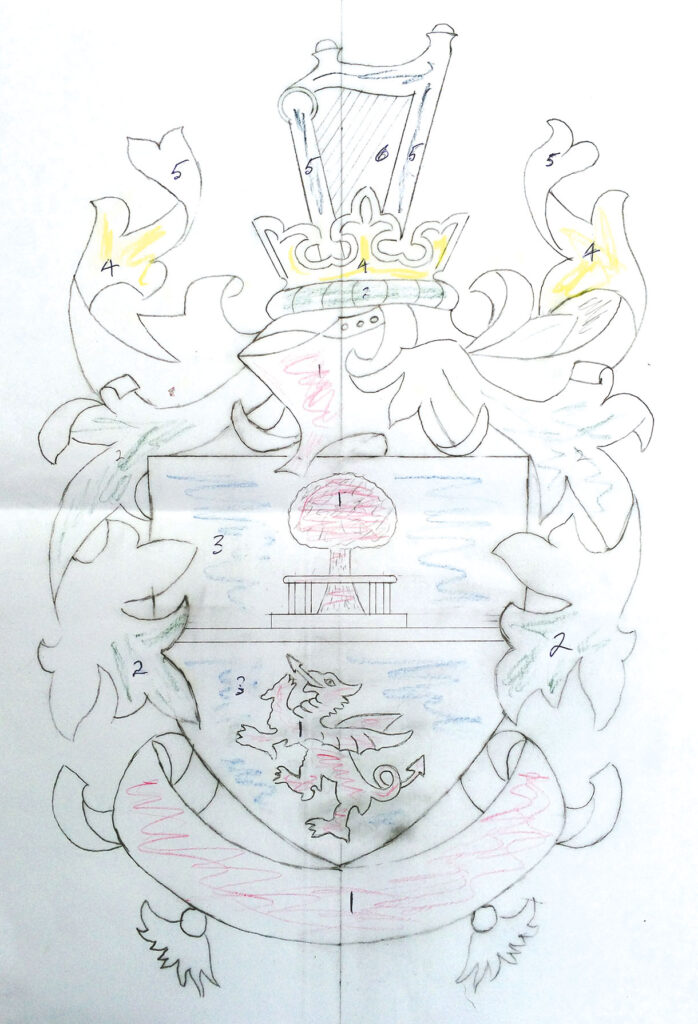
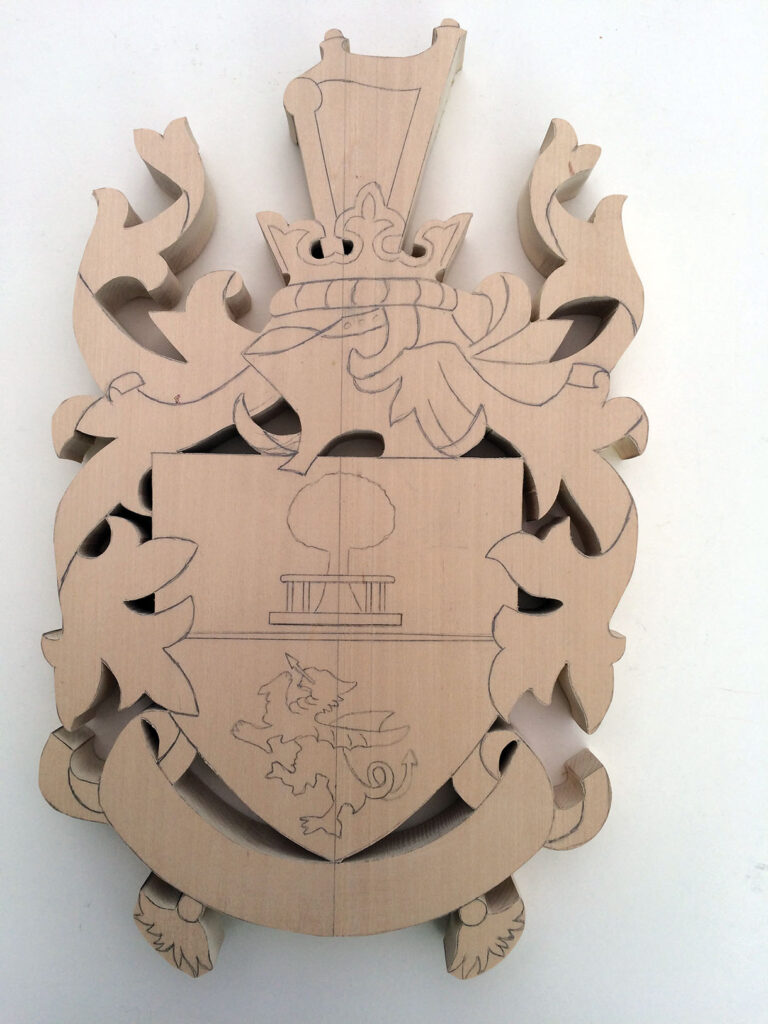
Over the years I have been asked to carve several coats of arms and the first problem I have come up against is getting a really good picture or drawing – this is very important as the design can be extremely complex. The first task is to research the meaning and symbolism in the piece and then make a good working drawing indicating the different levels; I do this with numbers and coloured shading.
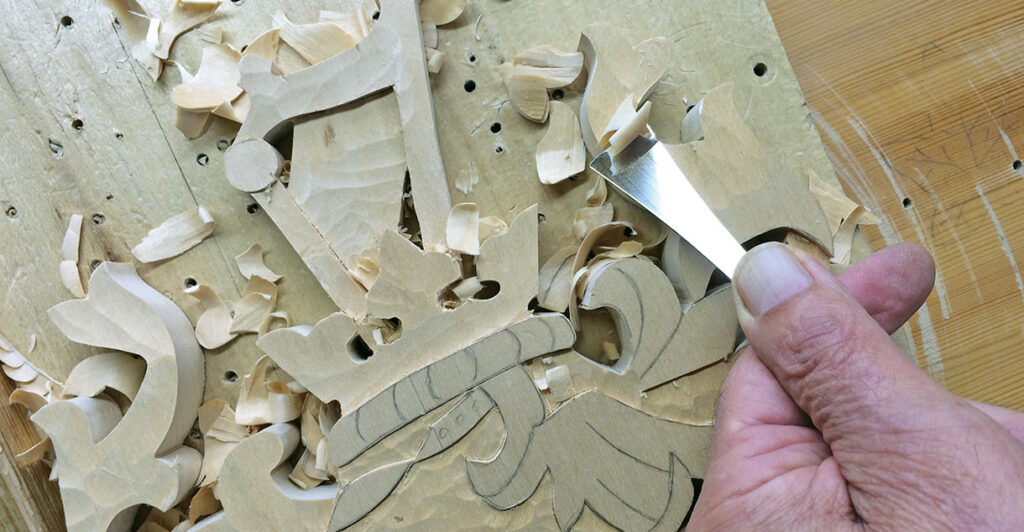
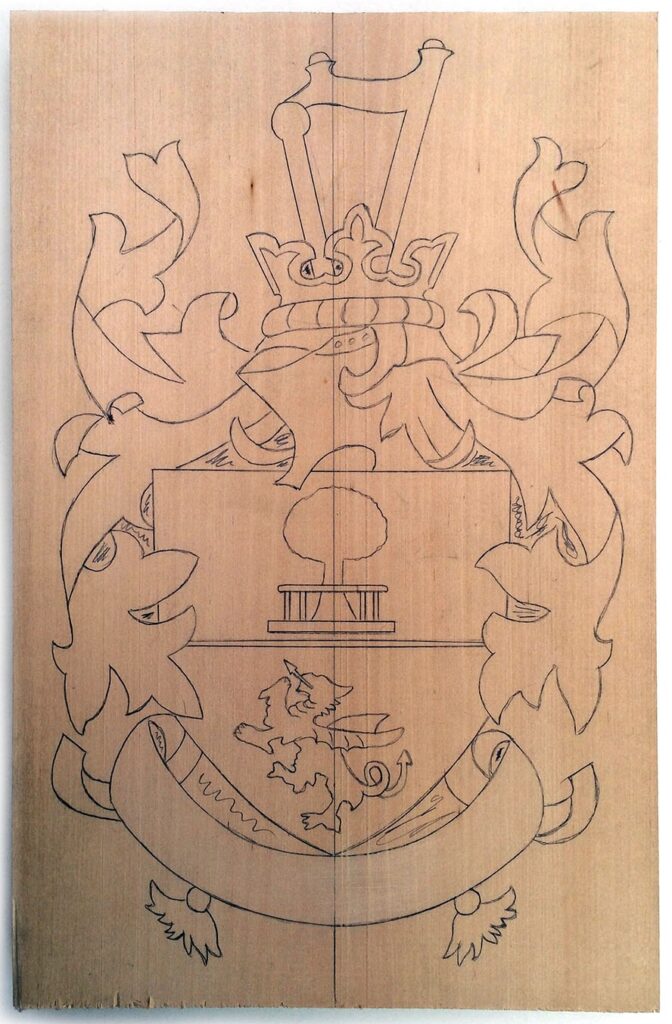
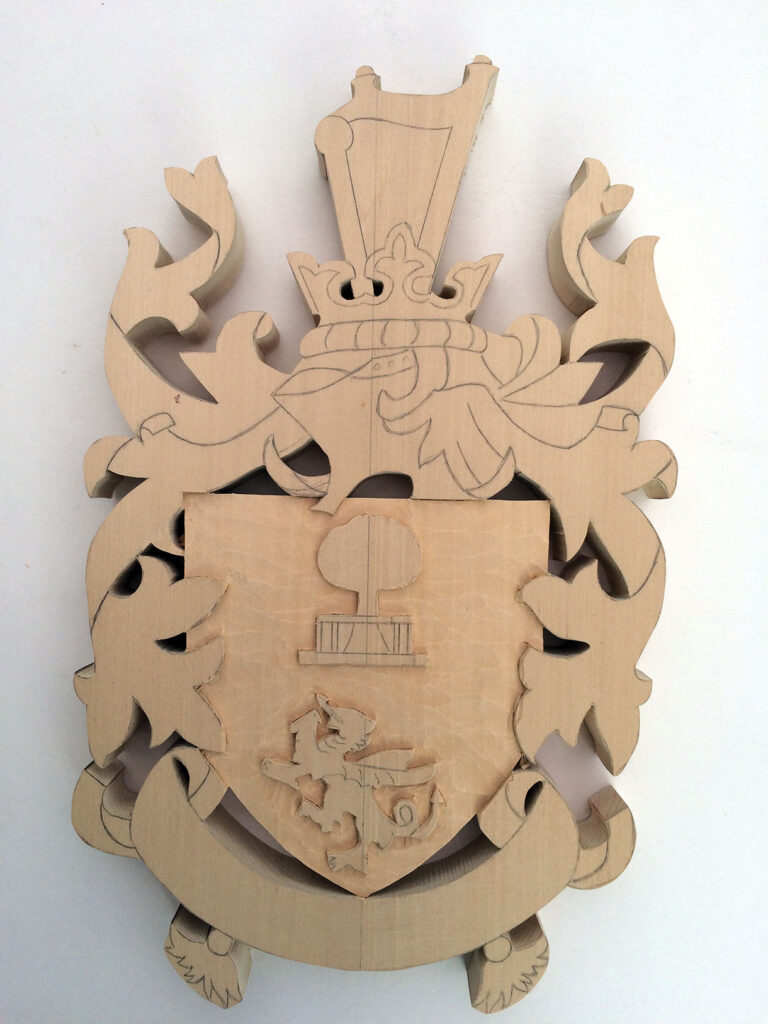
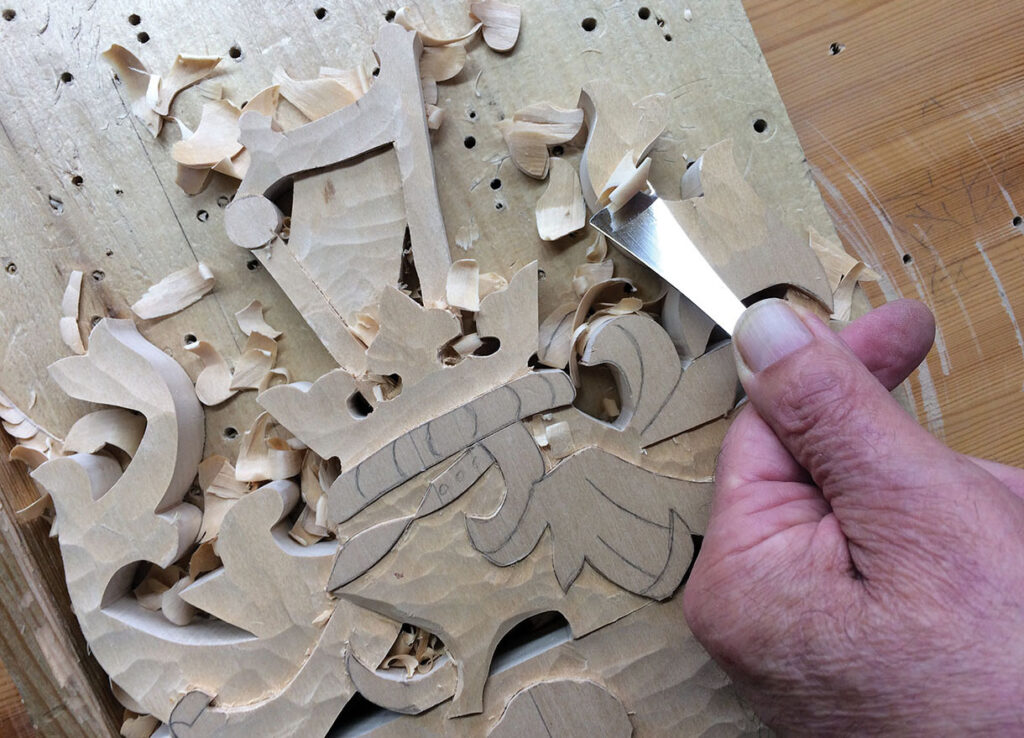
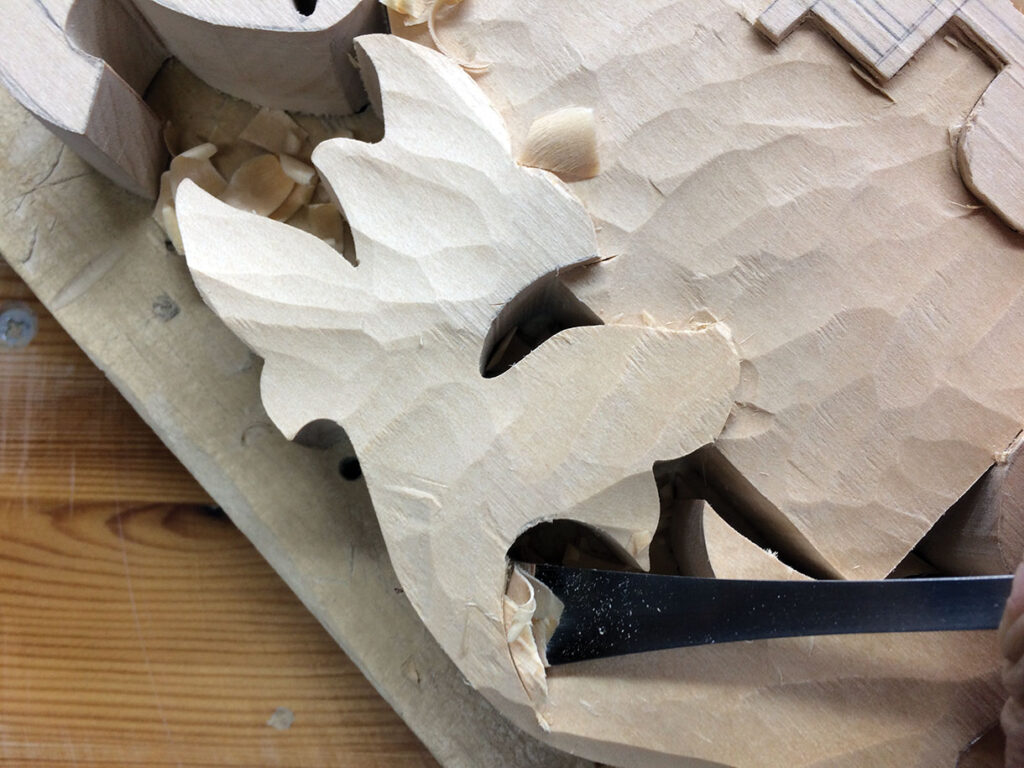
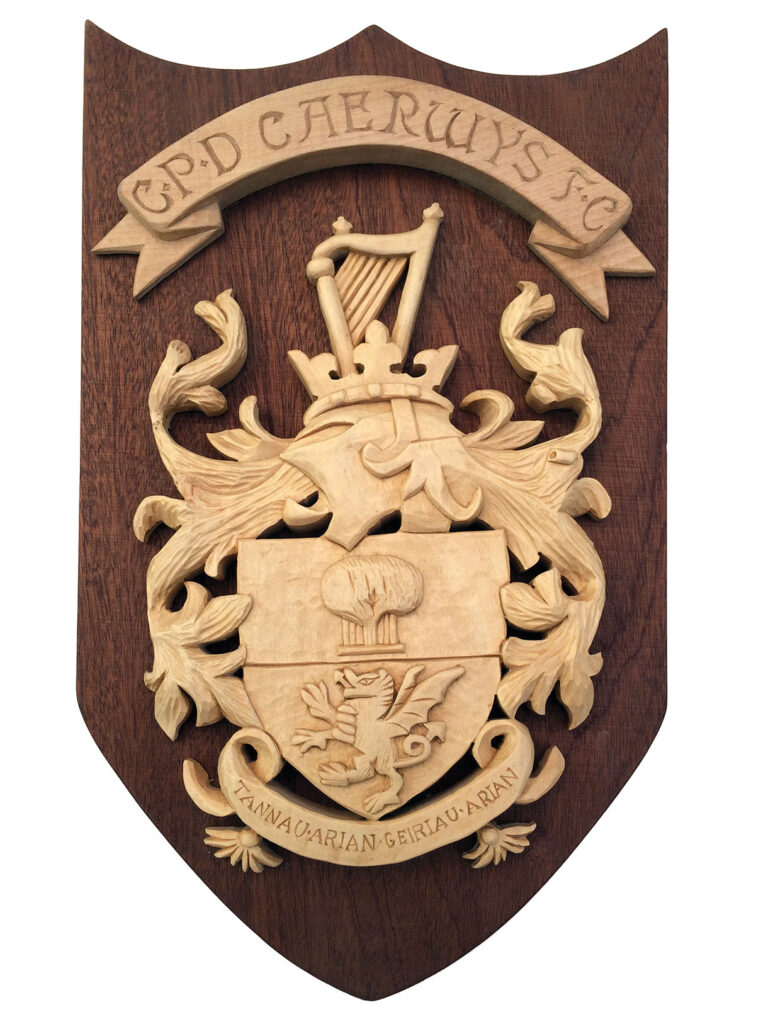
Now it’s time to start carving and I like to have the working drawing next to the workpiece in order to make constant references, especially regarding the twists and turns in the foliage. The emblems on the central shield – in this case the dragon and the tree – would be set in and the background lowered as in any relief carving. The modelling of the dragon and the tree can now be left to a later stage, but the lowering of the background of the shield facilitates the carving of the leaves that overlap it.
The dragon, of course, represents Wales and the tree, which used to stand in the middle of the crossroads at the centre of Caerwys but was moved on to the square many years ago for ‘safety reasons’, is the emblem of Caerwys. The harp represents the Eisteddfod of 1568 coming out of a ‘bardic crown’. An Eisteddfod is a cultural gathering covering literature, music and art through the medium of Welsh.
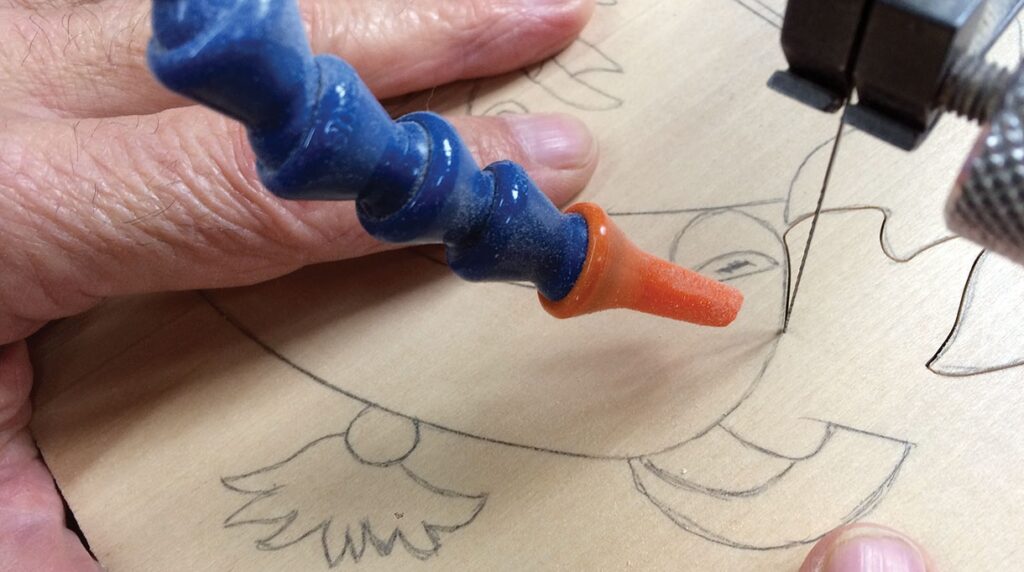
Carving the coat of arms
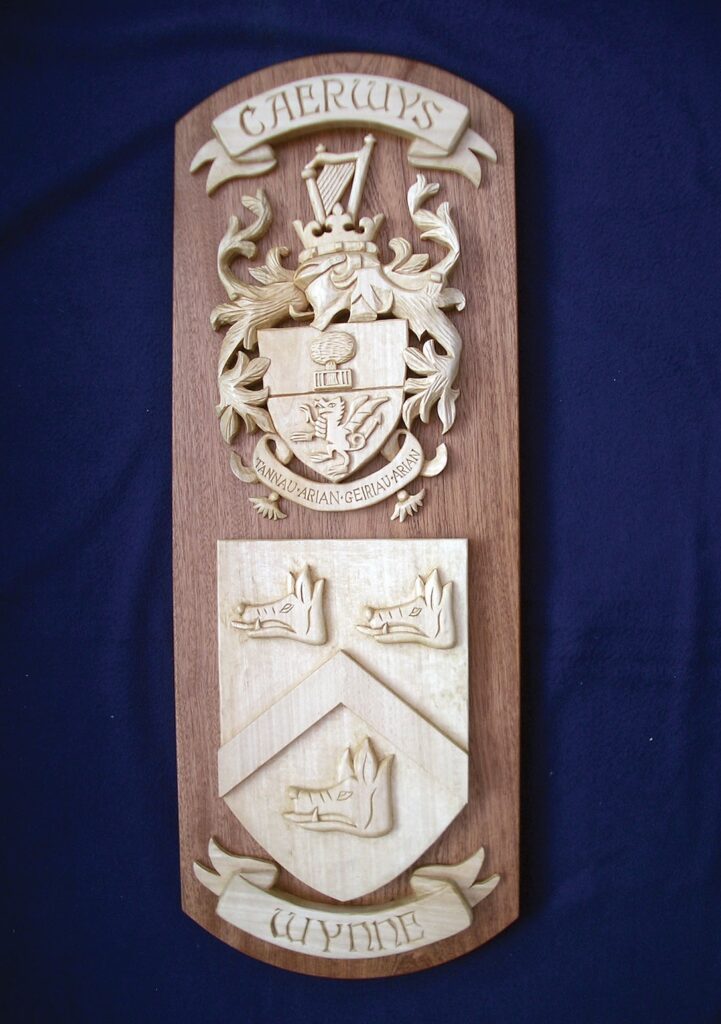
The Wynne coat of arms
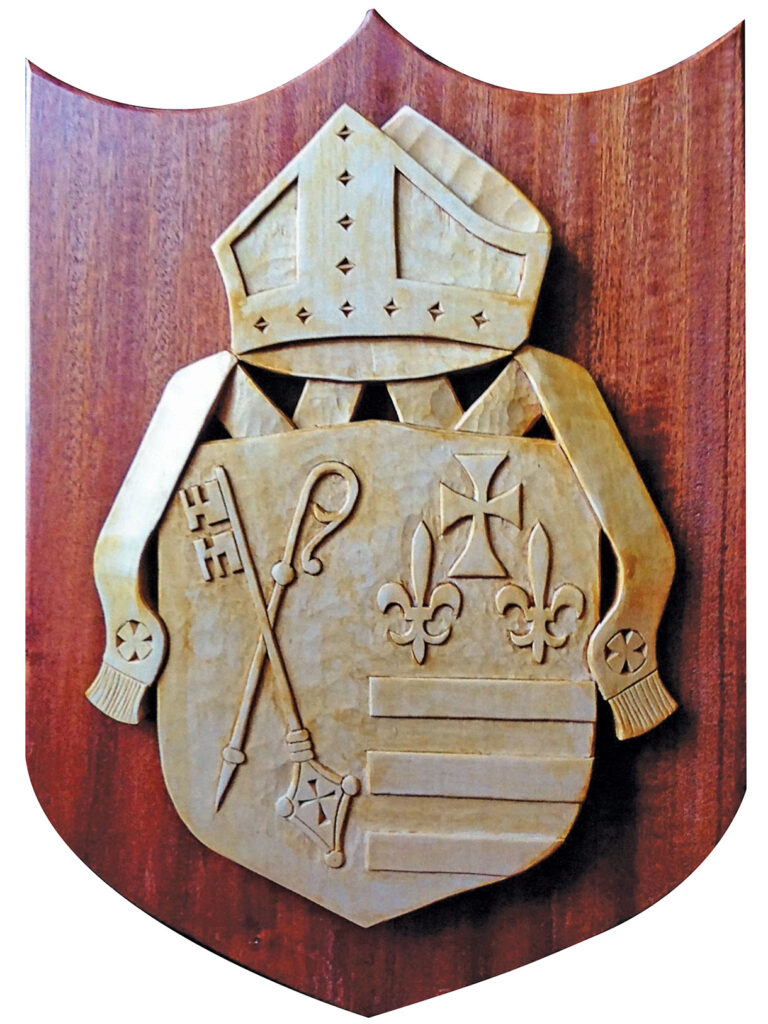
Some years ago, during the renovation of an old hall in Caerwys, a coat of arms was discovered behind an inglenook. This coat of arms belonged to the Wynne family, who had departed for America in 1682 along with another family, who had suffered religious persecution as Quakers. The head of the other family was one William Penn, who went on to found Pennsylvania, while the Wynne family prospered in various part of America. Some present-day members of the Wynne family came over to visit Caerwys and I was commissioned to carve the double coat of arms as seen in the photograph.
Heraldry
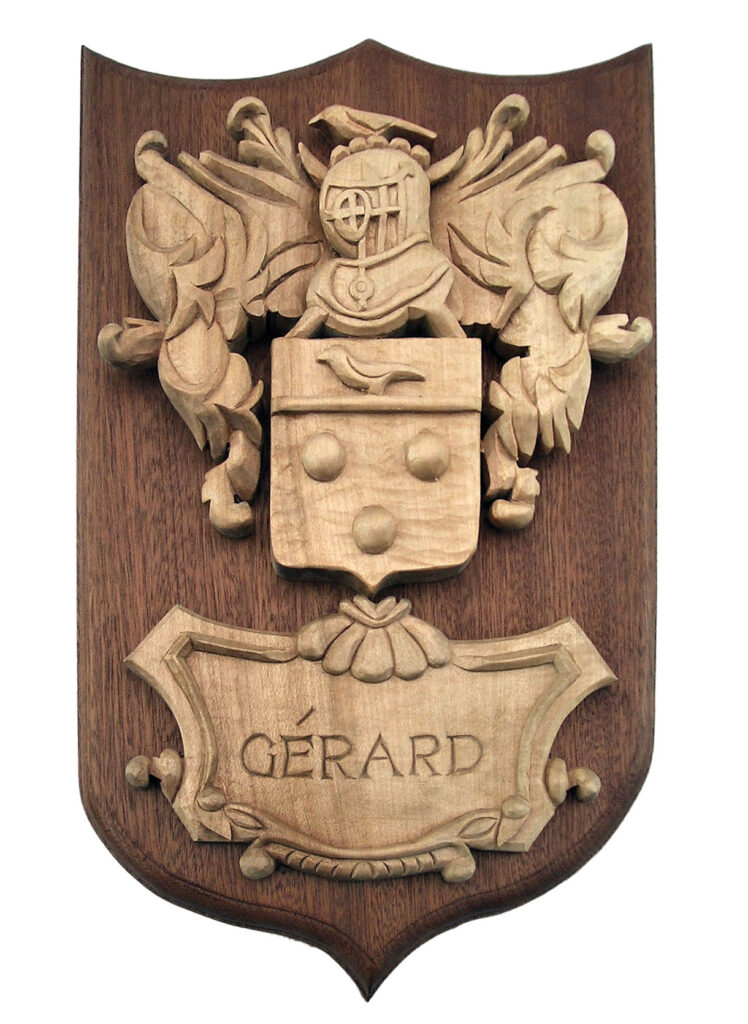
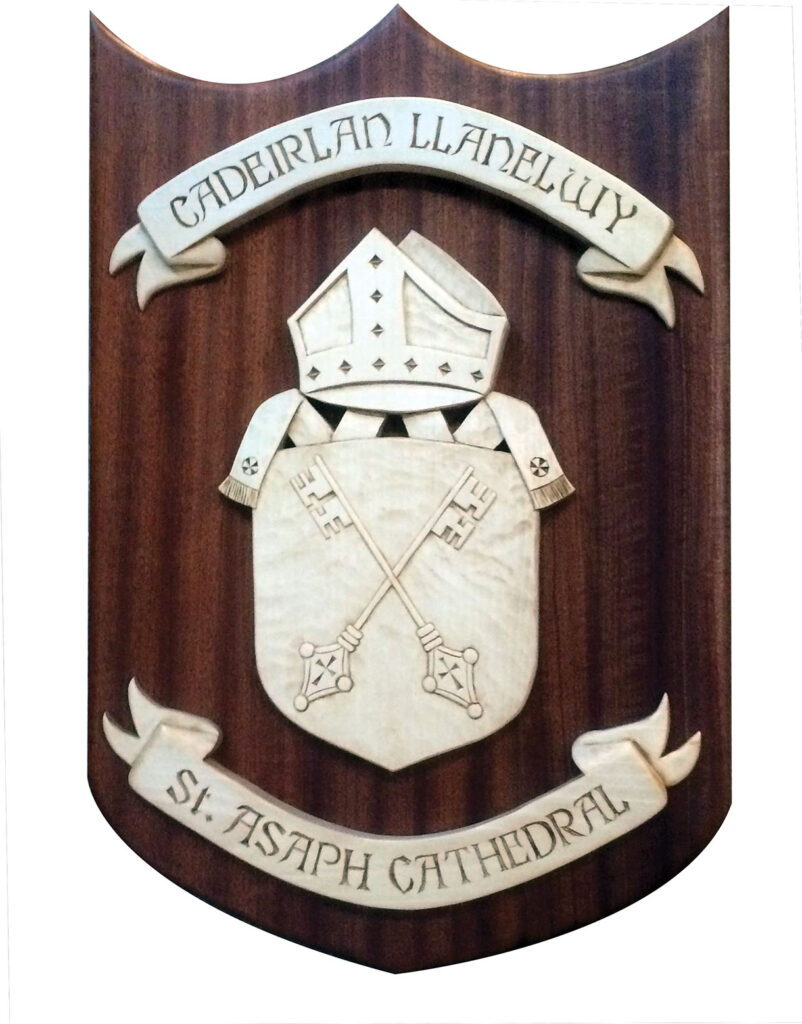
Heraldry is the study of coats of arms and is a system of visual identification of rank which originated in Europe in the middle ages. It was originally limited to nobility and went on to act as a form of recognition for knights on the battlefield and in tournaments. Such insignia can be seen clearly on the shields of the horsemen on the Bayeux Tapestry, which depicts the Norman invasion of England in 1066. As time went on, wealthy merchants would register a coat of arms as did towns and cities. Heraldic arms consist of many symbols, some of which are specific to the recipient while others are standard heraldic forms, they are very interesting to carve, and some can be very challenging to the skills of the carver.
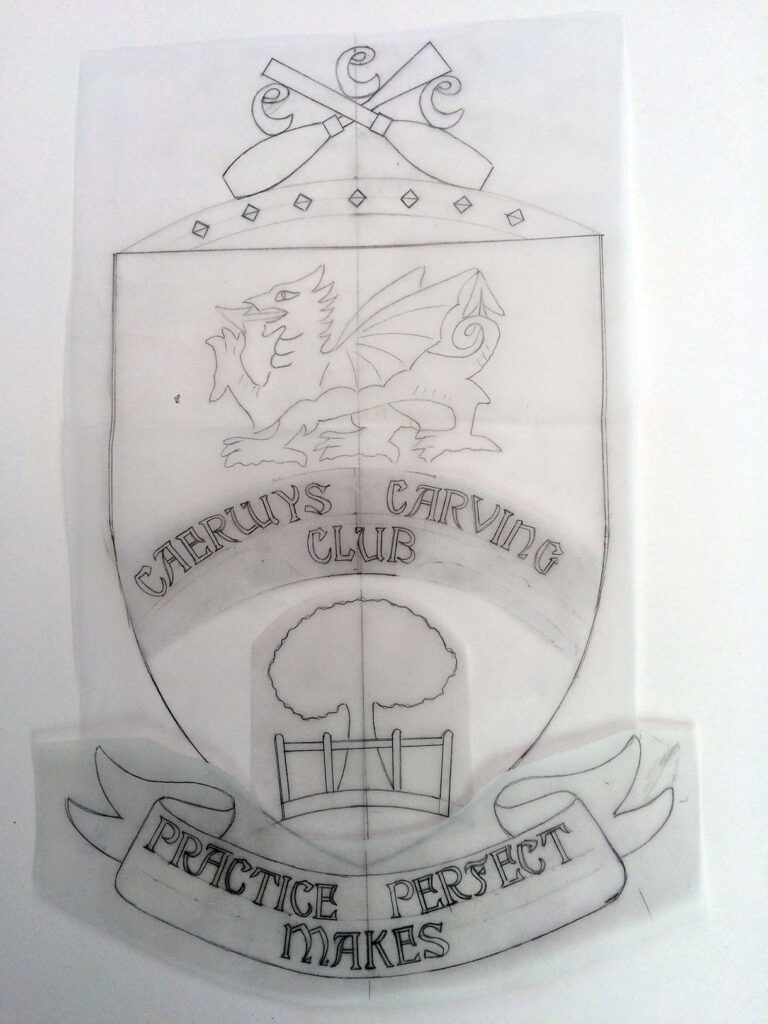
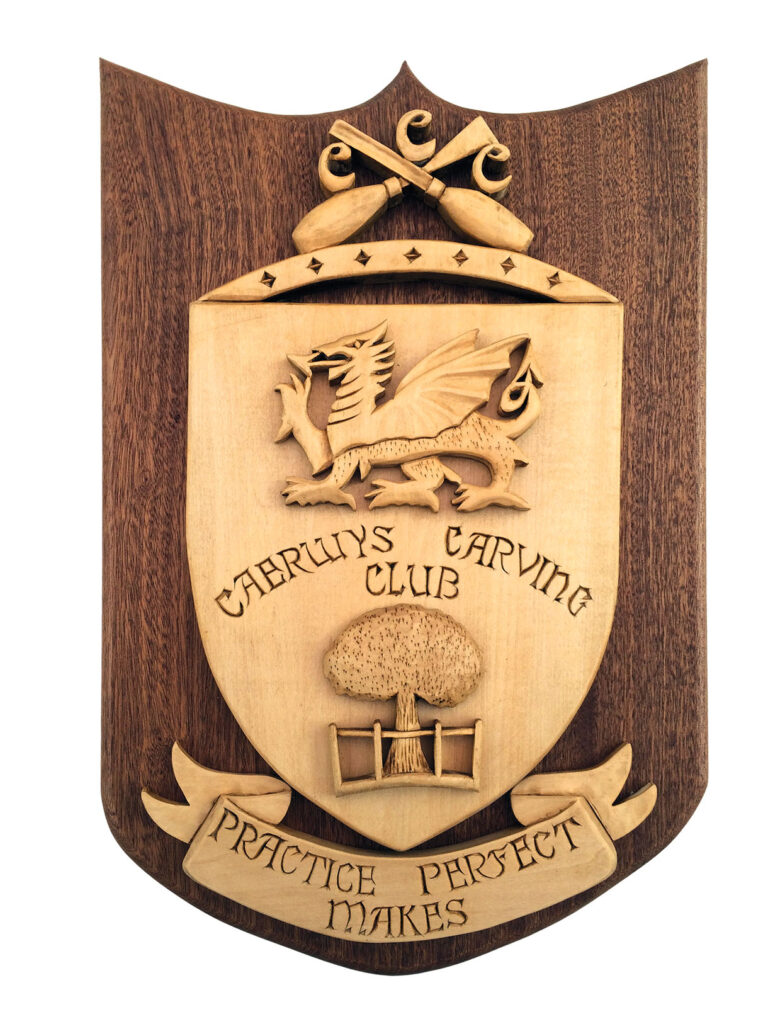
Of course, we don’t all have a coat of arms, but we can design our own unofficial one. For example, in the next section I will look at a club badge in the style of a coat of arms but using an alternative method of making it. This example is for Caerwys Carving Club, so I decided to include a crossed gouge and chisel, the dragon, the Caerwys tree – which is particularly pertinent as we are woodcarvers – the insignia Caerwys Carving Club and a motto which should not surprise you if you have read my articles, ‘practice makes perfect’.
Designing and carving the insignia
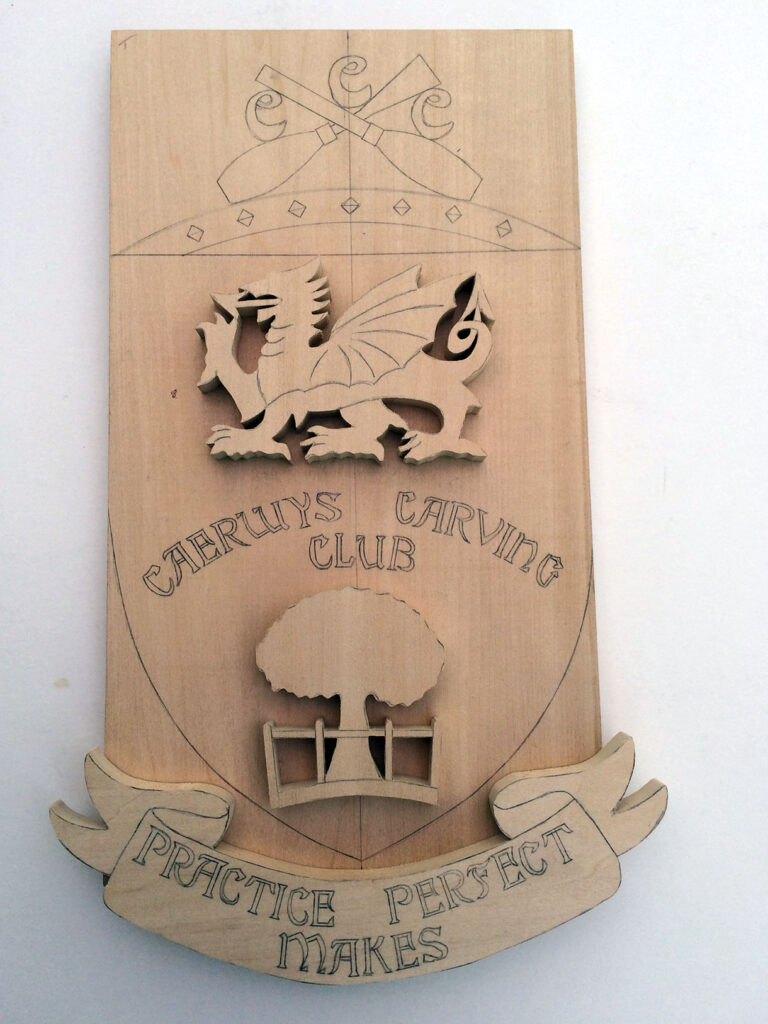
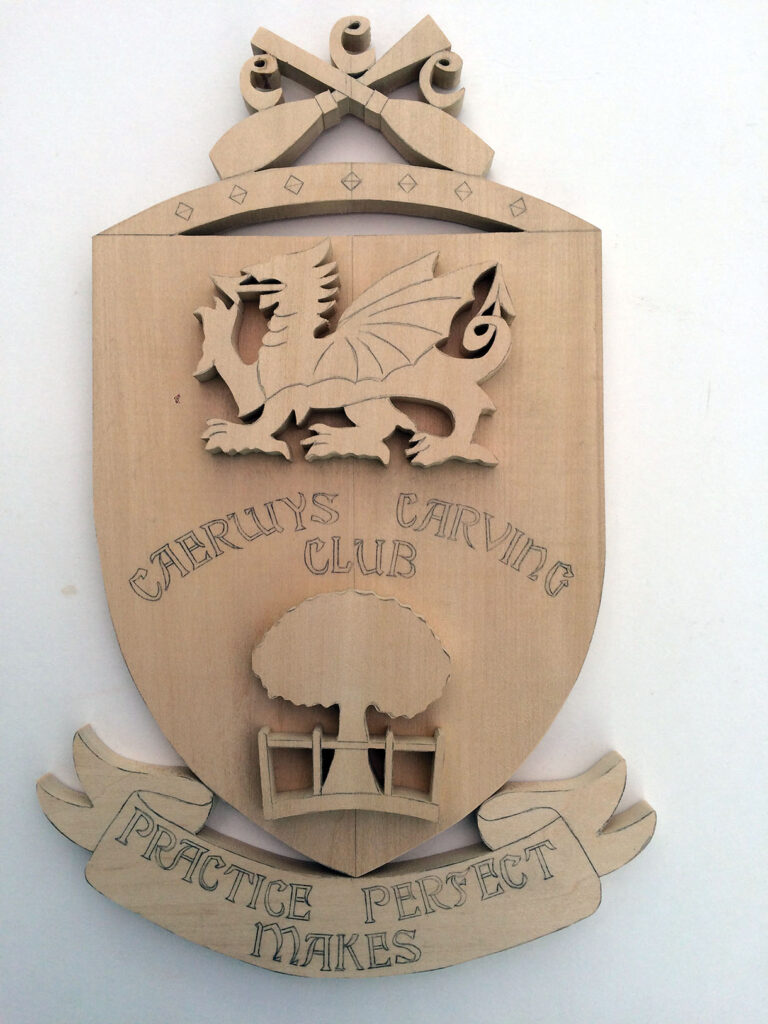
This time I am going to produce the shield in an entirely different way. Instead of carving it from one piece I am going to build it up using applied sections.
Start by listing the various symbols that you want to represent and then make individual drawings of the different sections. In this case I have chosen the crossed gouge and chisel surmounted by the three Cs for Caerwys Carving Club, the dragon for Wales and the tree as previously described, but also as it represents a woodcarving club. I made a drawing of the individual elements and then juggle them around until I have a pleasing design.
Holding work and carving
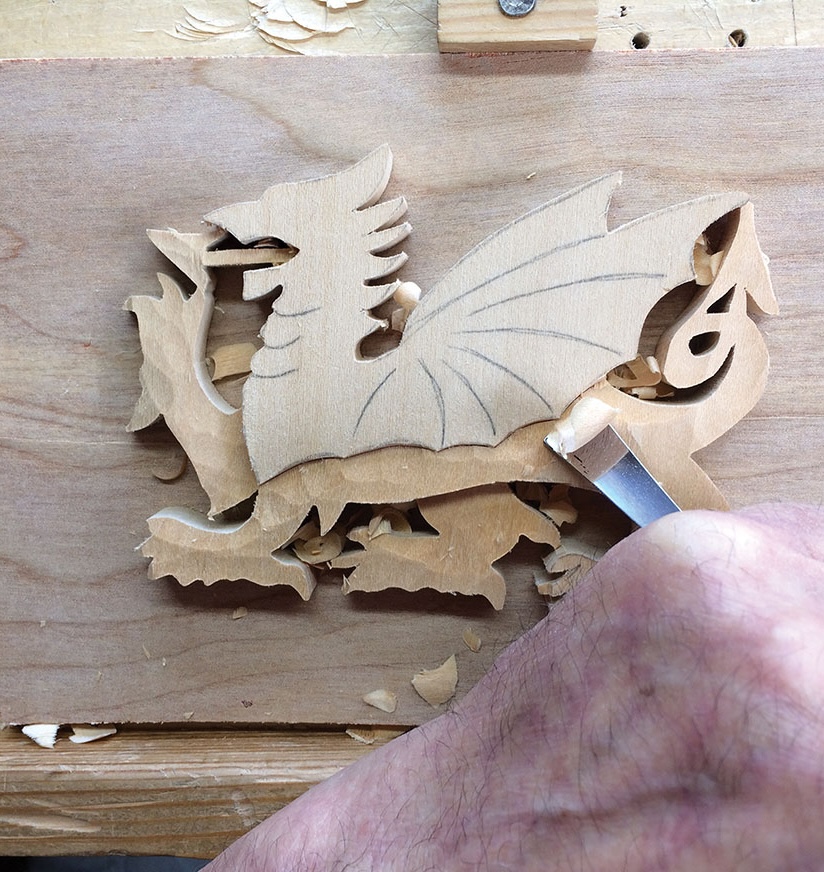
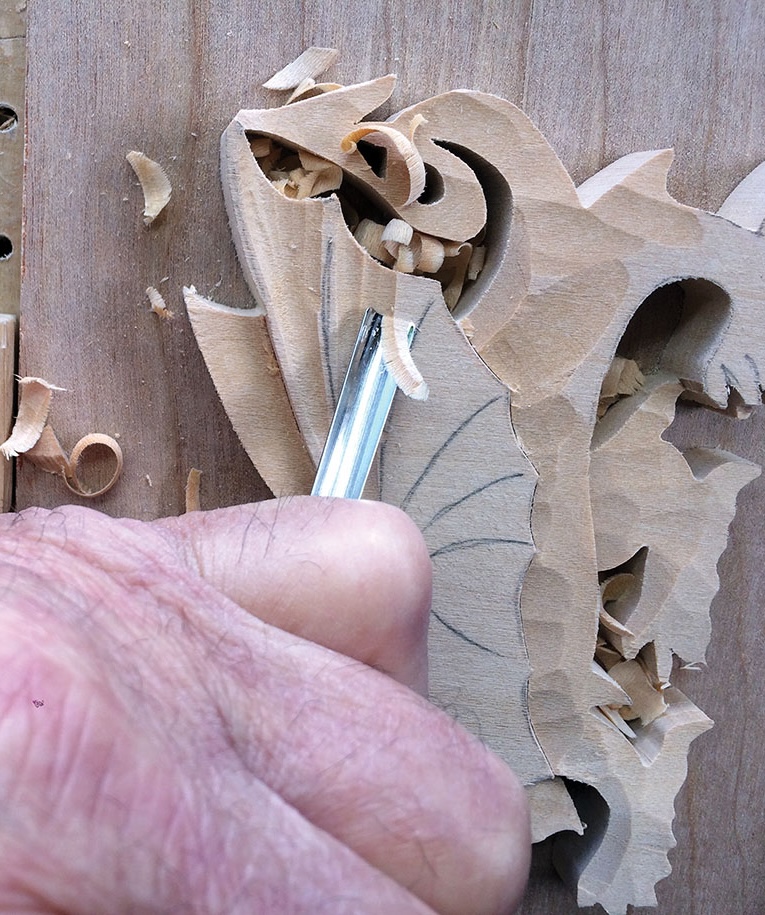
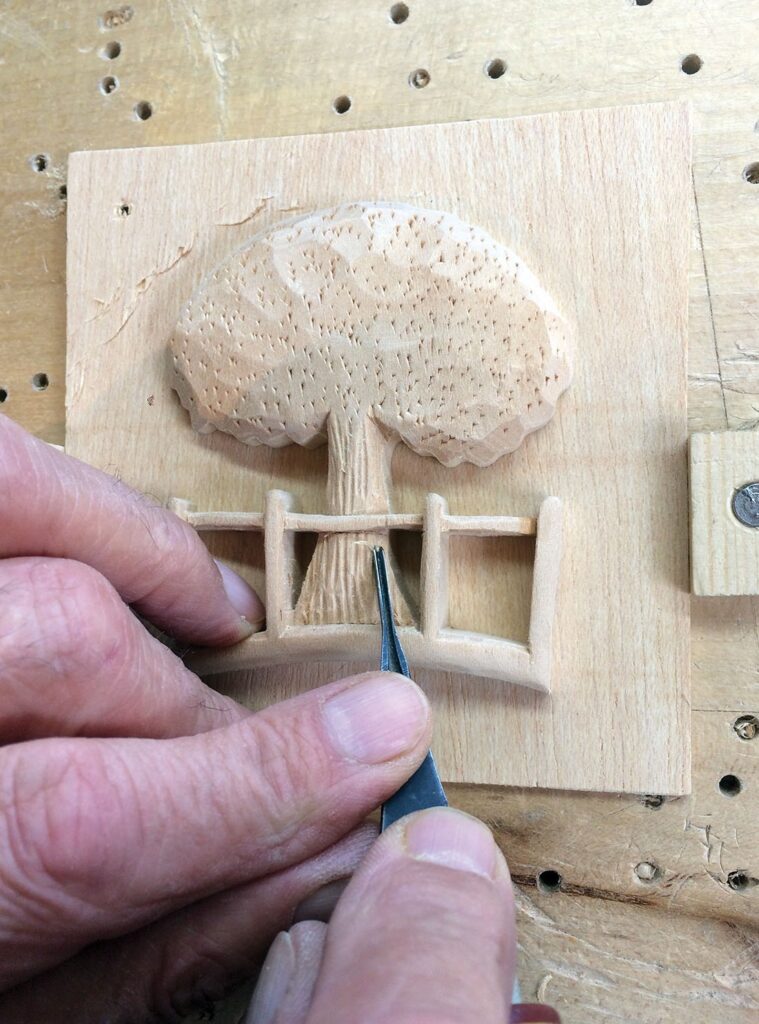
Both the dragon and the tree are carved separately. In order to hold them for this process I have attached them to a piece of scrap plywood using a hot glue gun. This holds the work very securely and is easily removed by warming the underside with a domestic iron, but don’t let glue get on to the underside of the iron or you may incur the wrath of other members of the household.
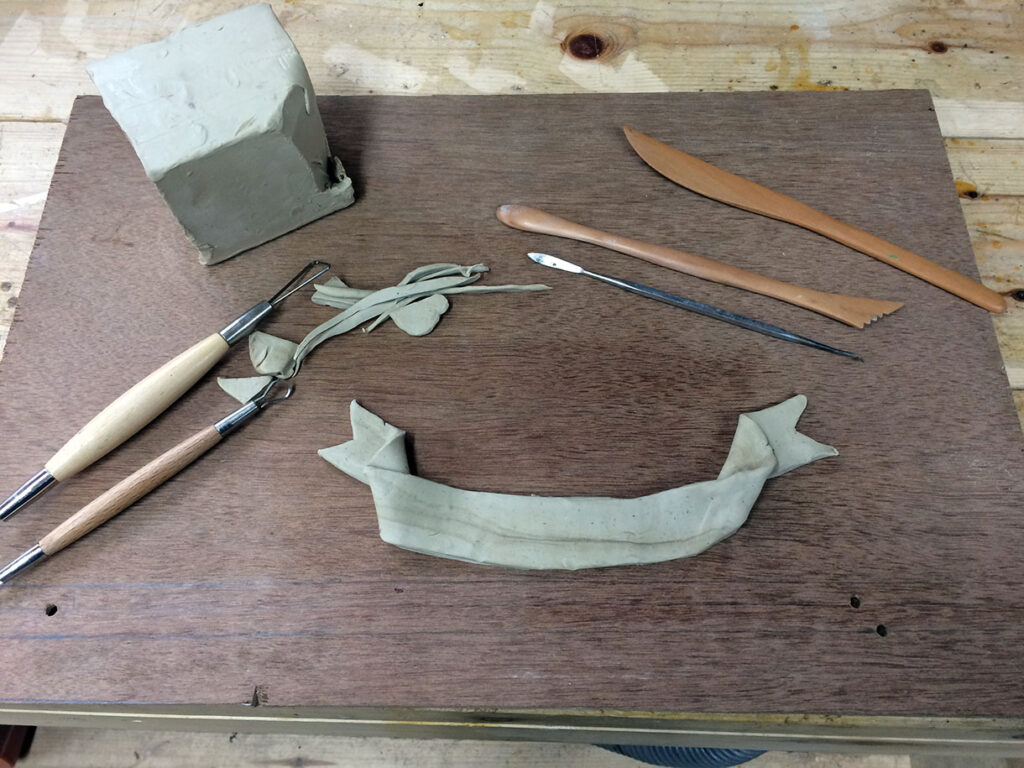
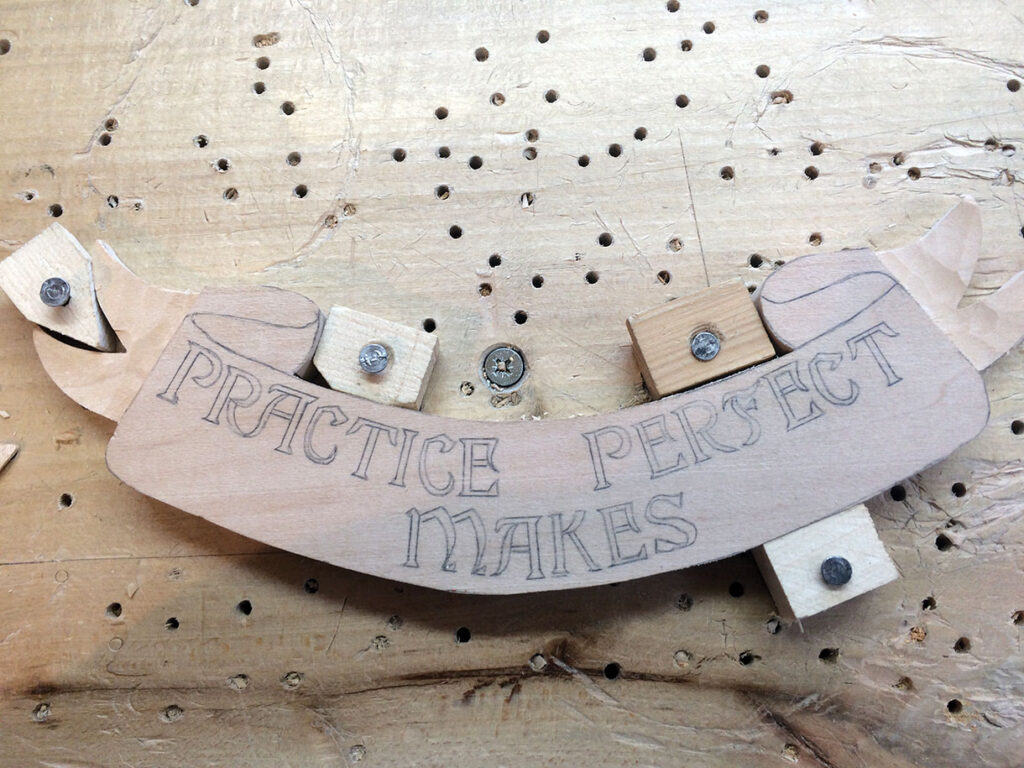
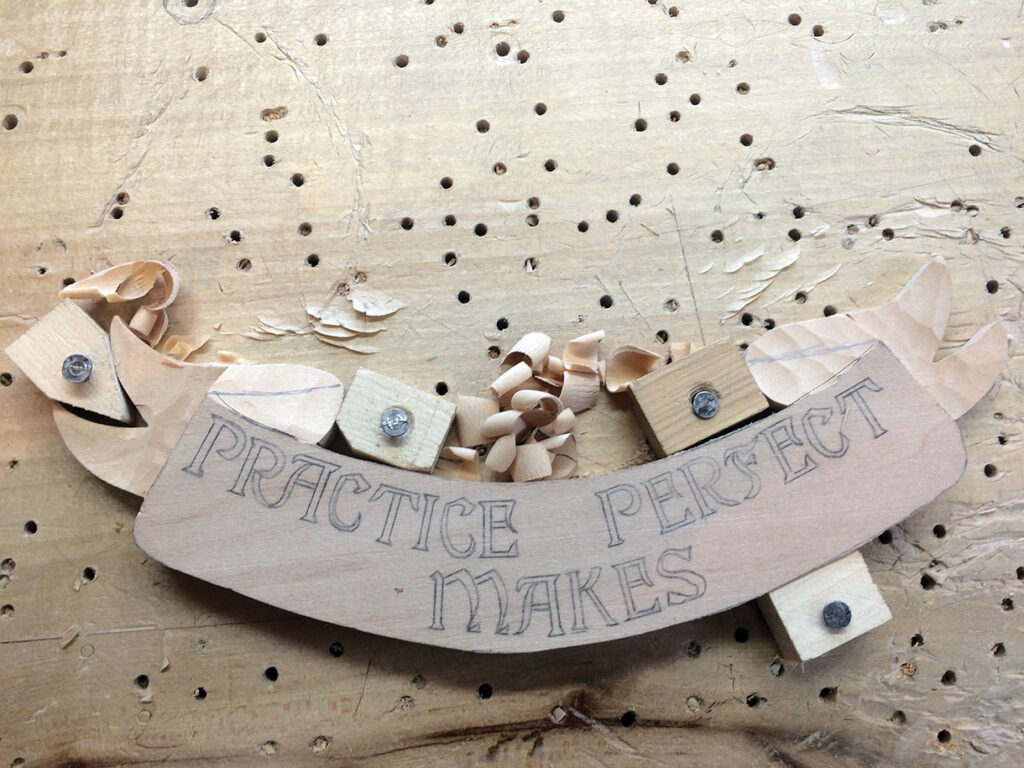
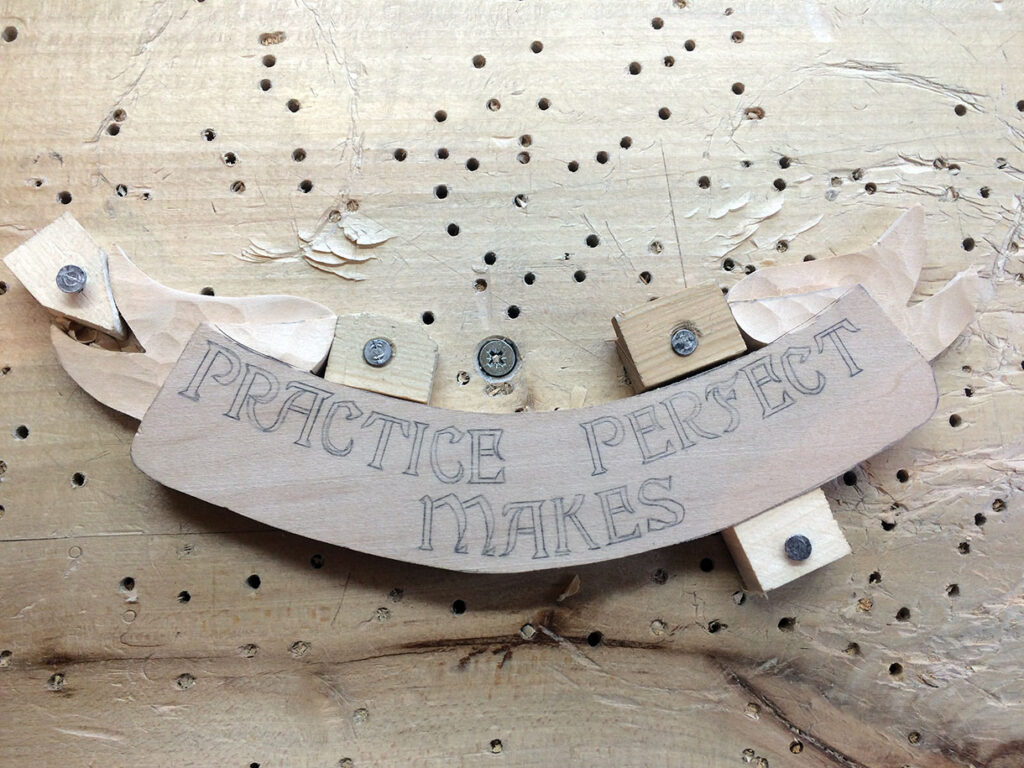
The next stage is to carve the banner which goes below the shield. In order to visualise the folds, I have made a maquette from a piece of modelling clay. Just roll out a piece of clay or Plasticine and fold it as you wish the banner to be – it does not have to be perfect, it is just to allow you to visualise the folds.
Assembling the entire club shield
Once the modelling of the crossed chisel and gouge has been completed and the lettering has been carved it is time to assemble the whole shield. The individual parts were just sealed with a cellulose sanding sealer. The dragon and tree were attached to the shield by screwing from behind. The shield and banner were now attached to the sapele back board in a similar manner and the whole thing given a liberal coating of dark liquid wax. The overall size is about 400mm high and looks quite impressive. I am sure that purists may consider it to be cheating but I see it as an economical method of construction as the individual parts can be made from small pieces from the scrap box and you are not carving away from a very thick piece of wood.
Another advantage of this construction method is that you can try different design ideas, the carving of the individual elements is not challenging so you could try different motifs and see how they look. I realise, of course, that I have moved away from the heraldic tradition with the making of the club shield, but I think that it is a little more down to earth and more applicable to us common mortals. What you will have realised by now if you read my articles is that my project ideas are open ended – you could design something as a family piece, a club badge or possibly a wedding plaque which tells a story, or combines two lots of family interests.
A confusion explained
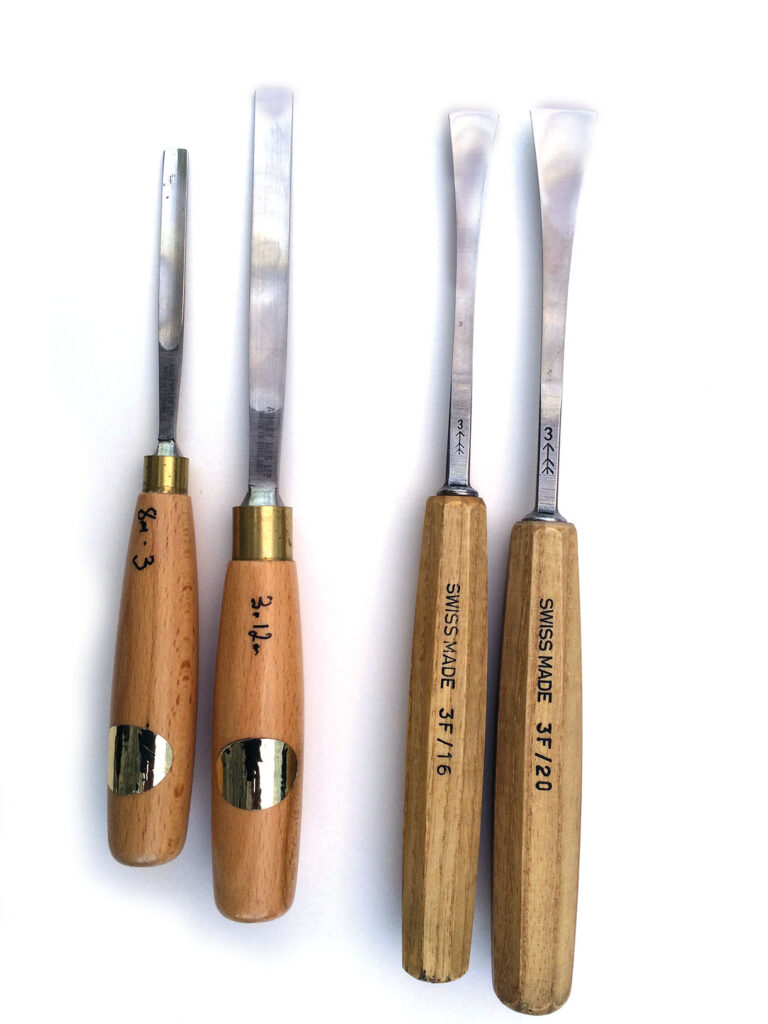
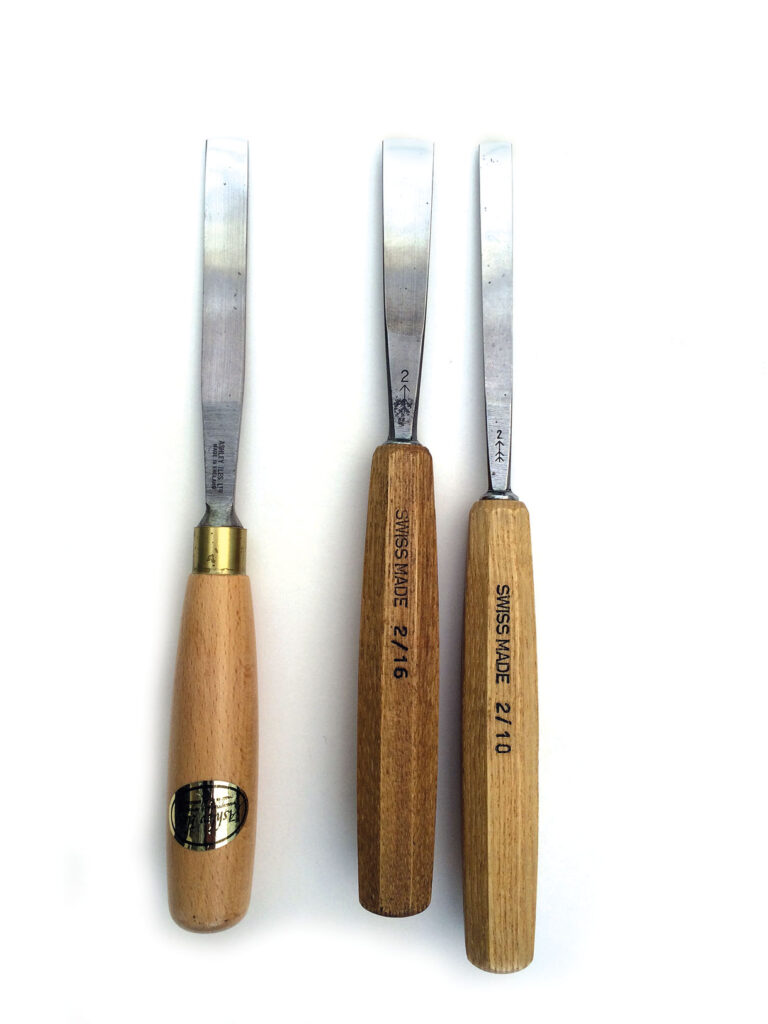
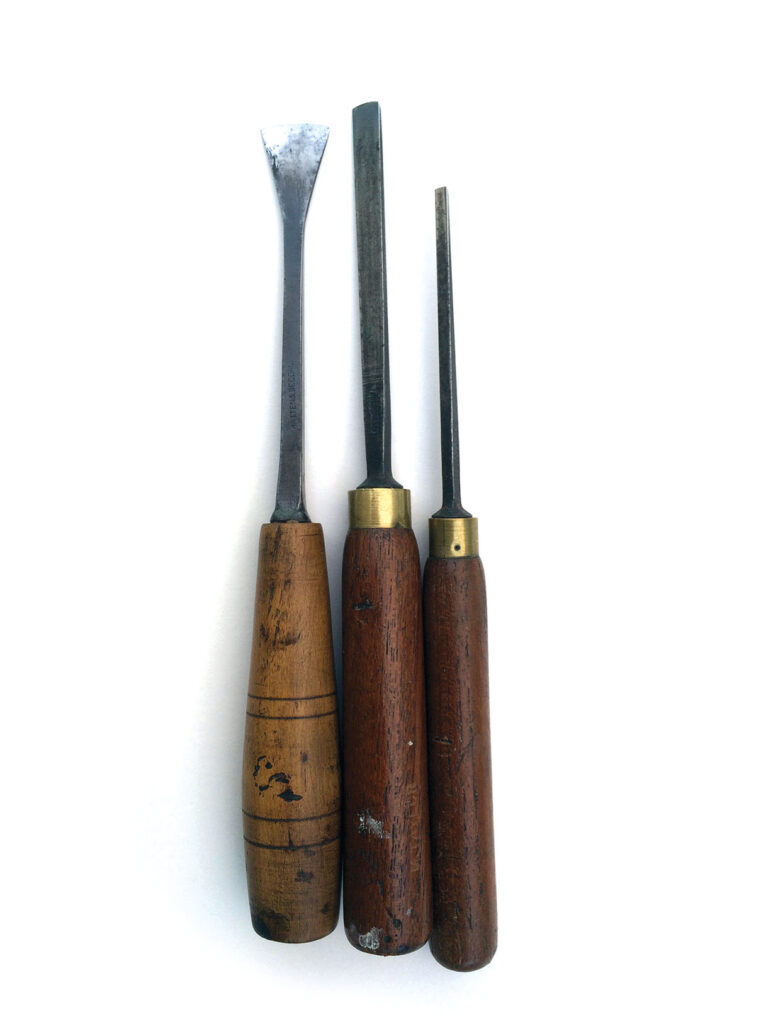
In the earlier part of this article I talked about taking down a background for the dragon and the tree, or indeed for any relief carving. This is a subject that has come up with students due to the different forms of nomenclature used when describing gouges. When preparing a background for a relief carving or in any other situation, we try to get the smoothest possible finish, but we can not use a flat chisel, or a No.1 as it is known, because the corners would dig in, so we use a very shallow gouge.
In the original British system this used to be a No.3, but in the Continental system it is a No.2, which, just to confuse things, is a skew chisel in the British system. The Continental No.2 is shallower than the British No.3 and so to solve the problem Ashley Iles brought out a No.1½ designed by Chris Pye.
I hope this has not been too confusing, but I did feel some sort of explanation was required. So, as always, don’t carve when you are tired, carve in good light, keep sharp and practise, practise, practise.