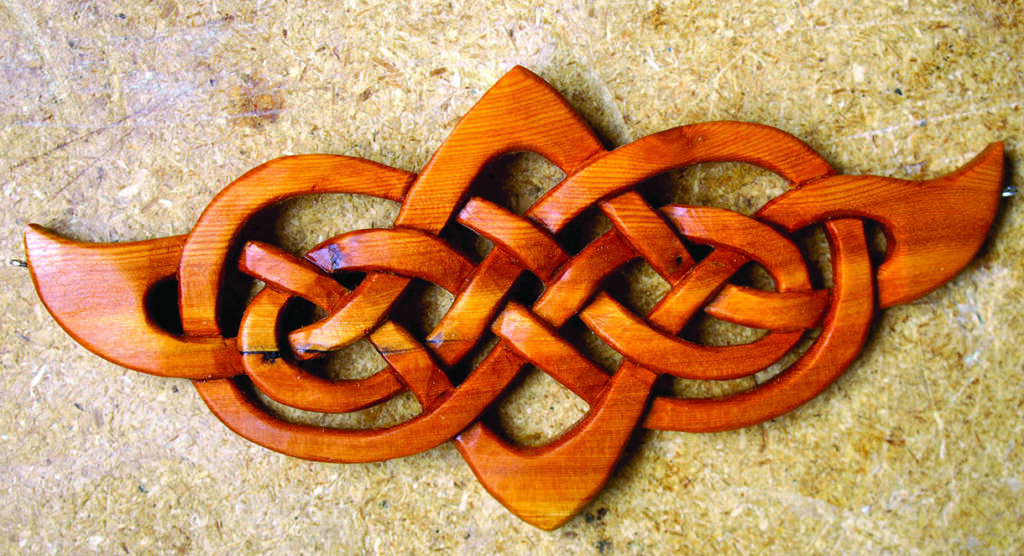
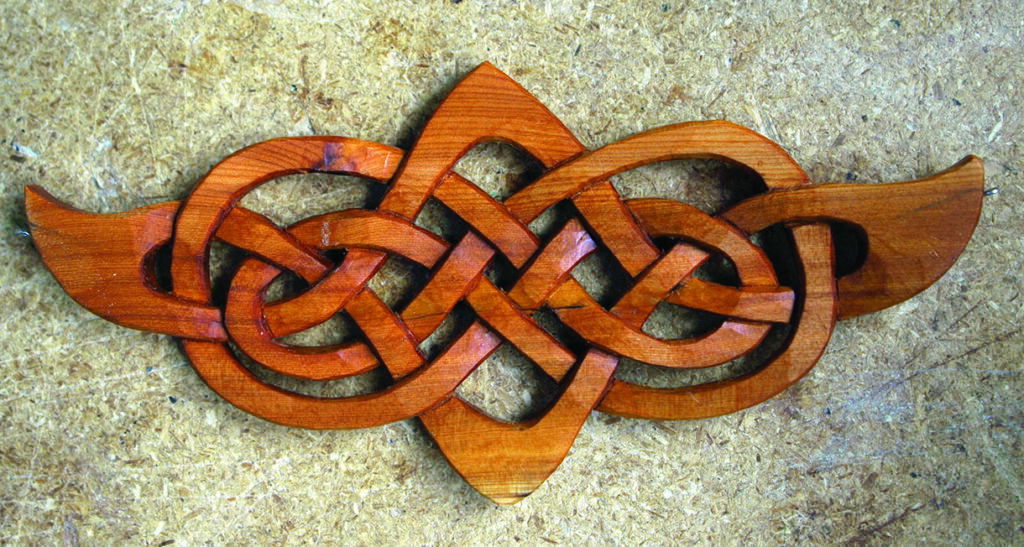
Dave Western shows how to carve a Celtic knot pendant
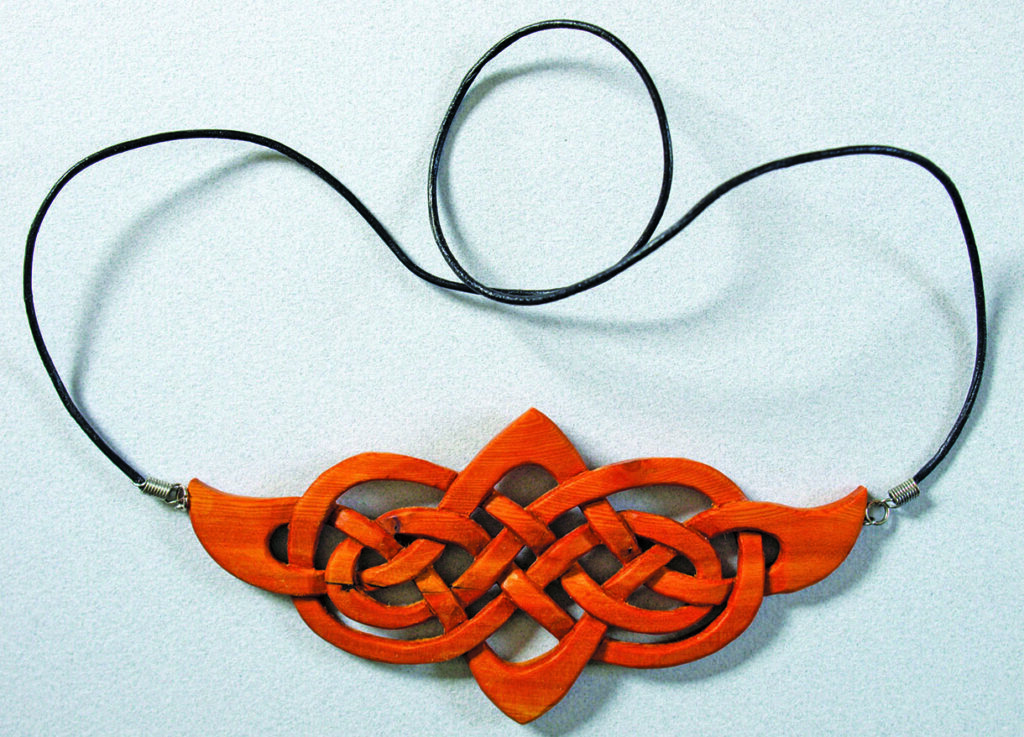
I love Celtic knotwork and I also love to hoard little bits of wood that I just can’t make myself throw away. Occasionally, I come up with an idea that uses one or two of these little timber gems… and this is one of those ideas. Over the years, I’ve seen lots and lots of metal knotwork jewellery, but I rarely see much carved from wood. That which is carved of wood tends to be small and not particularly eye-catching and I suspect much of it is CNC or laser carved.
For this project, I wanted to design a piece which is obviously hand carved and is to be worn fairly high on the body. I also wanted it to be very noticeable, so designed it to sit a little bit above midway on the breastbone. It is, indeed, large and impressive, but I don’t believe it is too heavy or obtrusive. The pendant also curves slightly to follow the gentle curve of the breastbone and not stick out at the ends.
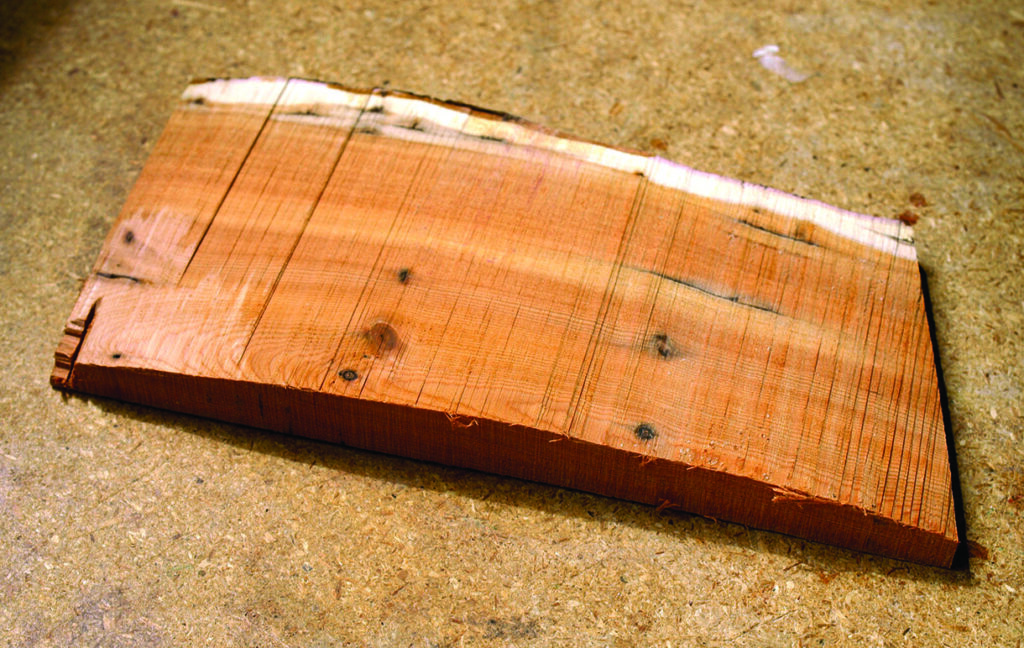
I carved mine from a lovely piece of yew (Taxus baccata), which is both beautifully coloured and is a nice link back to the ancient Celts and Druids who revered it. The original block was just over 150mm long by 75mm wide and 13mm deep. I made the knot to fit it almost exactly, but you can easily reduce or enlarge it to suit. I think the six-inch width gives it some serious visual appeal without it becoming overwhelming on the body.
The pendant will give you plenty of opportunity to practise your carving as the knots travel in all directions across the grain. If you persevere, you’ll be rewarded with a wonderful item of jewellery that is sure to solicit many complimentary comments!
Rough-shaping the pendant
I started off by creating a drawing of what I would like to carve. If you’re keen, you can design your own pendant, but the easiest thing is just to photocopy the one in this article.
I curved the front face of the block by running it through the bandsaw and then cleaning it up with a block plane and a bit of abrasive paper. If you lack a bandsaw, you can achieve the same result using planes, a stout chisel an axe or even a sander. However you go at it, aim for a nice, fair curve leaving about 6mm of wood thickness at the ends and the full 13mm in the middle. Once it was shaped I glued the drawing straight to the workpiece.
Because Celtic knotwork is fairly tricky and precise, and because I want to keep the cut edges fairly close to 90° to the face, I opt to cut with a scrollsaw whenever possible. If you lack a scrollsaw, you can drill holes with a standard drill or press and then cut each section with a knife, but be prepared for the journey to be a bit slower.
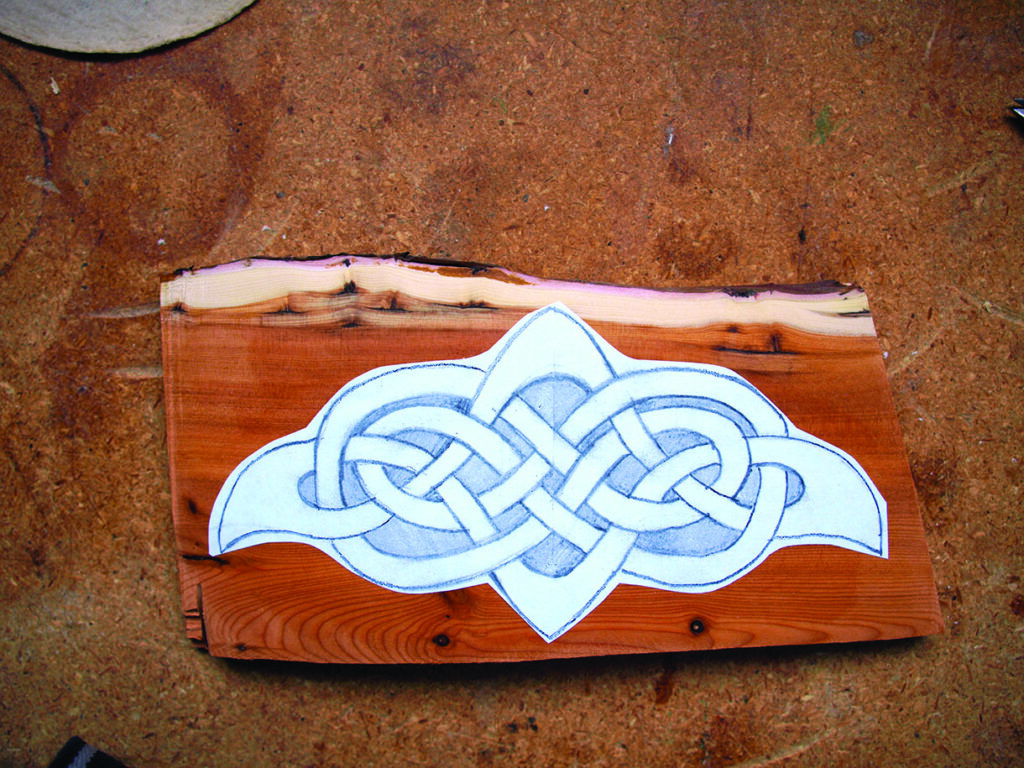
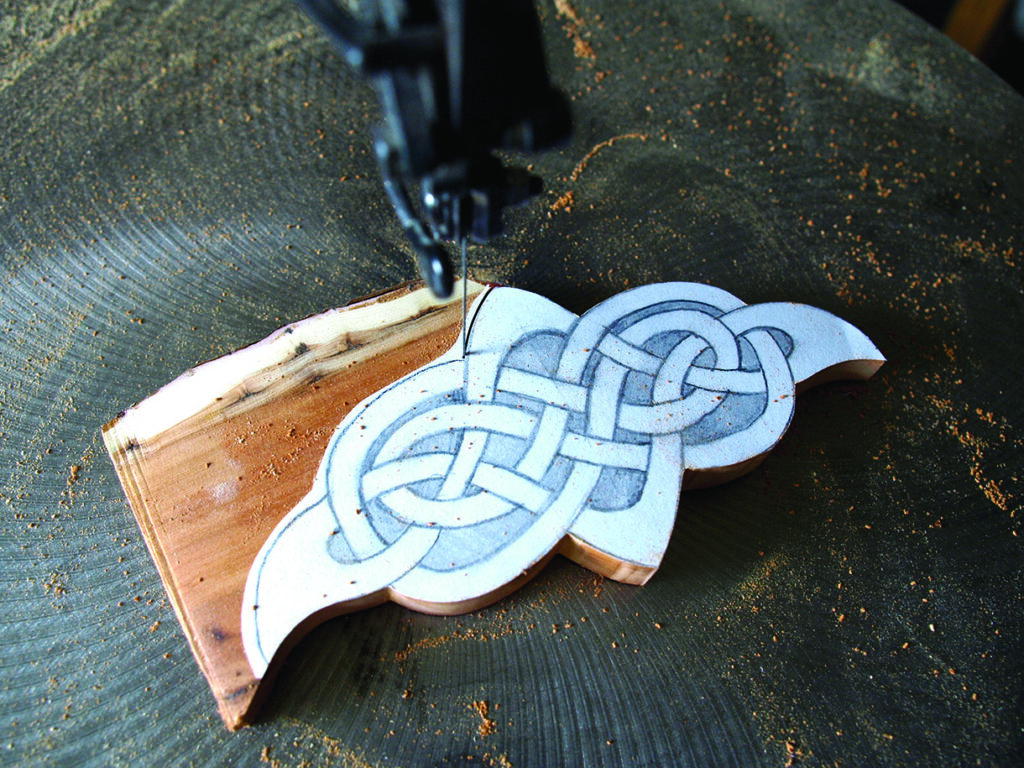
Drawing
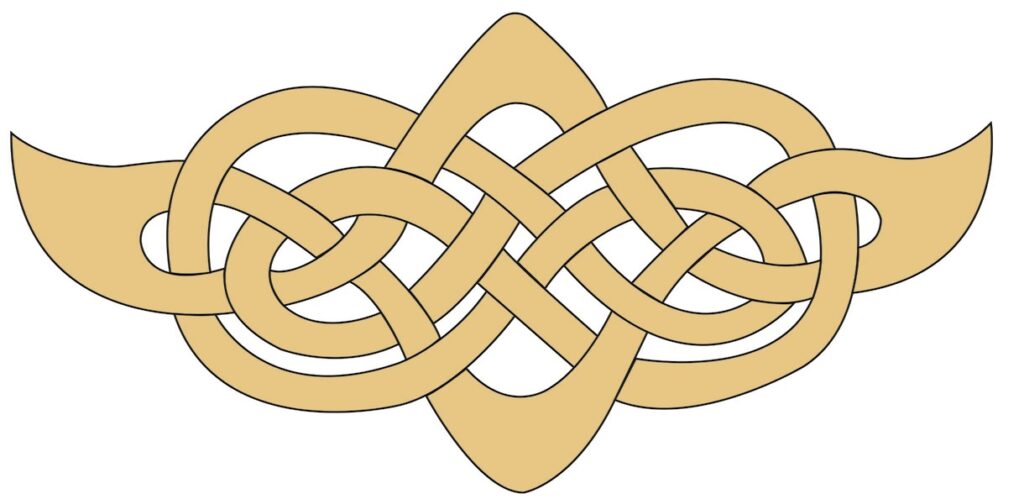
Over and under pattern
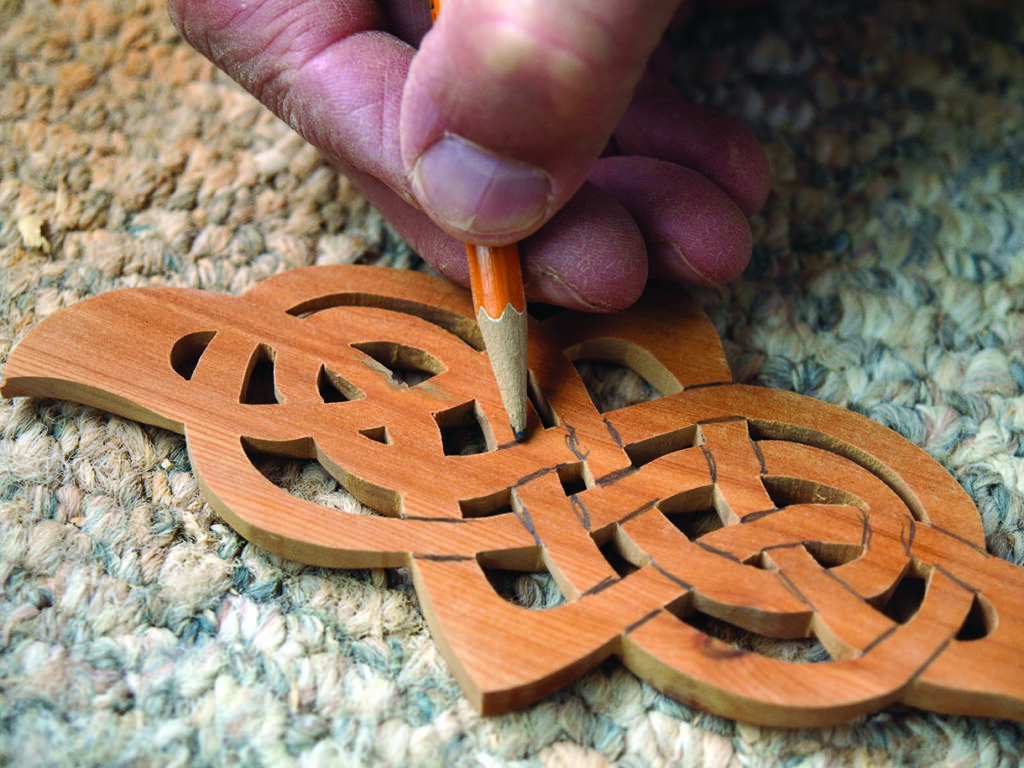
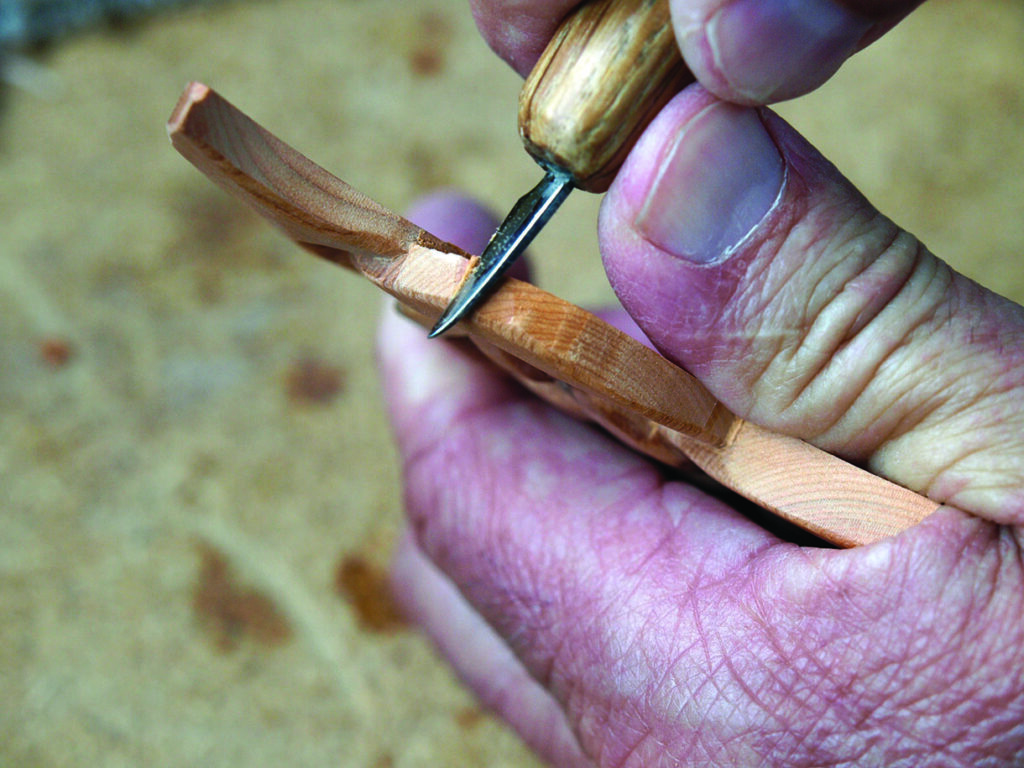
With the knotwork all cut out, the next step is to start creating the ‘over and under’ effect. This is the most critical phase of the carving and you have to be certain everything is in order before you get too committed. If the over/under sequence gets off course the results are disappointing and, frankly, a bit infuriating. Hopefully, your drawing is correct (you can blame me if this one is out of whack) but it is worth going over the whole drawing using a straight knife to cut 1⁄16in deep lines at each intersection. As you do this operation, you are both insuring your knotwork is in order and that you get a nice, clean clearance when you start removing wood. With the intersections all scribed, I recommend clearing just a small amount of material to begin with. Dig down about 1.5mm and start around 6mm from the intersection. This will let you mark each intersection clearly but, should there be a mistake somewhere, you won’t have removed so much material you can’t salvage it.
This is your last opportunity to ensure all the knotwork is going to flow as it should, so it is worth taking your time and doing it carefully. Often, carvers leave their knotwork at this stage, but I find the flat planes between intersections make the knotwork appear a bit static. I prefer to gently curve each section between intersections as it gives the knot a softer and more touchable look. I take a small bit of material off with each pass, moving slowly toward the centre of the section. Be very conscious of grain direction and don’t take too much material with each cut – it is very easy to split off more than you bargained for at this stage.
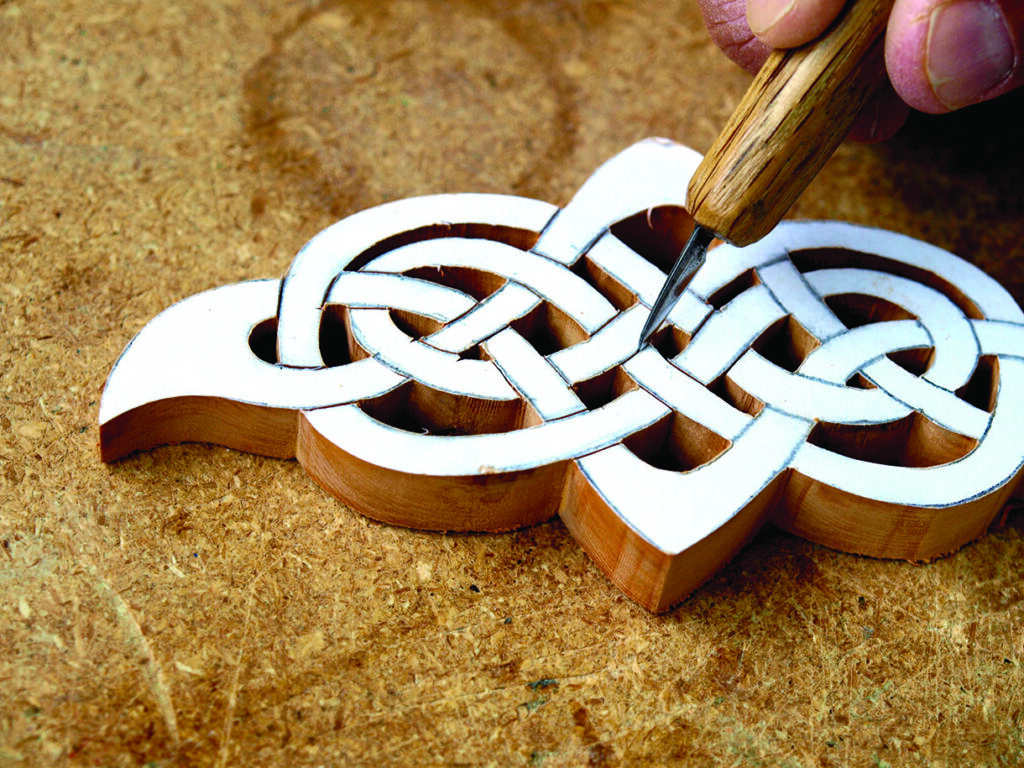
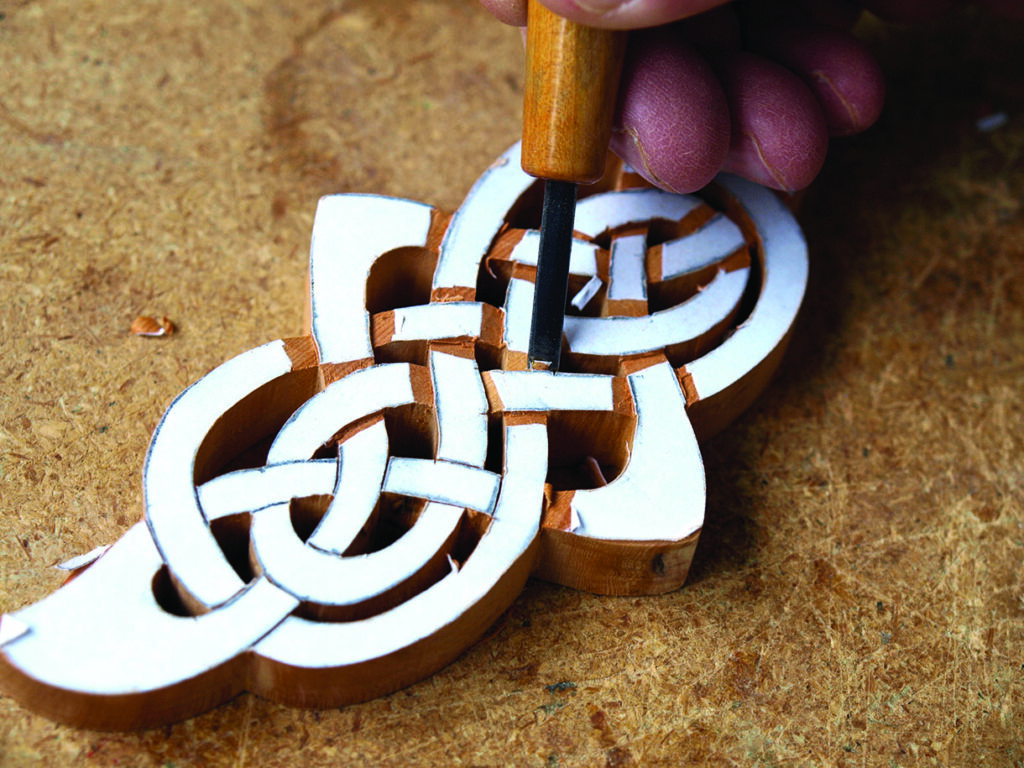
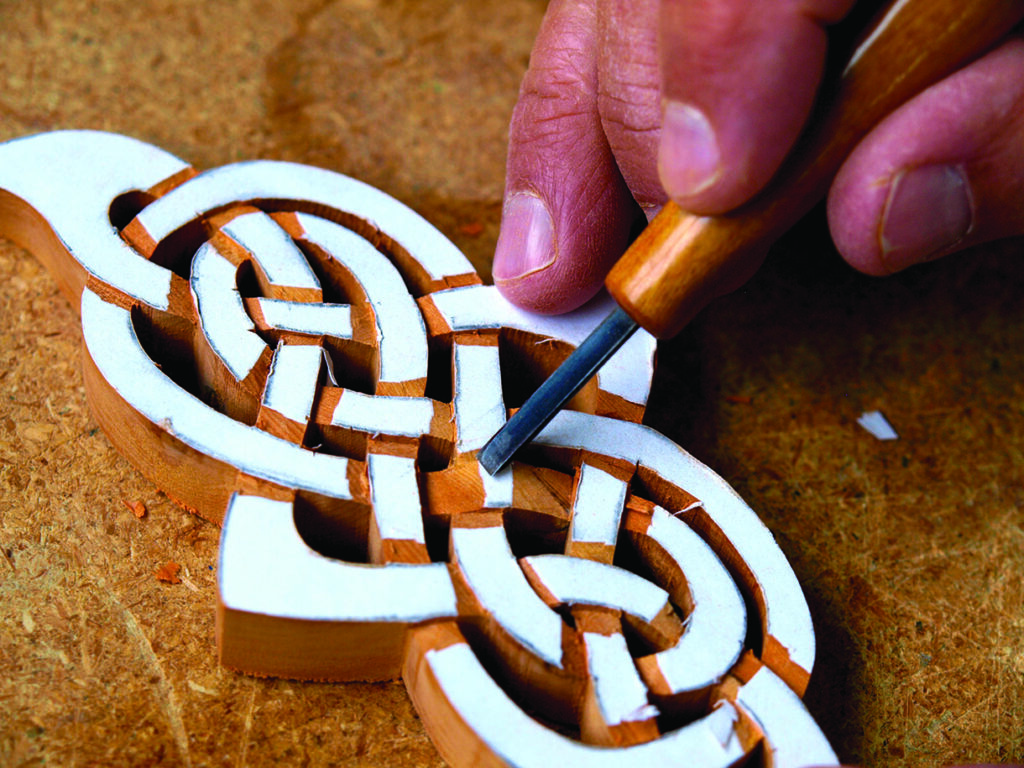
Chamfering and cleaning up
Once all the overs and unders are attended to and I am happy with each section, I take a gentle chamfer off the front edges. This softens the knot and makes it look less mechanical. Be careful not to take too much though as this can make the knot look a bit too soft and string-like. I find about 1.5mm top and side makes a perfect chamfer.
At this stage you should have consistent levels throughout the carving with each upper section being nicely fair as it curves over the lower sections. There should be no jaggy bits or noticeable chips anywhere along the carving and you should ensure that each intersection is as tidy as possible. The more cleanup work you can do with your knife now the less sanding and filing you have to do later on.
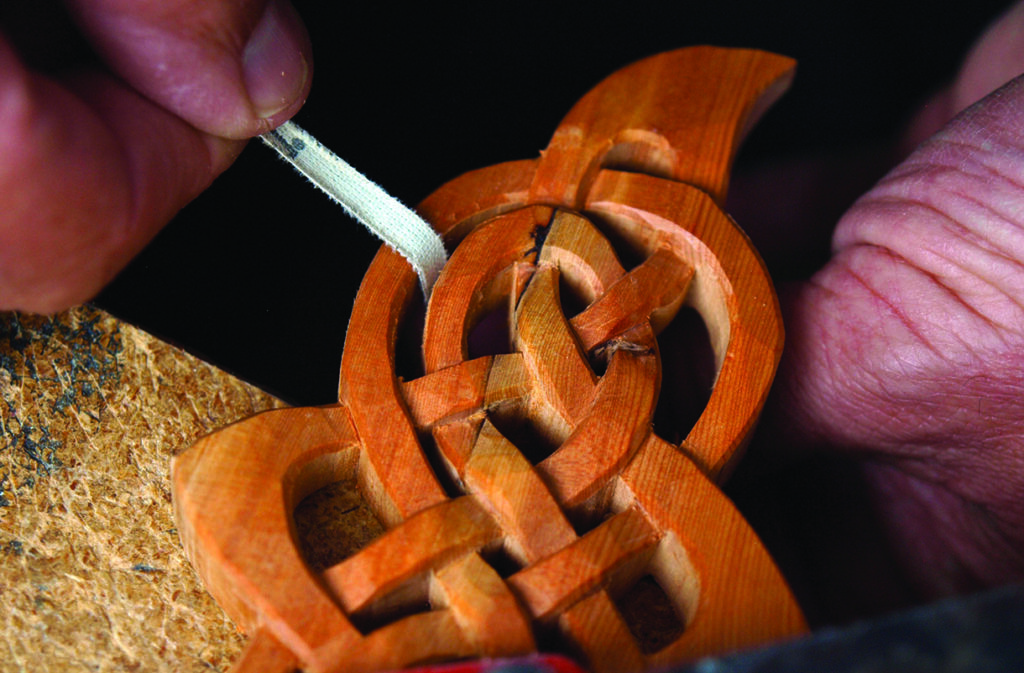
I like to give my edge chamfers a gentle sanding with some worn 150 grit cloth-backed abrasive. I find this smooths out any variations and makes the knot appear to be nice and soft. As with the chamfering, be careful not to get too carried away or the strands will get rounded over by your abrasive and will look like shoelaces. Just sand enough to fair the edges along the length of each run.
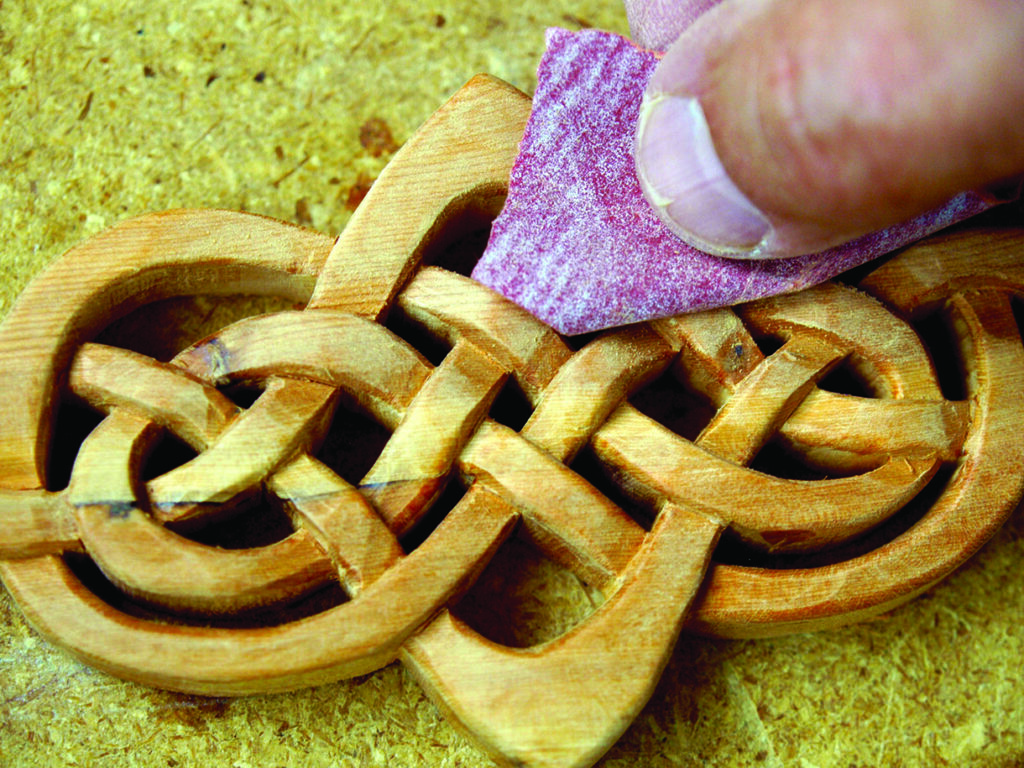
Although I prefer the bright finish that comes from knife work to the duller look of sandpapered work, I often find that a light sanding with very fine abrasive (220 and higher) tidies up the face planes and matches them a bit better to the sanded edges. Its not a must-do thing and I am sure there are many out there with surer knife hands than mine who will be quite happy with an off-the-tool finish. Either way, if you opt to sand, now is the time.
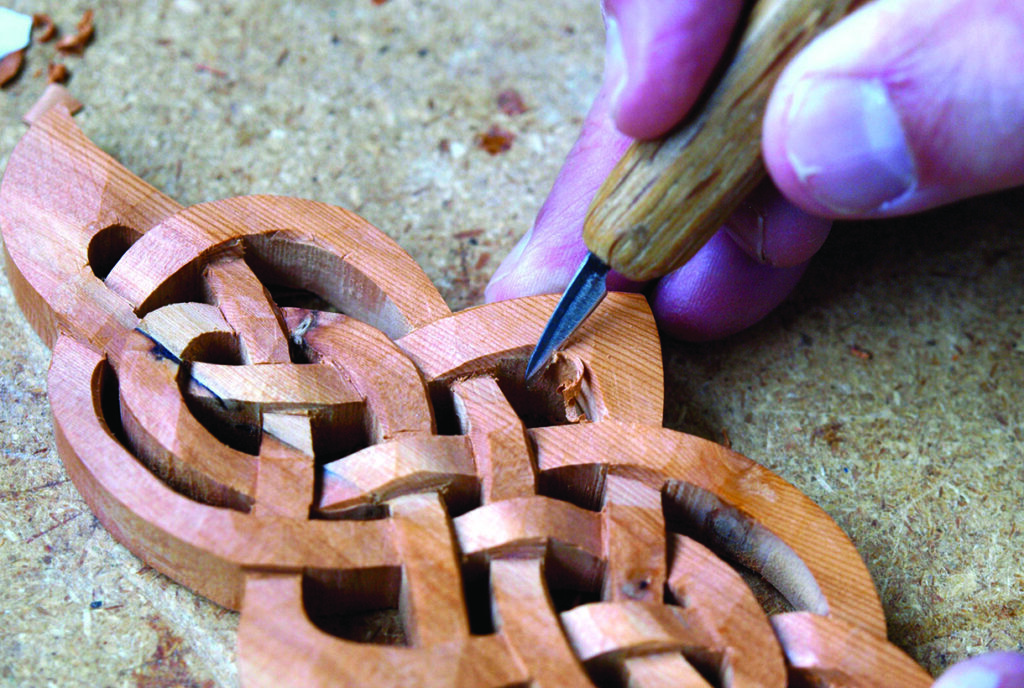
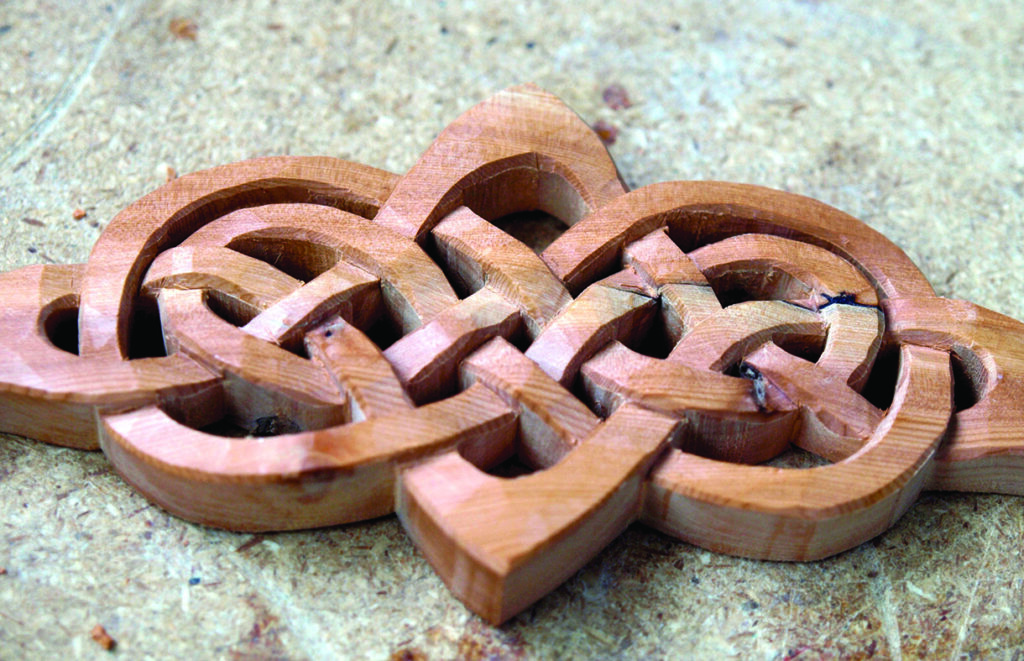
The rear face
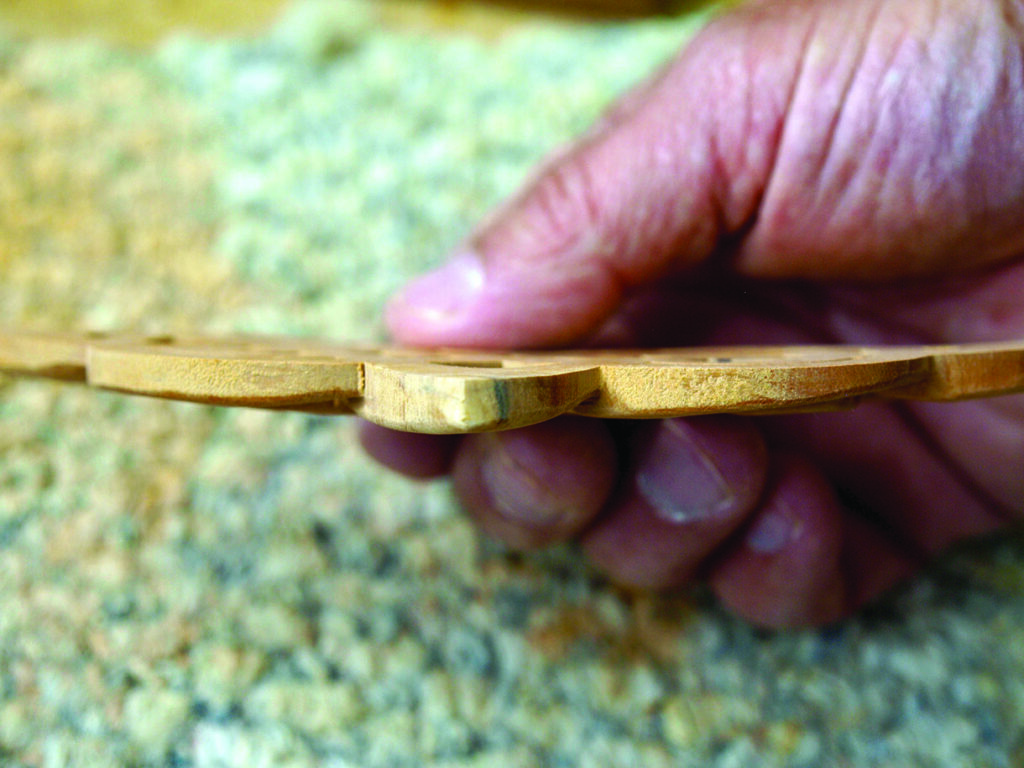
With the front face all finished, cut the curve for the back face. I must admit that I created a support cradle and rough-shaped the back on a bandsaw. But you can achieve the same result with chisels, gouges, bent knives, spokeshaves, scrapers and a host of other time-intensive tools. If you are using aggressive methods, just remember the carving is pretty fragile and the front face needs to be protected from scrape damage at all times.
Aim for a consistent and fair curve across the entire carving. I tried to maintain about 6mm of thickness for the entire curve and was constantly on the lookout for one side becoming fatter or thinner than the other. Be cautious as you remove stock and frequently sight along the curve to make certain you are comfortable with how it is shaping up.
Once the back curve is as you want it, you’ll have to pencil in all your under and over lines. Remember that they need to be the opposite of those on the front face, so take your time laying them out. Repeat the previous carving stages to mimic your carving of the front face and be extra cautious not to apply too much pressure as you cut. The carving is getting pretty thin in places and will start becoming unforgiving.
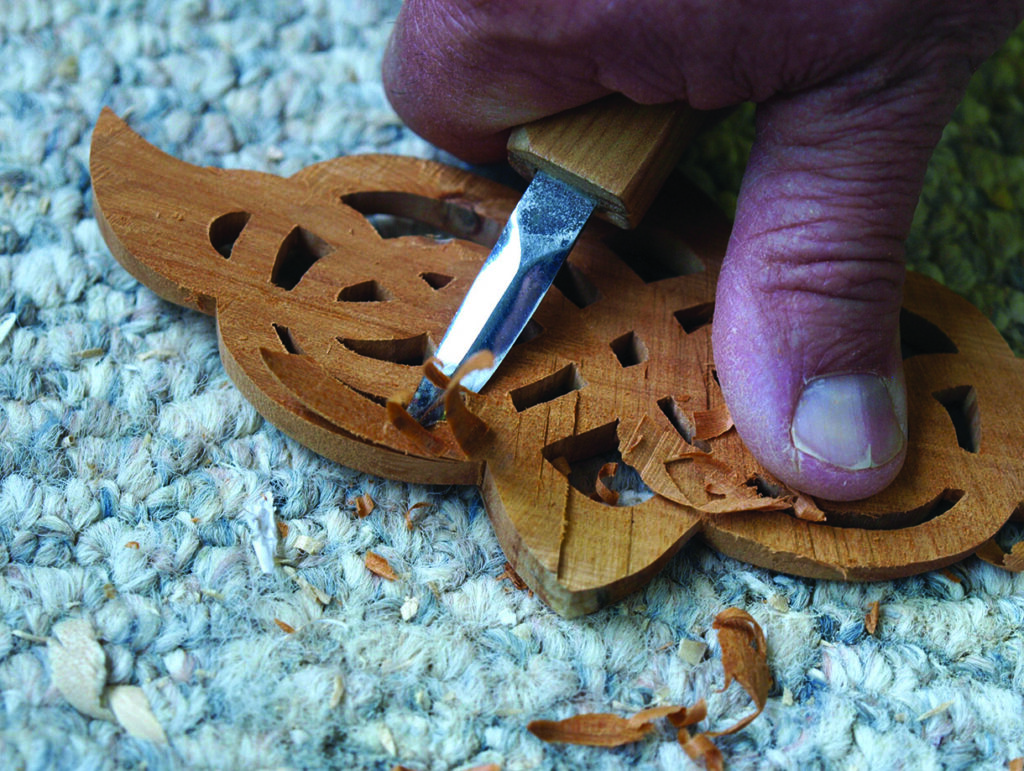
If you’ve cut out this pattern on a bandsaw or scrollsaw, you’ll notice that the edges might be a bit ‘fluffy’. Take some time to carve them smooth and to get that nice, shiny, off-the-tool look. The crisper you can make these edge cuts, the nicer your finish will look at the end of the project.
Finishing touches
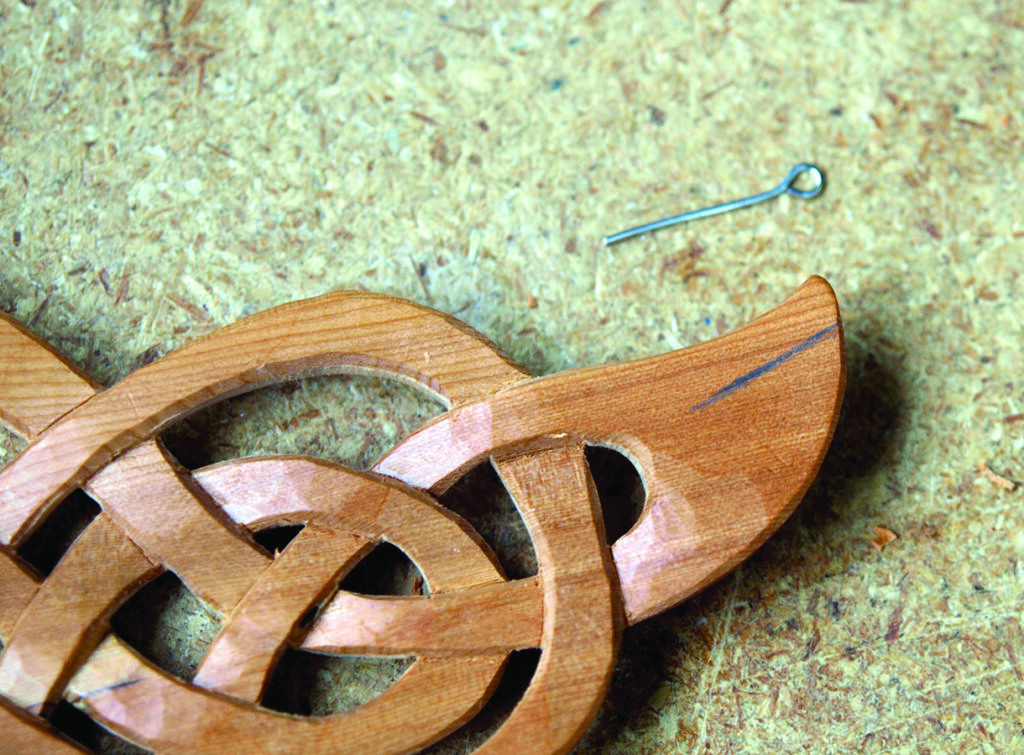
Because this piece will be worn as jewellery, it is necessary to insert a small eye pin or eye screw (I used something called a fish hook eye pin which is available at craft shops or jeweller supply shops). I carefully drew out lines on both ends of the piece which would guide me in placing the pin. Try to keep the lines as even to one another as possible.
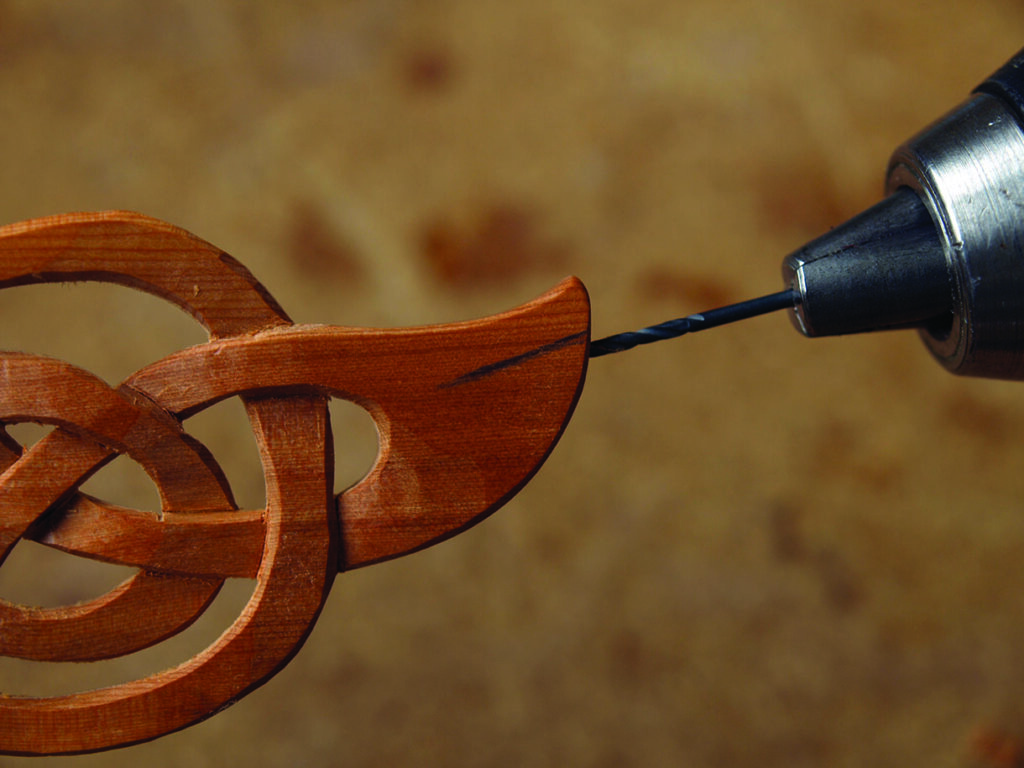
Drilling for the pin is a hair-raising and potentially troublesome business. Make sure the bit (1.5mm is the smallest I have) is centred and following your line and that it is not going to burst out of the front or back faces of the carving. Proceed slowly and very cautiously and make sure not to drill too far.
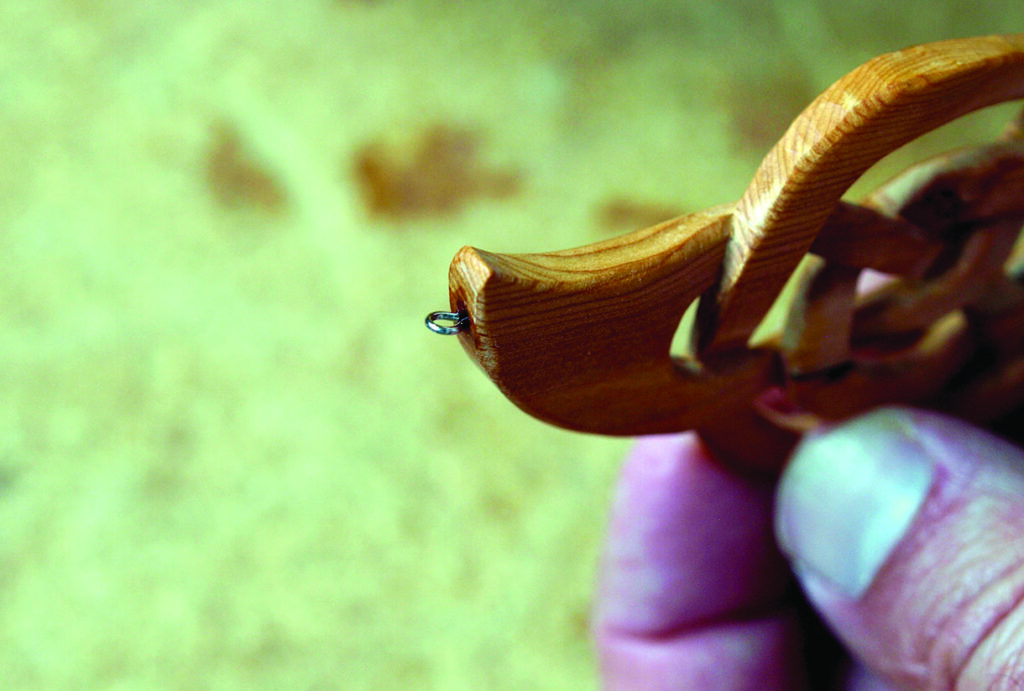
Because the hole I drilled was slightly larger than the diameter of the pin, I used some cyanoacrylate glue to fasten the pin firmly in place. Align the pin eye as in the photo, so that when you place a jump ring through it, the jump ring sits vertically and not horizontally.
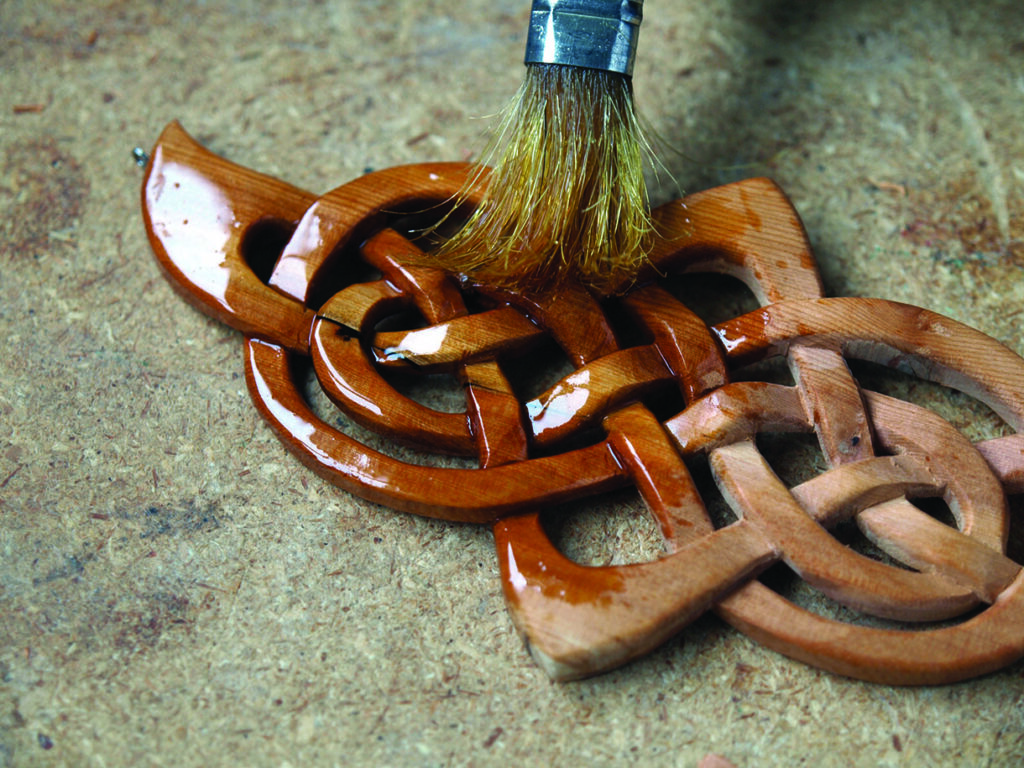
Apply a few coats of an oil finish and your pendant is almost complete. I would recommend an oil finish over a surface finish such as varnish as it won’t clog up in the intersections and spoil the nice, crisp look of your carving. The finish I used was a store-bought Danish oil preparation that seemed to work just fine for this project. w