Walking Sticks:
Paul Purnell looks at selection, storage, seasoning and straightening.
Paul Purnell looks at selection, storage, seasoning and straightening
When making your own walking stick, the first consideration is whether you intend to attach a head. If you are, you will need a straight shank. These are available to purchase via the internet and county shows for £3–5, but they vary in quality. Ensure you buy a seasoned shank free of woodworm. However, it is more satisfying to find and cut your own. Please remember that every tree belongs to someone; you need the landowner’s permission before cutting. This applies to common land where it is a criminal offence to cut and remove wood. The shanks cut and photographed for this article are with the kind permission of the Petwood Hotel, Woodhall Spa.
Selection of shank
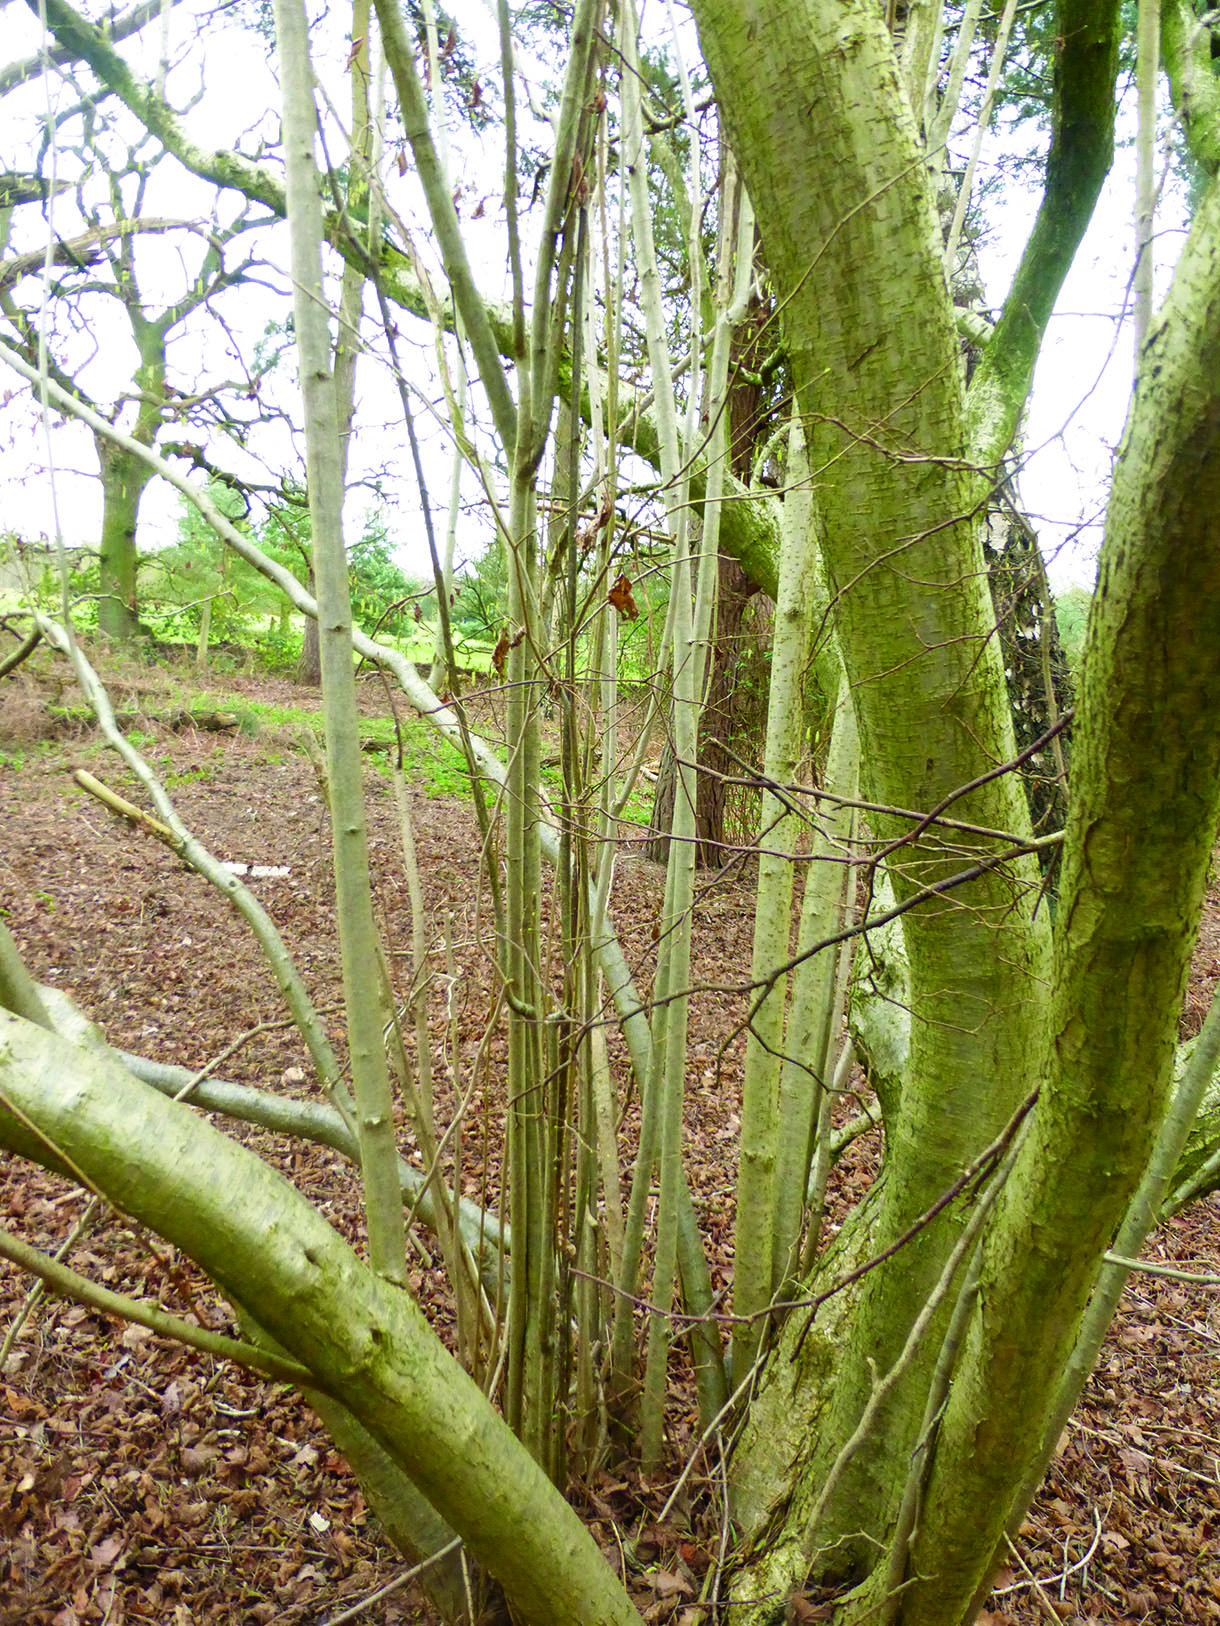
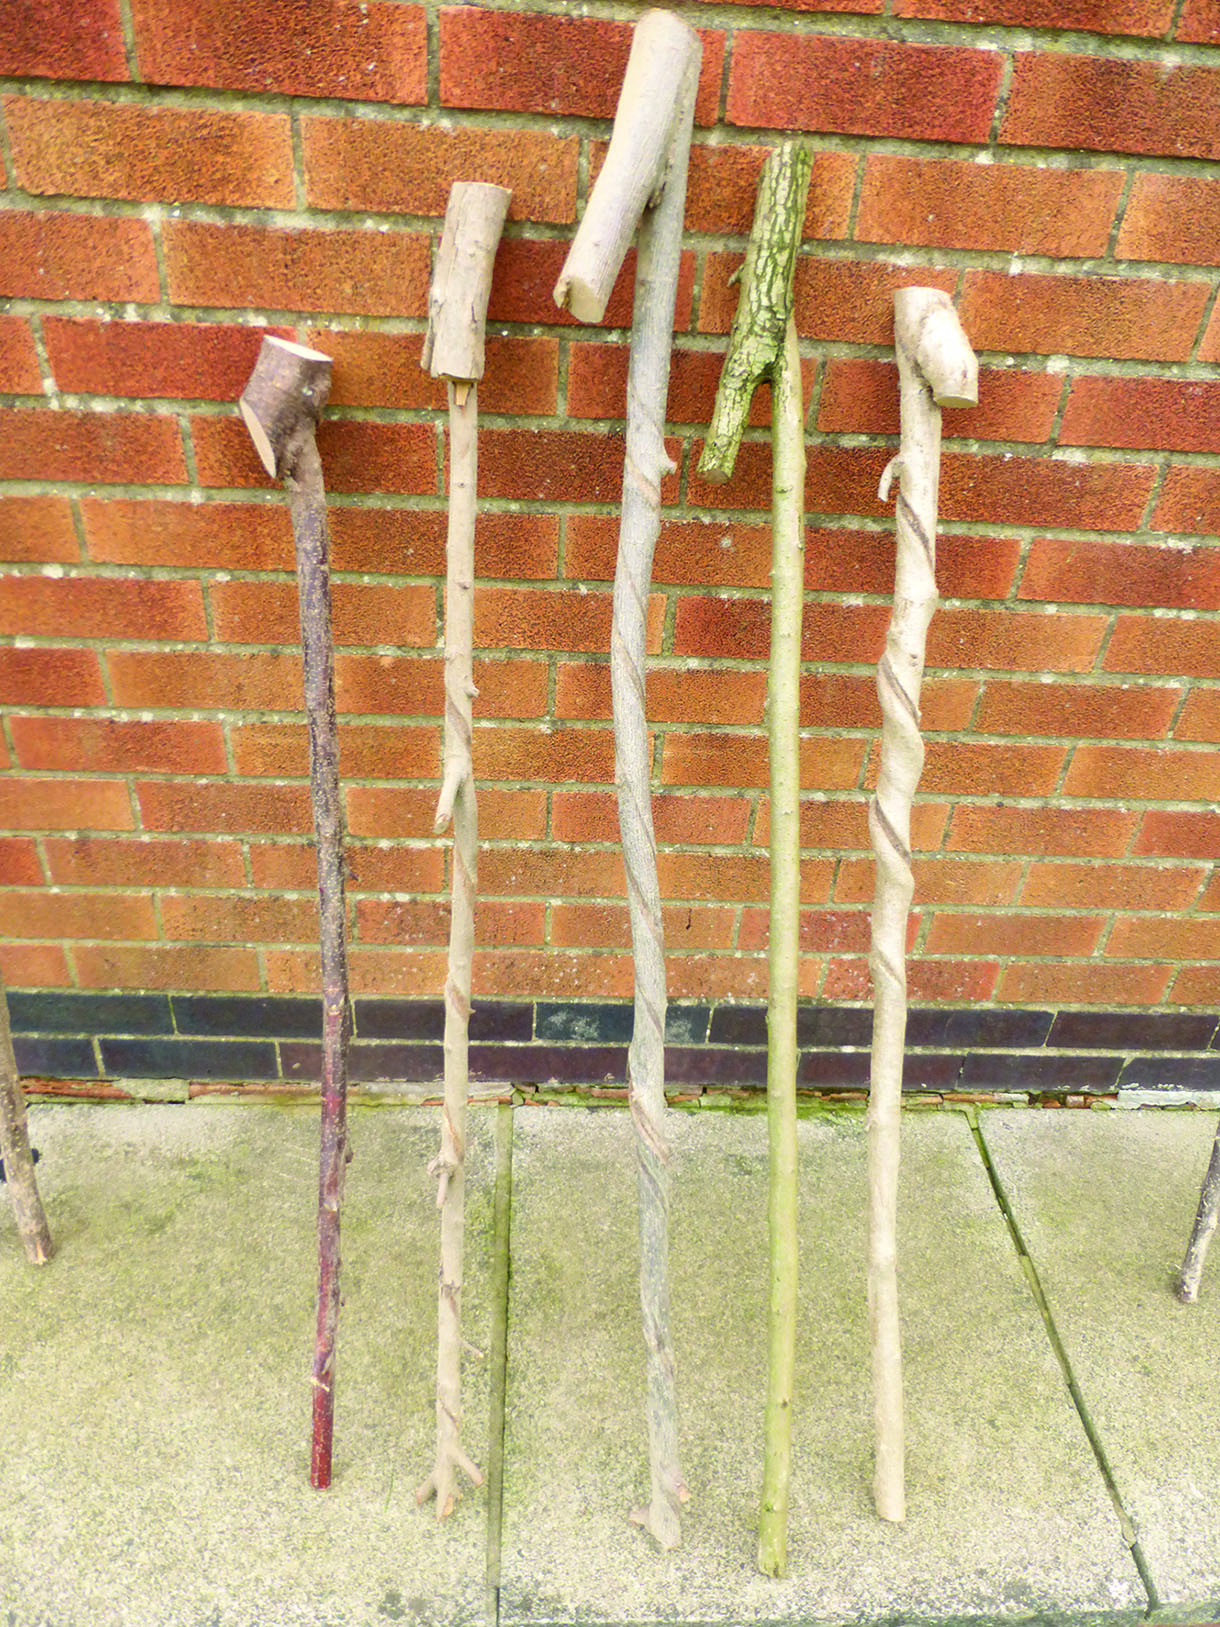
Almost any tree variety is suitable for a walking stick shank. Most commonly used are hazel (Corylus avellana) that ranges in colour from silver to red-brown and the many shades in between; blackthorn (Prunus spinosa); sweet chestnut (Castanea sativa); holly (Ilex spp.); hawthorn (Crataegus monogyna); silver birch (Betula pendula); ash (Fraxinus excelsior); oak (Quercus robur) and sycamore (Acer pseudoplatanus). Although suitable material is hard to find, yew (Taxus baccata) make excellent shanks. When cutting blackthorn, wear gloves and eye protection as the thorns are vicious and infection is possible if the skin is broken. Selection depends on your choice of wood and appearance when finished, e.g. chunky or slim, long or short. Long straight sections of certain types of wood, e.g. blackthorn and hawthorn, are much harder to find.
It is possible to straighten most bends in a shank; however, avoid shanks with a kink similar to a dog’s hind leg. These are hard to straighten and rarely worth the effort unless you want the added character. The length of the stick depends on the height of the user and style of stick. If making a stick for someone else, a rough guide for a hiking stick for a person 1830mm tall is 1400mm. For a short walking stick, aim for 915mm. The diameter is also an individual preference. If in doubt, a standard diameter of a finished stick
is around 25–30mm at the top tapering to a bottom diameter of 15–19mm. The shank will lose approximately 25% of its diameter during seasoning. Keep in mind when cutting. Cut shanks between November and March when sap is at its lowest. Cut at least 100mm longer than you need for your project. Using a folding pruning saw, cut the bottom of the shank at an angle of 45°. This allows water run-off and minimises damage to the tree. Check any fallen tree, with roots still attached, as they often sprout straight branches. Use the saw or secateurs to cut any side branch to 12mm. Do not cut side shoots flush with flank as this can leave an ugly pockmark when dried. Do not use dead wood from a tree or picked up from the ground. It may appear sound, but woodworm may have set up home.
Hazelwood
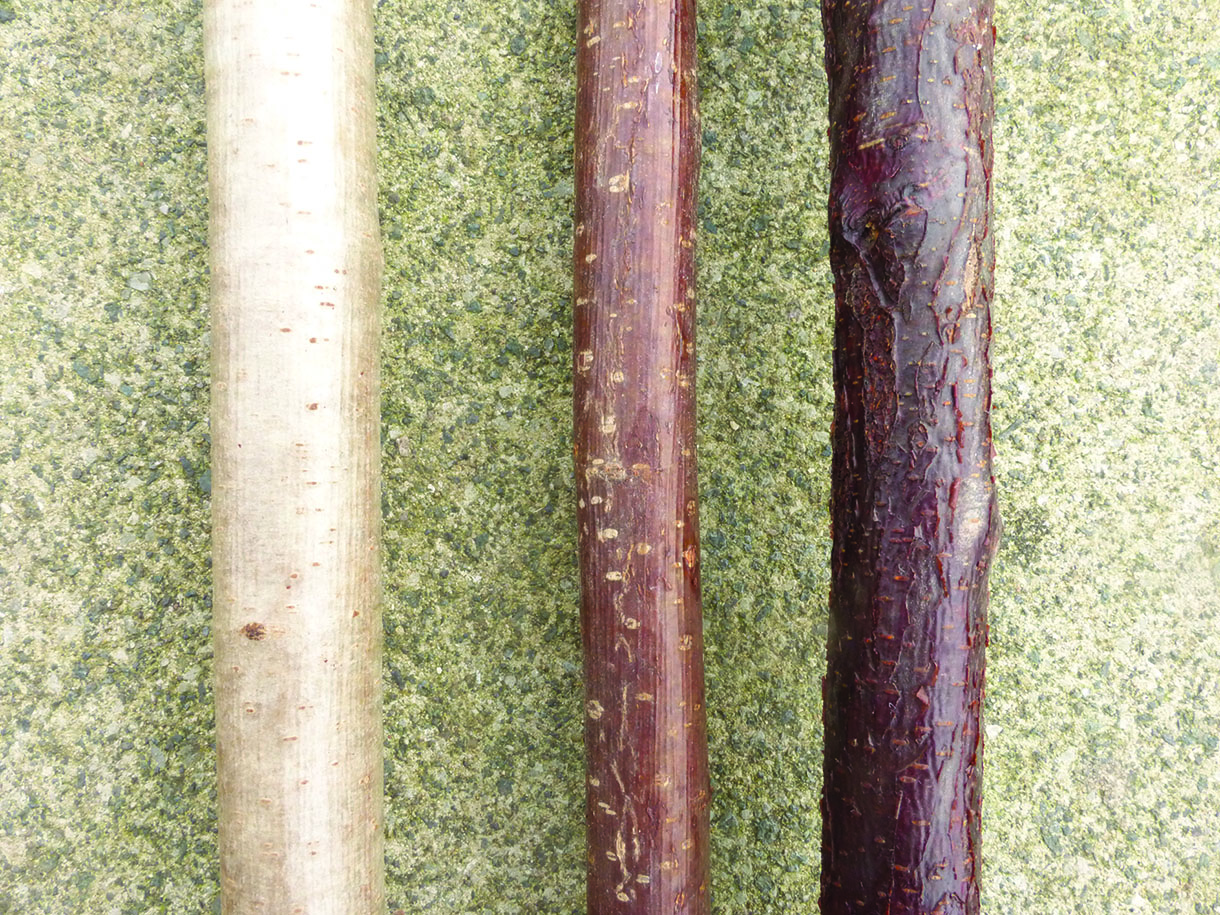
Hazel can vary greatly in colour

Yew trees
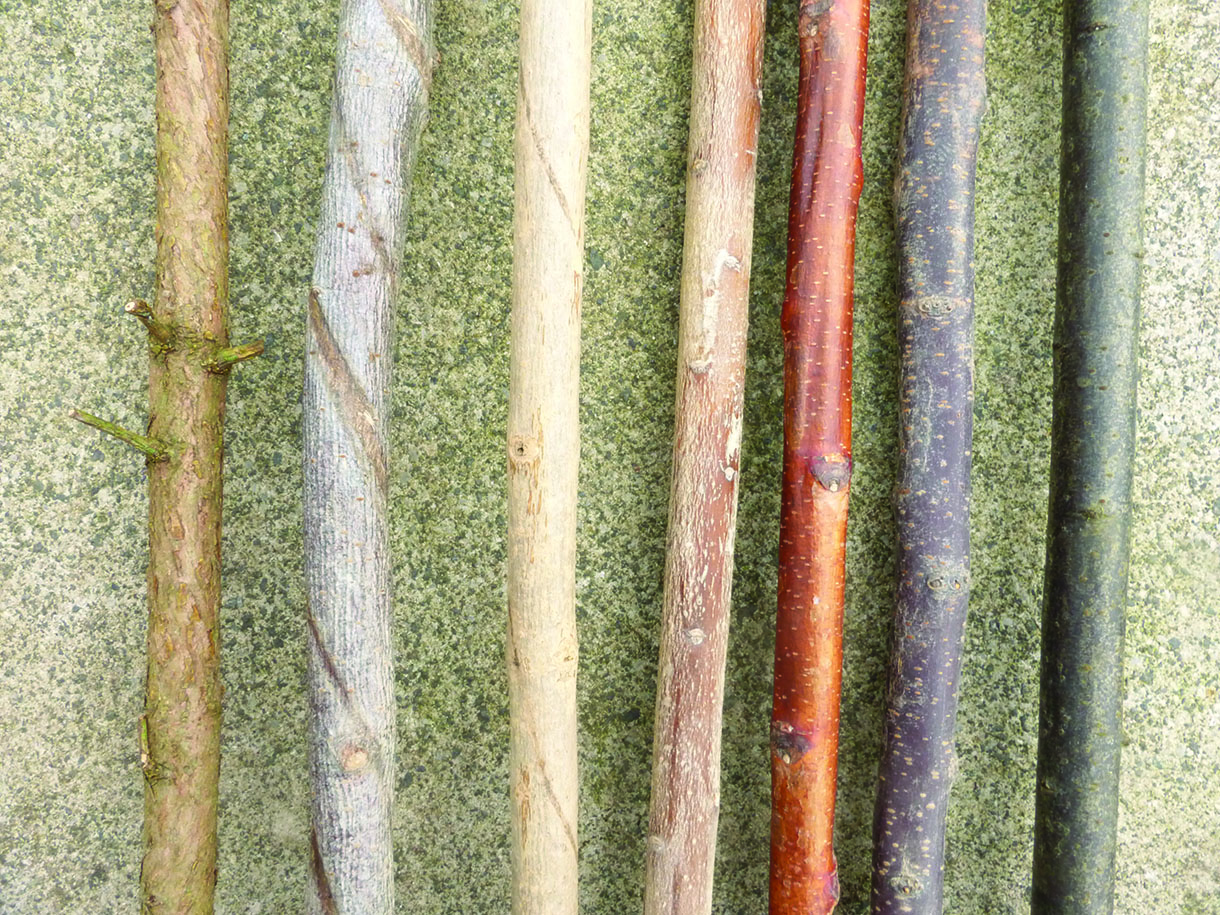
From the left: yew; rowan; ash; holly; silver birch; blackthorn and cherry
It is possible to straighten most bends in a shank; however, avoid shanks with a kink similar to a dog’s hind leg. These are hard to straighten and rarely worth the effort unless you want the added character. The length of the stick depends on the height of the user and style of stick. If making a stick for someone else, a rough guide for a hiking stick for a person 1830mm tall is 1400mm. For a short walking stick, aim for 915mm. The diameter is also an individual preference. If in doubt, a standard diameter of a finished stick
is around 25–30mm at the top tapering to a bottom diameter of 15–19mm. The shank will lose approximately 25% of its diameter during seasoning. Keep in mind when cutting.
Cut shanks between November and March when sap is at its lowest. Cut at least 100mm longer than you need for your project. Using a folding pruning saw, cut the bottom of the shank at an angle of 45°. This allows water run-off and minimises damage to the tree. Check any fallen tree, with roots still attached, as they often sprout straight branches. Use the saw or secateurs to cut any side branch to 12mm. Do not cut side shoots flush with flank as this can leave an ugly pockmark when dried. Do not use dead wood from a tree or picked up from the ground. It may appear sound, but woodworm may have set up home.
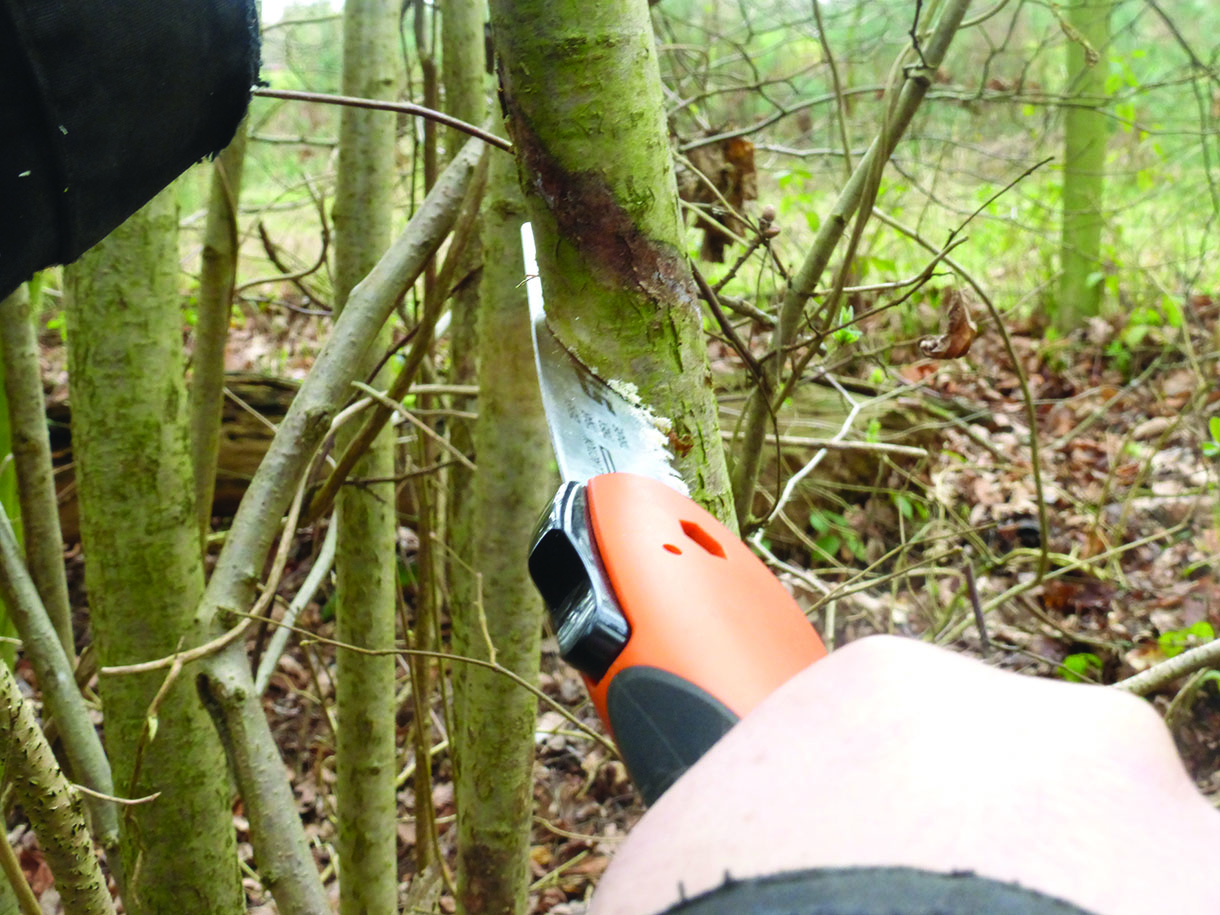
Using a folding pruning saw, cut the bottom of the shank at an angle of 45°
Avoid shanks with a kink similar to a dog’s hind leg
Styles of shank
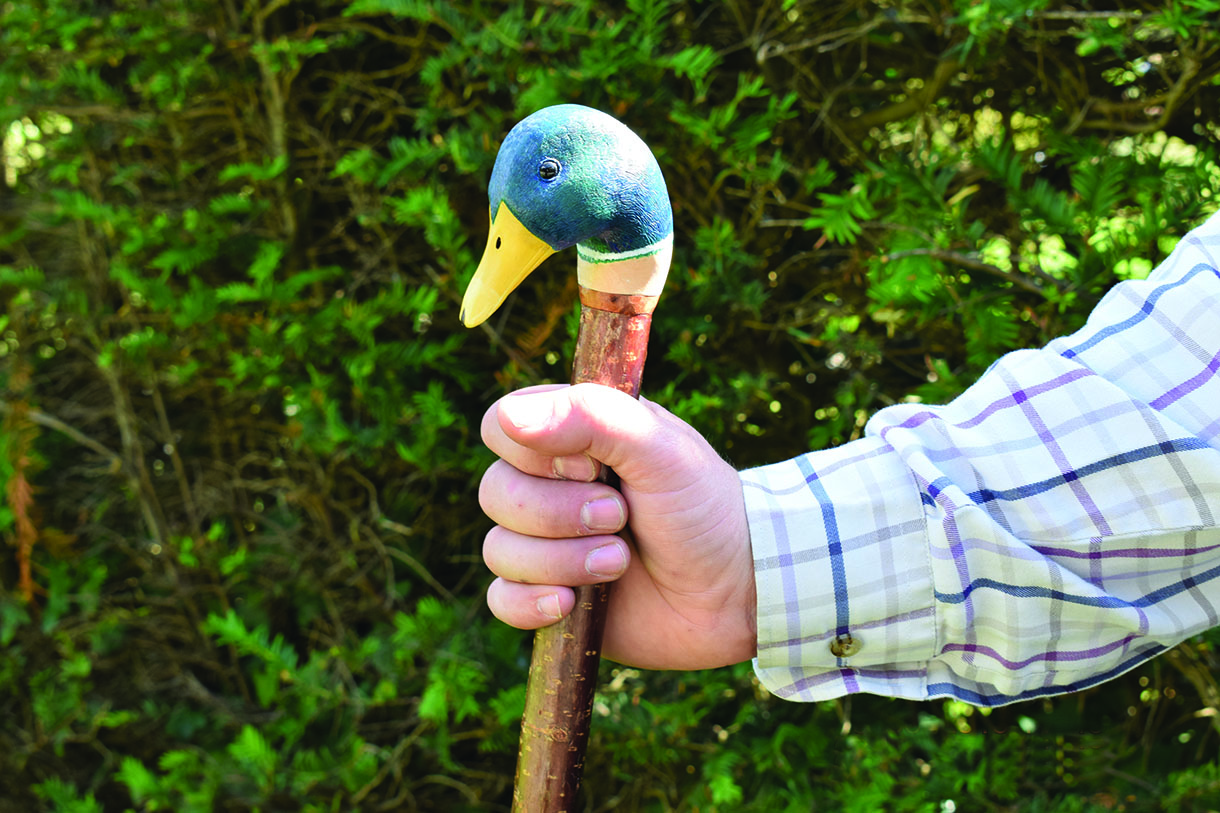
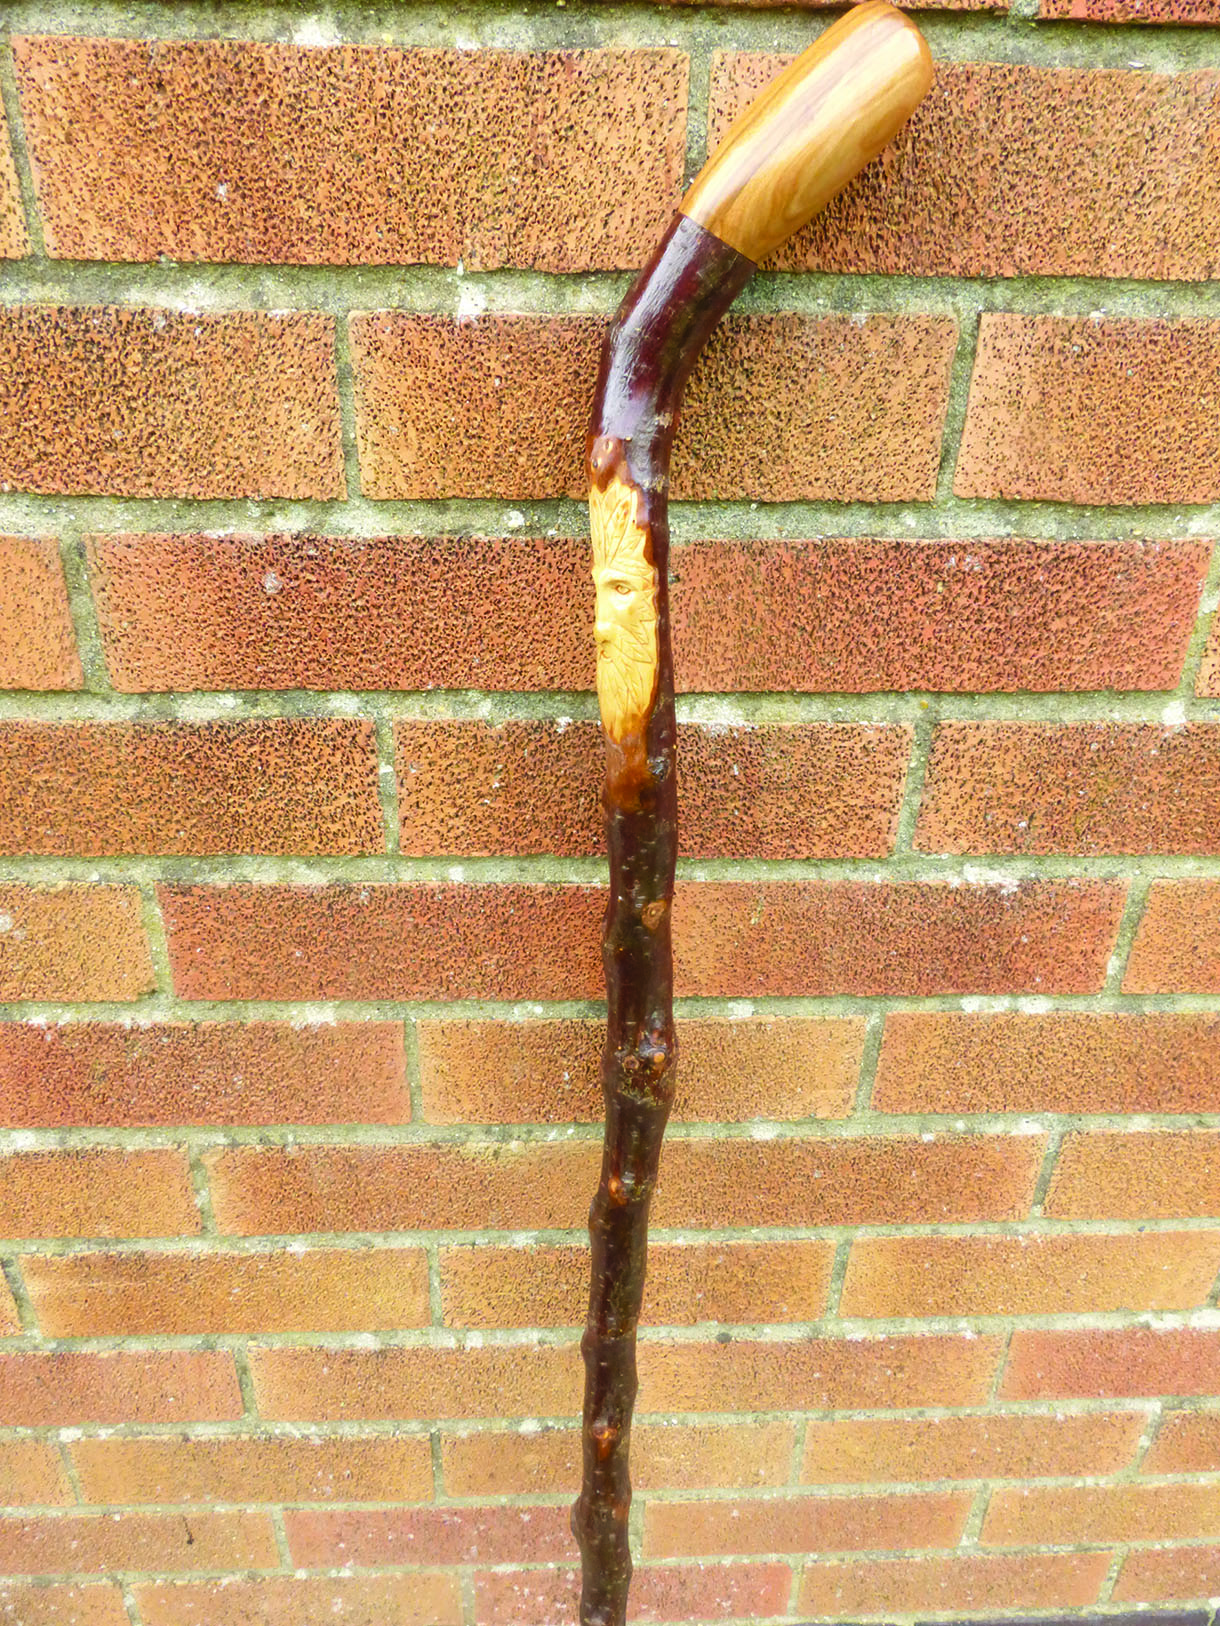
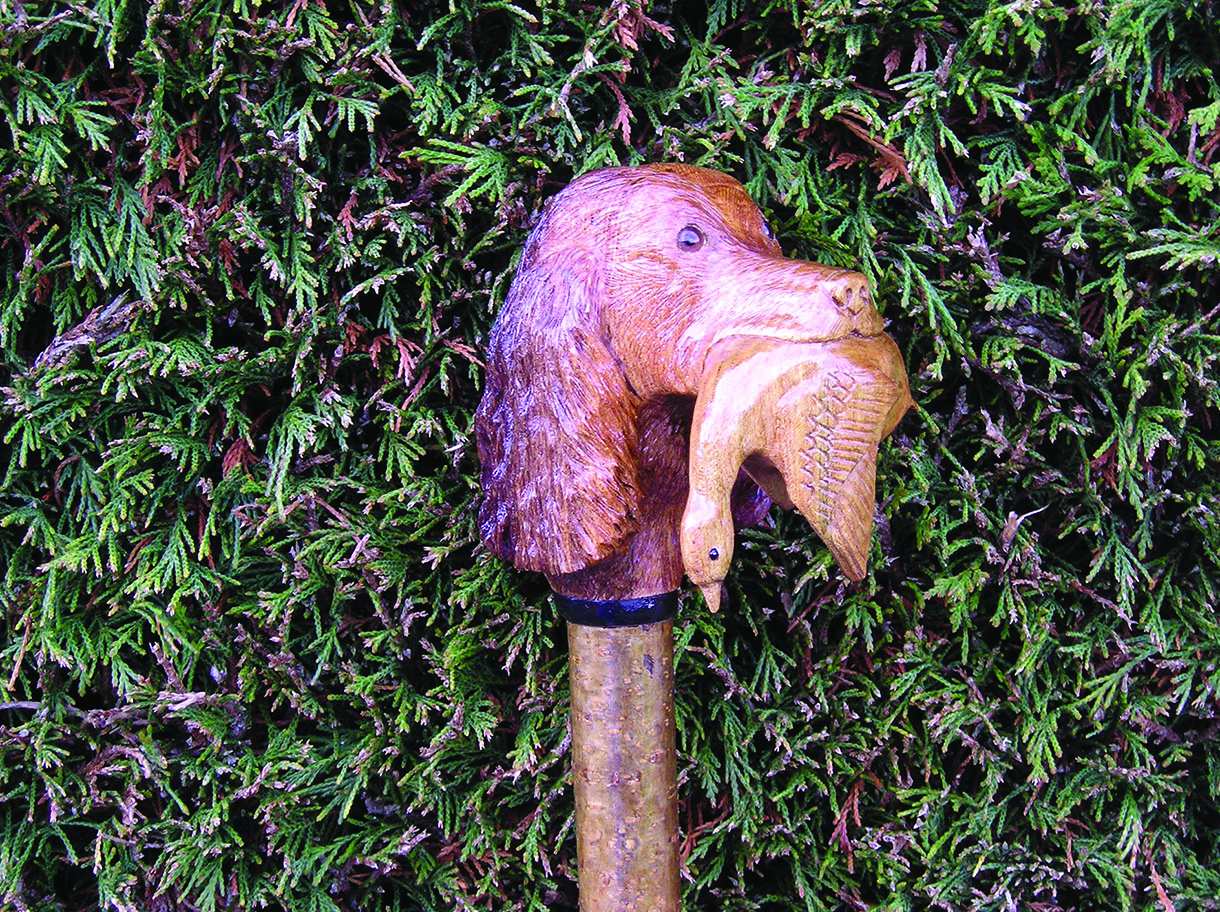
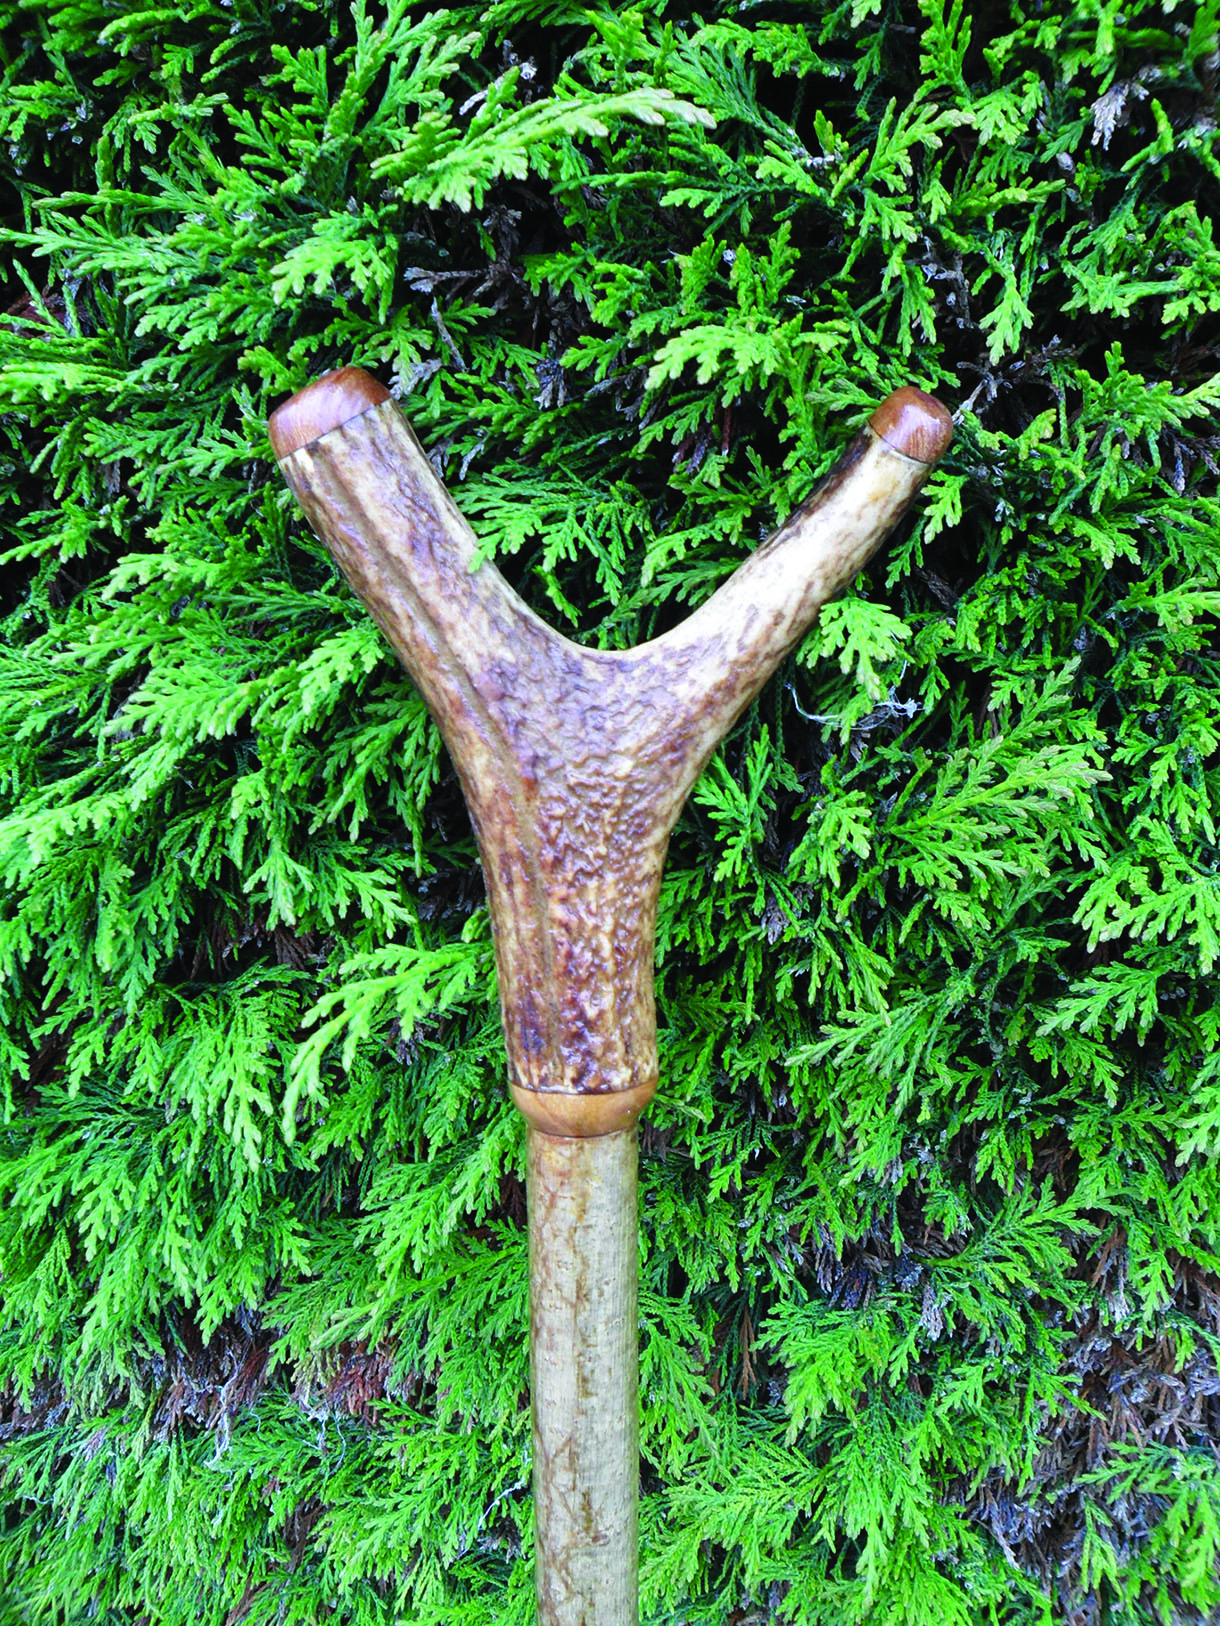
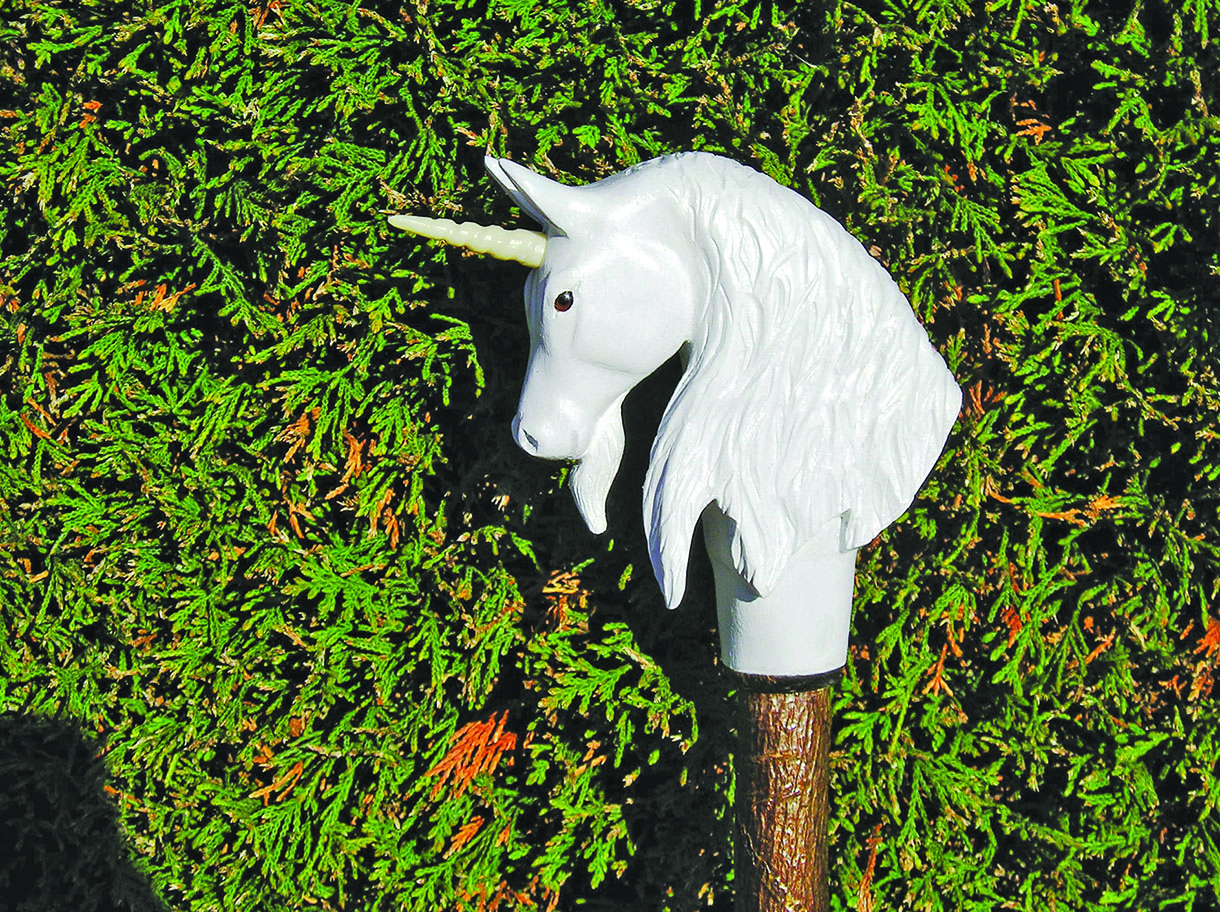
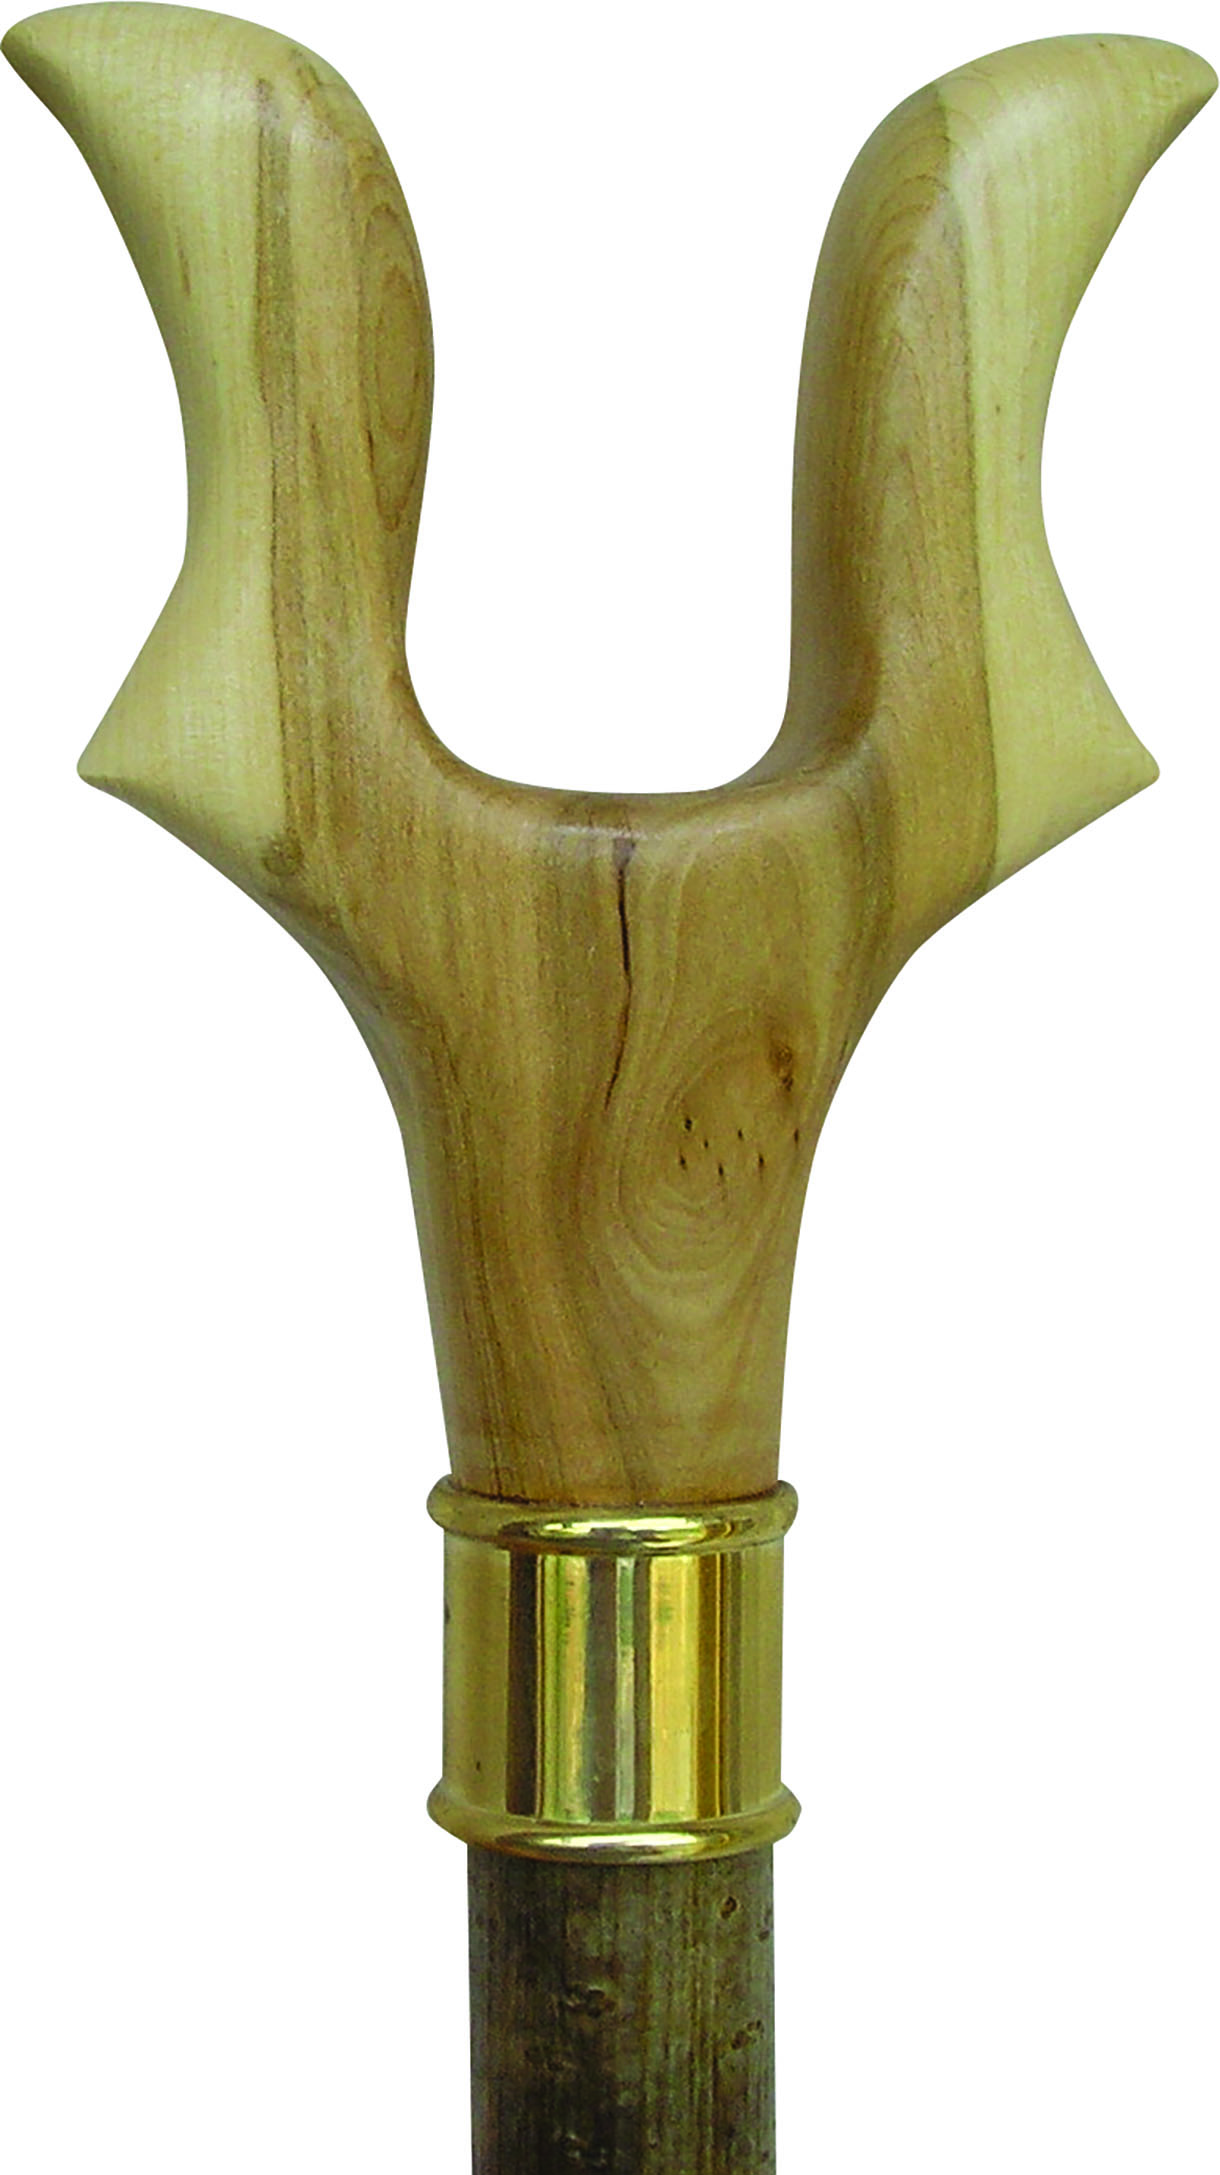
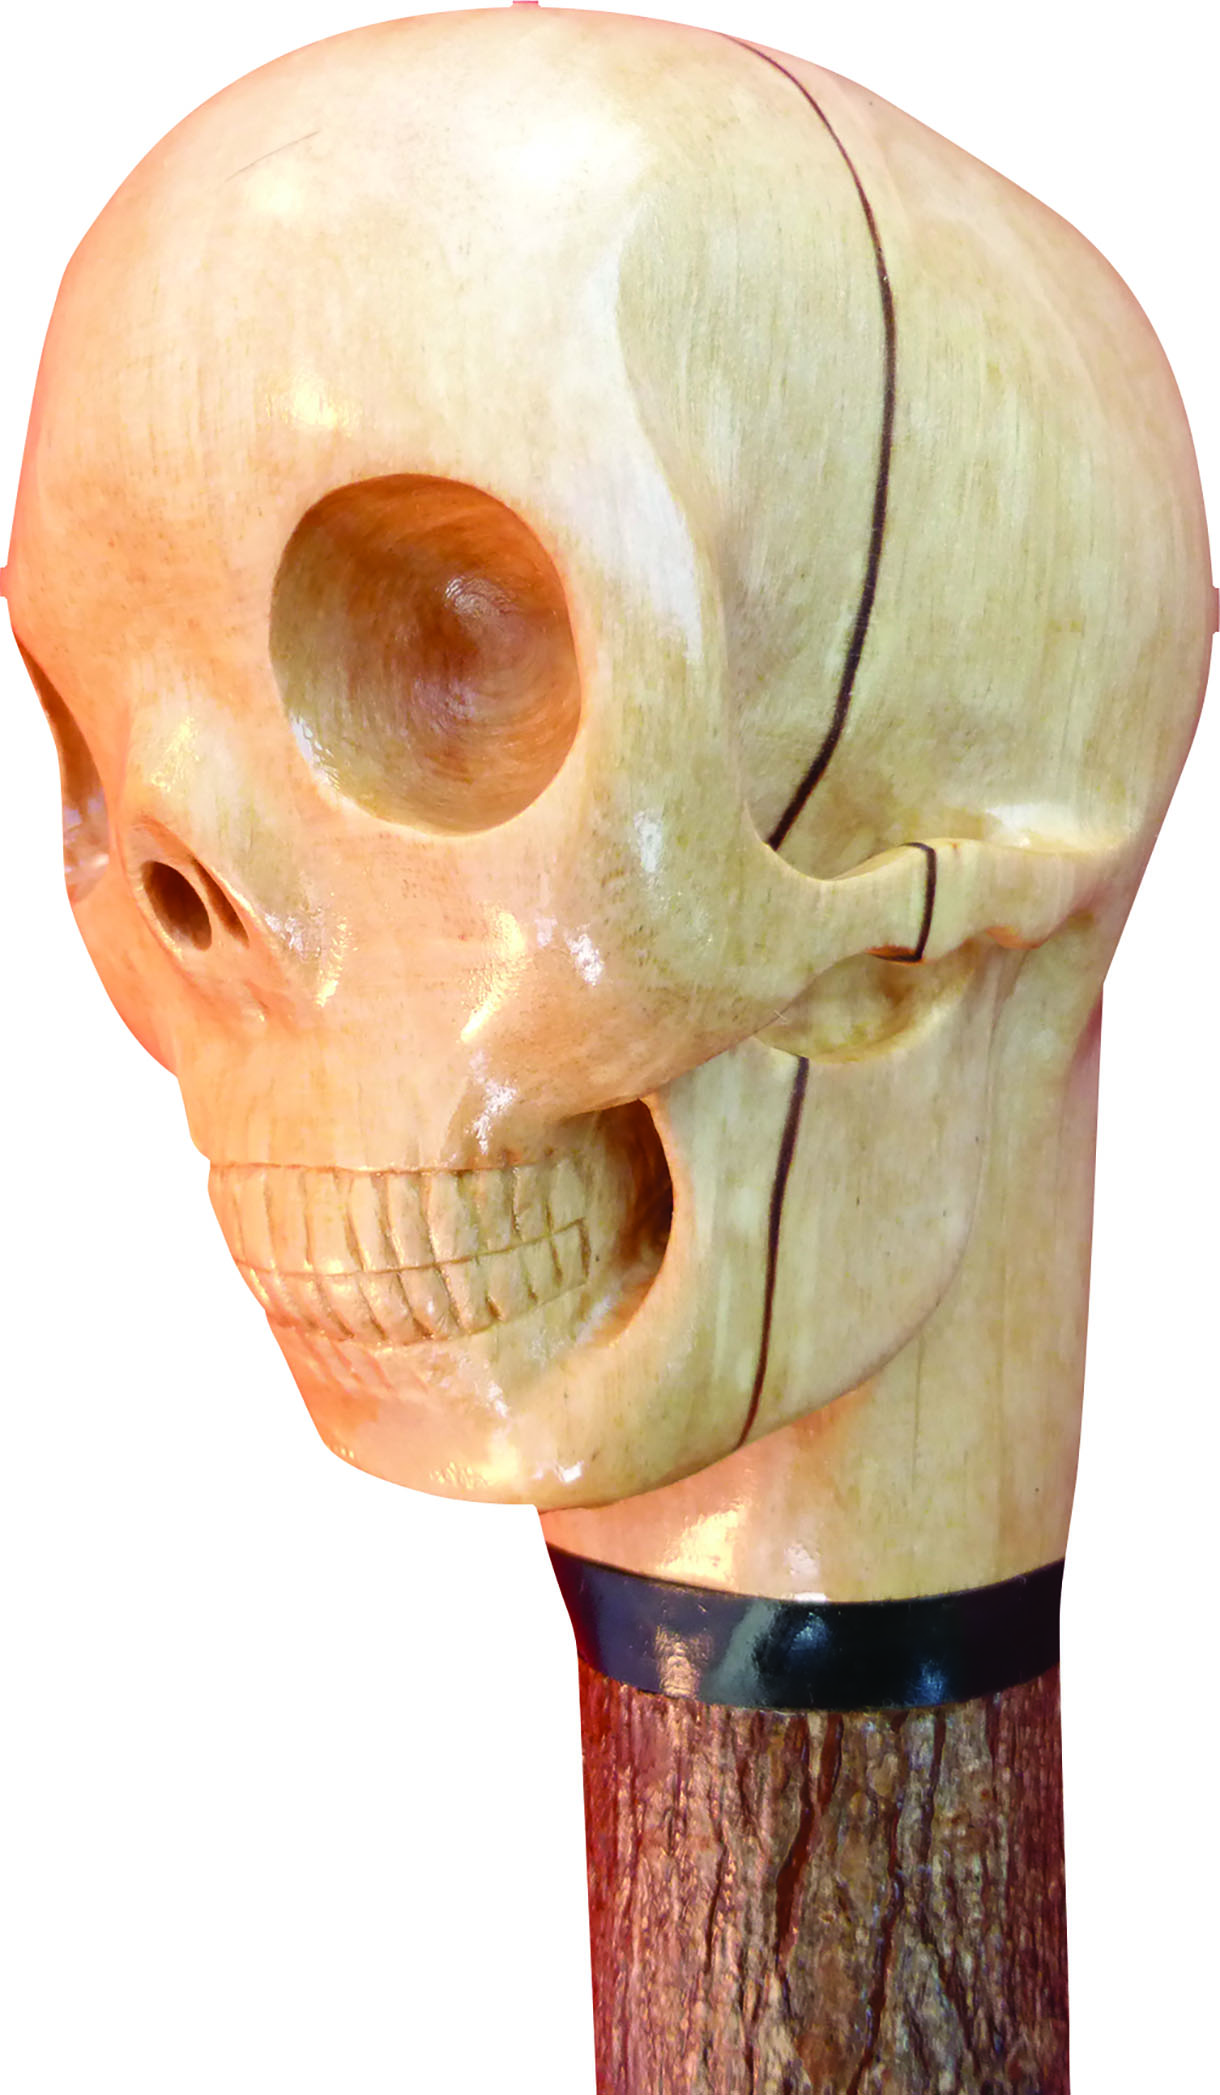
A straight shank – tall or short – to which you attach a head. The choice of head is infinite and sometimes bizarre. Types of head include: dogs, animals and birds carved from wood; plain handle styles, e.g. regency, derby, crook and market, in wood or horn; antler, horn or wood ‘Y’ thumb sticks and many varieties pre-cast from resin or metal.
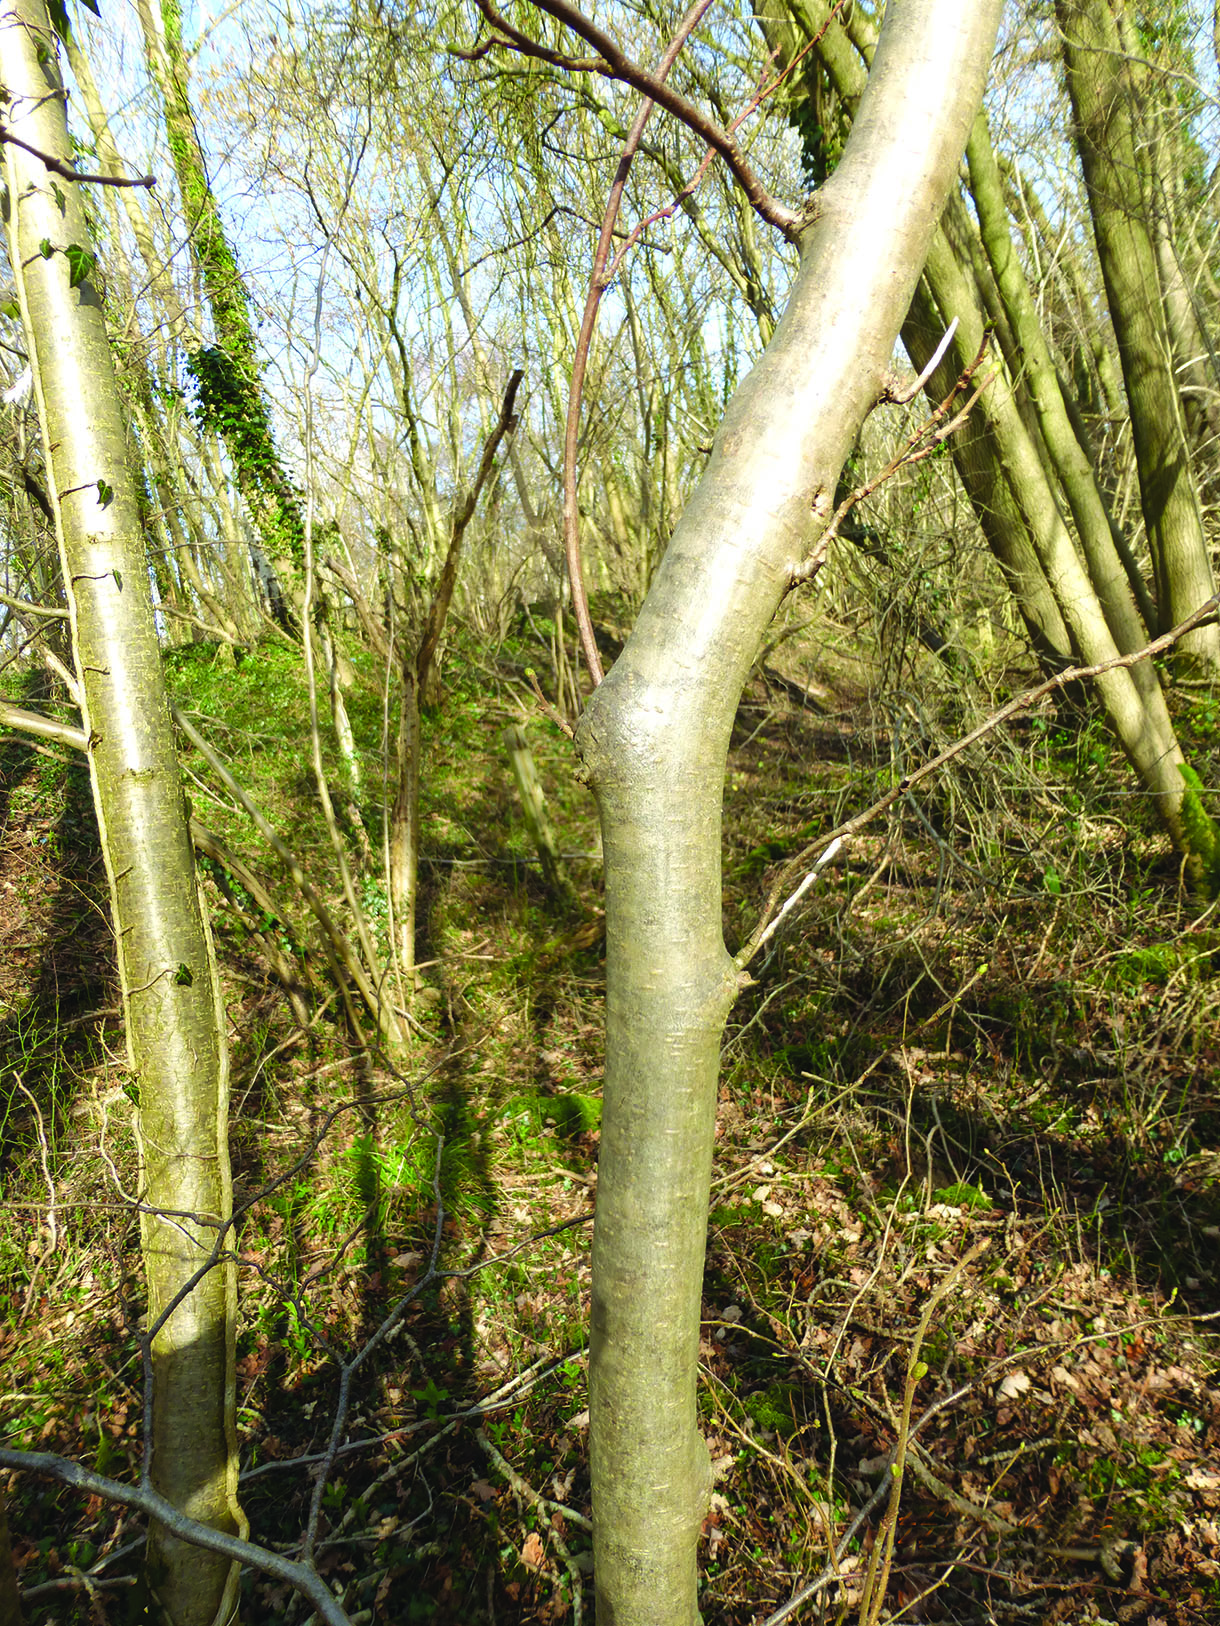
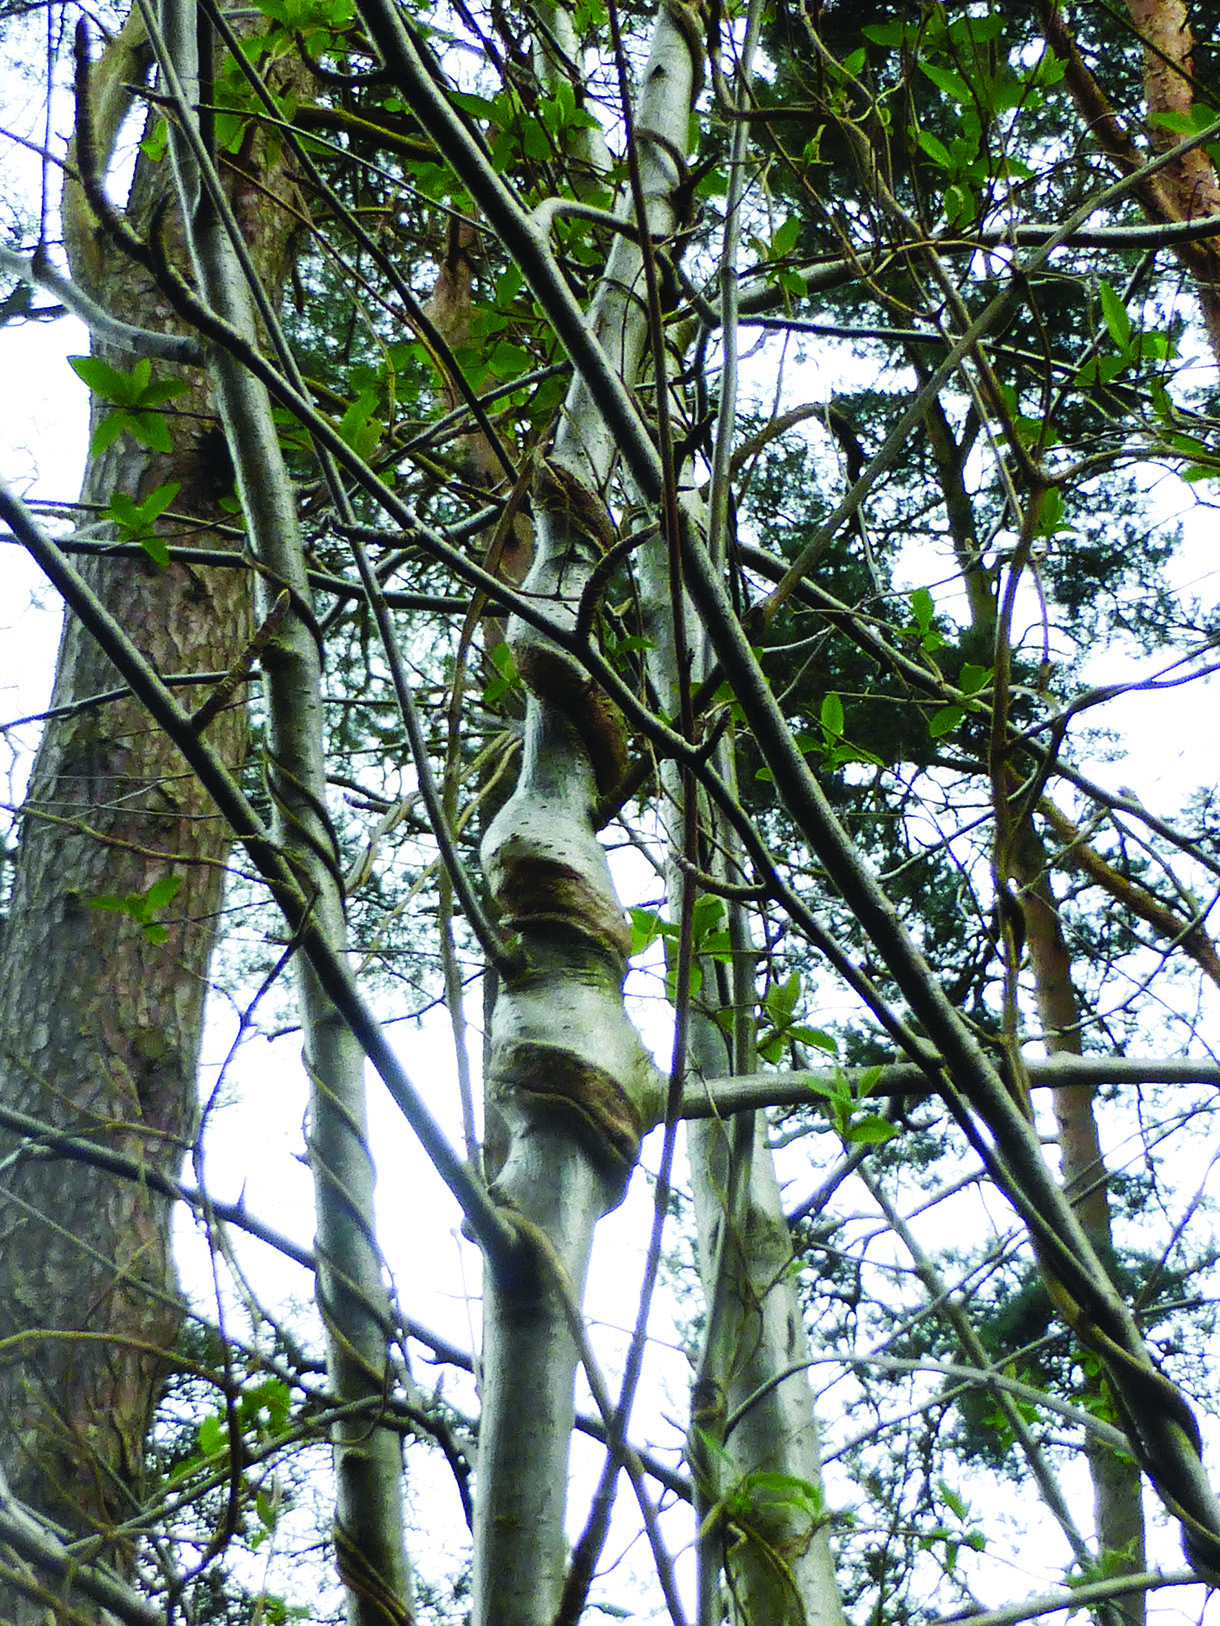
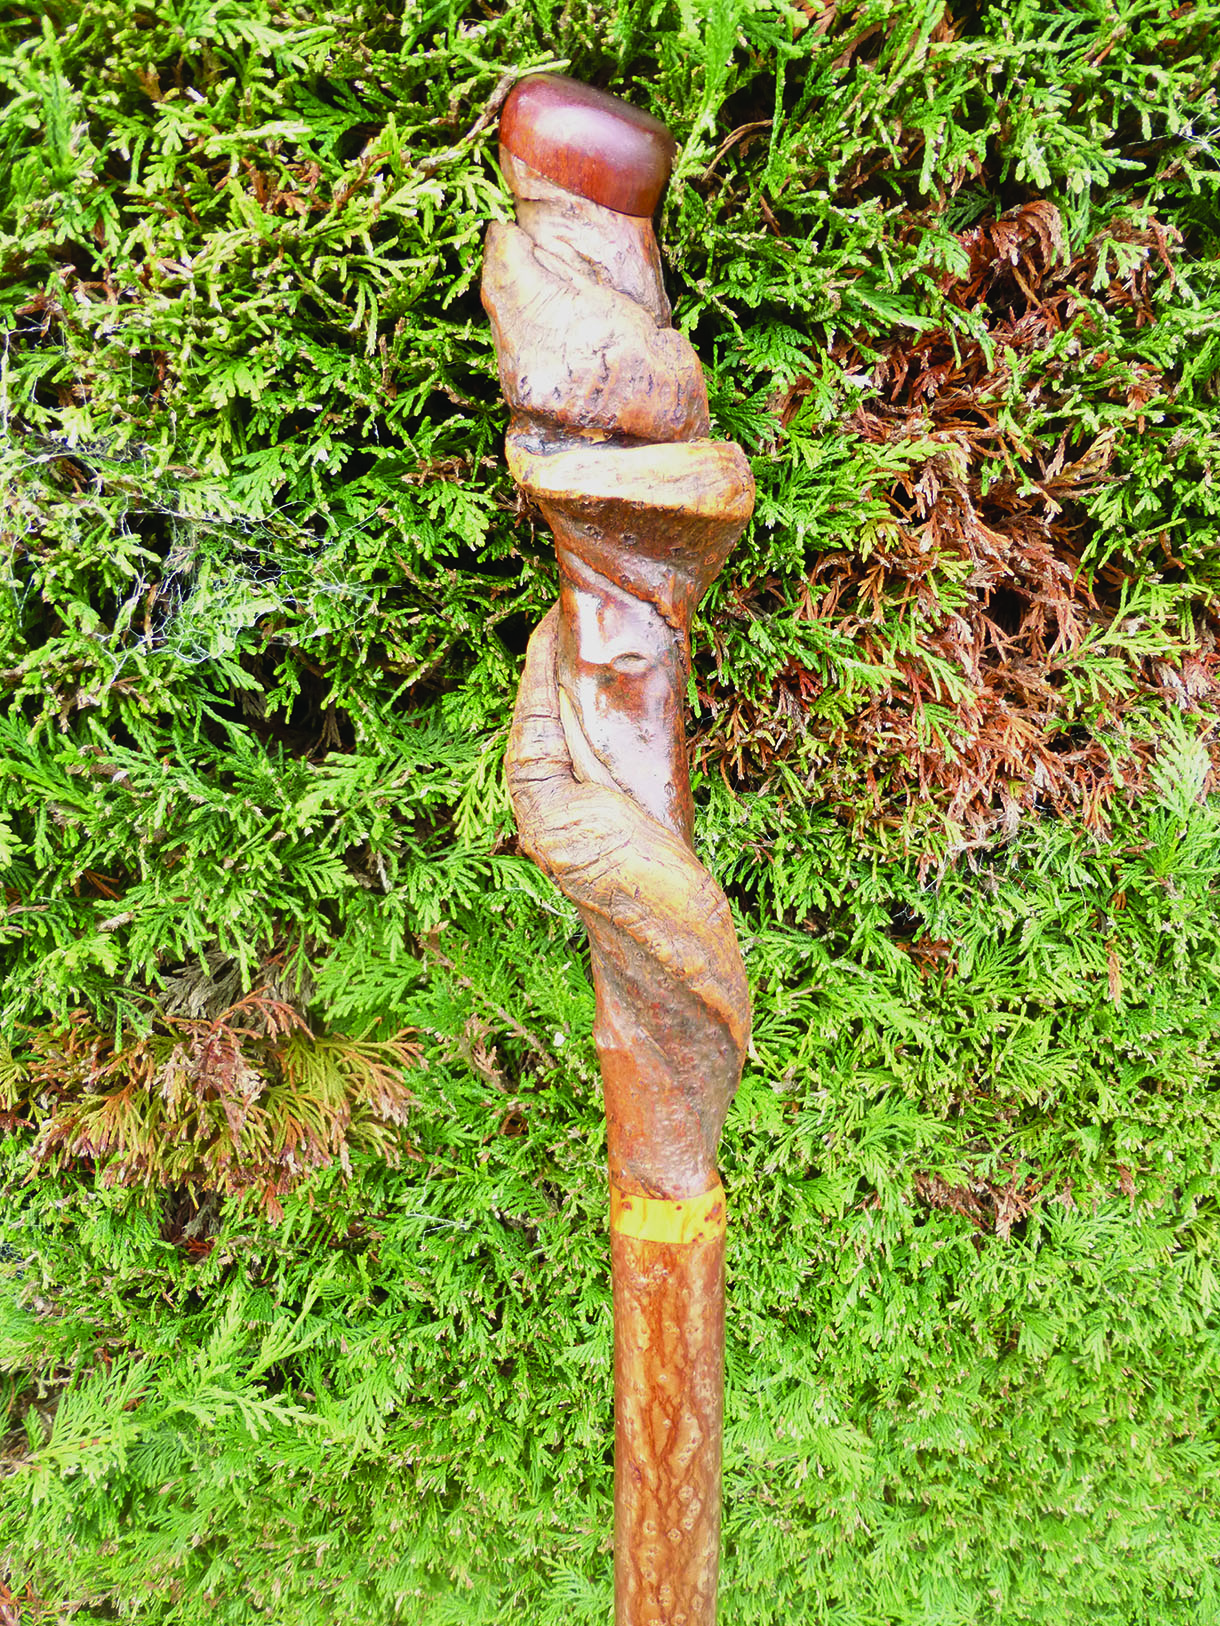
When wild honeysuckle grows around a branch in a spiral, it sometimes tightens leaving a ‘twisty’. Remove the honeysuckle to reveal deep or shallow grooves. The length of twist can vary from the entire shank or a short section. This stick gives a surprisingly comfortable grip. A twisty shank of the right thickness and height is difficult to find. Search in unmanaged woodland. If you find a perfect twisty, ignore previous advice of when to cut; as long as you have permission, cut when you spot it – if you don’t, someone else will!
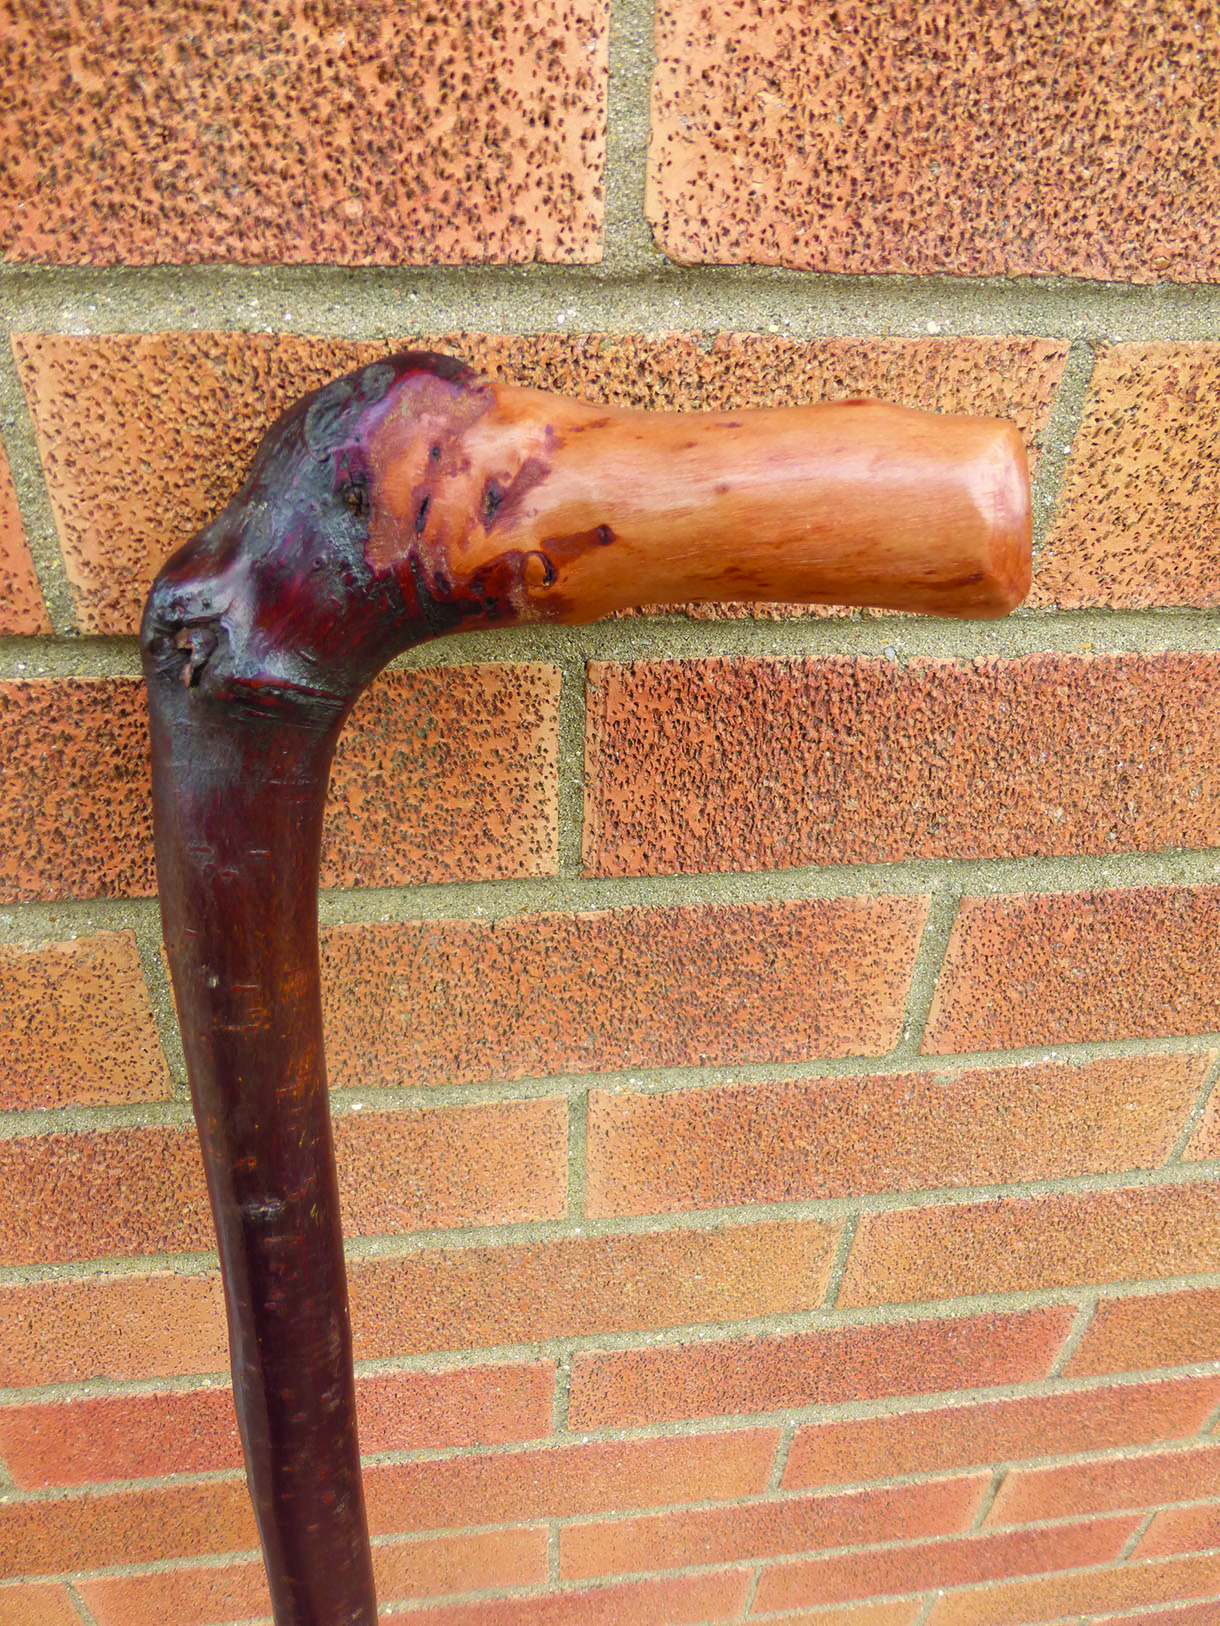
A short or tall one-piece stick cut with a section of root attached can be shaped into a knob or handle. Short sticks make good cudgels or beating sticks; blackthorn is one of the best. The runners of blackthorn travel from the parent tree just under the surface of the soil. Scrape the soil from around the base of a straight section of blackthorn and check the root system to see if it is usable.
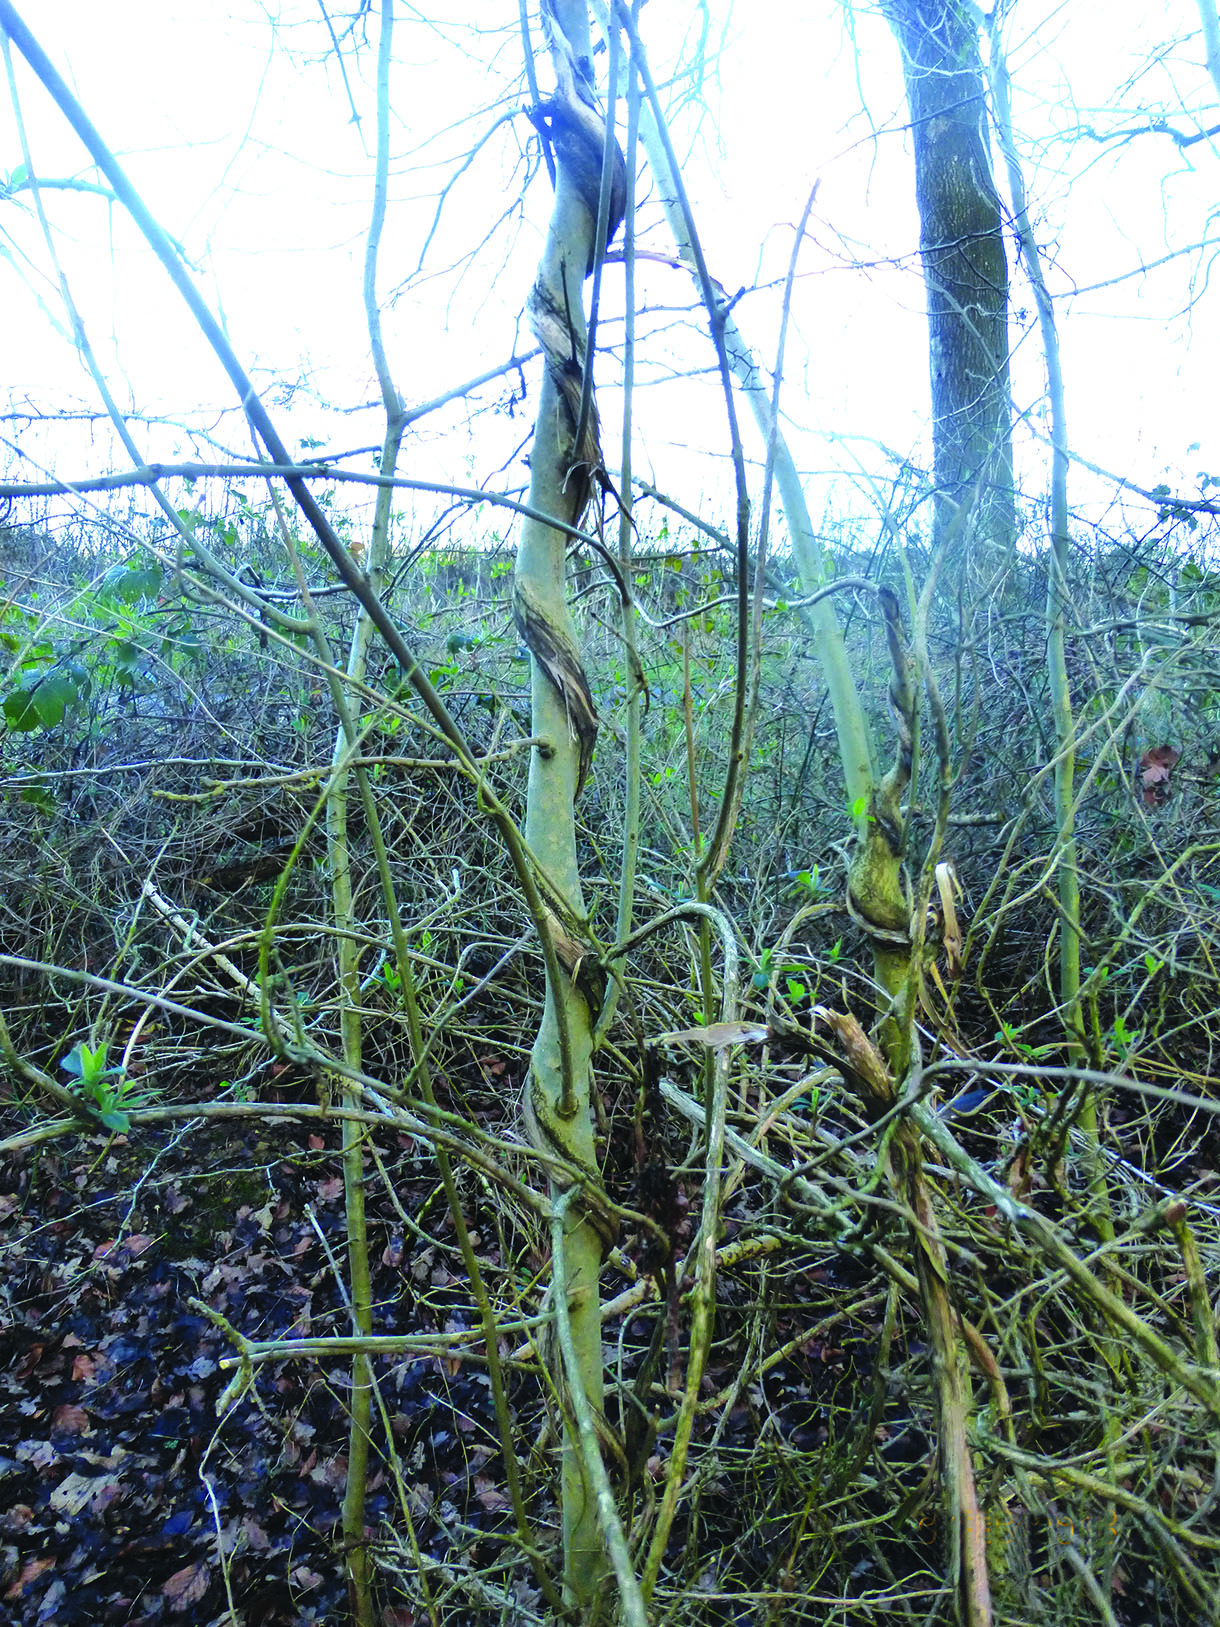
The length of twist can vary from the entire shank…
…or a short section
If you find a short length of a branch with a good twist, consider cutting for use as a head attached to a straight shank
If you cut the shank with a section of larger branch attached, the extra block of wood can be carved into a handle or many other designs

A one-piece ‘Y’ stick
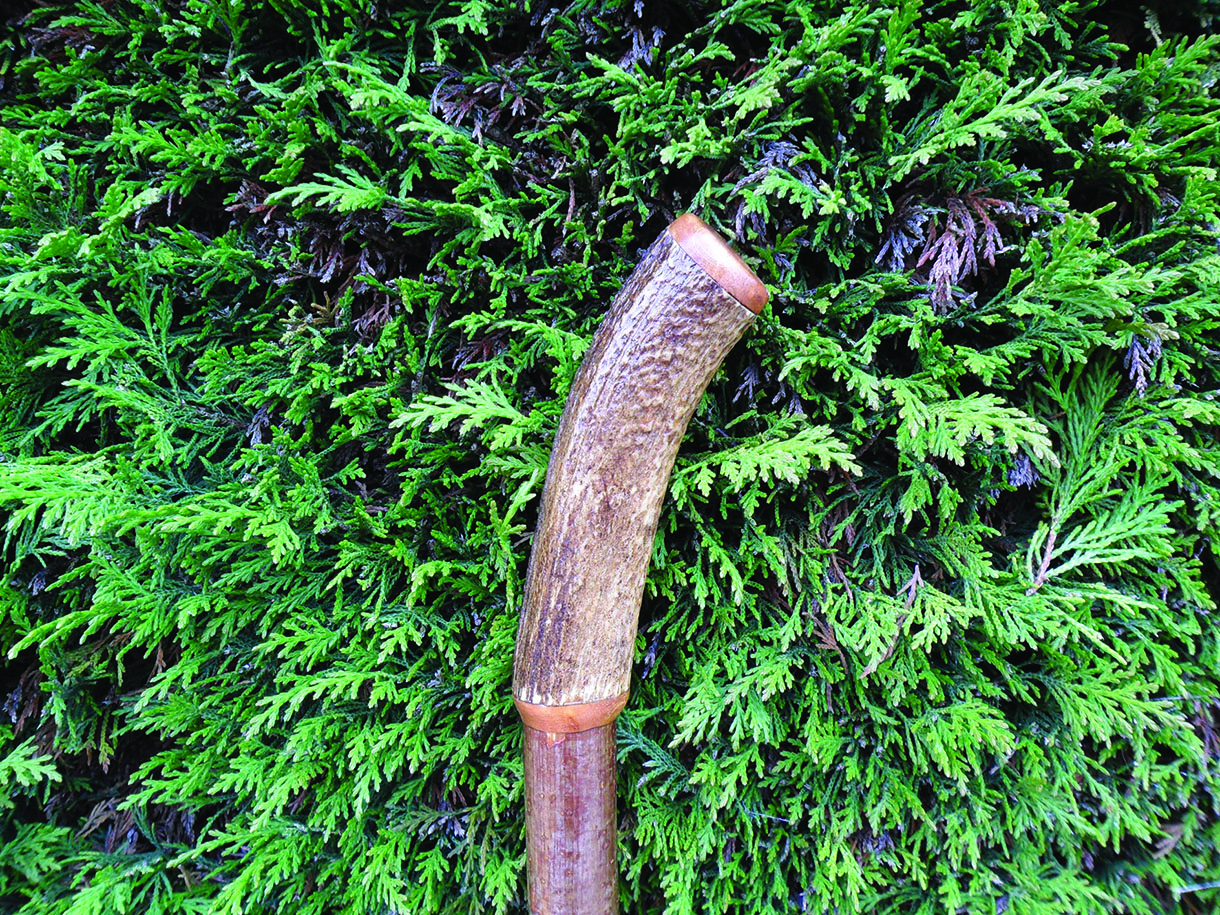
A crooked shank can have bags of character. Blackthorn and hawthorn are good candidates
Scrape the soil from around the base of a straight section of blackthorn and check the root system to see if it is usable
Storage
On a shank end, write the date cut and variety of wood. If you cut your shanks slightly oversize, the sealing of most varieties is not necessary because you can cut away any damaged section. The denser woods, such as blackthorn and yew, can split while drying; they may benefit from sealing with wax, paint, or varnish. If you have a shank with a larger section attached, this must be sealed. Remove excess moss and dirt and treat the shank with an anti-woodworm product.
Store shanks in a cool, dark place with good air circulation. Attics are not suitable. They can be stored upright, flat or even hanging from one end by a piece of string. If they are stored in rafters of a garage, ensure that you place them on struts that are close together to stop excessive bowing. Single shanks will get better air circulation and dry more evenly, but they can be stored in bundles of up to five. Tie bundles together with a soft binding – strips of an old towel are ideal. Tie at close intervals if you are drying a bundle, consider tying shanks to a rigid pole, such as an old broom handle, to minimise movement.
Seasoning
As the moisture level reduces during drying, a shank hardens and decreases in weight. Season a standard shank of 25mm diameter, for a minimum of one year. Denser woods – blackthorn, yew and hawthorn – will need two years. If the shank is thicker, has a knob, root etc., it will need two to three years. The general rule of thumb is to season one year per every inch of diameter. Shanks seasoned for more than three years attract woodworm; if you are storing for longer repeat anti-woodworm treatment. If your intention is to attached a head, do not be tempted to use the shank before fully seasoned. There is the possibility of the shank continuing to shrink and loosening the joint. There are around 40 species of holly in the UK and some have an attractive grain under the bark. Apply a stain to a spare piece of shank to test. If you intend to strip the bark from any shank, it is easier when the shank is green, but this will make it more liable to split as it dries. Leave until the shank is at least part seasoned.
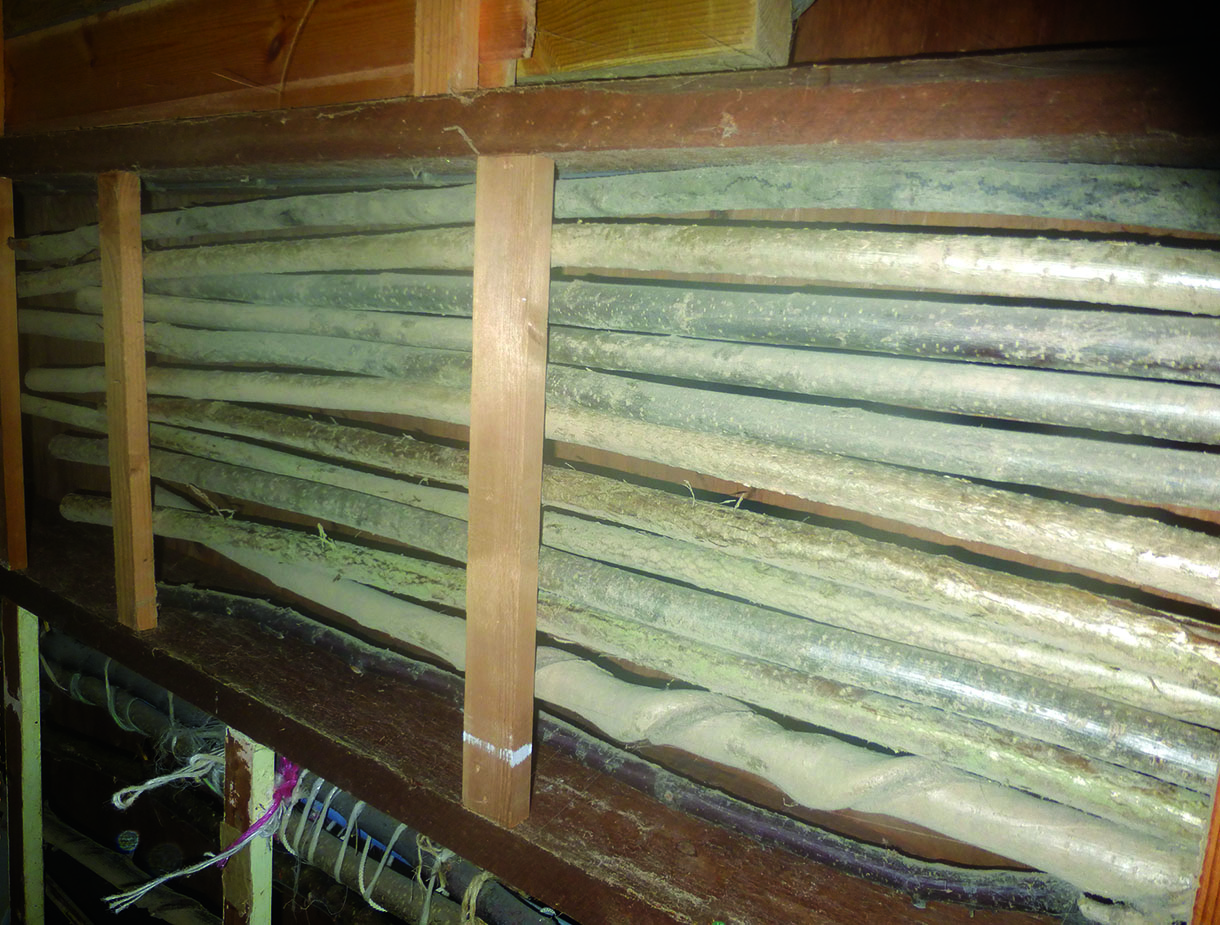
They can be stored upright, flat or even hanging from one end by a piece of string
Straightening
No matter how straight your stick when cut, after seasoning it is likely to have bends. If the shank was stored correctly they should not be too extreme. To straighten, there are two main methods; each has advantages and disadvantages…
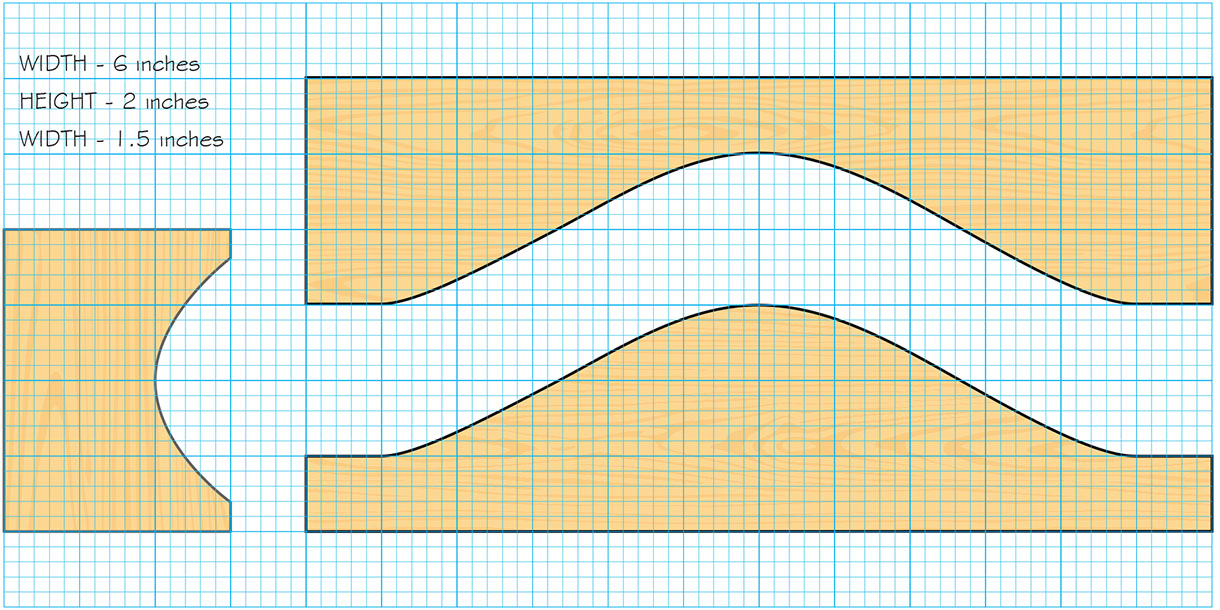
Paint-stripping tool: this method is adequate for straightening one or two sticks at a time. Move the hot-air gun over a patch of around 100–150mm, and continually revolve the shank to prevent scorching the wood. A minute is enough depending on the shank’s thickness. You can straighten most bends over your knee, but bends at the extremities are difficult and a simple jig will help. The diagram (above) shows a simple jig made from wood. Glue a strip of leather to the inside faces to protect the shank. You can find others styles on the internet. Methodically work from the top end of the stick and wait for a treated area to cool before attempting the next bend. As you bend the shank over your knee, you will feel the fibres stretch if heated sufficiently. Slightly over-bend and the shank will spring back straight. If the shank doesn’t give, apply more heat, but don’t force otherwise, the shank may snap. Some bends can be stubborn. This is not a task to rush; it can take up to an hour per stick. Once you have straightened the entire shank, place it flat on the ground in a cool place to prevent the bends reappearing.
Steam: if several sticks need straightening, steam might be a better choice. A wallpaper-stripping machine will make a simple steamer. Obtain a length of plastic pipe four to five inches in diameter and a few inches longer than the longest stick you intend to straighten. Seal one end. Insert the steam outlet pipe into the open end or fix it permanently. Drill a hole the size of the end of the steam outlet near to the sealed end
of the pipe. Fix steam outlet into the hole and seal with a waterproof sealant. Shanks need steaming for 30–60 minutes before pliable. This method will result in a scalding shank; use gloves or a towel while you work. The shank will only remain workable for a few minutes, after which it will need reheating, so work quickly.
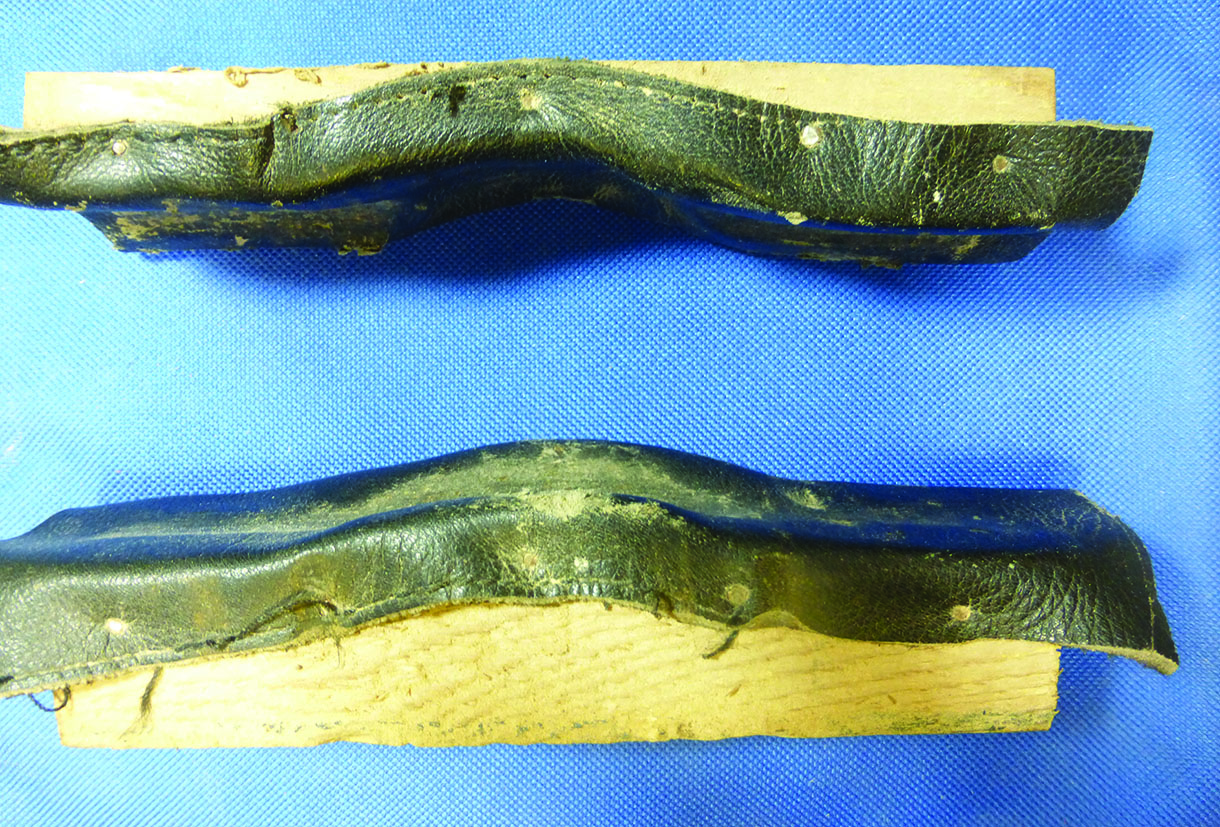
You can use the jig to straighten the entire shank if you wish
A range of walking stick designs


1 Comment
I love your sticks, and in fact, I think I own three of the ones featured in this article!