Sanding Bow:
Jason Townsend talks us through making a useful sanding bow.
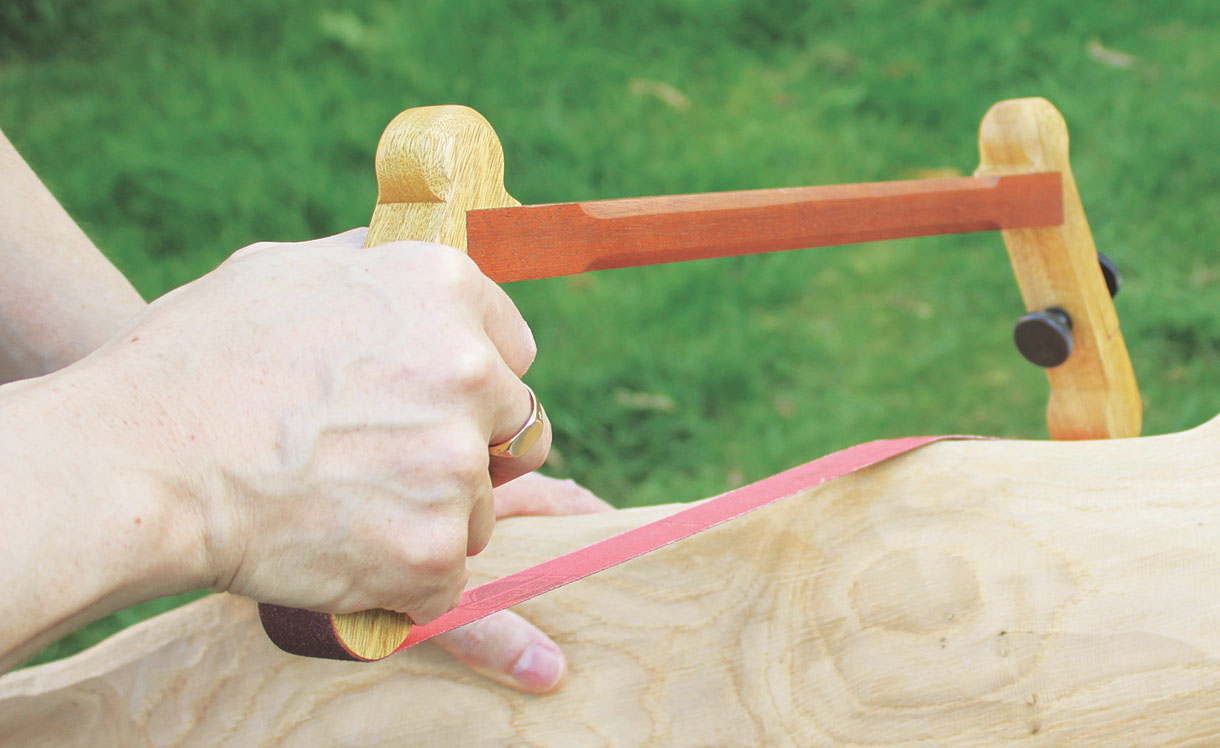
The completed sanding bow made from idigbo and reclaimed mahogany in use
Sanding is a job that no one really likes and yet everyone likes smooth and nicely-finished wood. This sanding bow helps with the sanding down of large curved surfaces and can be used with a variety of abrasives from coarse to fine. The length of the bow means that you can apply a lot of abrasion with each stroke. When you have finished sanding your item with one grade of abrasive, you can undo the screws and fit a finer grade of abrasive.
Tools
• Carpenter’s yellow glue
• Abrasive
• Carving knife
• Danish oil (including a brush and rag)• Drill press or cordless drill
• 7mm drill bit (suitable for wood)
• Pencil and combination square
• 50mm PVC packing tape
Materials
• Four Neoprene M6 washers
• Two M6 thumb screw (25mm)
• Two M6 thumb nut
• 25mm abrasive roll (in various grades)
• PAR timber (27mm)
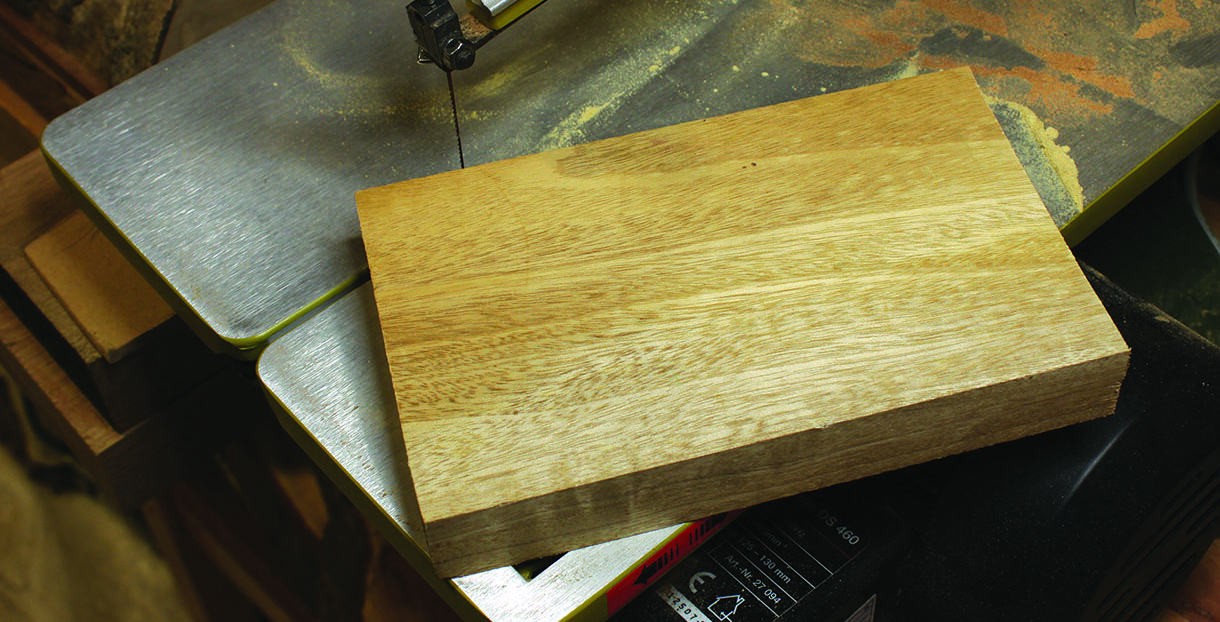
1. Using the templates, or some of your own devising, select some wood of appropriate size. I have used some idigbo (Terminalia ivorensis) timber that has been planed-all-round (PAR). This gives it a final thickness of 27mm (original 32mm). I didn’t have a piece of PAR timber long enough for the back of the bow so I used a bandsaw to cut a reclaimed mahogany (Khaya ivorensis) table leg down to size. Once your timber is selected, glue the template to the wood using a glue stick or trace it onto the wood using carbon paper for example
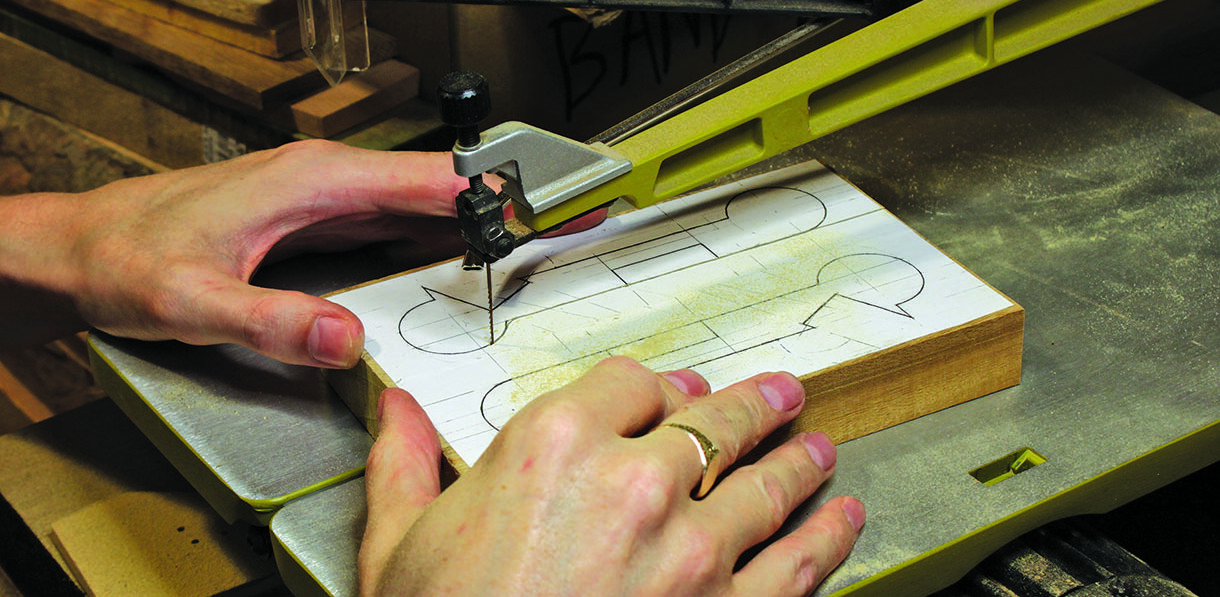
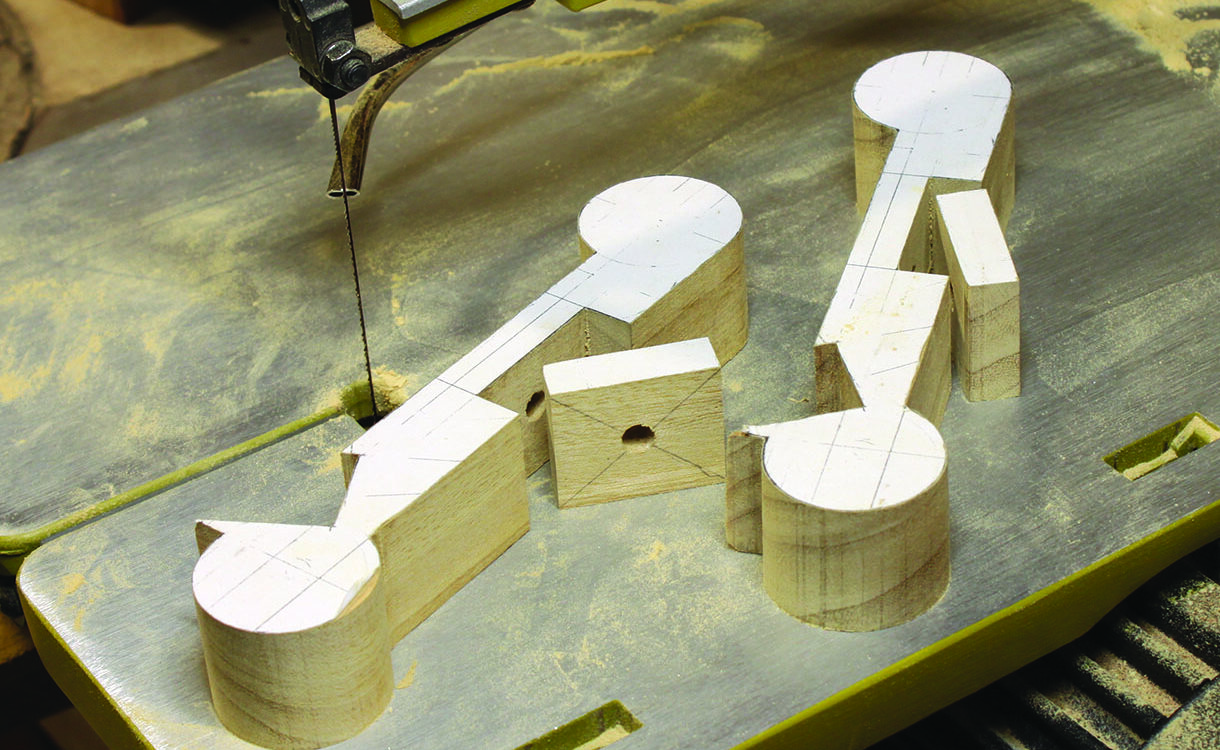
2. Using a scrollsaw, cut out the ends of the bow. At this point do not cut out the inset pieces that will be used to clamp the abrasive cloth in place. Ensure accuracy when sawing so your bow ends will fit neatly onto the bow back
3. Mark up the inside face of the bow ends using a pencil and combination square. Mark diagonal lines in the rectangle that you have just marked out to find the centre point to drill a hole for the thumb screws
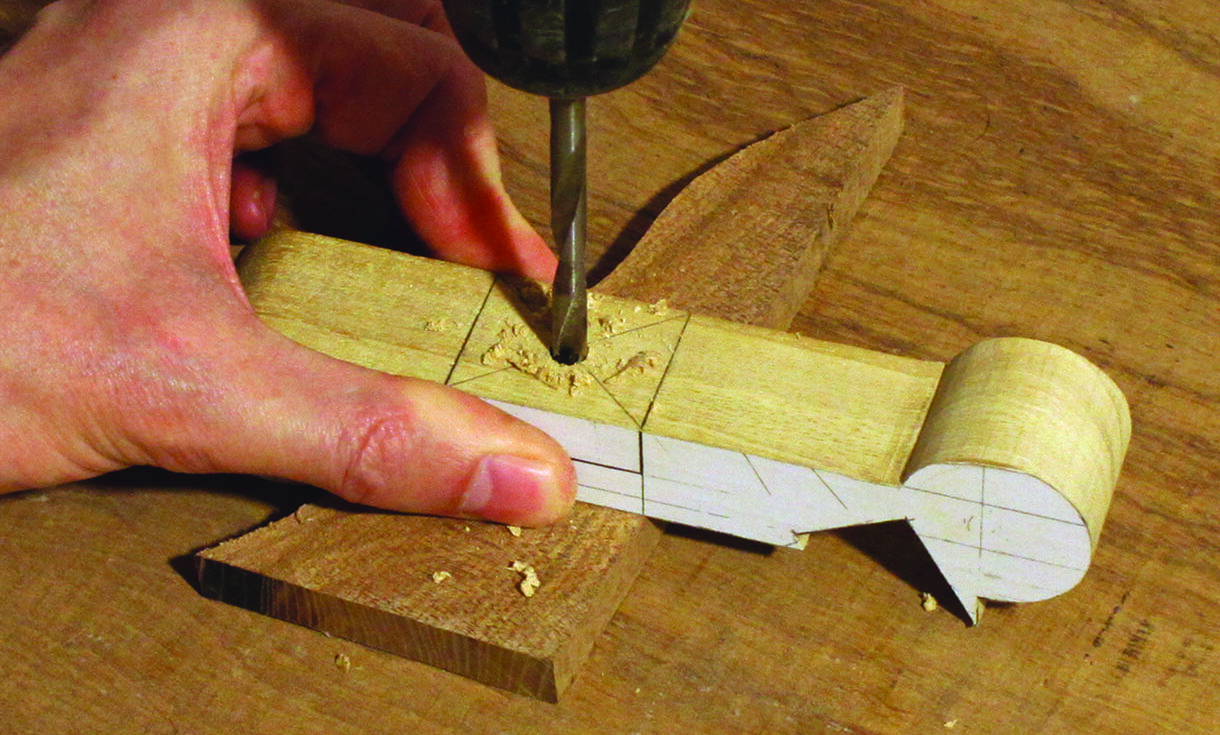
4. Drill a hole using a 7mm drill bit in each of the two bow ends. Clamp the wood down onto a piece of waste wood to minimise the risk of breakout from the drill. The holes are being drilled at this point in order to ensure that they pair up perfectly as this avoids any later issues with the thumb screws not fitting properly
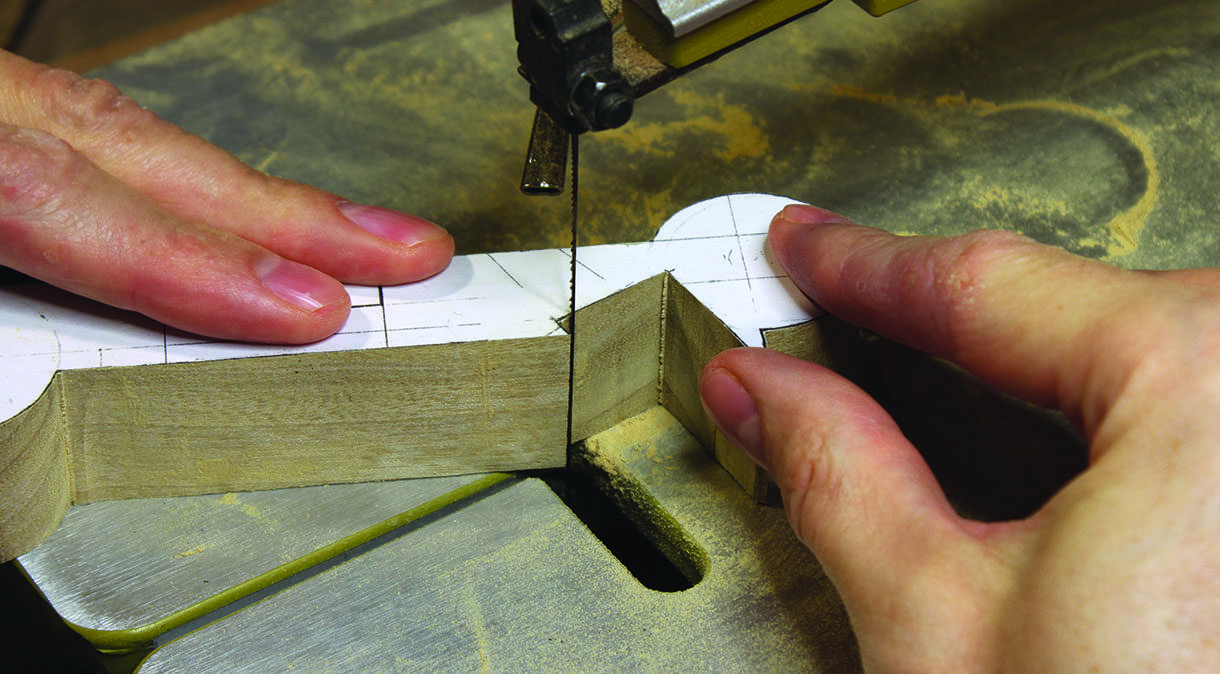
5. Now that the holes have been cut for the thumb screws, use the scrollsaw to cut out the pieces of wood that will clamp the abrasive in place. Depending on your choice of scrollsaw blade, you will not be able to cut out a perfectly square piece of wood here. You can round the corners of the piece you are cutting out very slightly when sawing. You shouldn’t need to allow for the thickness of the abrasive cloth because it shouldn’t really be thicker than the kerf of your scrollsaw blade
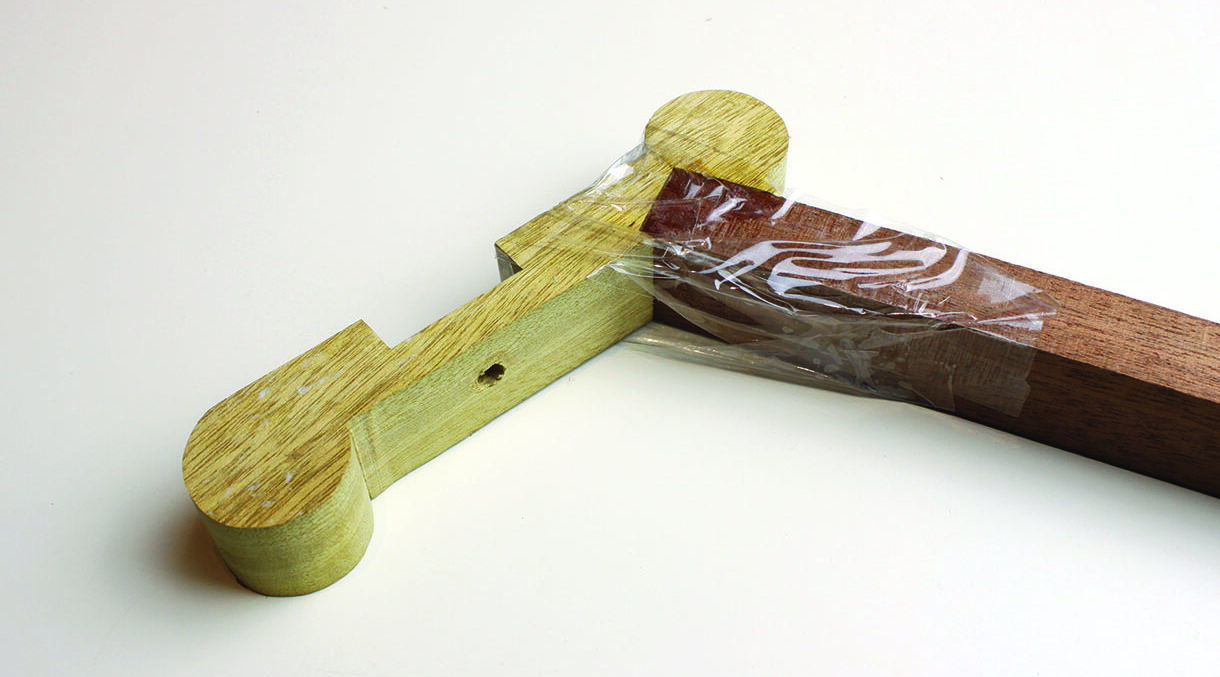
6. The three pieces of our bow now need to be glued together. I suggest using carpenter’s (yellow) glue, but PVA is fine. The image in step 6 might look odd, but it is an alternate method to clamping awkwardly-shaped pieces of wood. For this method, I have applied glue to both pieces of wood and married them up to one another. I have then taken some PVC packing tape and stretched it over the joint. Packing tape can be stretched which means that when it is stuck down, it has a lot of tension in it which will hold the joint tightly while the glue sets

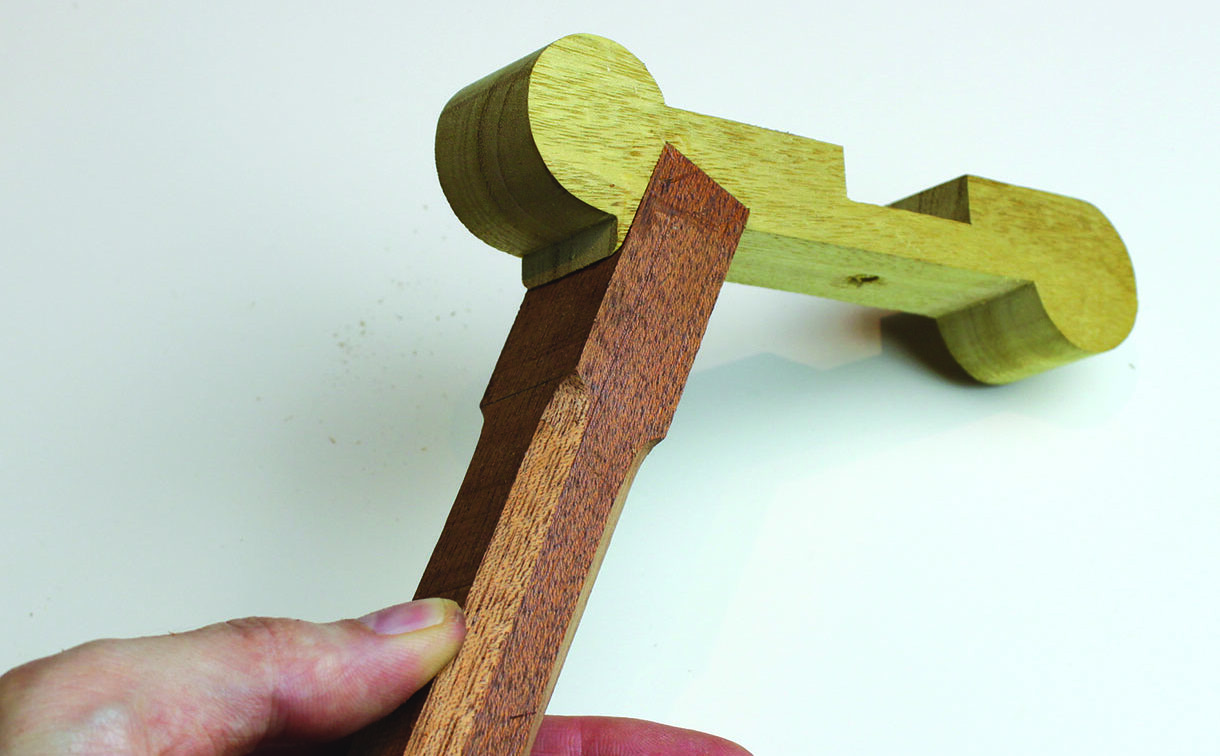
7. Having glued our three pieces of wood together, use a knife to tidy up any burr or inaccuracies that have been left by the scrollsawing
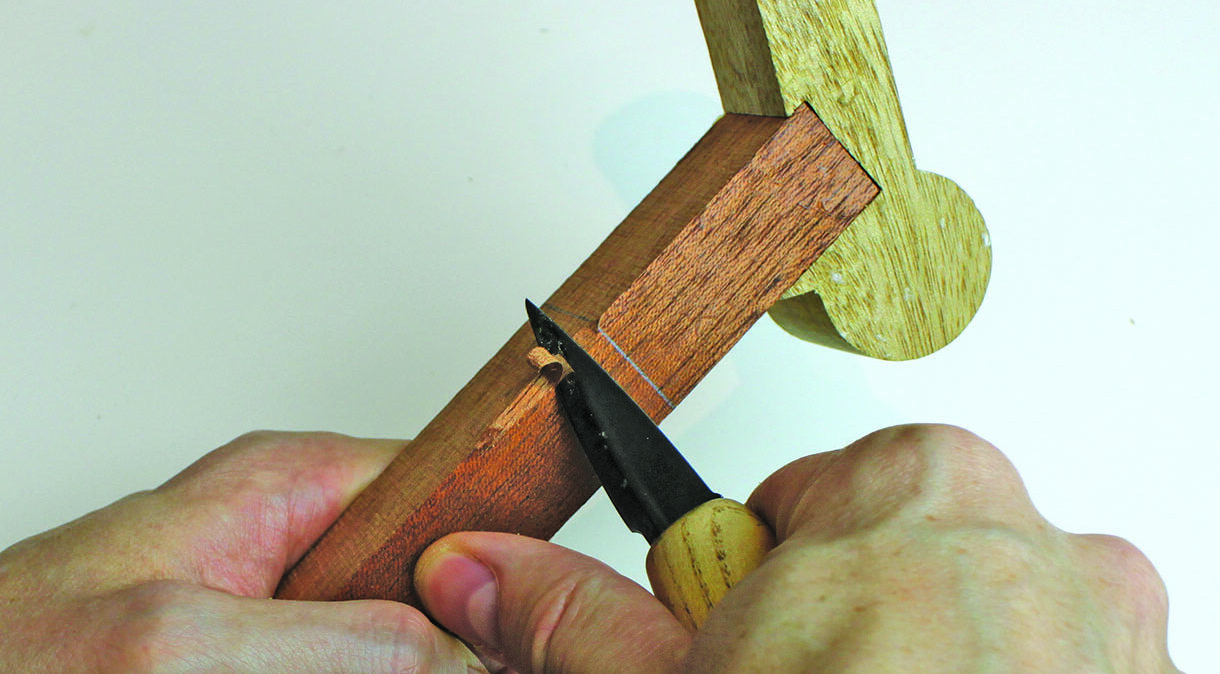
8. To make the bow more comfortable to use, you can use a knife to cut the corners off the edges of the bow back. You could apply the same technique to the two ‘handles’ on top of the bow ends. This step is optional but if you are going to the trouble of making a tool, it’s worth trying to make it ergonomic as well
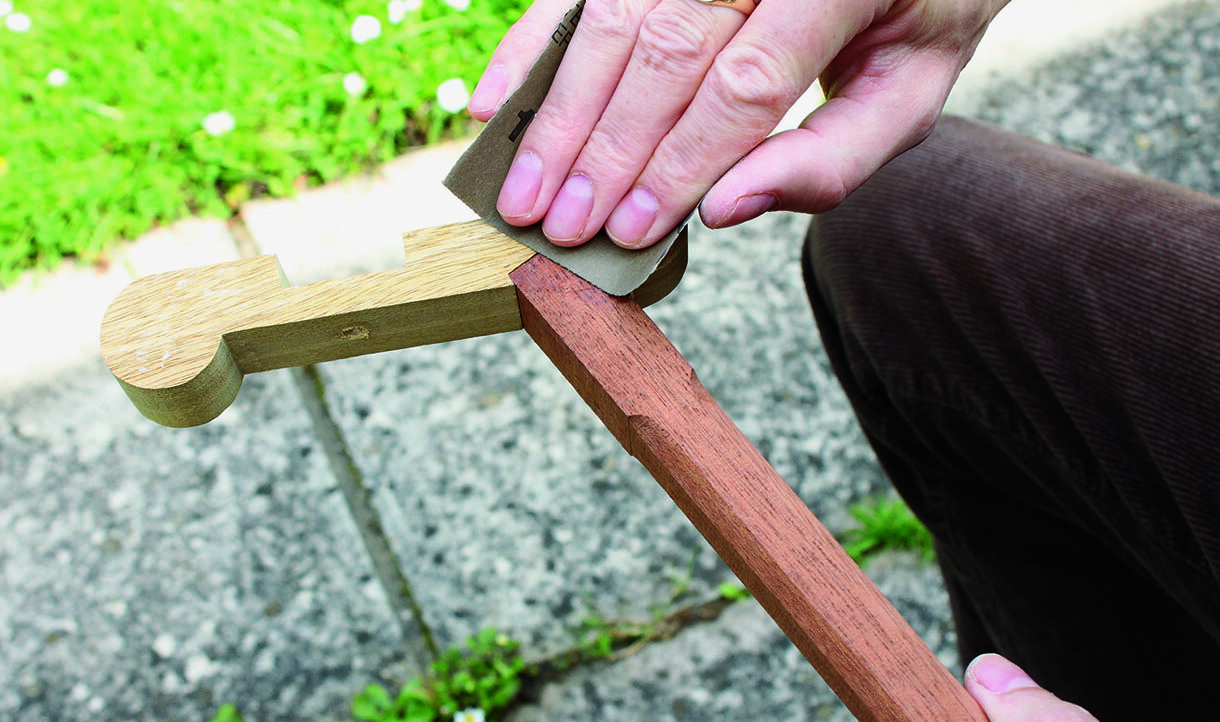
9. Your sanding bow by now may have lumps of glue around the joints and saw marks, which don’t give it a very attractive finish. Smooth down the wood using abrasive paper. Here, I have used a silicon carbide abrasive in grits 120, 240 and 400 (each in turn). Cut or tear a sheet of abrasive into 12 smaller squares to make it more manageable and go further. Step 11 shows a piece of the abrasive paper gripped between thumb, forefinger and third and fourth finger. Gripping the paper like this allows rapid strokes with the abrasive and prevents the edges from catching
10. Using a brush, apply Danish oil to your finished bow, leave it for 10 minutes and then remove excess oil with a cloth (preferably cotton and lint-free)

11. Cut a piece of abrasive cloth to length. Measure it by laying it on your bow; it needs to stretch just below the screw hole on one end to just below the screw hole on the other. You could use a cloth-backed abrasive or an abrasive mesh with this bow; the choice is yours as long as it is 25mm wide
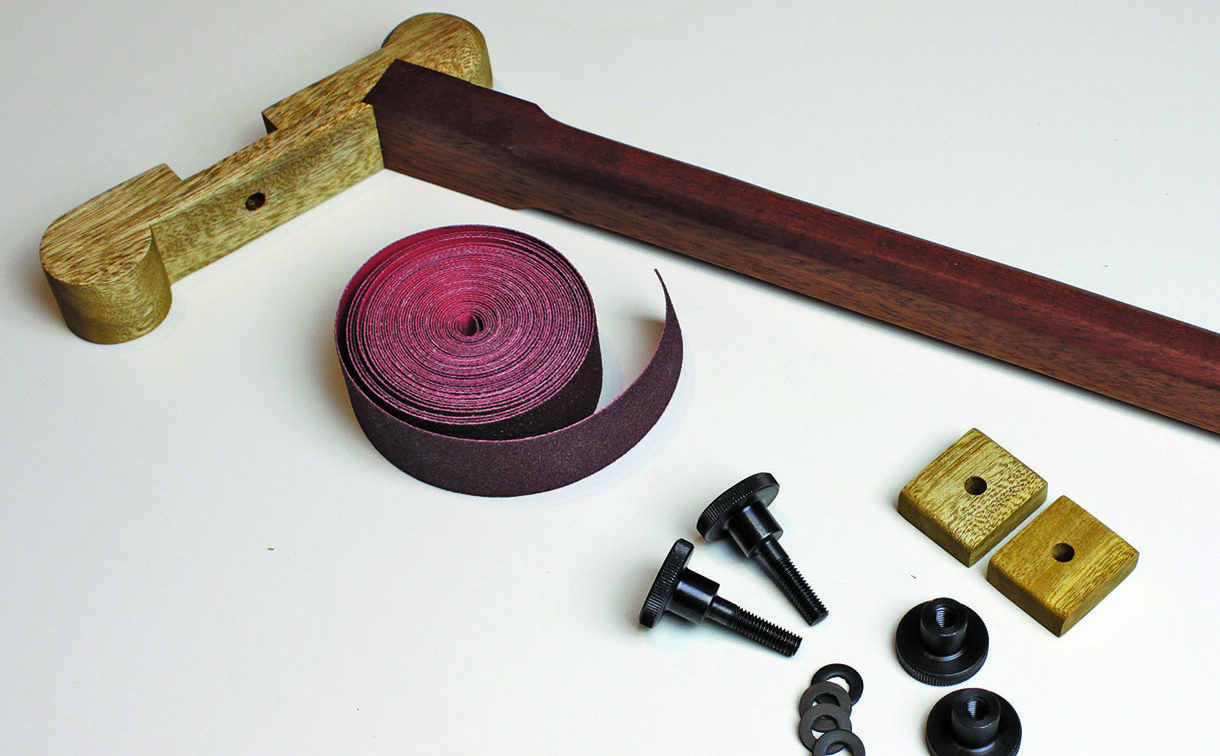
12. Assemble the bow by clamping the abrasive cloth at each end of the bow using a thumb screw and nut (with neoprene washers to protect the wood). These thumb screws and nuts are available in a range of metals including brass for a really attractive tool. Make sure that the abrasive cloth is tight on your bow otherwise it may not be of much use when you apply pressure to the bow when sanding
")

