Walking Sticks – more:
Paul Purnell looks at joining a head and finishing walking sticks.
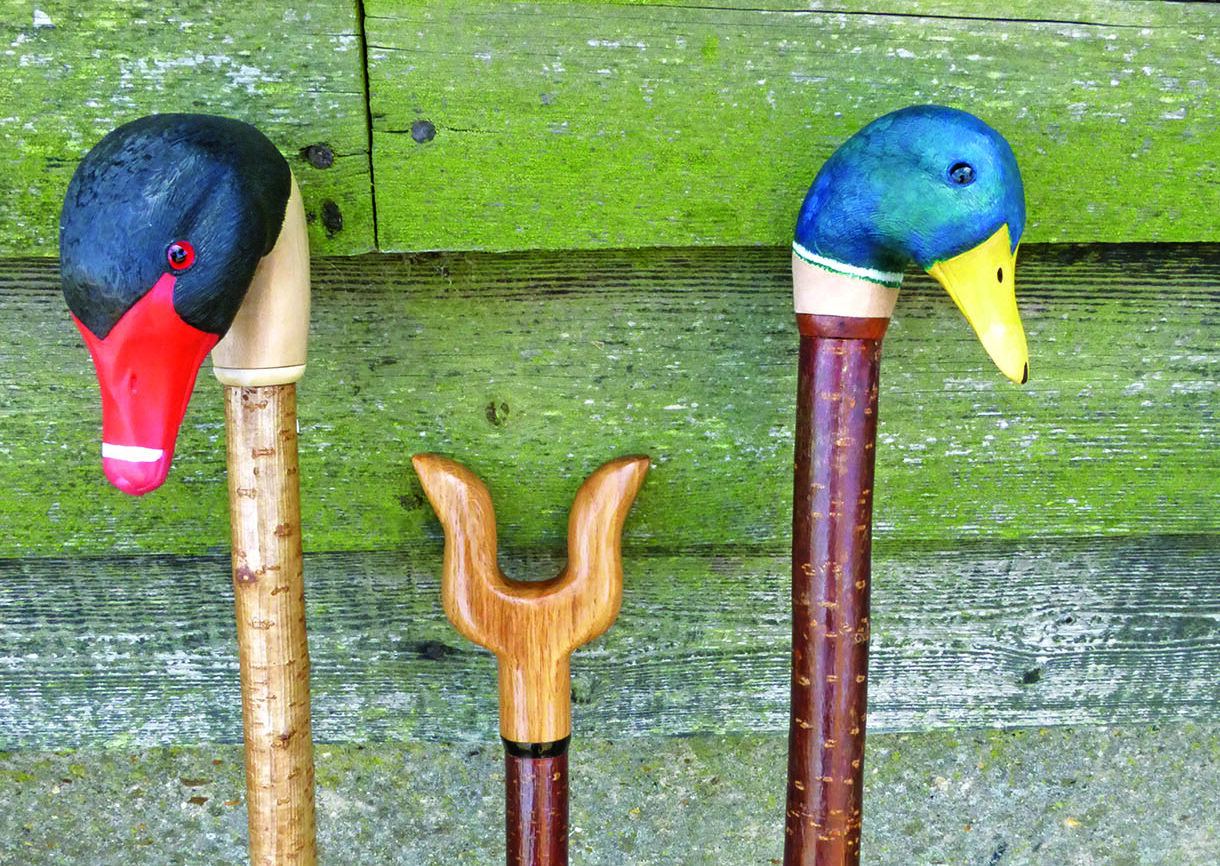
Paul Purnell looks at joining a head and finishing walking sticks
While there are several ways of joining a head to a shank, the following are the two main methods:
The first method
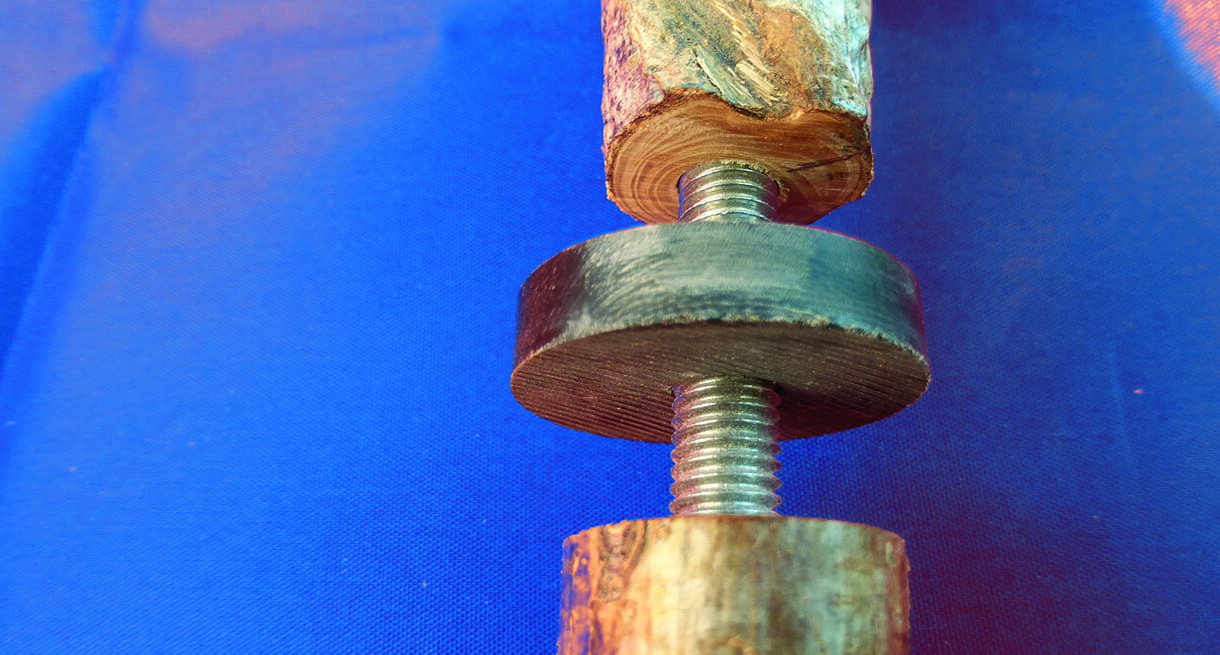
The first and easiest method, but not necessarily the best, is with a 127mm length of 8mm diameter, screwed metal rod. These are available to purchase on the internet pre-cut to size or you can buy a longer length and cut each rod as required. Decide if you are using a spacer. Bone and horn spacers are available to buy or make your own from different woods. Place the shank in a vice/workbench. Use a piece of copper pipe insulator or cloth to protect the shank. With a two-way spirit level, ensure the shank is level in both planes.
Find the centre of the top of the shank – use a washer as a guide. Drill an 8mm hole to a depth of half the length of the rod plus a few millimetres, approximately 66mm. If a spacer is used, adjust this measurement. The drill must be in good condition, as this hole needs to be vertical and centre. A worn drill will wander and the effort needed as you drill will cause it to veer off course. A method to help keep this hole straight is to drill a short distance, move your position, not the shank, by 90° and drill a touch more. Return to your original position and drill again. Continue to do this until you reach the required depth. If you have not done this before, practice on a piece of spare shank.
If a spacer is included in the project, deduct its thickness from the correct measurement. Drill a hole that is the same size in the centre of the spacer. Whether you glue the rod into the shank at this stage is a matter of choice. However, it is safer to dry-fit the shank, spacer and head before glueing. This ensures everything fits snugly before a permanent fix. Secure the head in the same way as the shank. Mark the centre point, or the point where you intend to fit the shank, and drill a hole 66mm deep. When using antler as a head, sometimes the centre is soft and needs scooping out and filling with epoxy resin prior to drilling. Test fit the head, shank and spacer. Often, there will be one position where the alignment of head and shank is perfect.
If the head and shank do not meet flush, small adjustments are possible. Clamp the shank in the vice or workbench and tap the rod with a light hammer in the direction that will remove the gap. Only tiny adjustments are possible; if overdone, the shank can split.
Another way to solve the problem of gaps is by removing slivers of wood from the surface of the shank or the bottom of the head. If you glued the rod into the shank before testing the fit of the head, this process will be more difficult.
There are conventions when fitting the head of a market stick, cardigan, crook and similar heads. The shank and head must be in alignment or with a slight backward flare of the head, but never with the head leaning forward. If the head is a carved dog, bird or something else, the alignment and finish will allow more freedom. Make a pencil mark on the shank, head and spacer where they align for the best fit. It is more difficult, when using a metal rod, to finish the head without gluing the parts together. When happy with the joint, mask the shank to prevent damage and glue the rod into the shank and head with a two-part epoxy resin. If you prefer, you can glue in two stages. Use plenty of glue to the extent that it oozes from the joint when you push the components together. Use a cloth dampened with white spirit to remove any excess. Sometimes an air pocket can force the joint apart. Hold the pieces in place until the epoxy is set. Leave for 24 hours for the glue to cure then finish the head and spacer to achieve your desired effect.
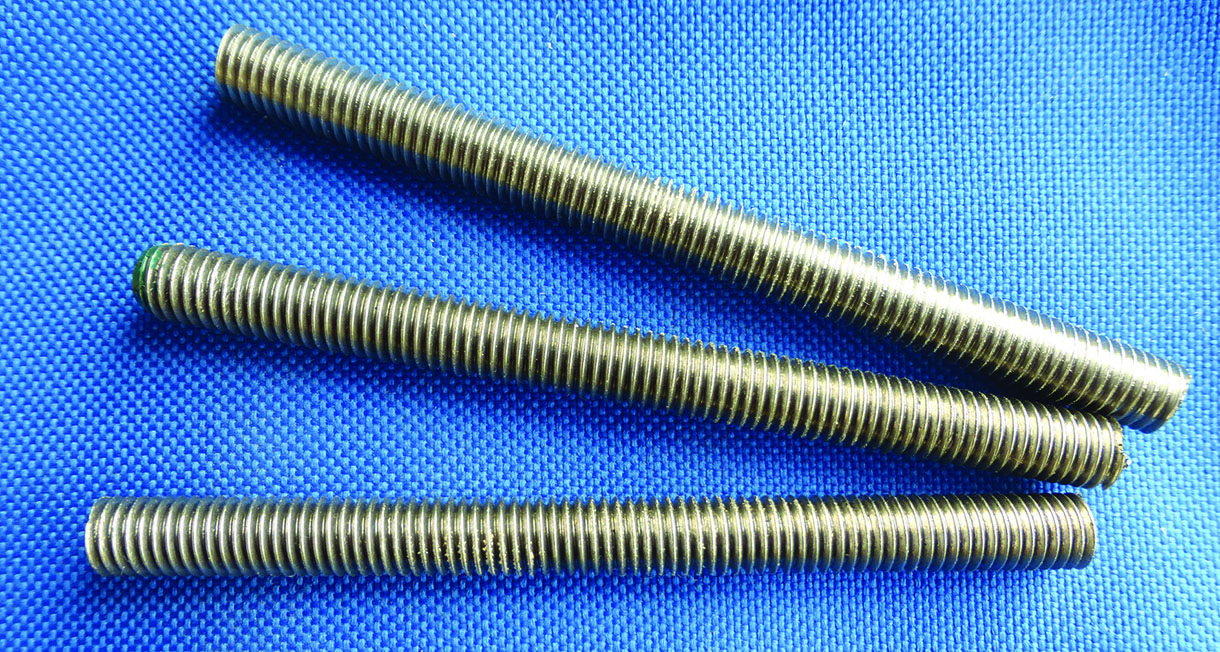
Screwed metal rods
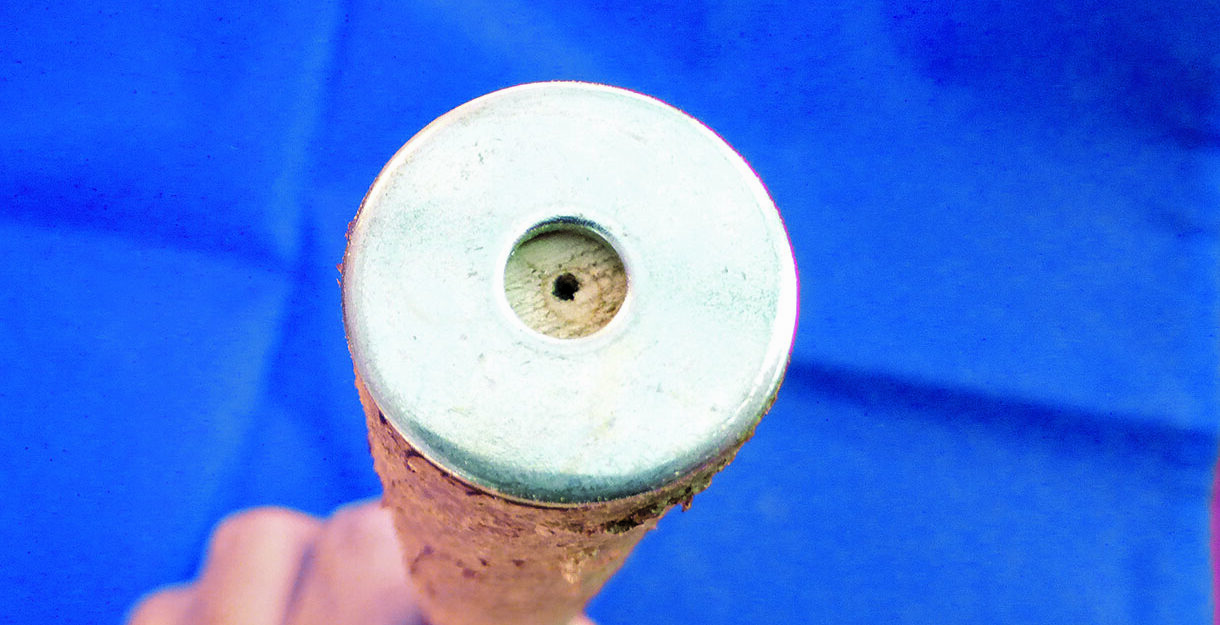
Use a washer to find the centre
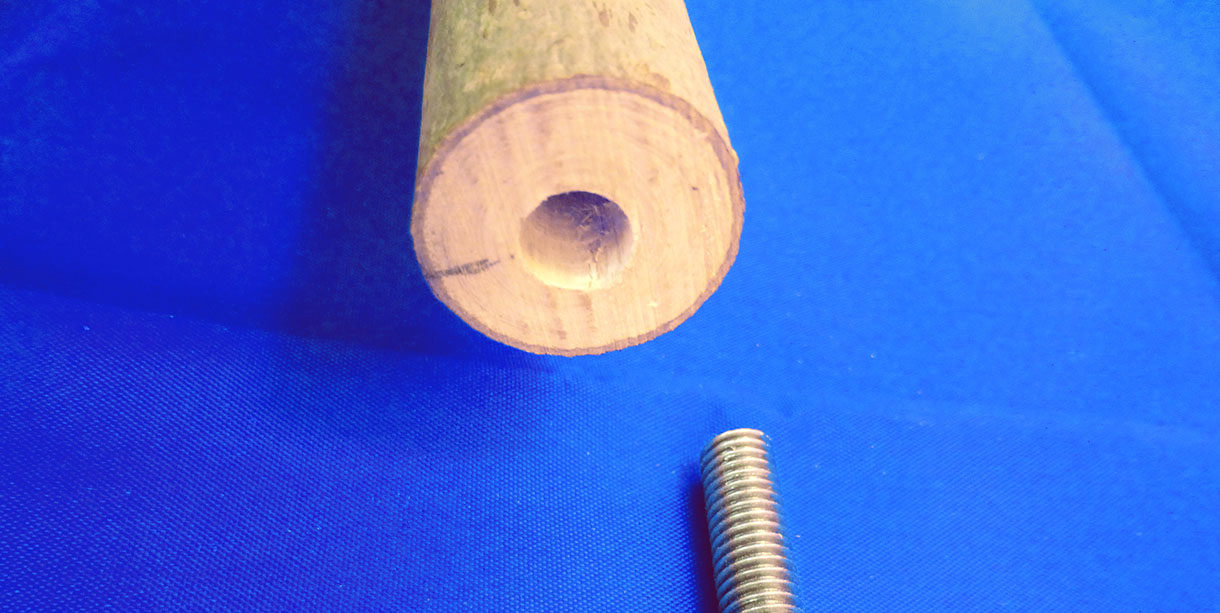
Drill an 8mm hole in the shank
Do a dry test fit
Mark the alignment of the head, spacer and shank where the best fit is achieved
Finished joint
The second method
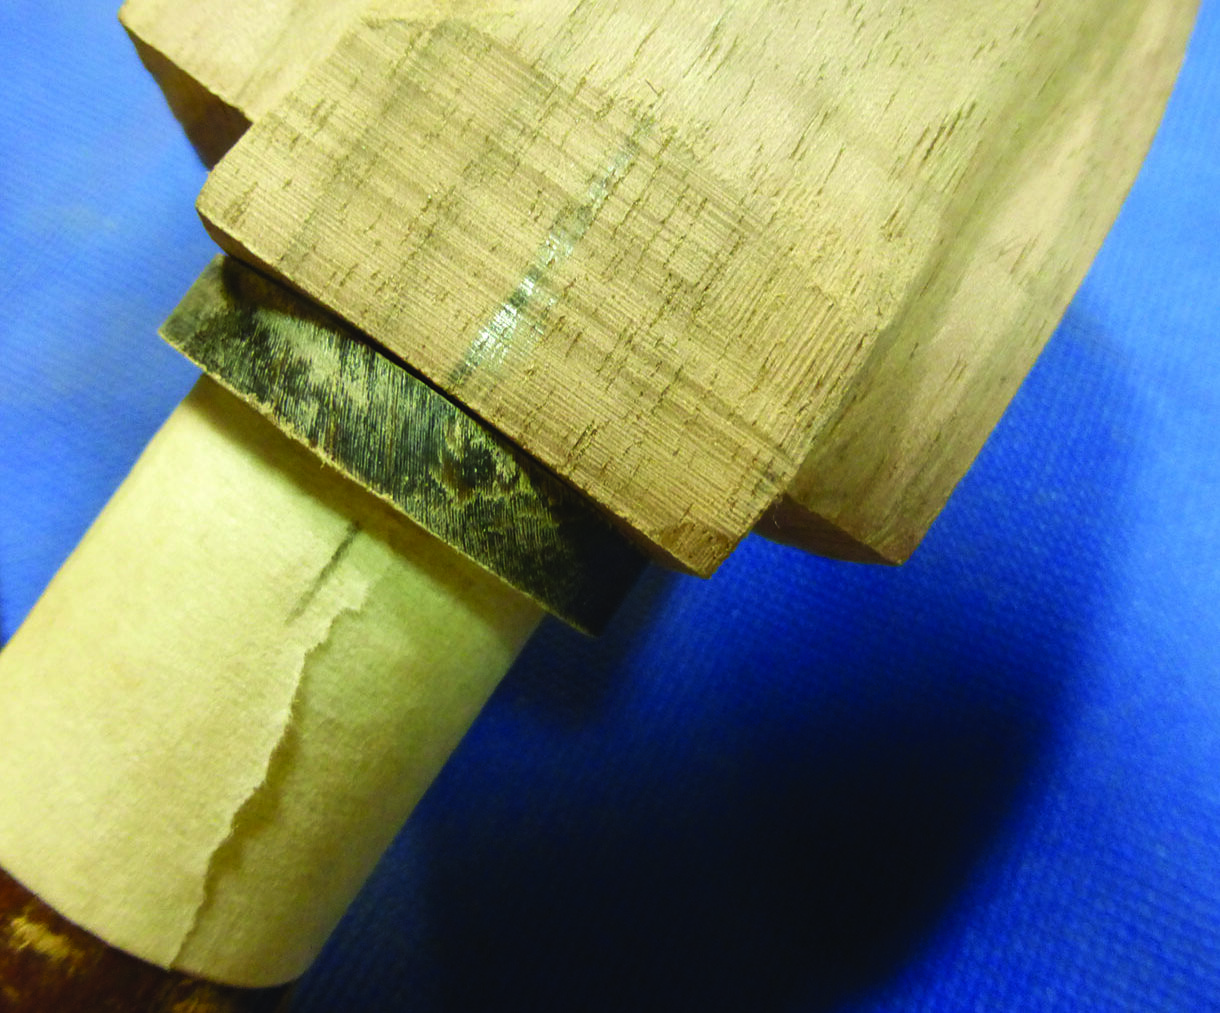
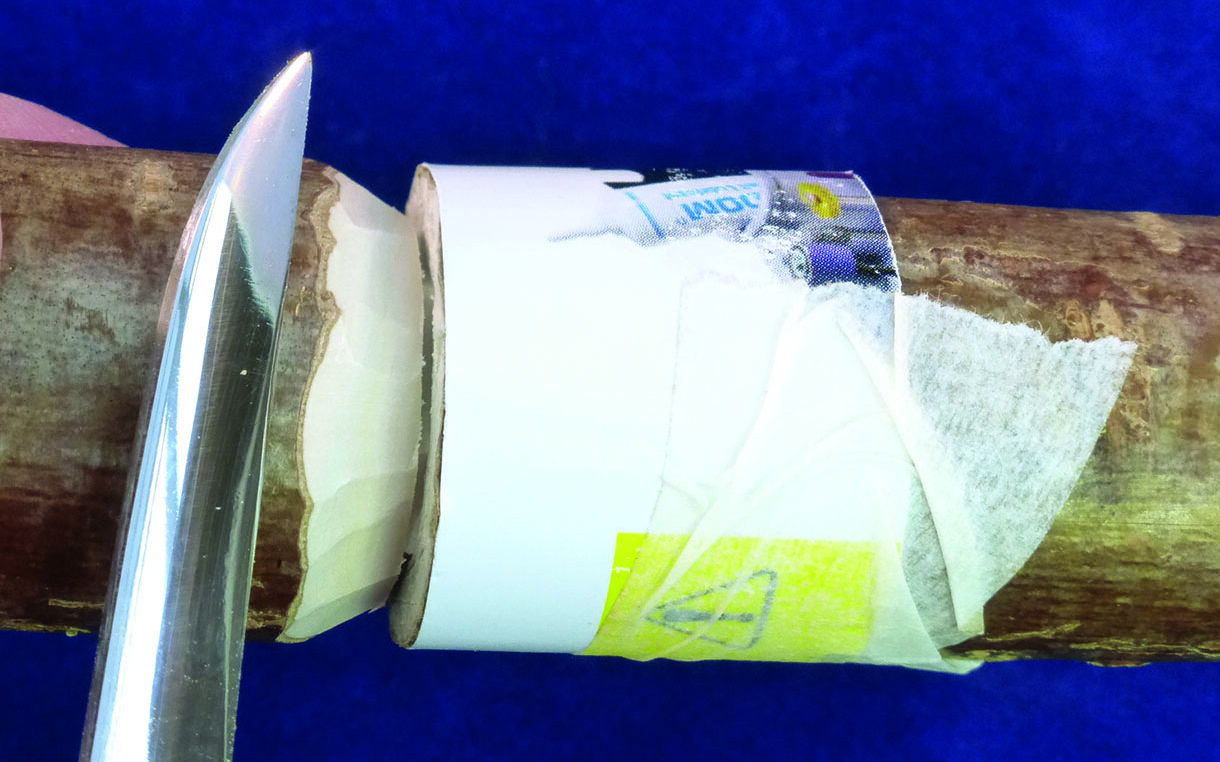
The second method is whittling the end of the shank to form a dowel that fits into a hole drilled into the head. Mark out the centre point of the head or where the shank will join. Clamp it, bottom up, in a vice or workbench. Ensure it is level in both horizontal and vertical planes. With a 13mm wood drill or Forstner bit, drill a hole into the bottom of the head. Drill to a depth of at least 38mm, but ideally 50mm. This depth will depend on the size and shape of the head. Drill out the spacer with the same drill. Secure the shank in a vice or workbench and fashion a dowel as follows:
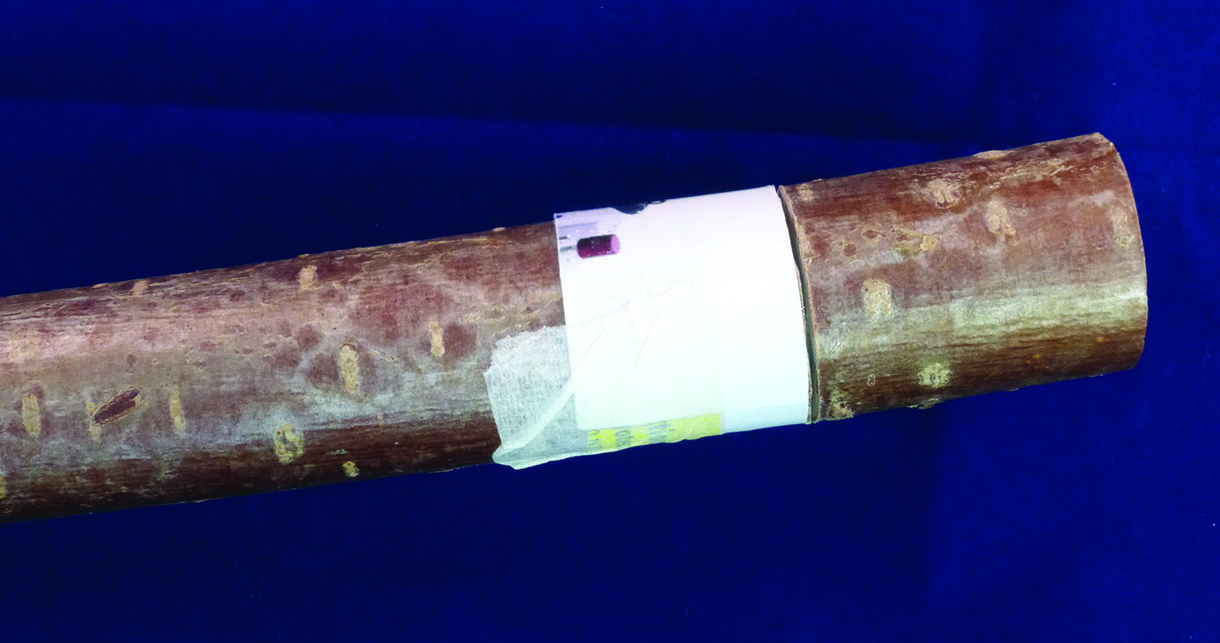
1. Measure the exact depth of the hole drilled into the head add depth of spacer. Mark this measurement down from the top of the shank. An easy method: place a spacer over the drilled hole, insert a flat-ended pencil into the hole, mark the depth on the pencil by pressing in your finger nail. Transfer this depth to the shank. Mark the centre point of the shank as a guide. Using a piece of magazine paper as a straight edge, wrap it around the shank at this measurement. Secure with a piece of masking tape. Remove some of the stickiness from the tape and dab on a dusty surface to avoid pulling away the bark when it is removed
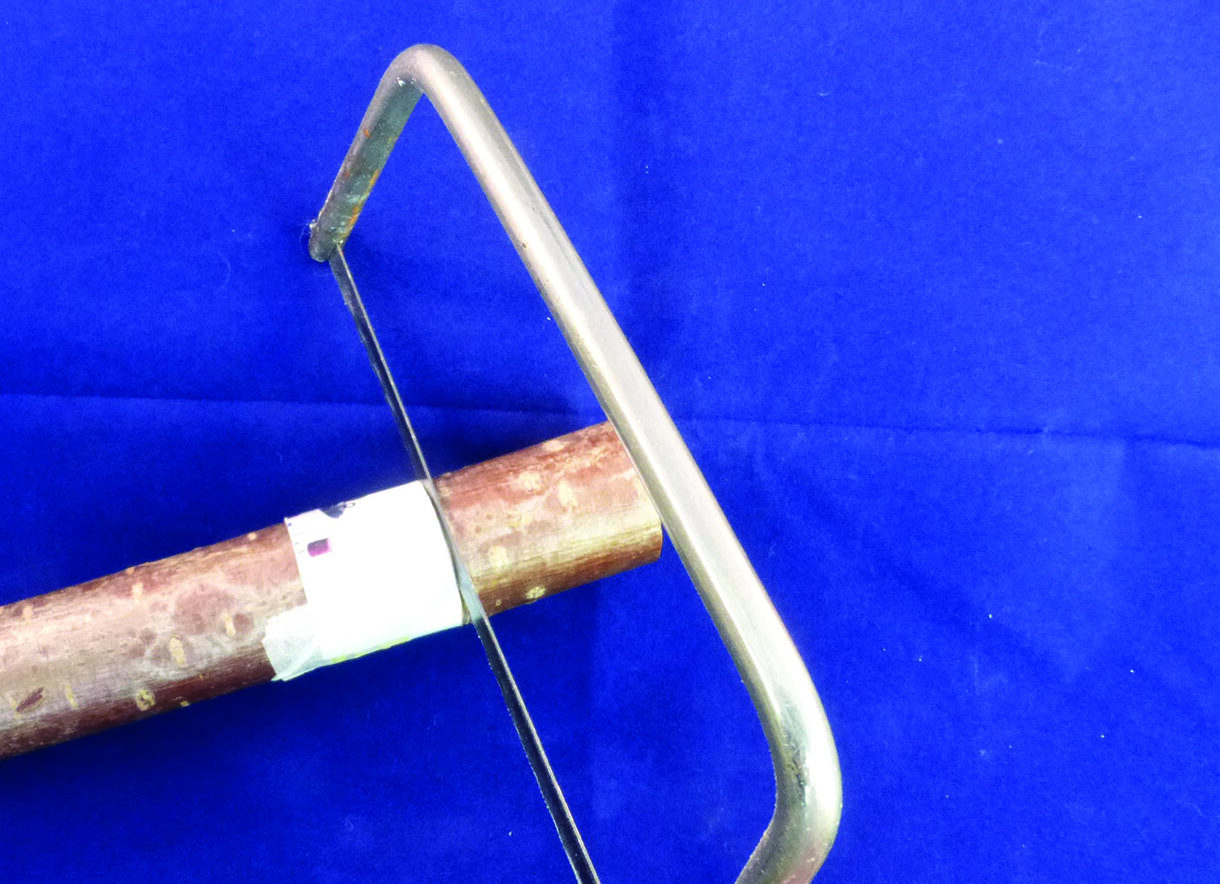
2. Use a junior hacksaw to cut around the circumference of the shank at the straight edge. Cut with care. Use the following as a guide: the junior hacksaw blade is 6mm in depth. If using a shank with a 25mm diameter, cut to the depth of the blade around the shank’s circumference. This will leave you with an internal measurement at the bottom end of the dowel of 13mm – the size you need it to be to carved. Vary the cut according to whether the shank is smaller or larger than 25mm
3. Carve a wedge around the hacksaw line, which will prevent the knife or rasp slipping and damaging the shank in the next step
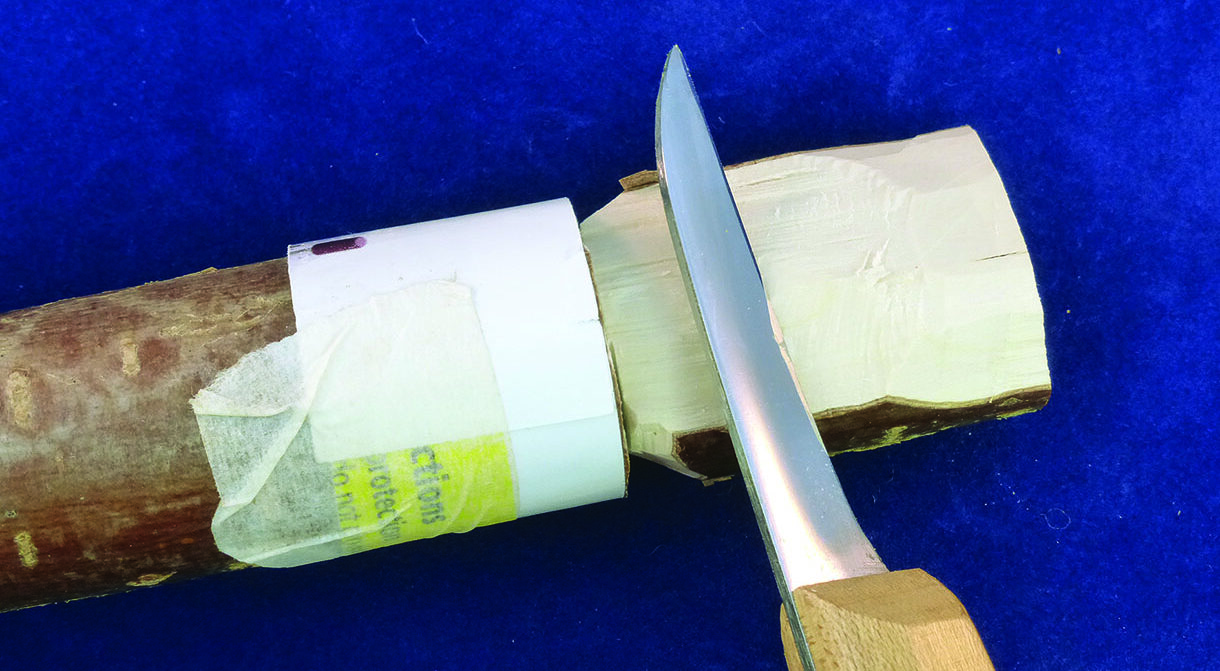
4. Use a knife or rasp to whittle a dowel that will fit into the head. Work methodically around the shank taking off small amounts at a time. Keep checking the fit into the head
5. When the tip of the dowel fits, push the head on with a screwing motion for 5–10mm. This will give you the approximate size for the rest of the dowel
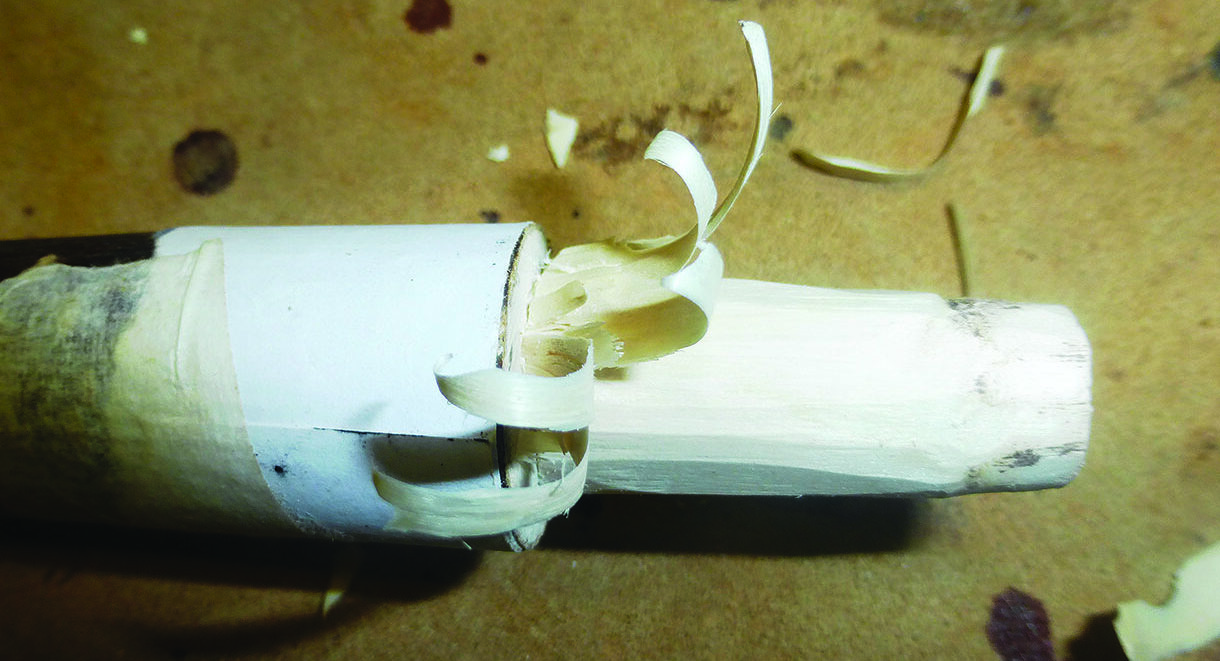
6. Continue to carve the dowel until you achieve a squeaky-tight fit. Do not be tempted to force the head on as it may split the shank. Test fit with spacer. As with the stud method, small adjustments are possible by paring away tiny amounts of wood from the shank or head. When happy with the fit draw a line on the dowel, spacer and head. Chamfer a dish effect around the hole of the spacer on the side that sits against the shank as this will help it seat better. Use a V-tool to cut three grooves along the length of the dowel. This will allow excess glue to escape
7. Attach, but do not glue, the head shank and spacer as per your alignment marks. Mask off the top of the shank to prevent damage, then work on the head and spacer until you achieve the desired finish
Gluing
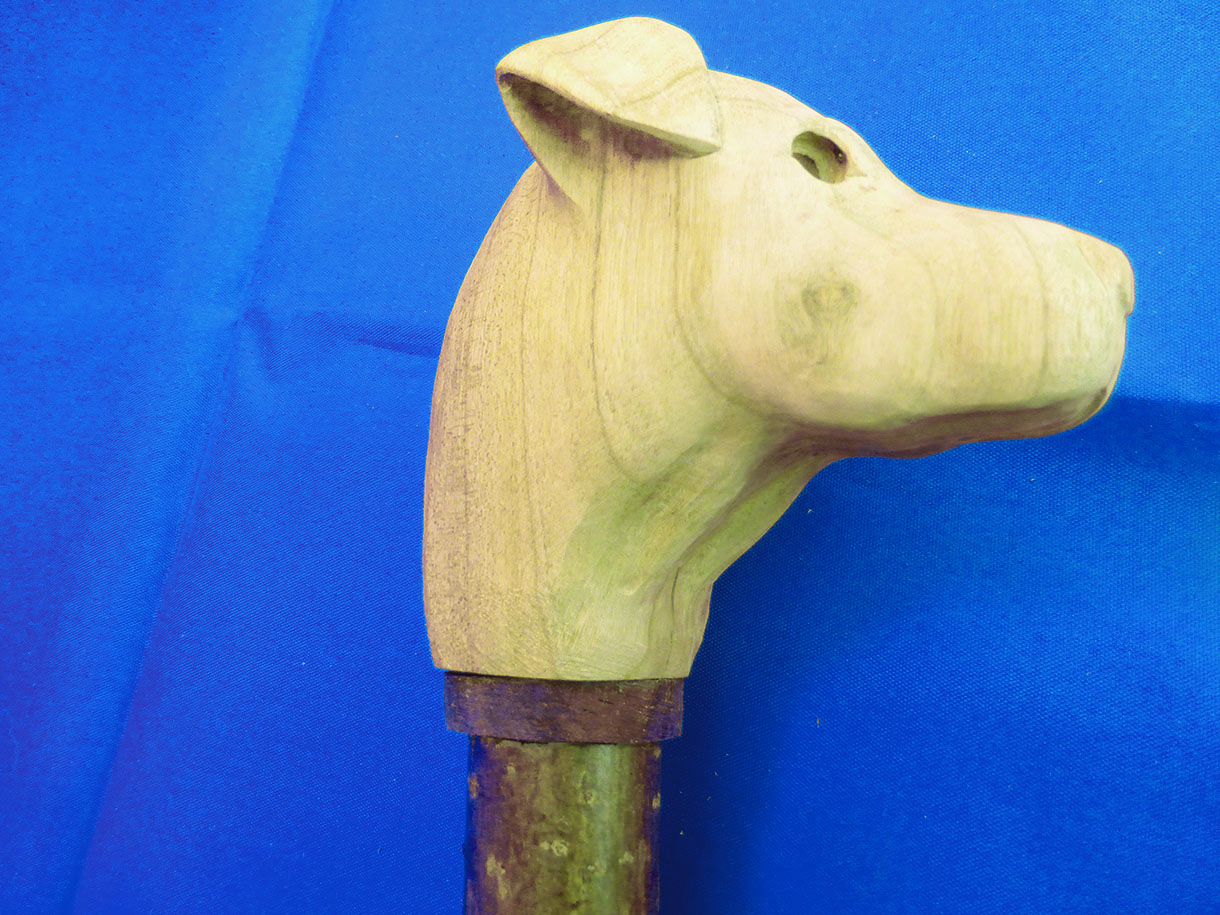
Dependent on the shape of the head, e.g. an animal, dog, bird, work on it while off the shank until you reach an approximate finish; then attach to the shank – but do not glue – to finalise. The head will not move when worked on if you have whittled the dowel to the correct size. Add a wrap of masking tape around the dowel if the head is loose. If the joint is still loose or unstable then consider gluing the head and shank before working on it. If the head needs further work, e.g. fitting eyes, texturing, painting, finish this before gluing on to the shank. When joining, use only a small quantity of epoxy glue.
Other less common methods include:
• When using methods one and two, the join between the head and shank is cut at an angle of 45°
• Double-ended wood screw
• Threaded rod and nut (allows for head to be removed and changed)
• Long/short hardwood dowel
• Plug and anchor
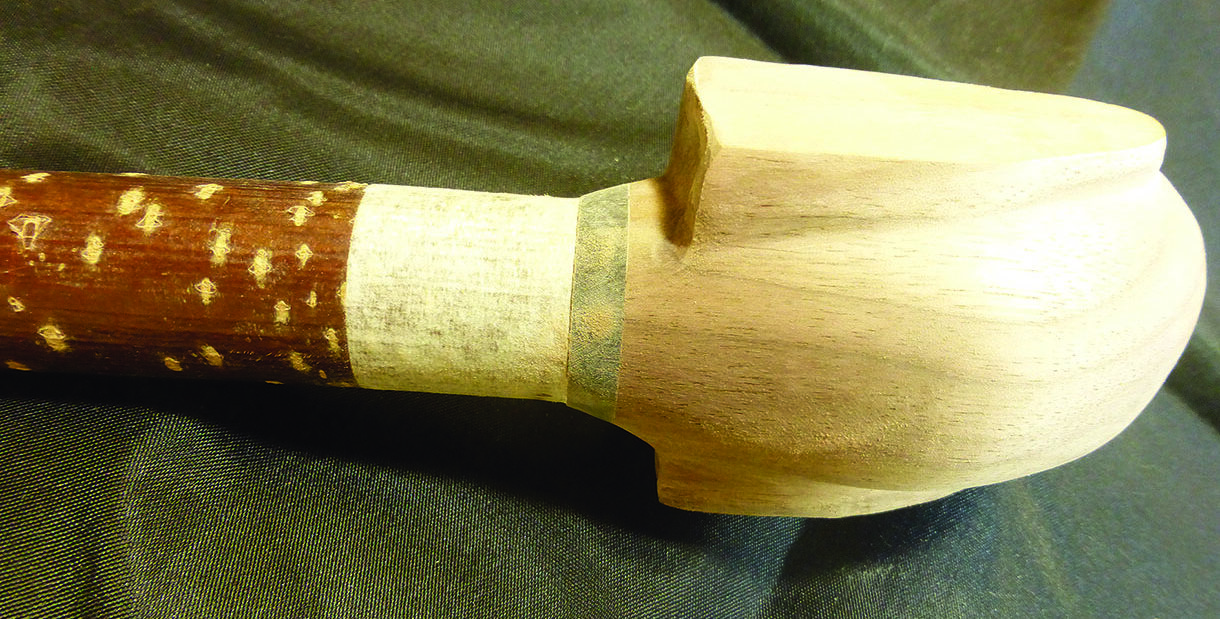
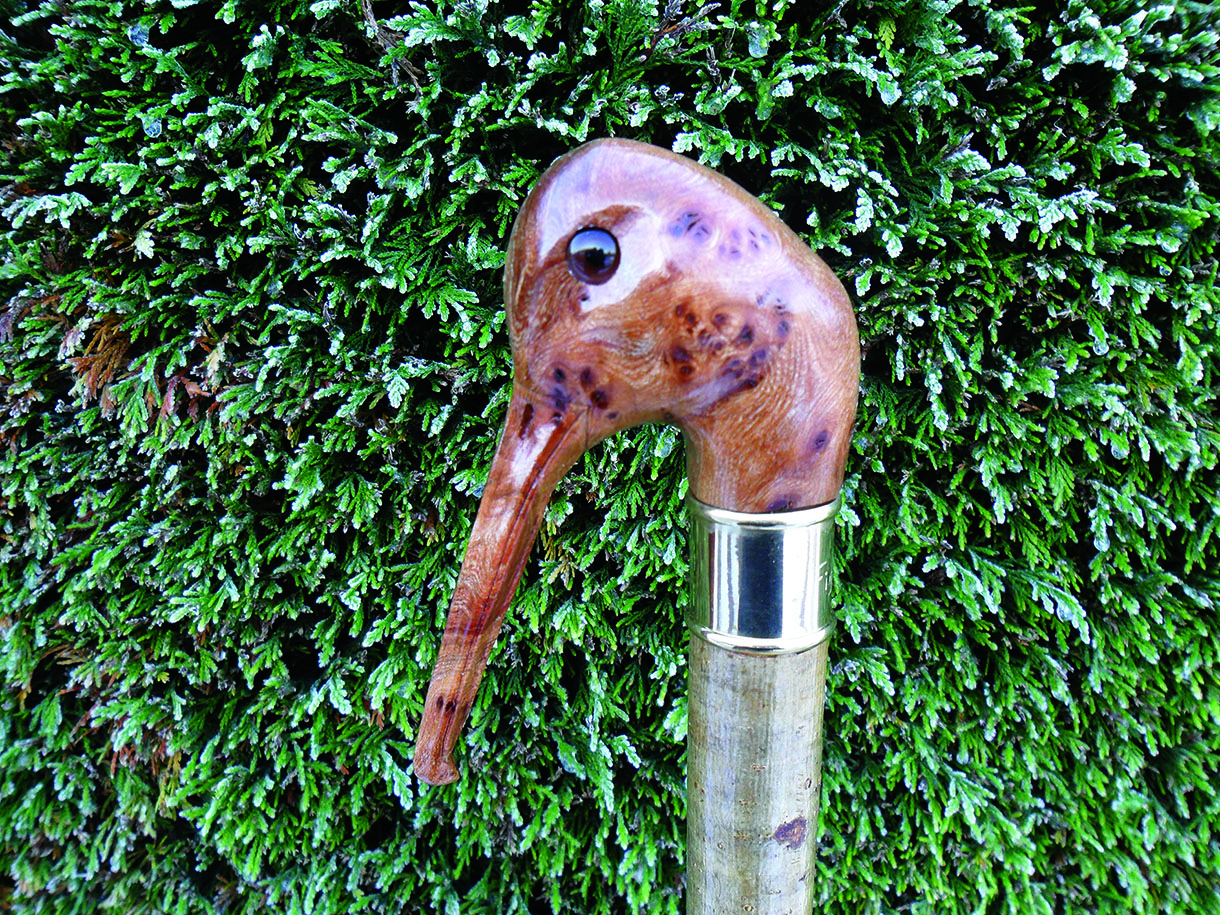
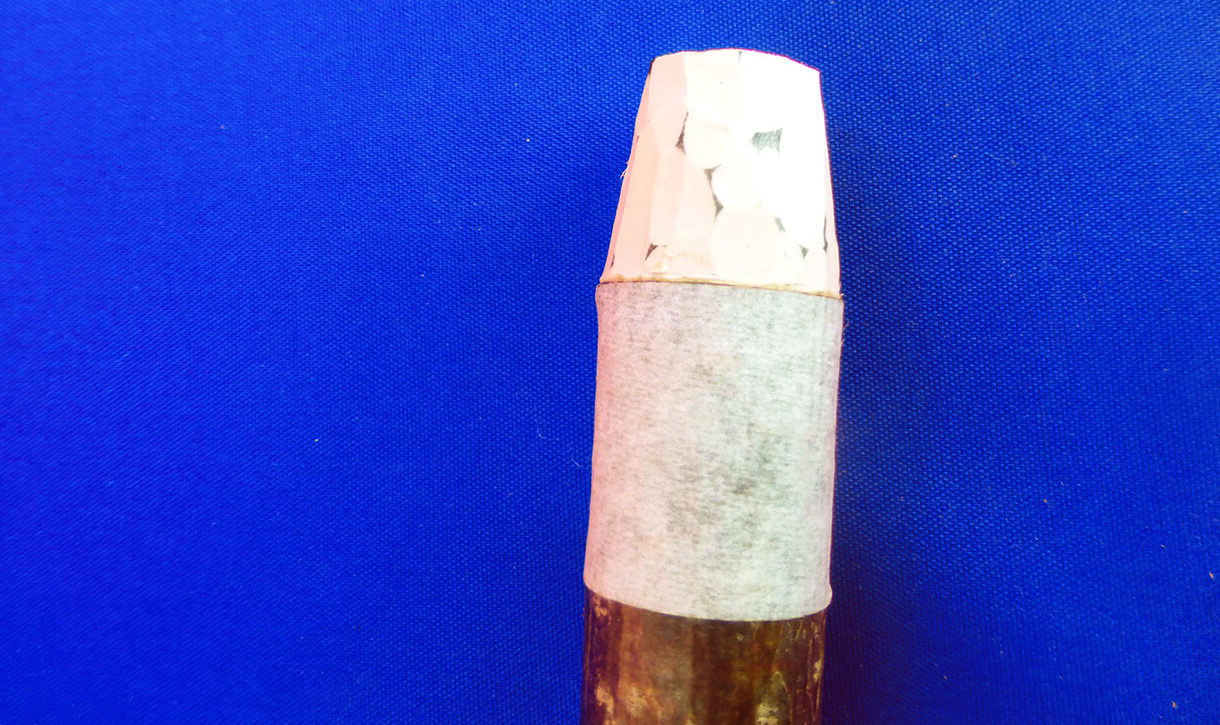
• It is possible to fit a straight or rolled-top collar made of brass, copper, silver-nickel or silver to cover the joint when using the main methods and some of the others.
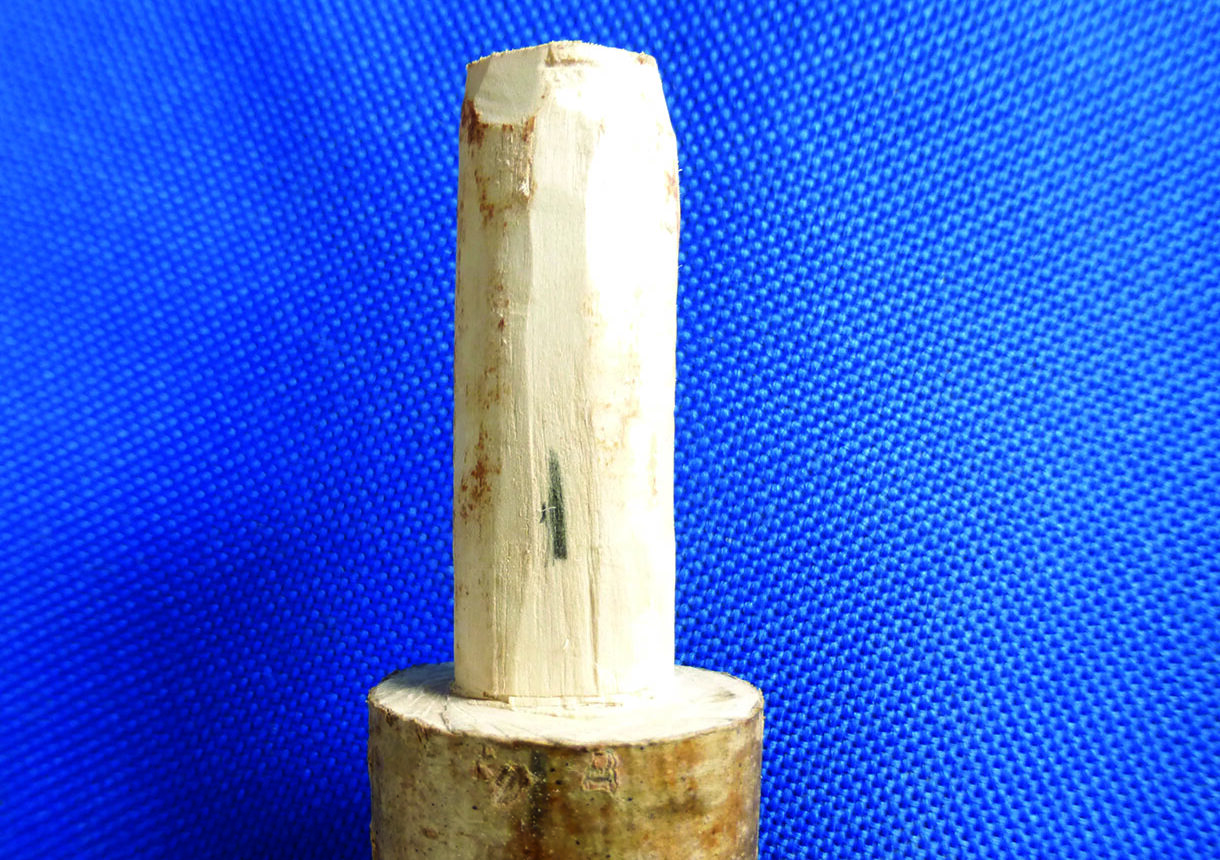
Head and spacer shaped to shank
Finishing
Clean any remaining dirt or moss from the shank by hand or using a soft brush. Remove side branches – sand level with the shank. The exception is blackthorn, and other knobbly woods, where the side branches look more attractive if left proud. Rub the shank with 000 grade of wire wool to provide a better adhesion for the finish. Give a final clean with white spirit. A variety of oils, e.g. Danish, tung, nut and boiled linseed, are available to finish the shank. Use several applications. Using oil makes it easier to add another coat when needed. Varnish is another choice. This may peel over time and need stripping before applying another coat. A head of natural wood, horn or antler can be finished with oil or varnish. Horn can be waxed and buffed. If a painted head needs outdoor protection, use a varnish and not oil. Oil or varnish the shank before fitting the ferrule; this will ensure full protection of the working end.
Example of using a rolled-top collar
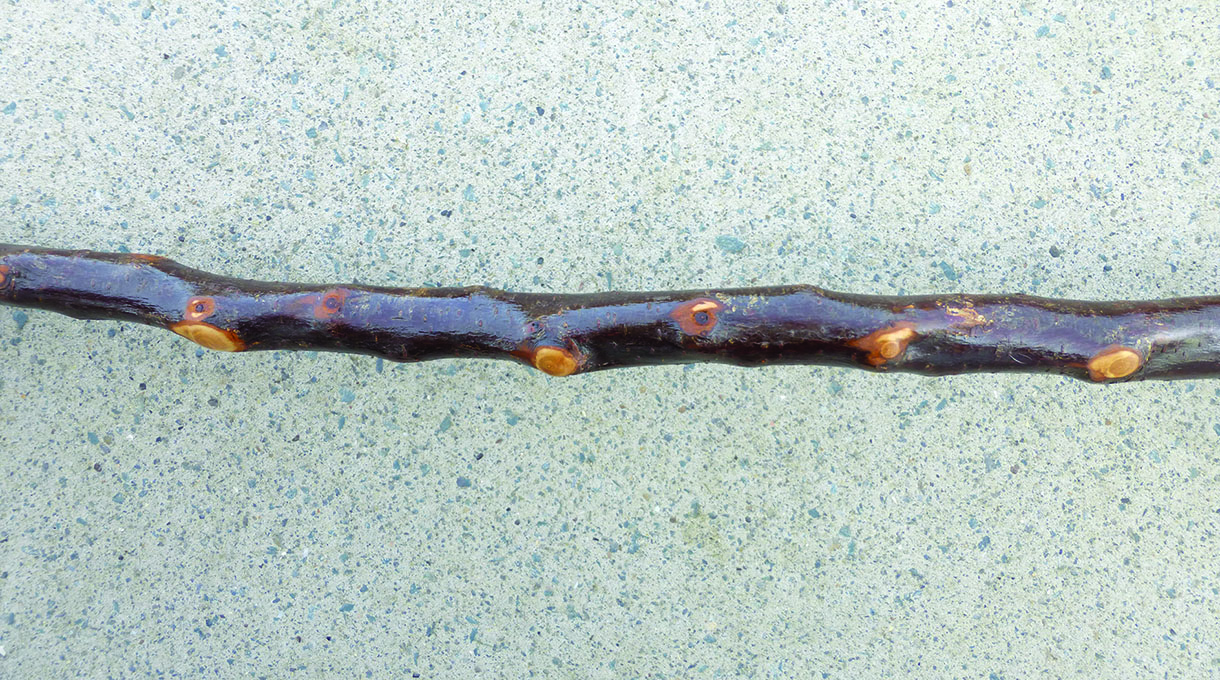
Leave side branches of blackthorn proud of the shank to create a knobbly effect
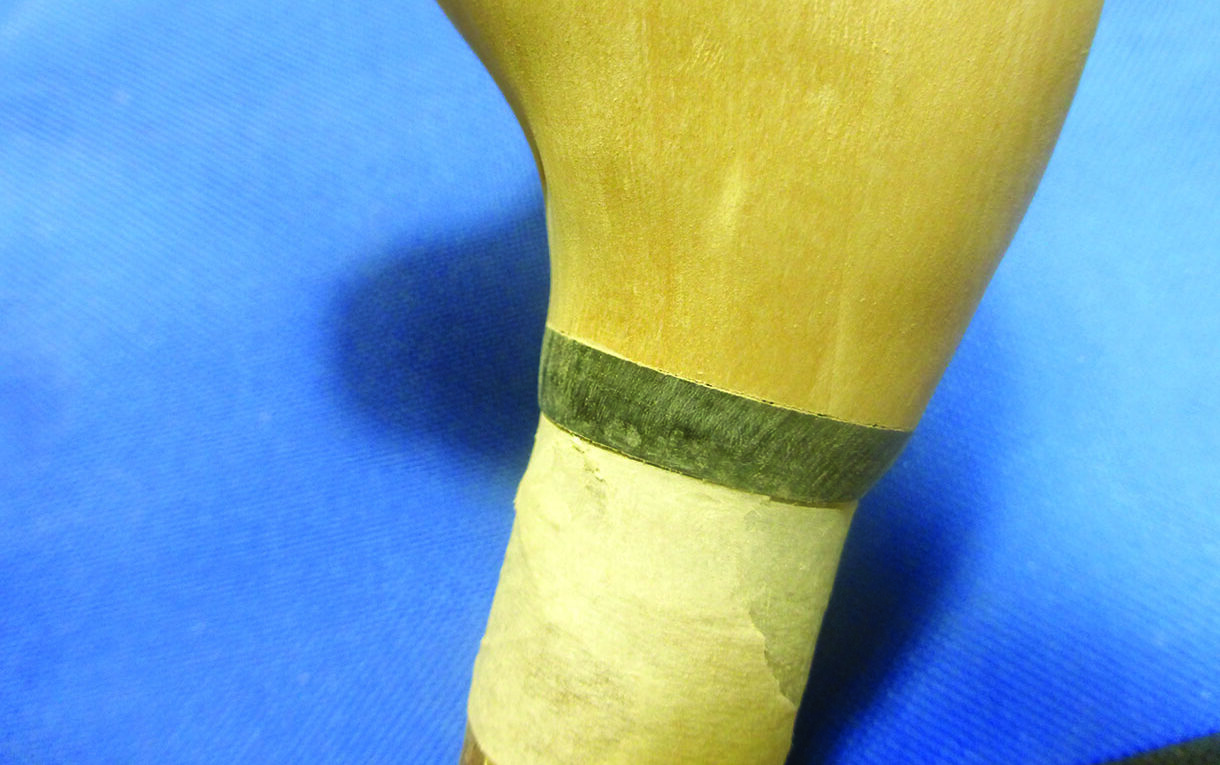
Fitting a ferrule
Ferrules are made of brass, brass with a steel tip, horn, antler, bone or rubber. Select a ferrule that is the closest match to the diameter of the tip of the shank. Measure the height of the ferrule and deduct the thickness of its base. Using this measurement, wrap a straight edge of a magazine or masking tape around the shank. Use a knife to mark around this line to a depth of 1mm. Use a knife or rasp to remove wood from the shank to match the shape of the ferrule; keep testing and aim for a tight fit. The engineering process of the ferrule leaves a residue of oil inside; as you push on the ferrule to test the fit, a black mark will indicate where wood needs removing.
Continue until the ferrule is 2mm from the cut mark on the shank. Do not glue the ferrule just yet. The traditional way of fitting the ferrule was to use a couple of pins or to crimp the top in three places with a sharp nail and hammer. These methods do not always give a tight fit. Instead apply a small amount of epoxy glue to the shank and push on the ferrule as far as it will go. Tap the shank on the floor to squeeze the ferrule over the couple of millimetres you left in the above step. This will provide a long-lasting, watertight fit.
Black marks left by oil residue during manufacture of a ferrule
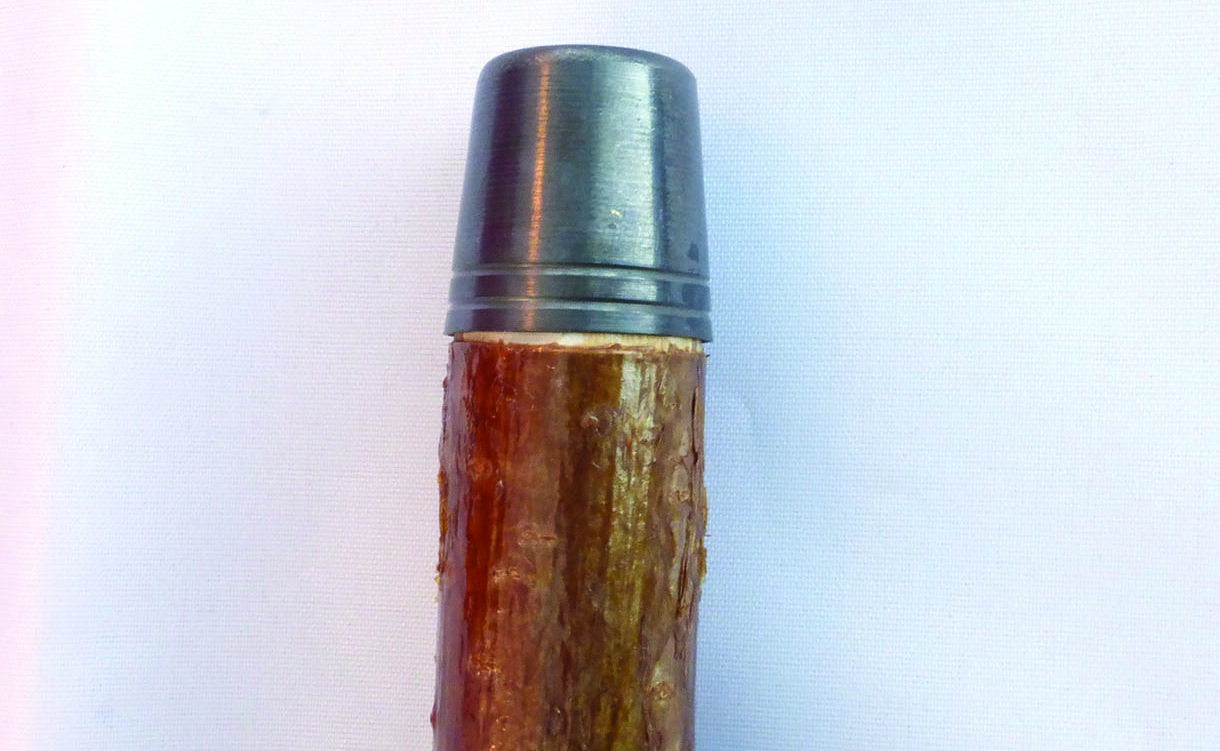
Leave shaping of shank slightly short of the cut mark
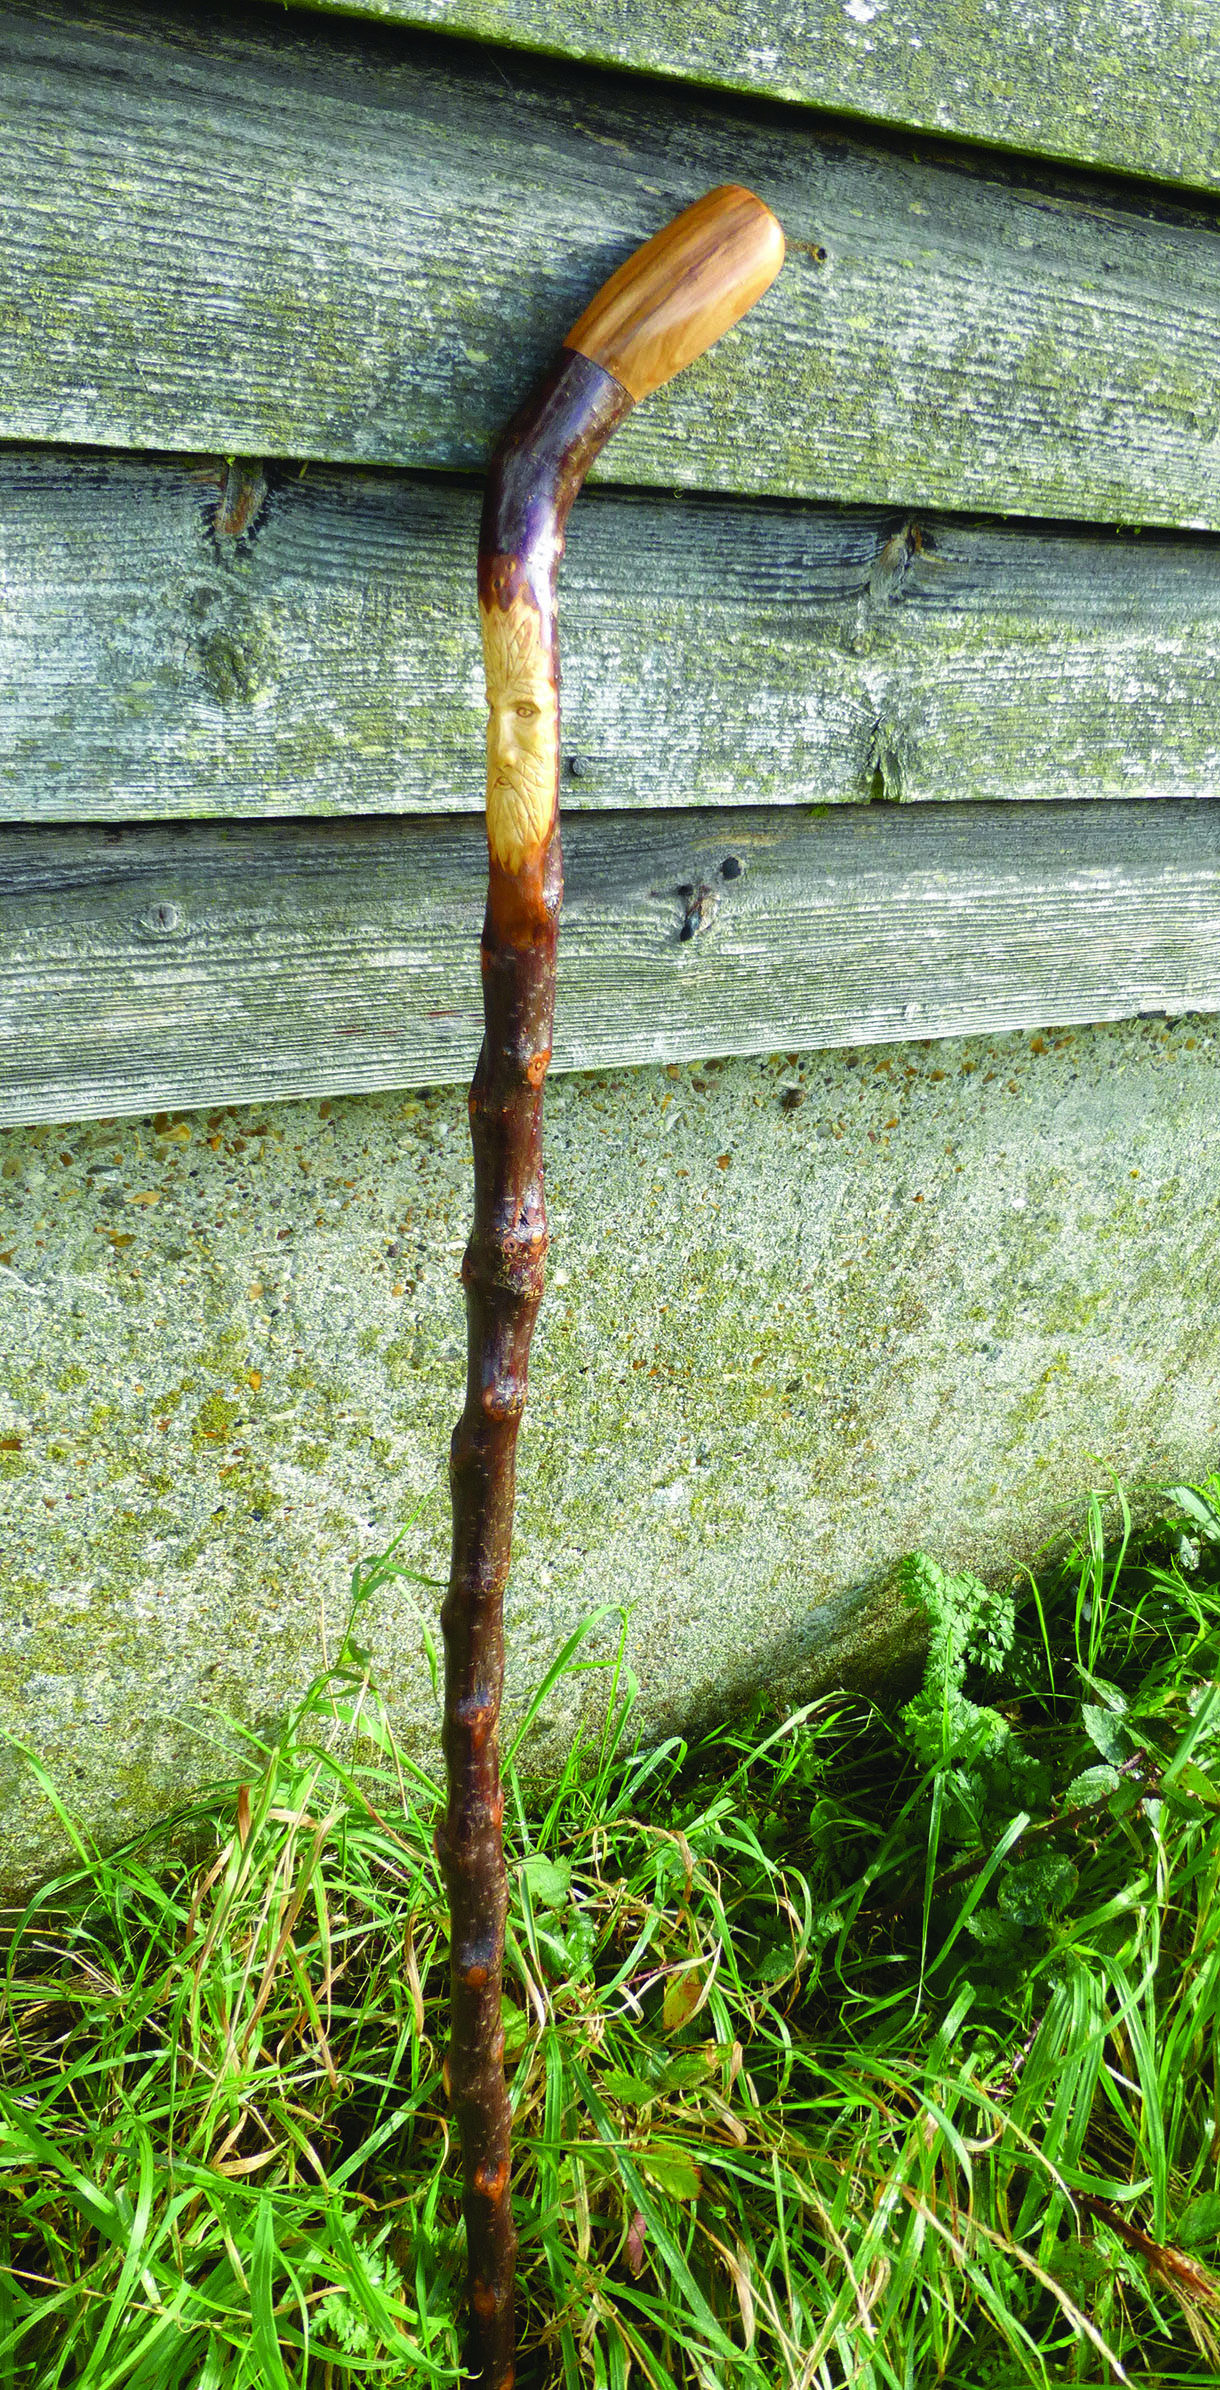
A finished stick


